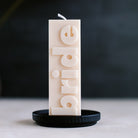
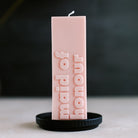
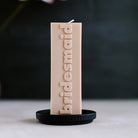
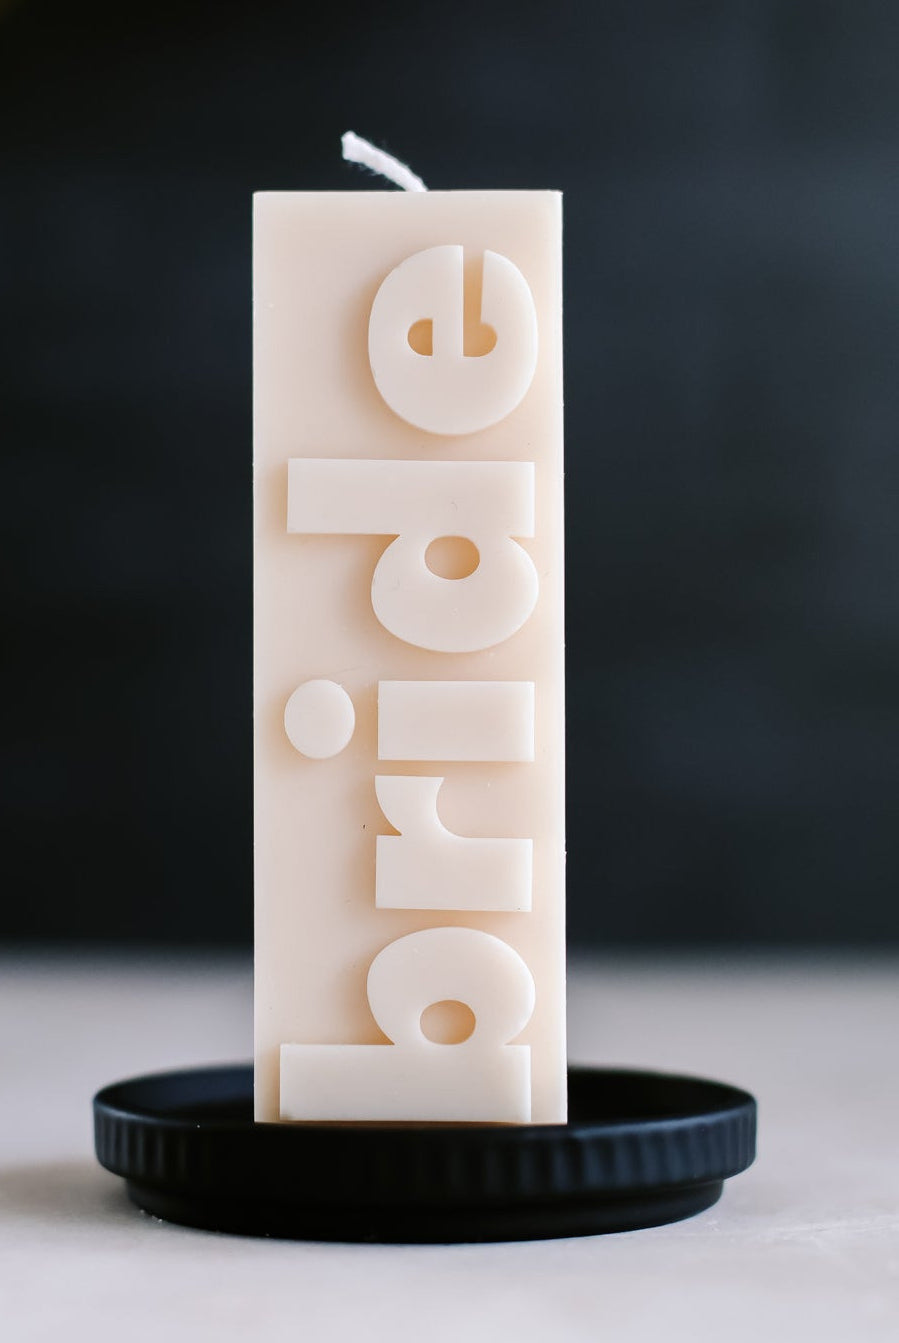
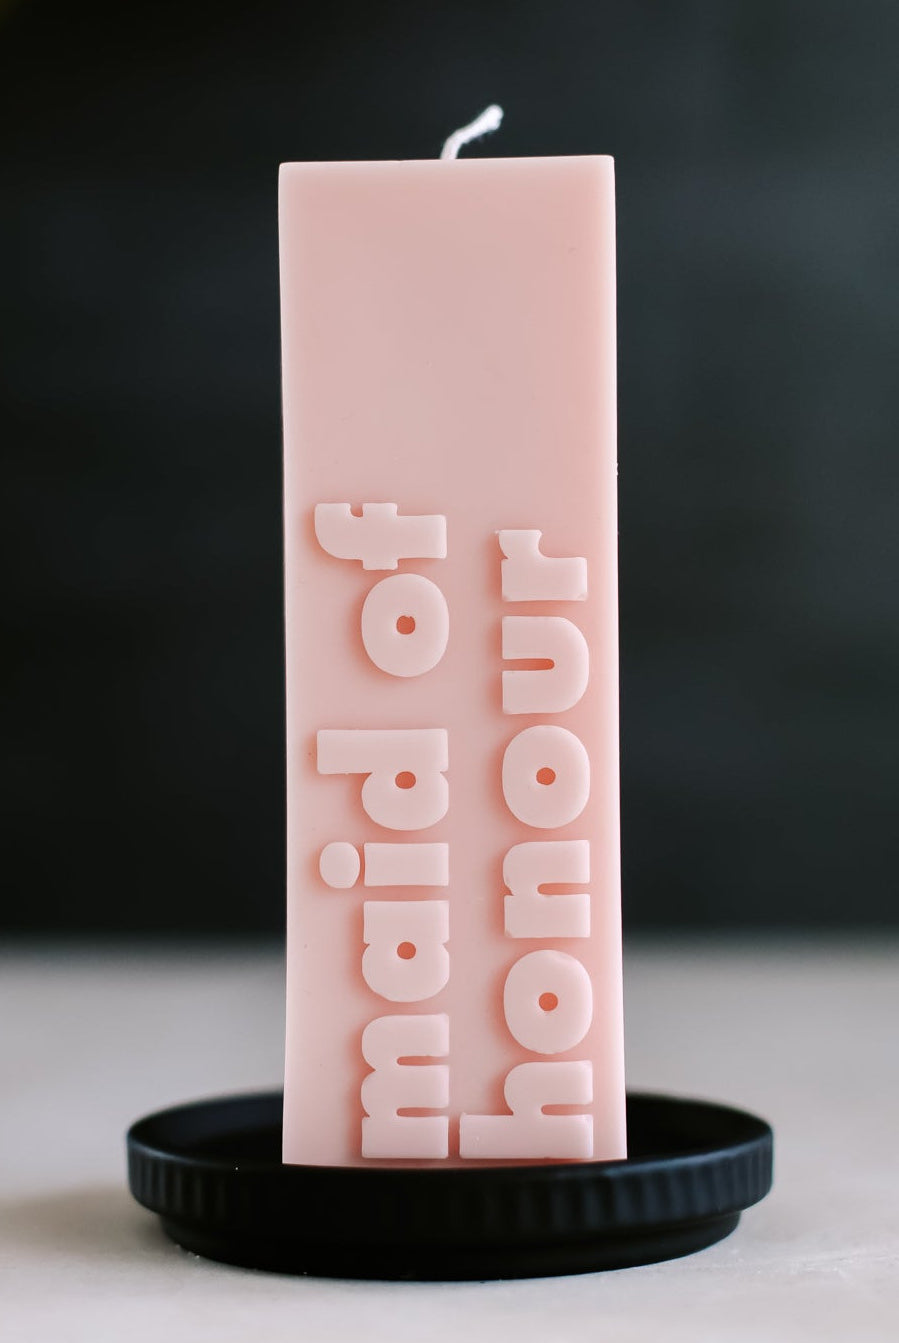
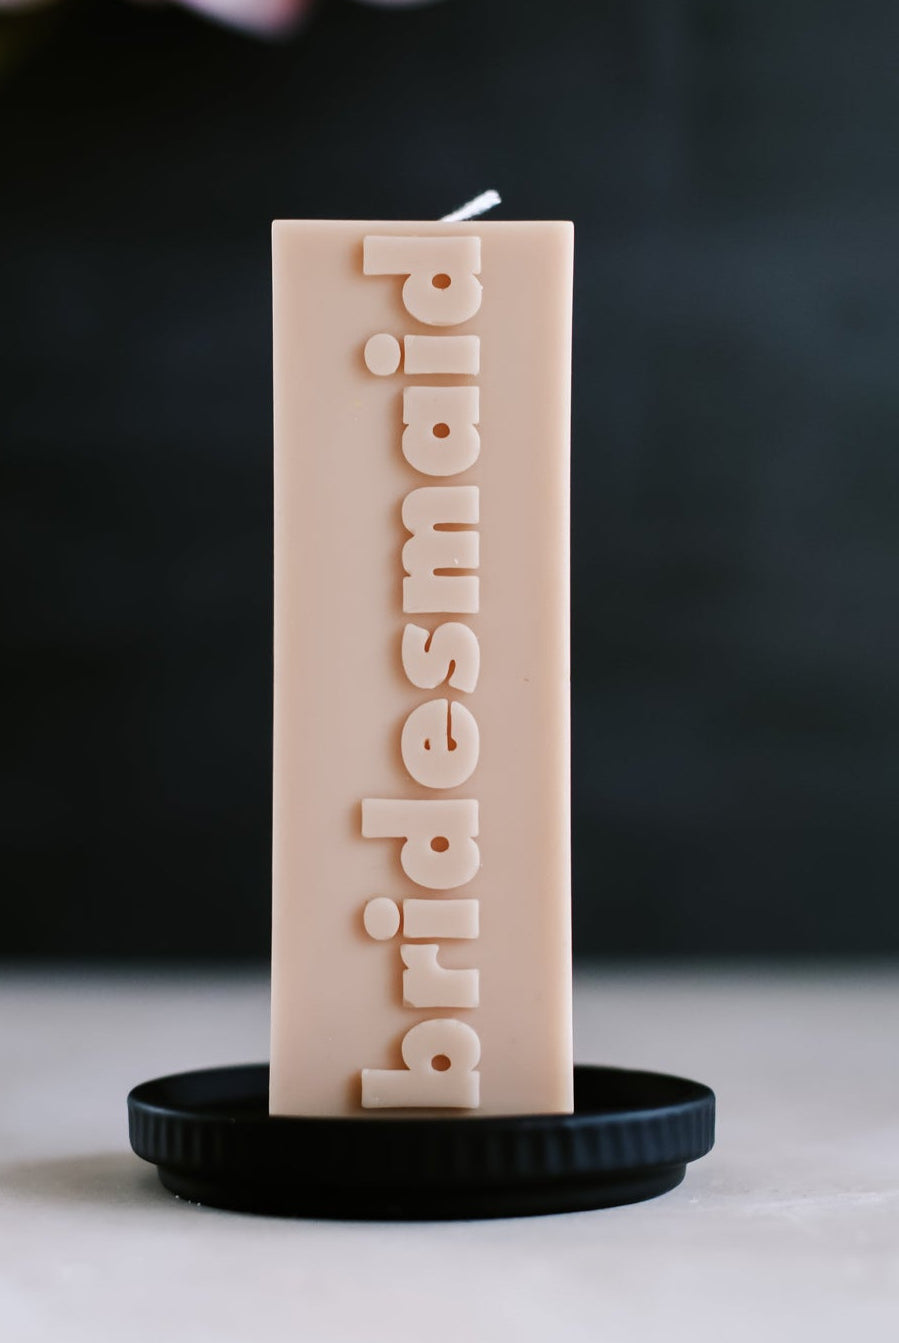
Bridal Moulds
Couldn't load pickup availability
Exclusive to Myka Candles & Moulds and hand-poured in Australia using premium platinum-cure silicone. Please allow up to 5 business days to be processed.
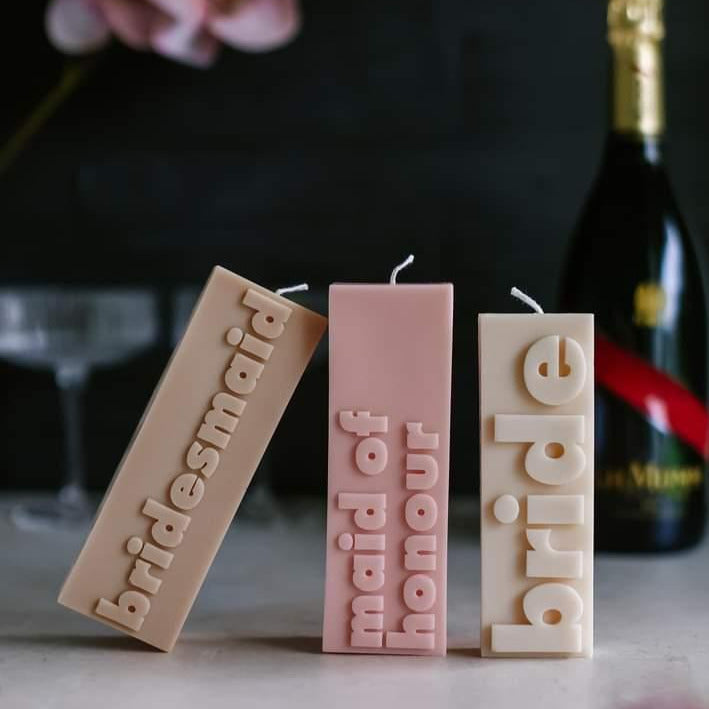
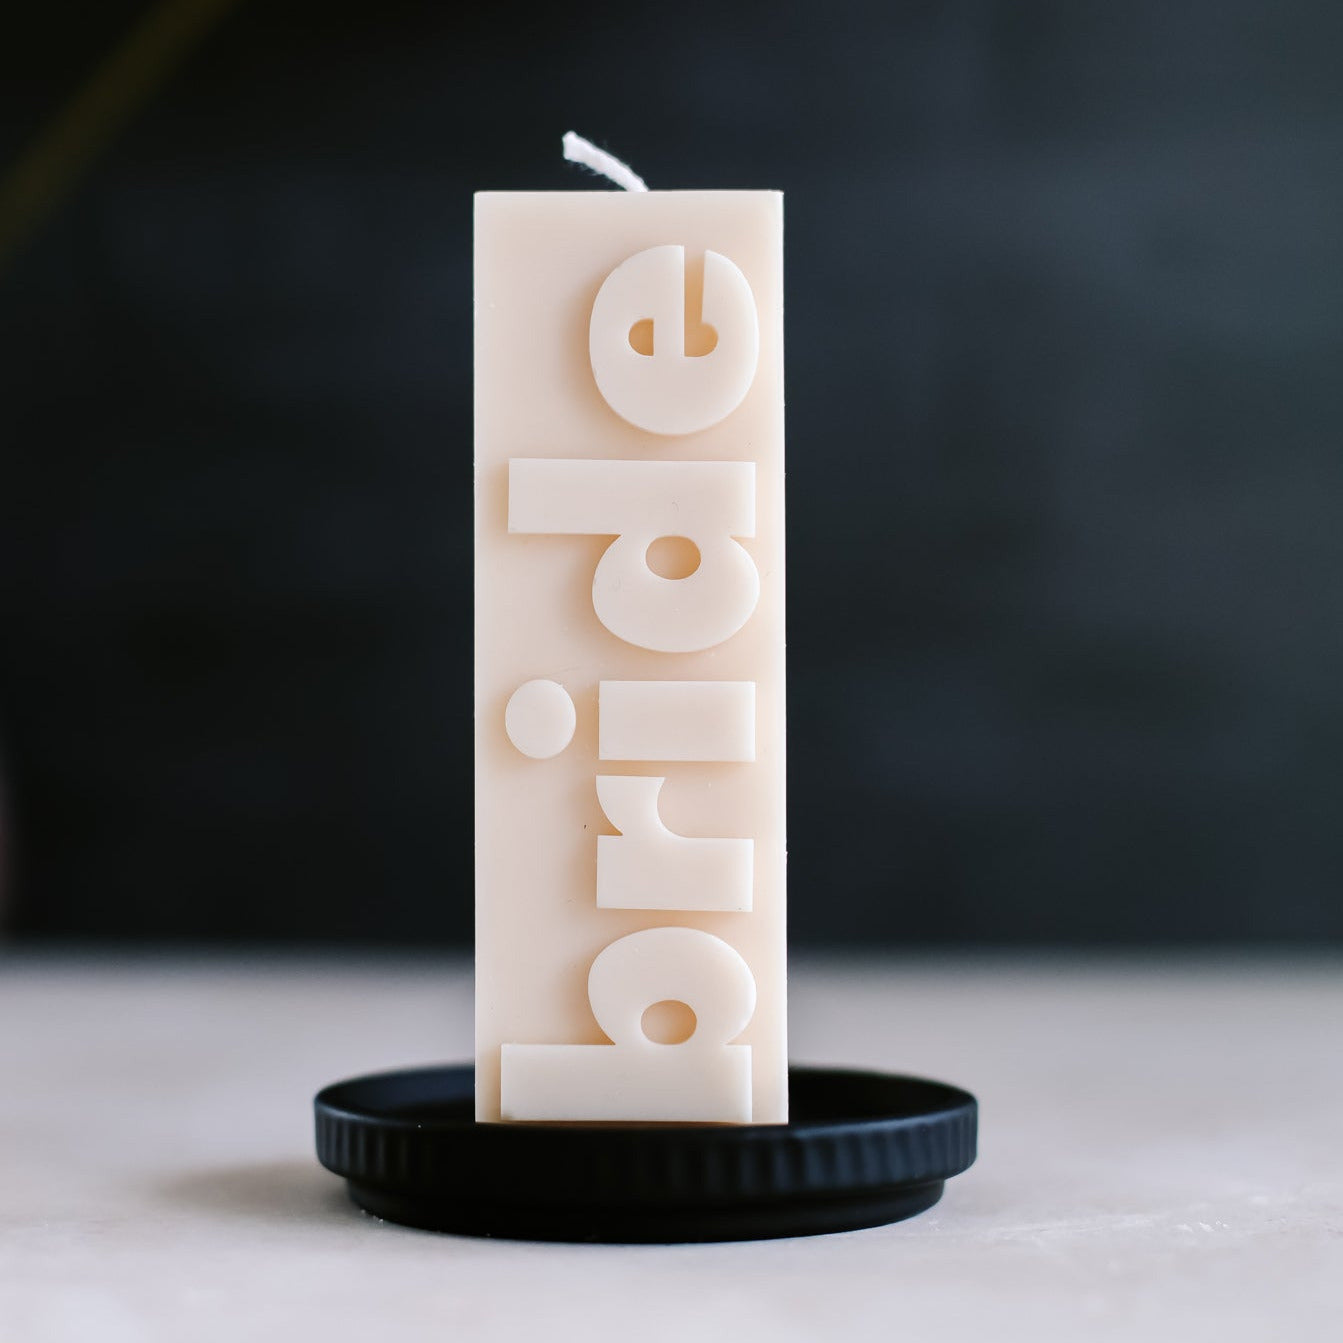
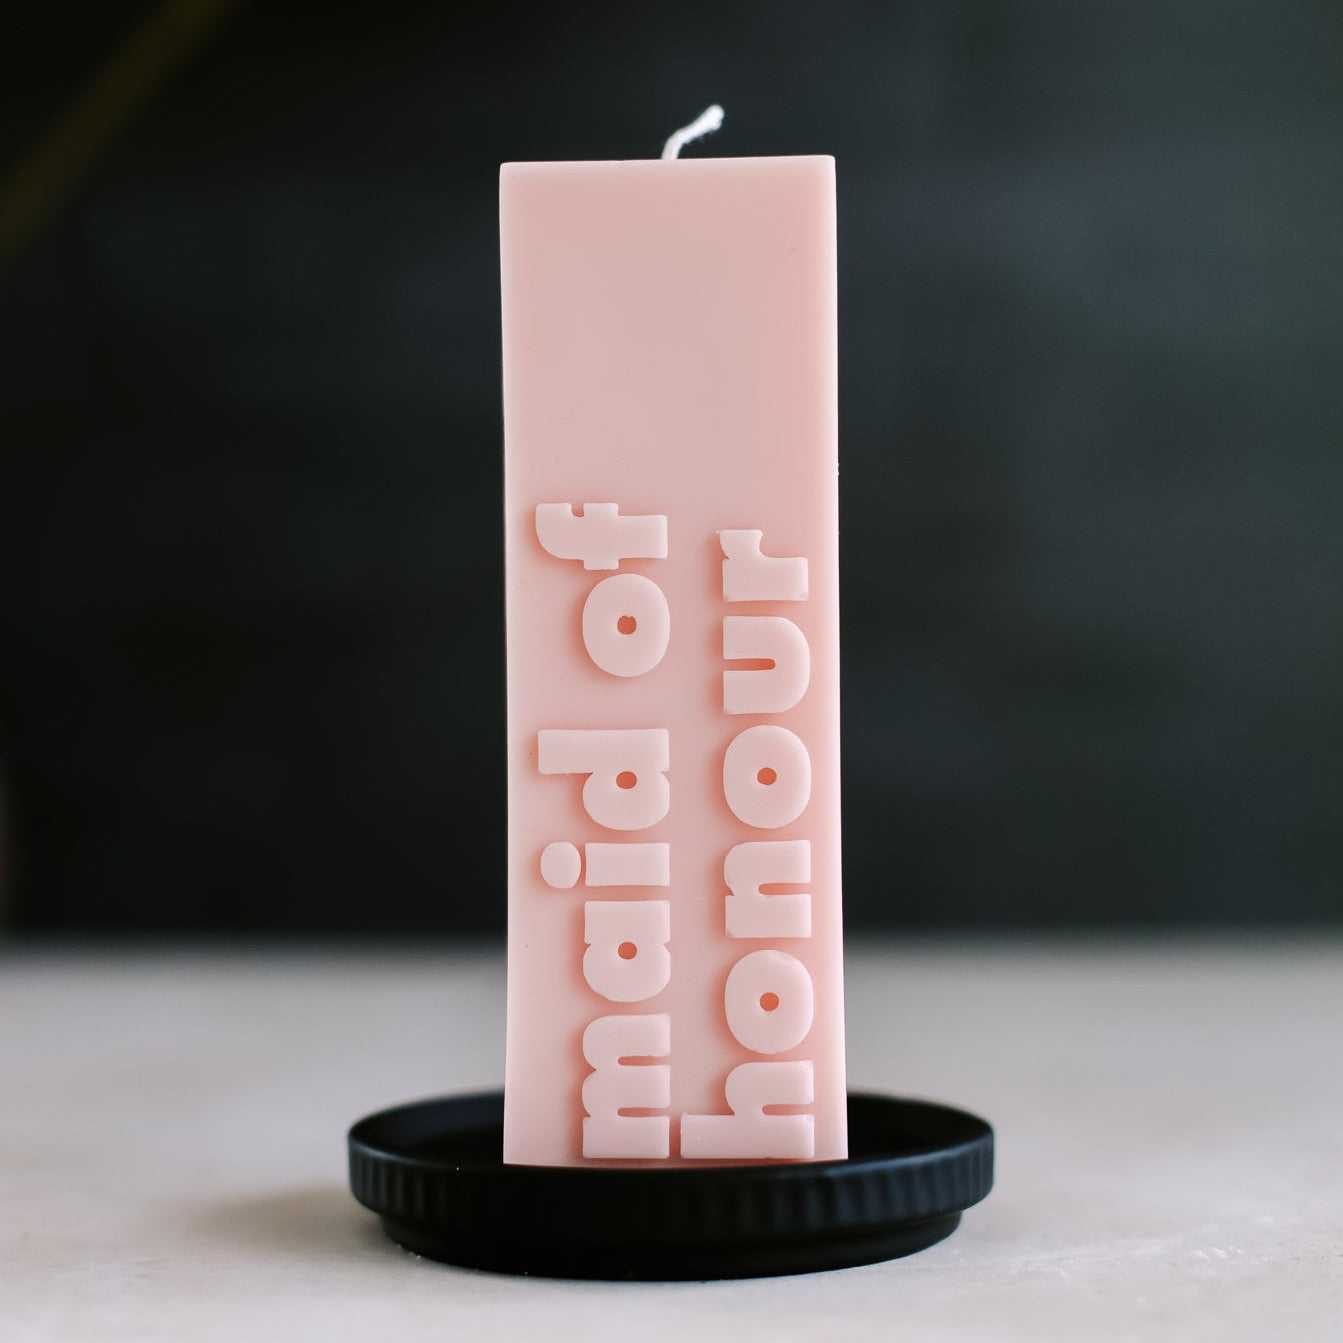
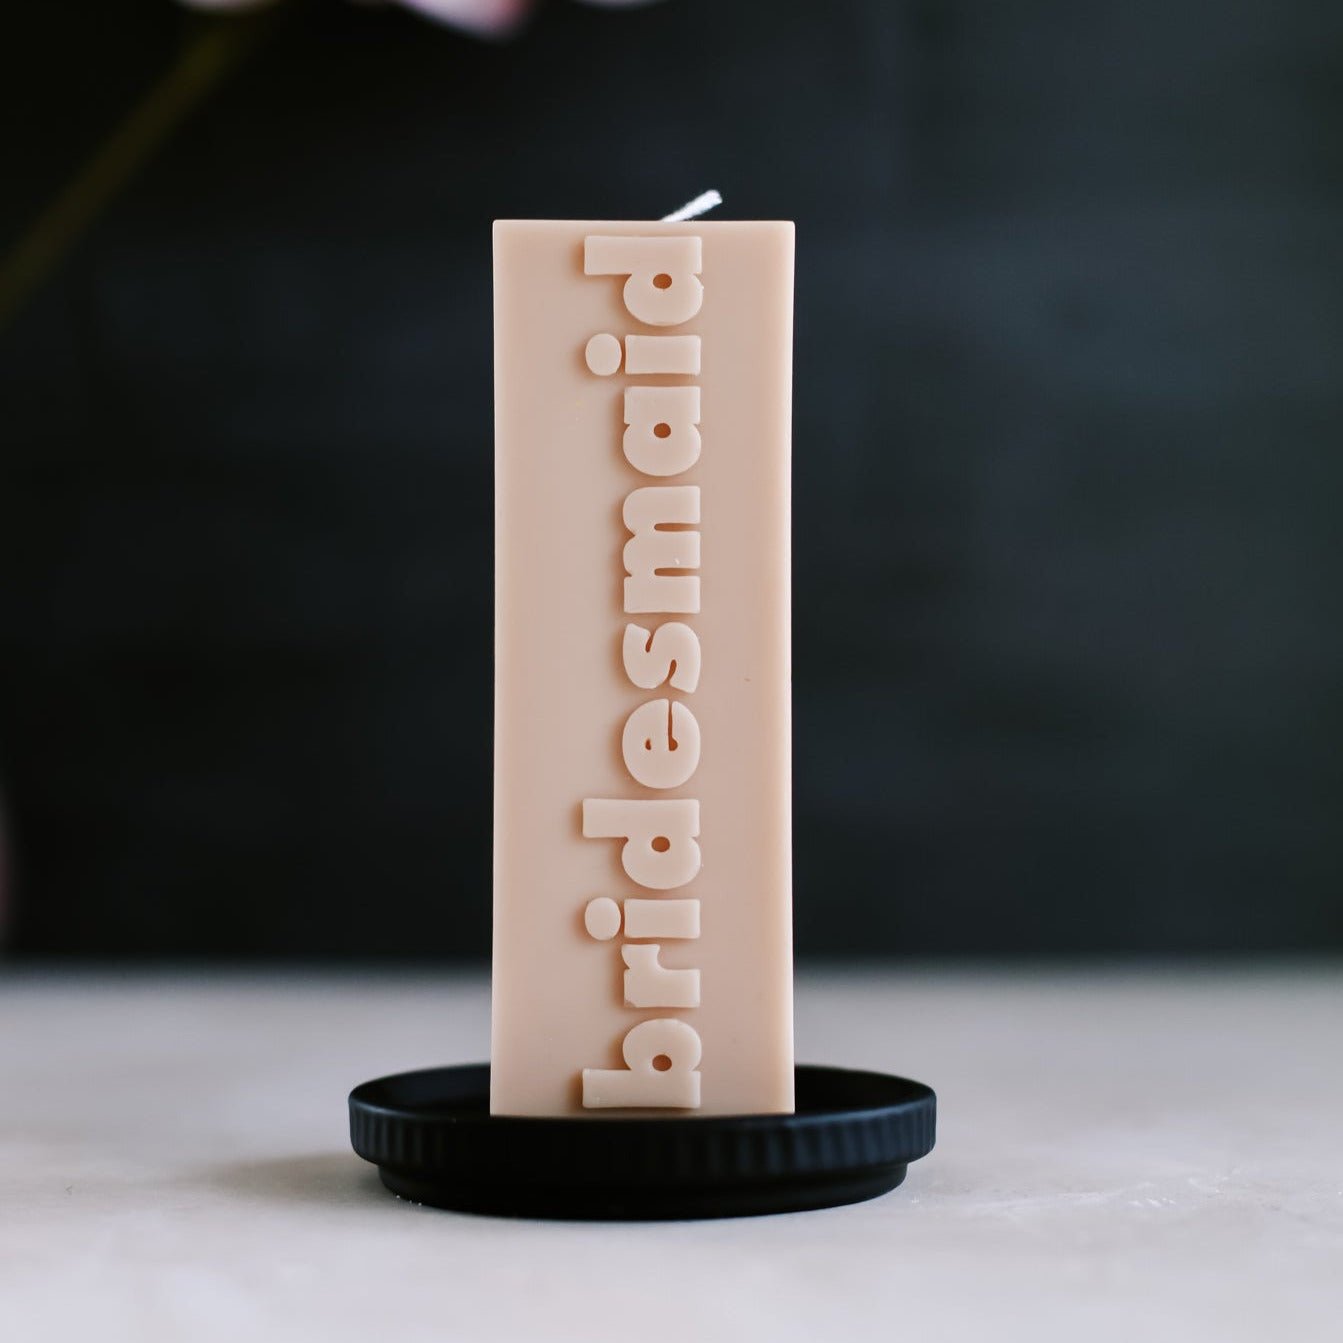
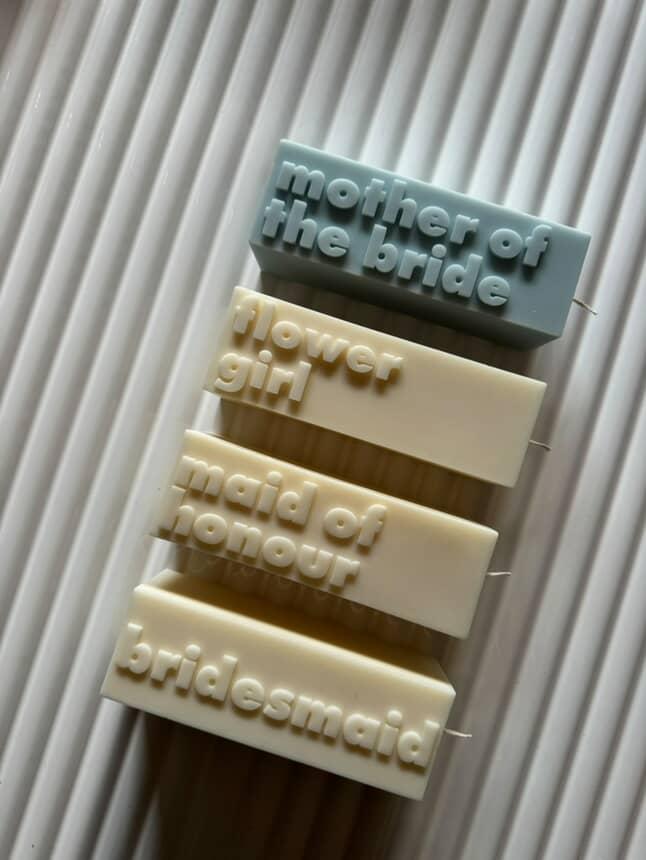
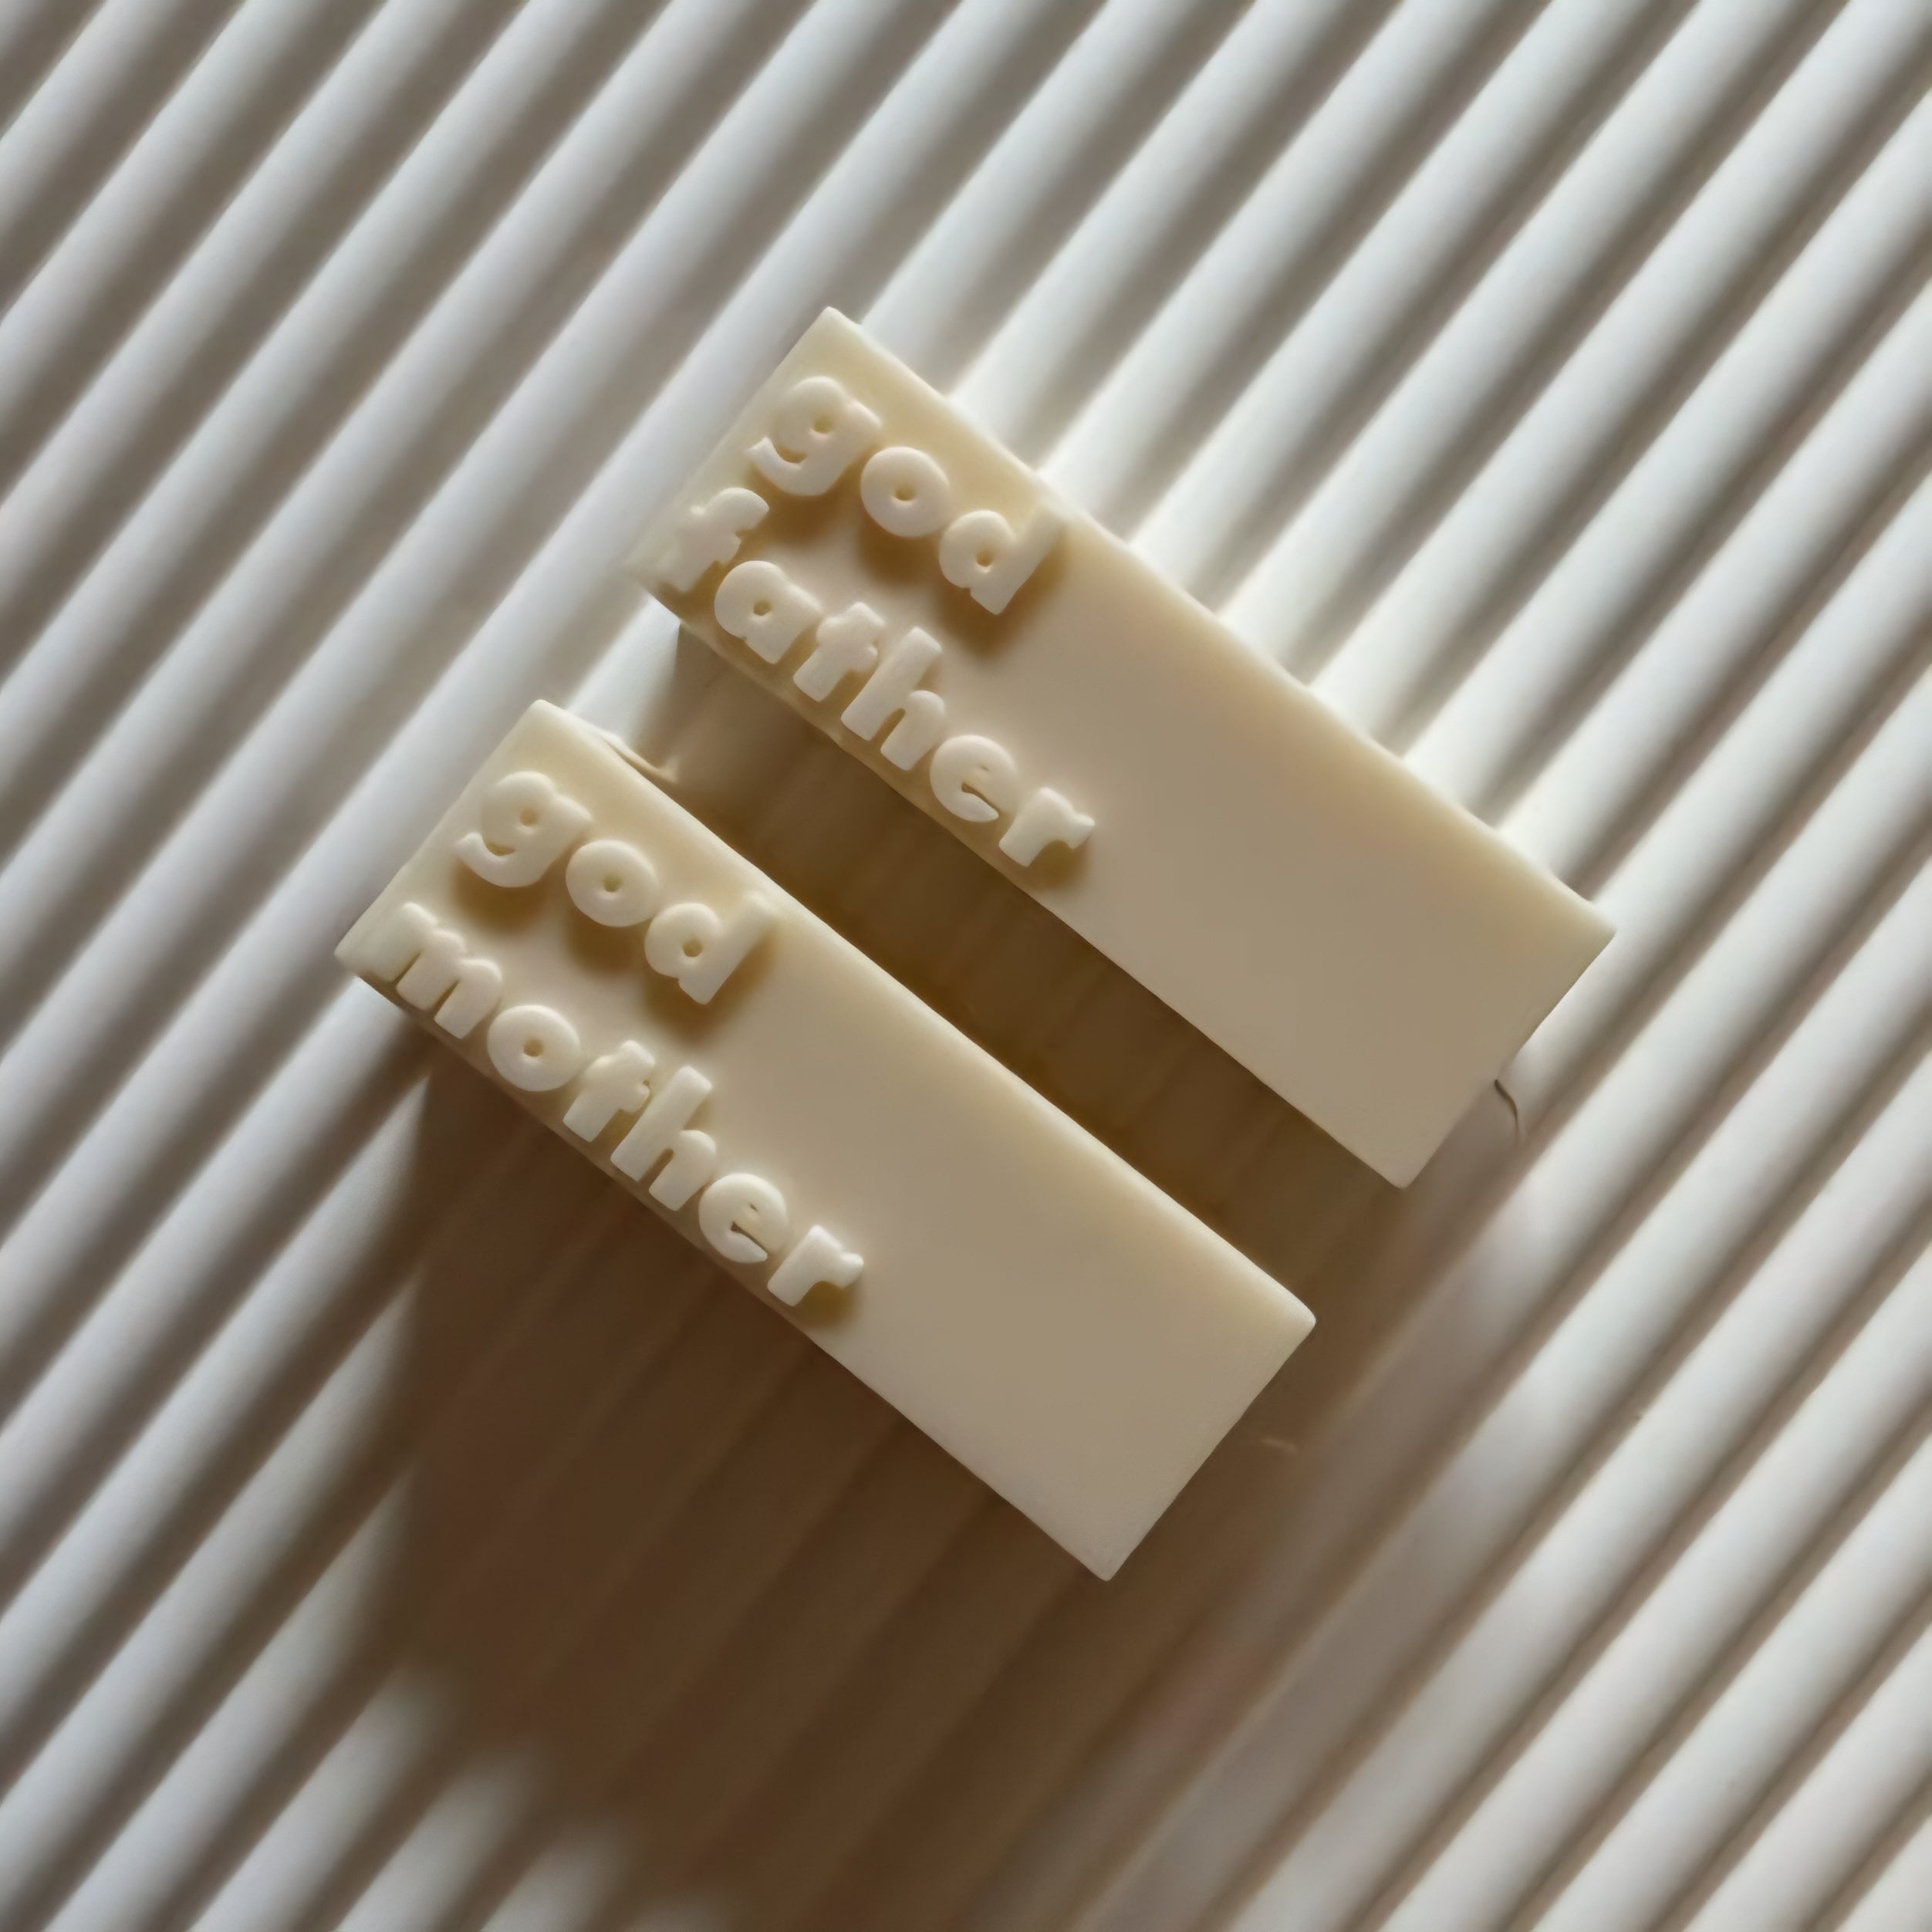
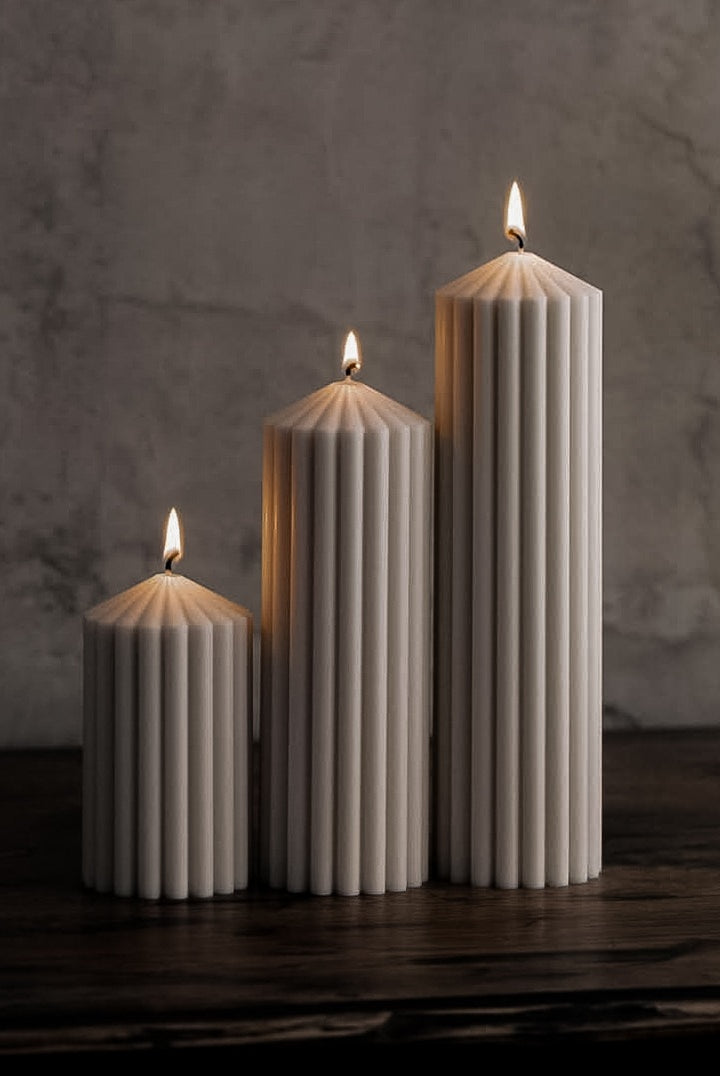
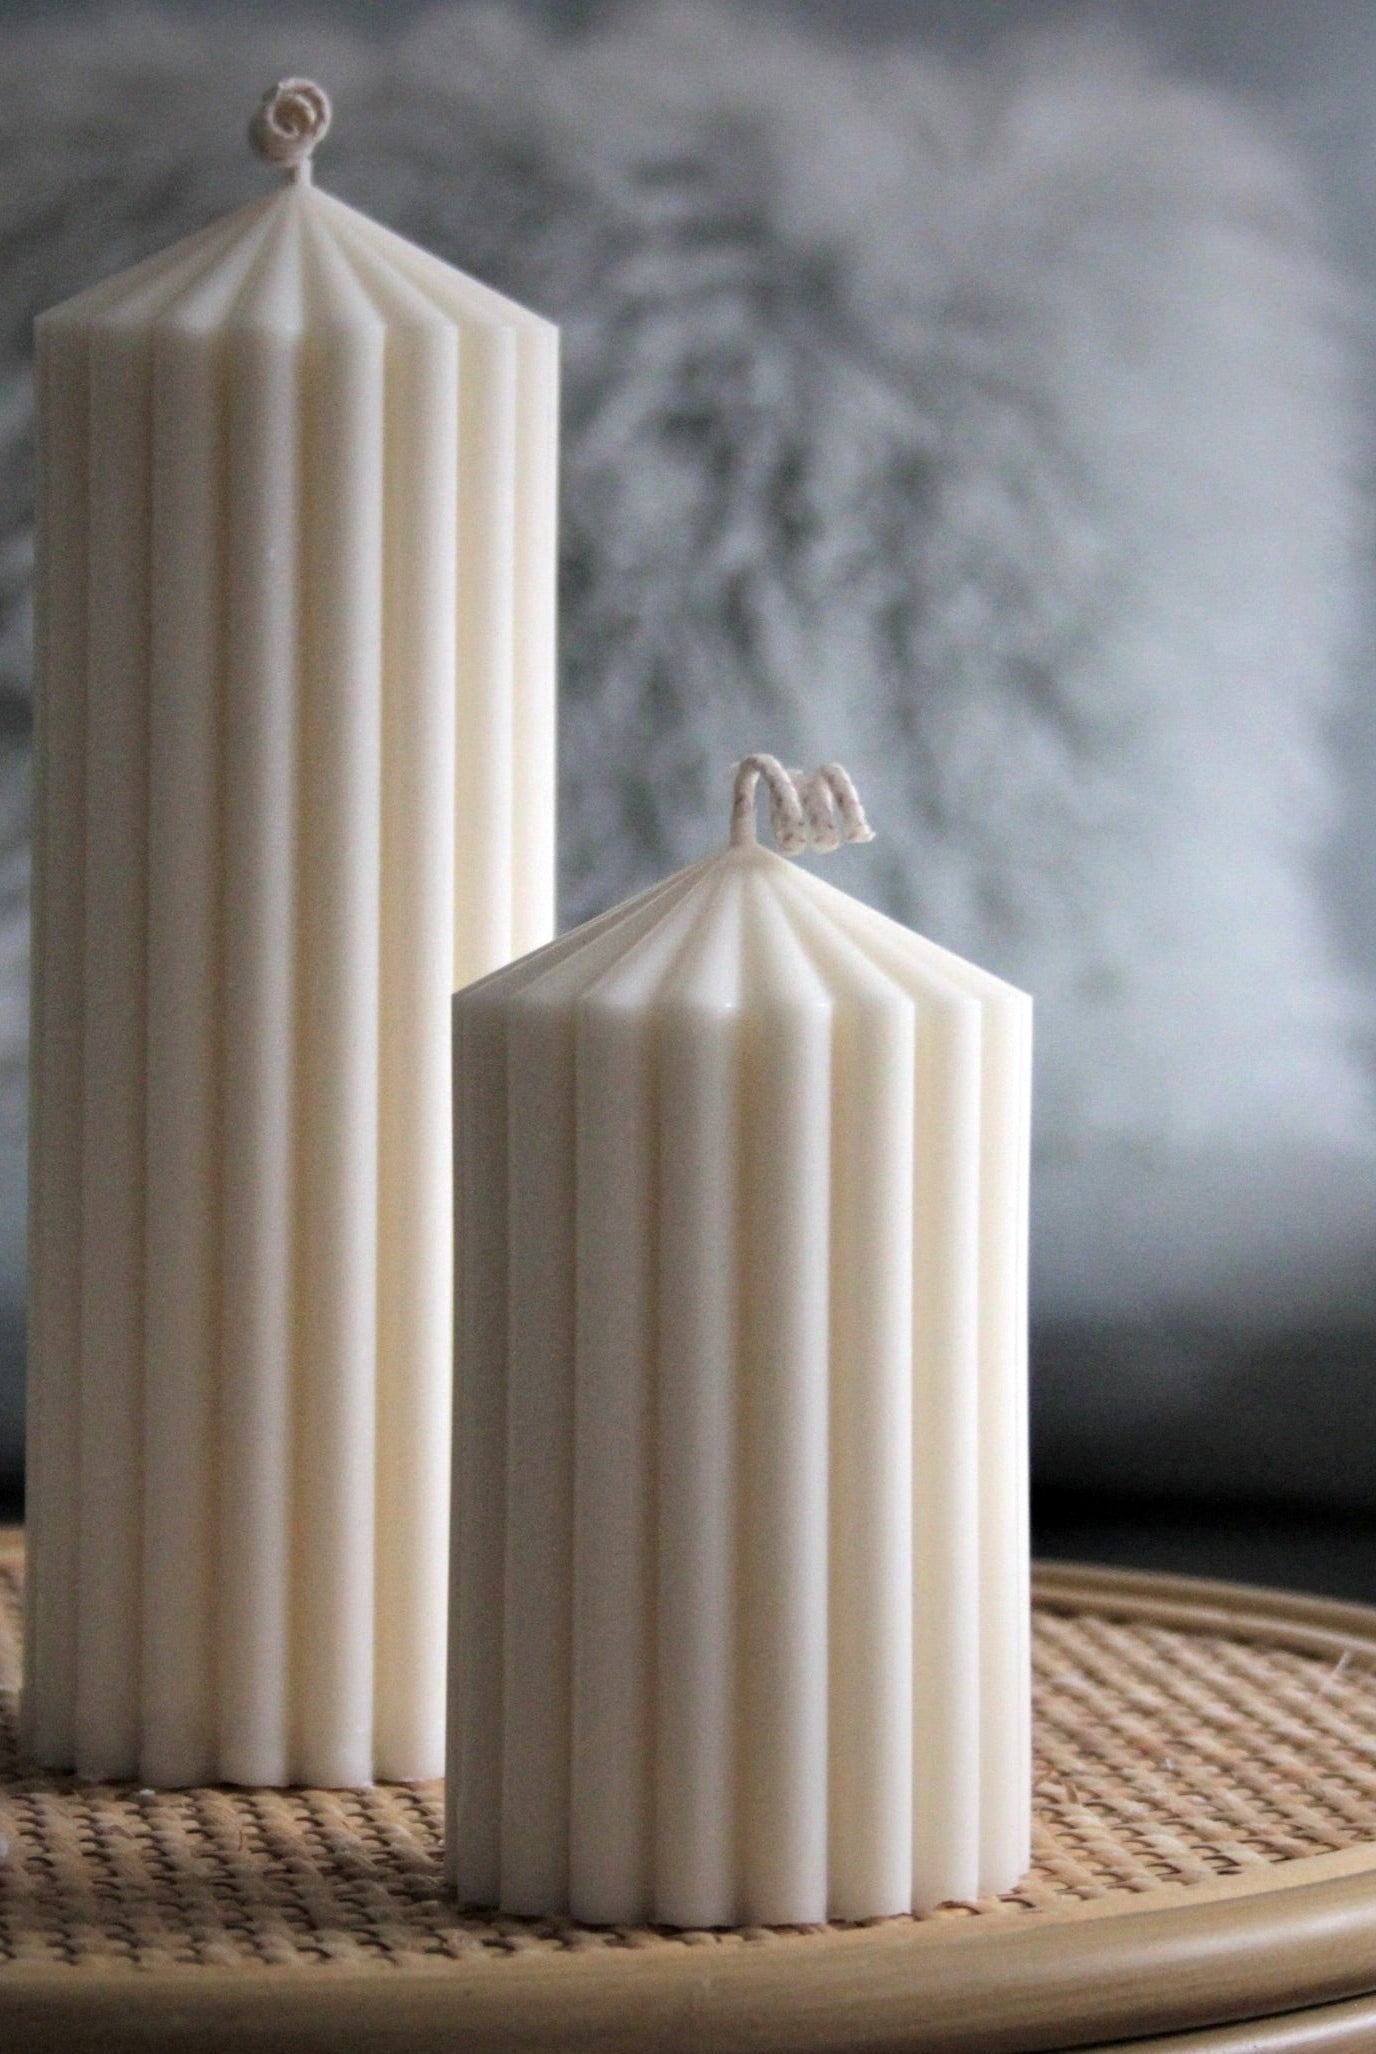
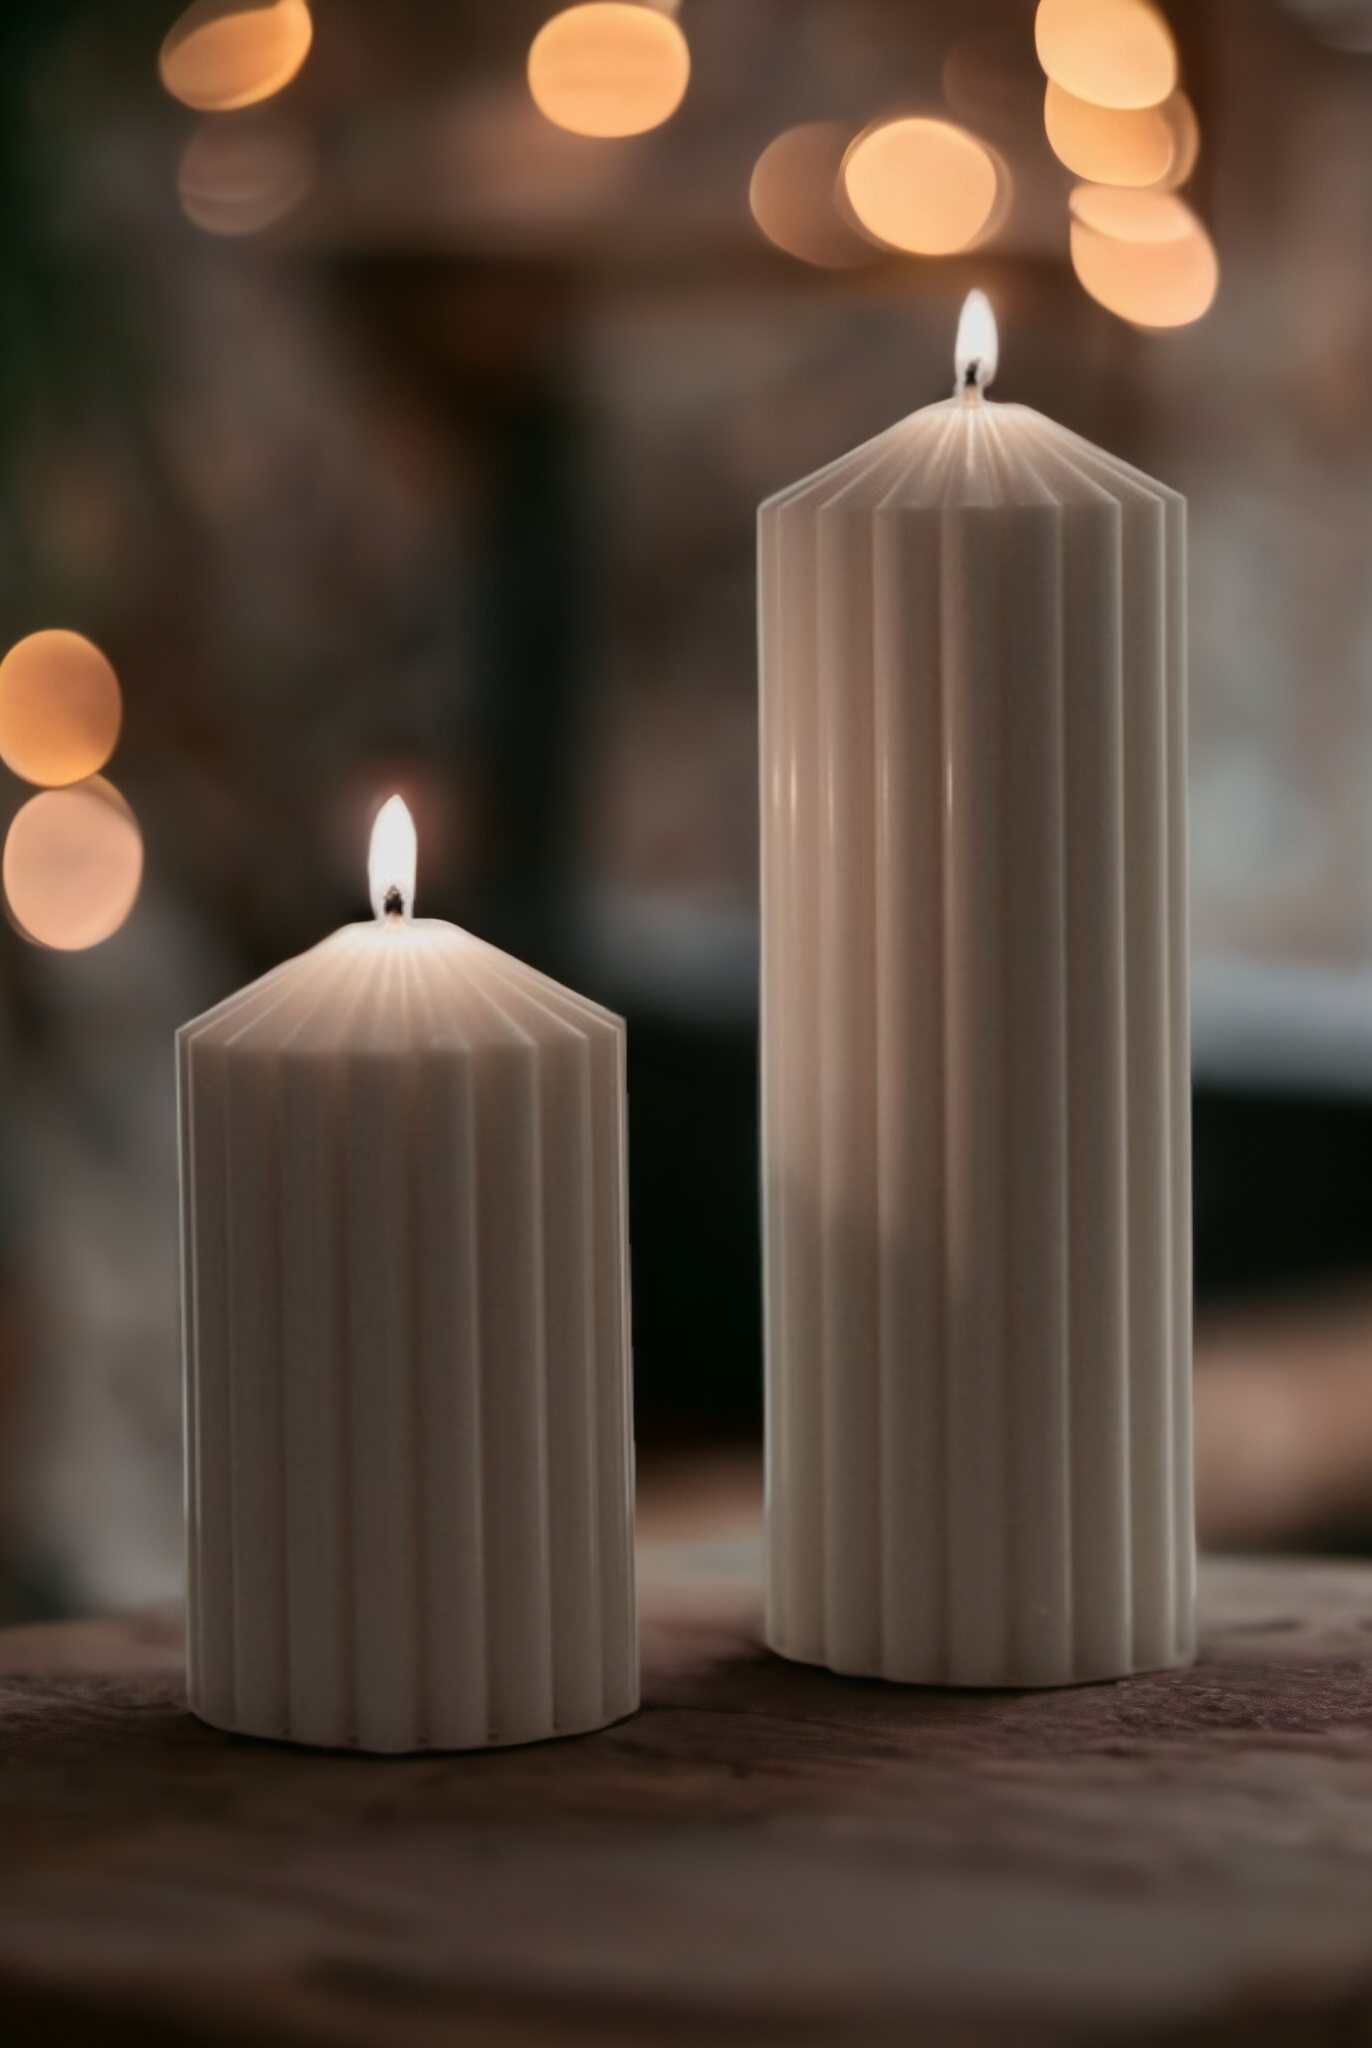
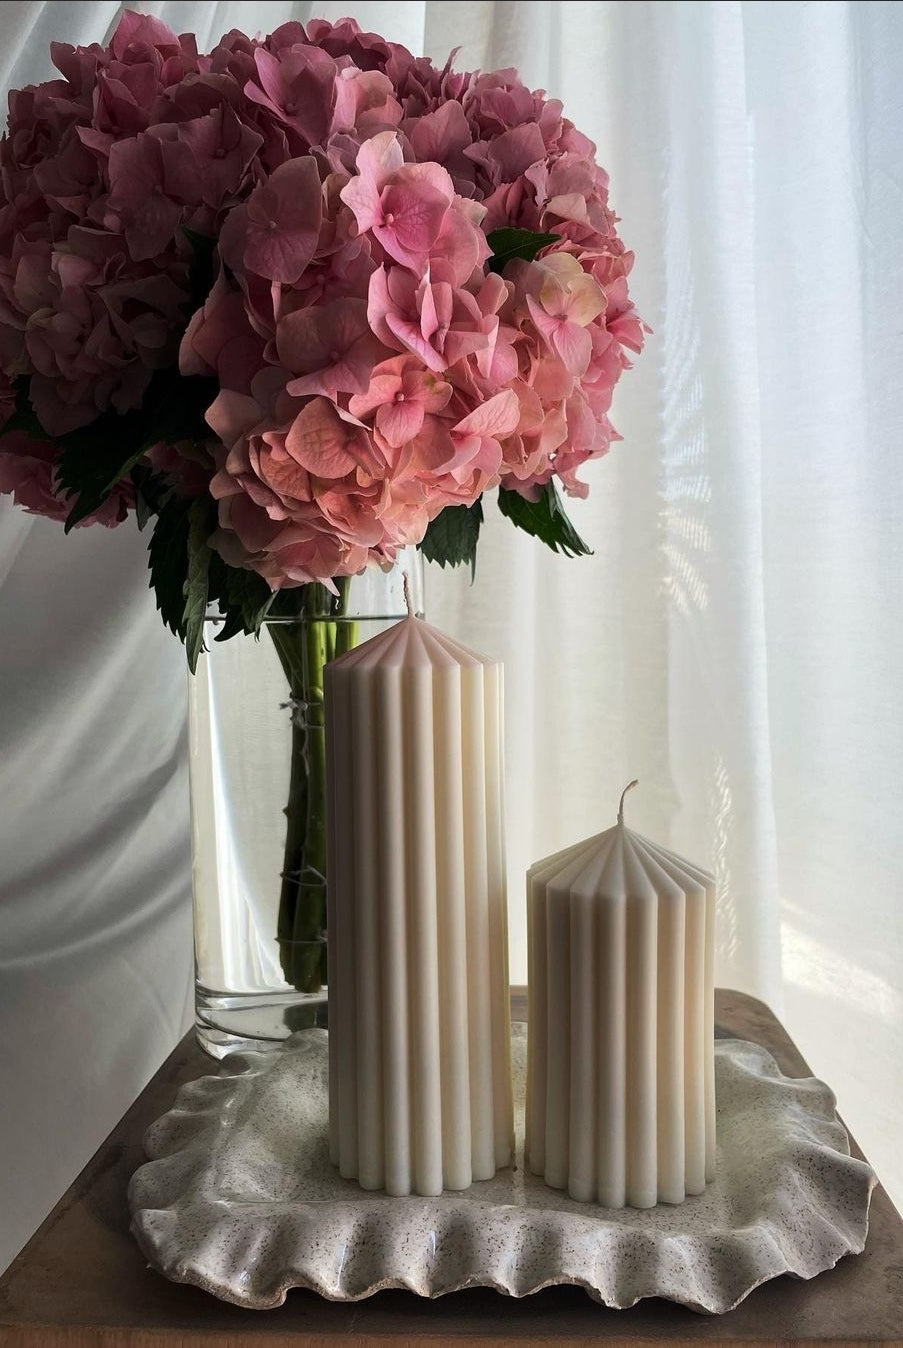
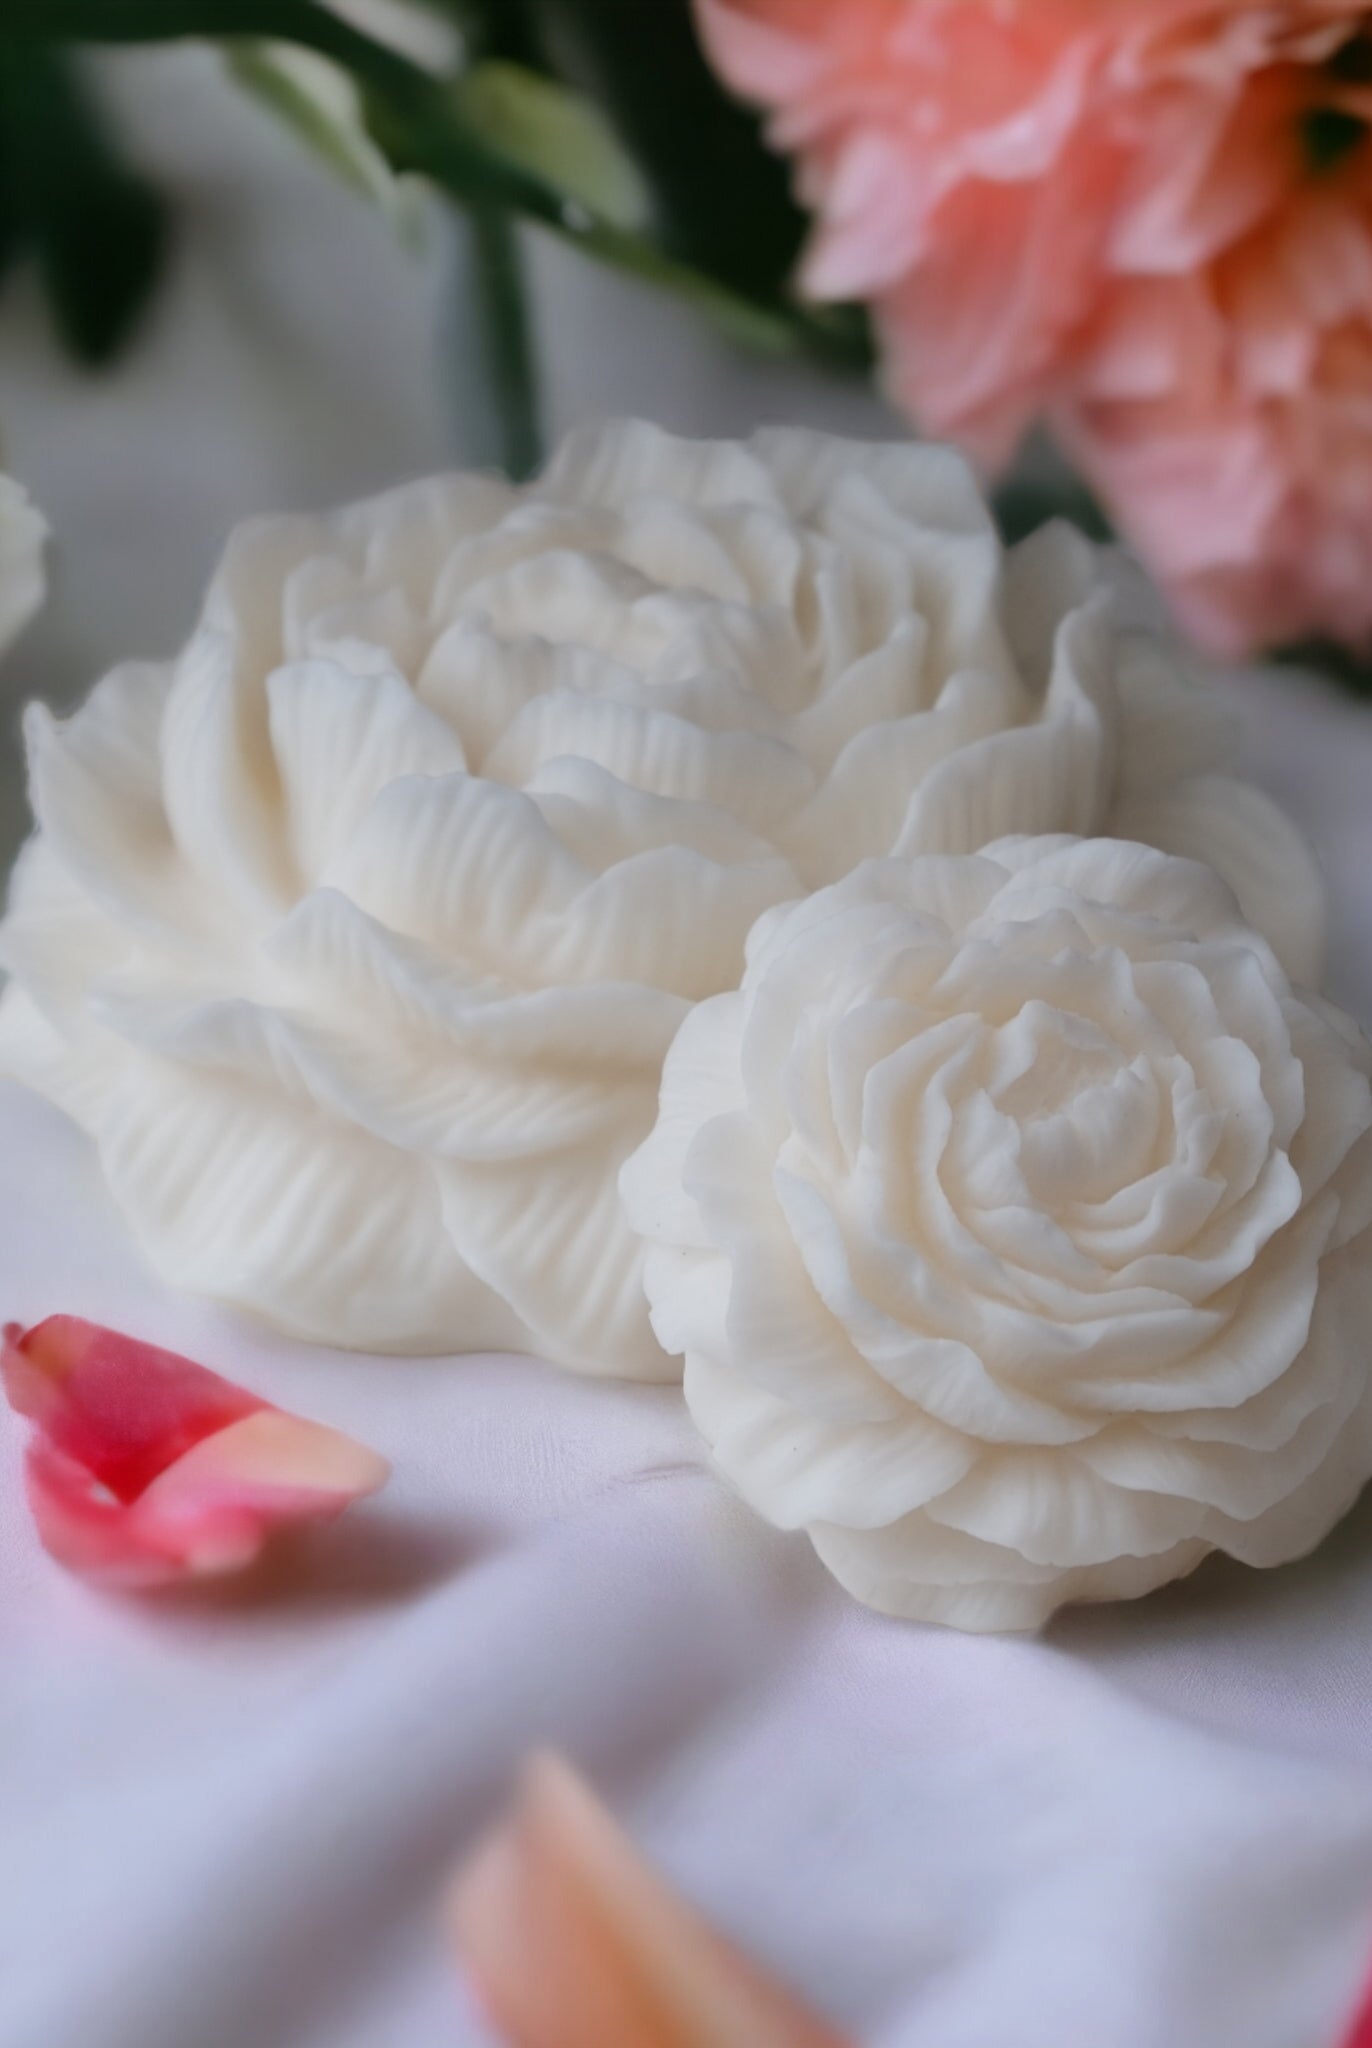
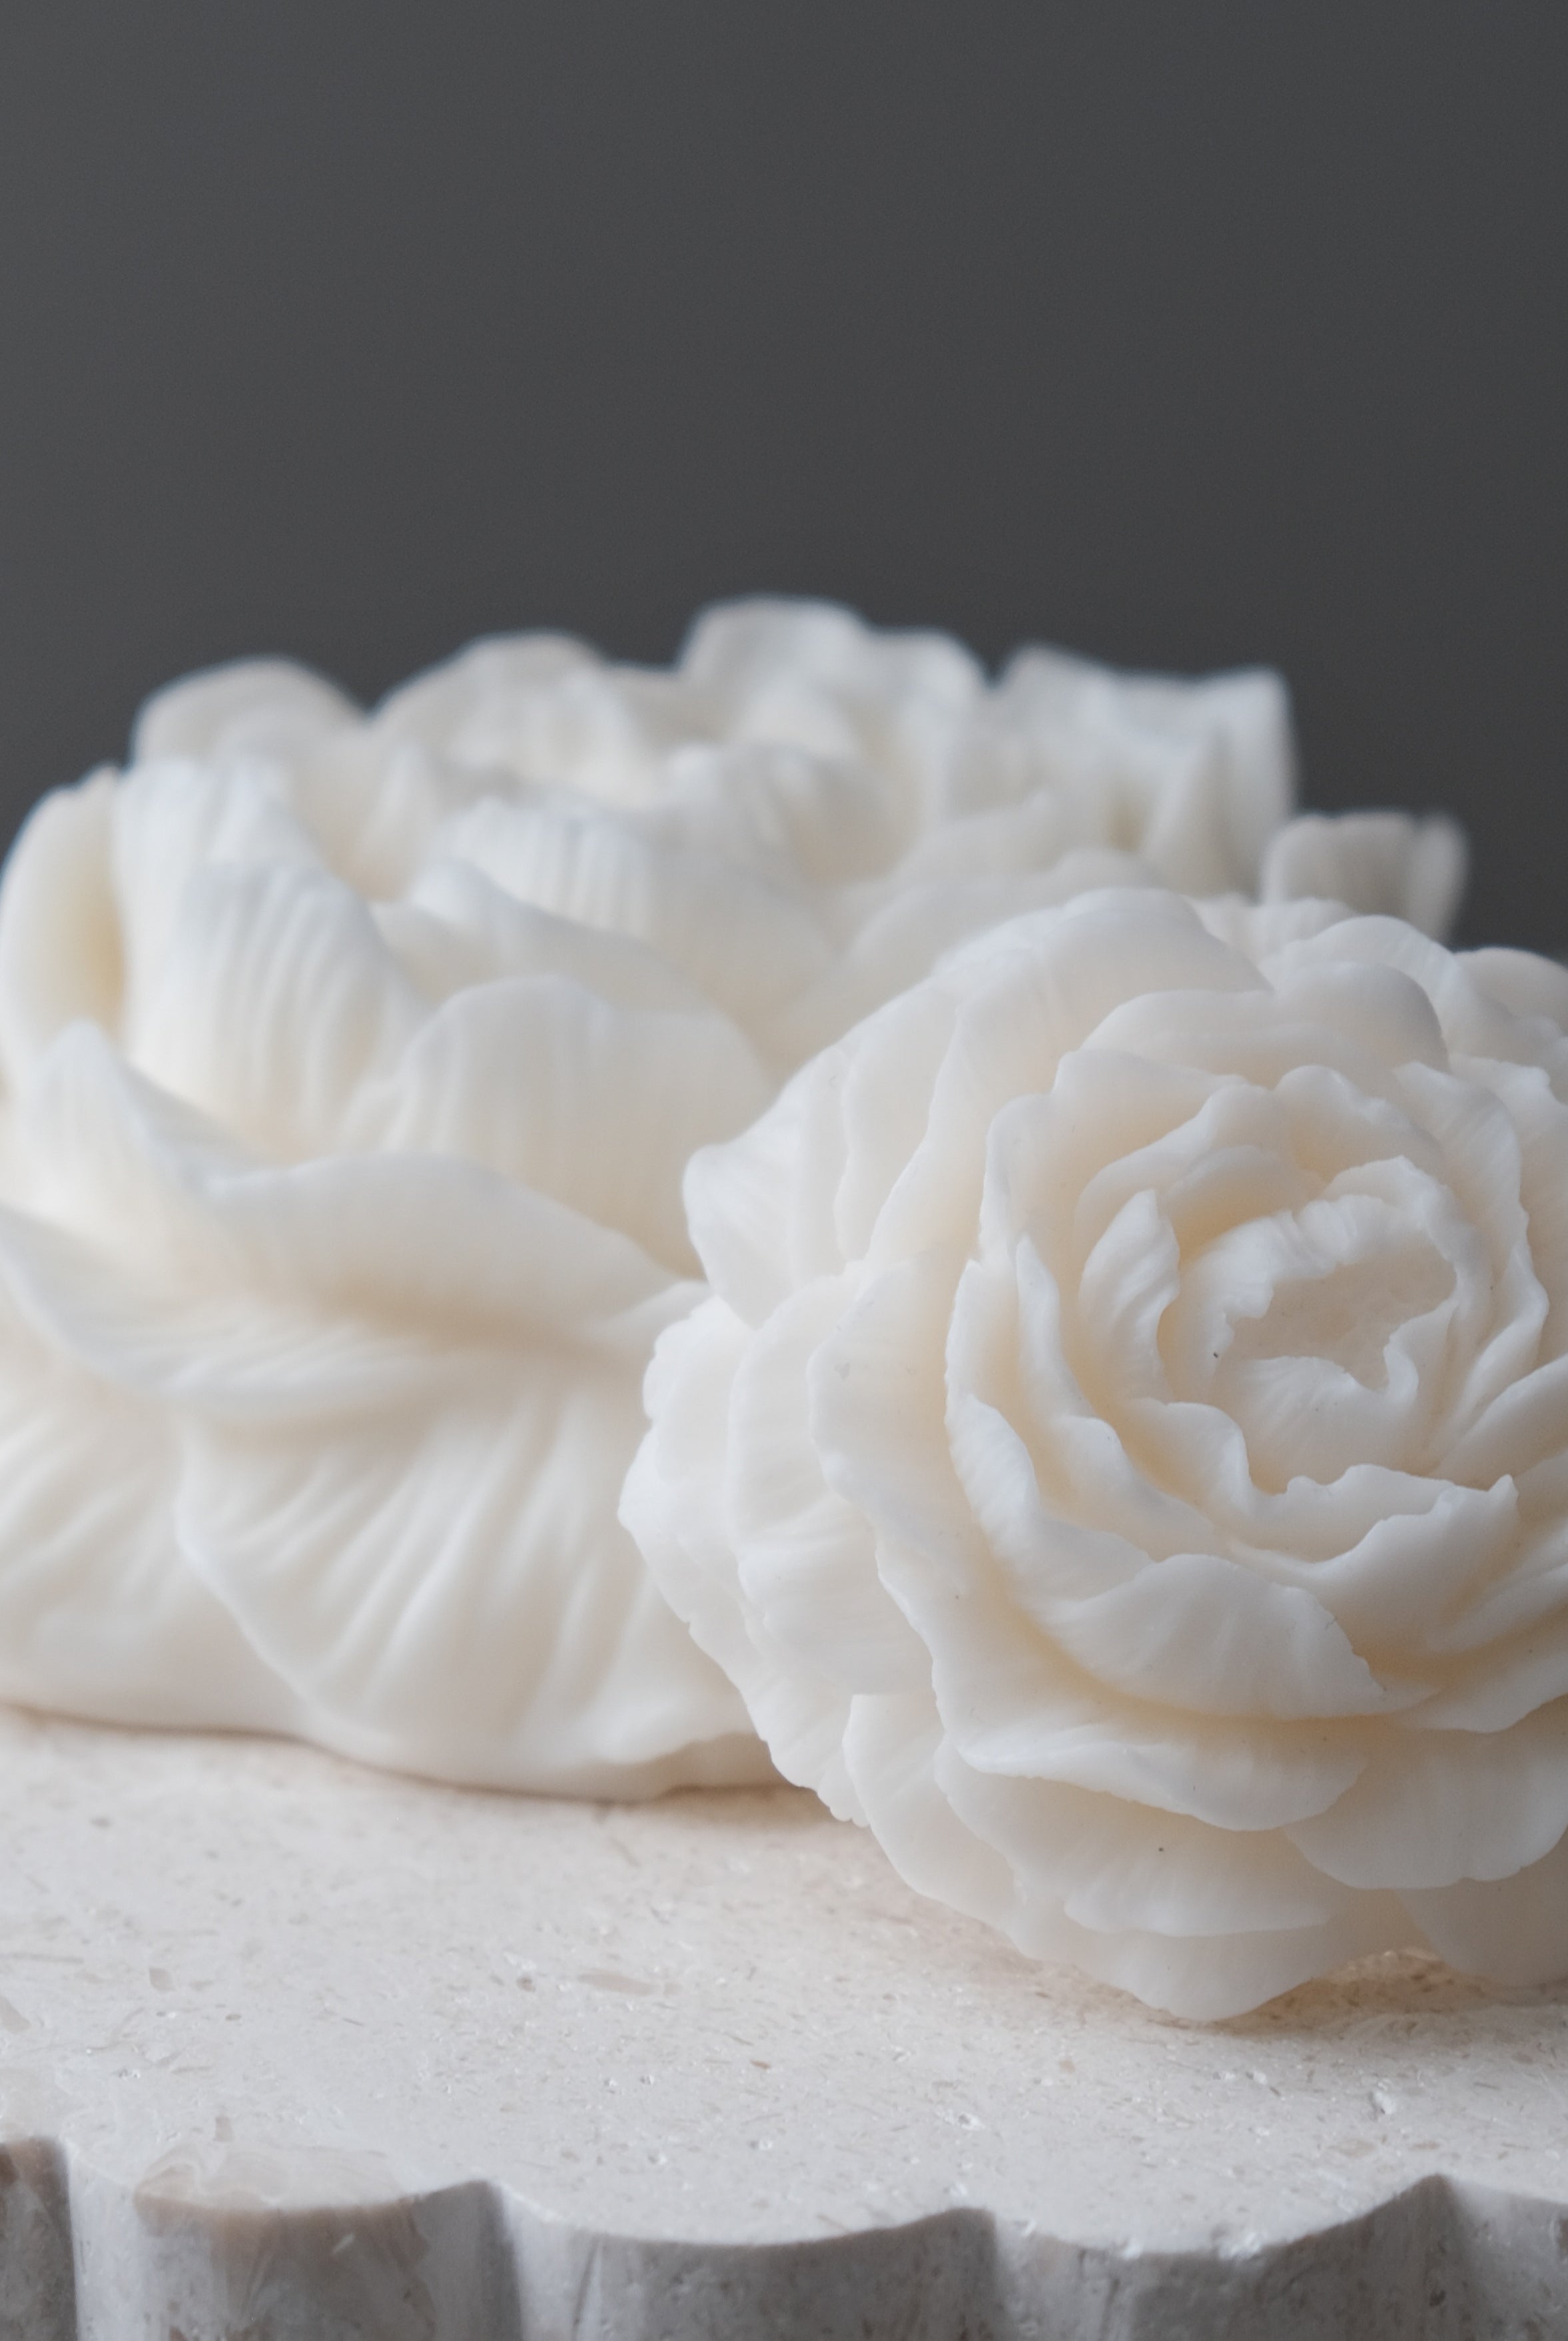
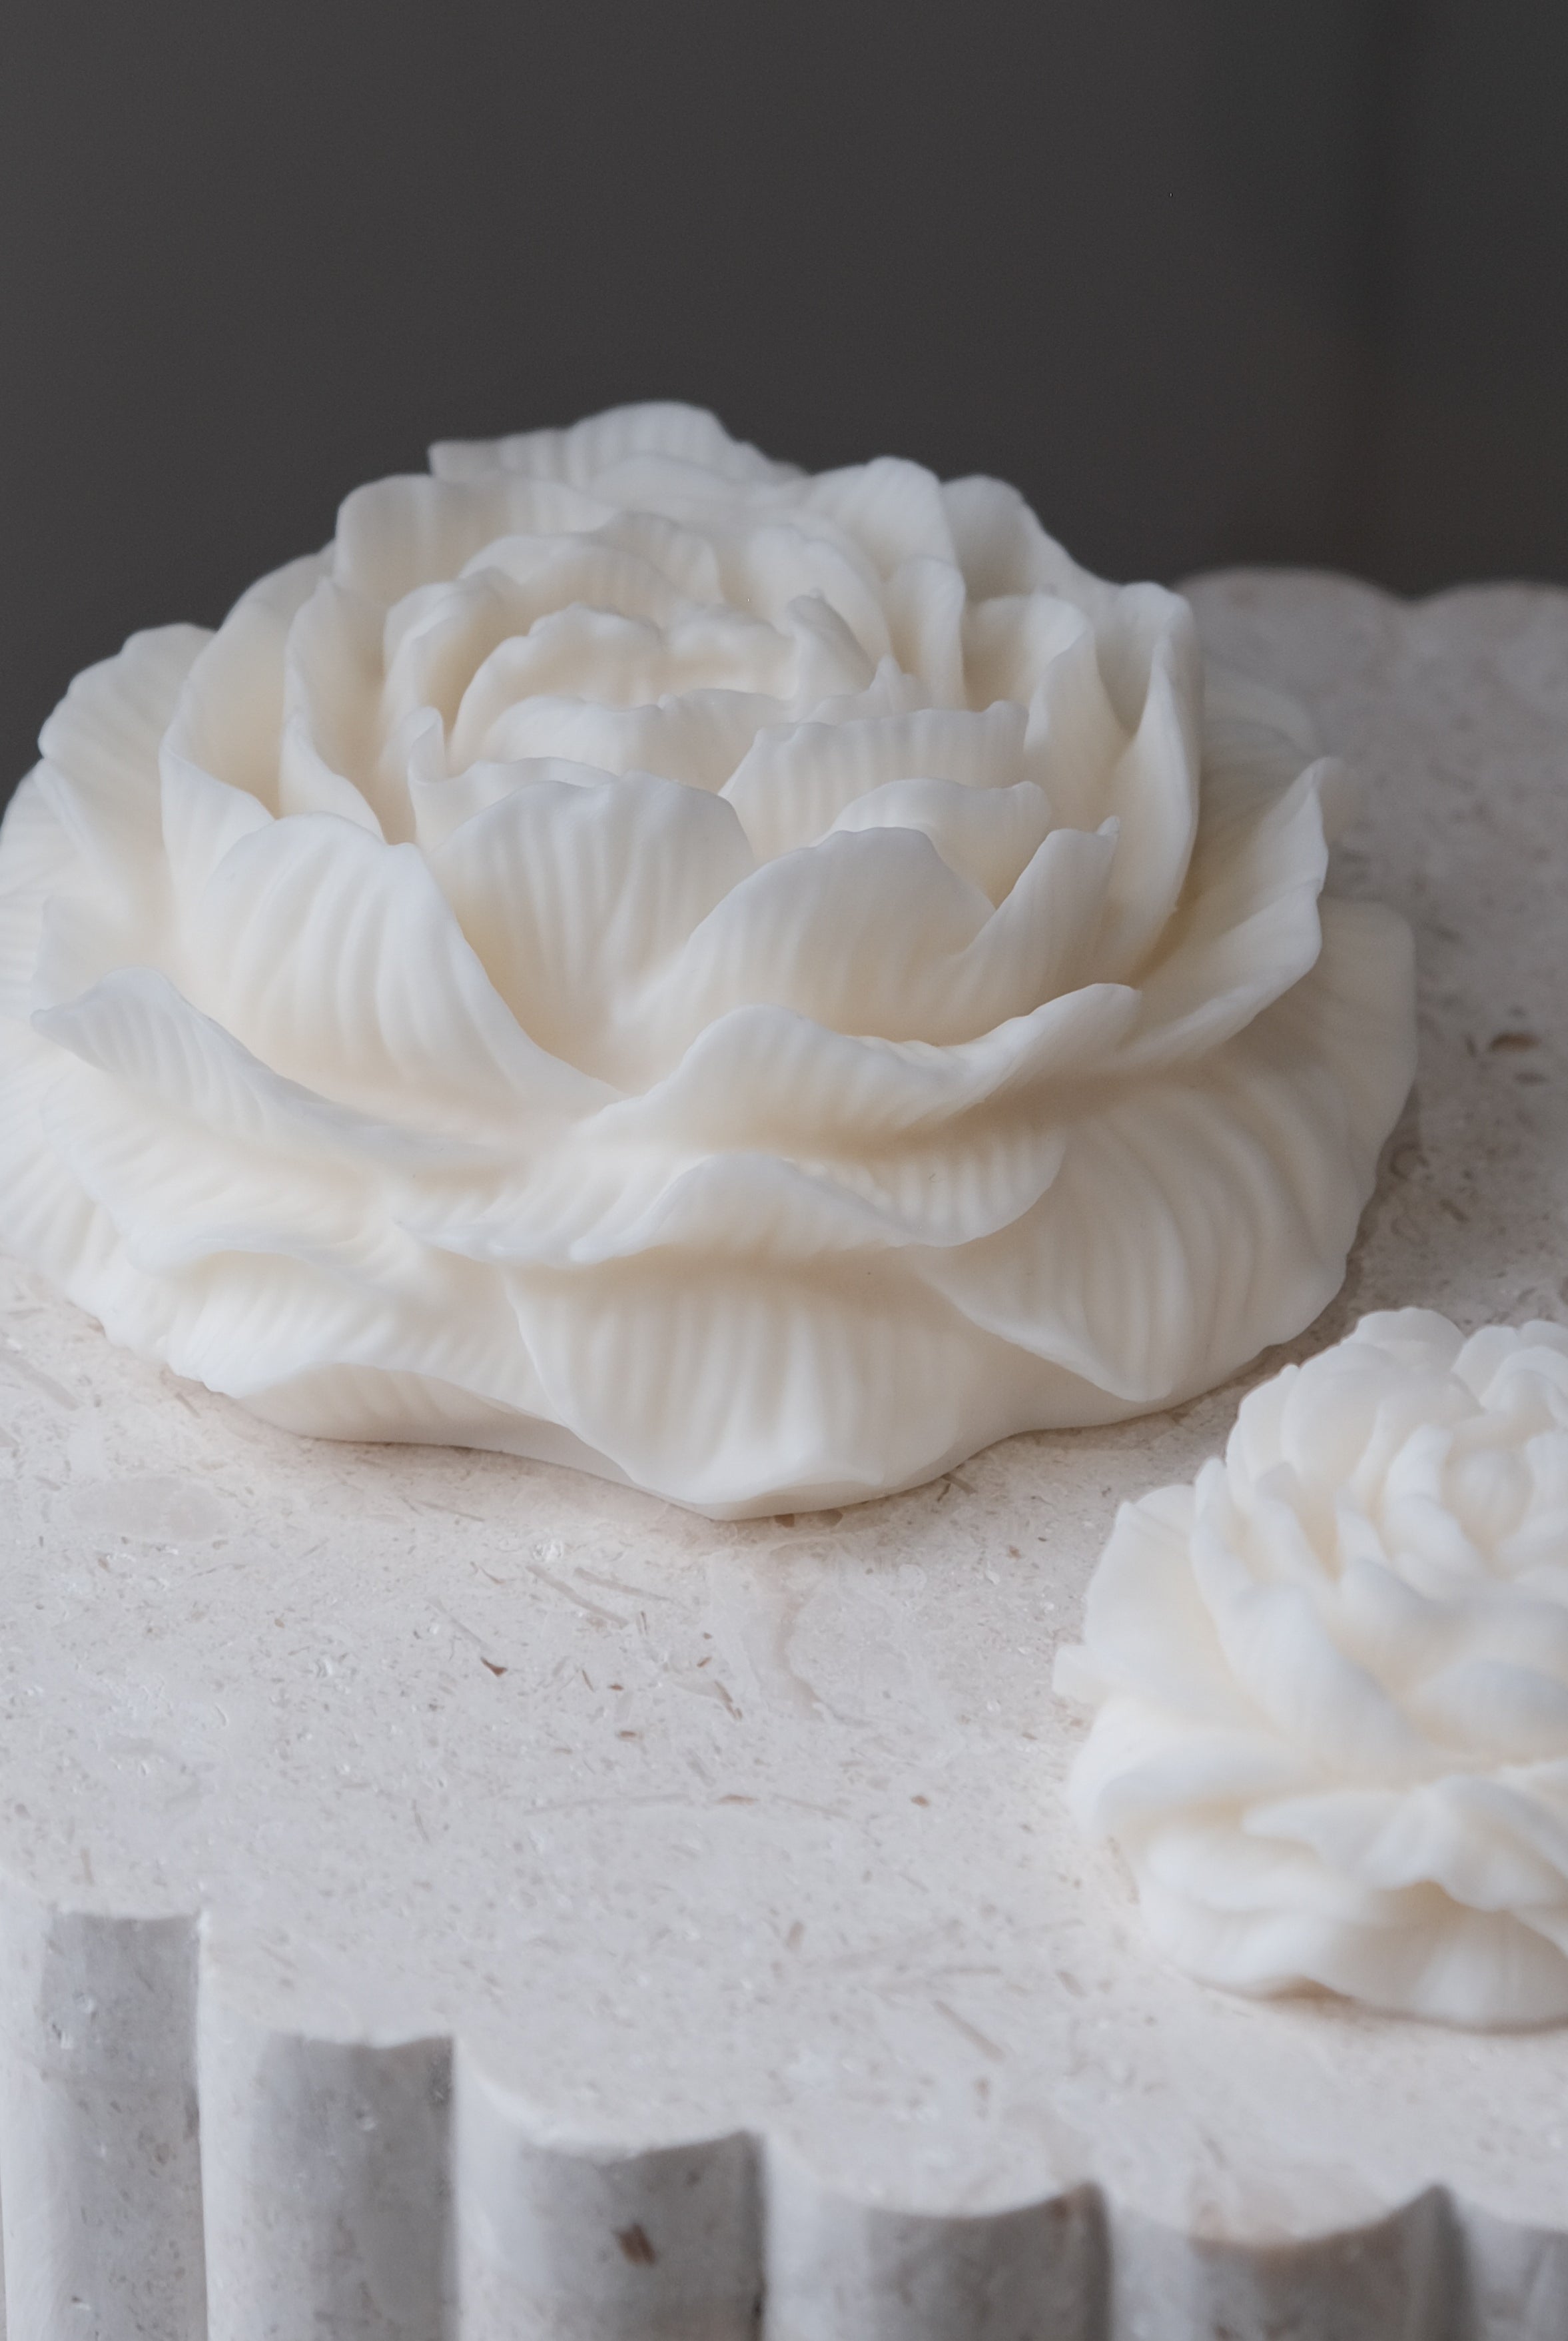
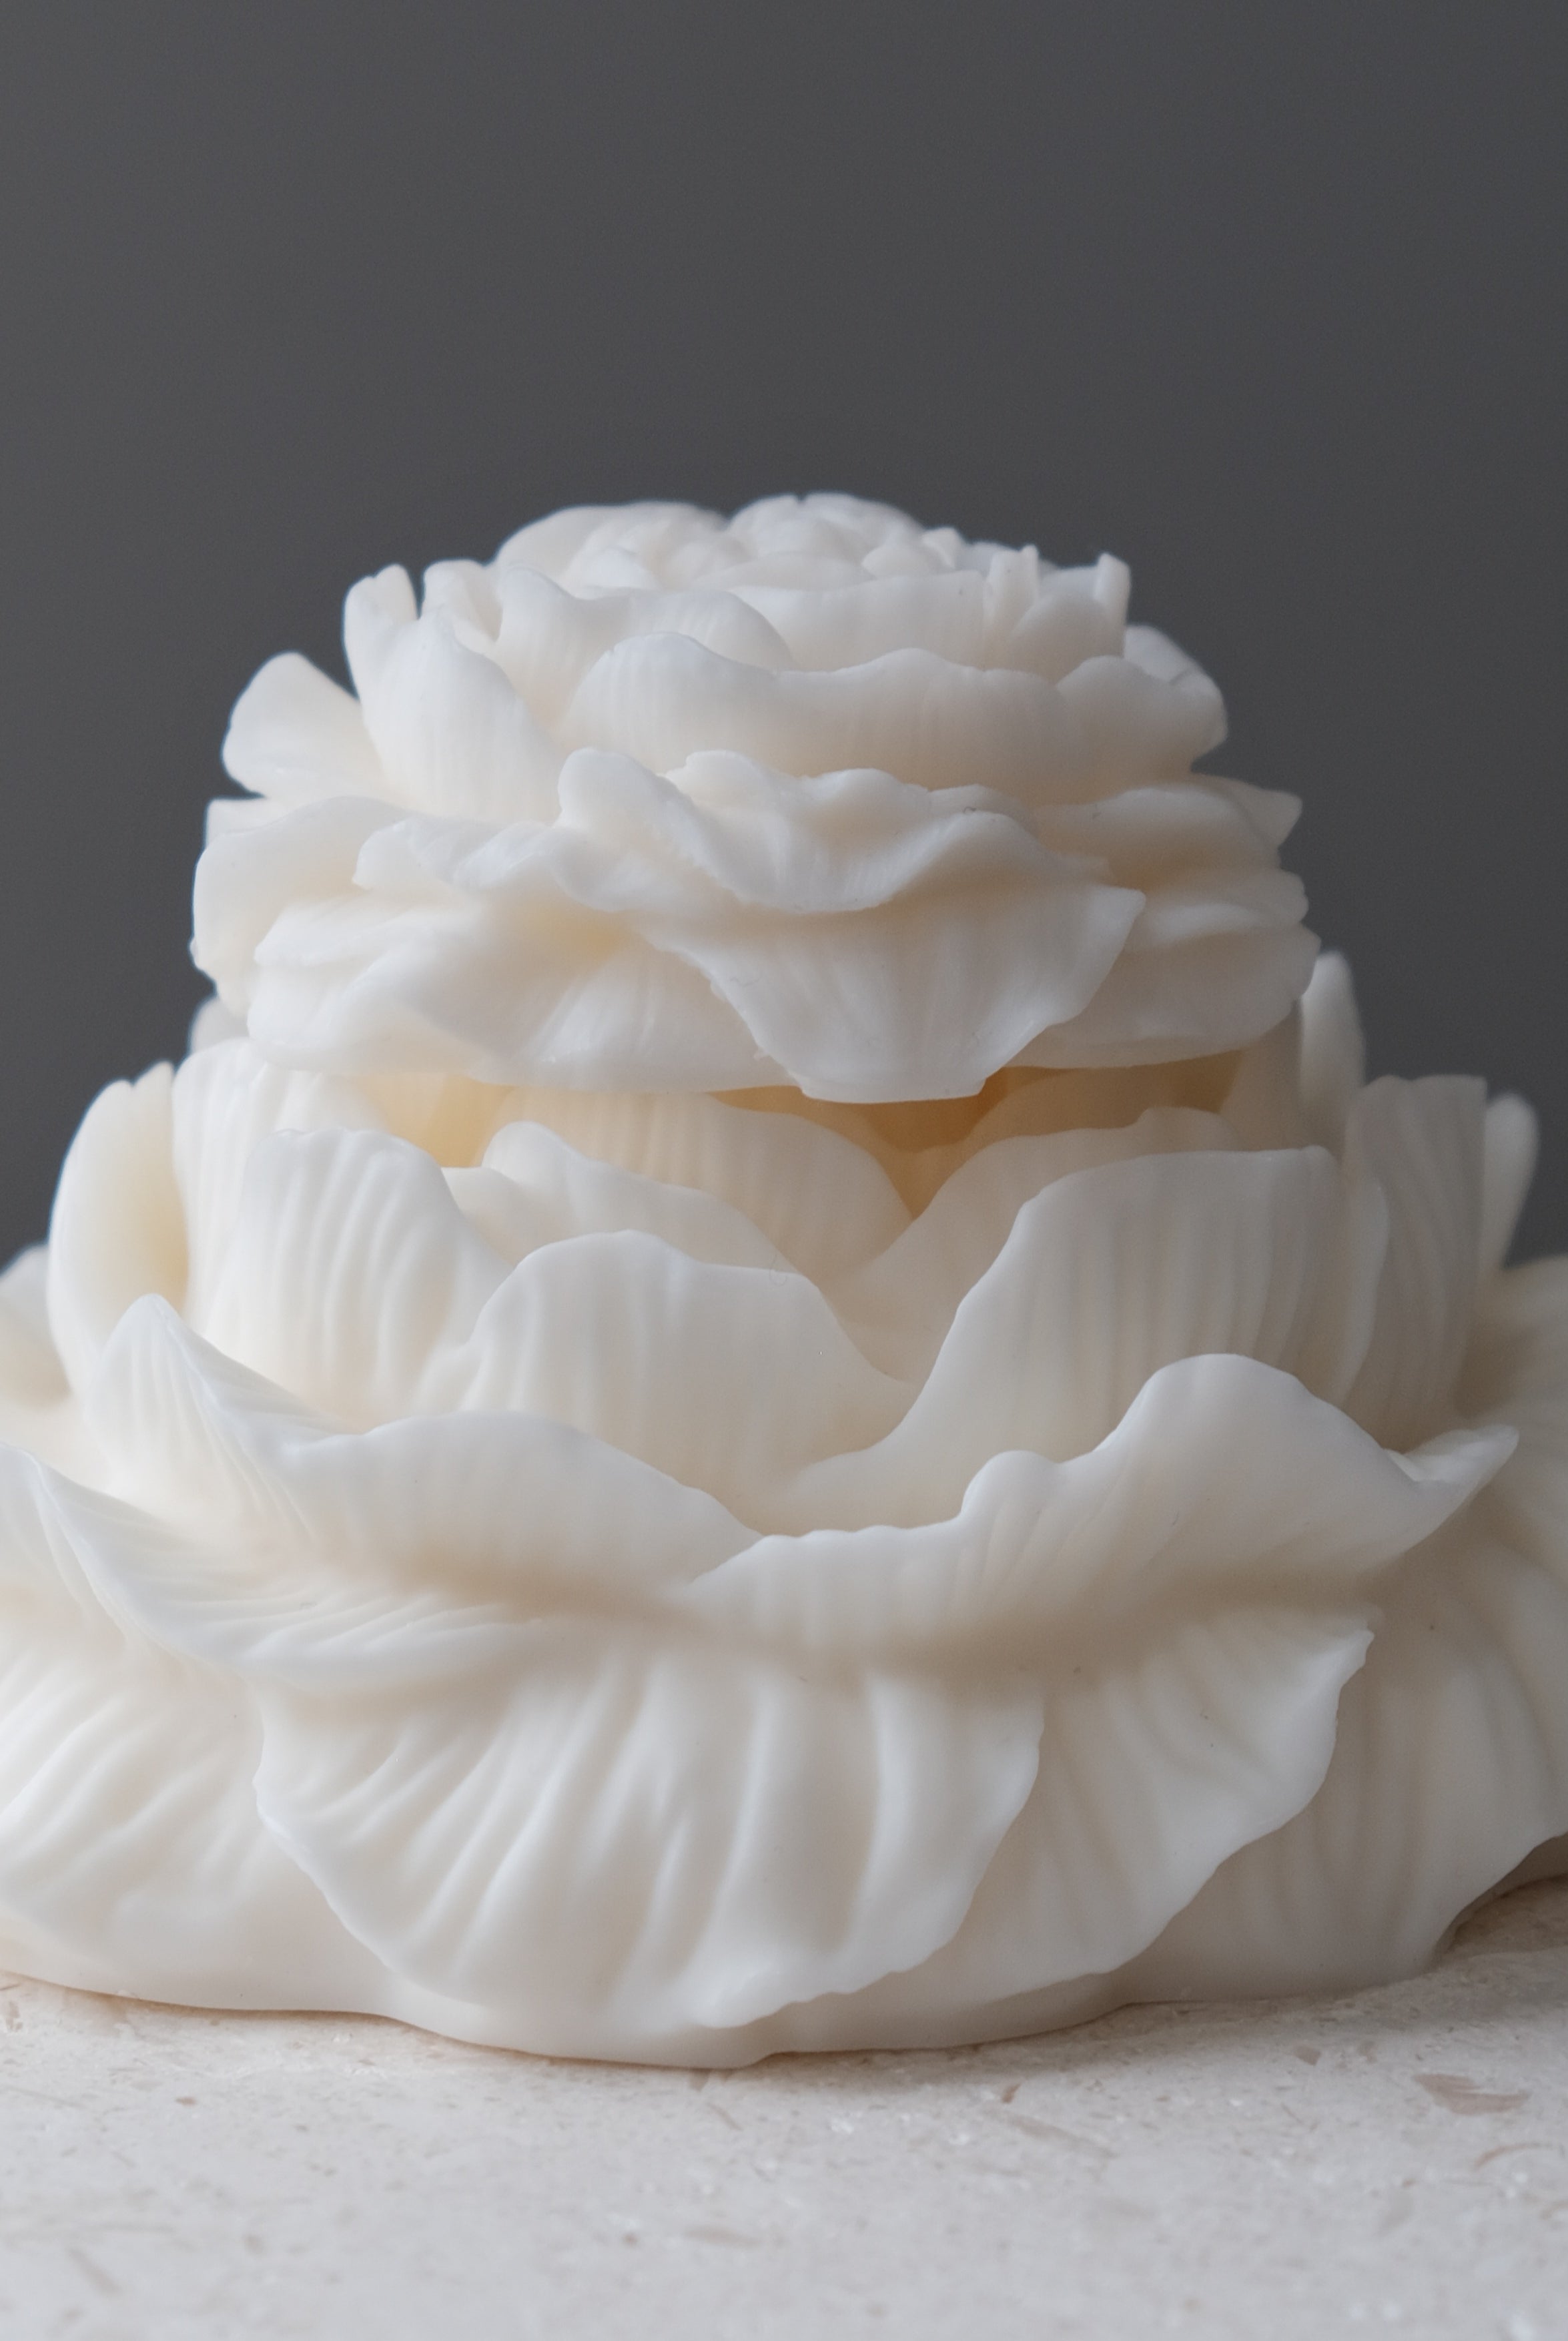
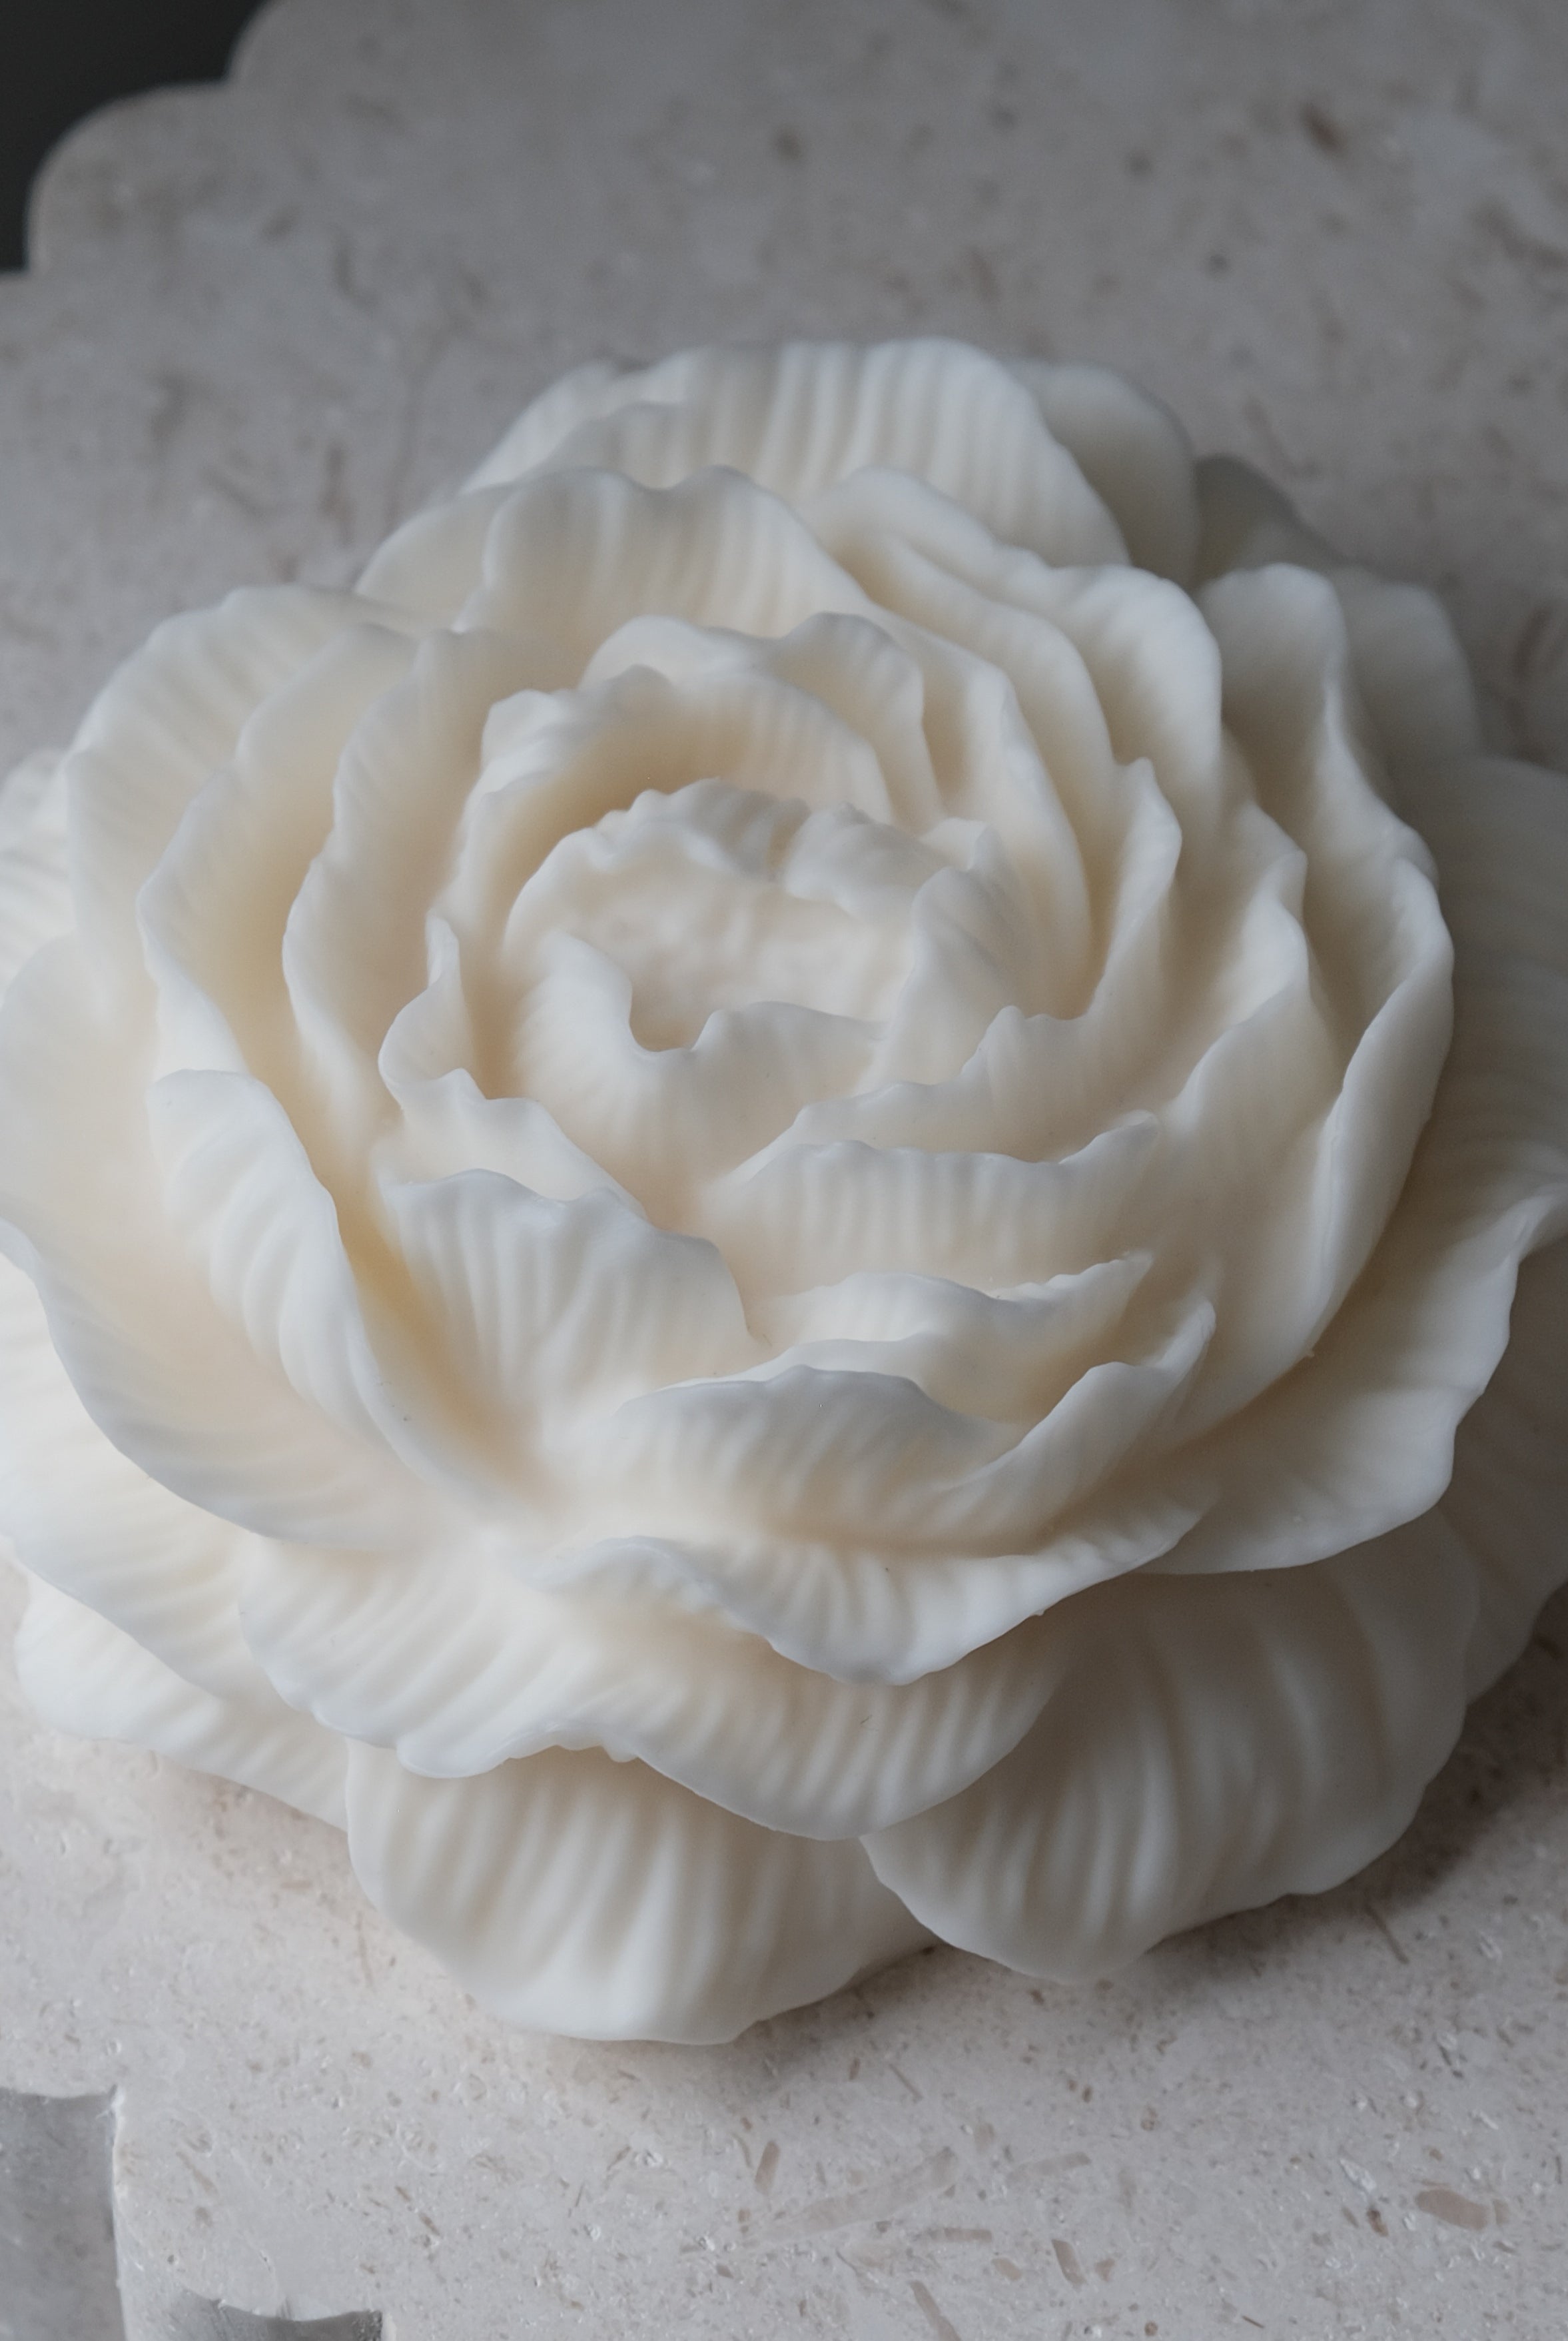
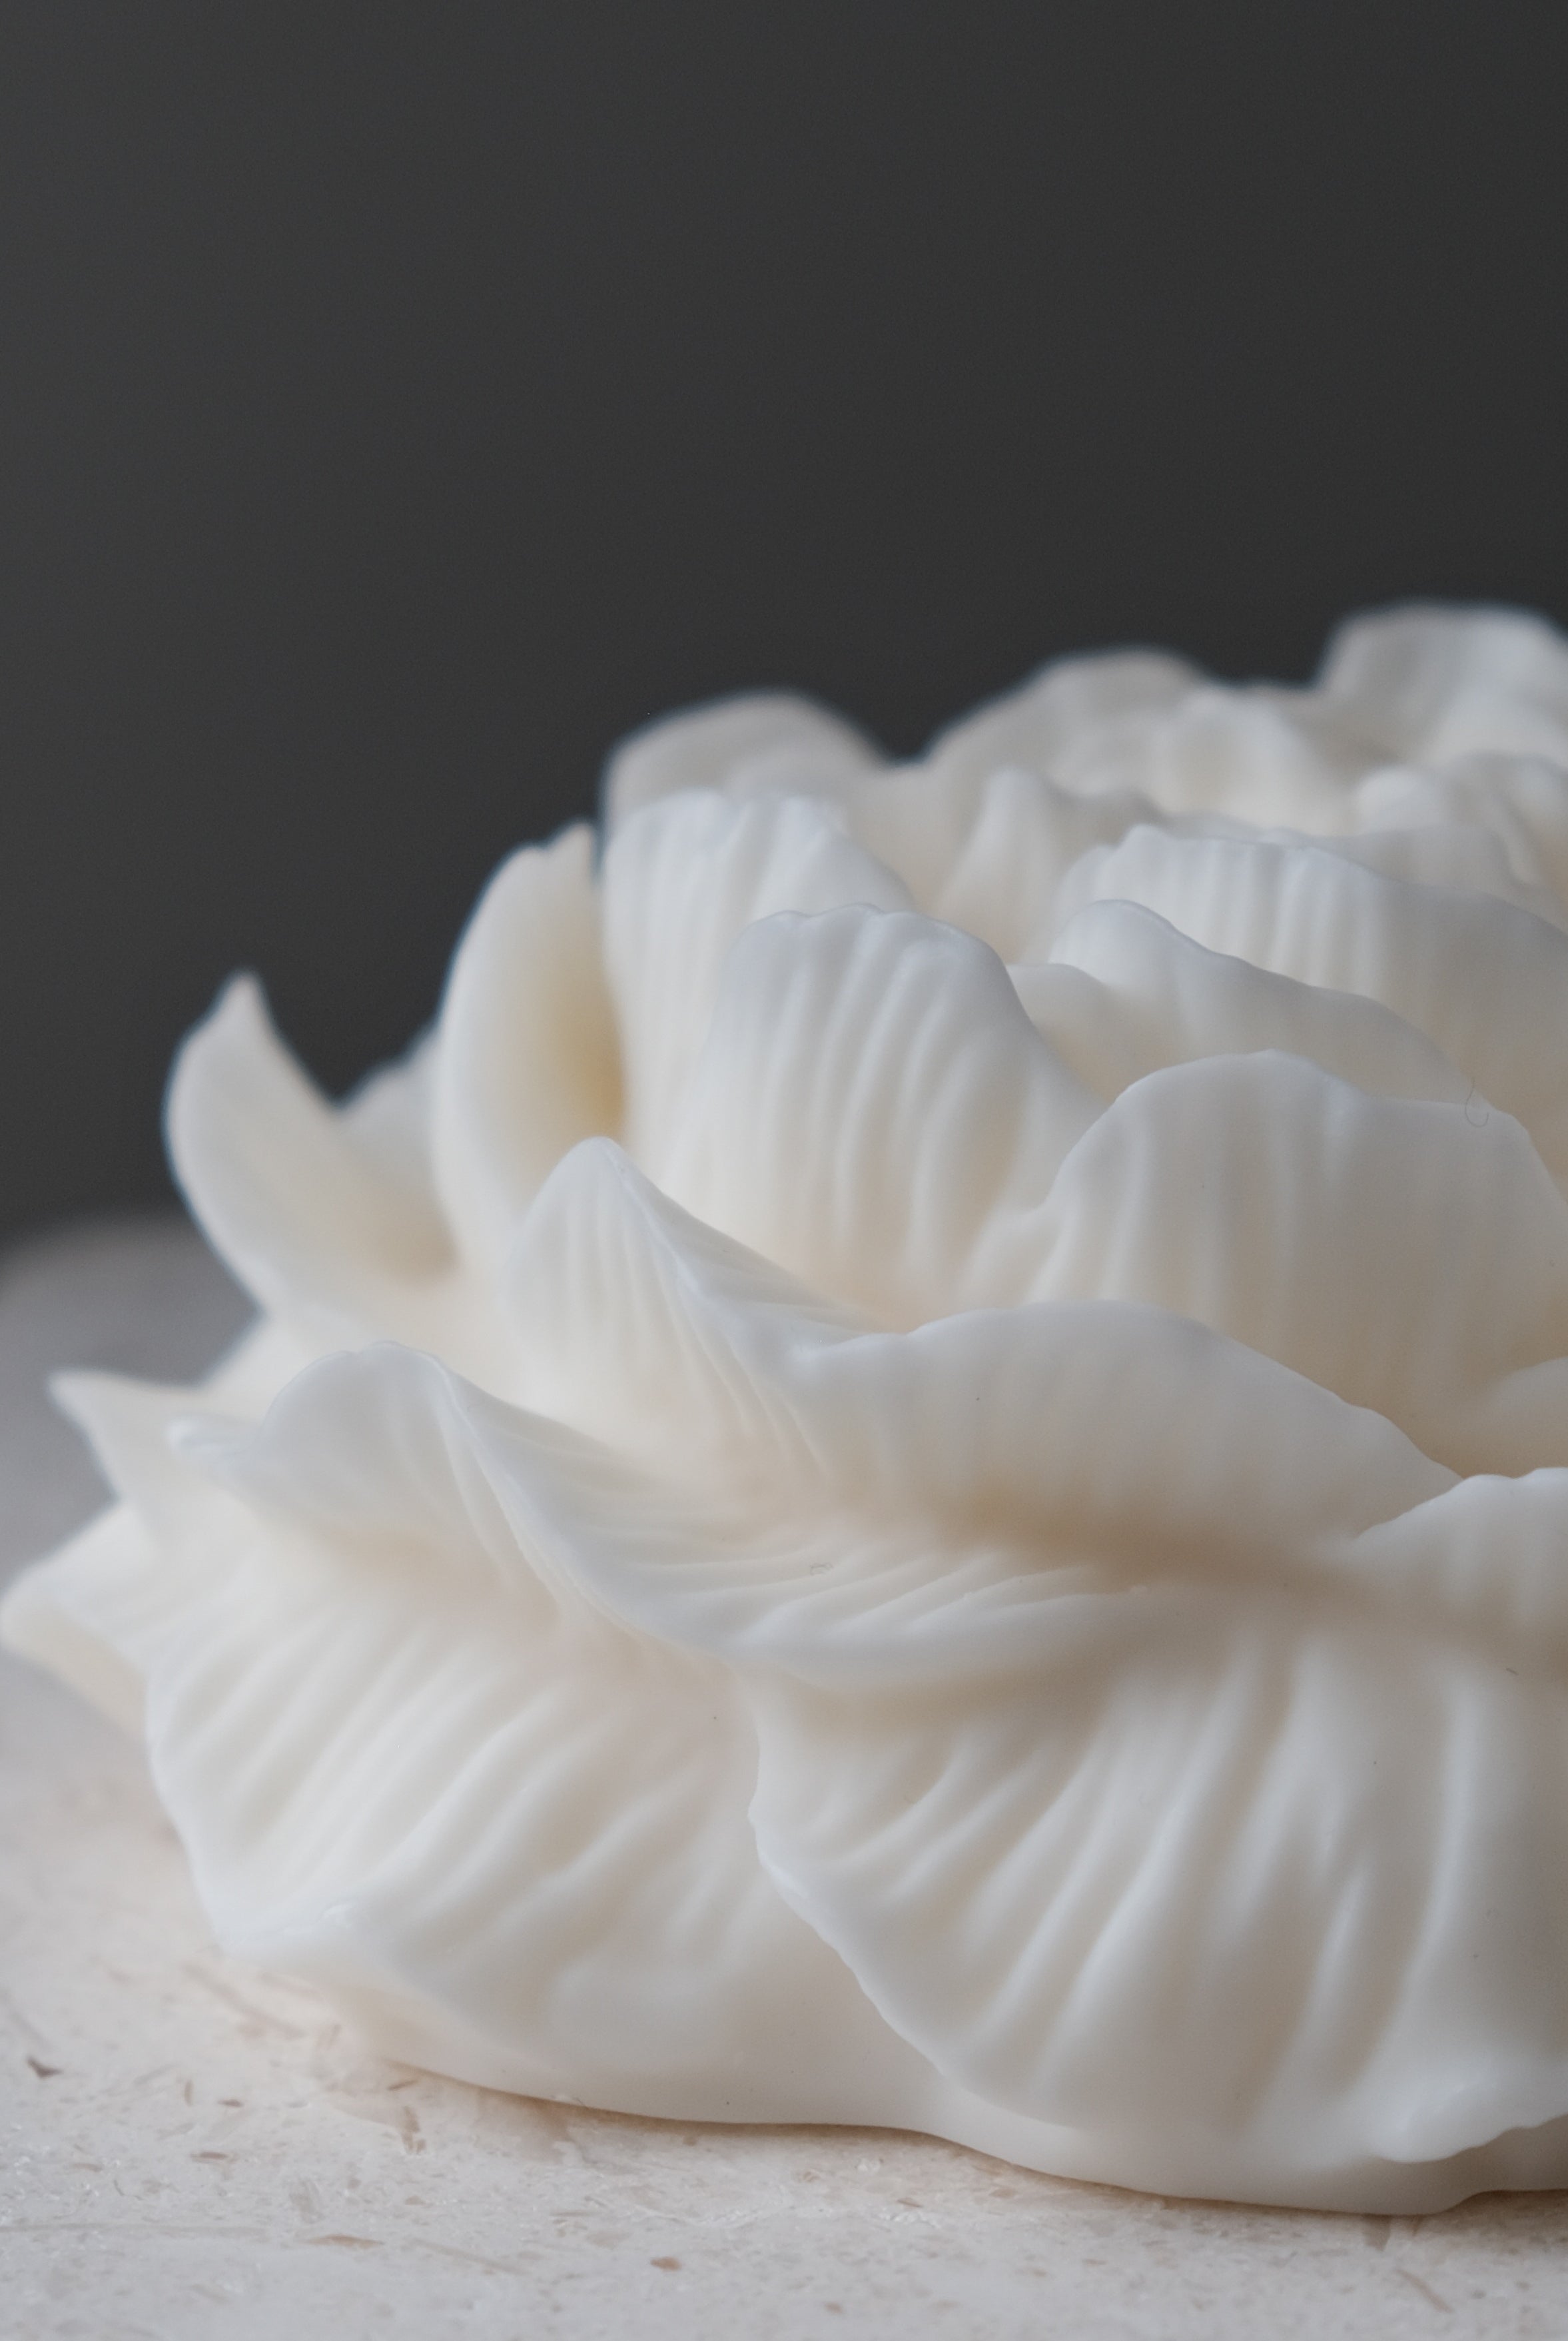
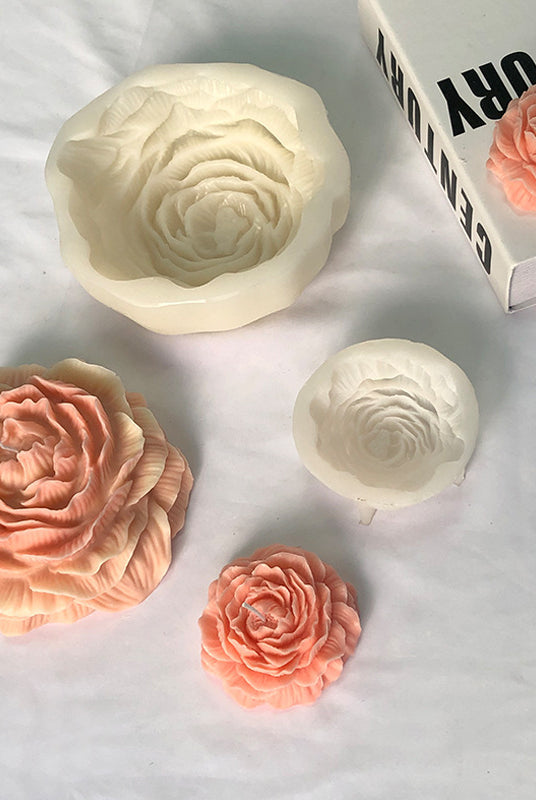
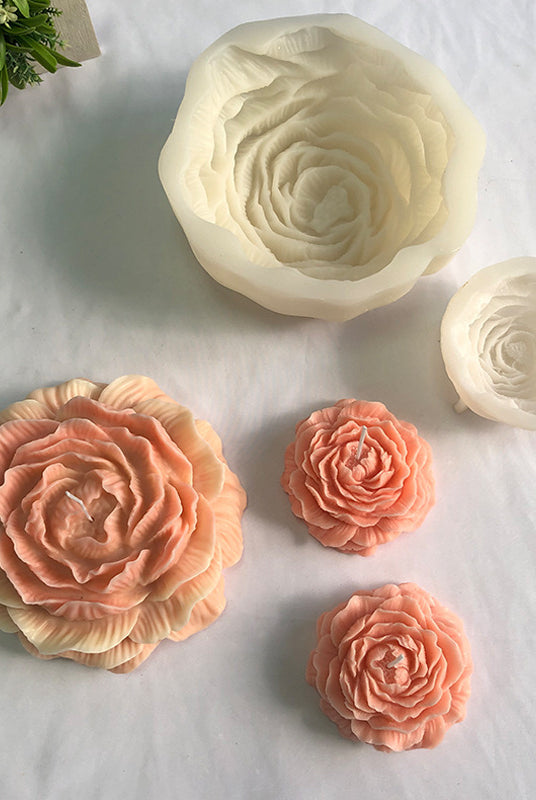
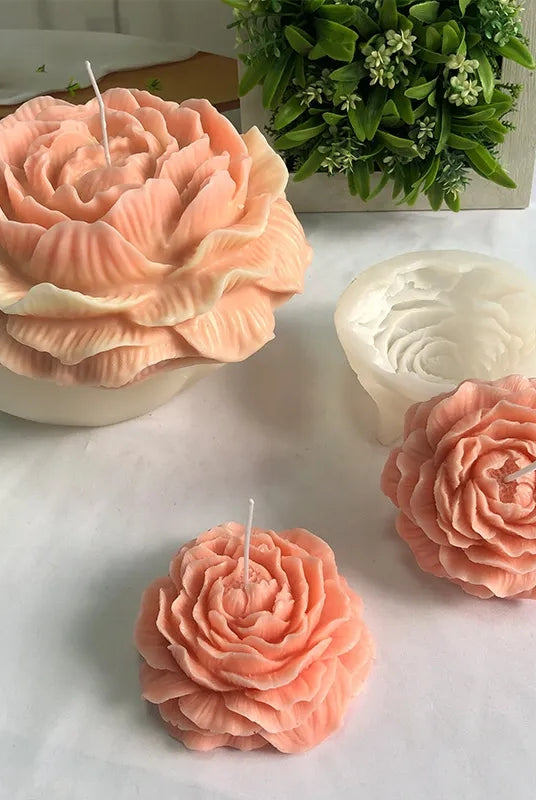
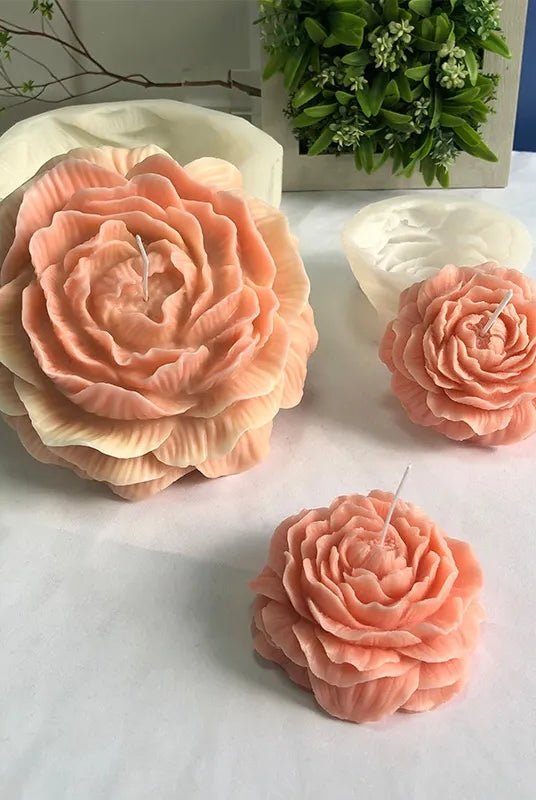
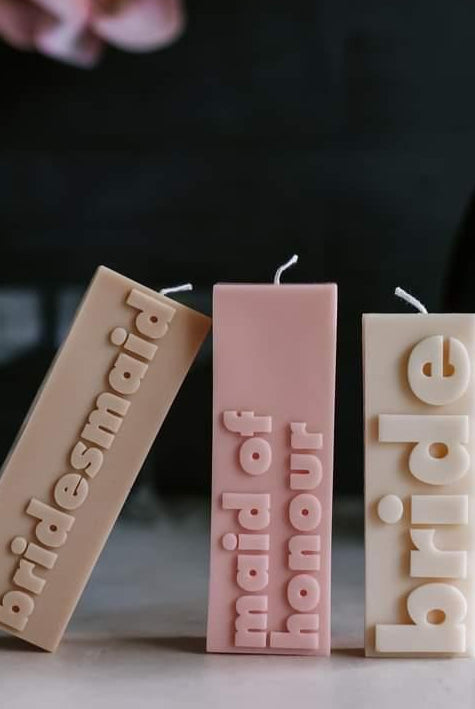
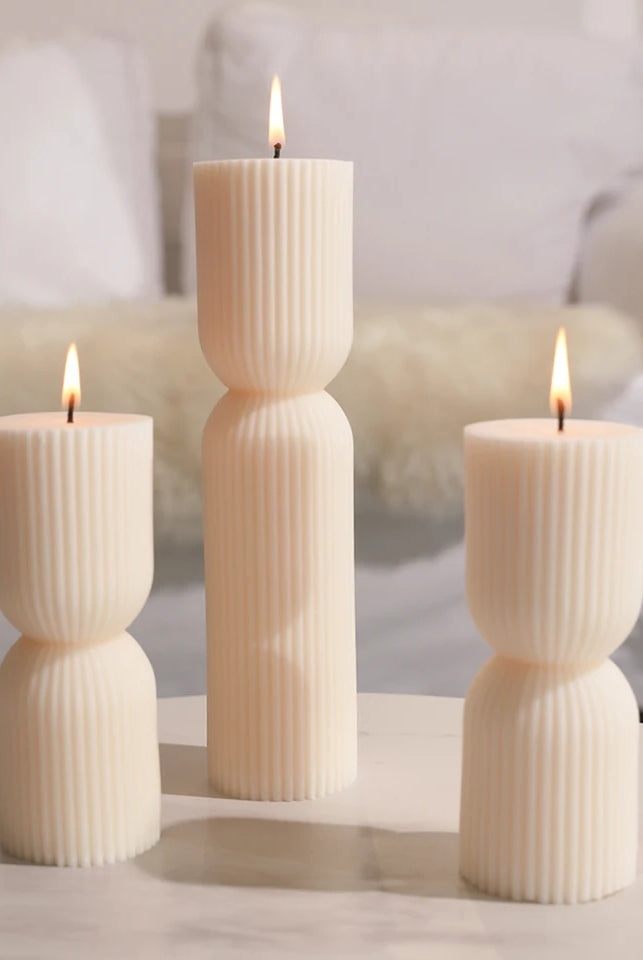
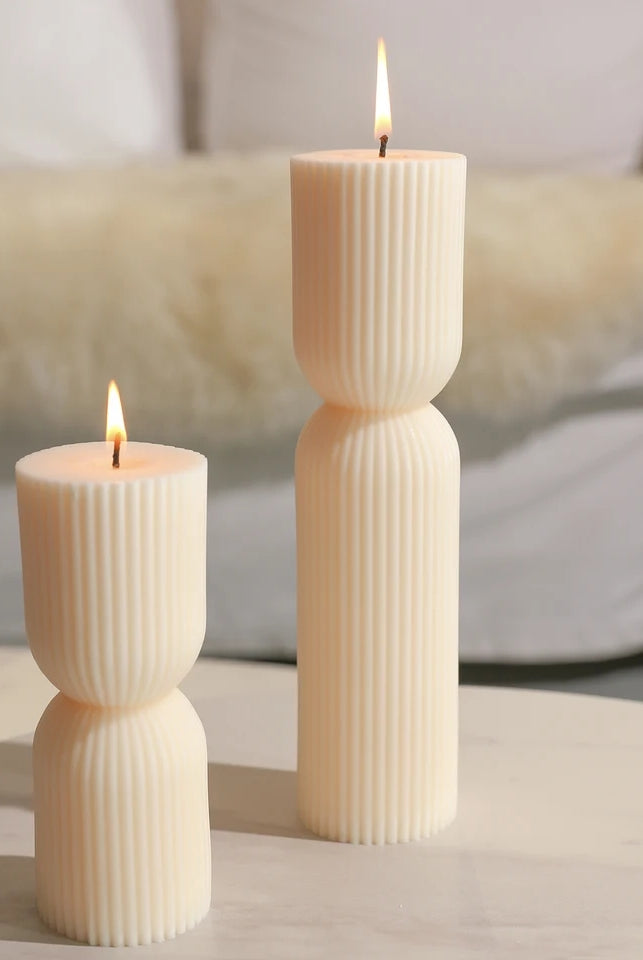
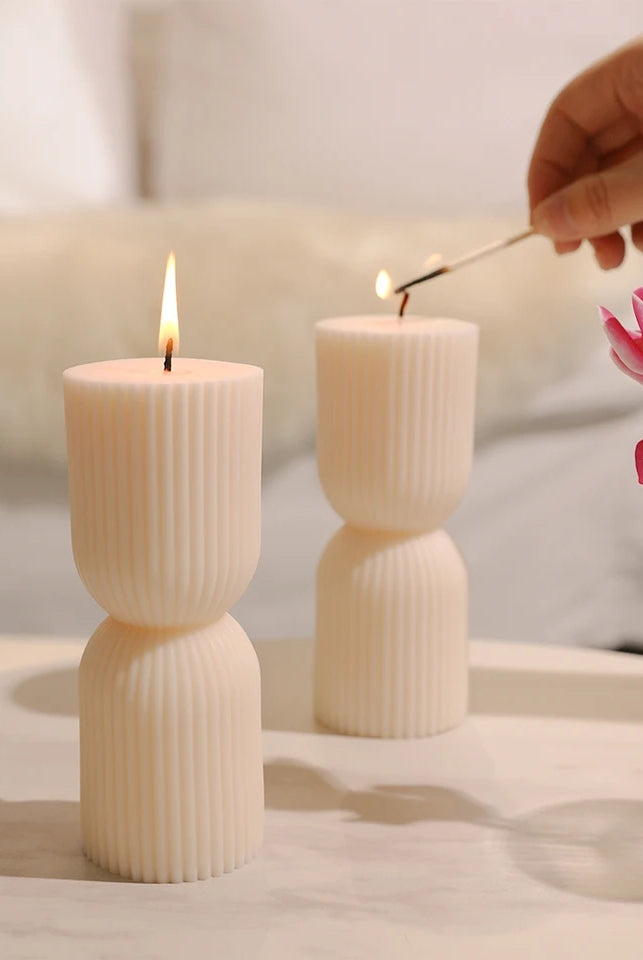
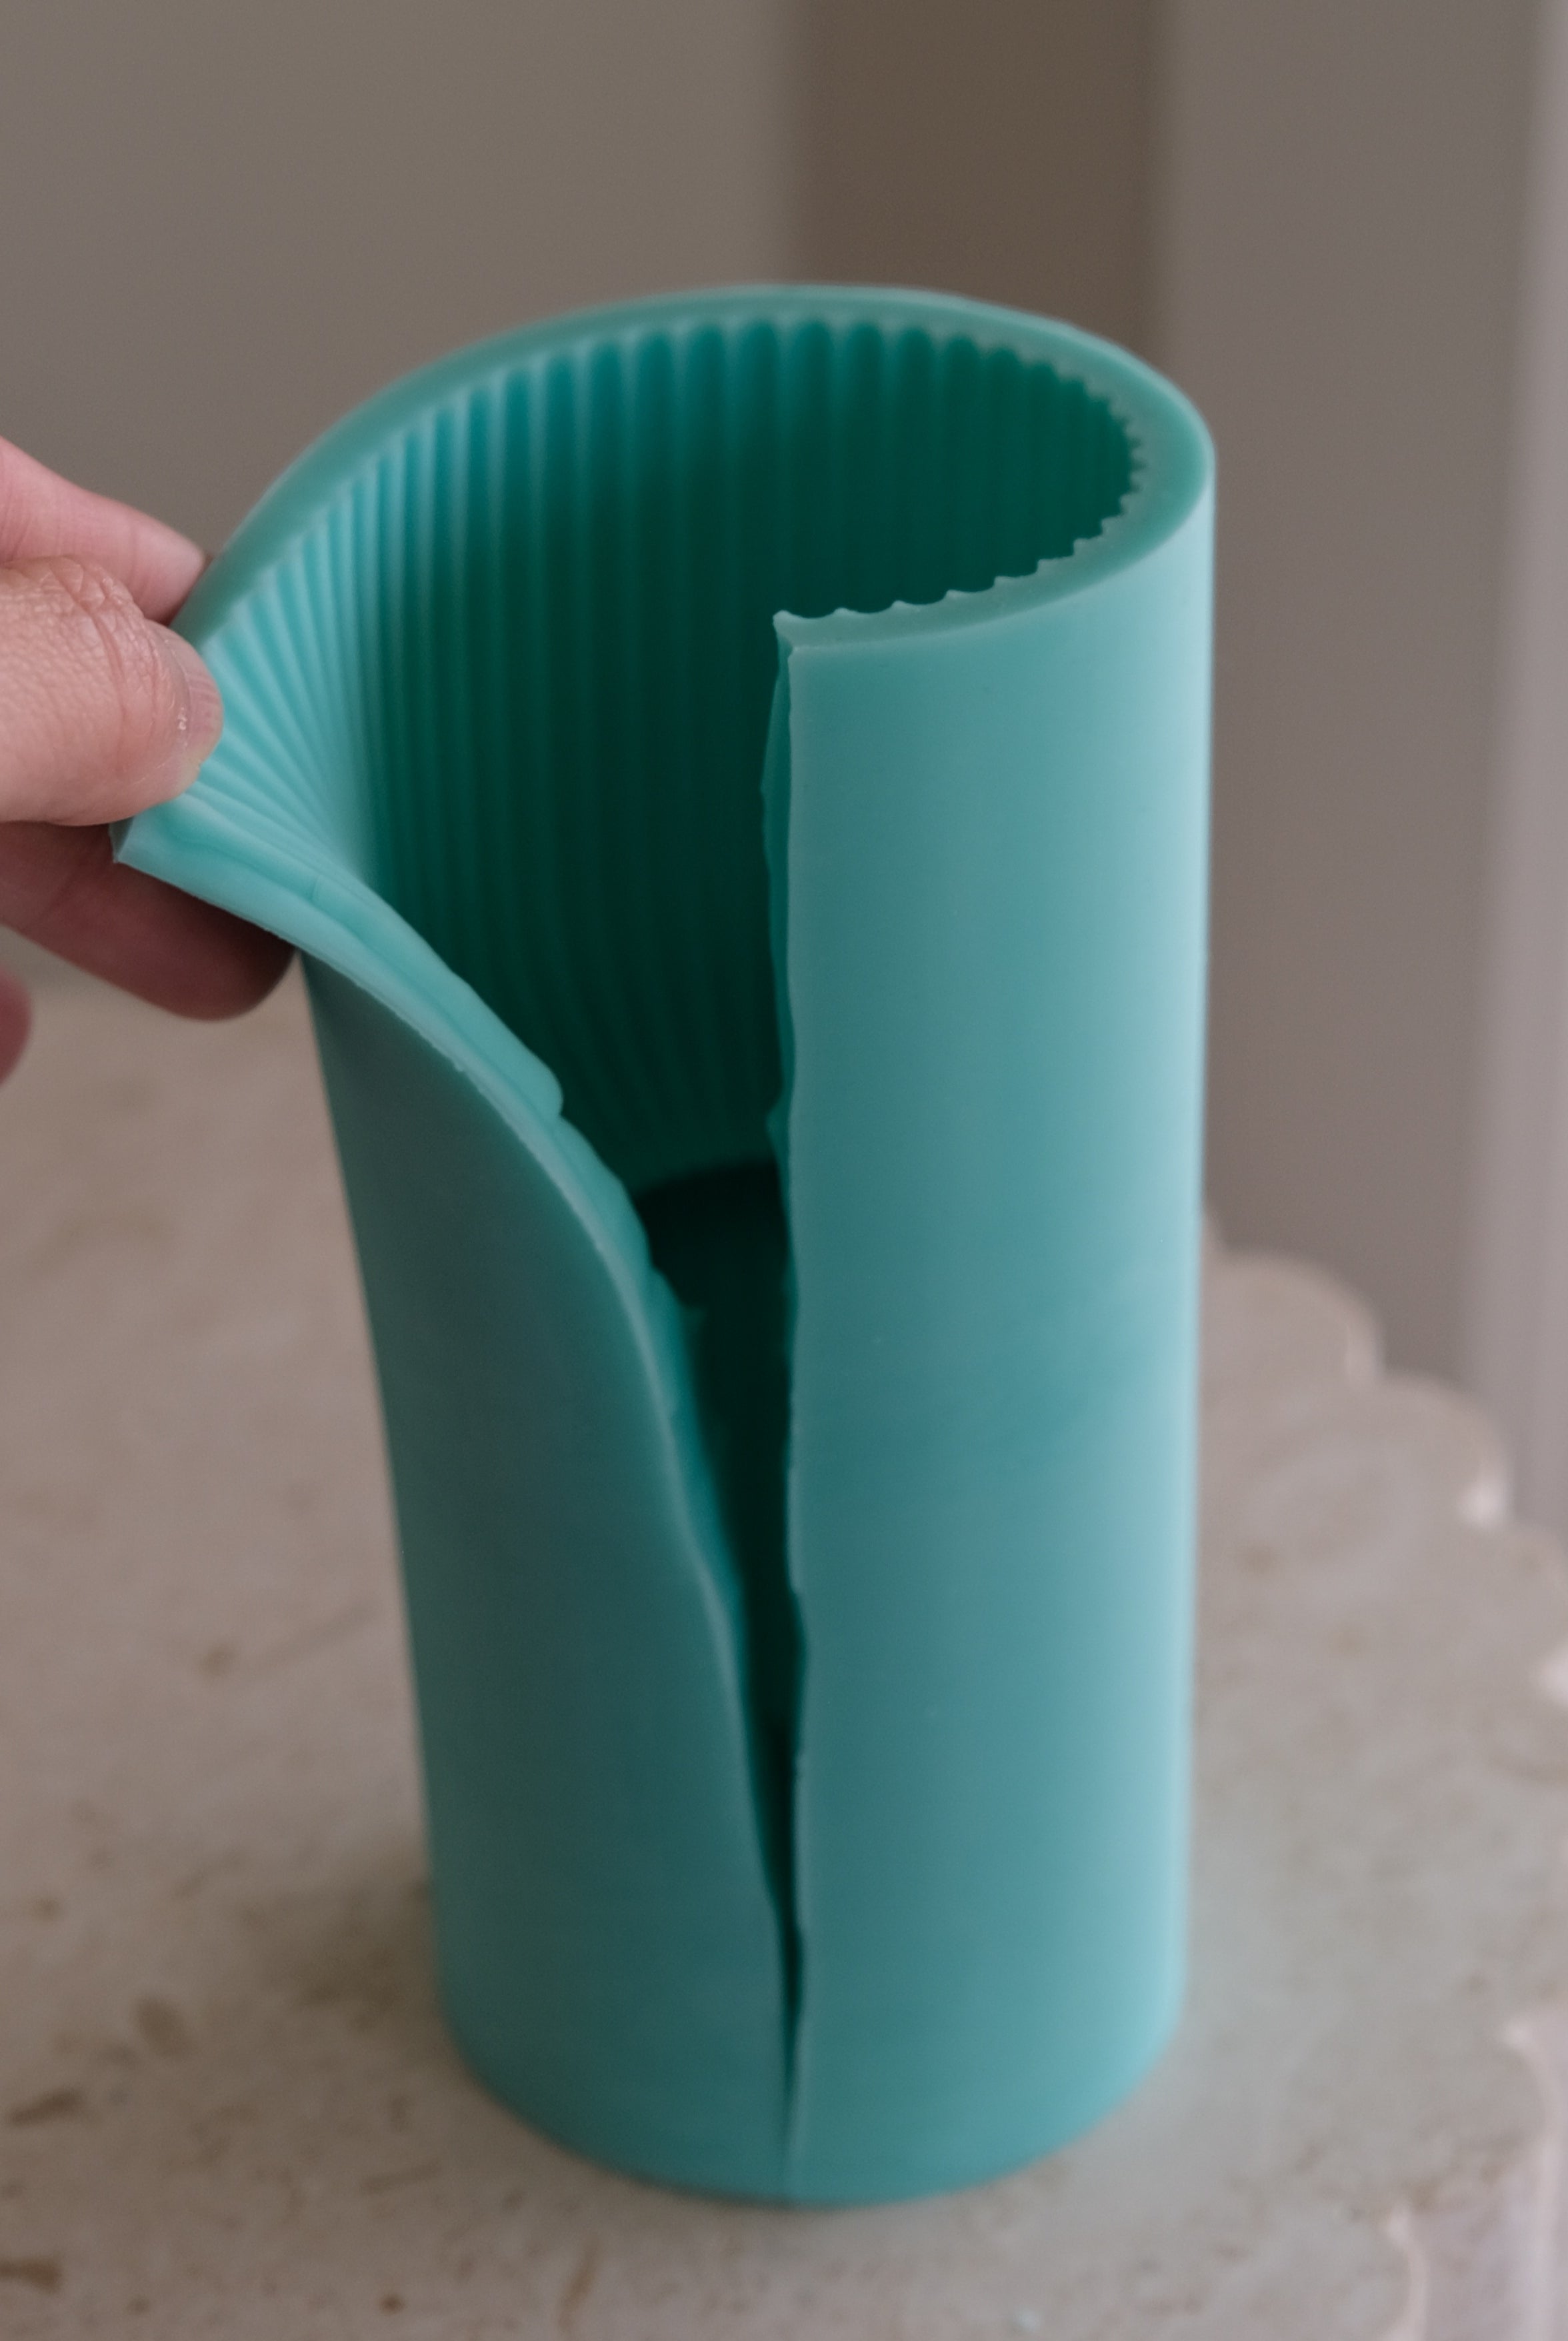
Introducing our most highly requested design! Crafted from high-quality platinum-cure silicone, these custom moulds are the perfect tool to help you create beautiful and elegant candles for bridal parties and weddings.
Our moulds feature thick walls that minimize bulging when wax is poured, ensuring that your candles come out looking flawless every time. Plus, with their high tear-resistance, these moulds are built to last for years to come, making them a smart investment for any candle maker.
Wick the mould through the top and bottom on the mould to keep it centred. Pour in melted wax and allow your candle to cure overnight before carefully unmoulding.
For best results, preheat your mould with a heat gun prior to pouring to ensure the wax fills in all the letters and prevent air bubbles getting trapped.
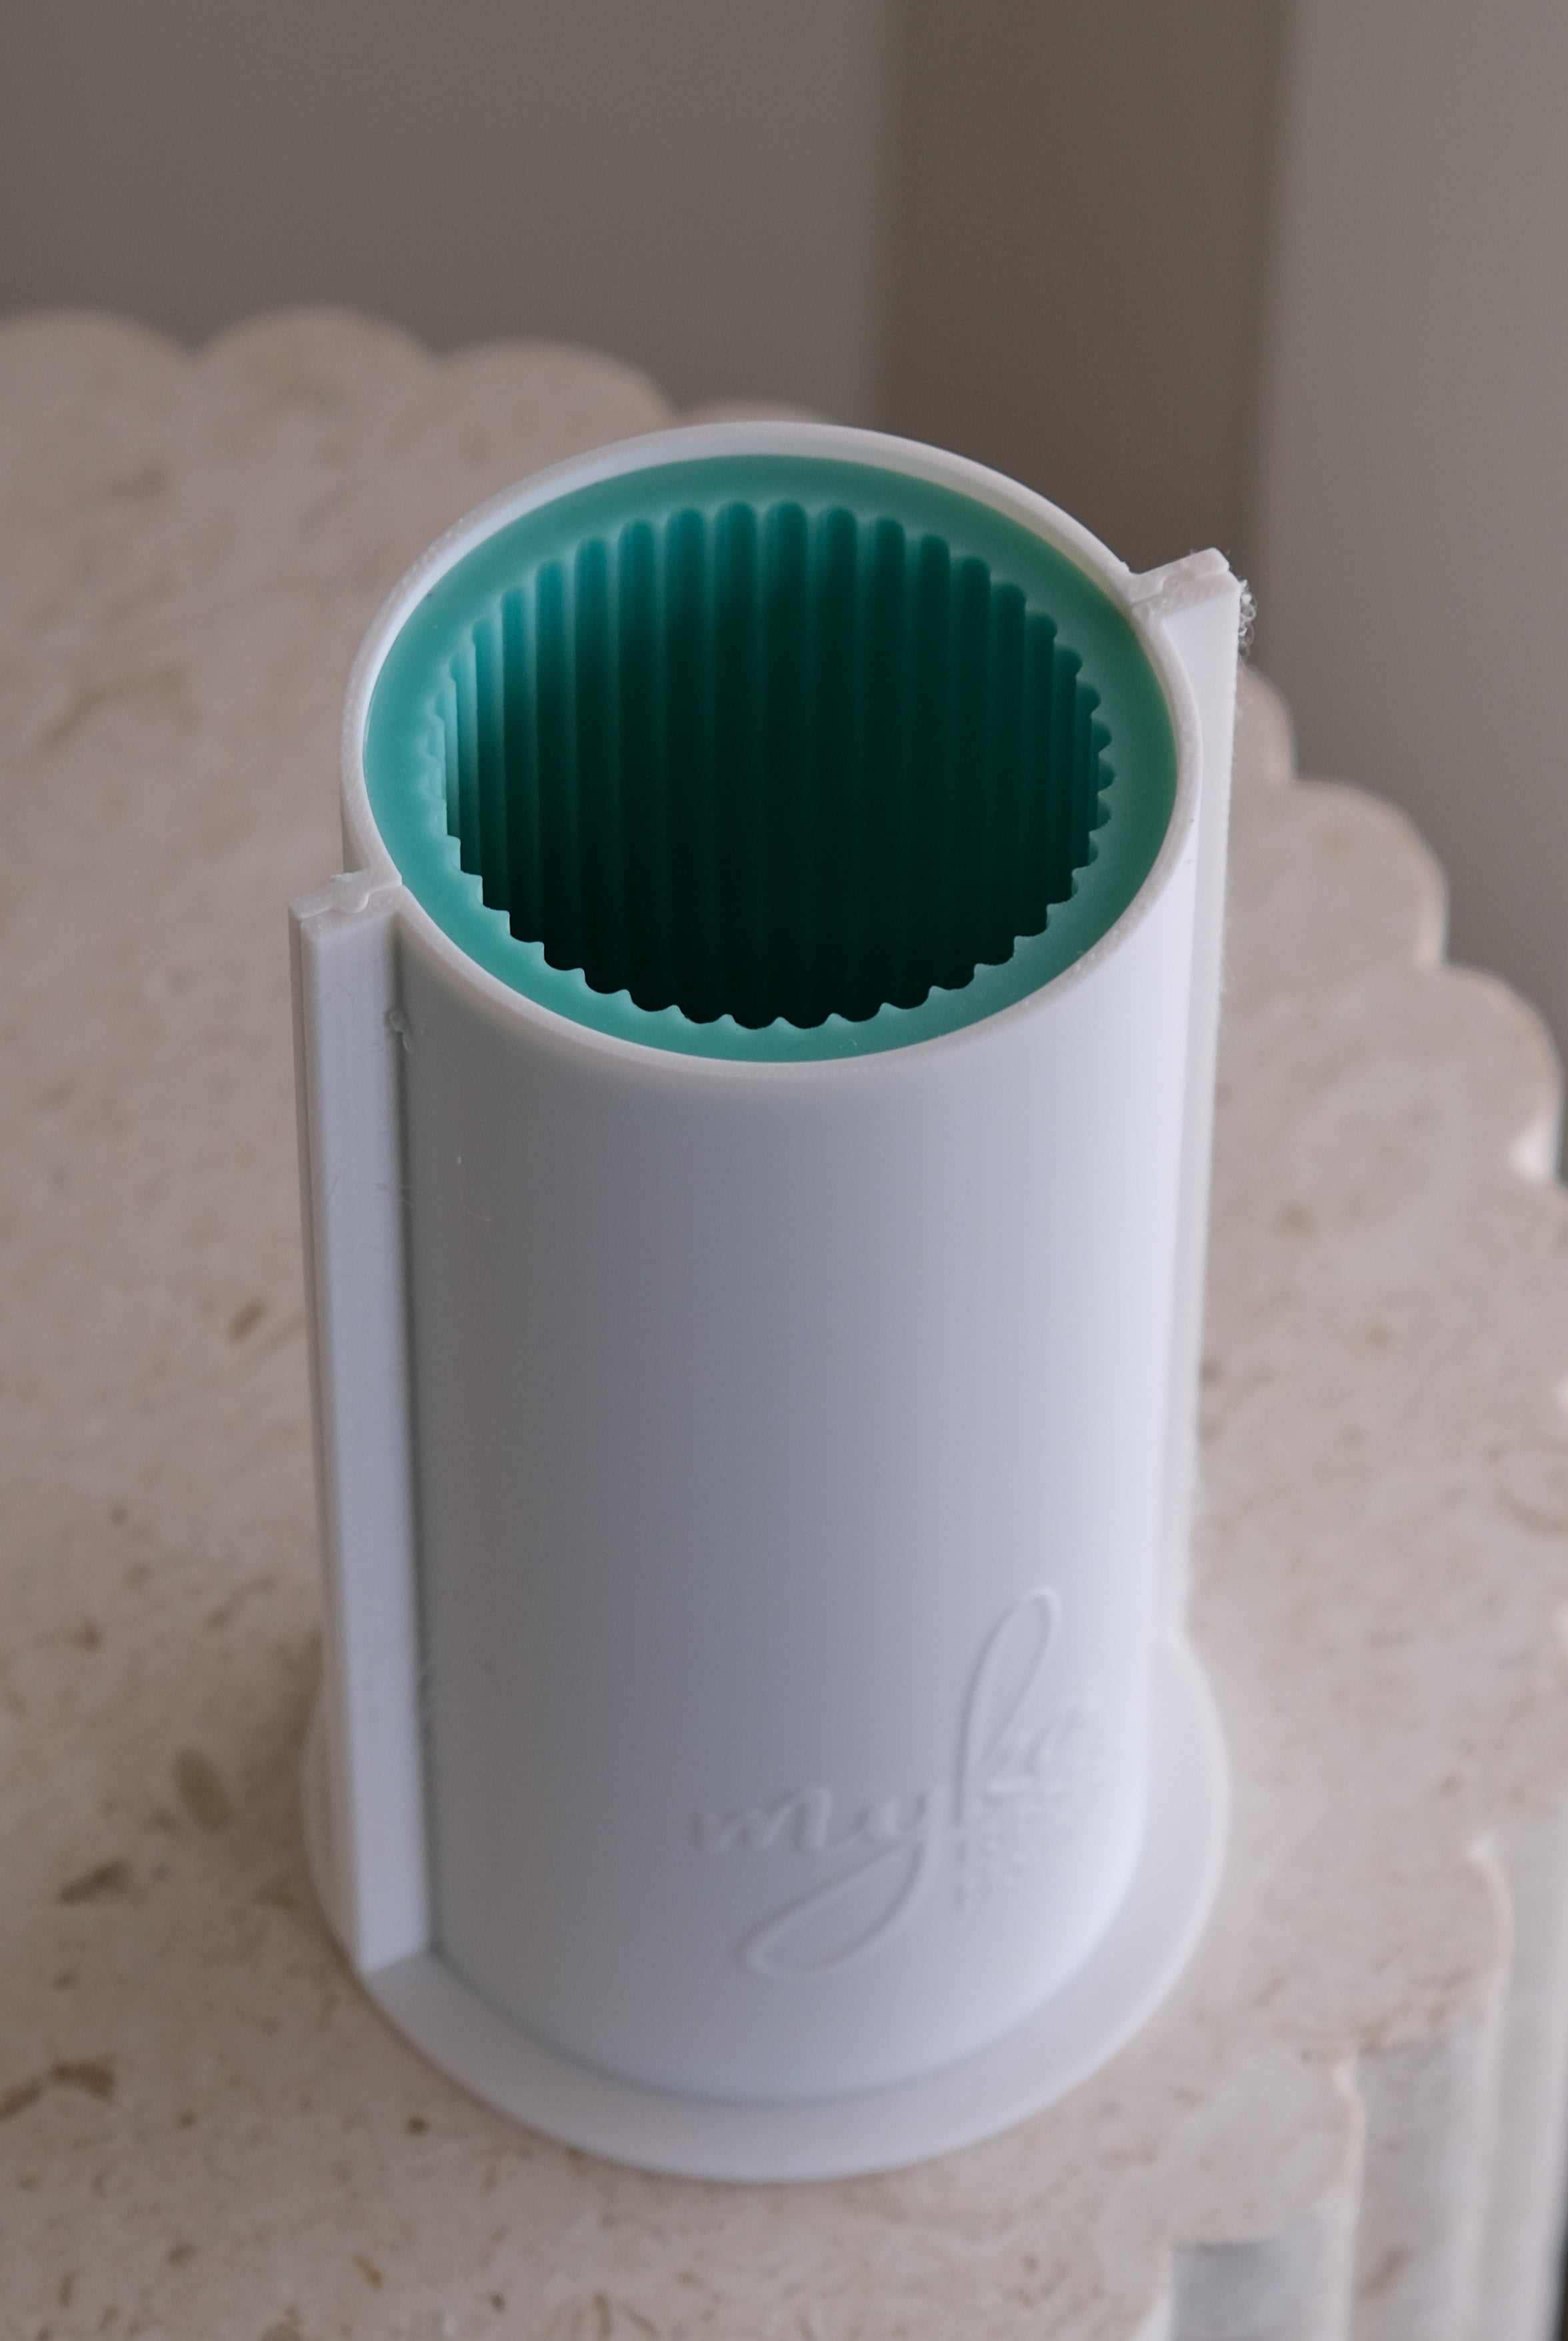
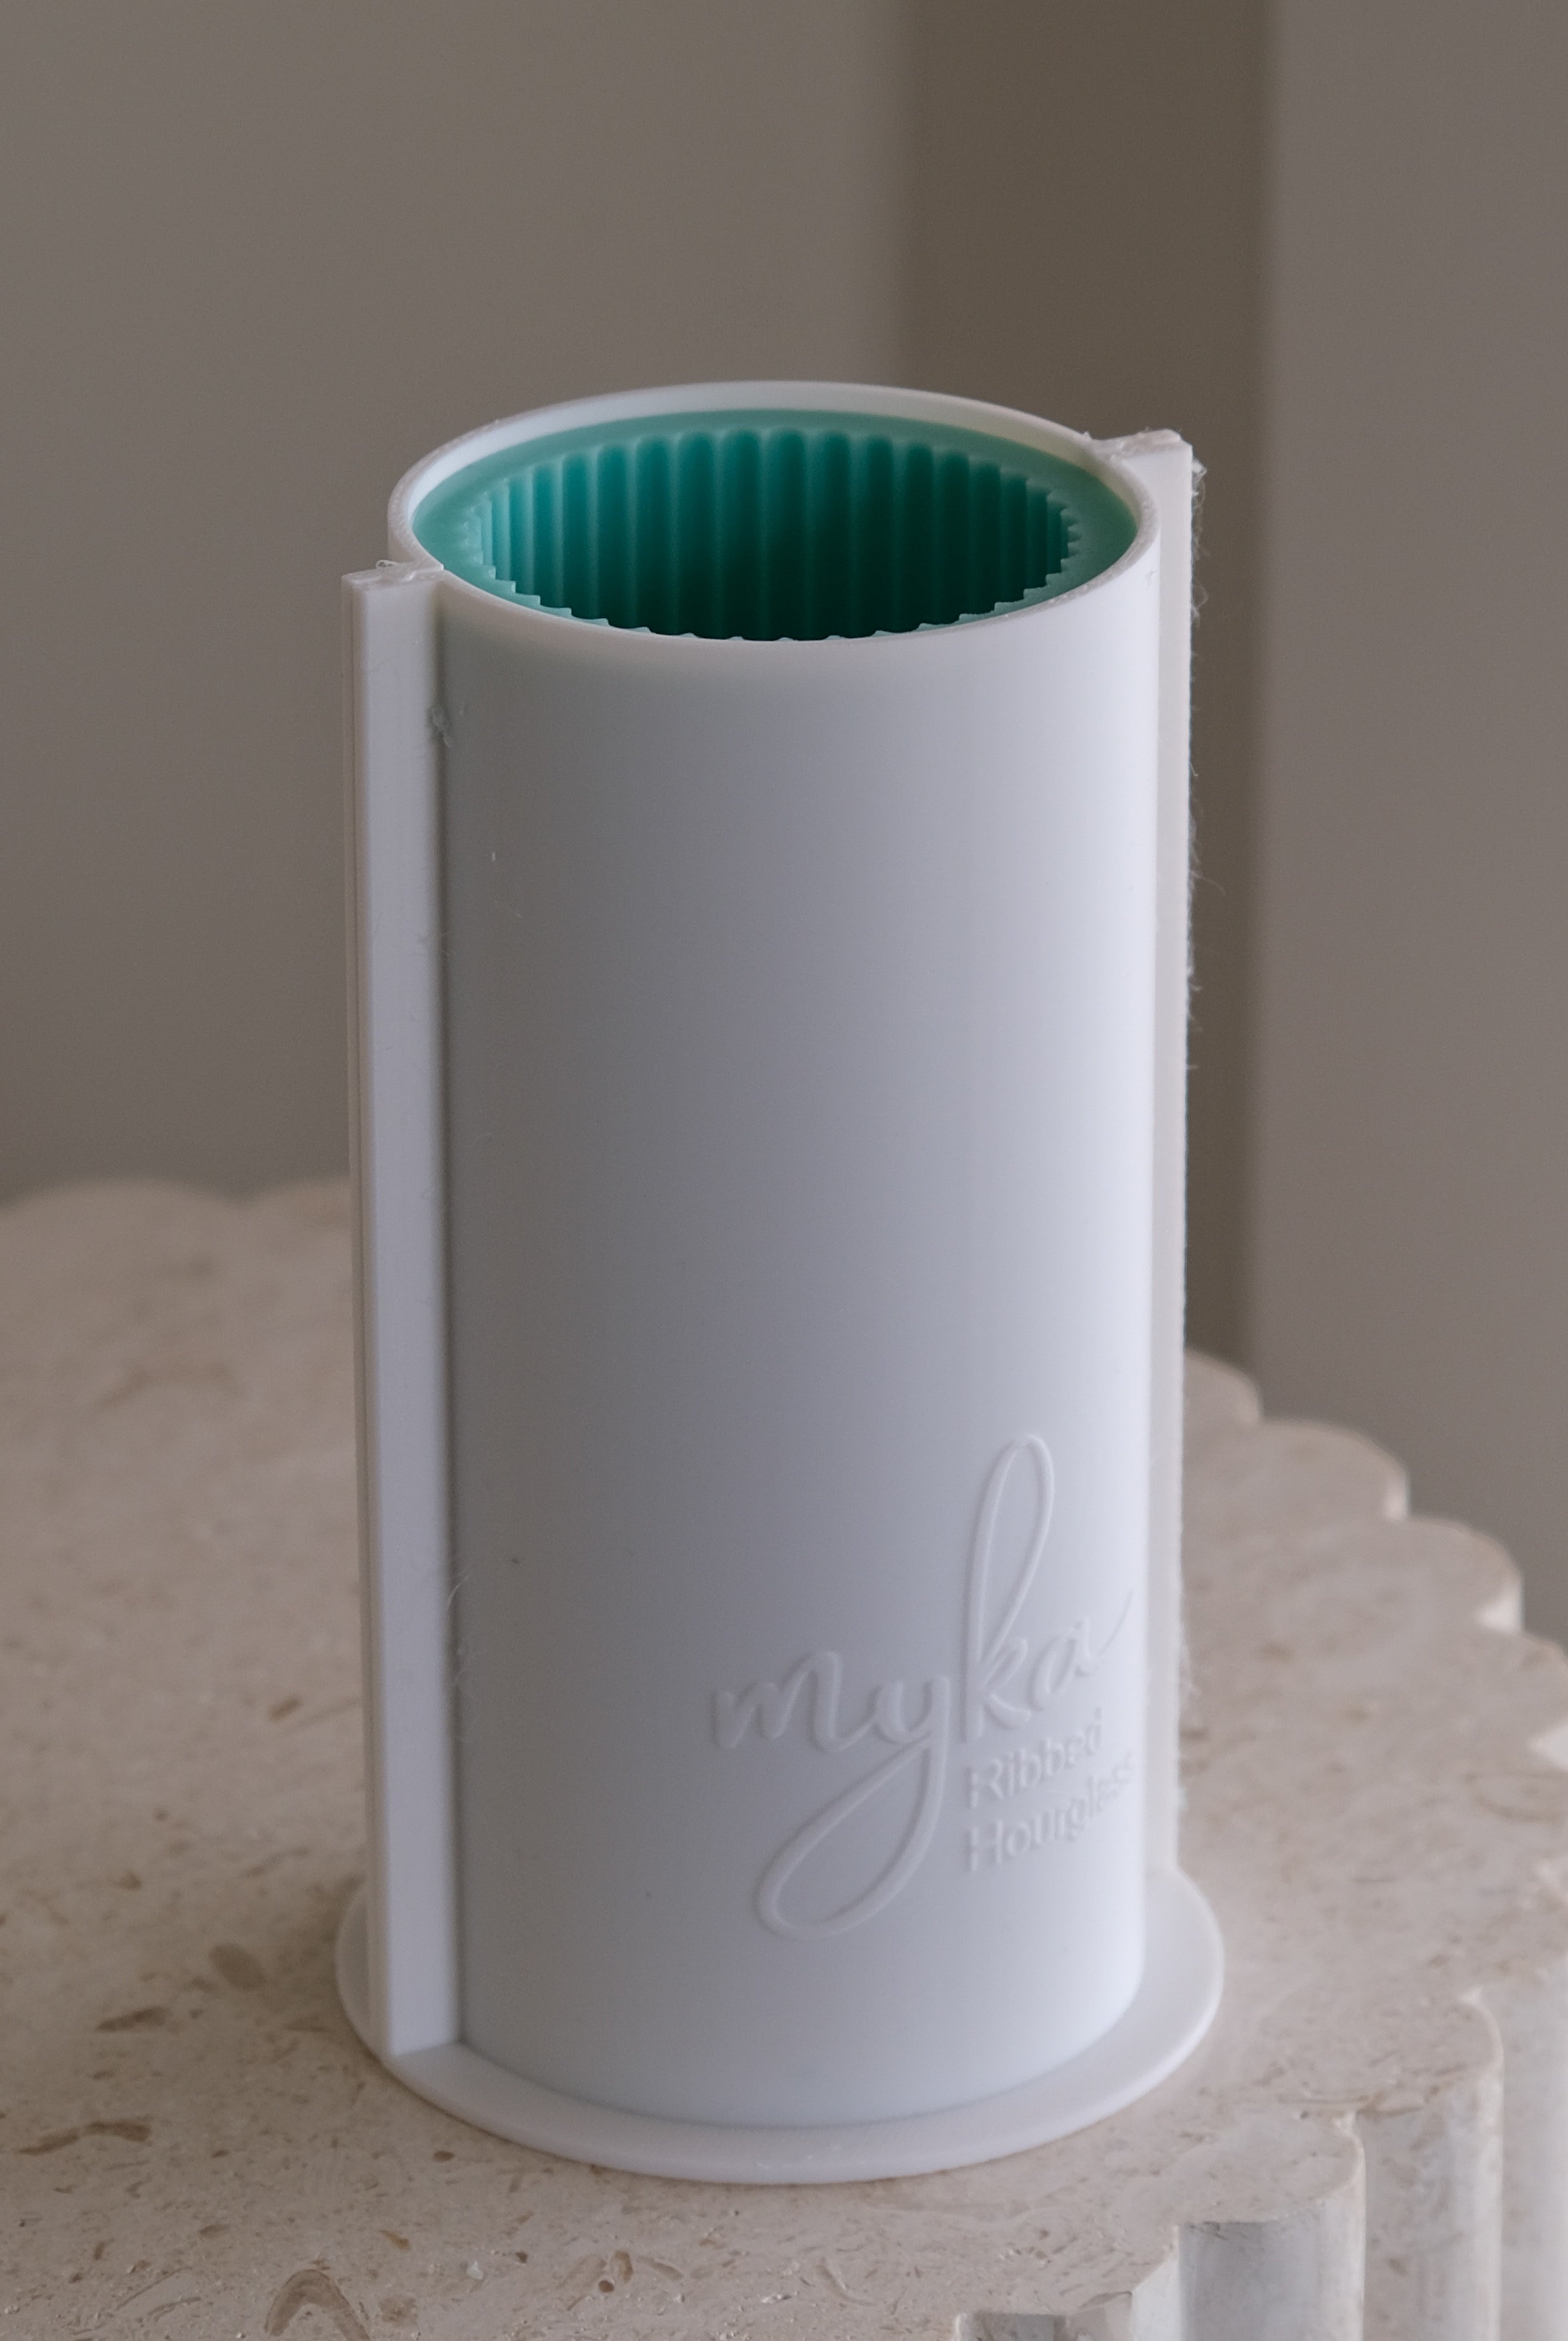
To ensure optimal results, each mould includes a custom-fitted 3D printed support case. Because of their flexible design, moulds may naturally expand when filled. The included case helps maintain the mould’s shape during pouring and curing, resulting in a more consistent and professional finish. These cases are made from PLA plastic and will warp if exposed to heat—so please avoid using a heat gun directly on them or placing them near high heat sources. Additional support cases can also be purchased separately if required.
Specifications
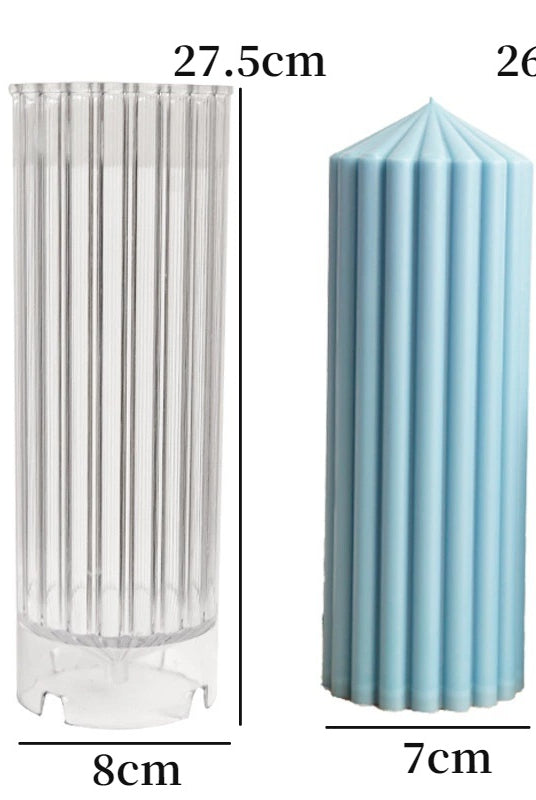
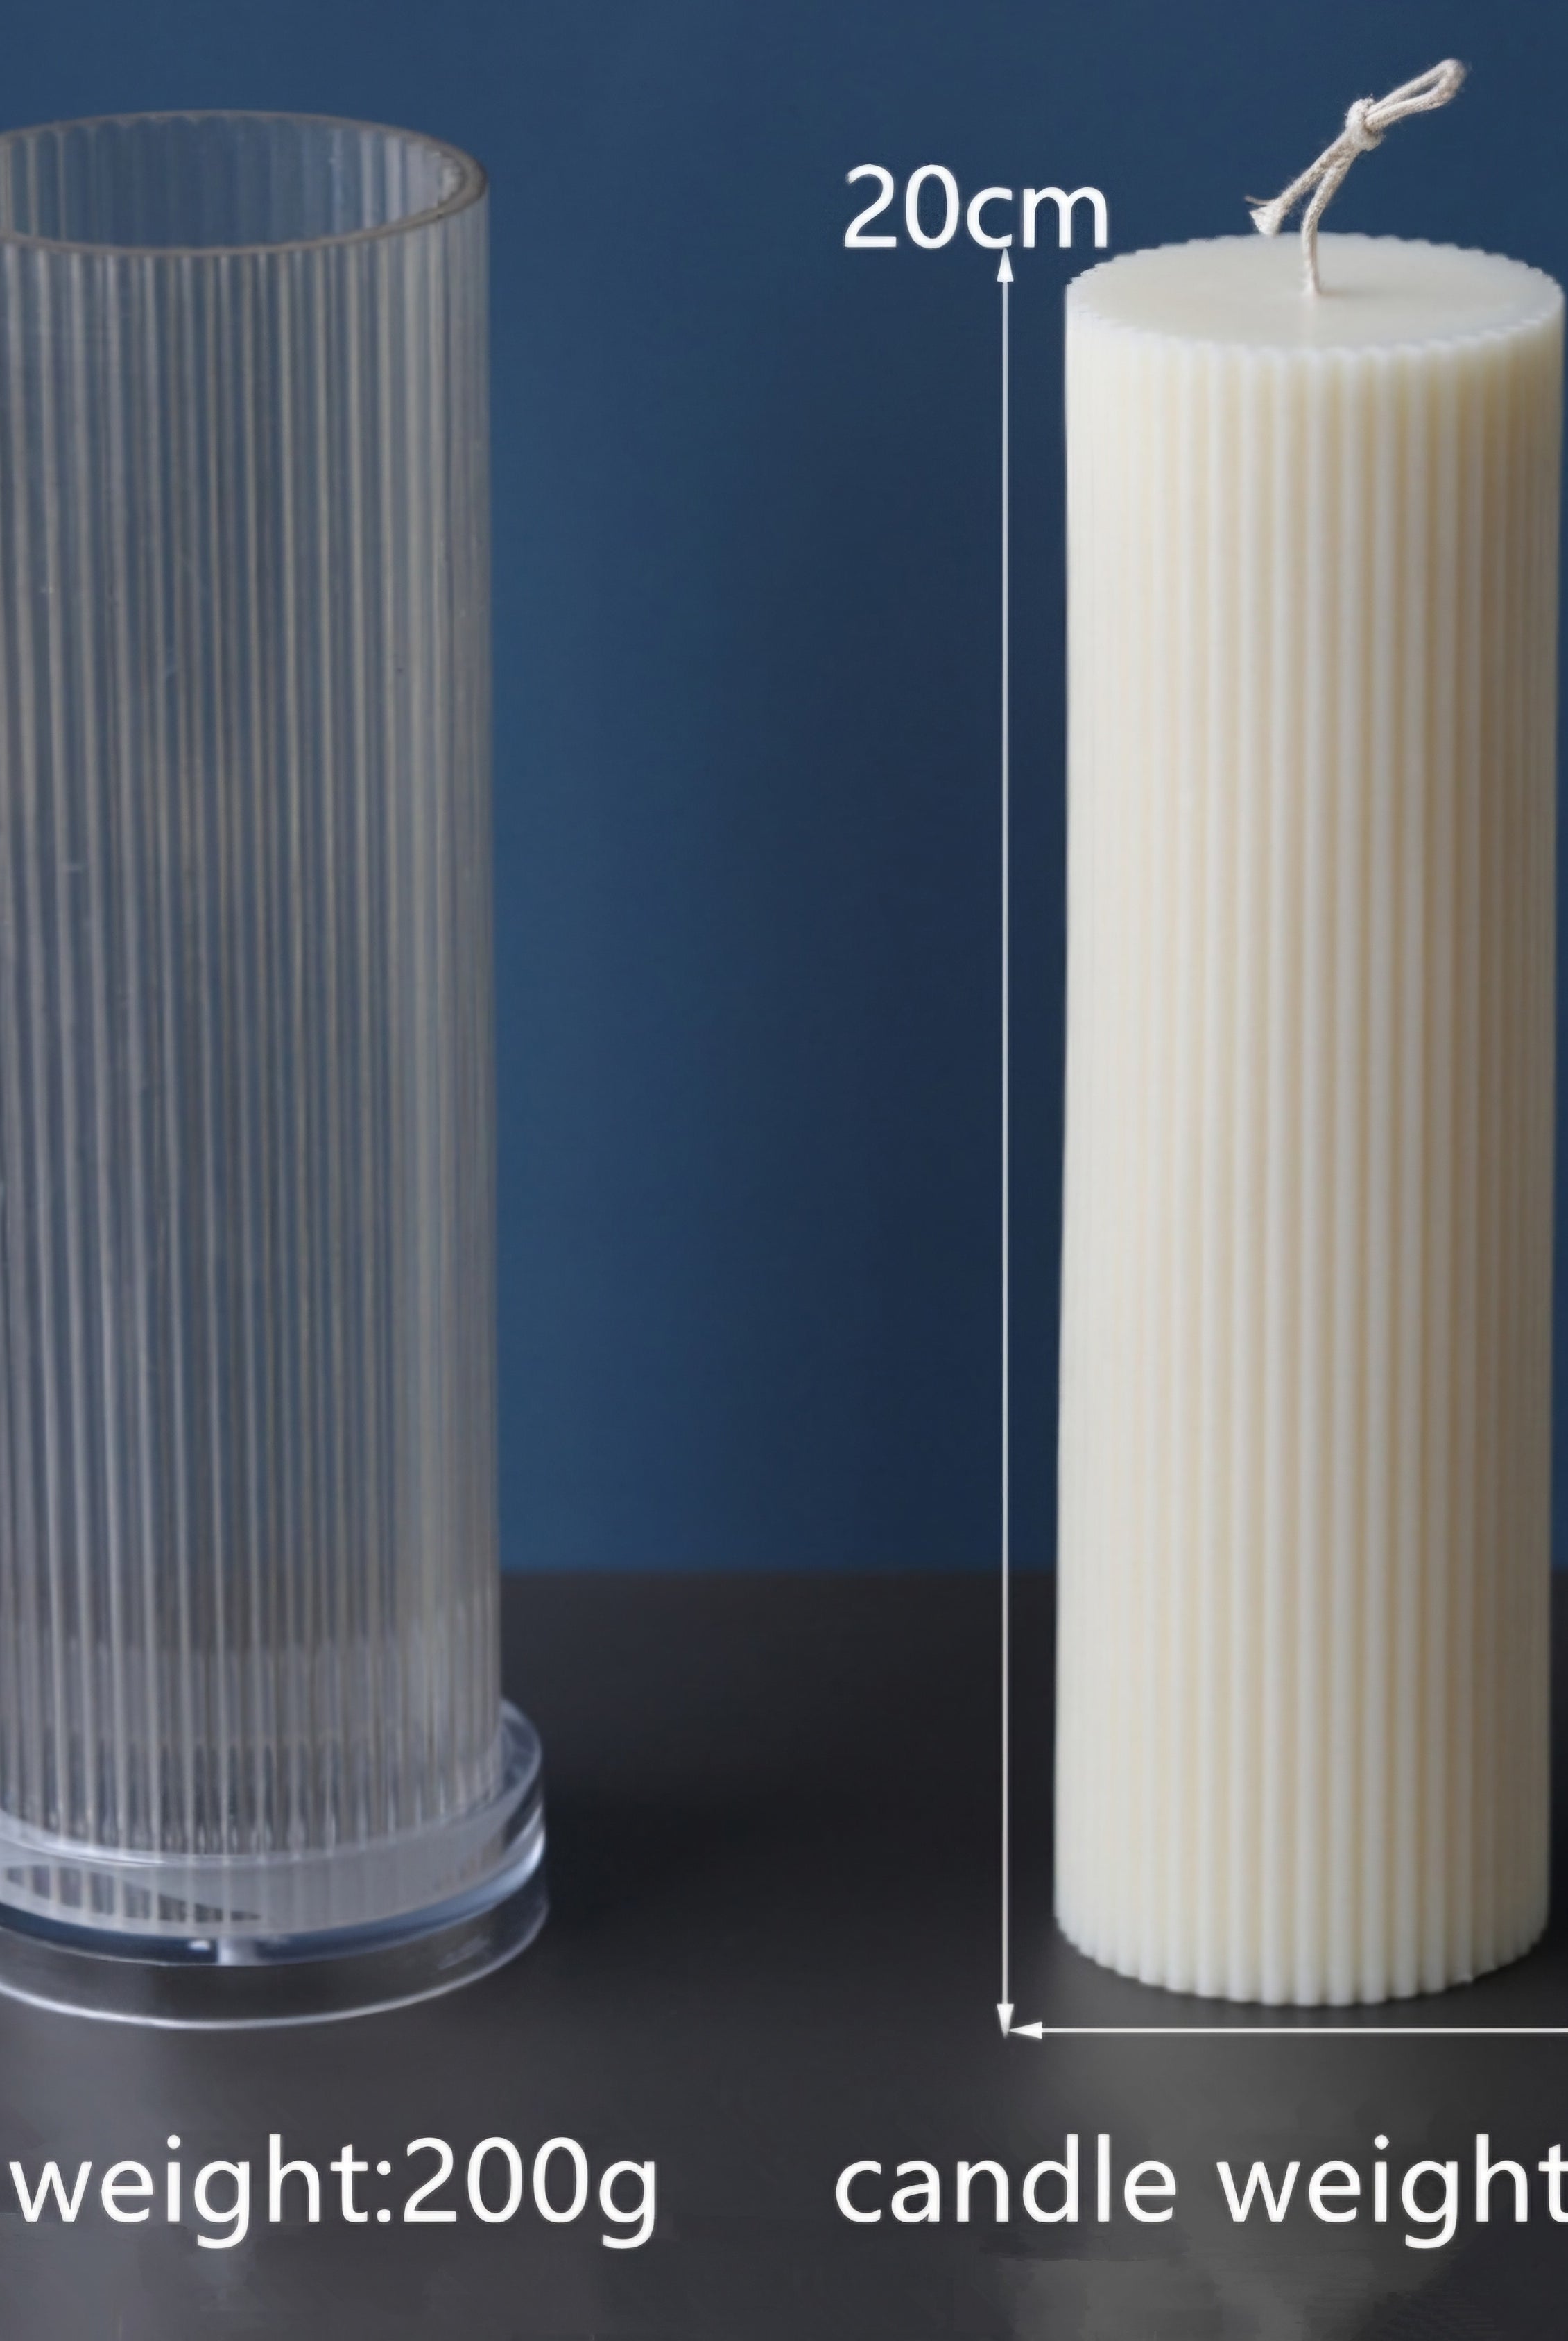
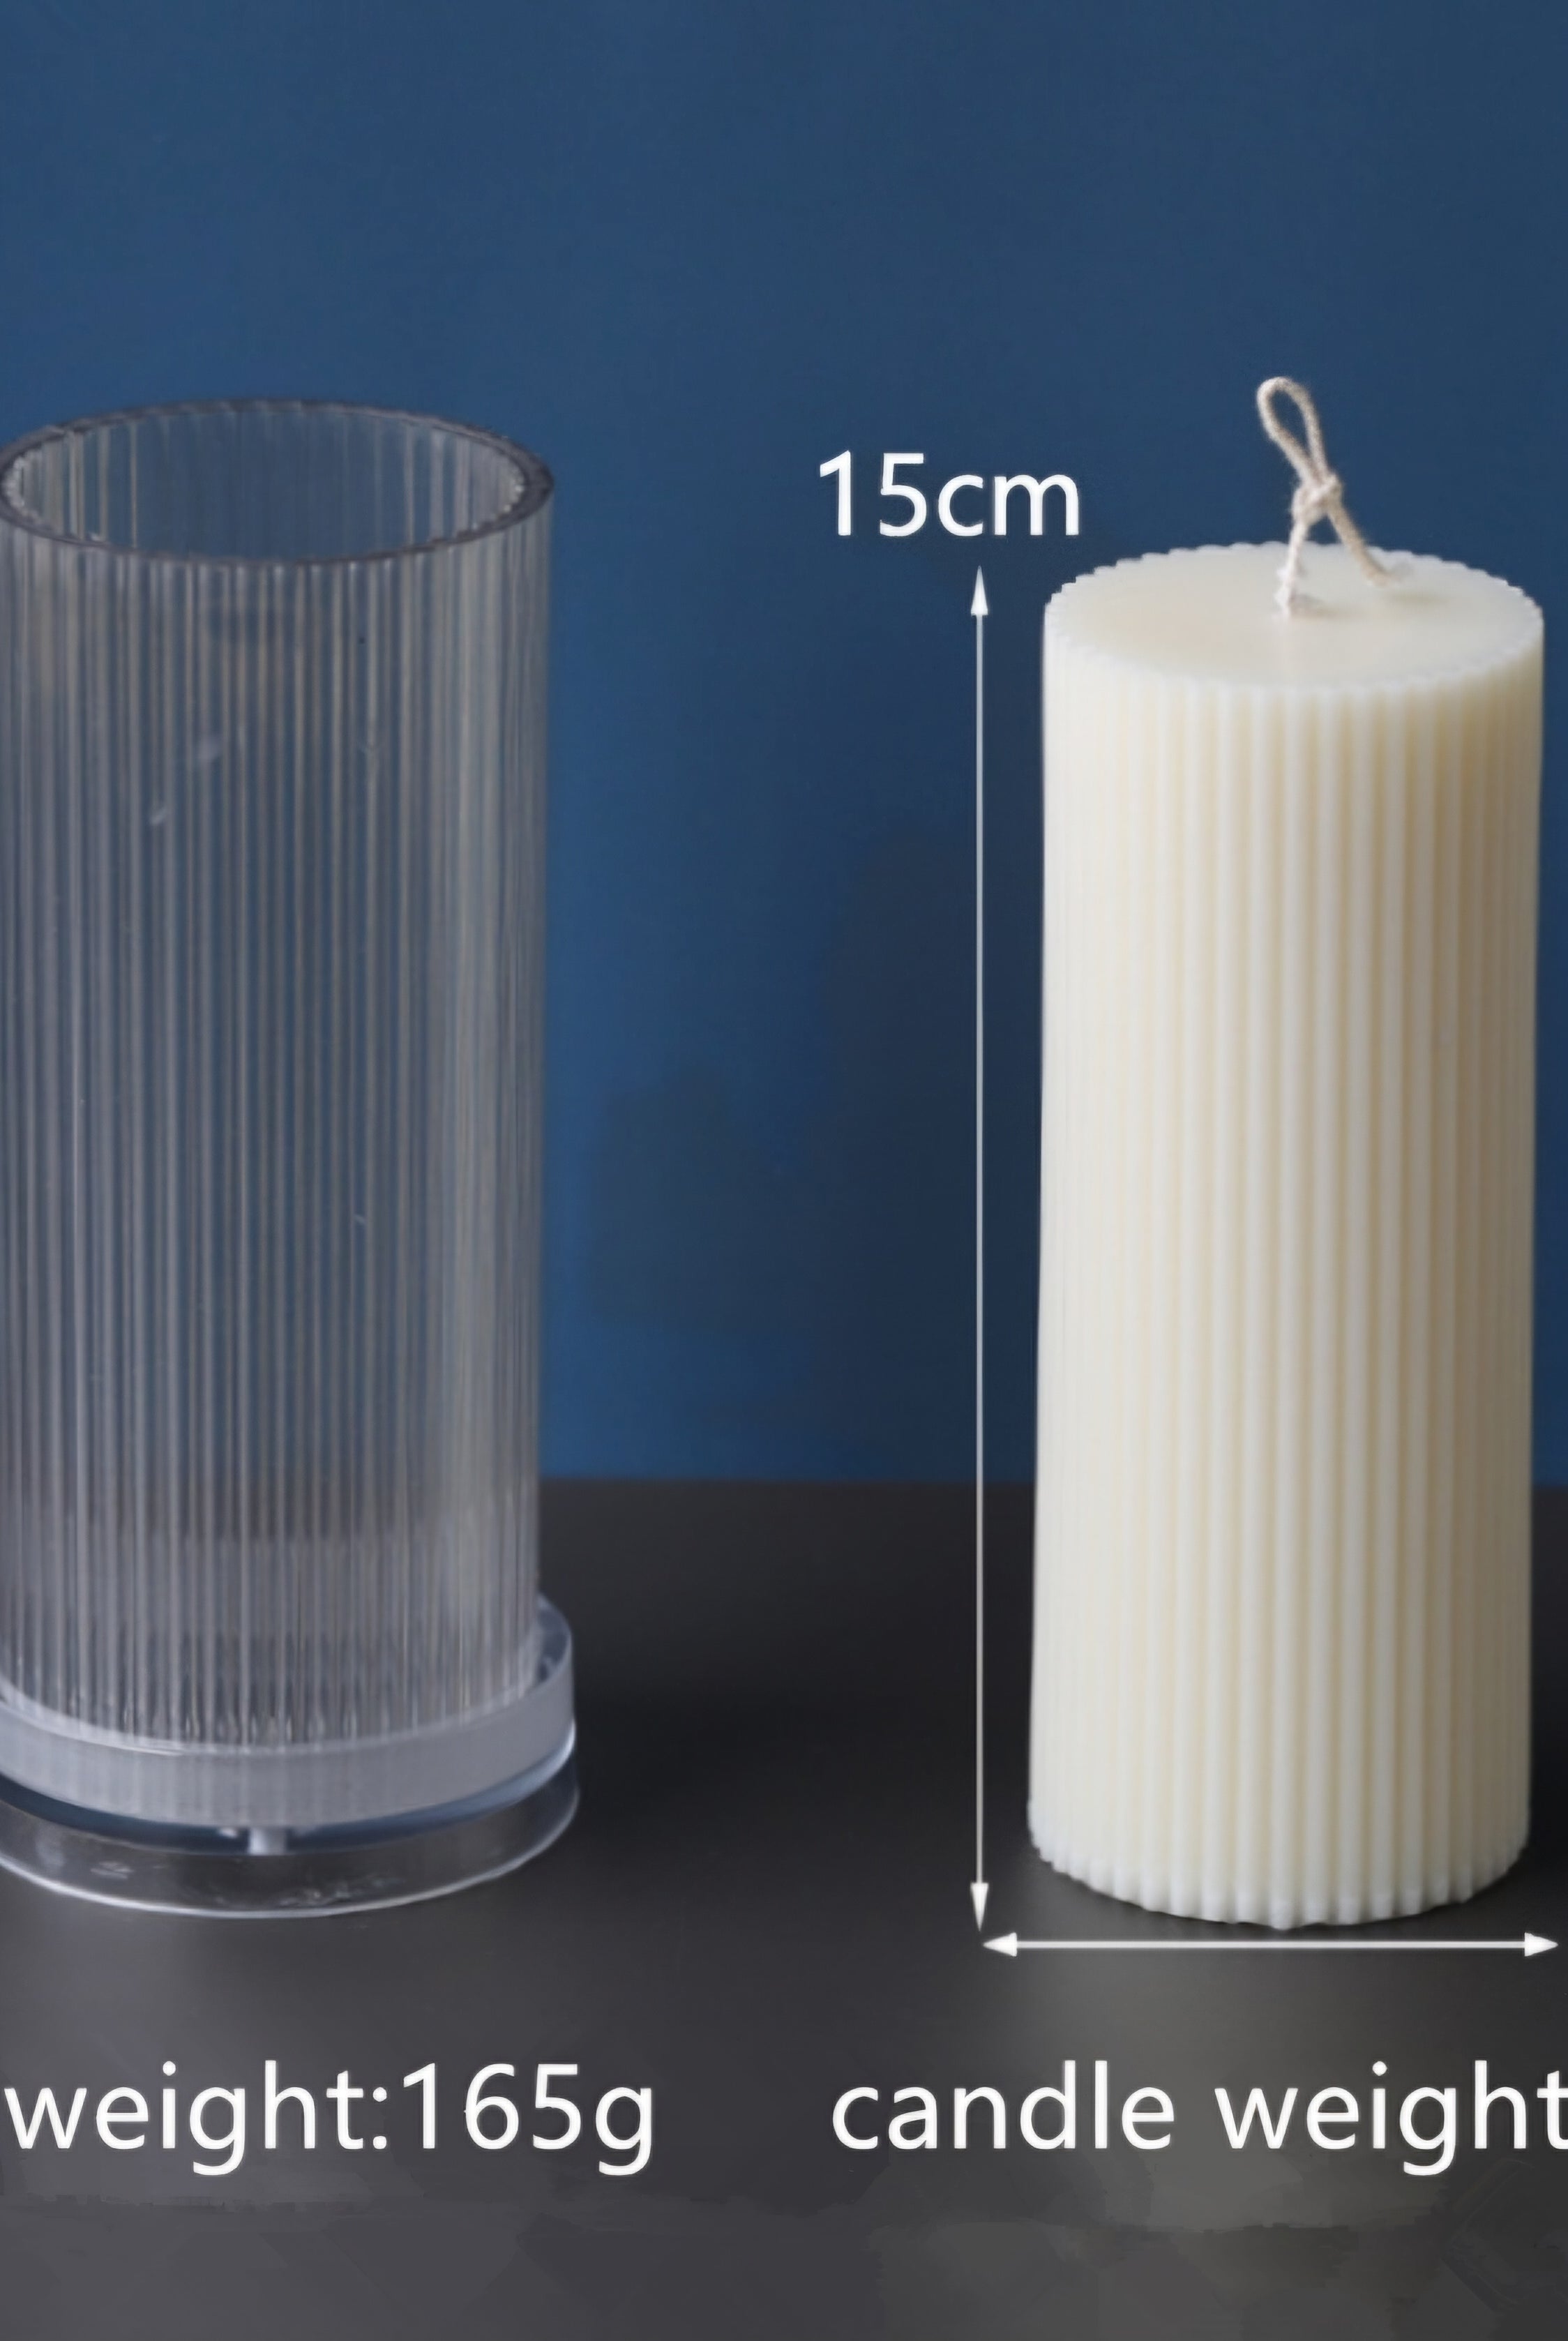
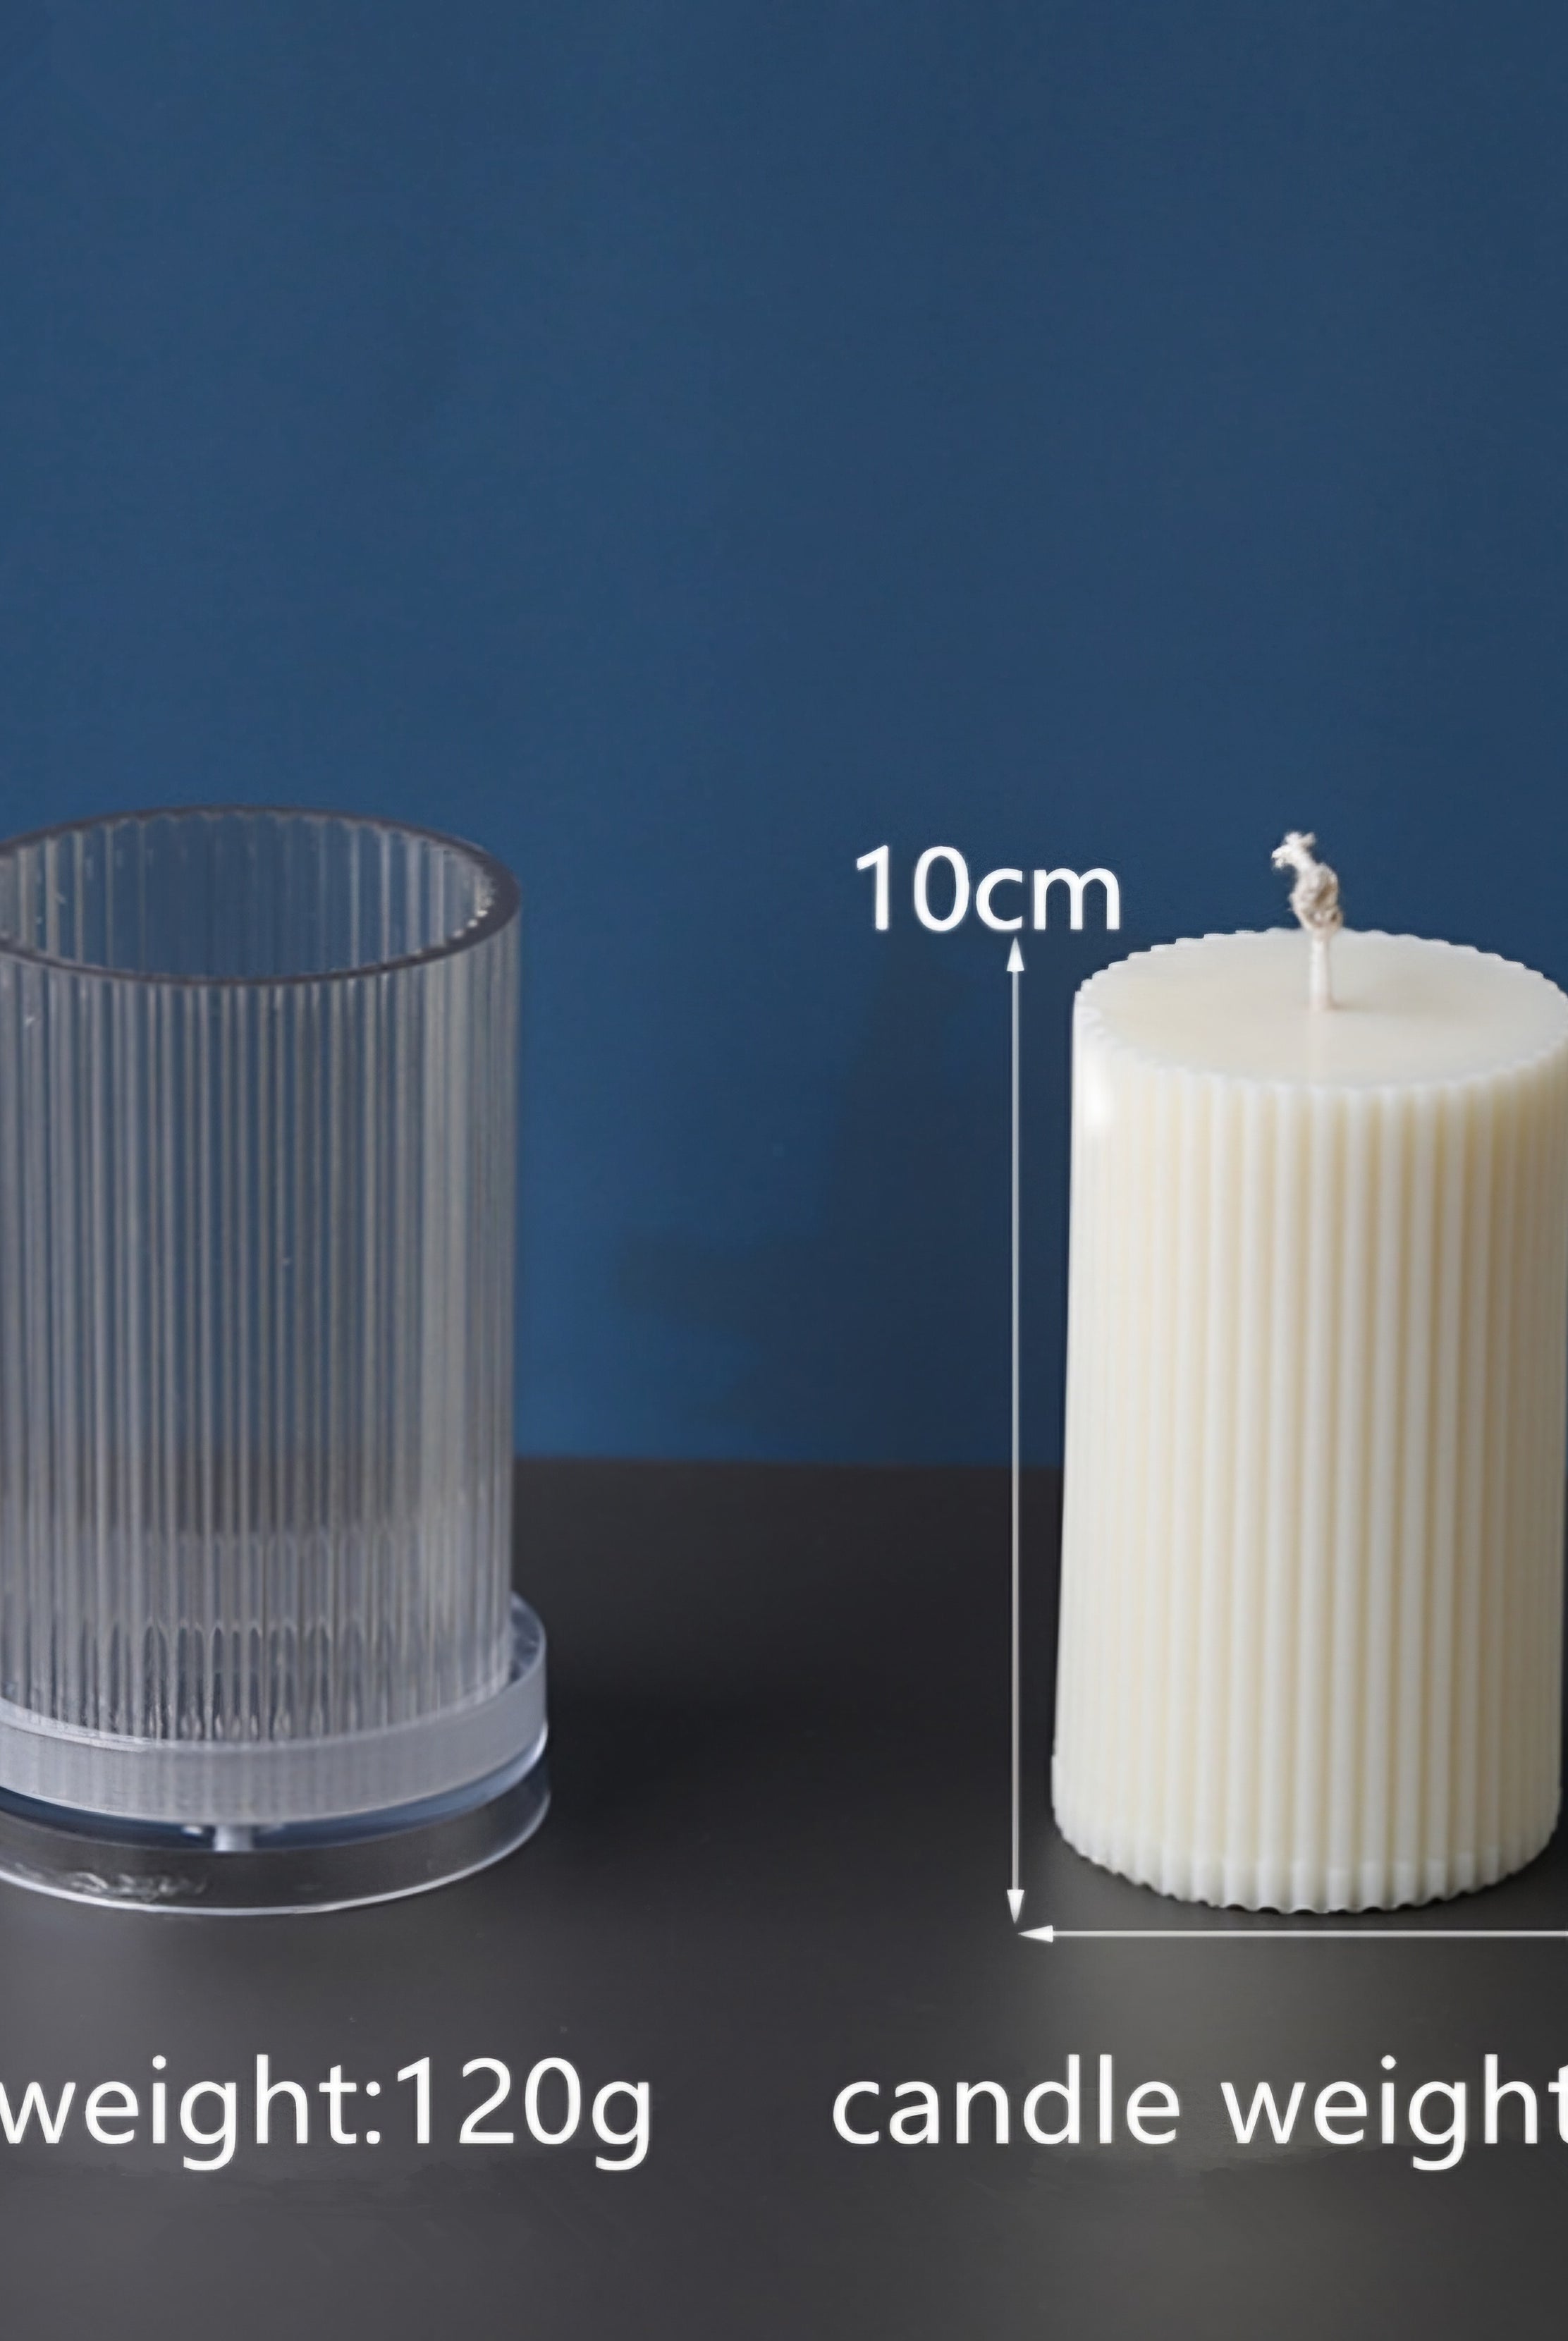
Finished product: 15cm (H) x 5cm (W) x 5cm (L)
Wax volume: 330g
Cotton wick recommendation: 12 ply
All measurements are approximate and will vary depending on the type of wax used and how much fragrance oil is added.
Mould Performance & Storage
The physical life of the mould depends on how you use it (materials cast, frequency, etc.). Casting abrasive materials such as concrete can quickly erode moild detail, while casting non-abrasive materials, such as wax, will not affect mould detail. Do not over-stretch or use any abrasive tools or fingernails when demoulding.
Before storing, the mould should be cleaned with a soap solution and fully dry. Two part moulds should be assembled. Moulds should be stored on a level surface in a cool, dry environment to maintain its original shape.
Disclaimer: mould is poured and trimmed by hand and therefore may have some minor exterior imperfections.
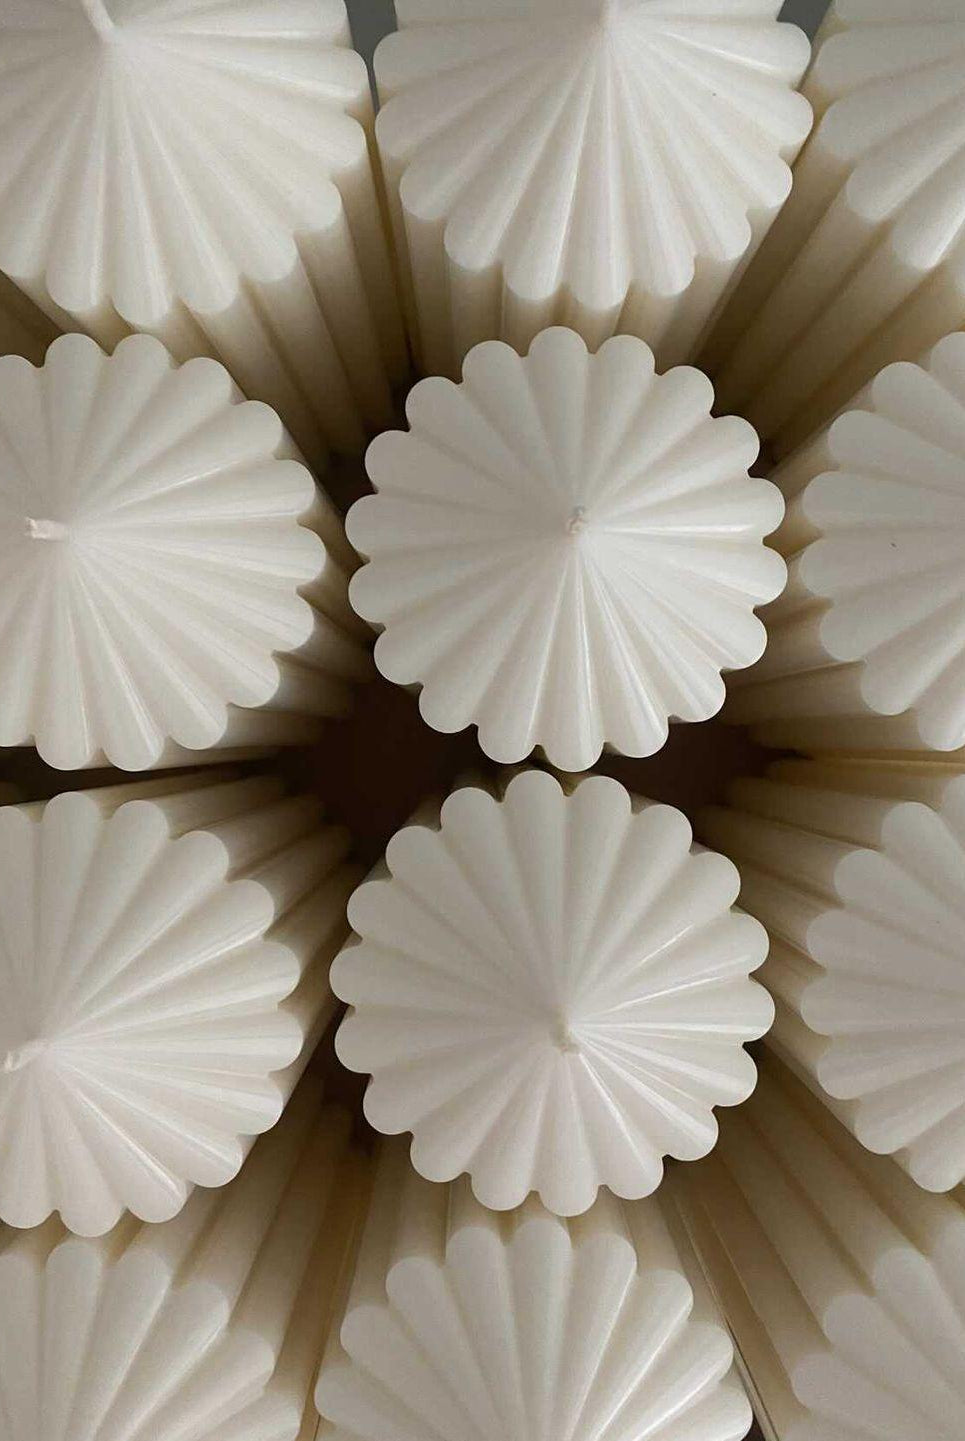
Photo credit: @blowmywick_
How To Use
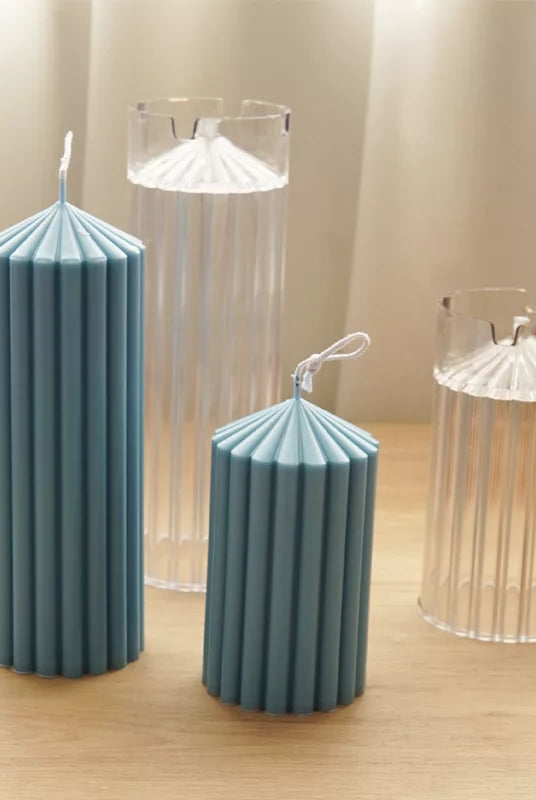
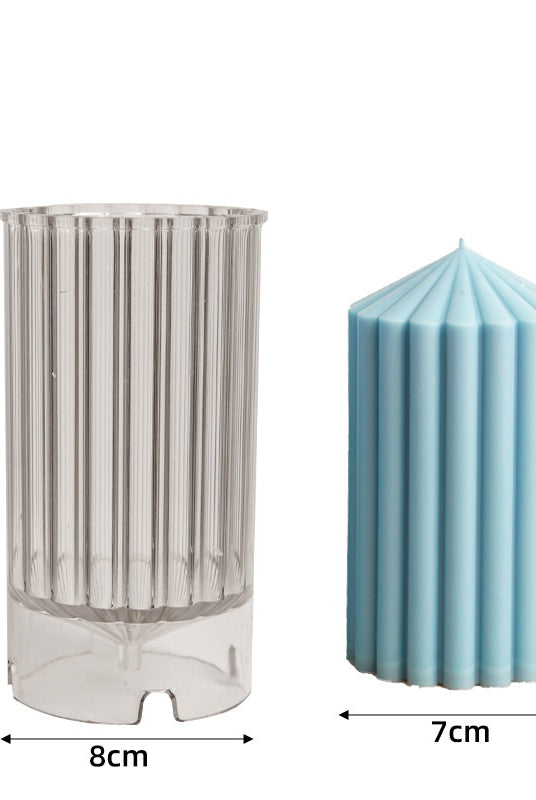
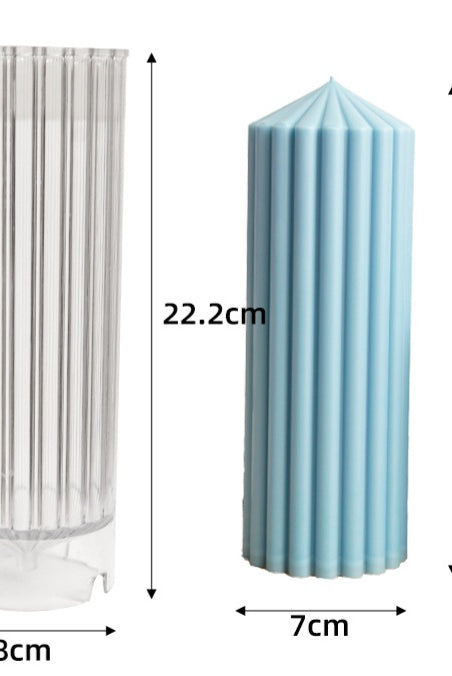
Acrylic PVC Candle Moulds:
To use this candle mould, simply start by threading the wick through the center of the mould and securing it in place with a wick holder. Use blu tack to cover the wick hole to prevent leakage before pouring melted wax into the mould. Depending on the type of wax you are using, you may need to perform a second pour to even out the surface of the candle. Allow your candle to cure overnight before carefully unmoulding it. If the candle gets stuck, squeeze around the mould to release the candle from the sides.
Silicone Candle Moulds:
To use our candle moulds, simply start by threading the wick through the center of the mould and securing it in place with a wick holder. Then, pour in your melted wax and let it cool until it hardens. Depending on the type of wax you are using, you may need to perform a second pour to even out the surface of the candle. Allow your candle to cure overnight before carefully unmoulding it.
Concrete Trays & Vessels:
To make the most of your vessel mould, follow these steps:
- Preparation: Begin by gathering your selected material and ensure it's mixed according to the manufacturer's instructions.
- Pouring: Carefully fill the mould with your chosen material, ensuring it reaches the top.
- Air Bubble Removal: For a smoother finish, gently tap the mould on a sturdy surface to encourage any trapped air bubbles to rise to the surface.
- Curing: Adhere to the recommended curing time for your chosen material.
- Demoulding: Once the material has set and cured, carefully flex and remove the mould to unveil your creation.
- If your tray or vessel will be used for candles, it is vital to seal it with a heat-resistant sealer. Apply at least two coats to both the interior and exterior of the vessel. Ensure the sealant is fully dry before pouring in the wax.
Shipping
Standard (Australia):
- 3-7 business days
- $12 shipping fee
Express (Australia)
- 1-3 business days
- $17
Standard (New Zealand)
- 4-14 business days
- $20
DHL Express (International)
- 3-7 business days via DHL Express
- Calculated based on location and weight
Returns & Refunds
Parcel Claims:
Report missing or damaged items within 24 hours of delivery to be eligible for store credit or a replacement. Include proof of purchase and photographic evidence. Contact us at info@mykacandlesandmoulds.com.
Moulds Disclaimer:
Expect slight imperfections in our handmade silicone moulds, which won't affect the final product. For unlevel moulds, adjust using simple supports.
Exchanges/Refunds:
No alterations, cancellations, exchanges, or refunds after purchase except as covered under parcel claims.
Lost/Damaged Parcels:
If a package is lost or damaged, contact us immediately for assistance with a claim.
For detailed information on our policies, please visit our full Returns & Refunds Policy.
