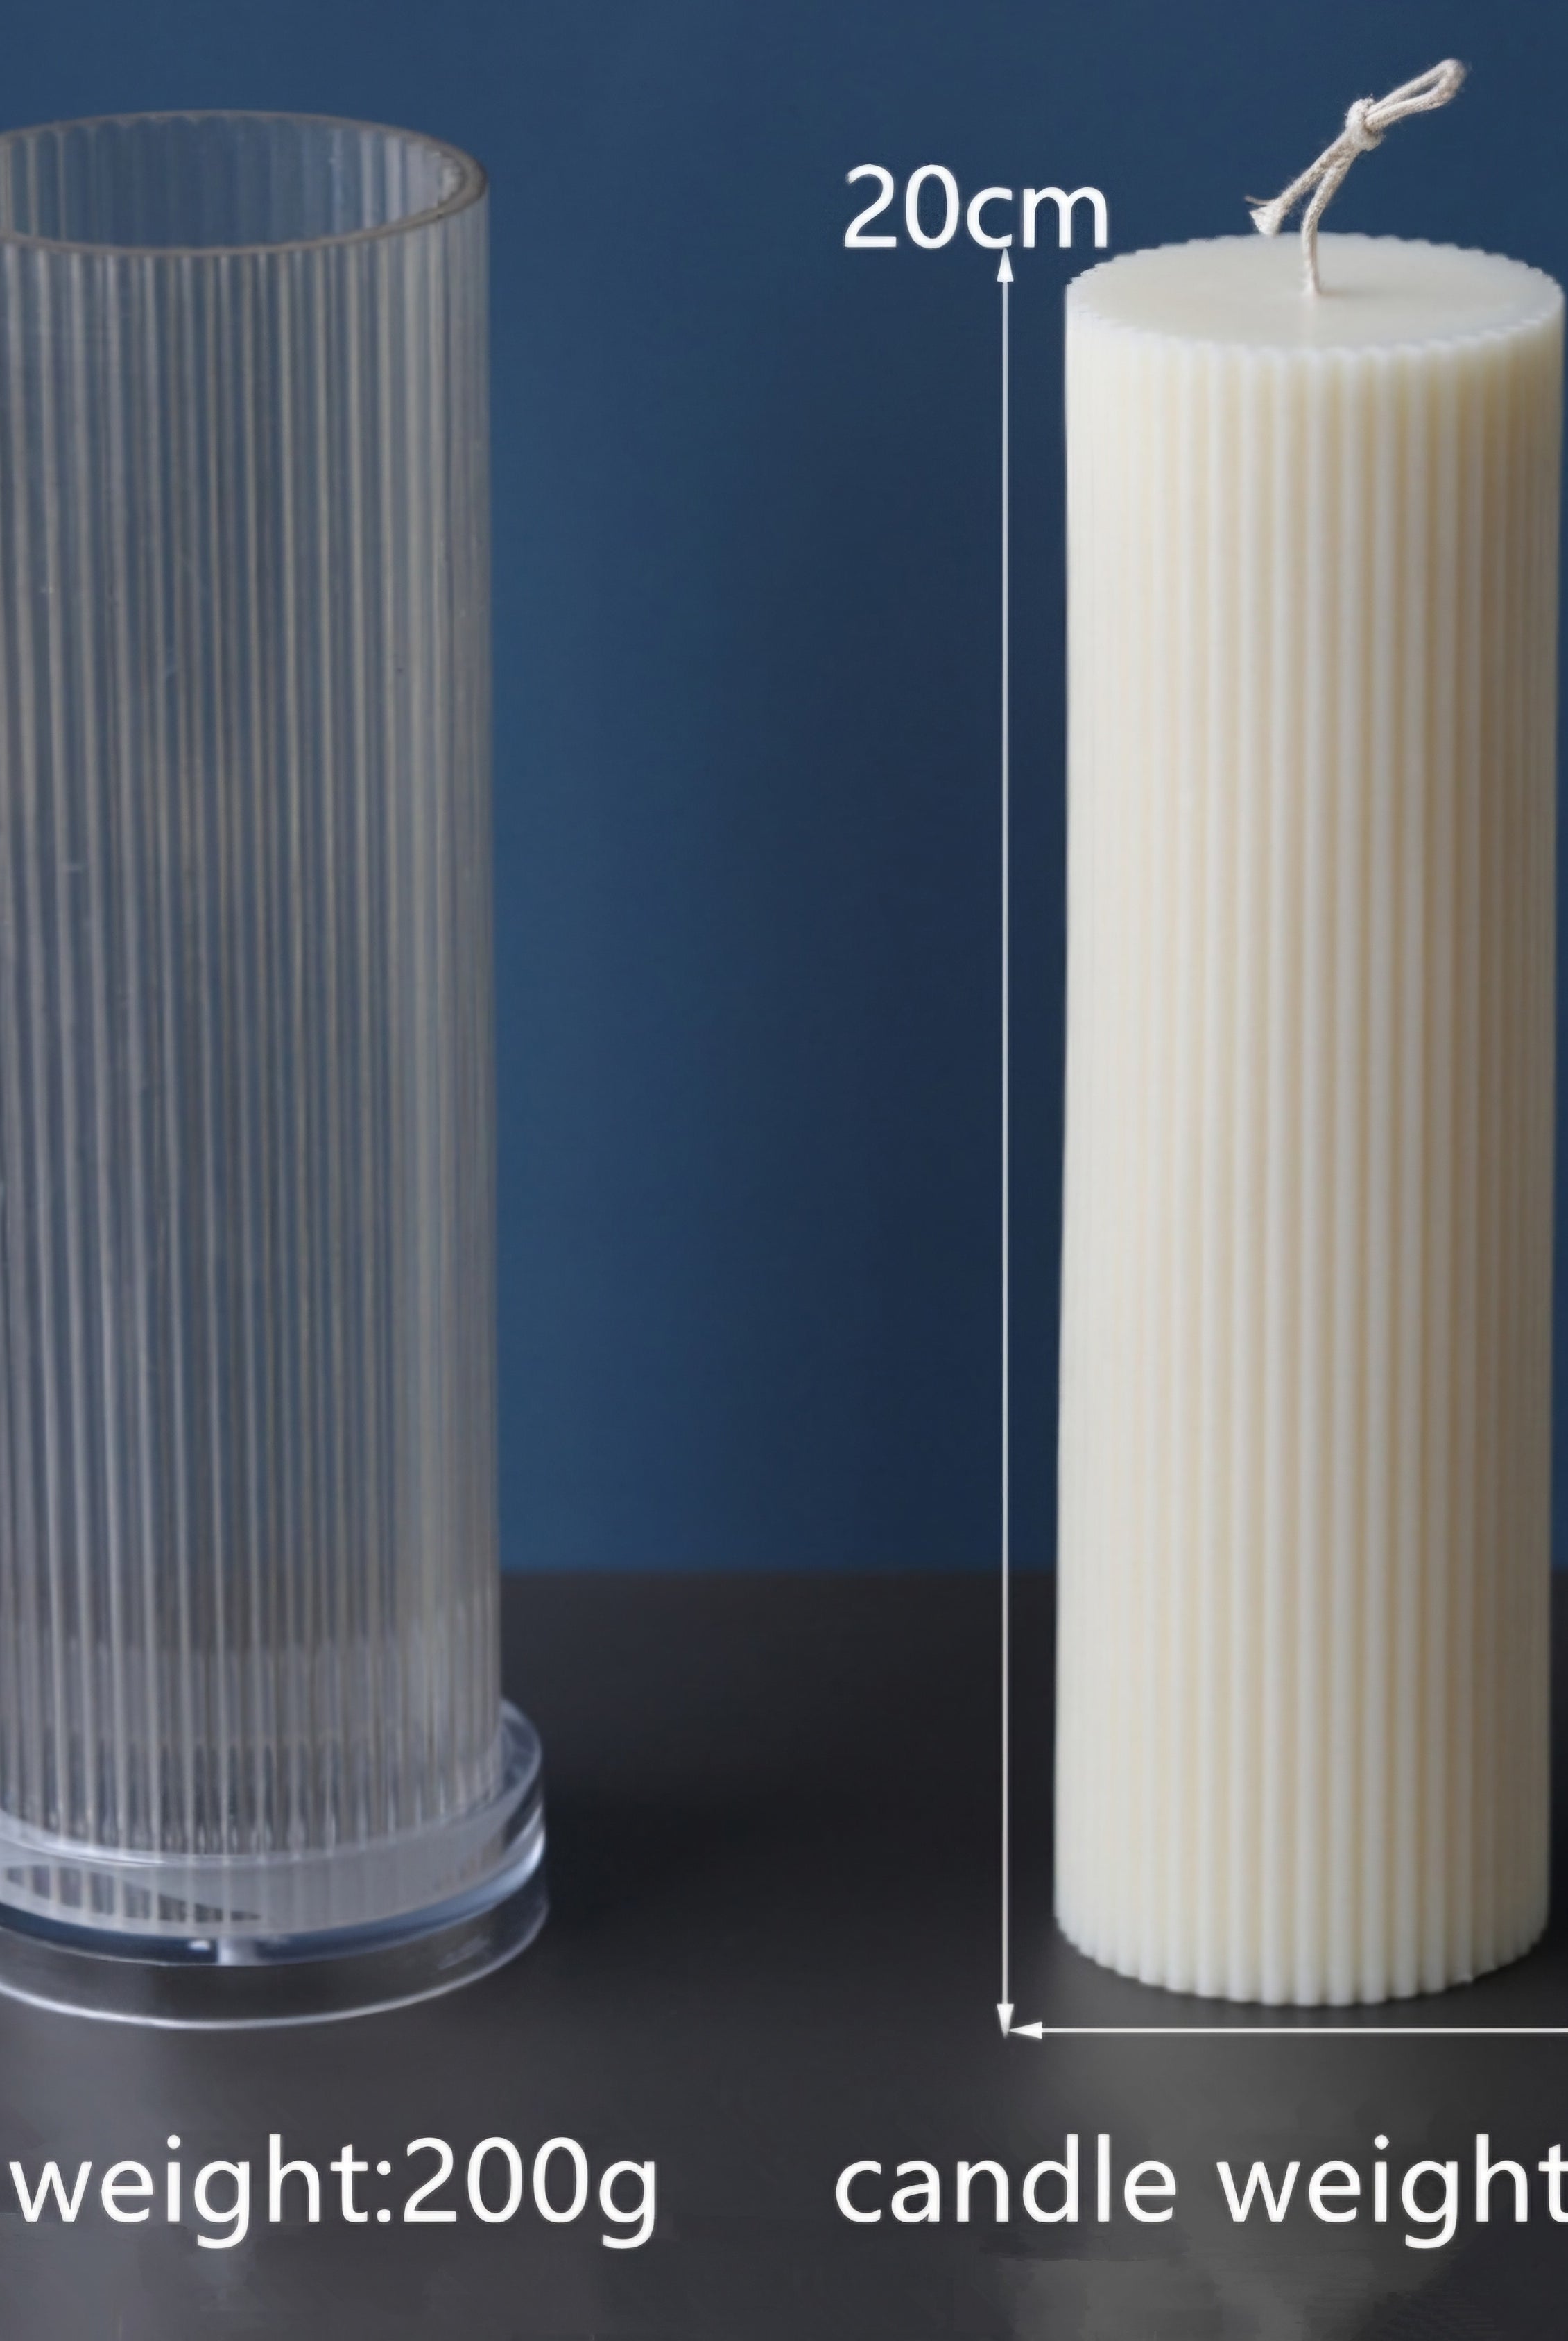
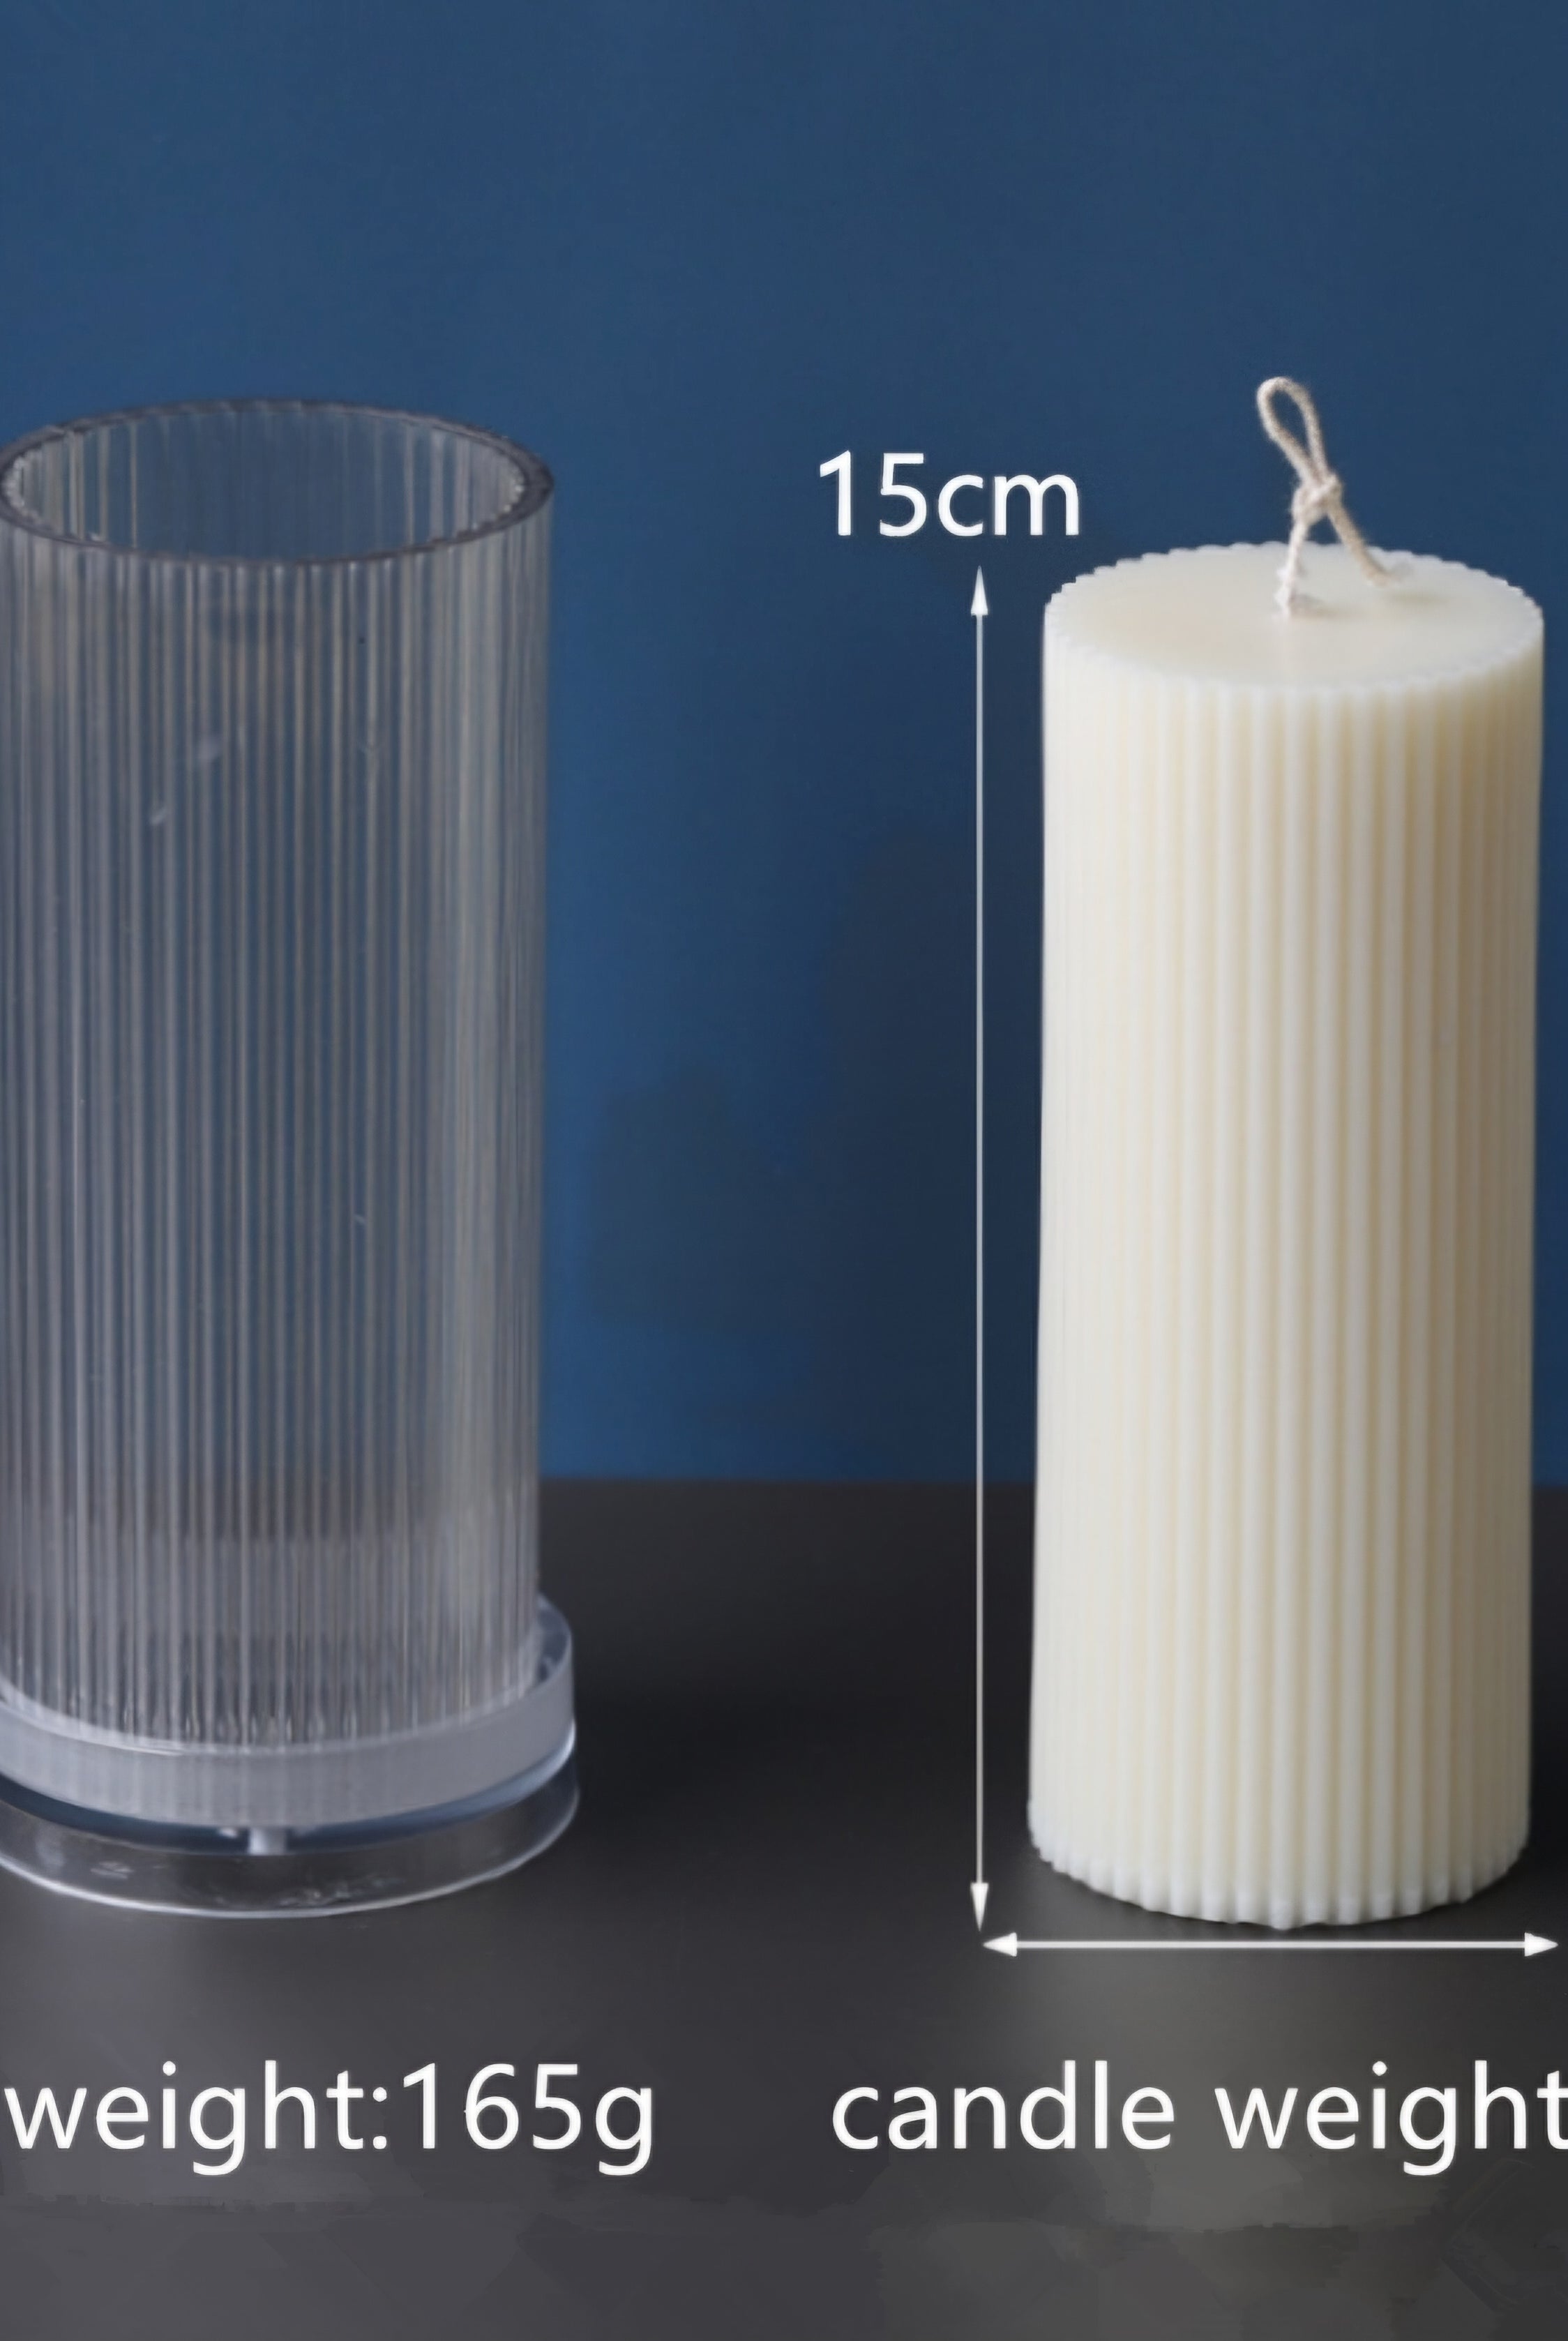
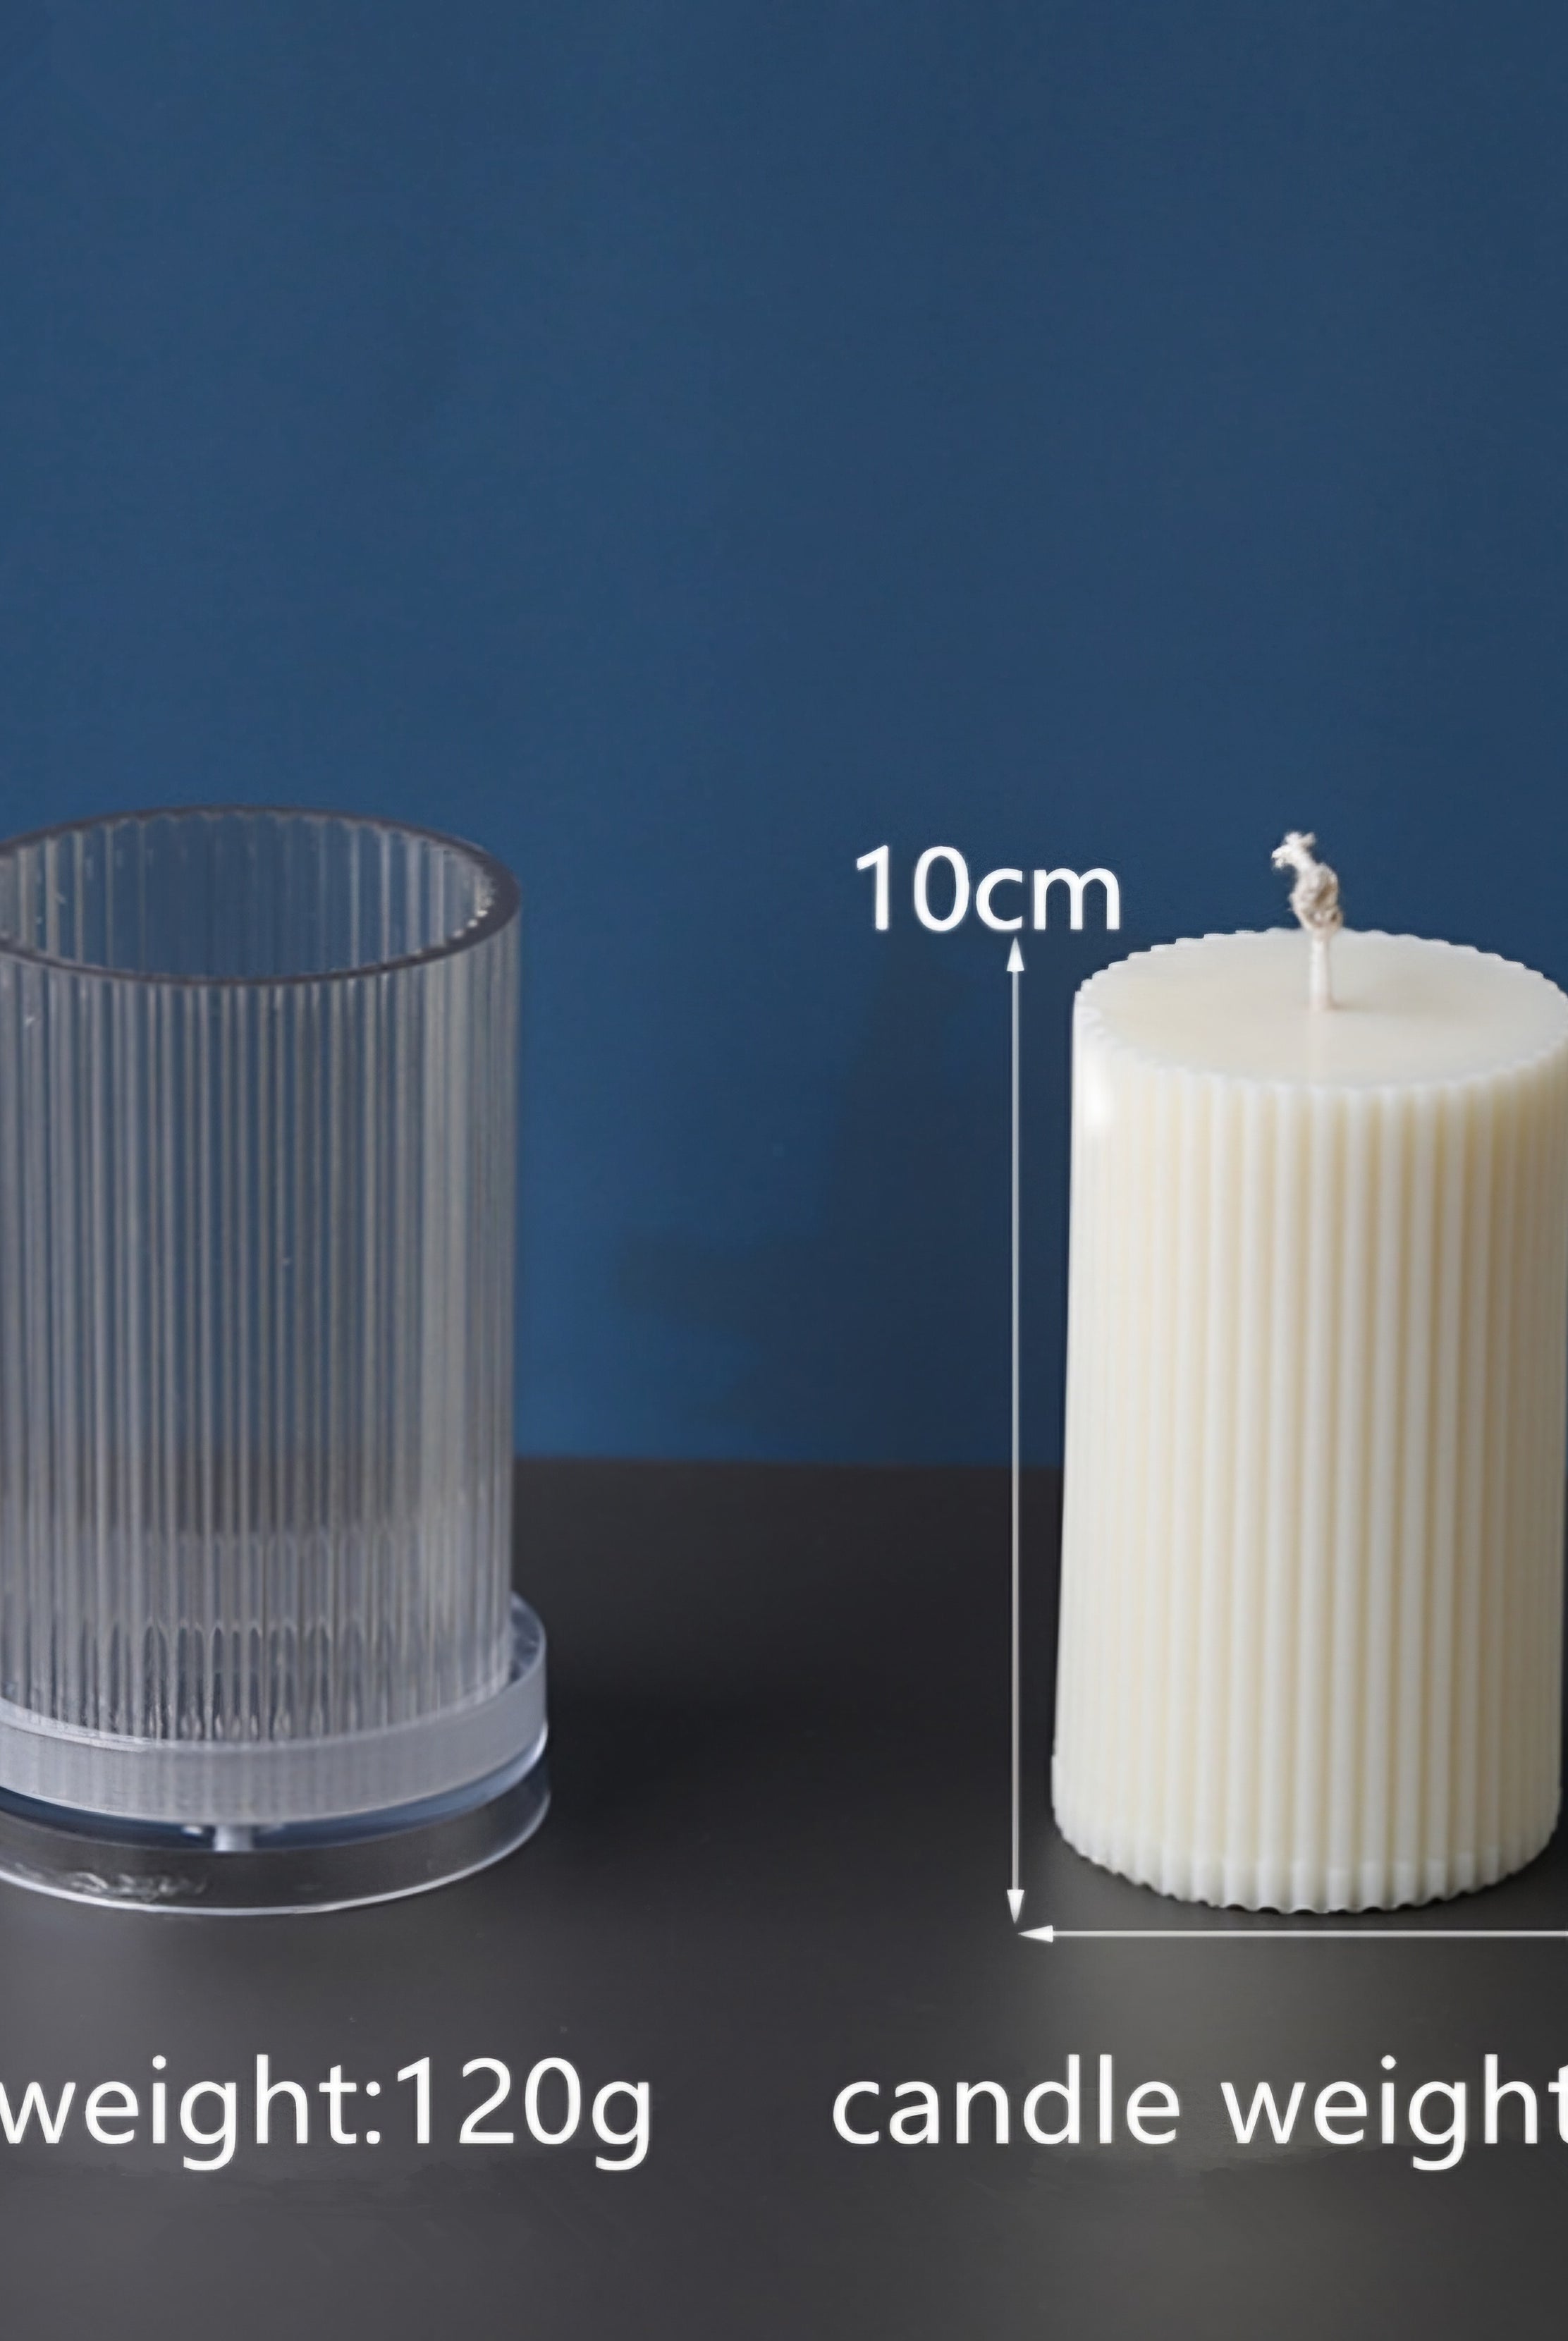
Pillar Candle FAQs
Q: What are pillar candles?
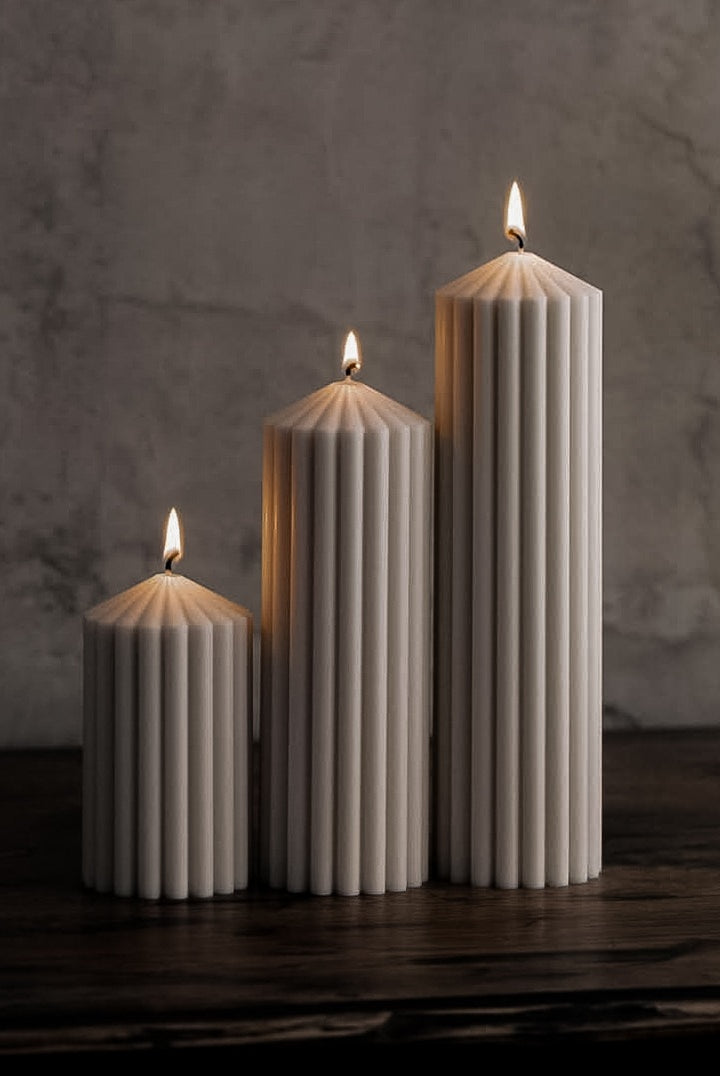
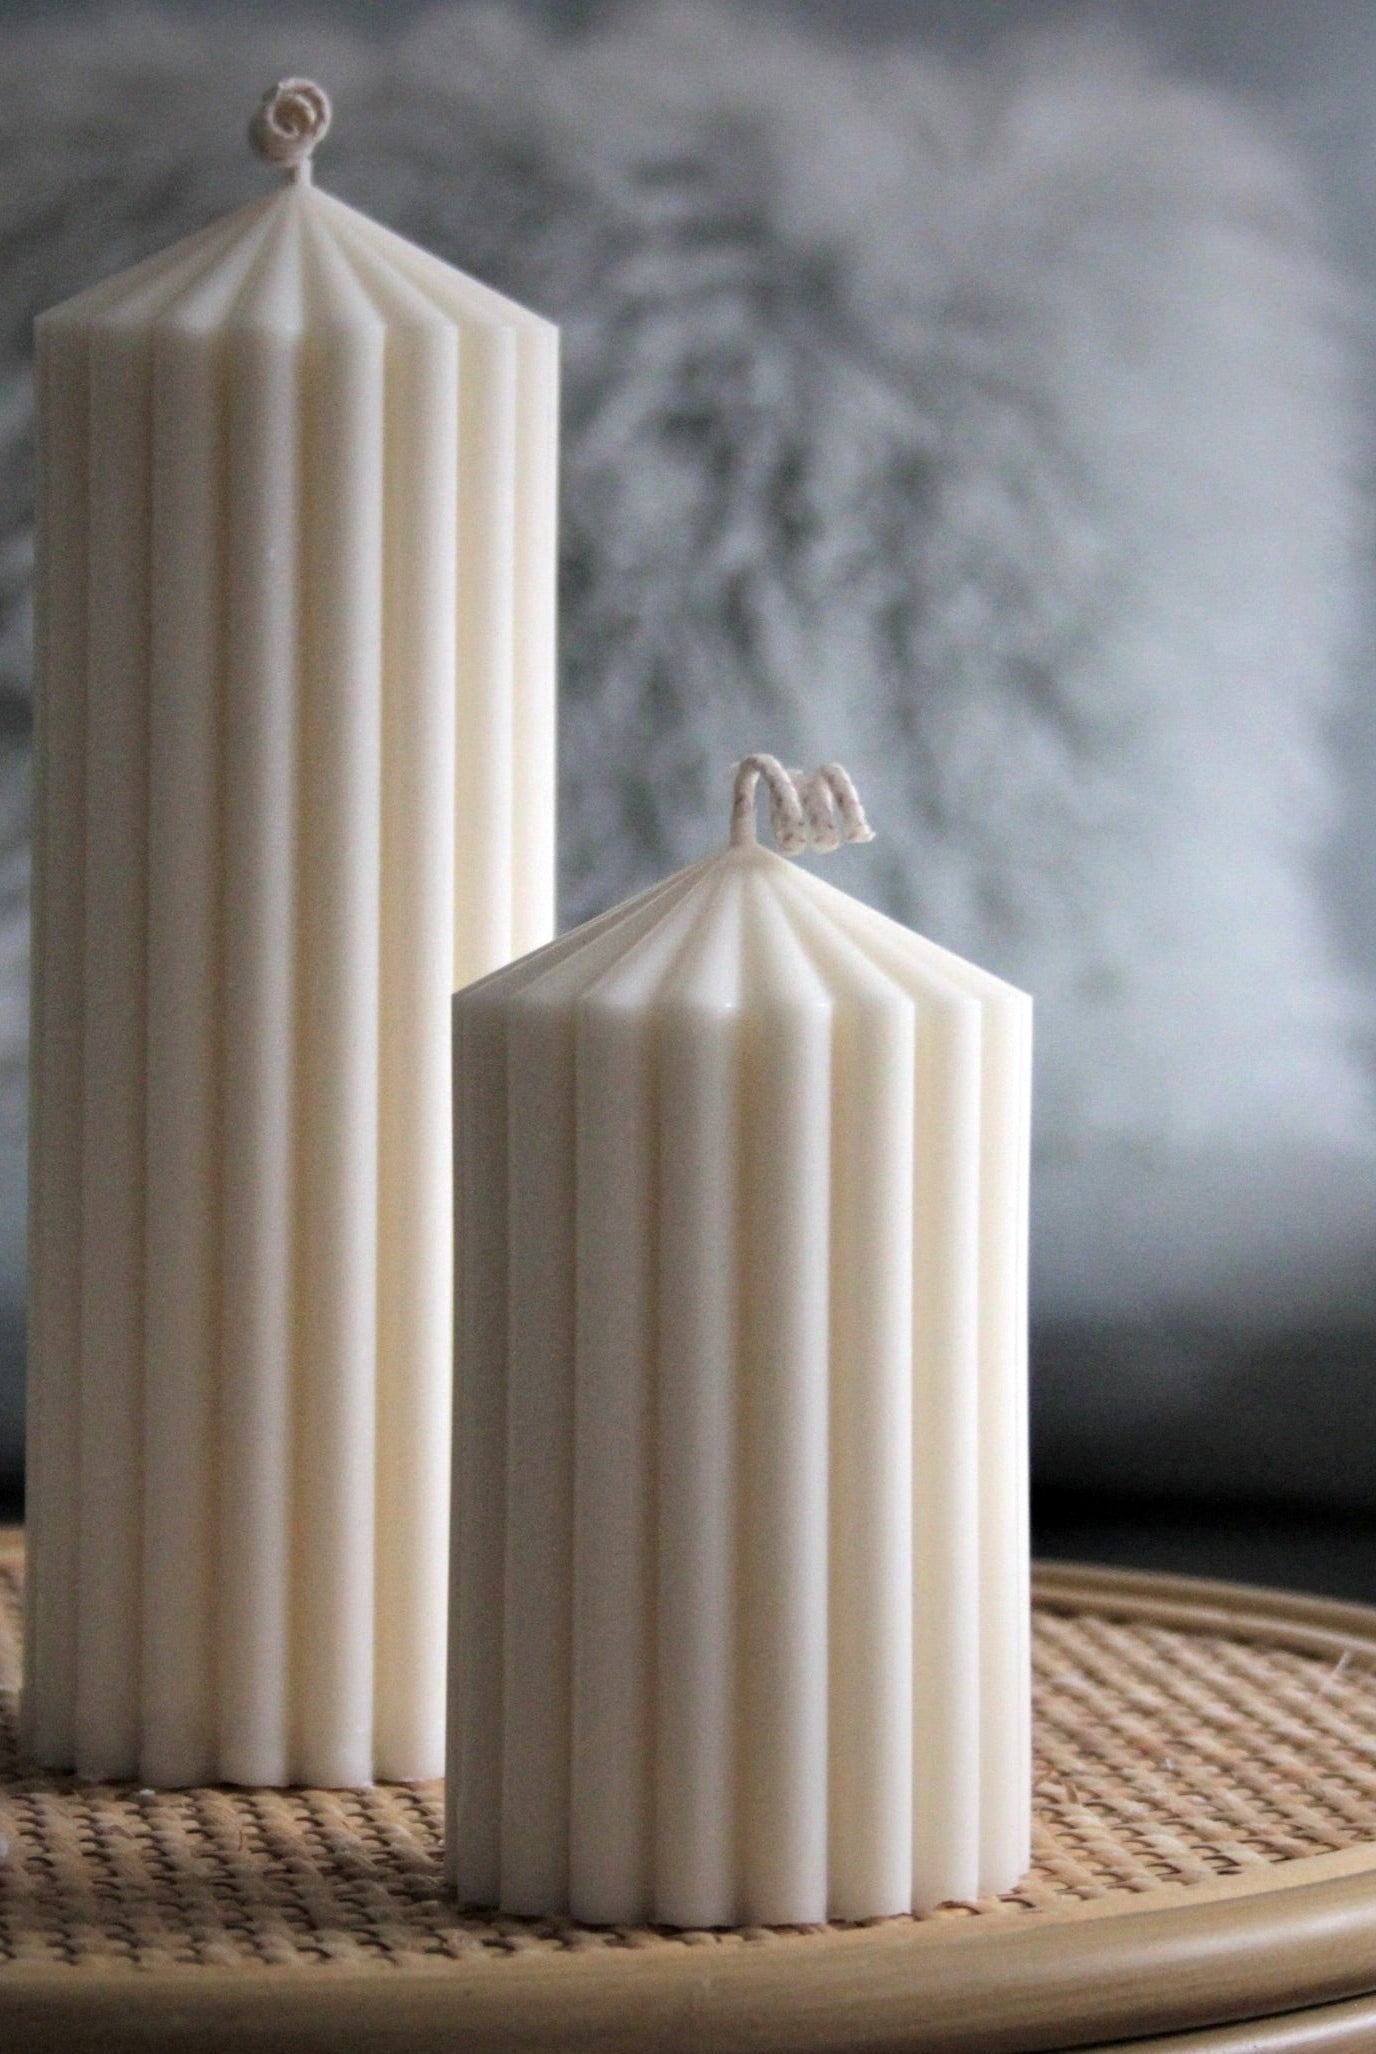
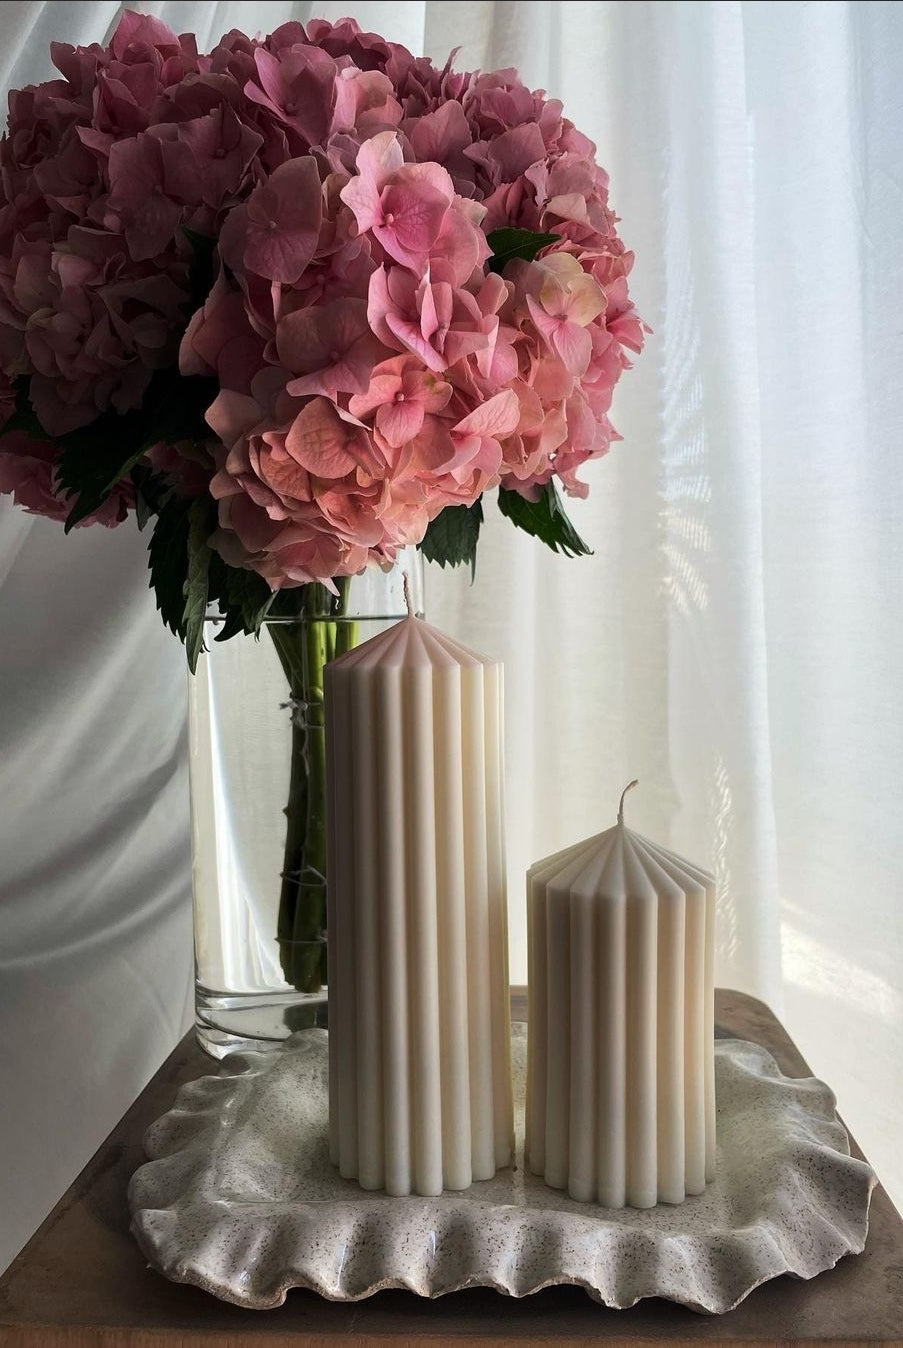
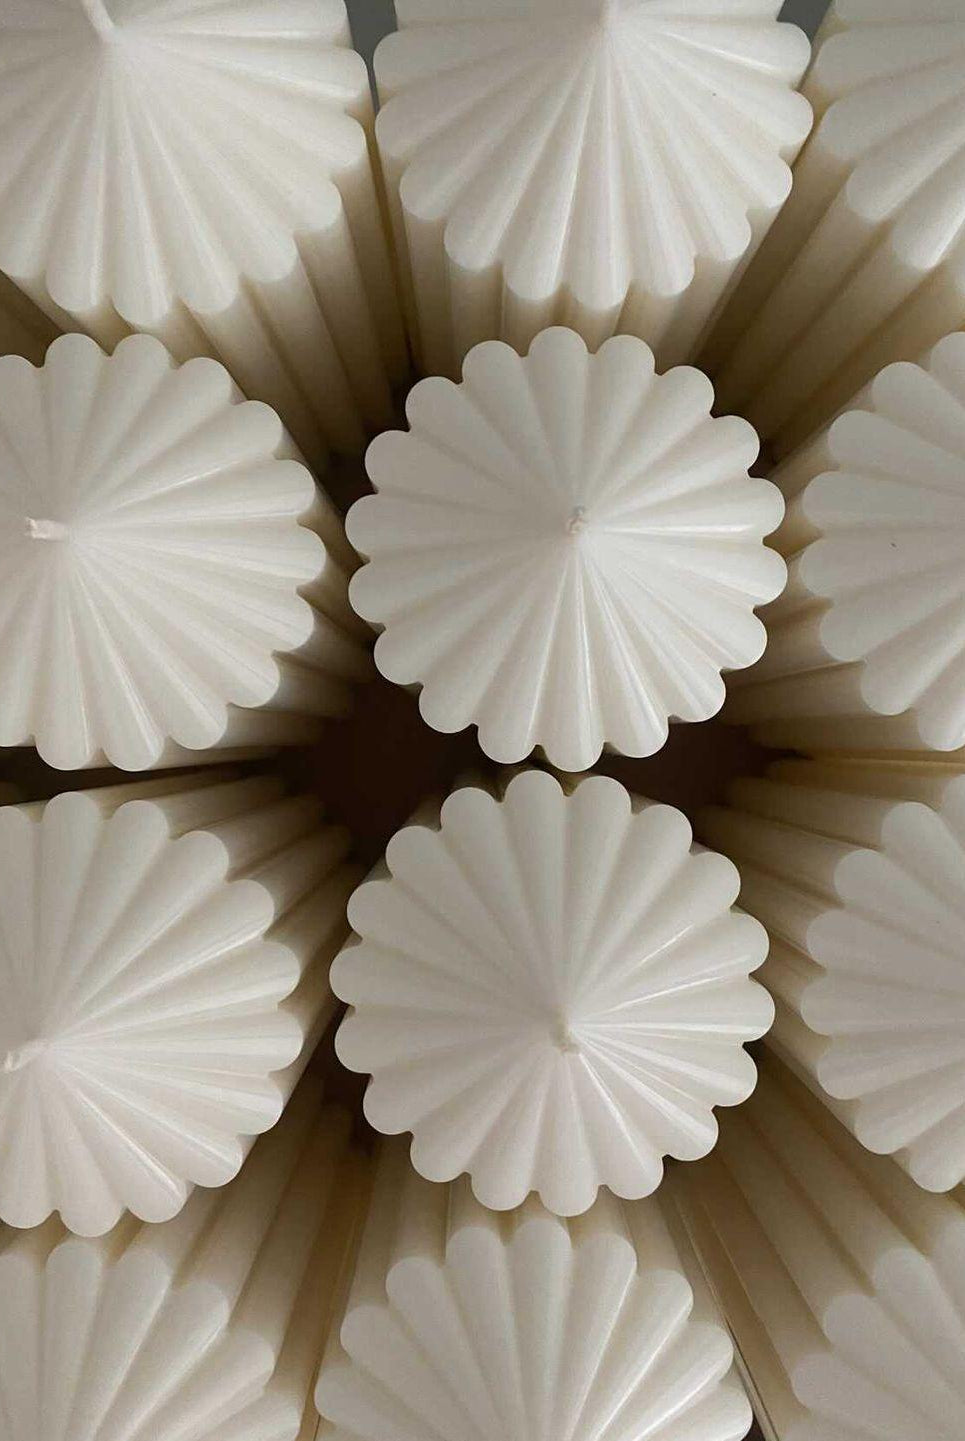
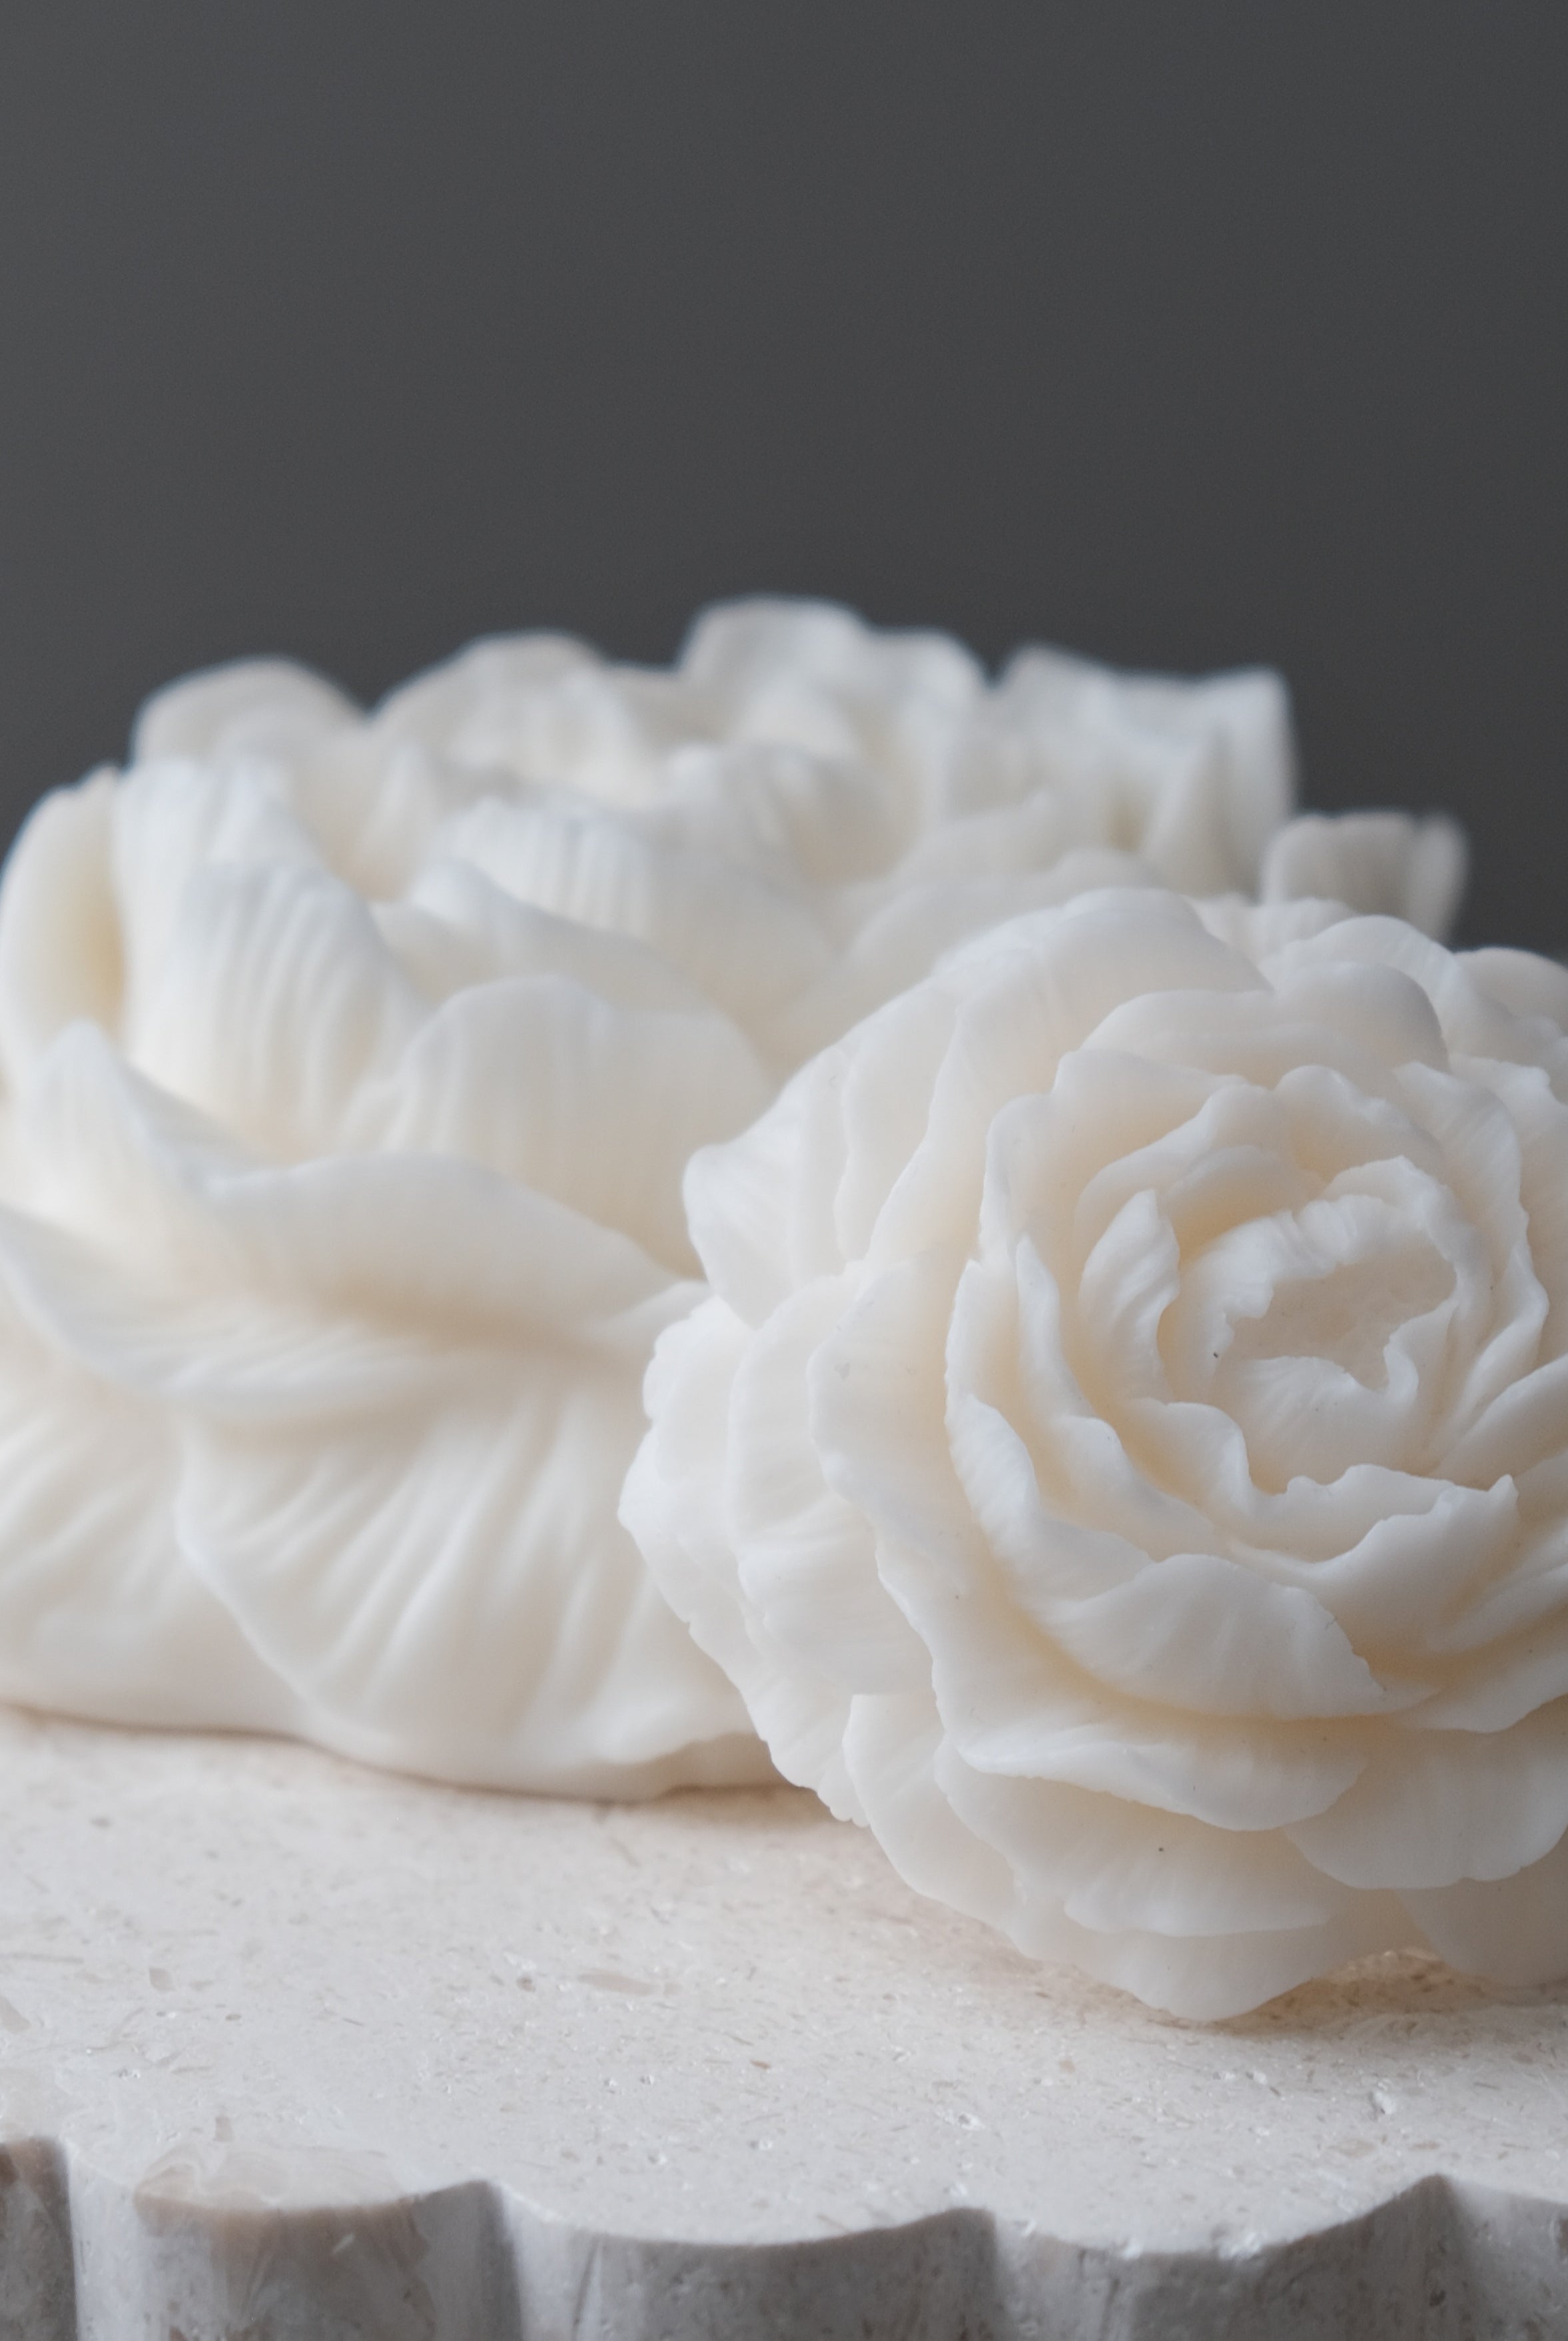
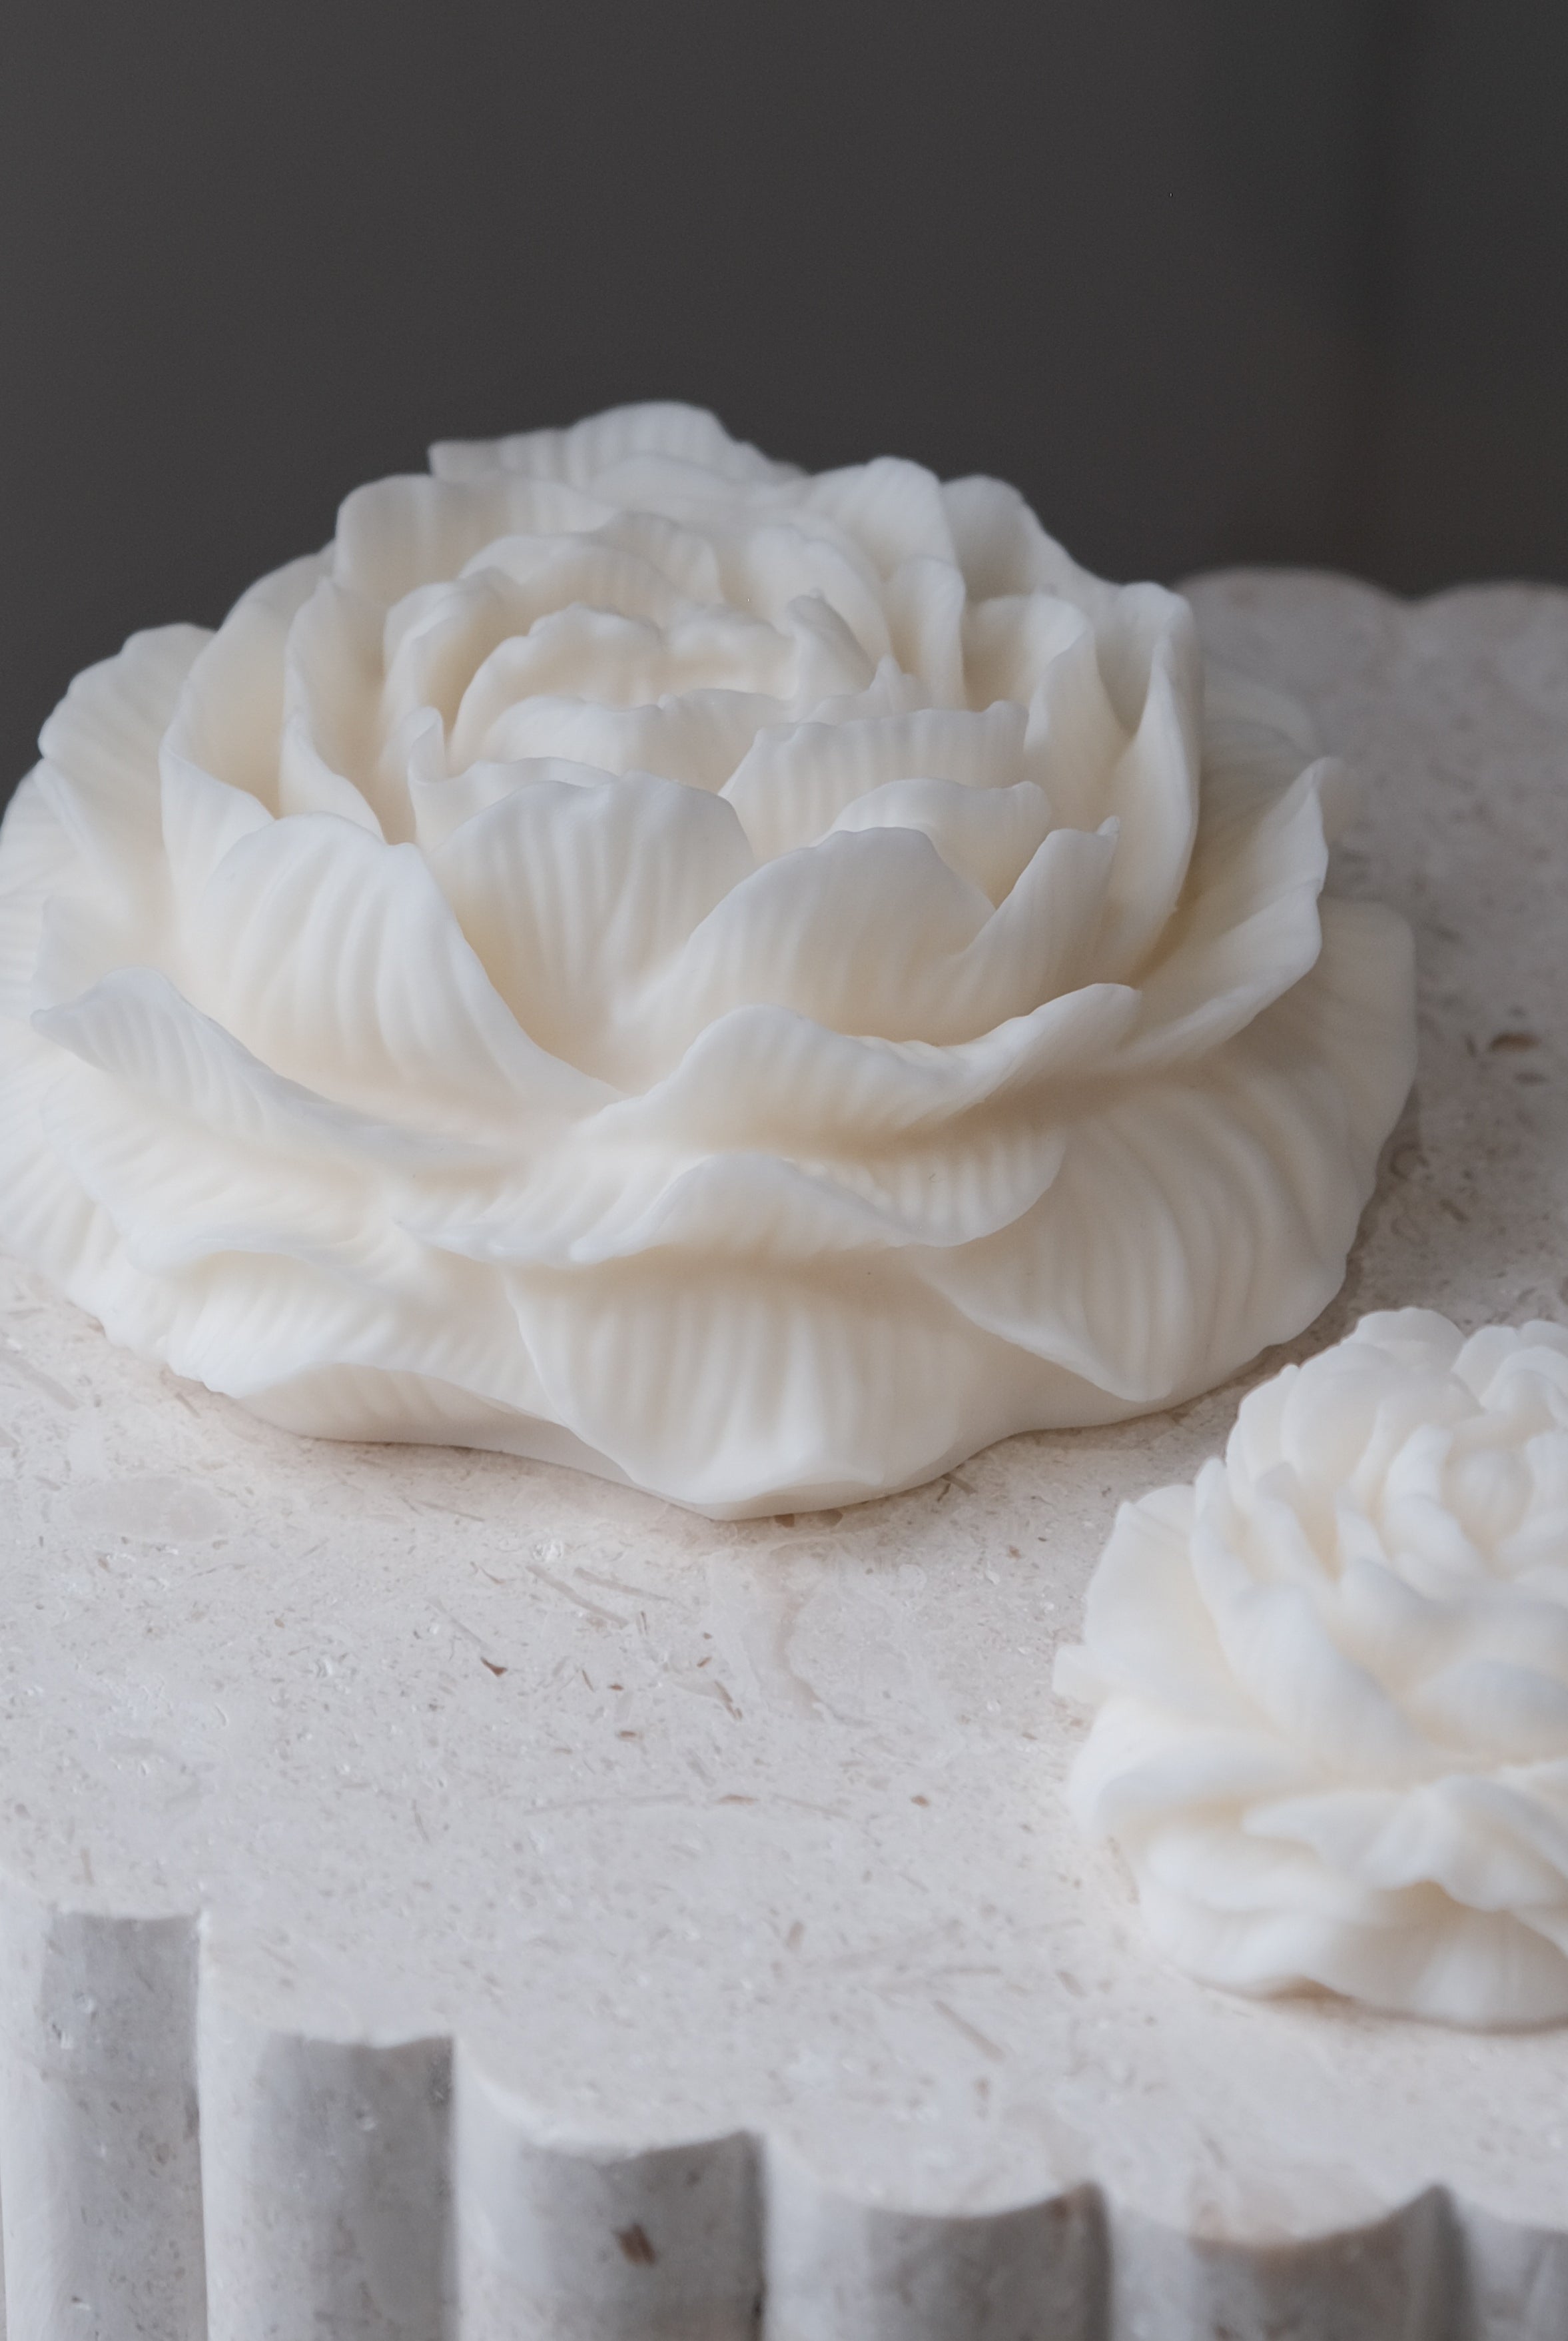
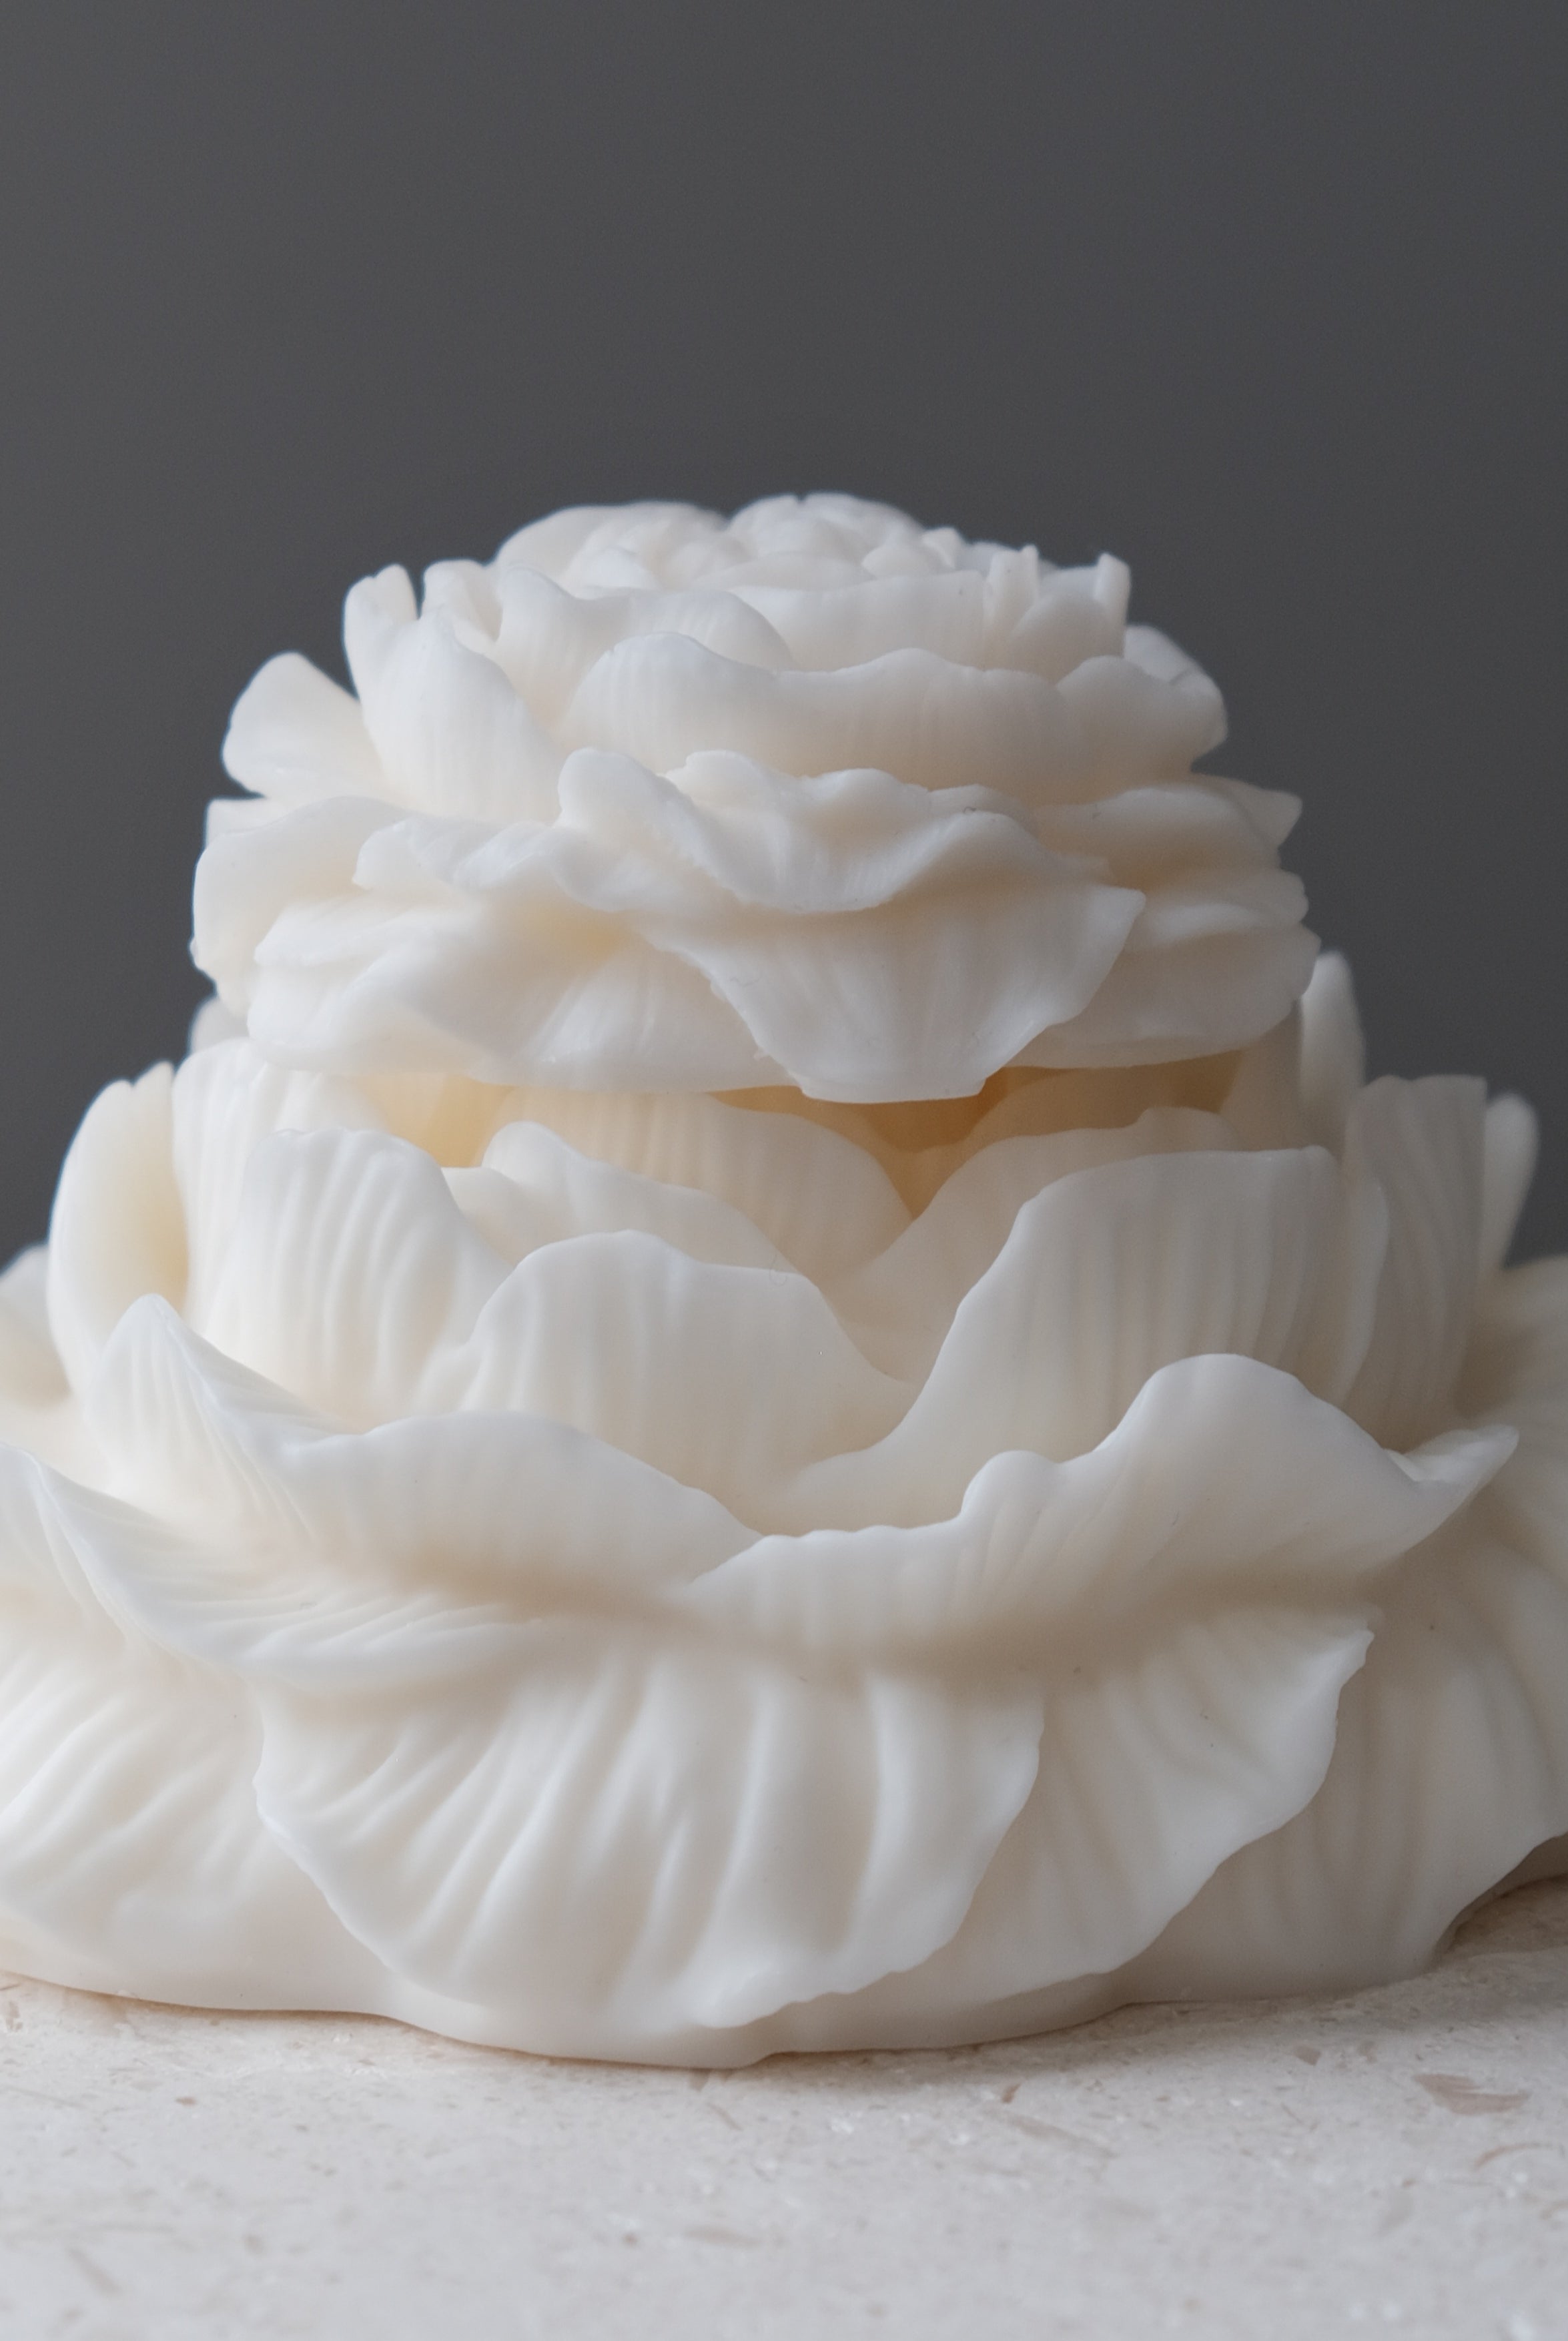
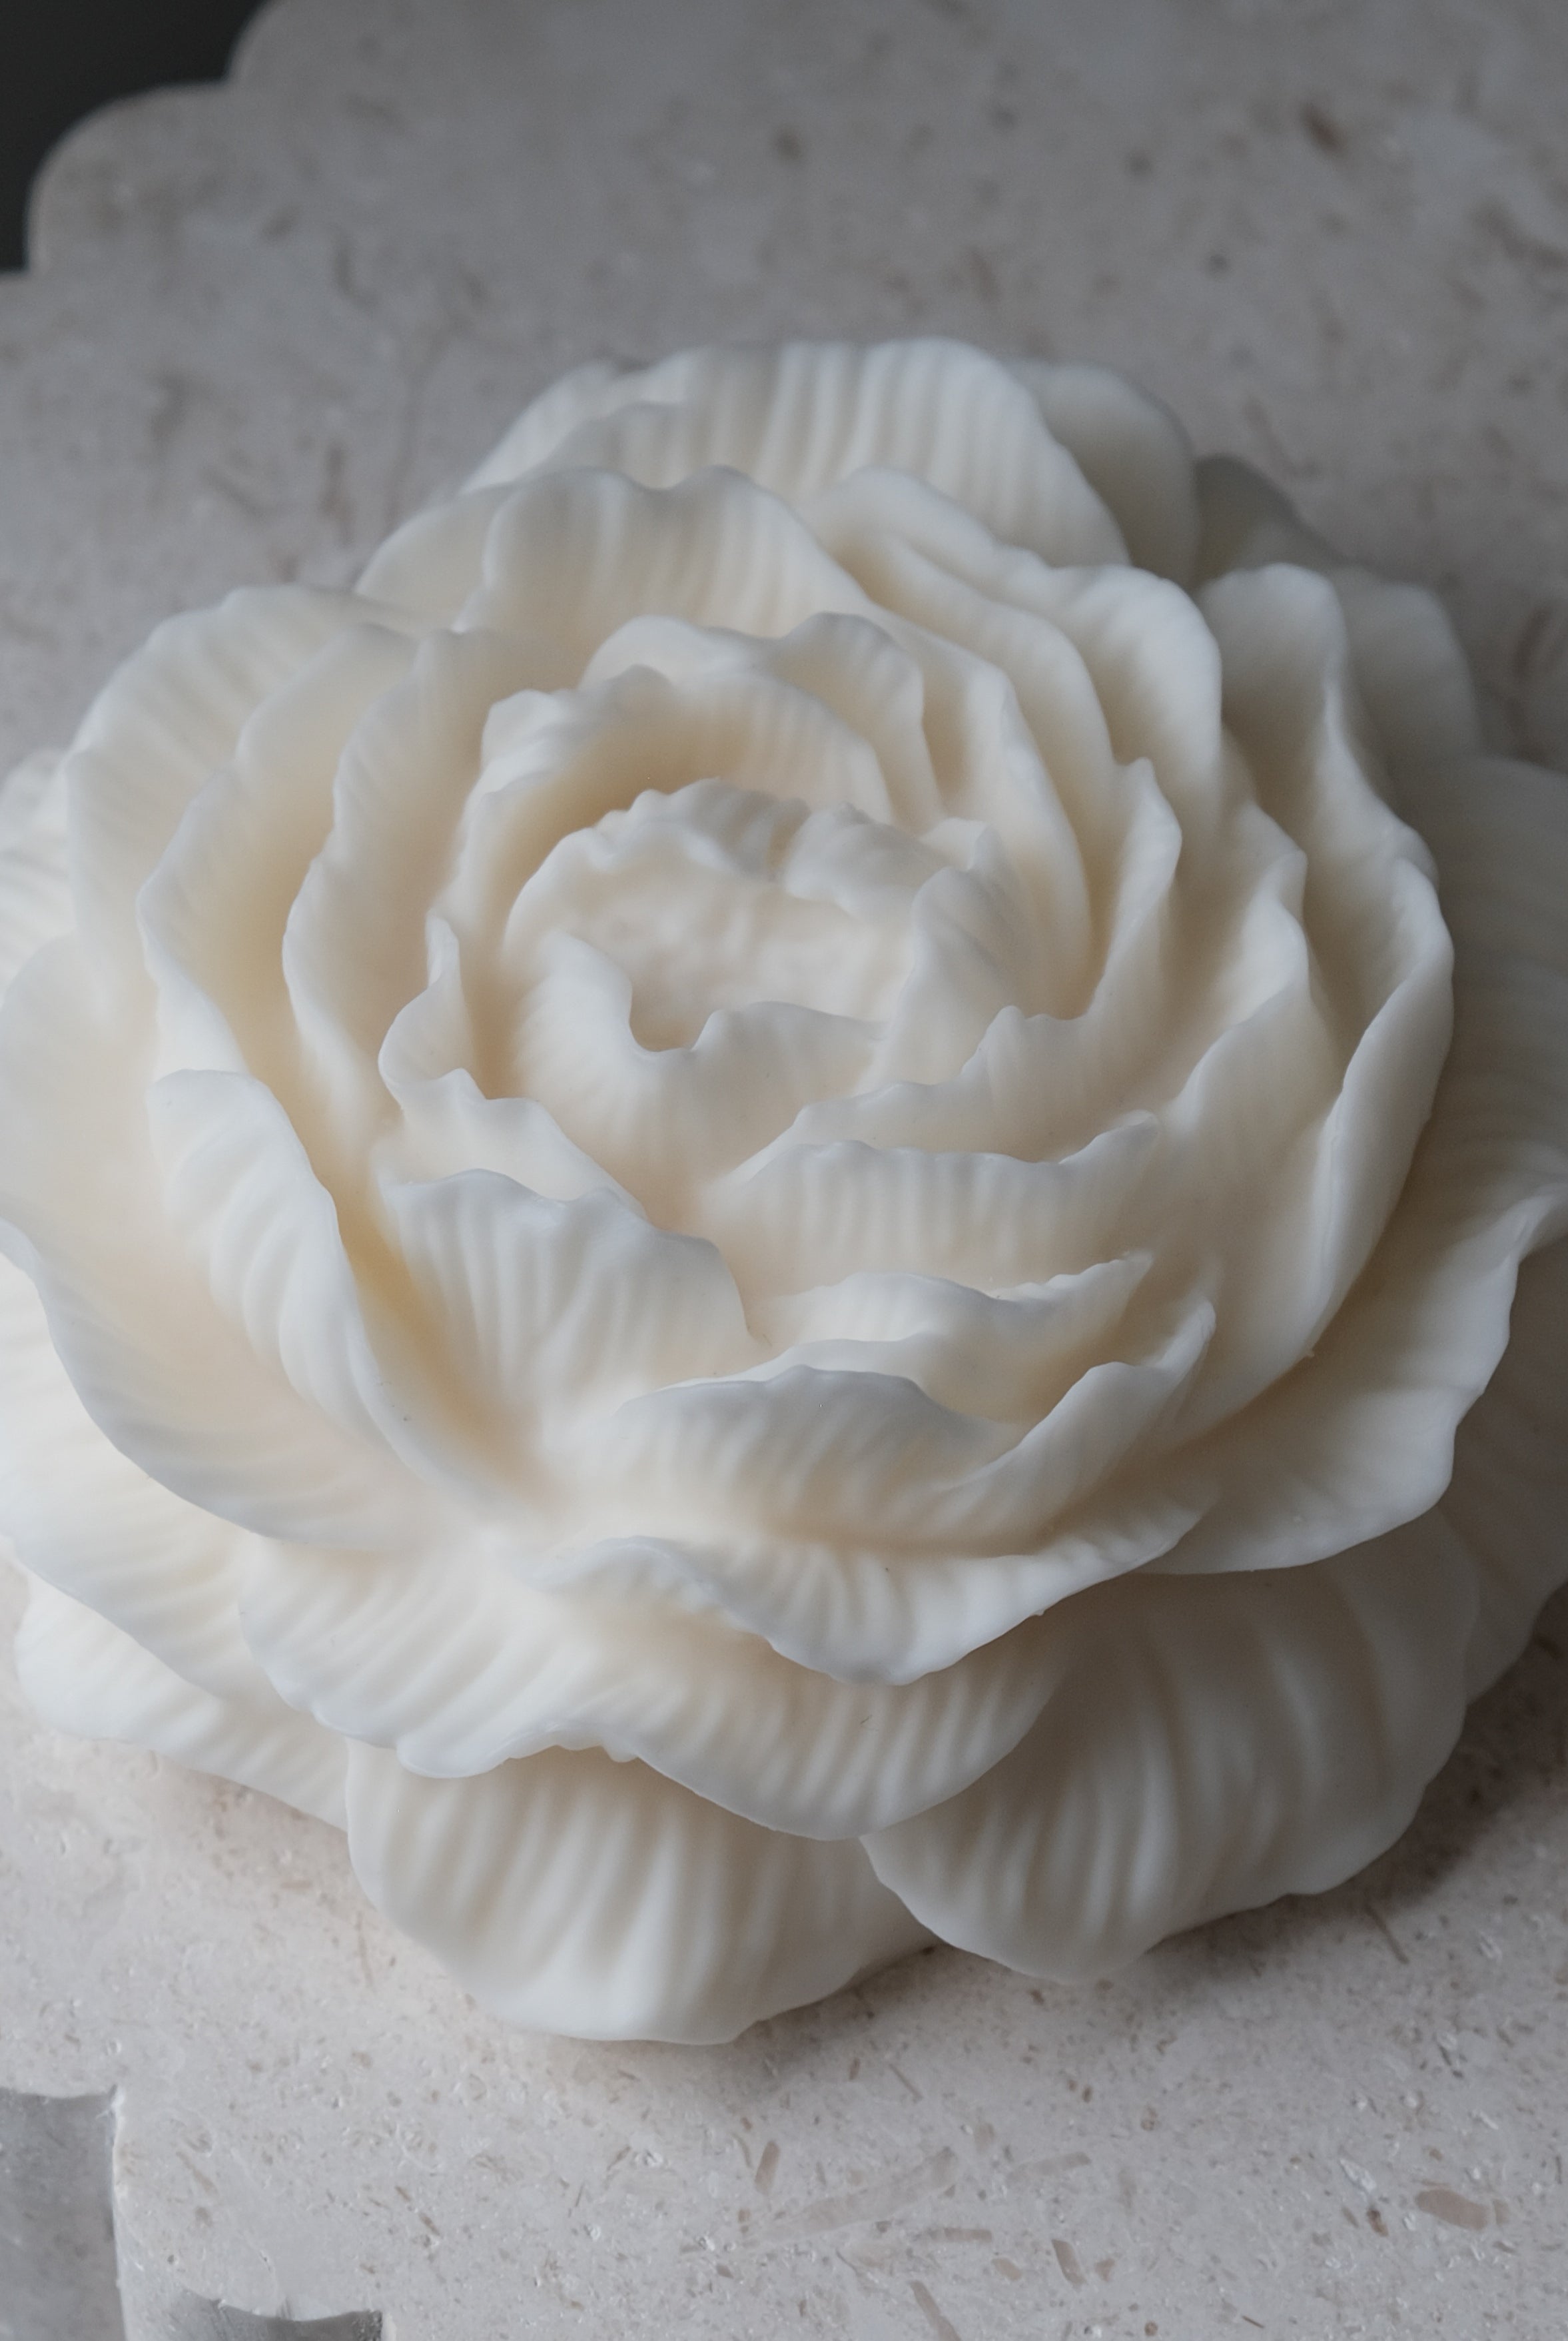
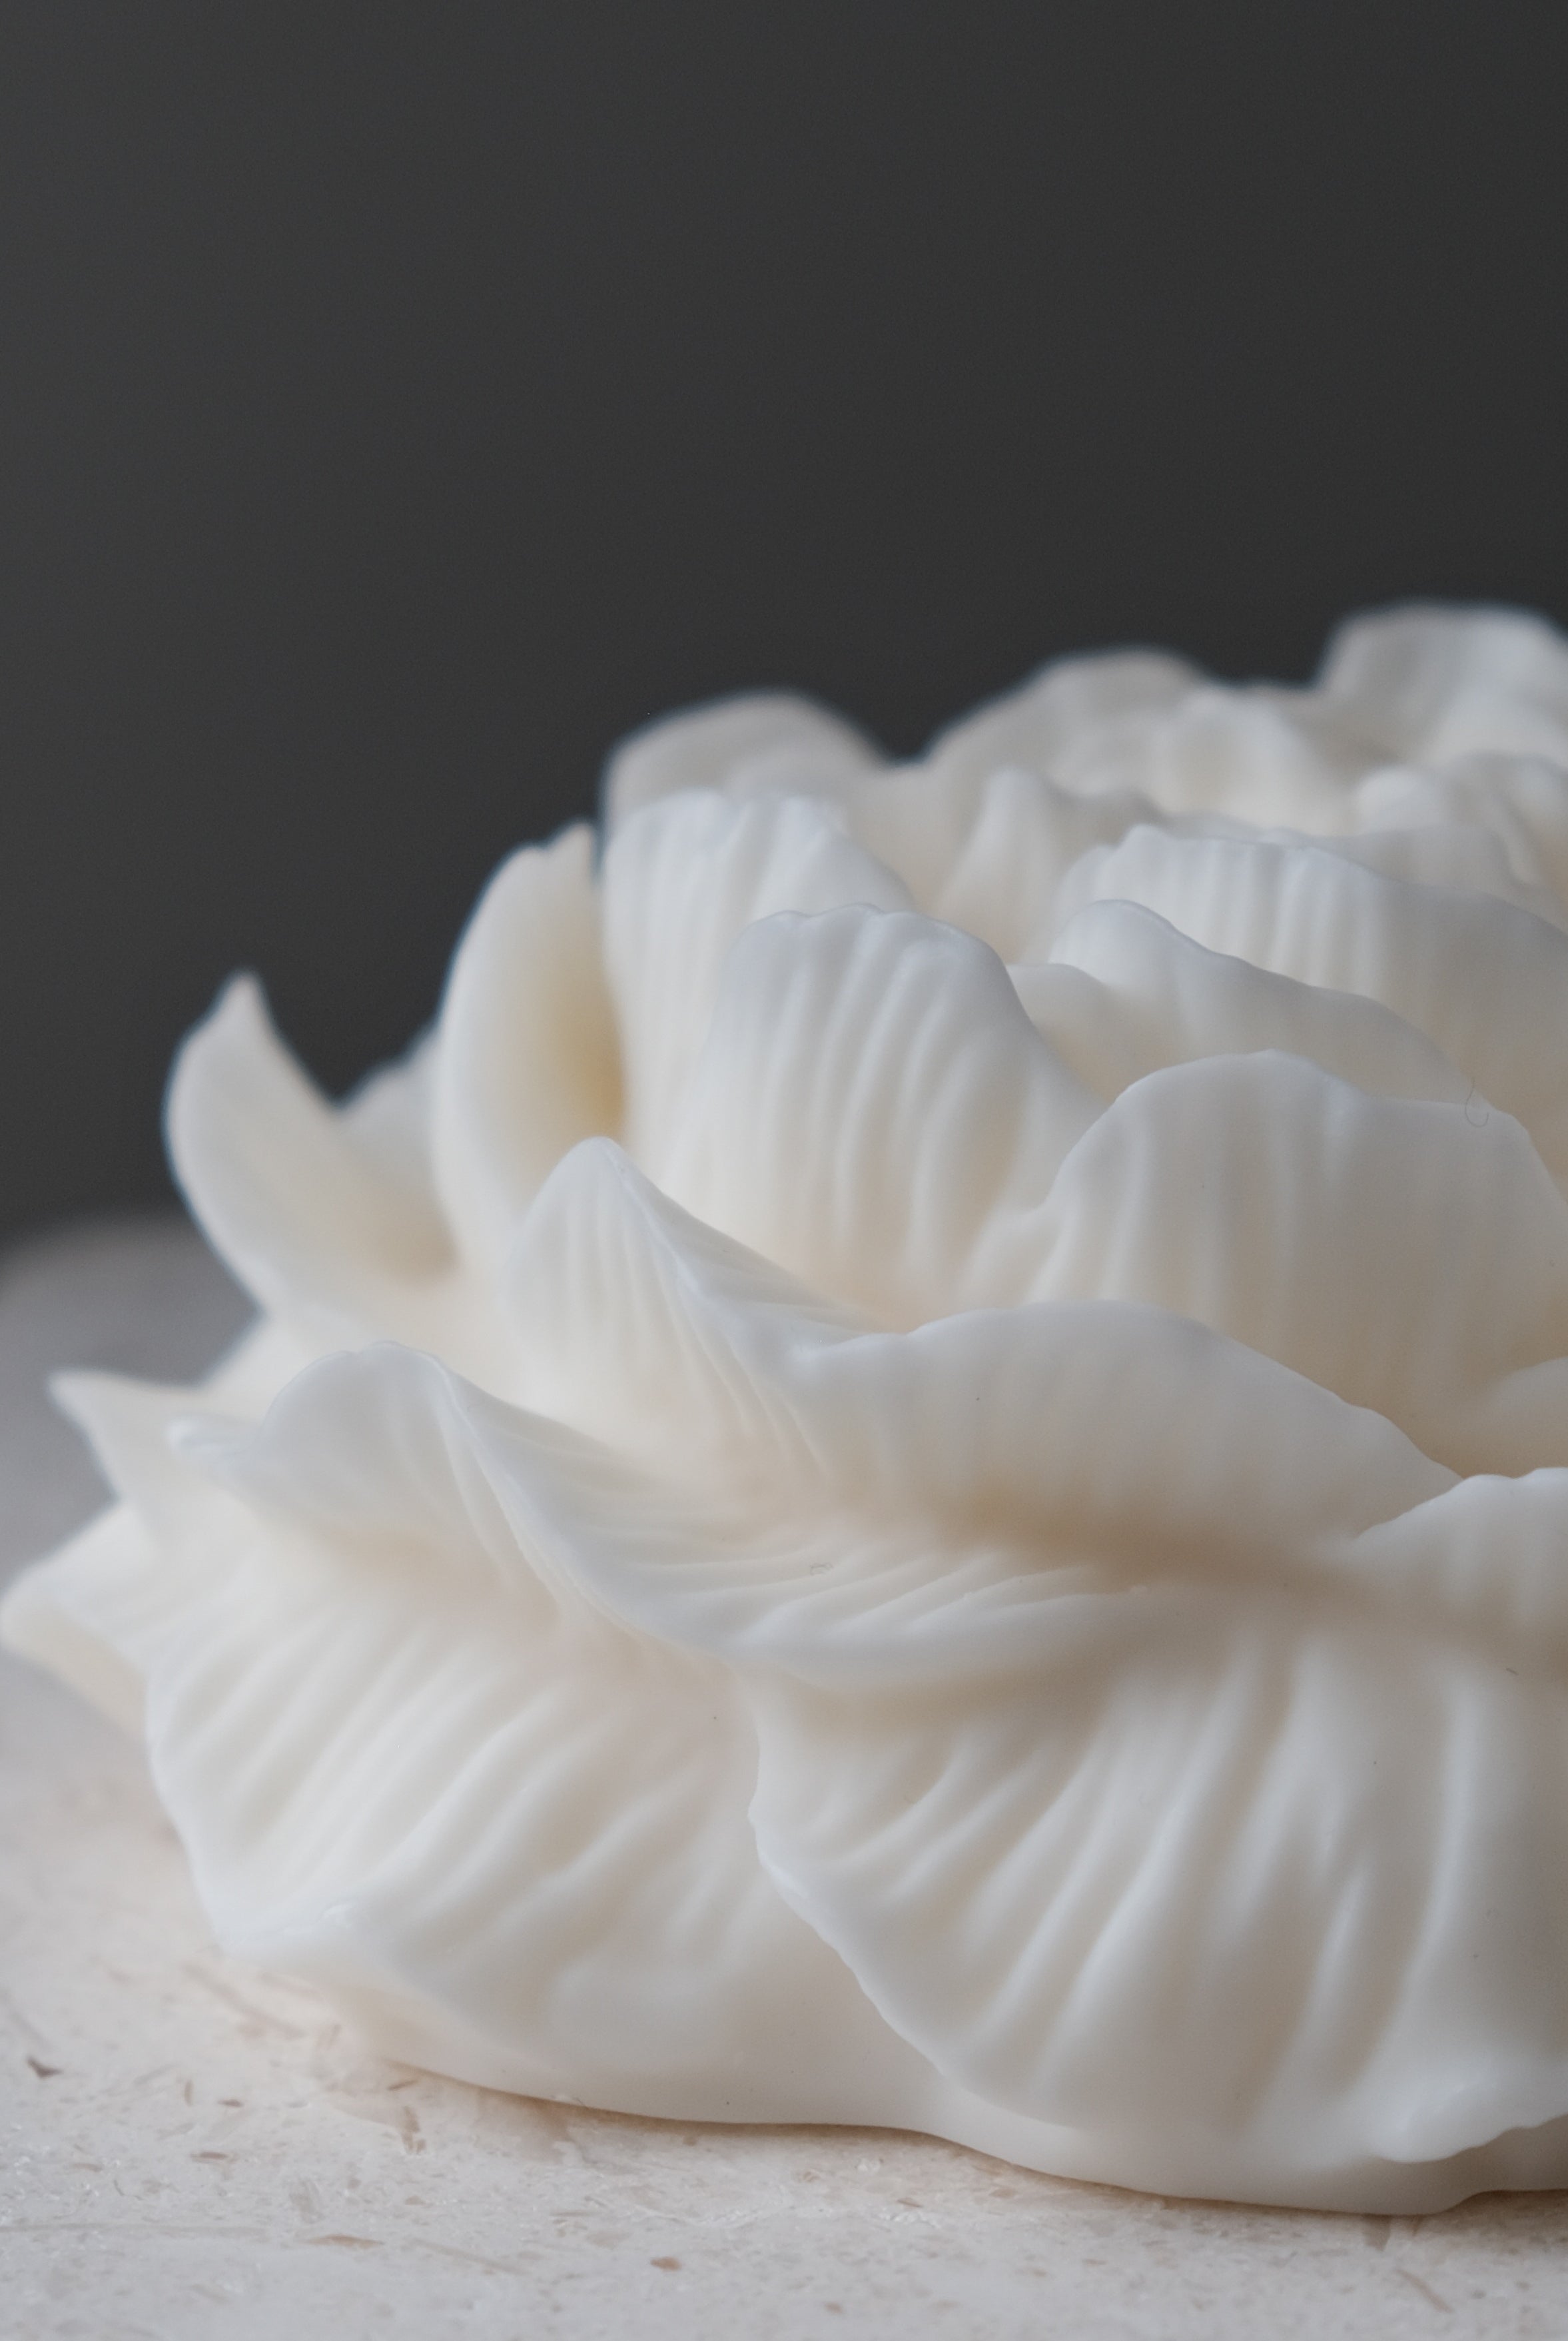
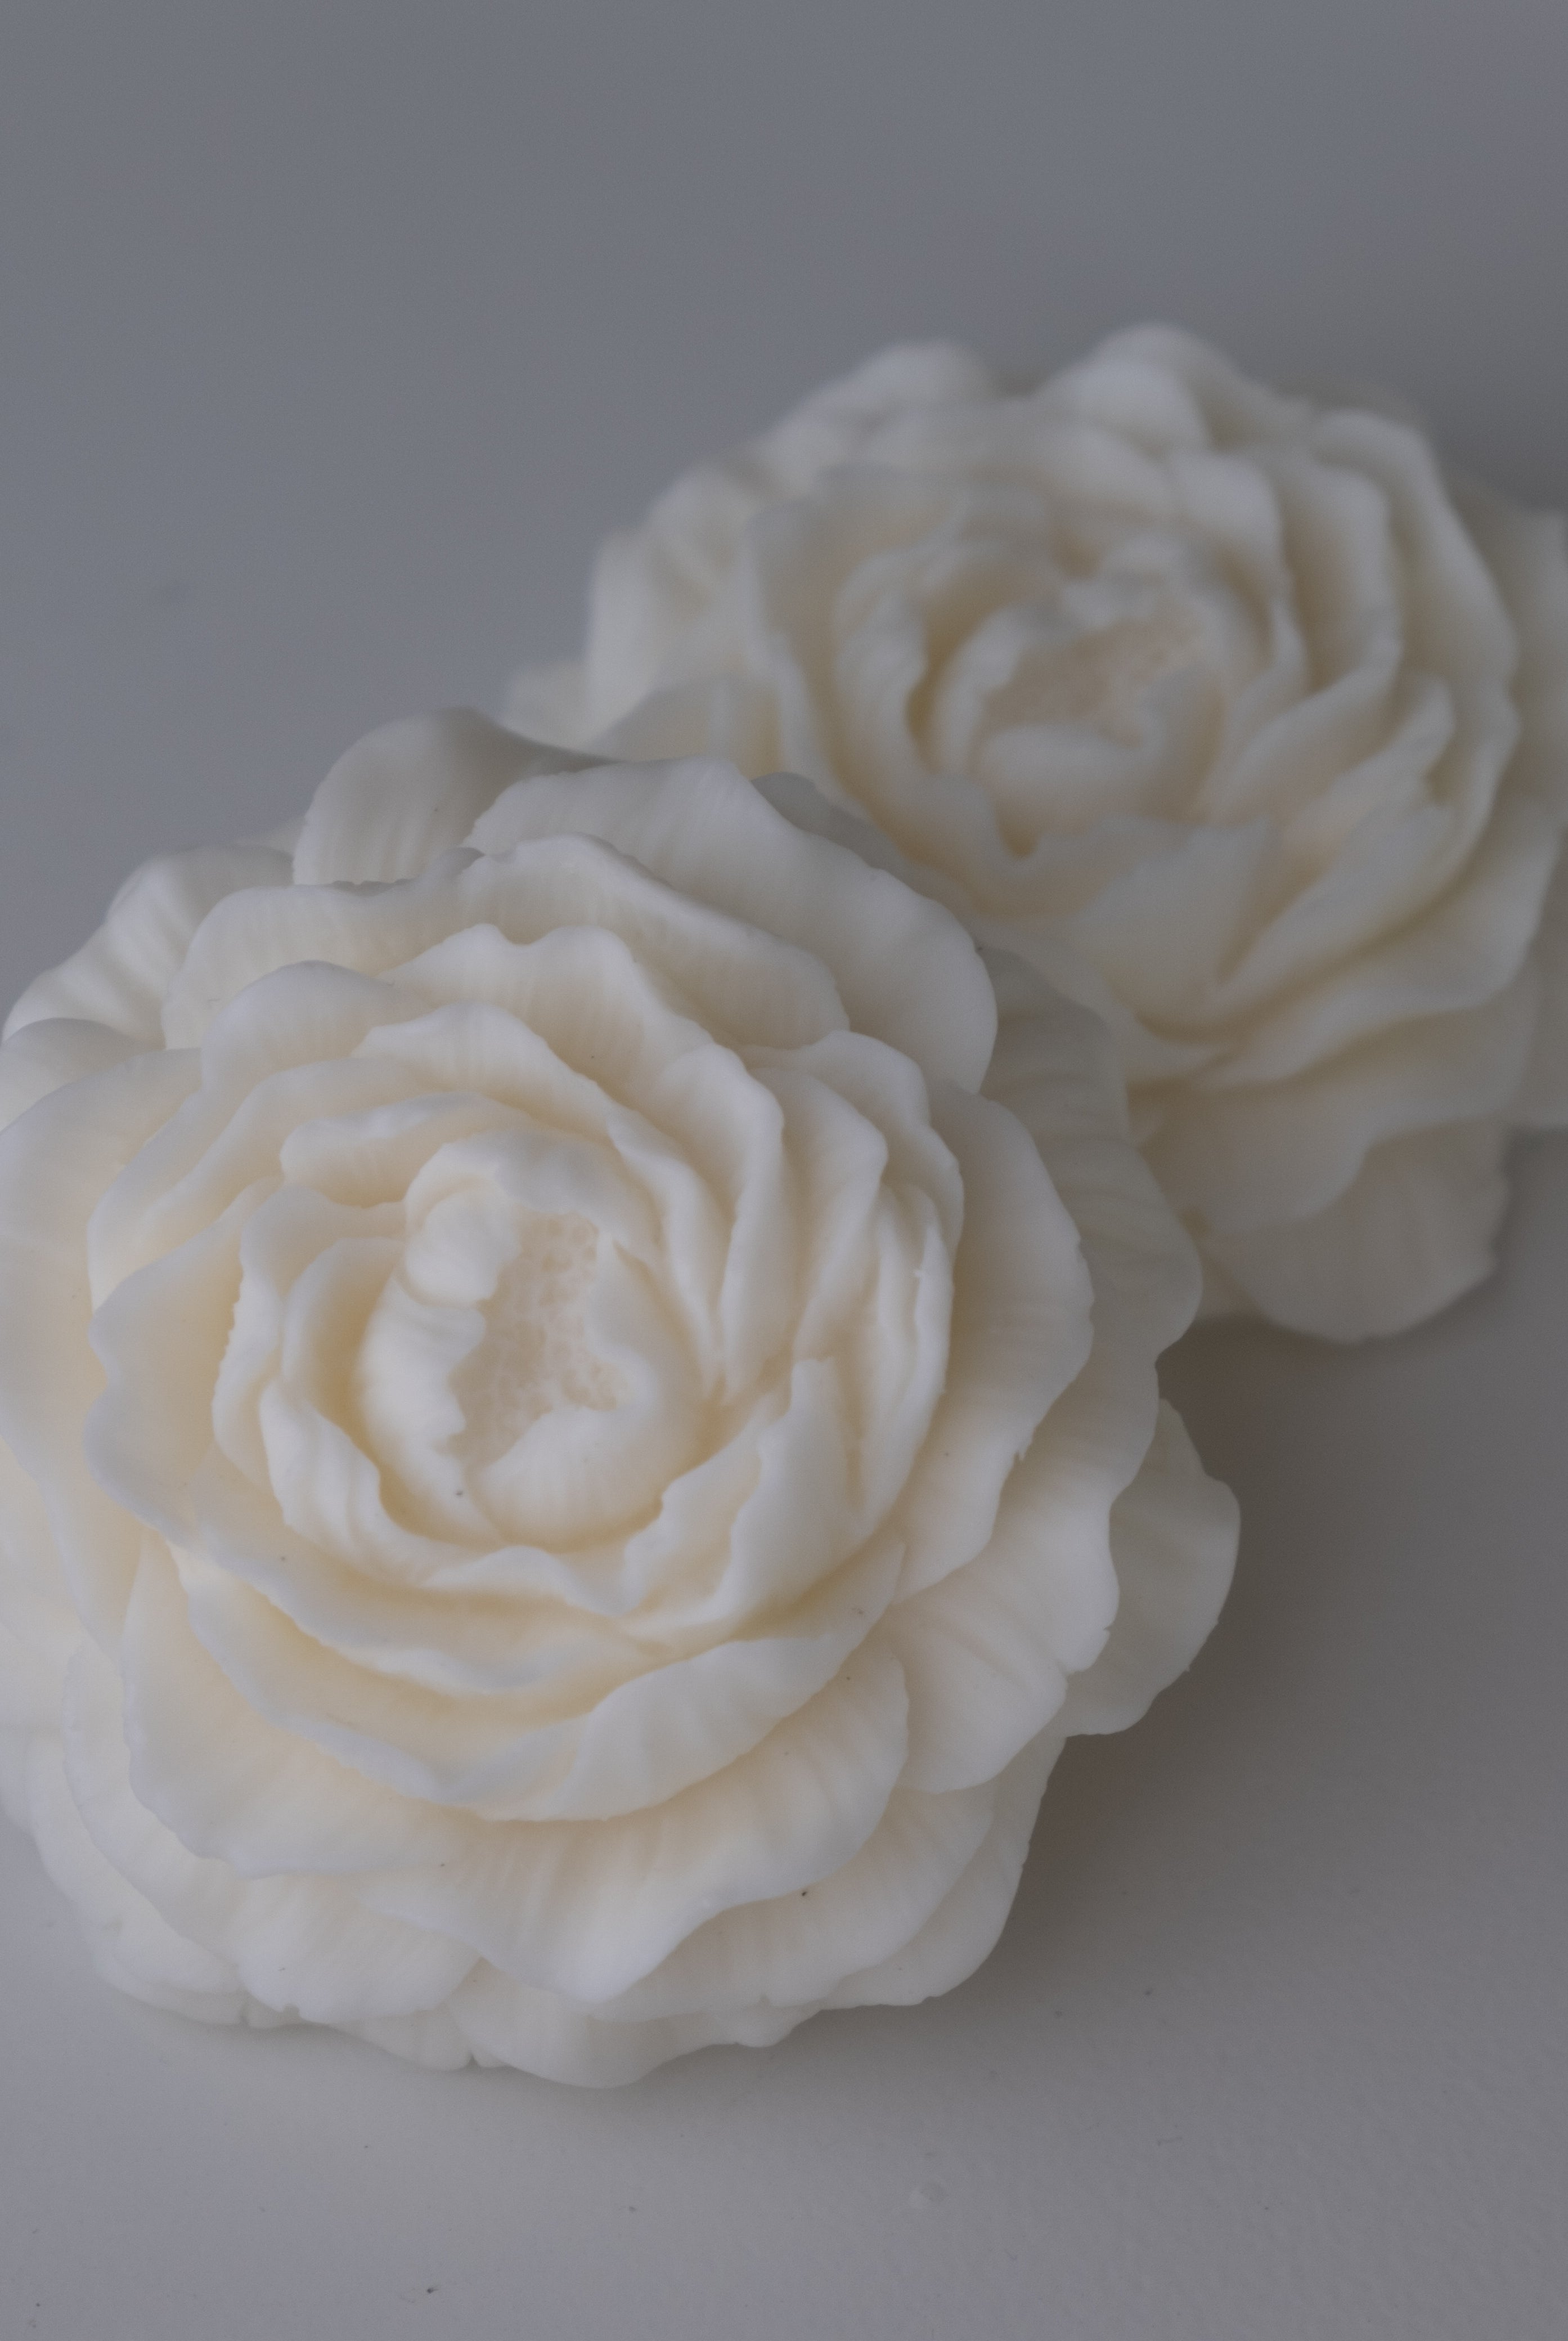
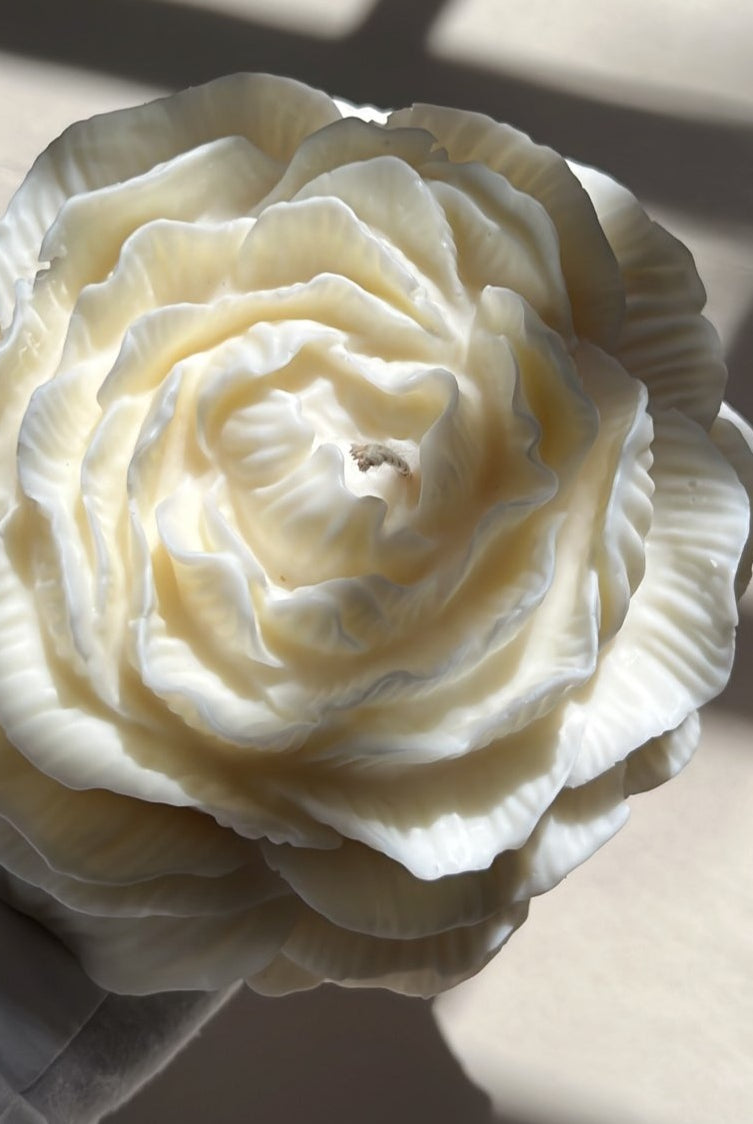
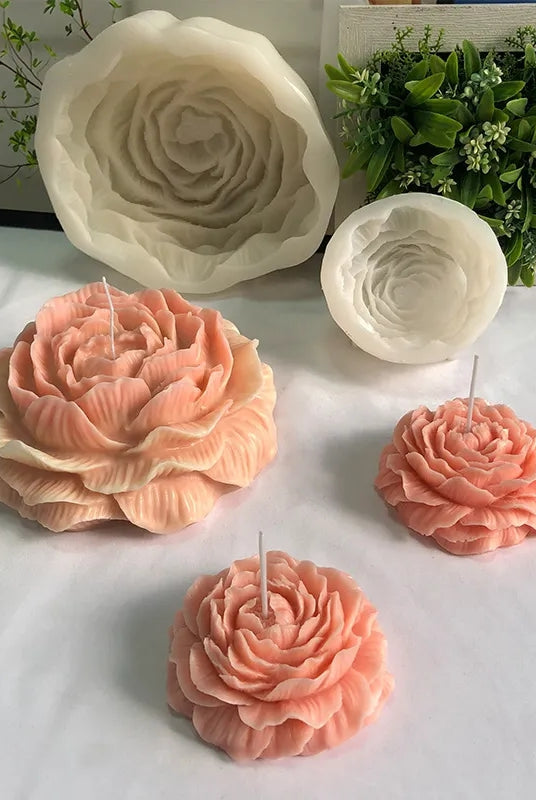
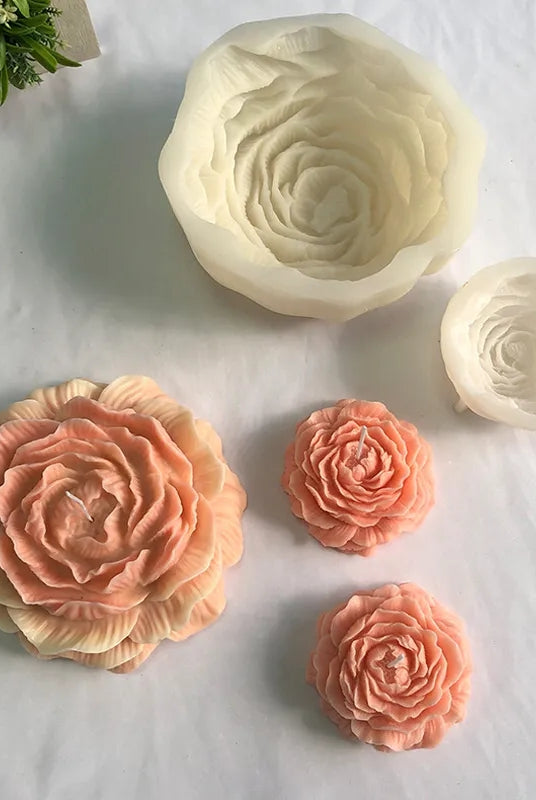
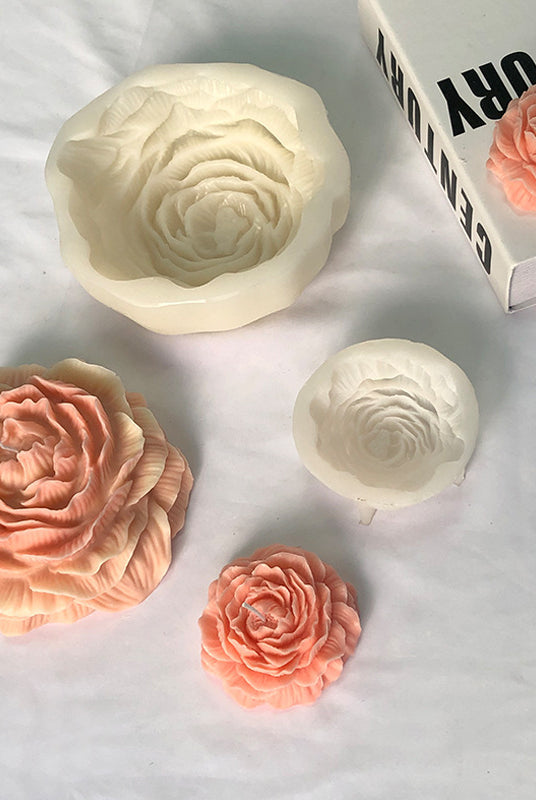
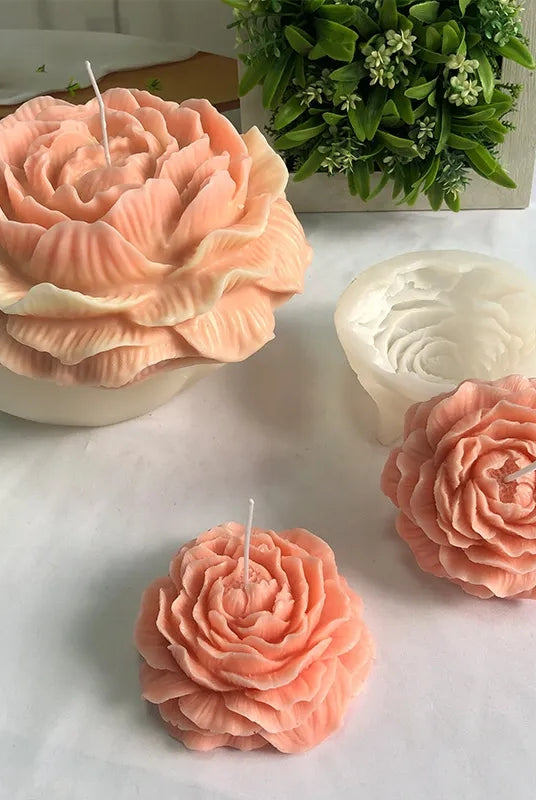
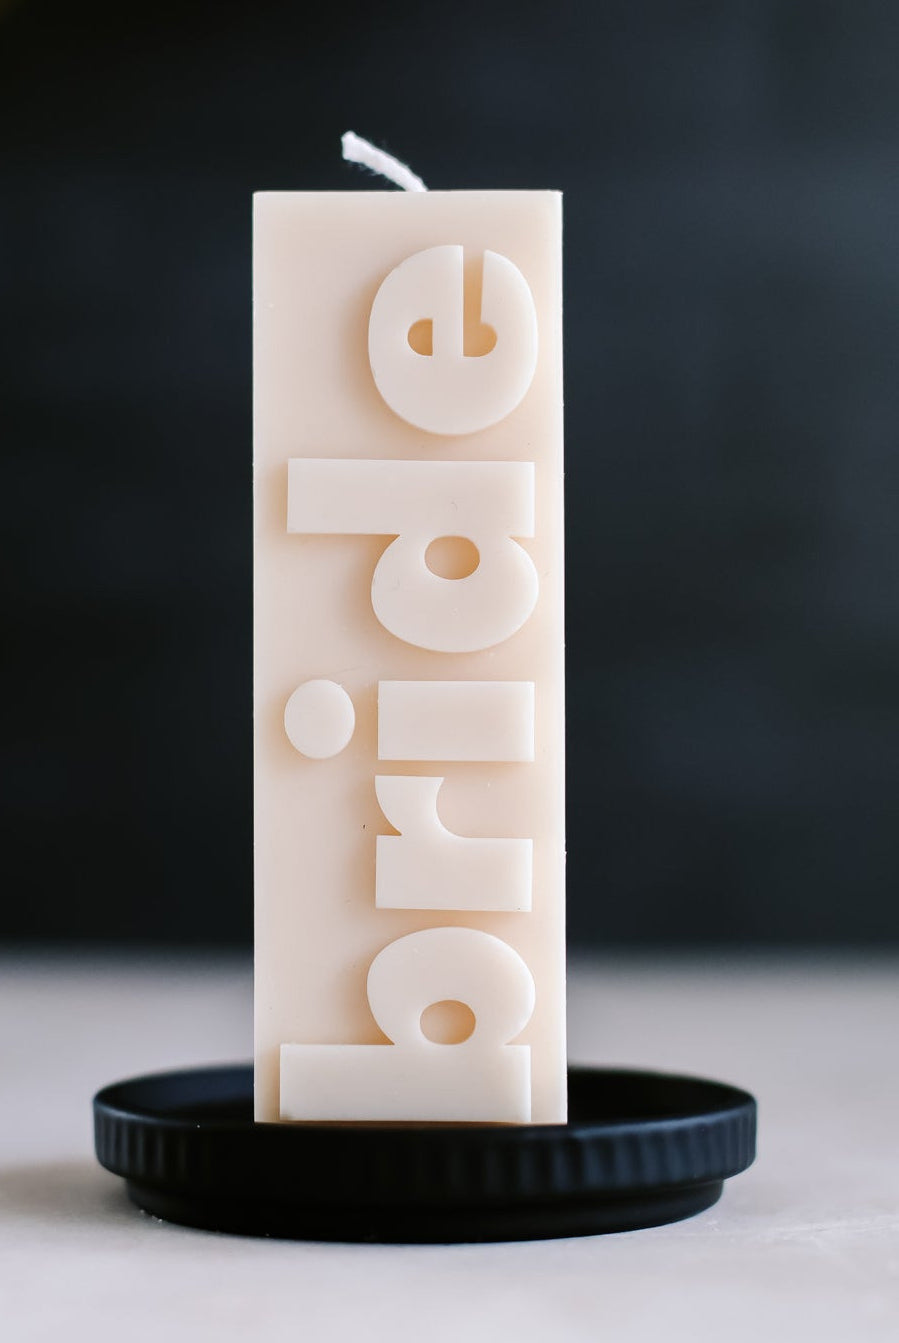
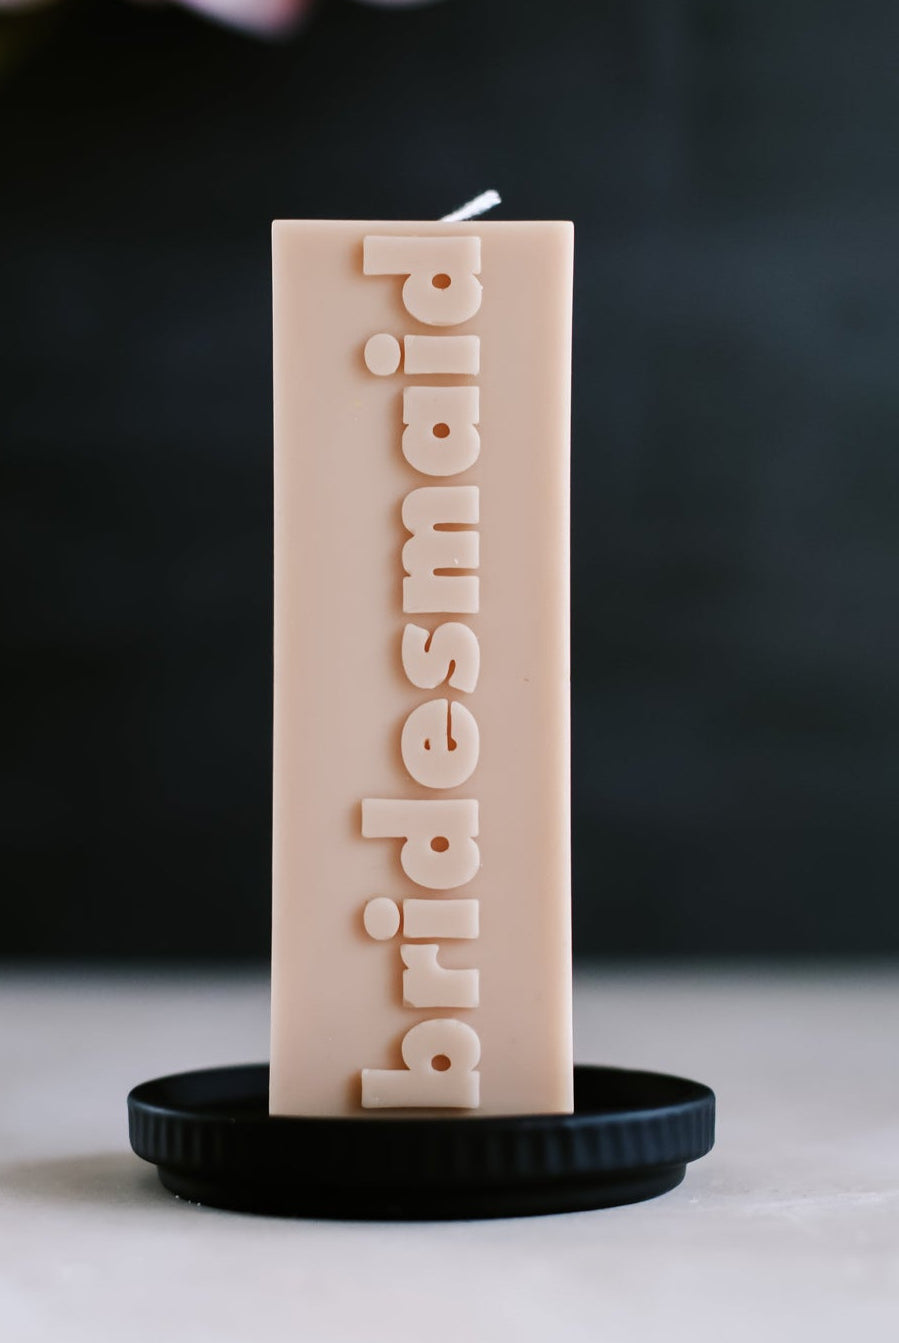
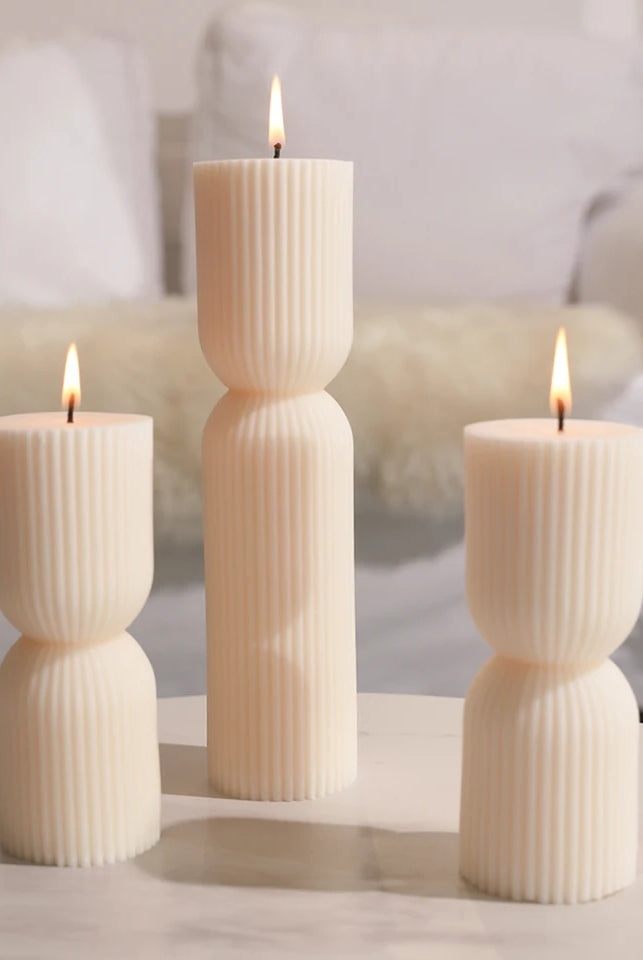
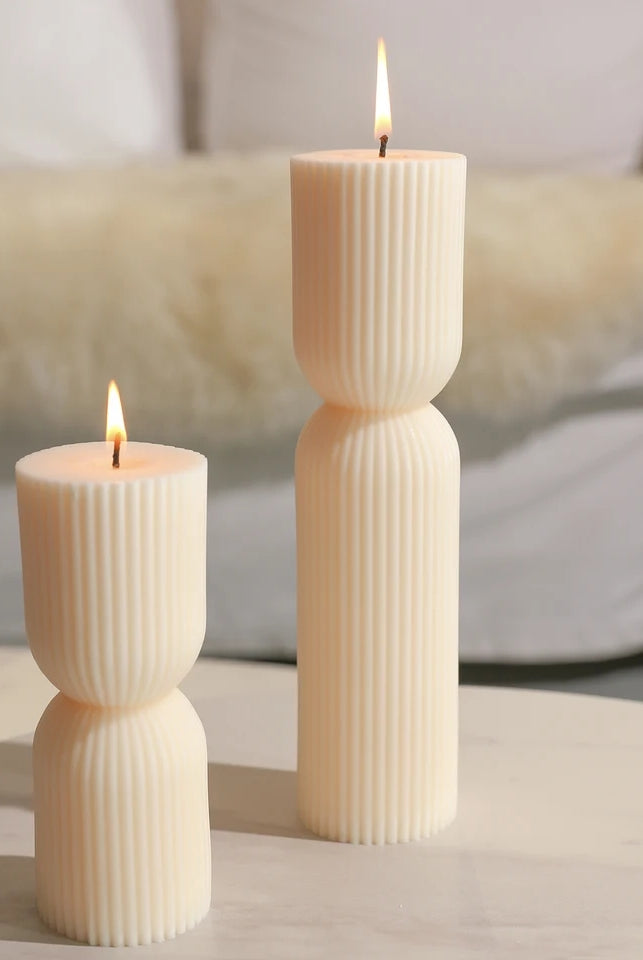
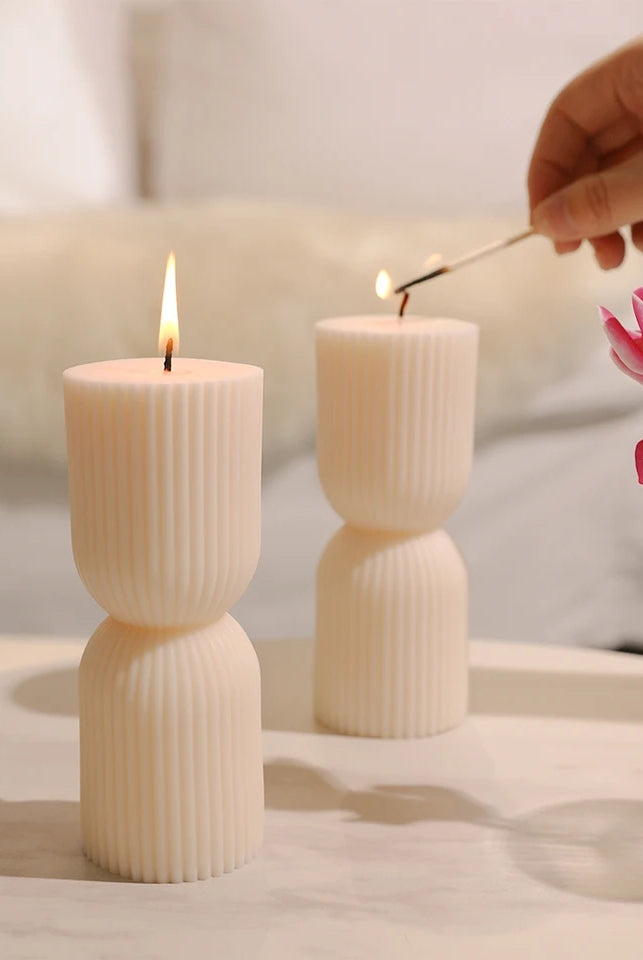
A: Pillar candles are freestanding candles that are known for their versatile and decorative qualities. They come in various shapes, sizes, and heights. Pillar candles are often made from denser wax and are commonly used for decorative purposes, home ambiance, or religious ceremonies. Their solid form and ability to stand on their own without a container make them a popular choice for creating warm and inviting atmospheres.
Q: What is the best wax to use for pillar candles?
A: Pillar candles require a specific type of wax known as pillar wax. This wax is different from the wax used in container candles and is stronger, with a higher melting point. When properly cured, pillar wax will easily contract and release from the moulds. Some of the best waxes for making pillar candles include soy pillar blends, paraffin, beeswax, and palm wax.
Q: How do I choose the correct wick size?
A: There are several factors that determine the correct wick size for a candle, including the type of wax, amount of fragrance oil, and type of colour dye. Personal testing is essential to ensure that you choose the right wick size. When selecting a wick size, it is always best to choose one that will create a smaller melt pool than the diameter of the candle. For example, if your candle is 10cm in diameter, choose a wick that creates a 8.5cm-9cm melt pool.
Q: How do I wick silicone moulds?
A: To wick silicone moulds, start by using a wicking needle or wicking tool to pierce a hole where you want the wick to emerge. If you're using cotton ply wicks, carefully thread the wick through the hole and secure with a wick holder to keep the wick stable and centered.
In some cases, for shallow moulds, you can also wick the candle after it has partially cured. To do this, pour the wax and wait until the candle becomes slightly opaque. Insert a skewer as a placeholder for the wick, then allow the candle to fully set. After curing, remove the skewer, unmould the candle, and then insert the wick through the hole. This method is particularly effective with CDN wicks.
Q: How do I wick acrylic PVC moulds?
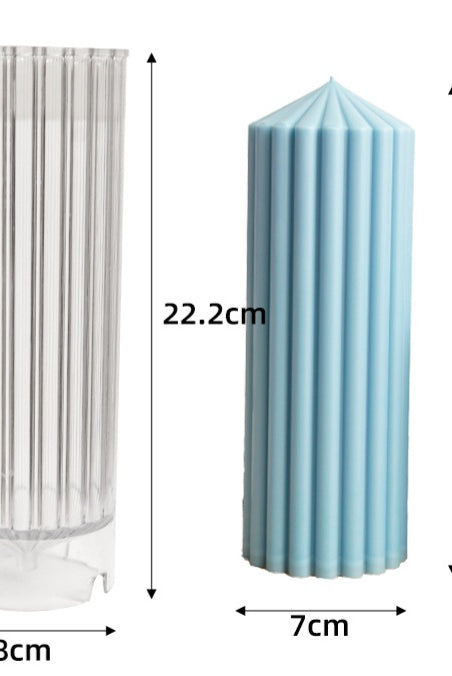
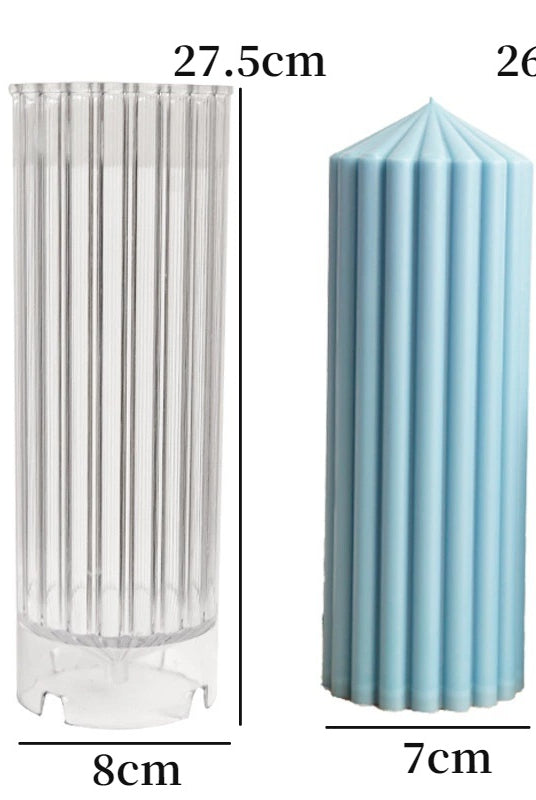
A: Acrylic/PVC moulds come with an existing hole for the wick. Push your CDN wick through the designated hole. If using cotton ply wicks, use a skewer to force the wick through the hole to the other side. Seal it with blu tack to prevent any leaks during the candle-making process. This method ensures a secure and leak-free wick placement in acrylic moulds. Secure the other end of the wick with a wick holder to keep it rigid and centered.
Q: Why does my candle have white spots or patches?
A: These 'spots', also known as frosting, generally appear on coloured candles and is a result of crystallization of the wax. This is more common in colder months and can occur as soon as the candle is set or after being stored. Frosting does not affect the performance of the candle. However, it can be prevent by preheating your moulds and increasing the pouring temperature, especially during colder months. These measures help to minimize the occurrence of frosting and improve the overall appearance of your candles.
Q: Why does my candle have jump lines?
A: Jump lines are caused by pouring the wax at too low of a temperature and/or when the mould is too cold. It occurs because the wax is congealing immediately and it is setting as more wax is poured on top of it, thus forming the horizontal lines or rings. To prevent this, heat your moulds with a heat gun before pouring in wax. Increasing the pouring temperature will also help.
Q: Why does my candle sink?
A: Pillar wax is designed to shrink and contract as it cools, which causes candles to sink in. This is to ensure that your candle releases from the mould. Do a second pour to top up the mould and level out the candle.
Q: Why does my candle break when I try to unmould it?
A: It is not uncommon for candles to break during unmoulding, especially if they have a delicate design. To minimize this issue, consider using a firmer wax like beeswax, palm wax, or a harder soy pillar wax. Additionally, try refrigerating the candle for about 15 minutes after it's fully cured before unmoulding to further solidify the wax and improve its chances of staying intact.
Q: Why is my silicone mould expanding when I pour wax into it?
A: The expansion of silicone moulds when pouring hot wax is a common occurrence due to the flexible nature of silicone material. The heat of the melted wax can cause the silicone to slightly bulge or expand, especially in taller or wider moulds. To help maintain the desired shape of the mould during the pouring process, it is recommended to provide additional support. Placing flat supports, such as books or pavers, along the sides of the mould can help prevent excessive expansion and ensure a more consistent shape for your pillar candles.
Q: Is it unavoidable for silicone moulds to expand when pouring wax into them?
A: Yes, the expansion of silicone molds when pouring wax is generally unavoidable. Silicone moulds are designed to be flexible, which allows for easy and clean release of the finished candle after it has solidified. This flexibility also means that the silicone material can slightly bulge or expand when exposed to the heat and weight of the melted wax. While providing support can help minimize excessive expansion, some degree of expansion is typically expected with silicone molds. The key to making moulds is to find a balance between providing support to maintain the desired shape and allowing the necessary flexibility for easy unmoulding of the candle.
Q: How should I use two-piece candle moulds?
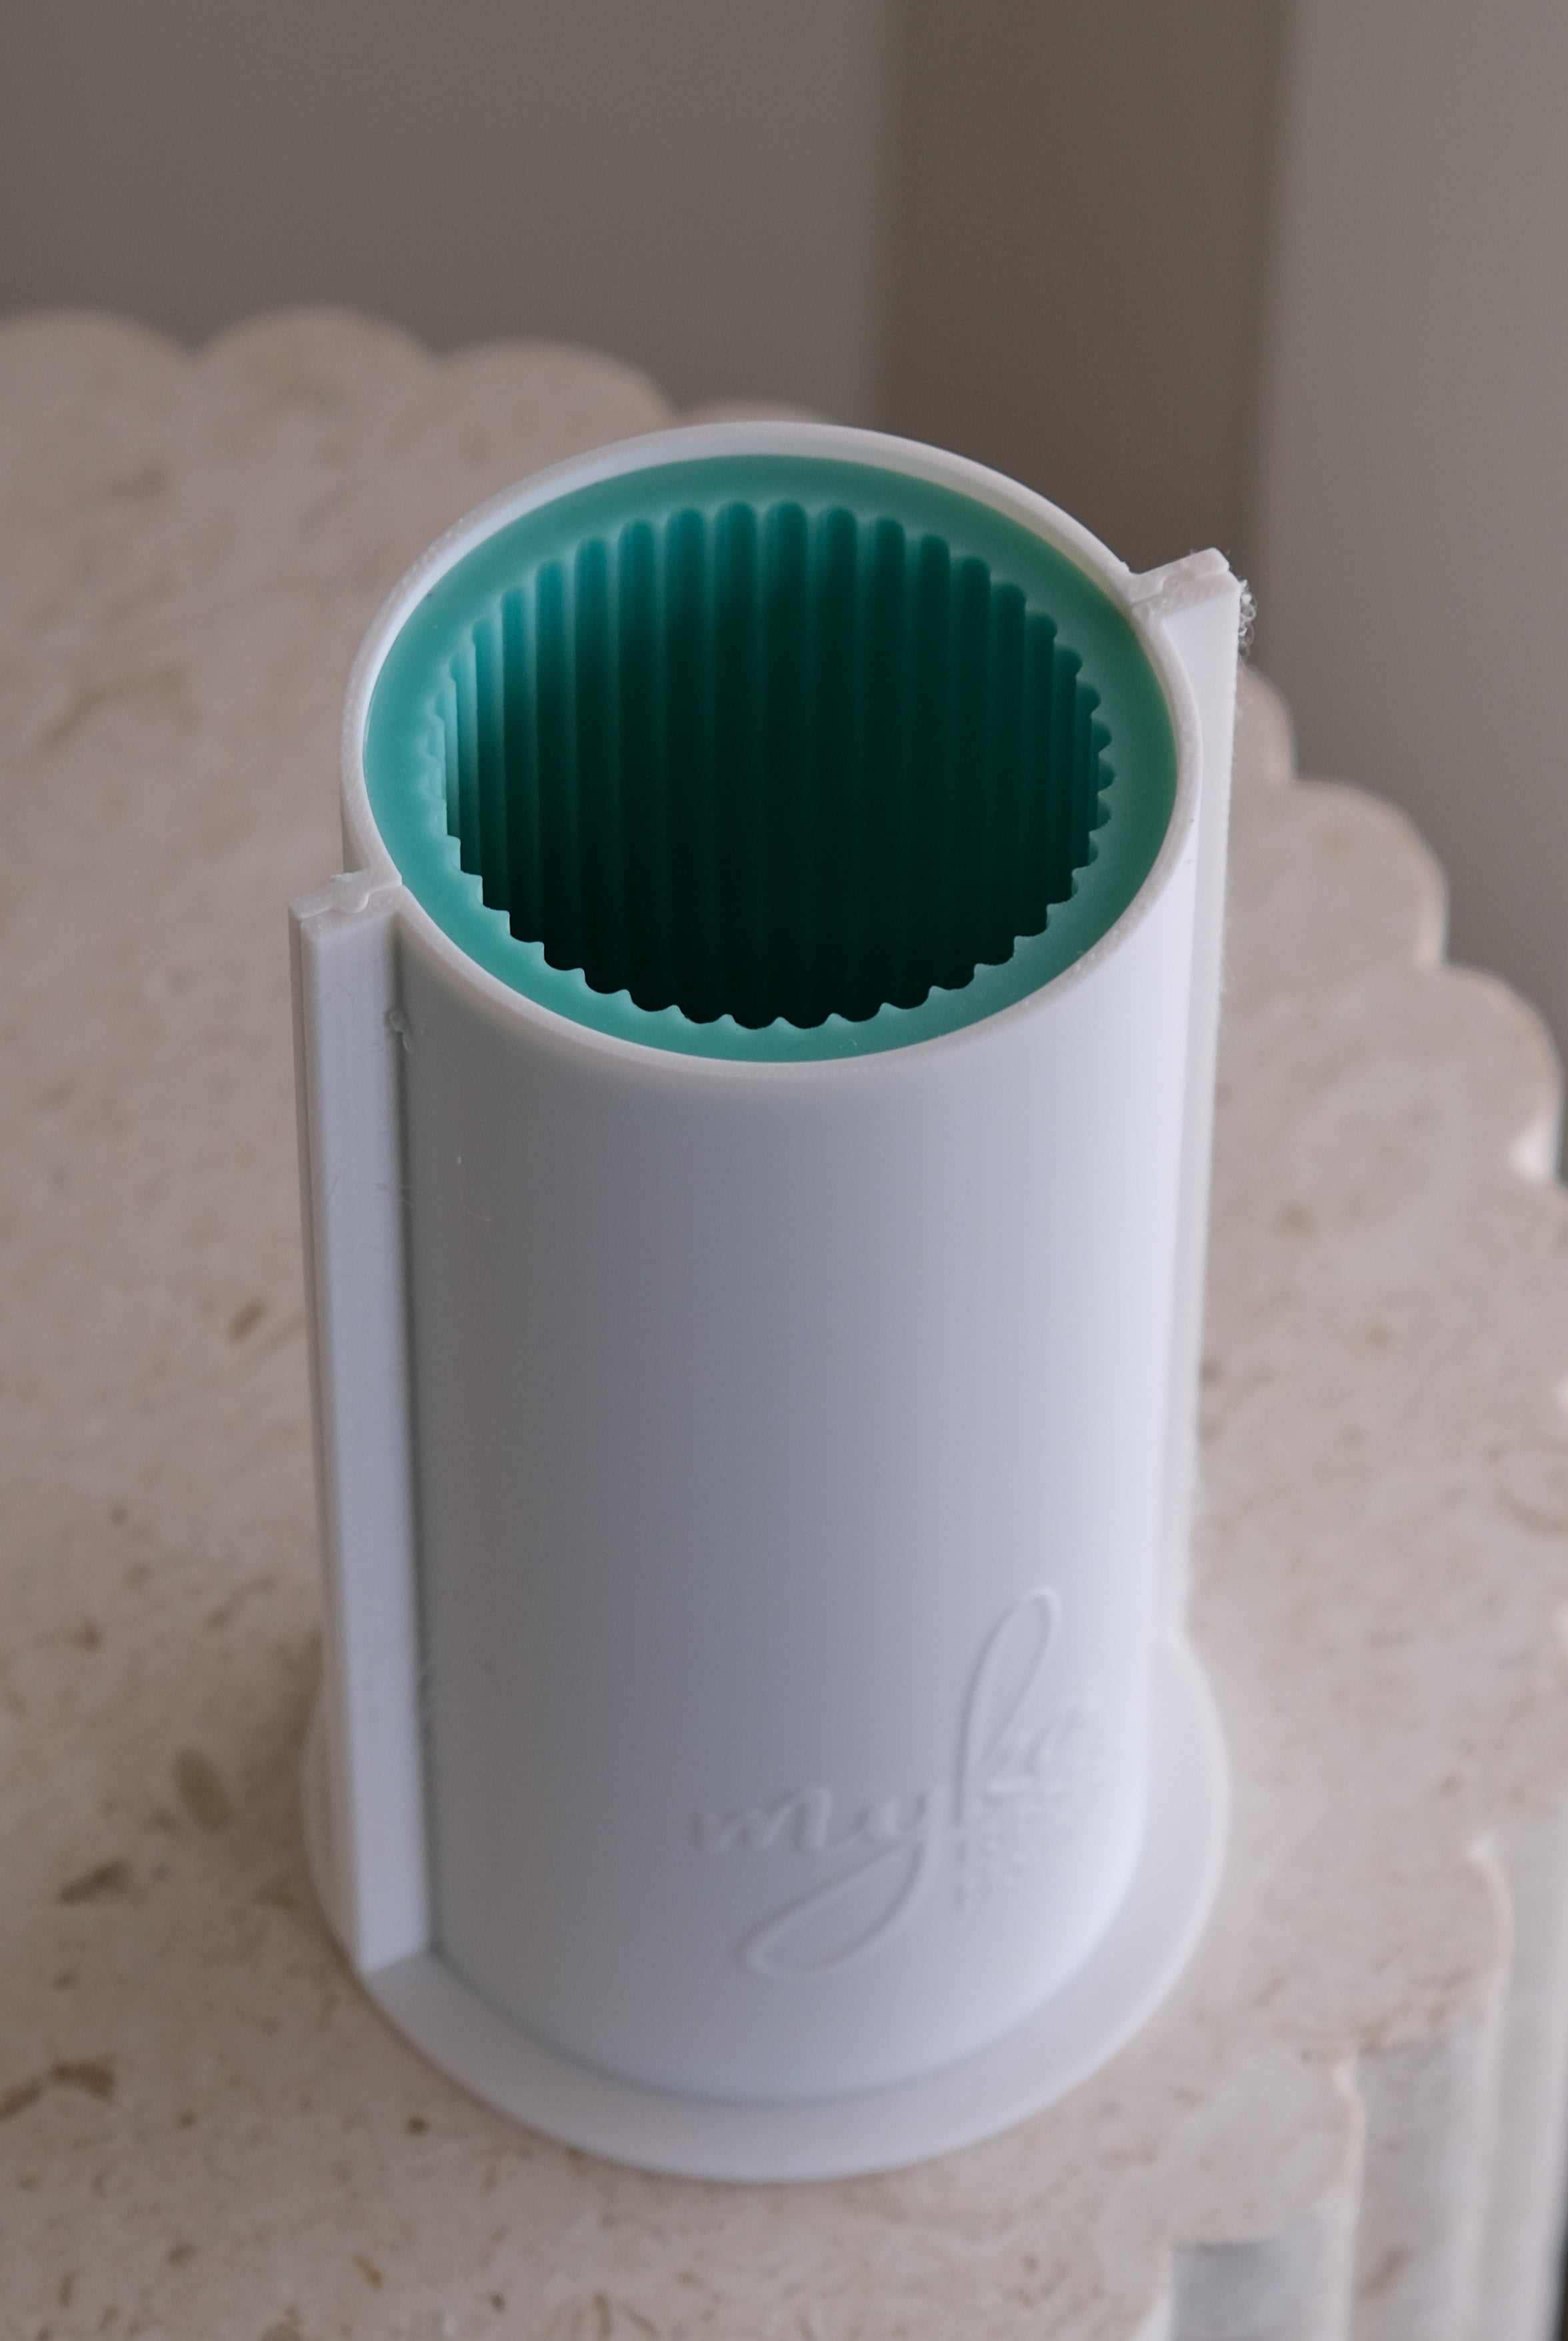
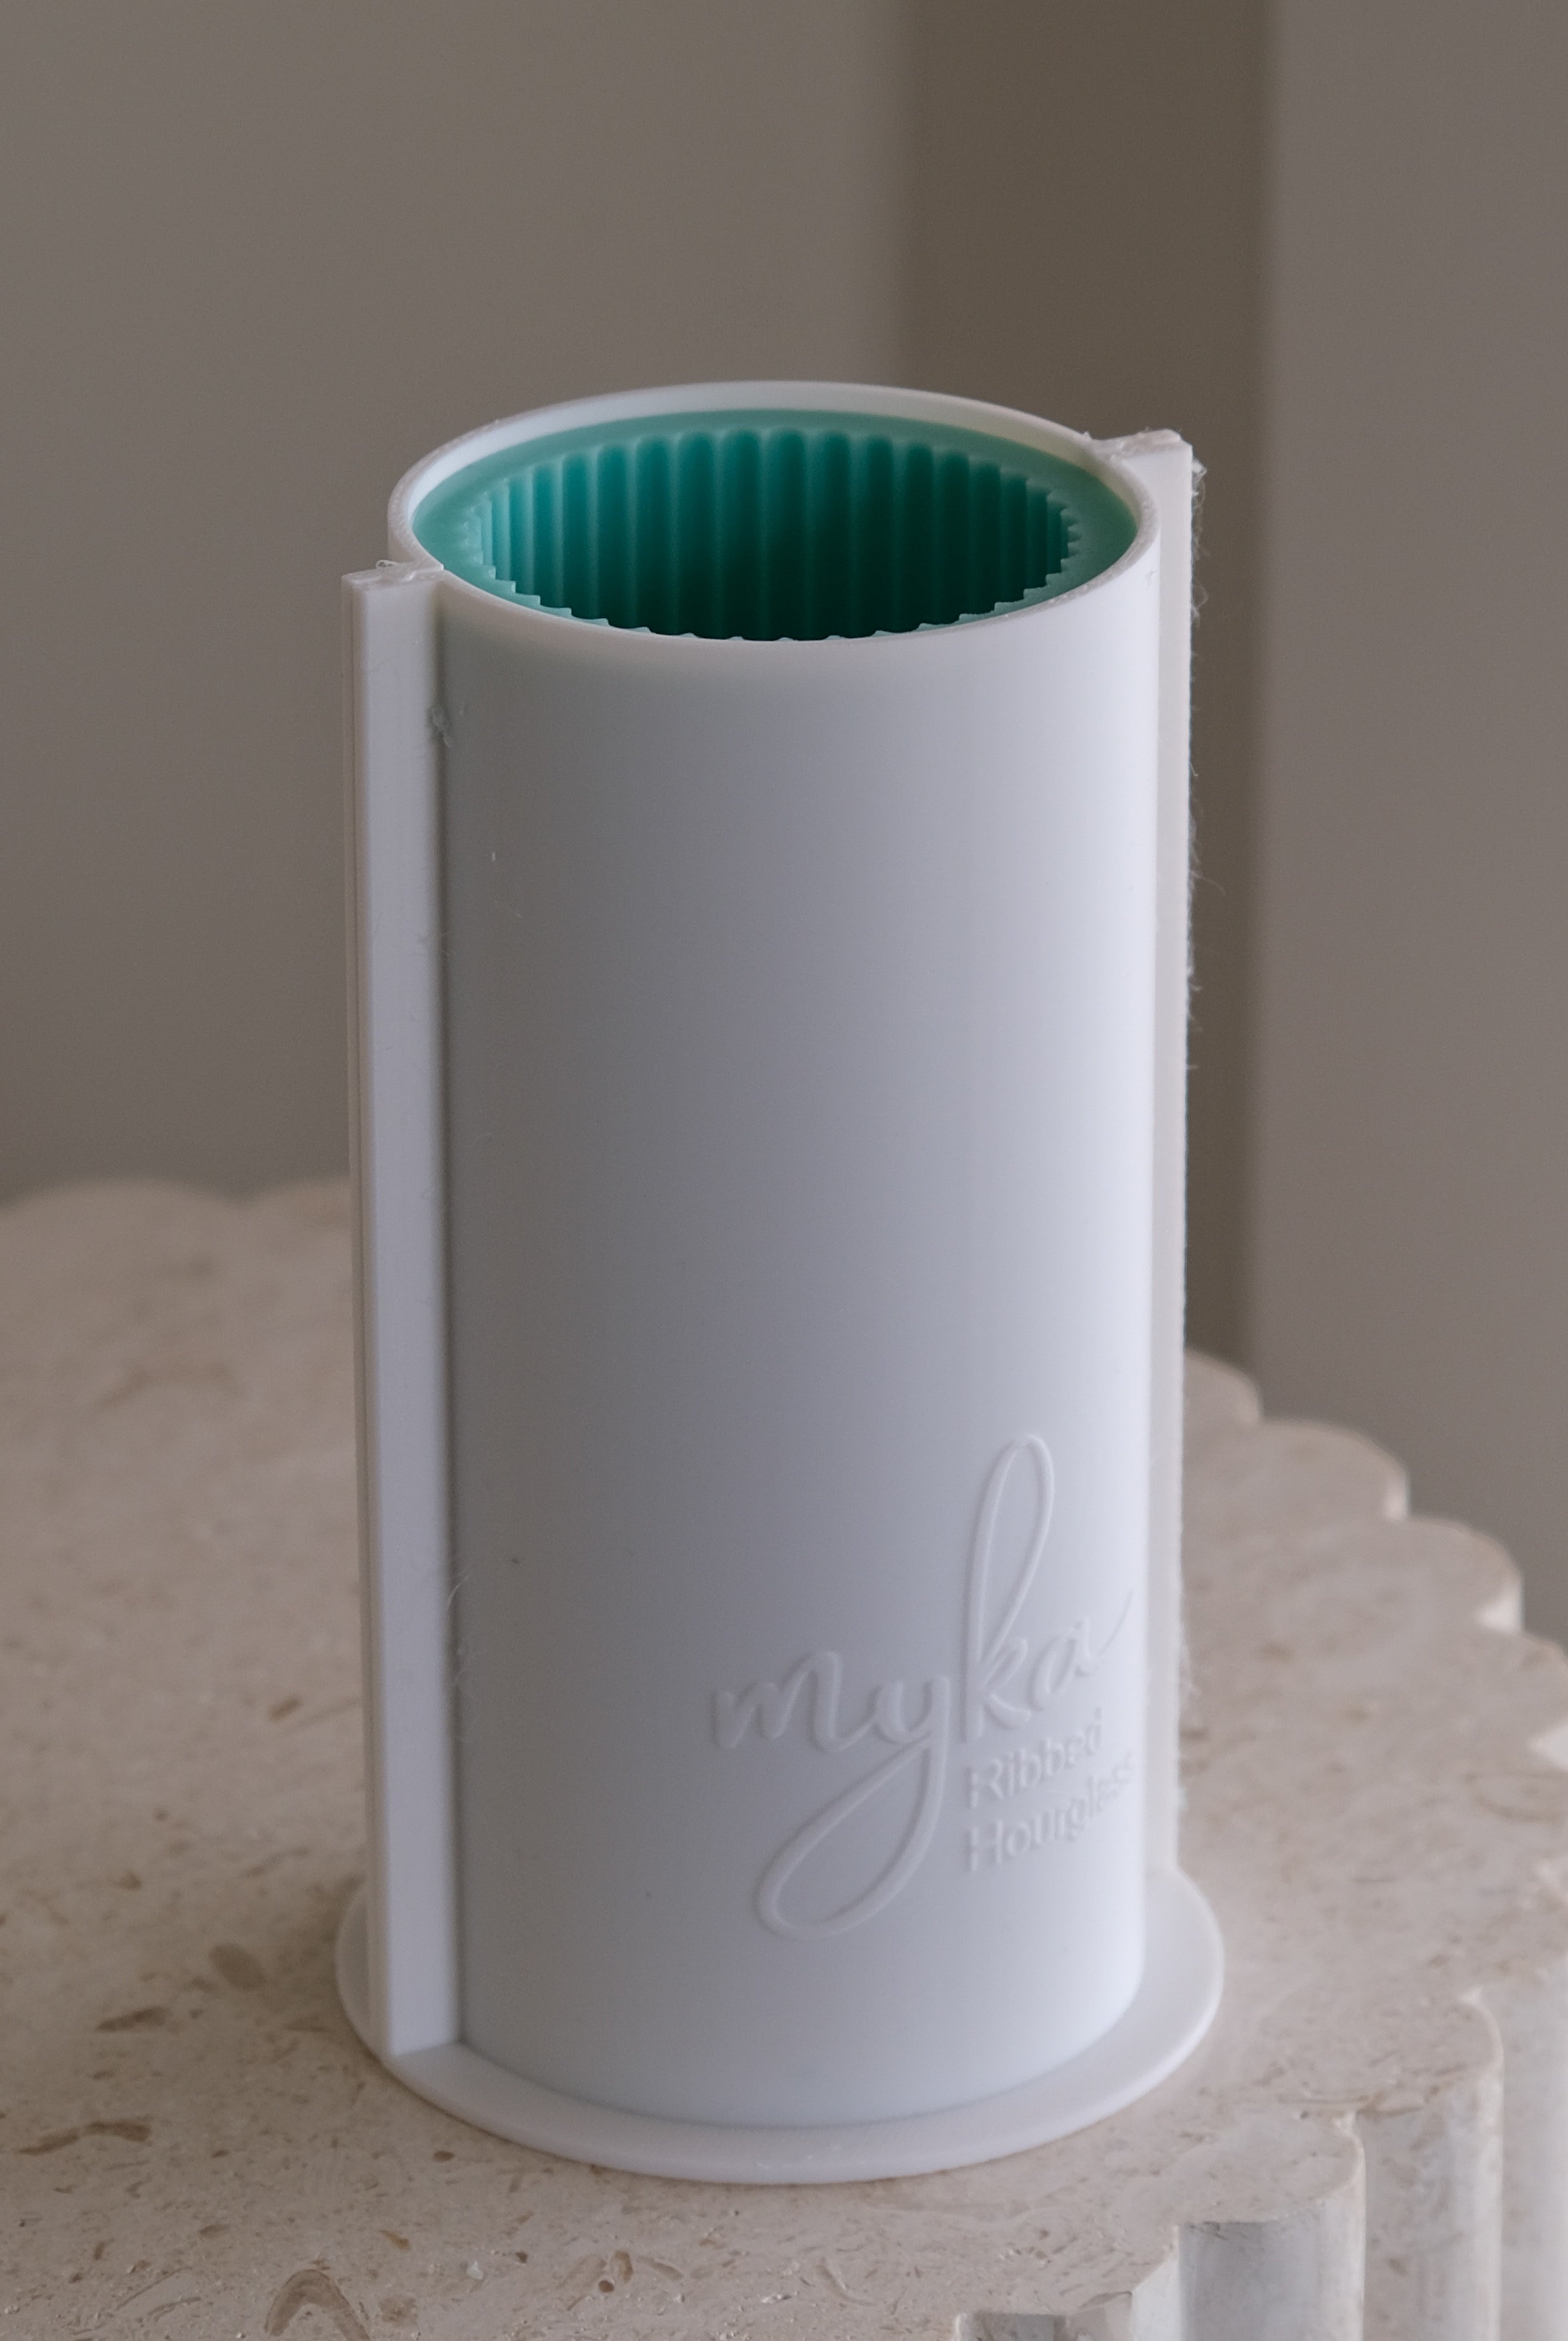
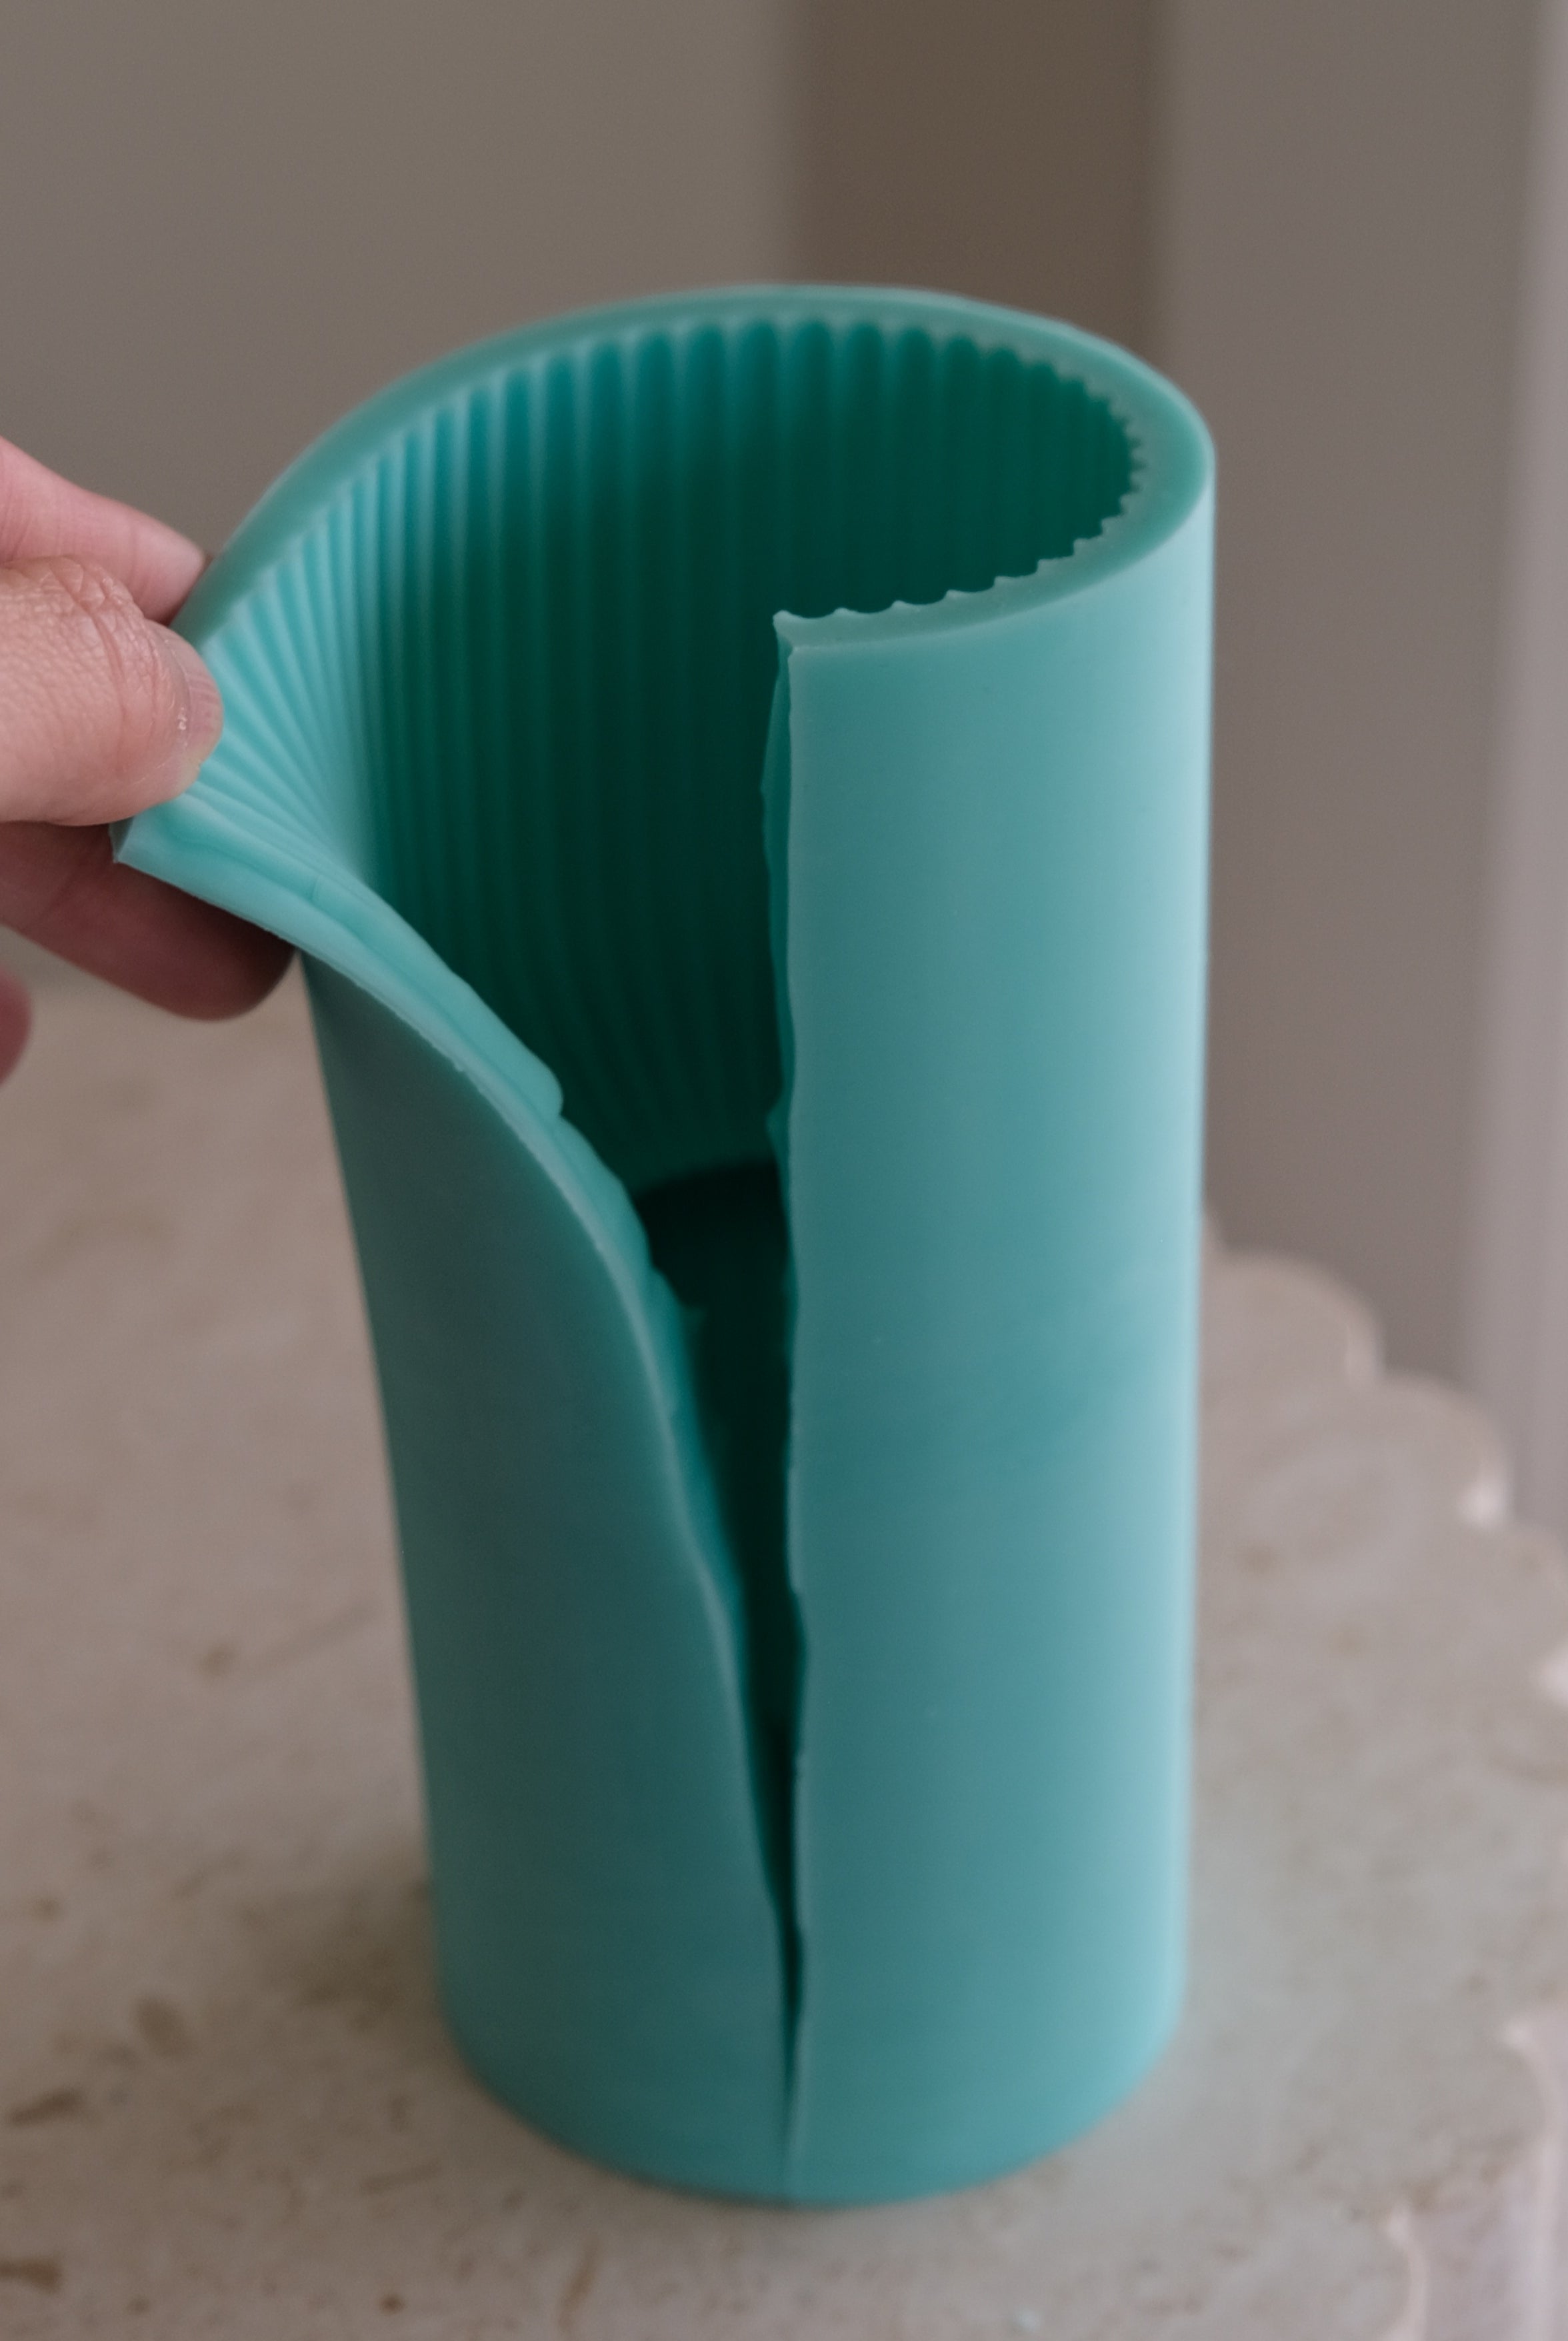
A: When using silicone moulds, sandwich the wick between the two pieces, ensuring they align properly. Use rubber bands to secure the pieces, preventing leaks. Make sure the rubber bands are evenly spaced and hold the mould together snugly without being too tight or too loose. You may need to use different sized rubber bands for irregular shaped moulds.
For acrylic moulds, utilize the included screws to connect both pieces. Wick the mould in the designated wick area before joining the two pieces. For added security, we recommend using rubber bands in conjunction with the screws. Before pouring in the wax, use blu tack to cover the wick hole. This will ensure the wick stays put and prevents wax from leaking out the hole.
Q: Why are there air bubbles in my candles?
A: Air bubbles can result from various factors, including the presence of water or moisture in the mould, insufficient heating, or pouring the wax too quickly. To minimize bubbles, increase the pouring temperature and pour the wax slowly at an angle, especially when working with tall candle moulds.
Q: How can I minimise seam lines on my candles when using a cut mould or two-piece mould?
A: Seam lines are a natural outcome when using cut moulds or two-piece moulds, but you can take measures to reduce their visibility. Start by ensuring both halves of the mould align as perfectly as possible and are securely fitted together using rubber bands that are not too tight or too loose. If the seam line is still noticeable, a helpful technique is to carefully carve or scrape it with a blade or even a blackhead remover. Afterward, rub the area with your finger or cloth to smooth out the line and improve the candle's appearance. While you may not completely eliminate the seam line, following these steps will help you achieve a cleaner and more polished result.
Q: Do I need to use a mould release spray?
A: No. If left for a sufficient amount of time, your candle should easily slide out of the mould. If you are having difficulty getting your candle out of the mould, try leaving your candle to set for a little longer. Alternatively, try placing the mould into a refrigerator or freezer for around 10 minutes before unmoulding.
Q: How do pillar candles burn?
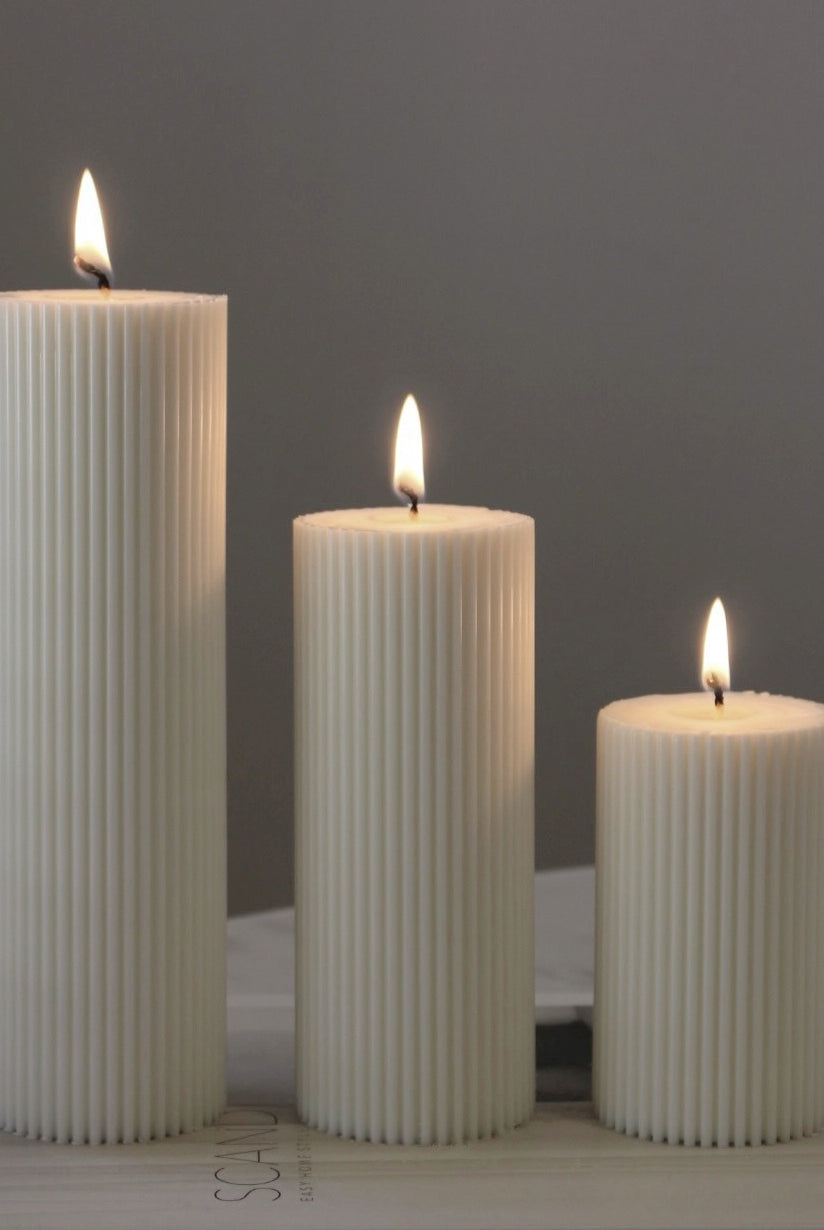
A: Unlike container candles, they are not designed to burn the full diameter. Instead, they should burn down the centre and leave a 5mm to 10mm outer shell. Remember that irregular shaped candles are primarily used for decorative purposes and will not burn evenly.
Q: Why are my candles turning yellow?
A: The discolouration of candles can be attributed to two main factors: fragrance oils containing vanillin and exposure to sunlight. It is advisable to check the fragrance description on websites, as they often indicate the presence of vanillin in the fragrance composition.
Q: How many moulds do I need for each design?
A: We recommend having at least two silicone moulds when using ccolour ye. Use one for light pastel ccolours nd another for deeper, darker hues, as silicone can absorb ccolour nd transfer darker shades onto white candles. Acrylic moulds, on the other hand, do not absorb ccolour r fragrance, so having one mould per design is typically sufficient initially.
For more information on pillar candles, we recommend enrolling in Candle Making Academy's Pillar Candle Course, a comprehensive online course designed to provide you with all the knowledge and skills you need to take your candle-making to the next level.
For all of your candle mould needs, be sure to check out our collections.

