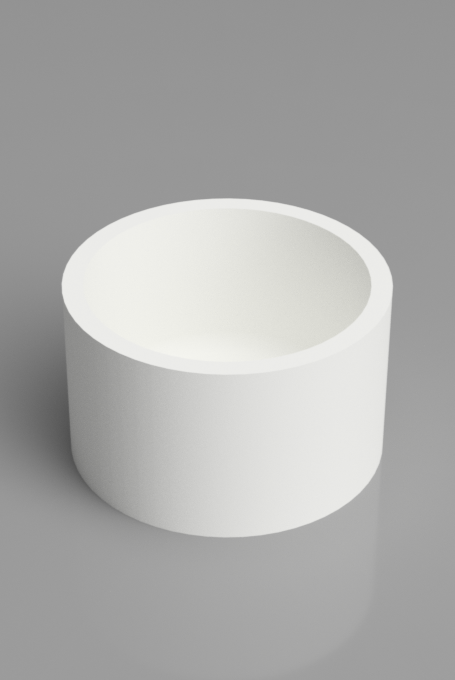
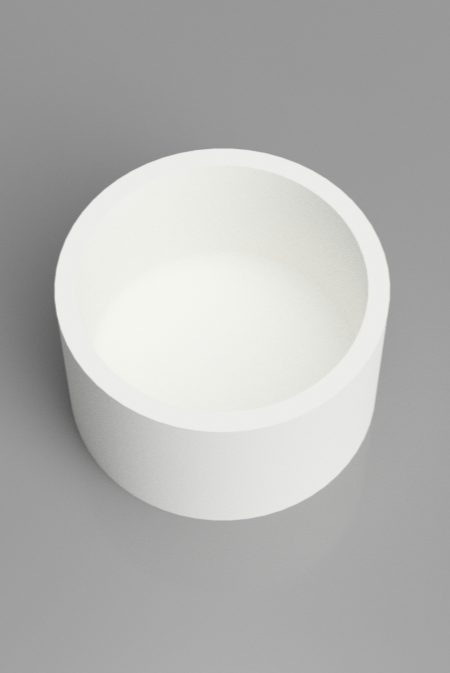
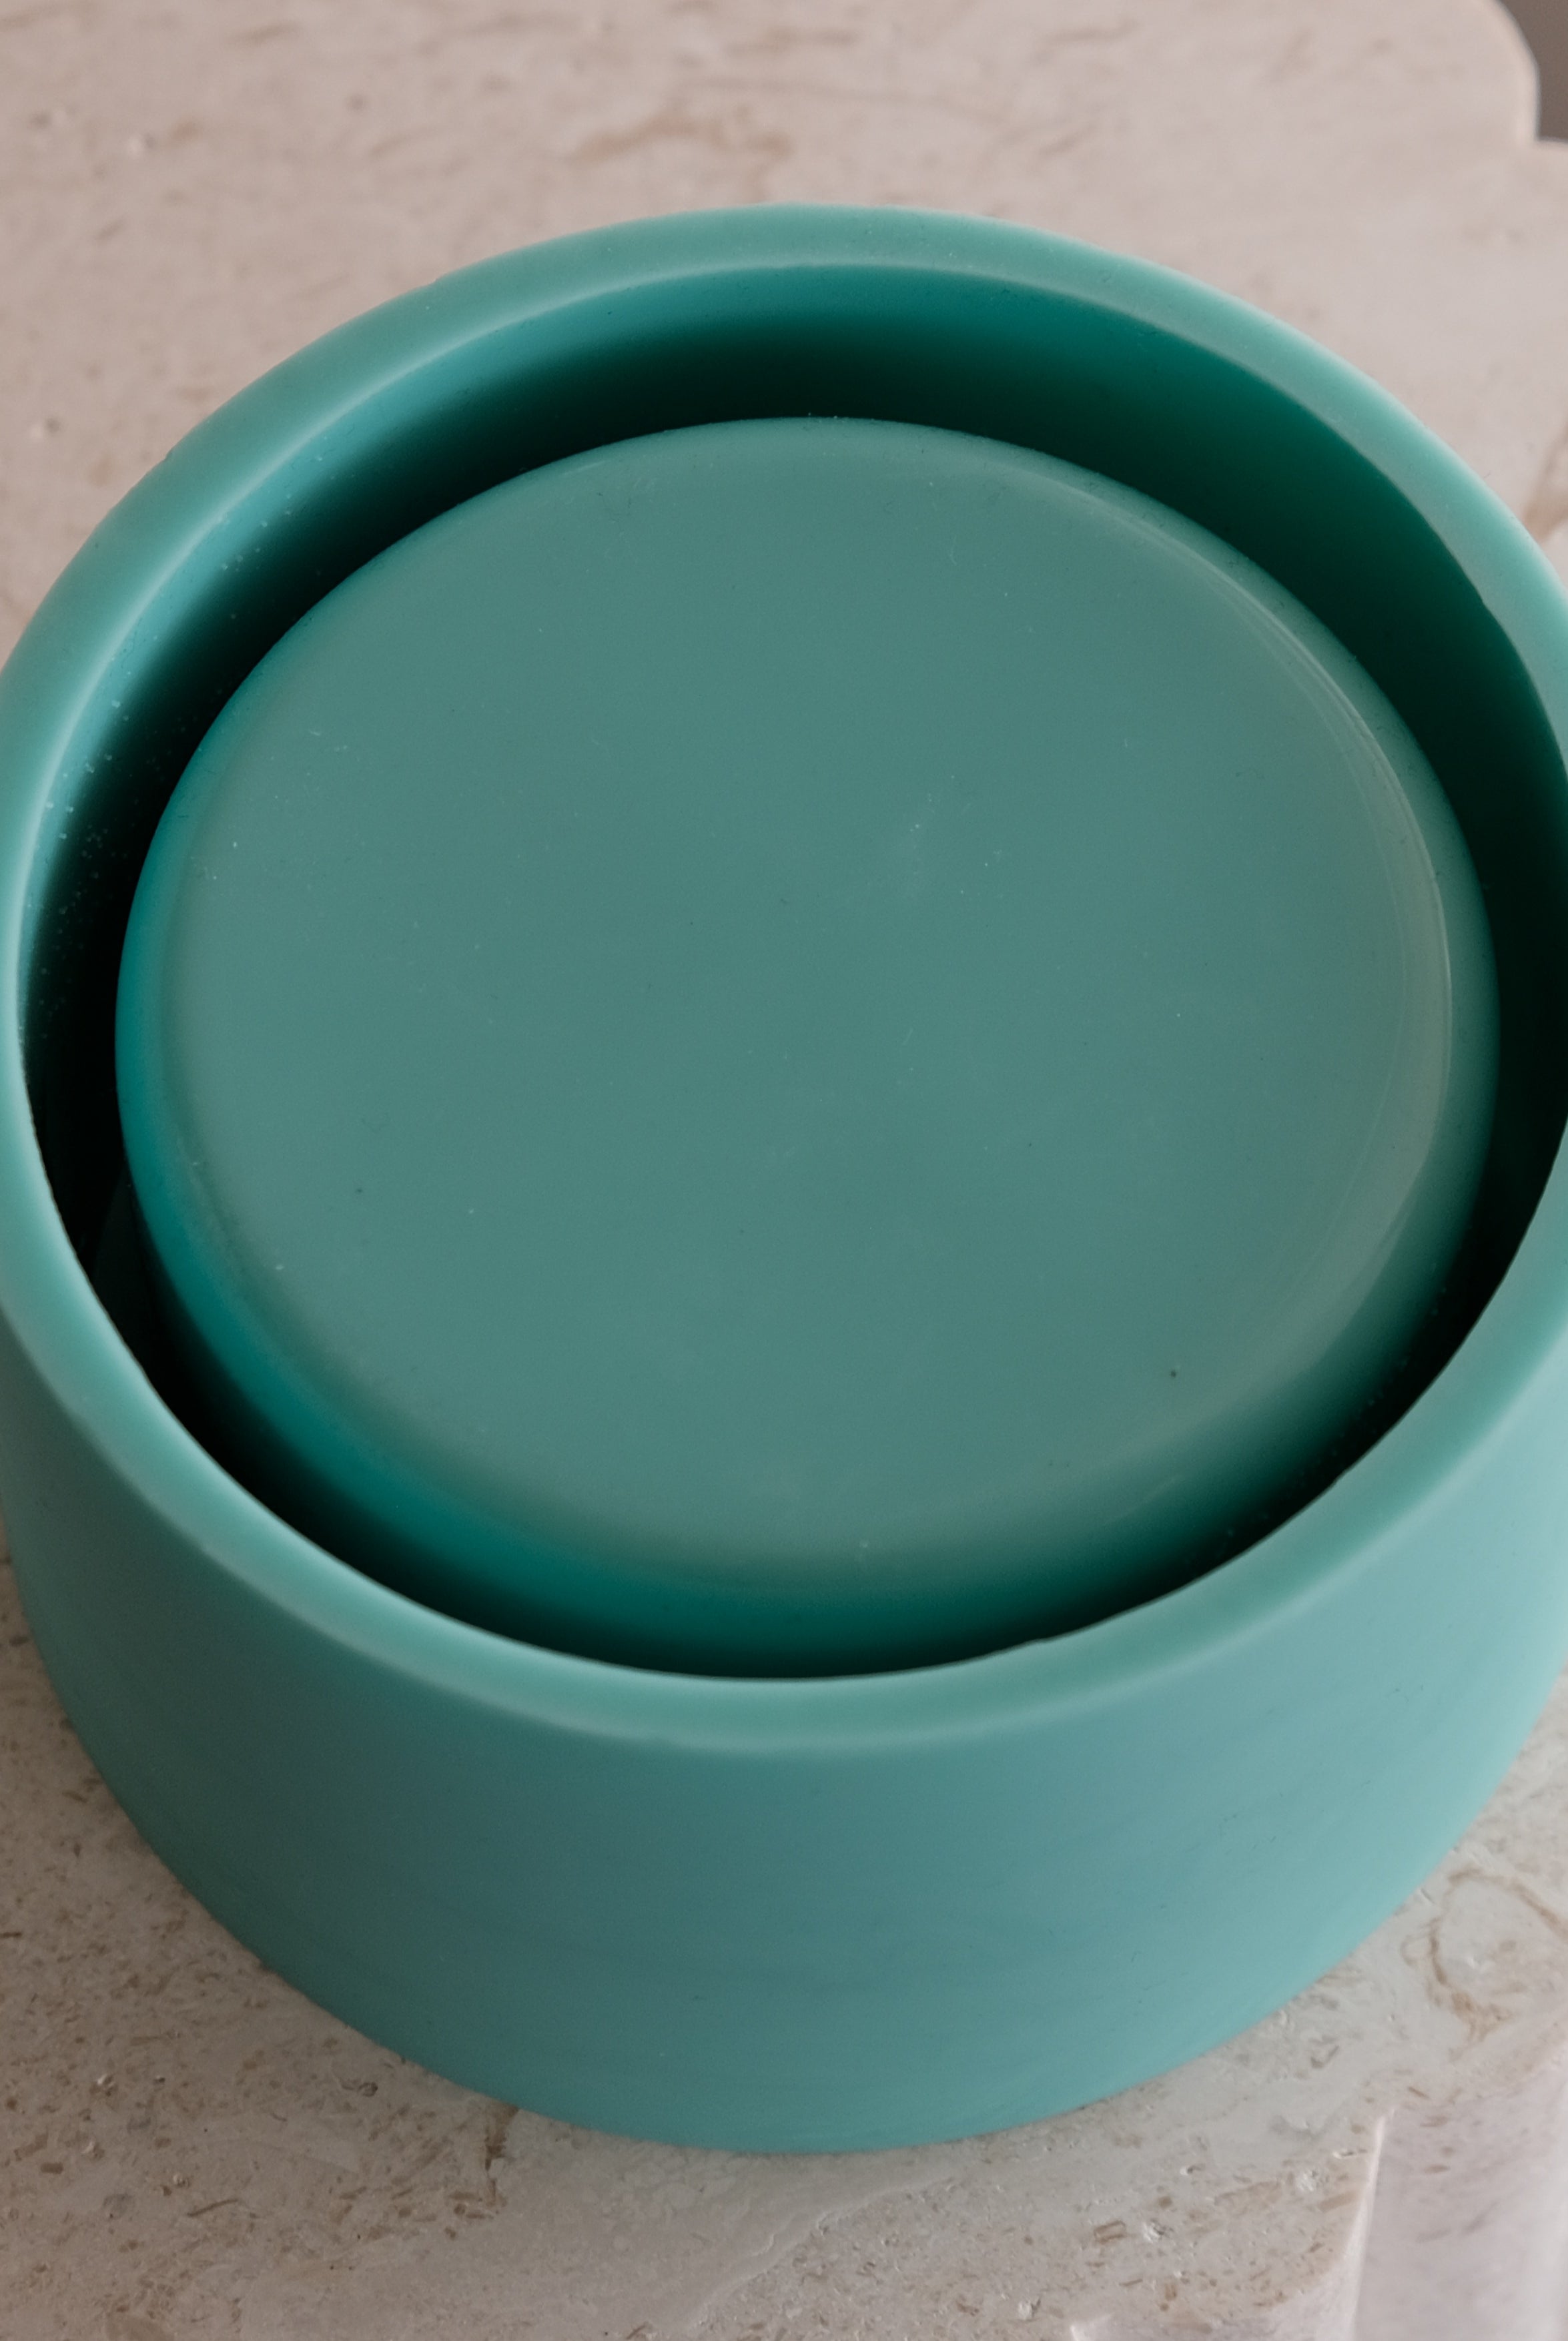
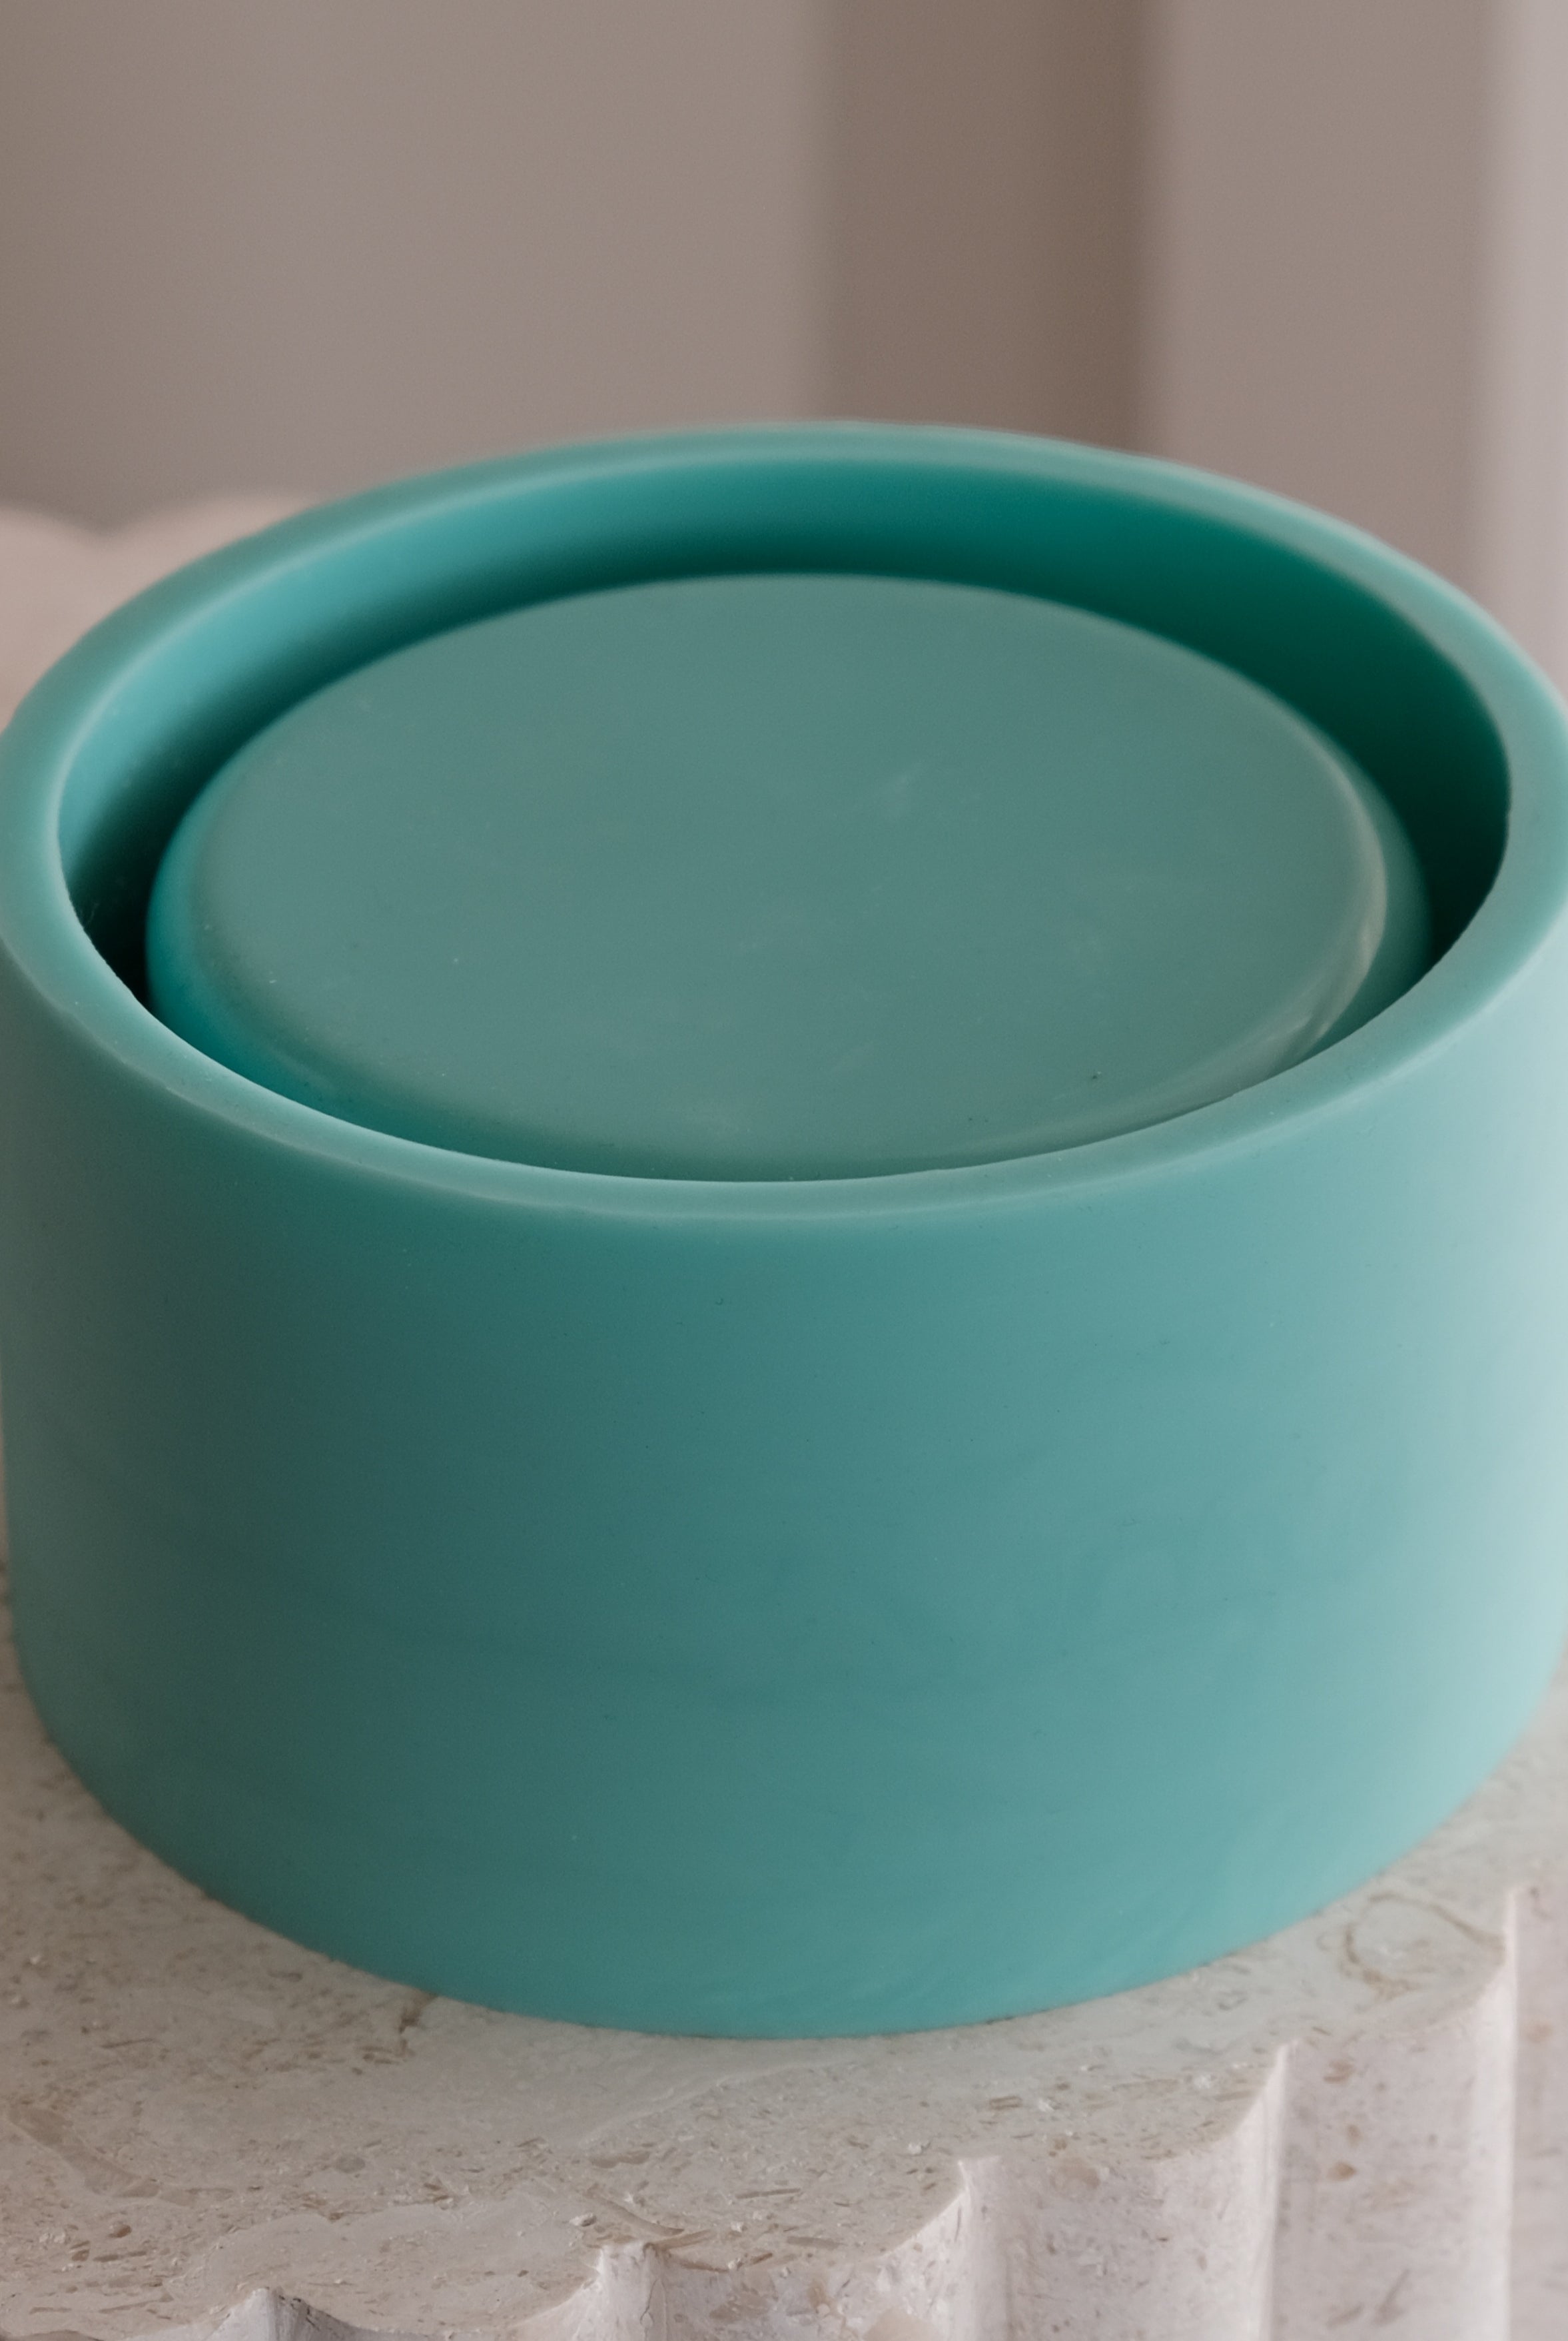
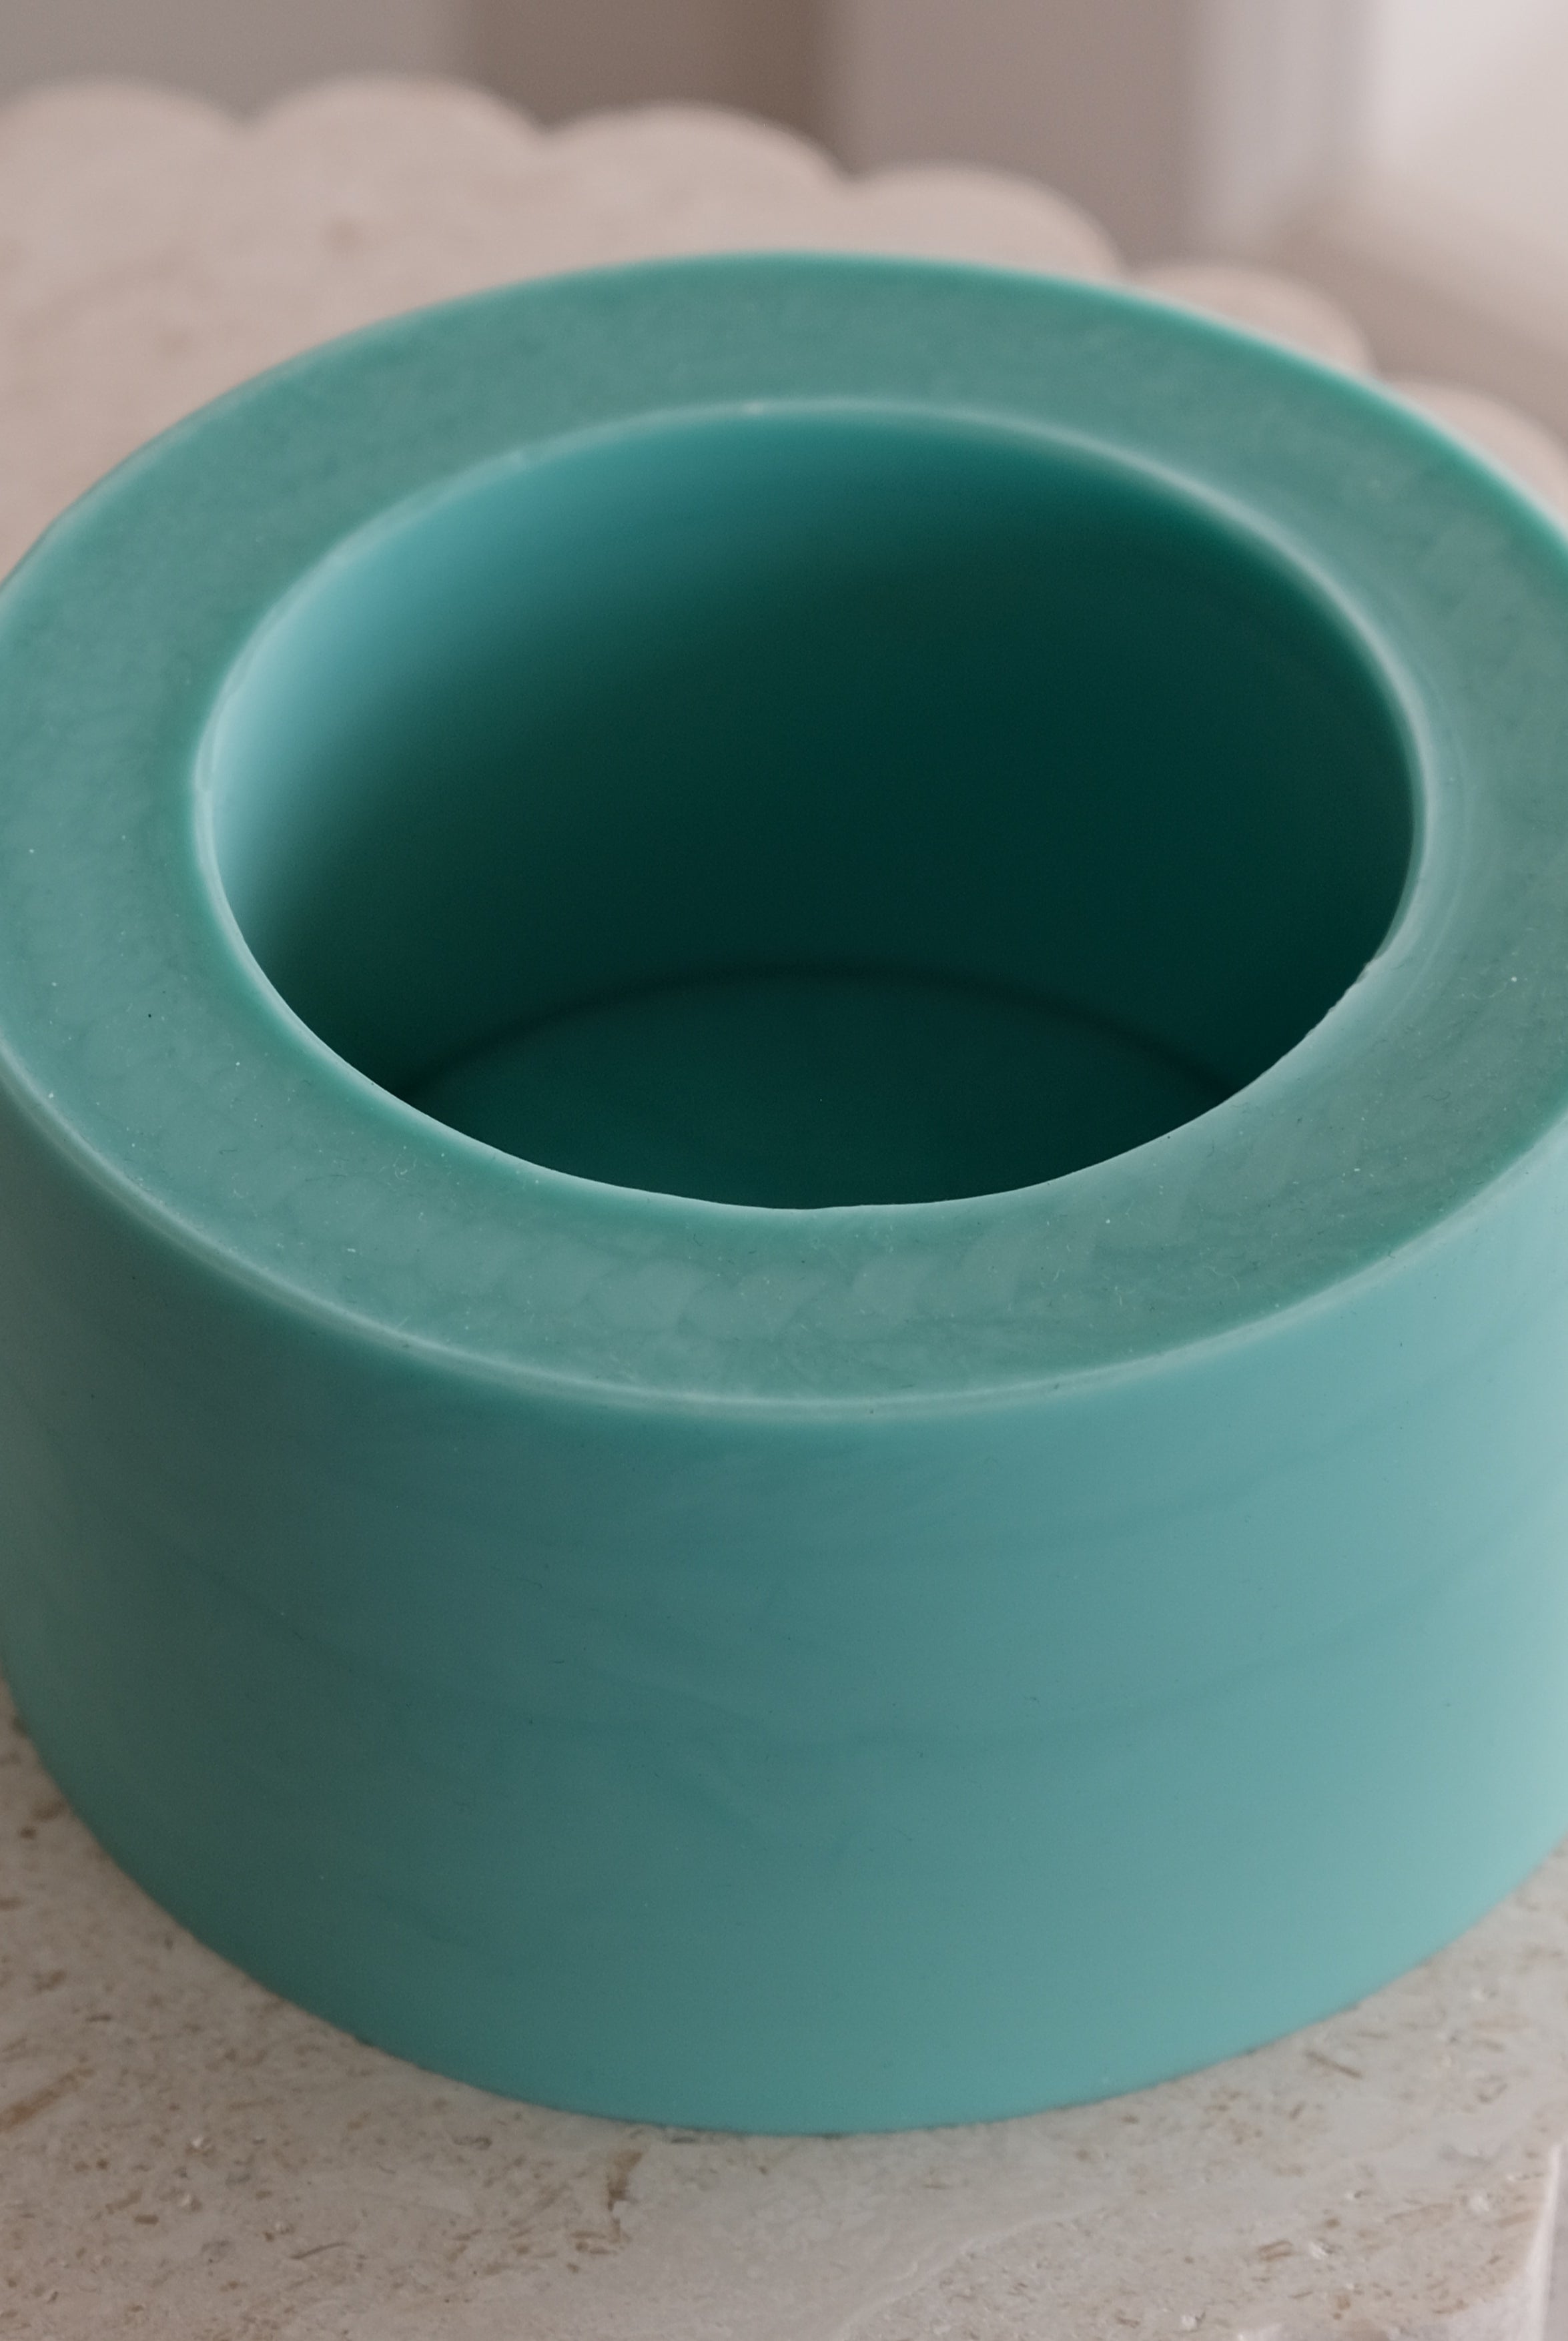
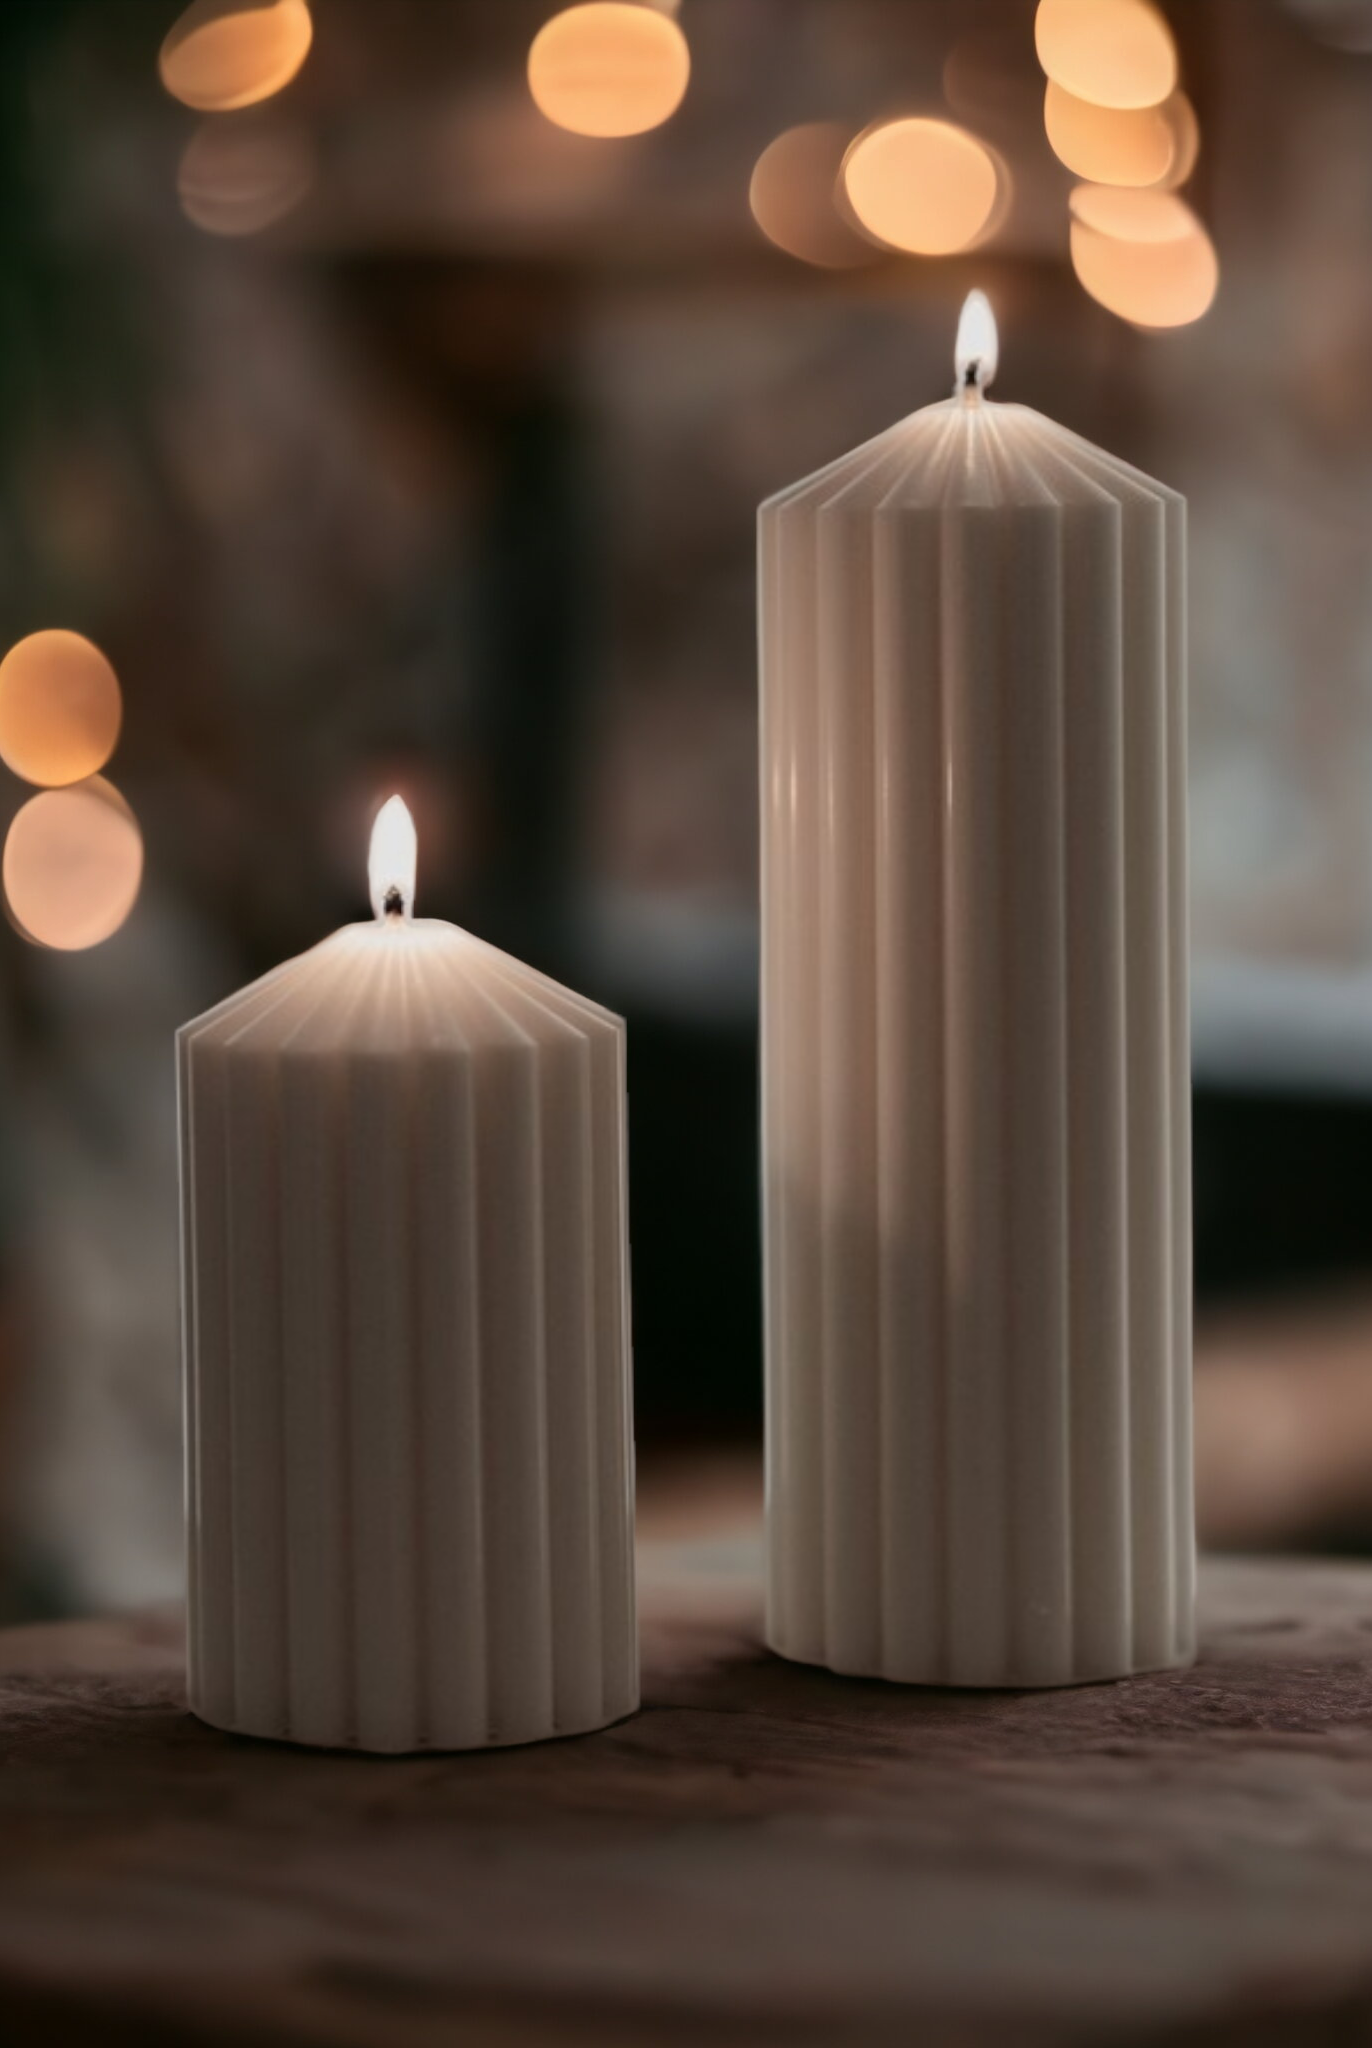
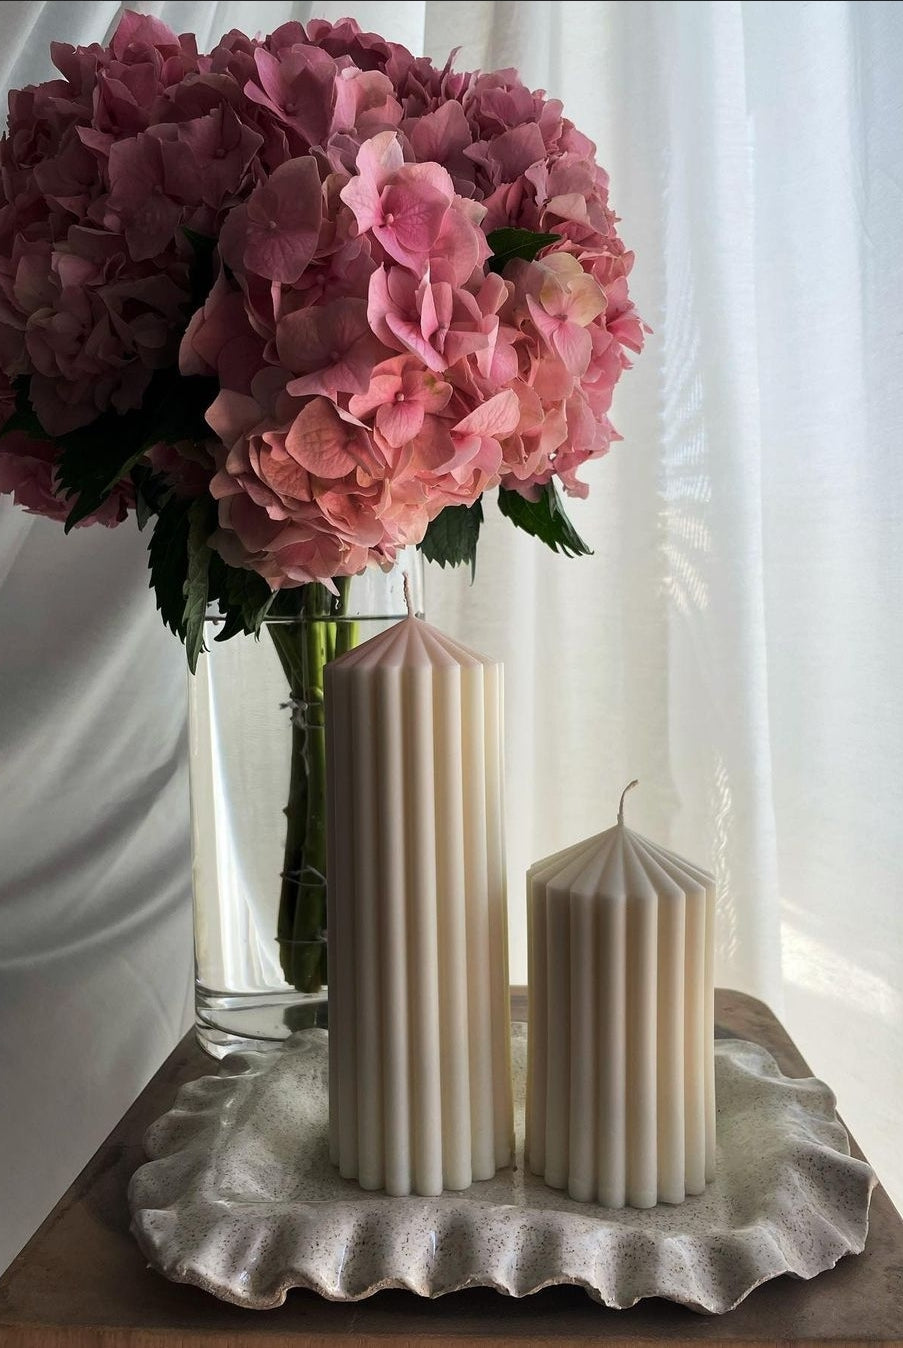
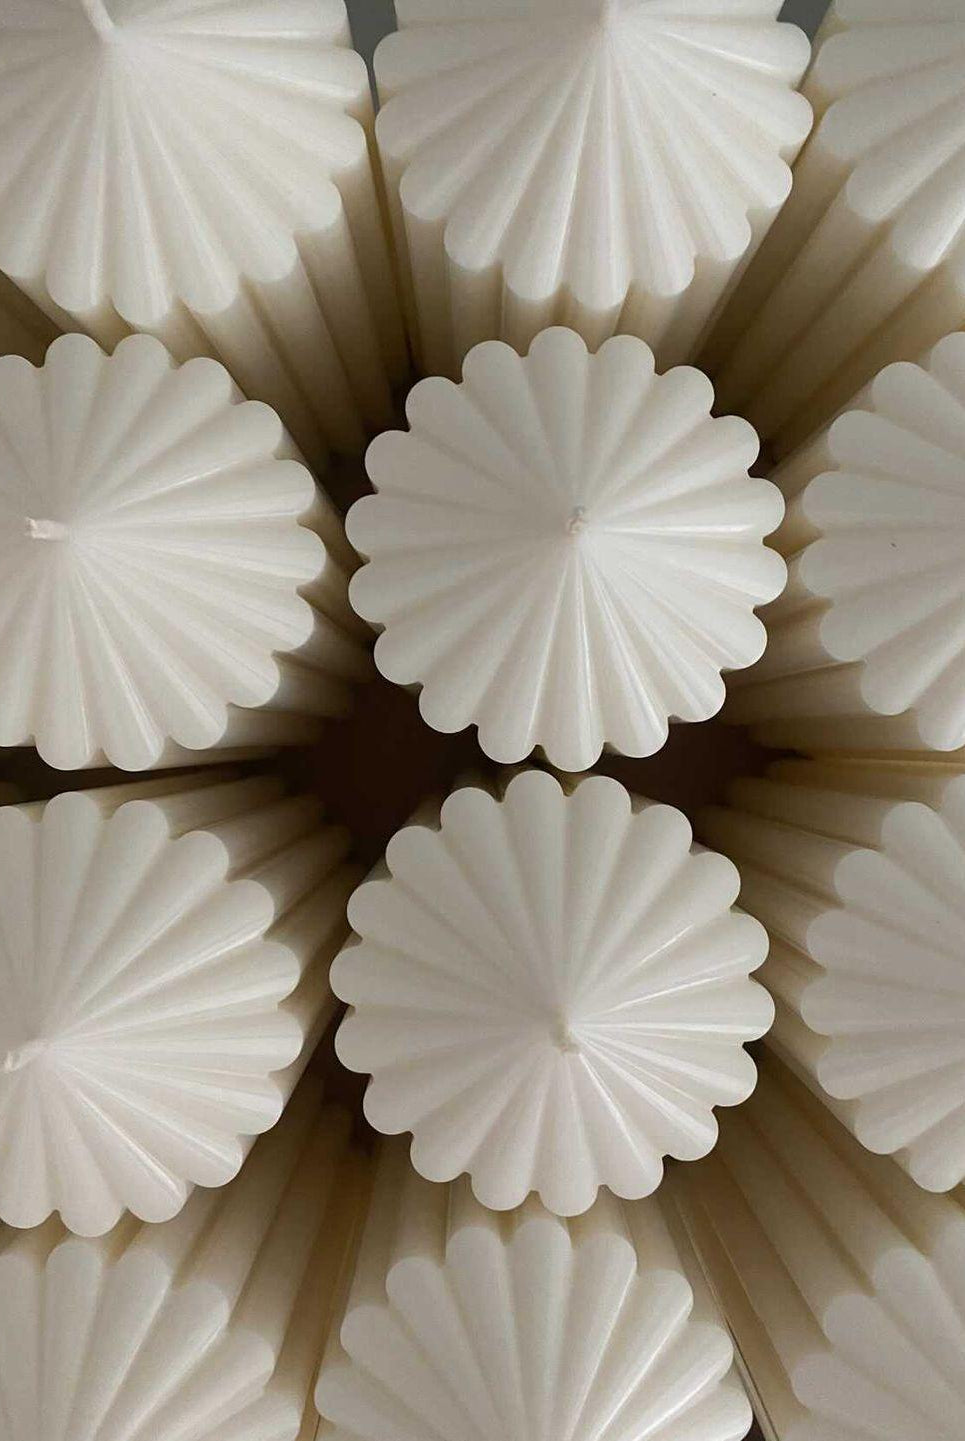
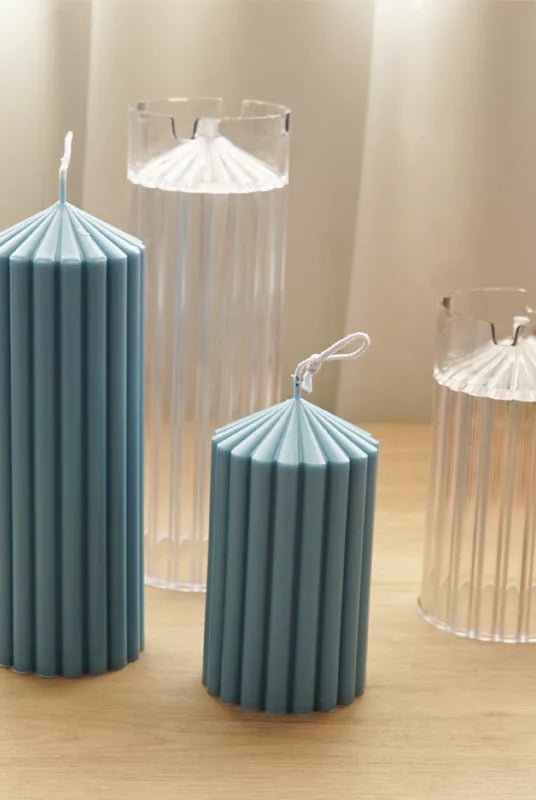
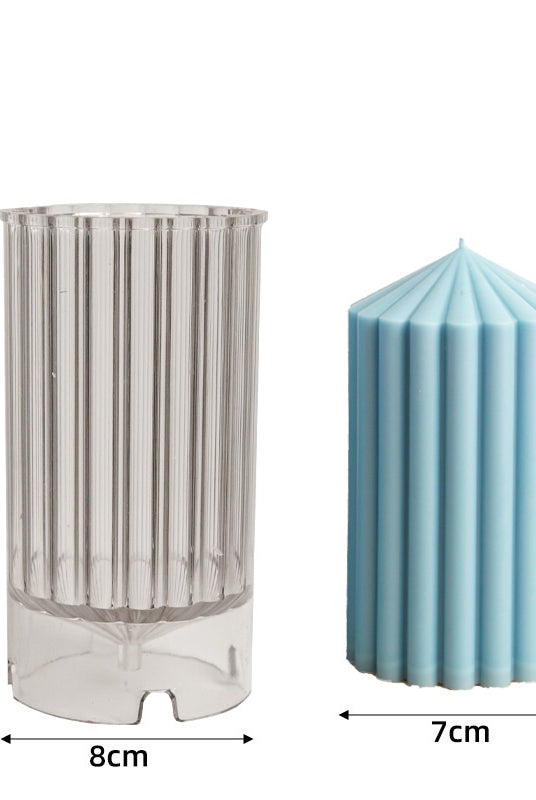
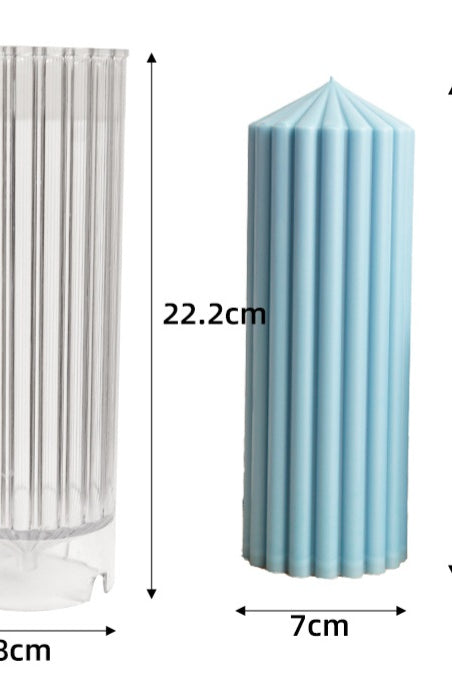
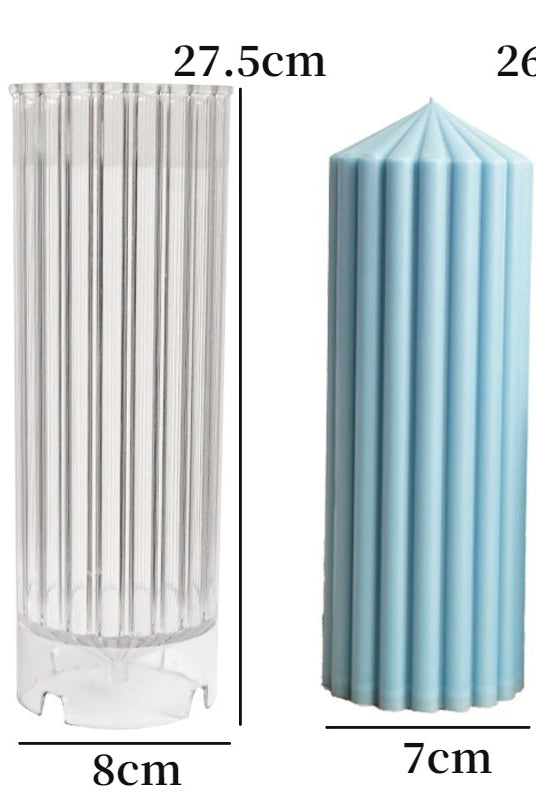
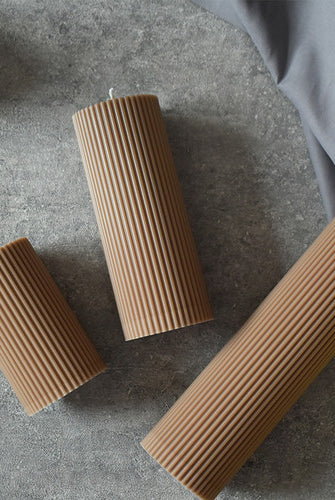
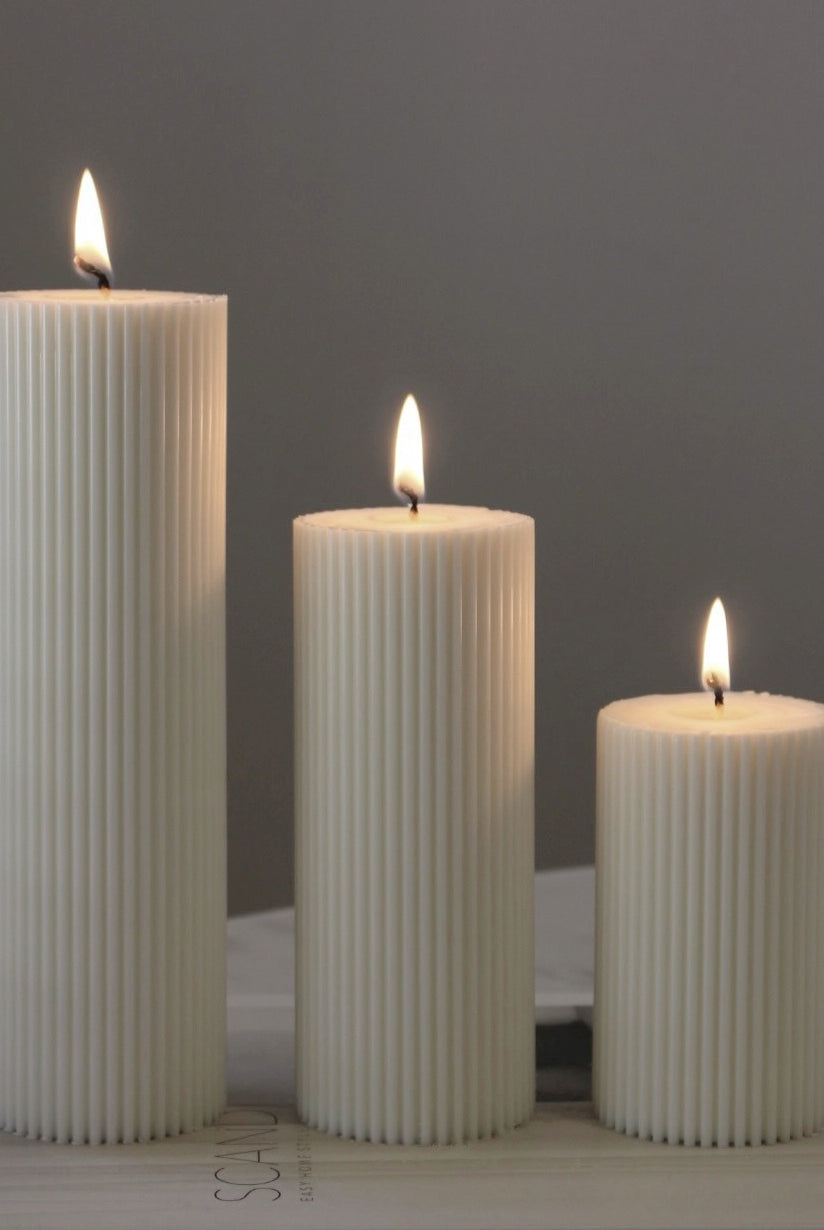
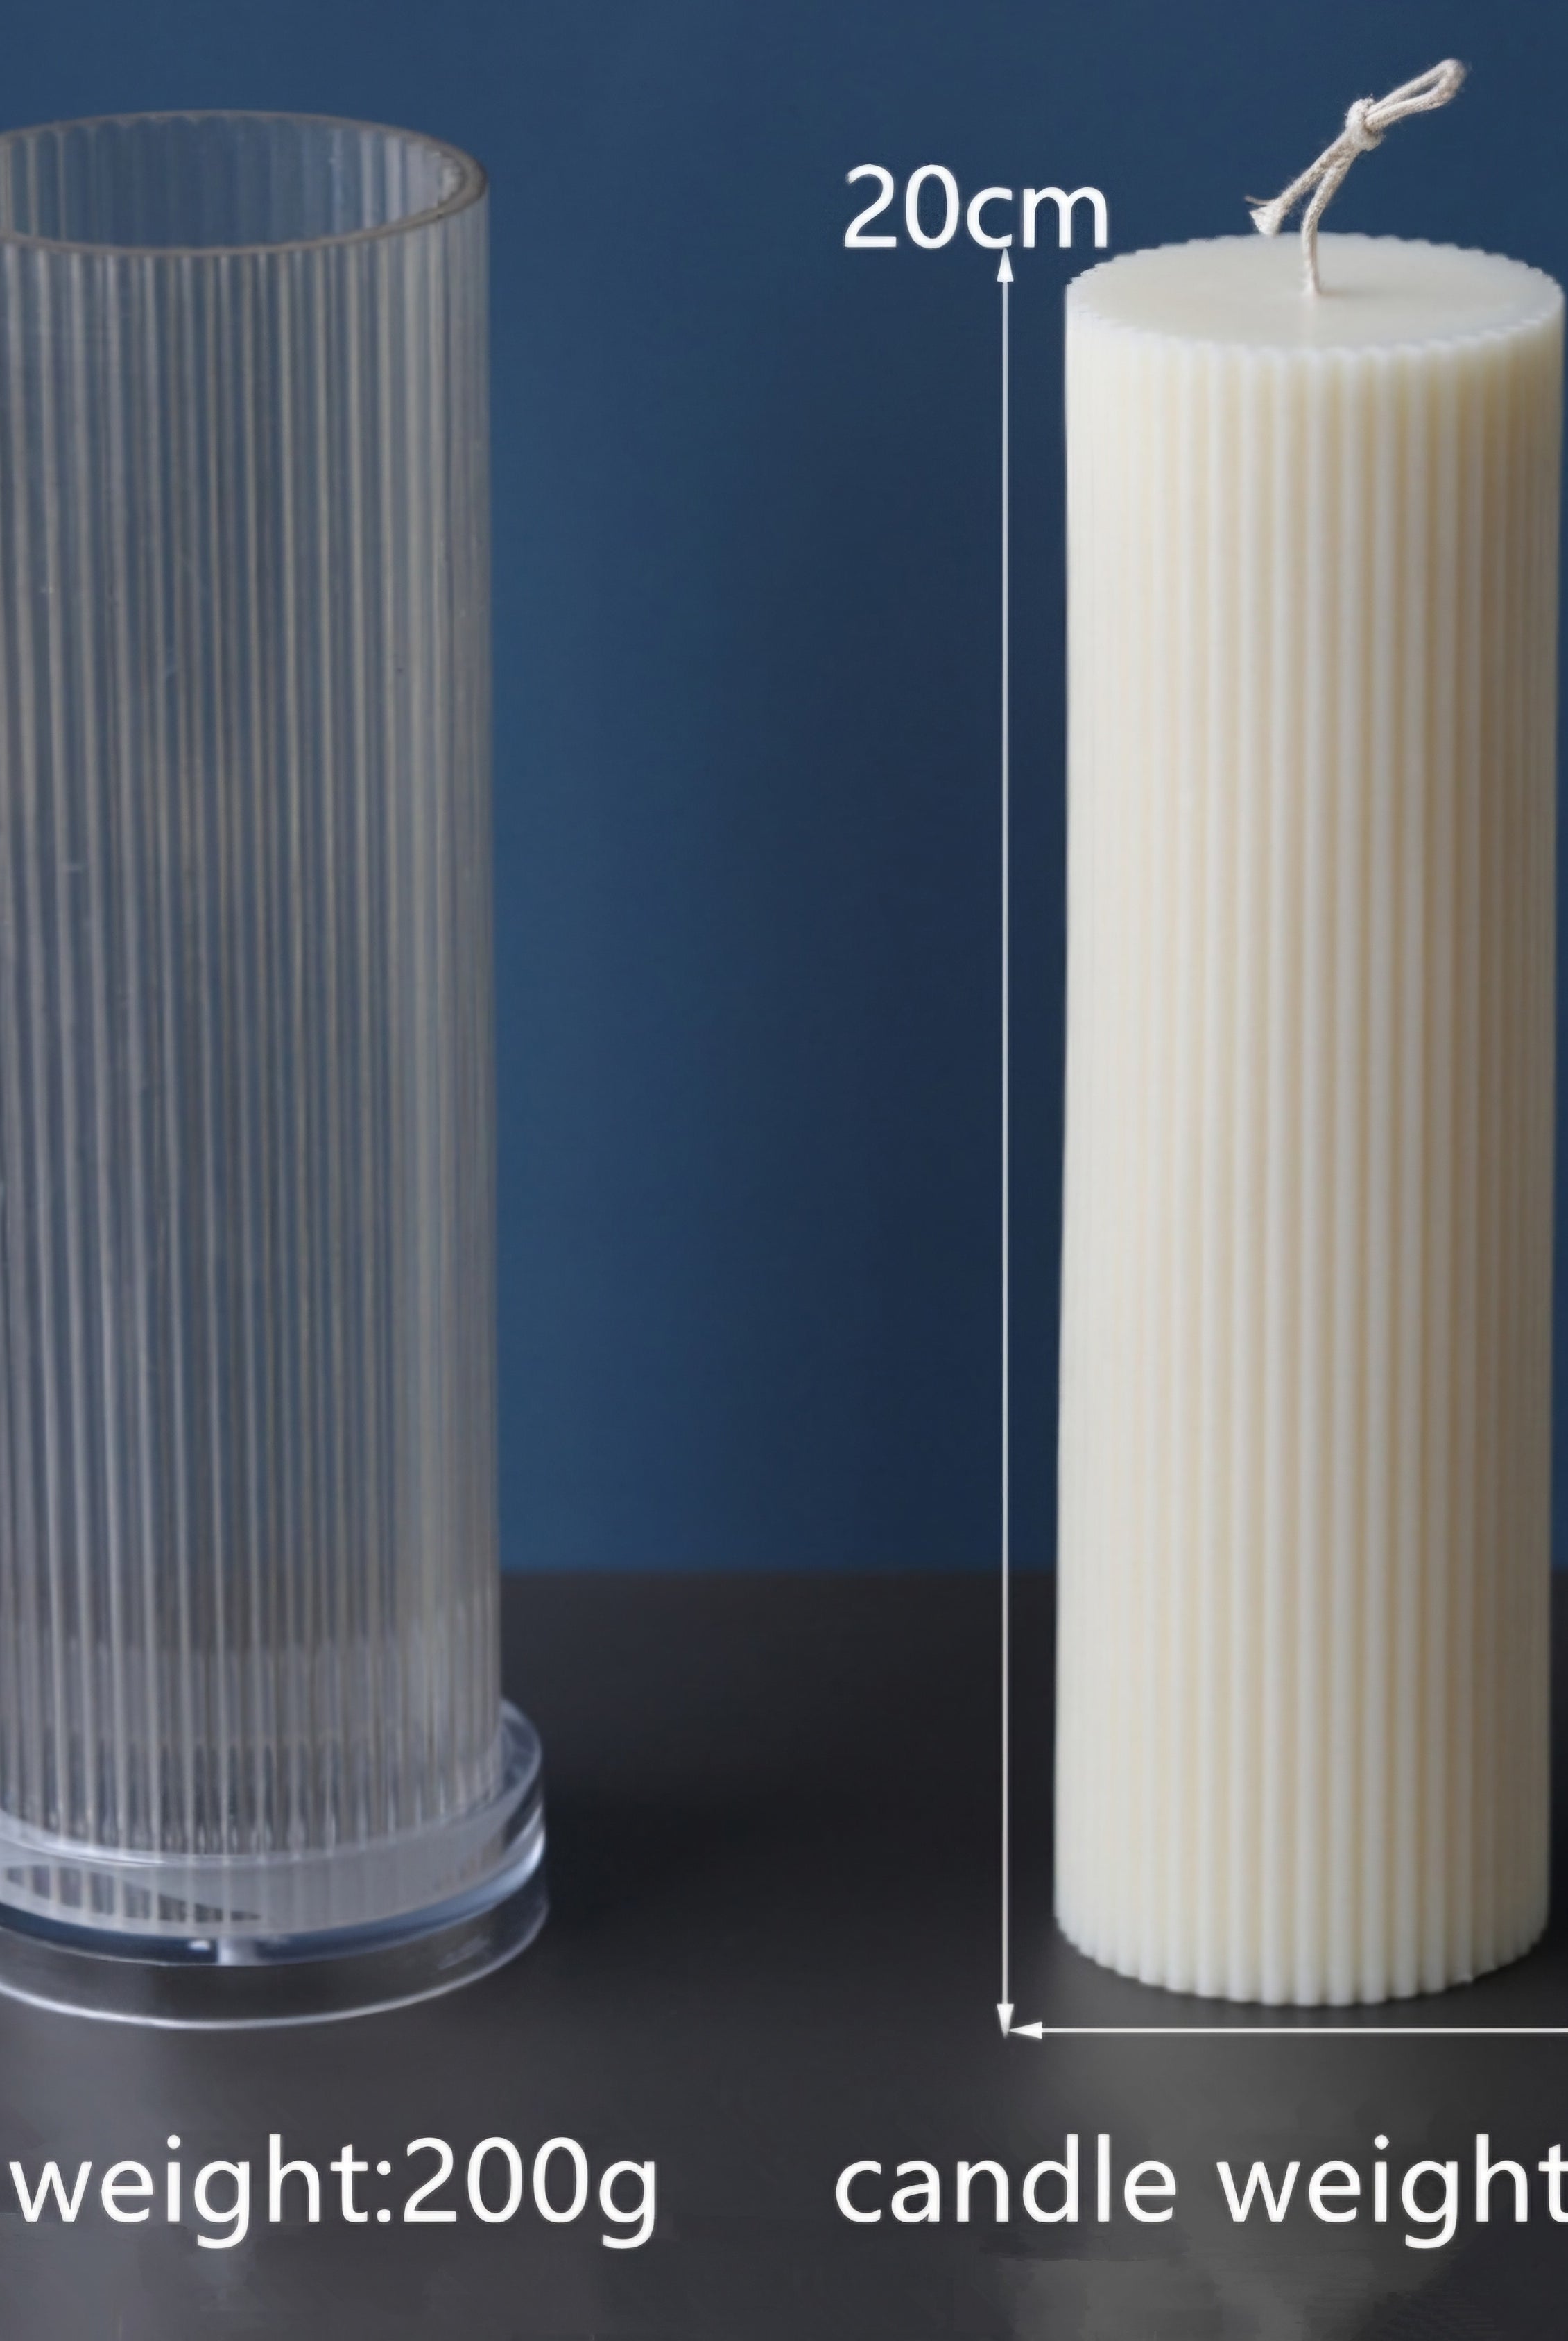
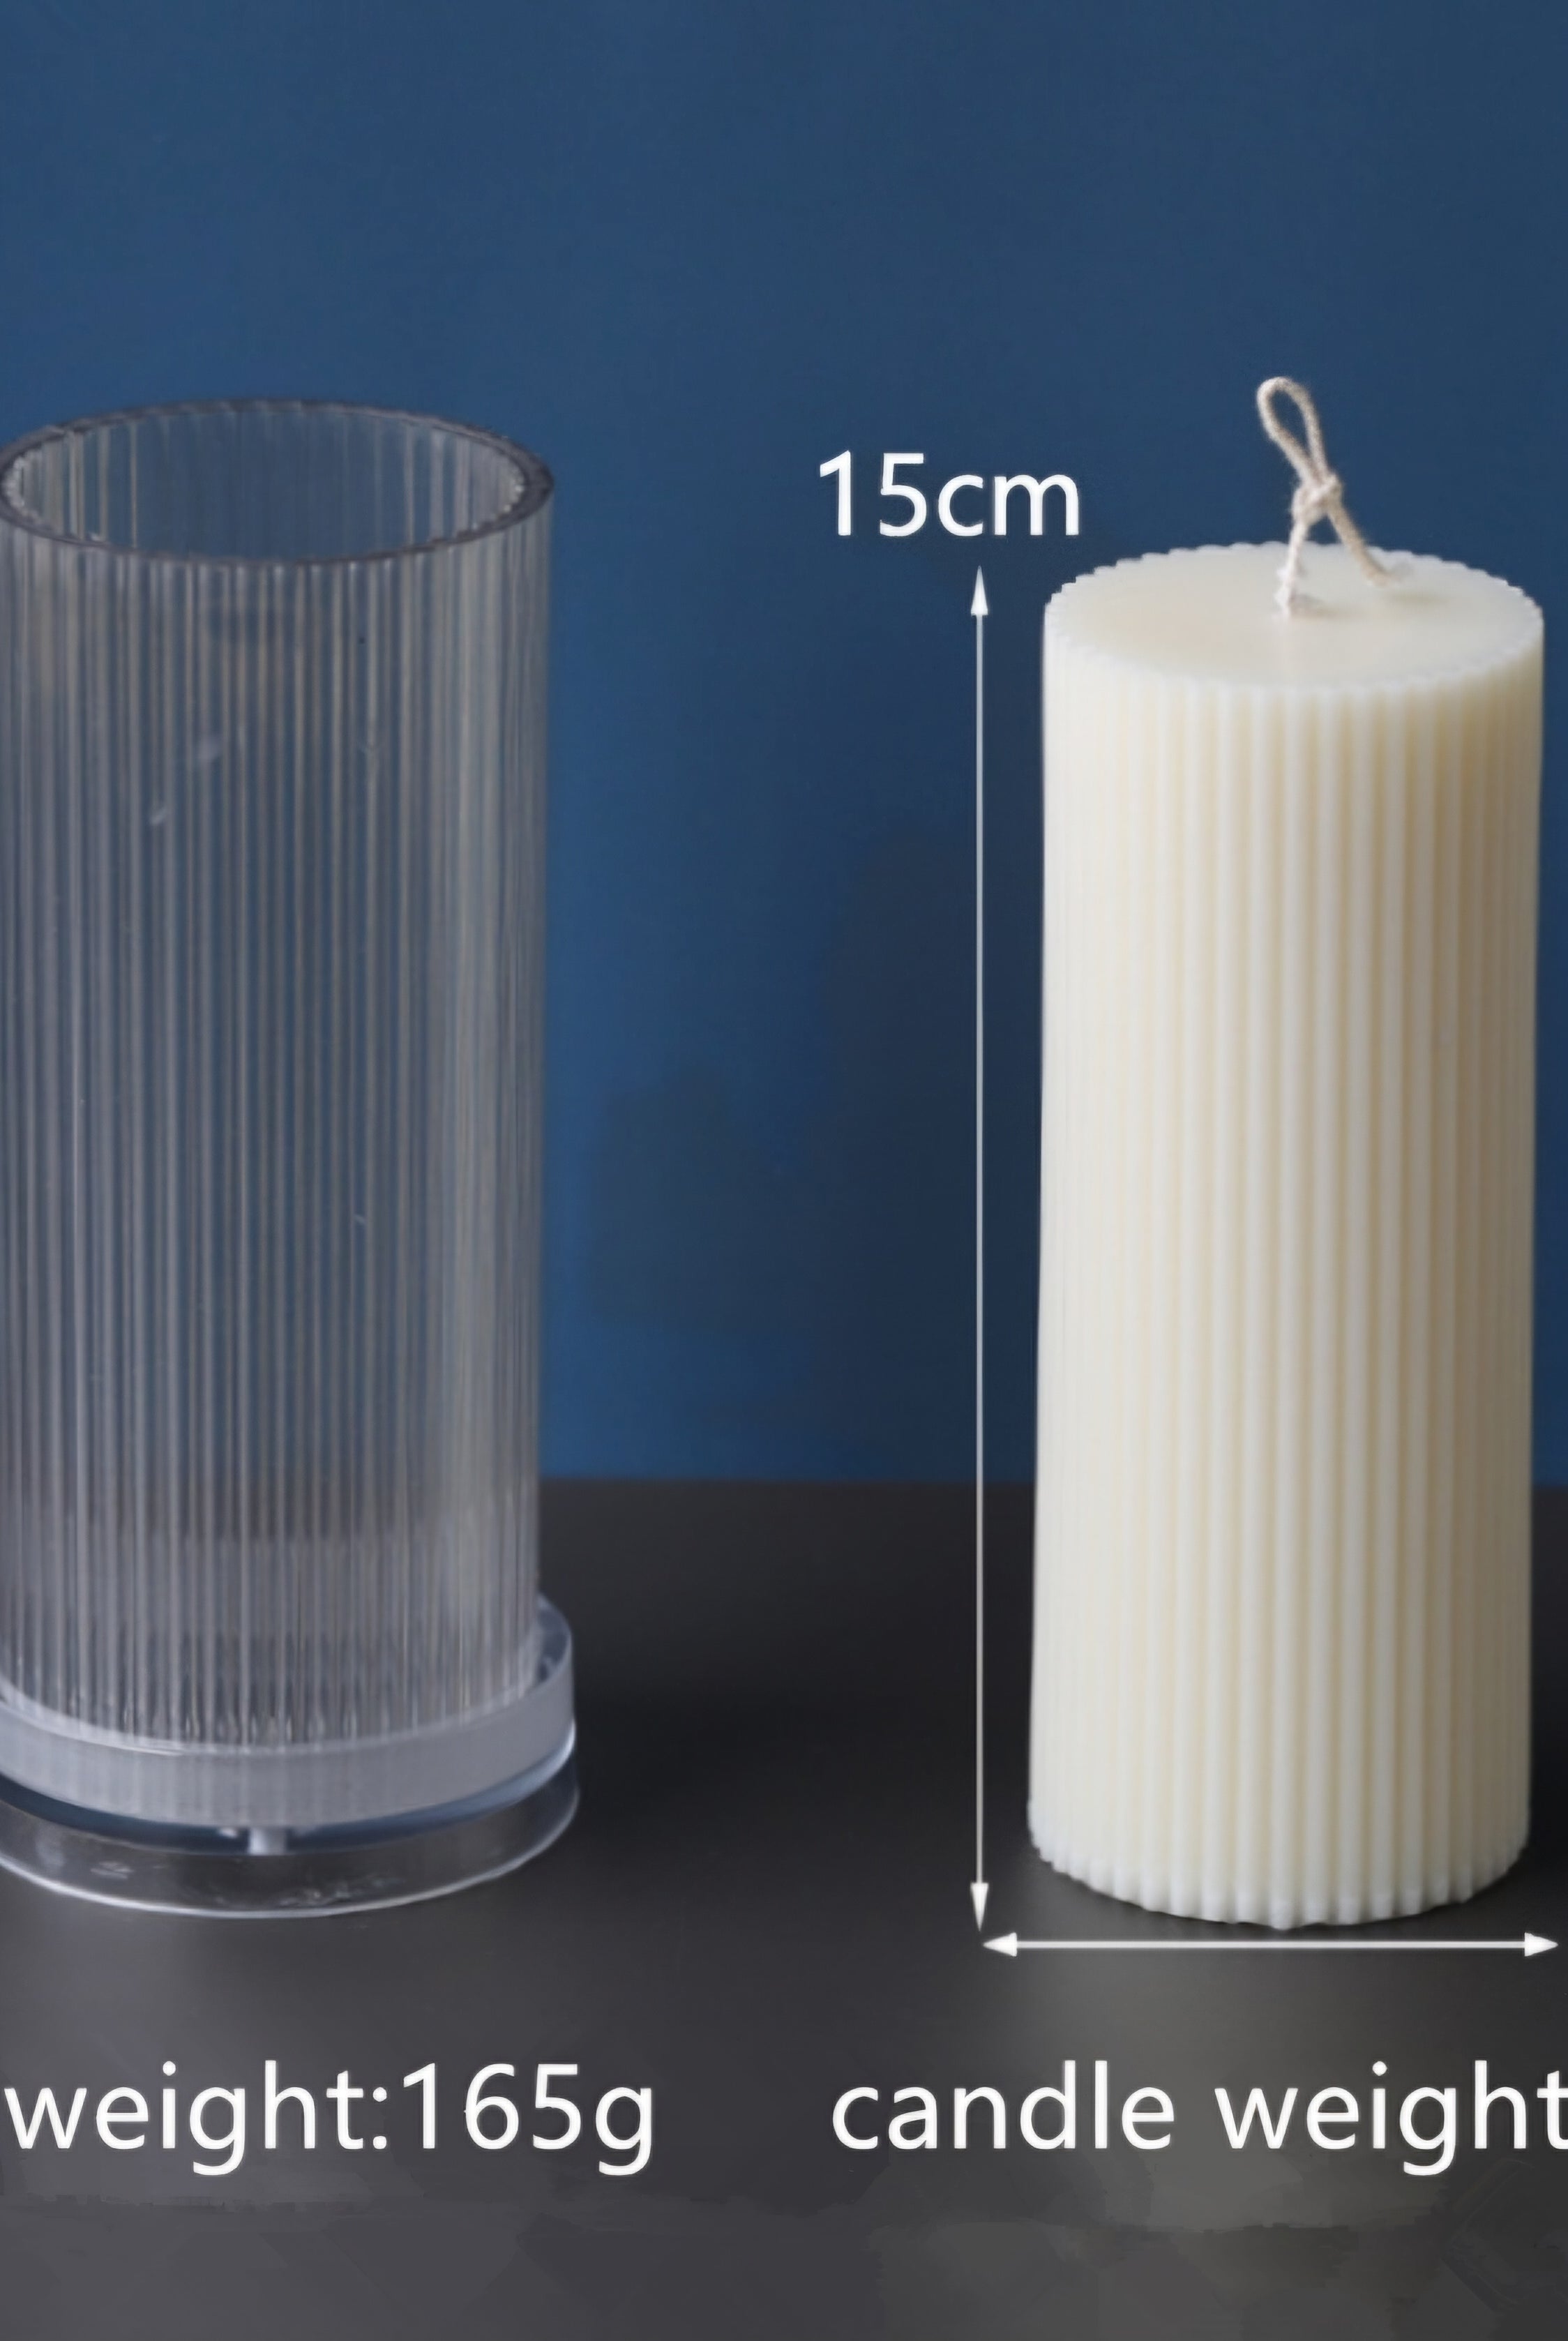
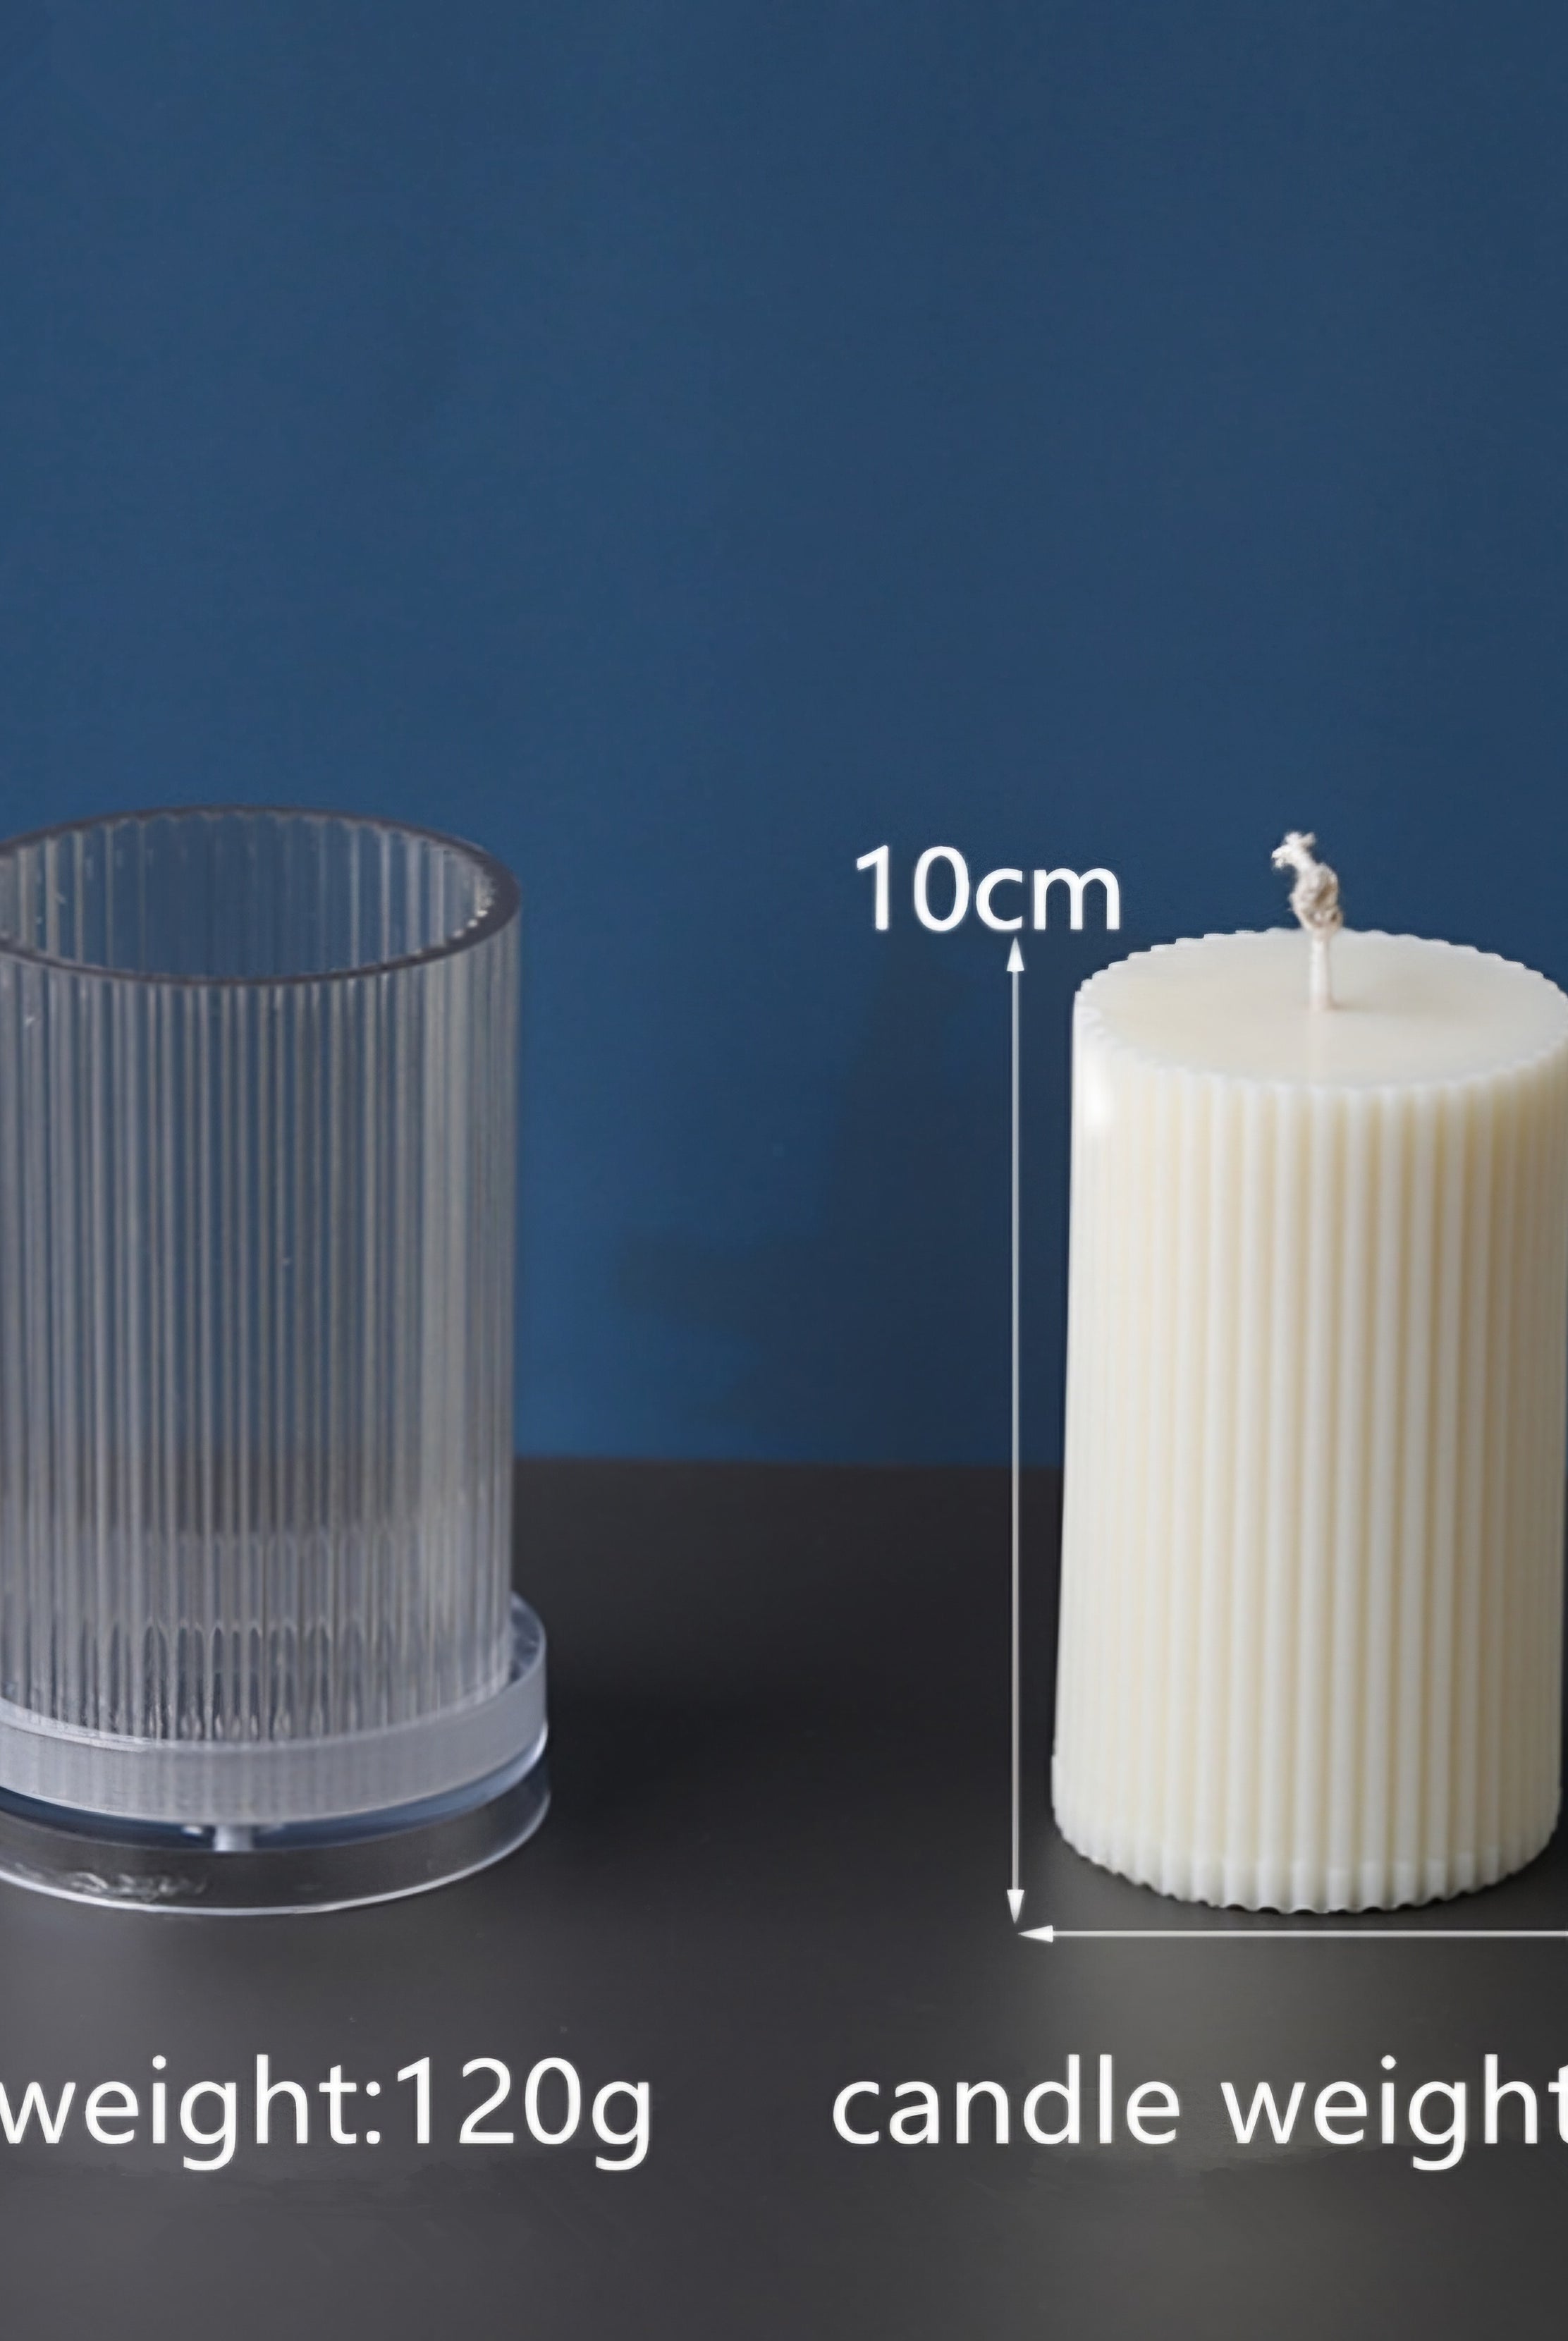
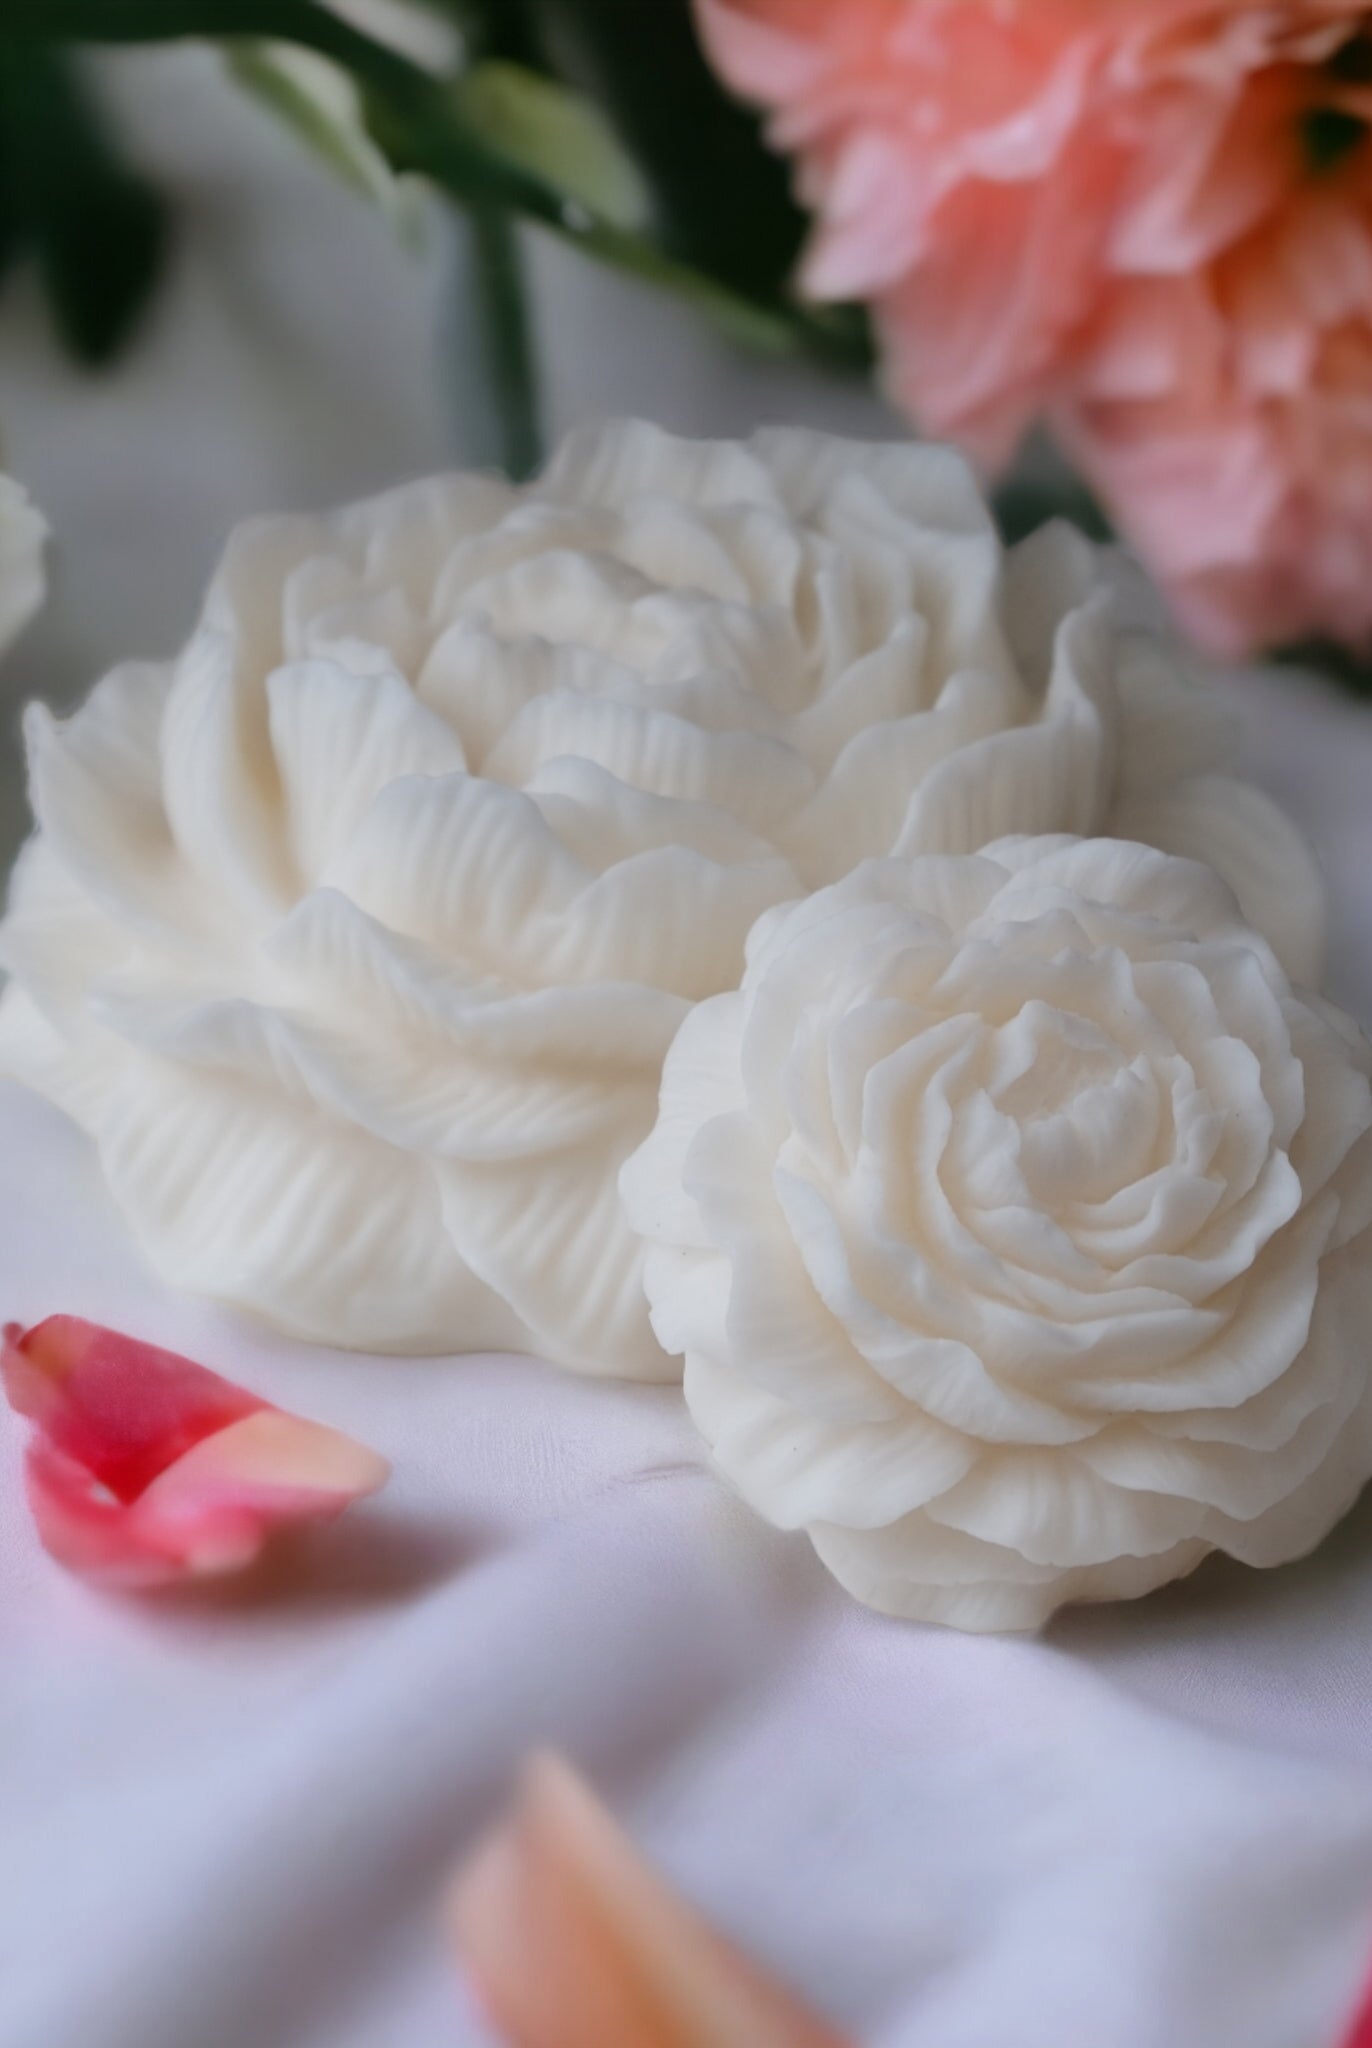
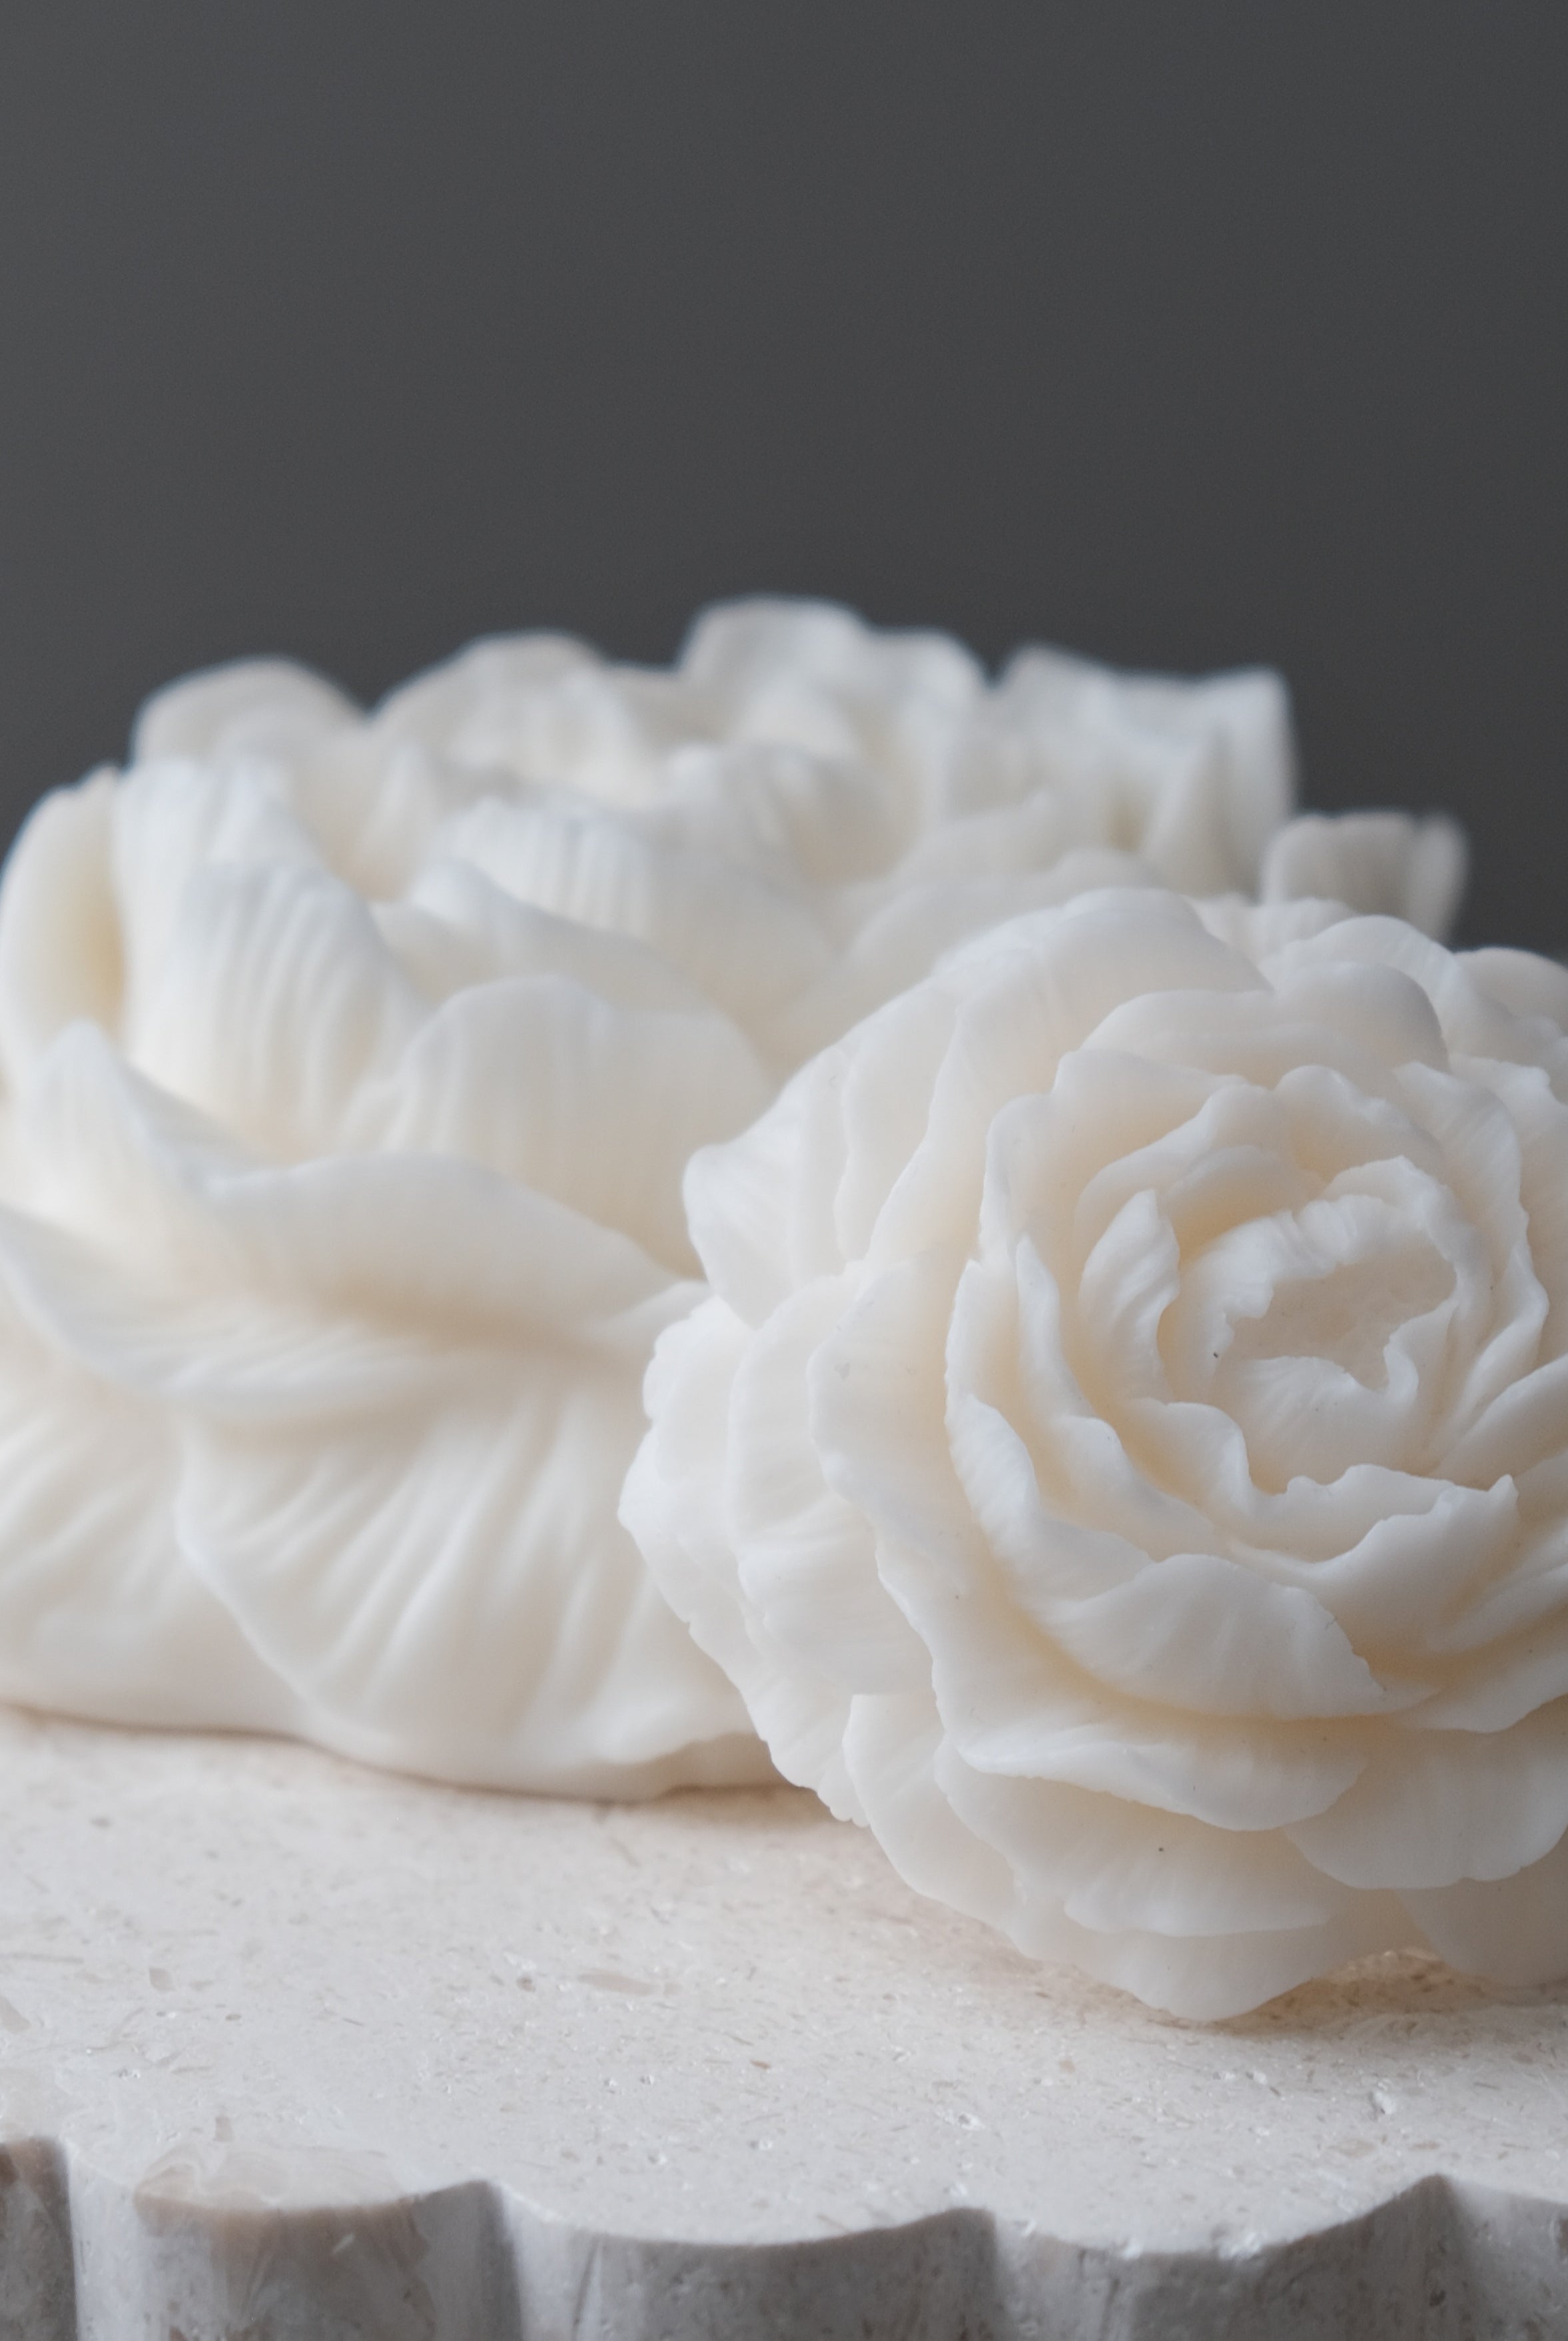
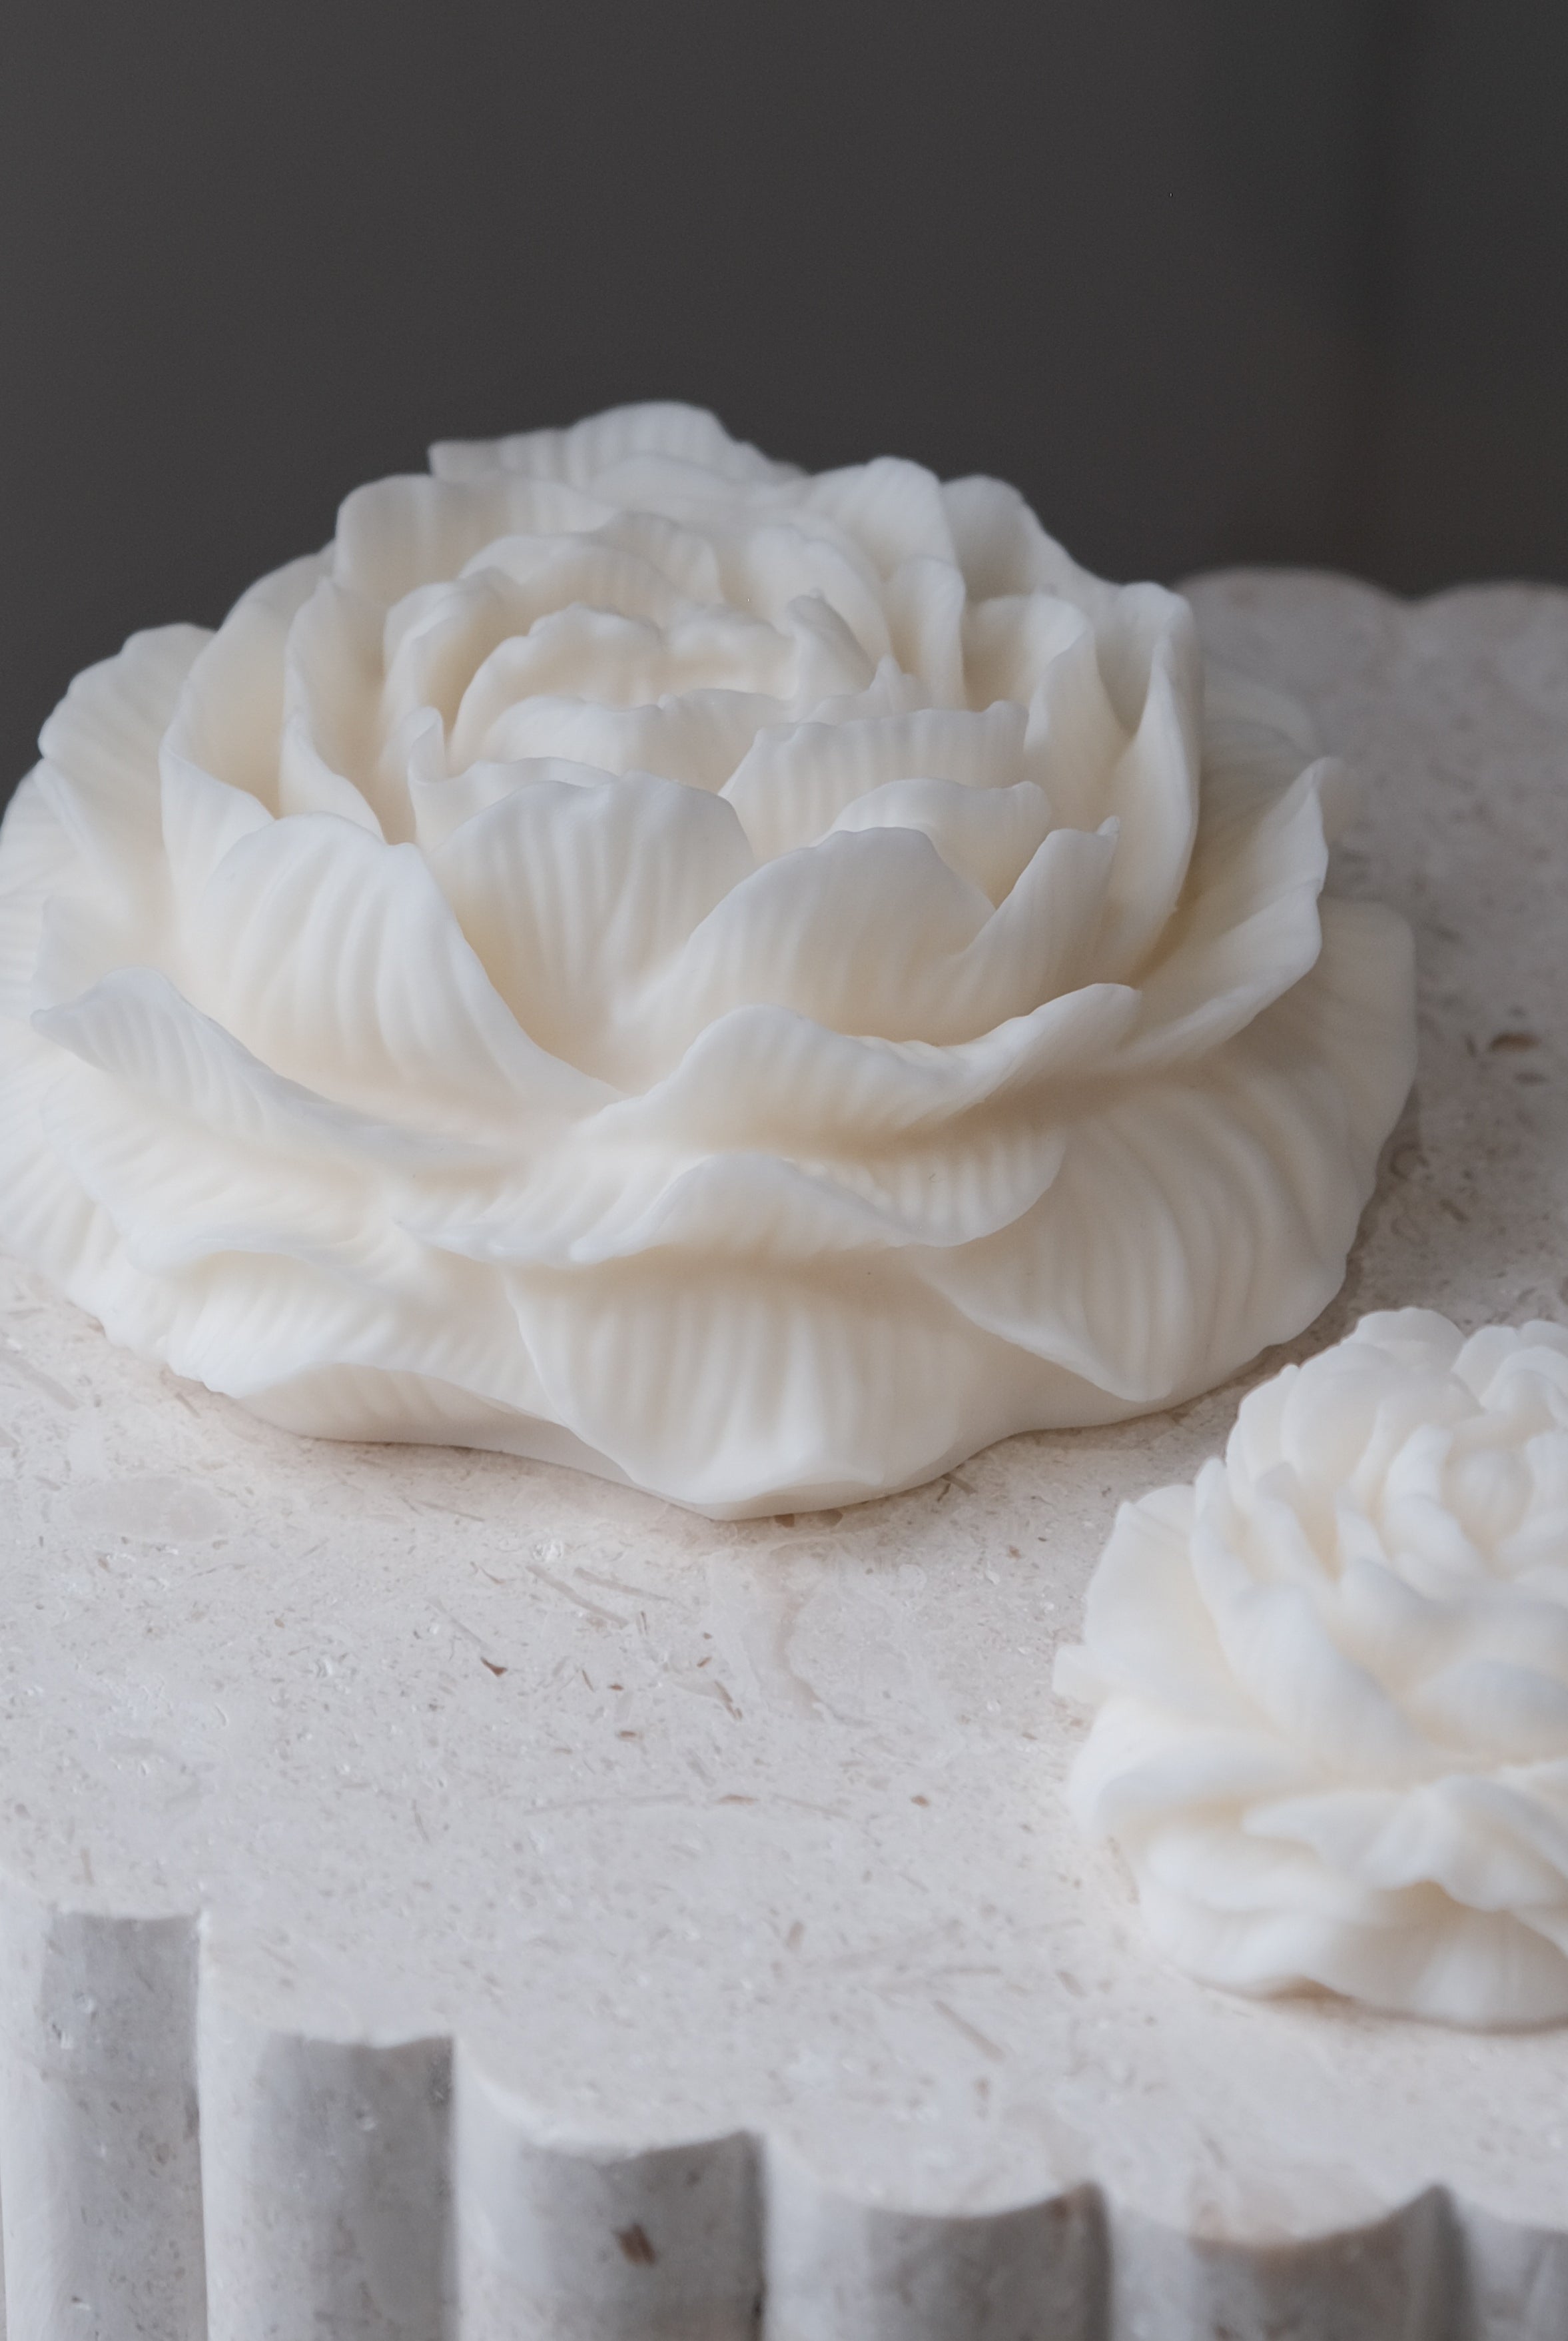
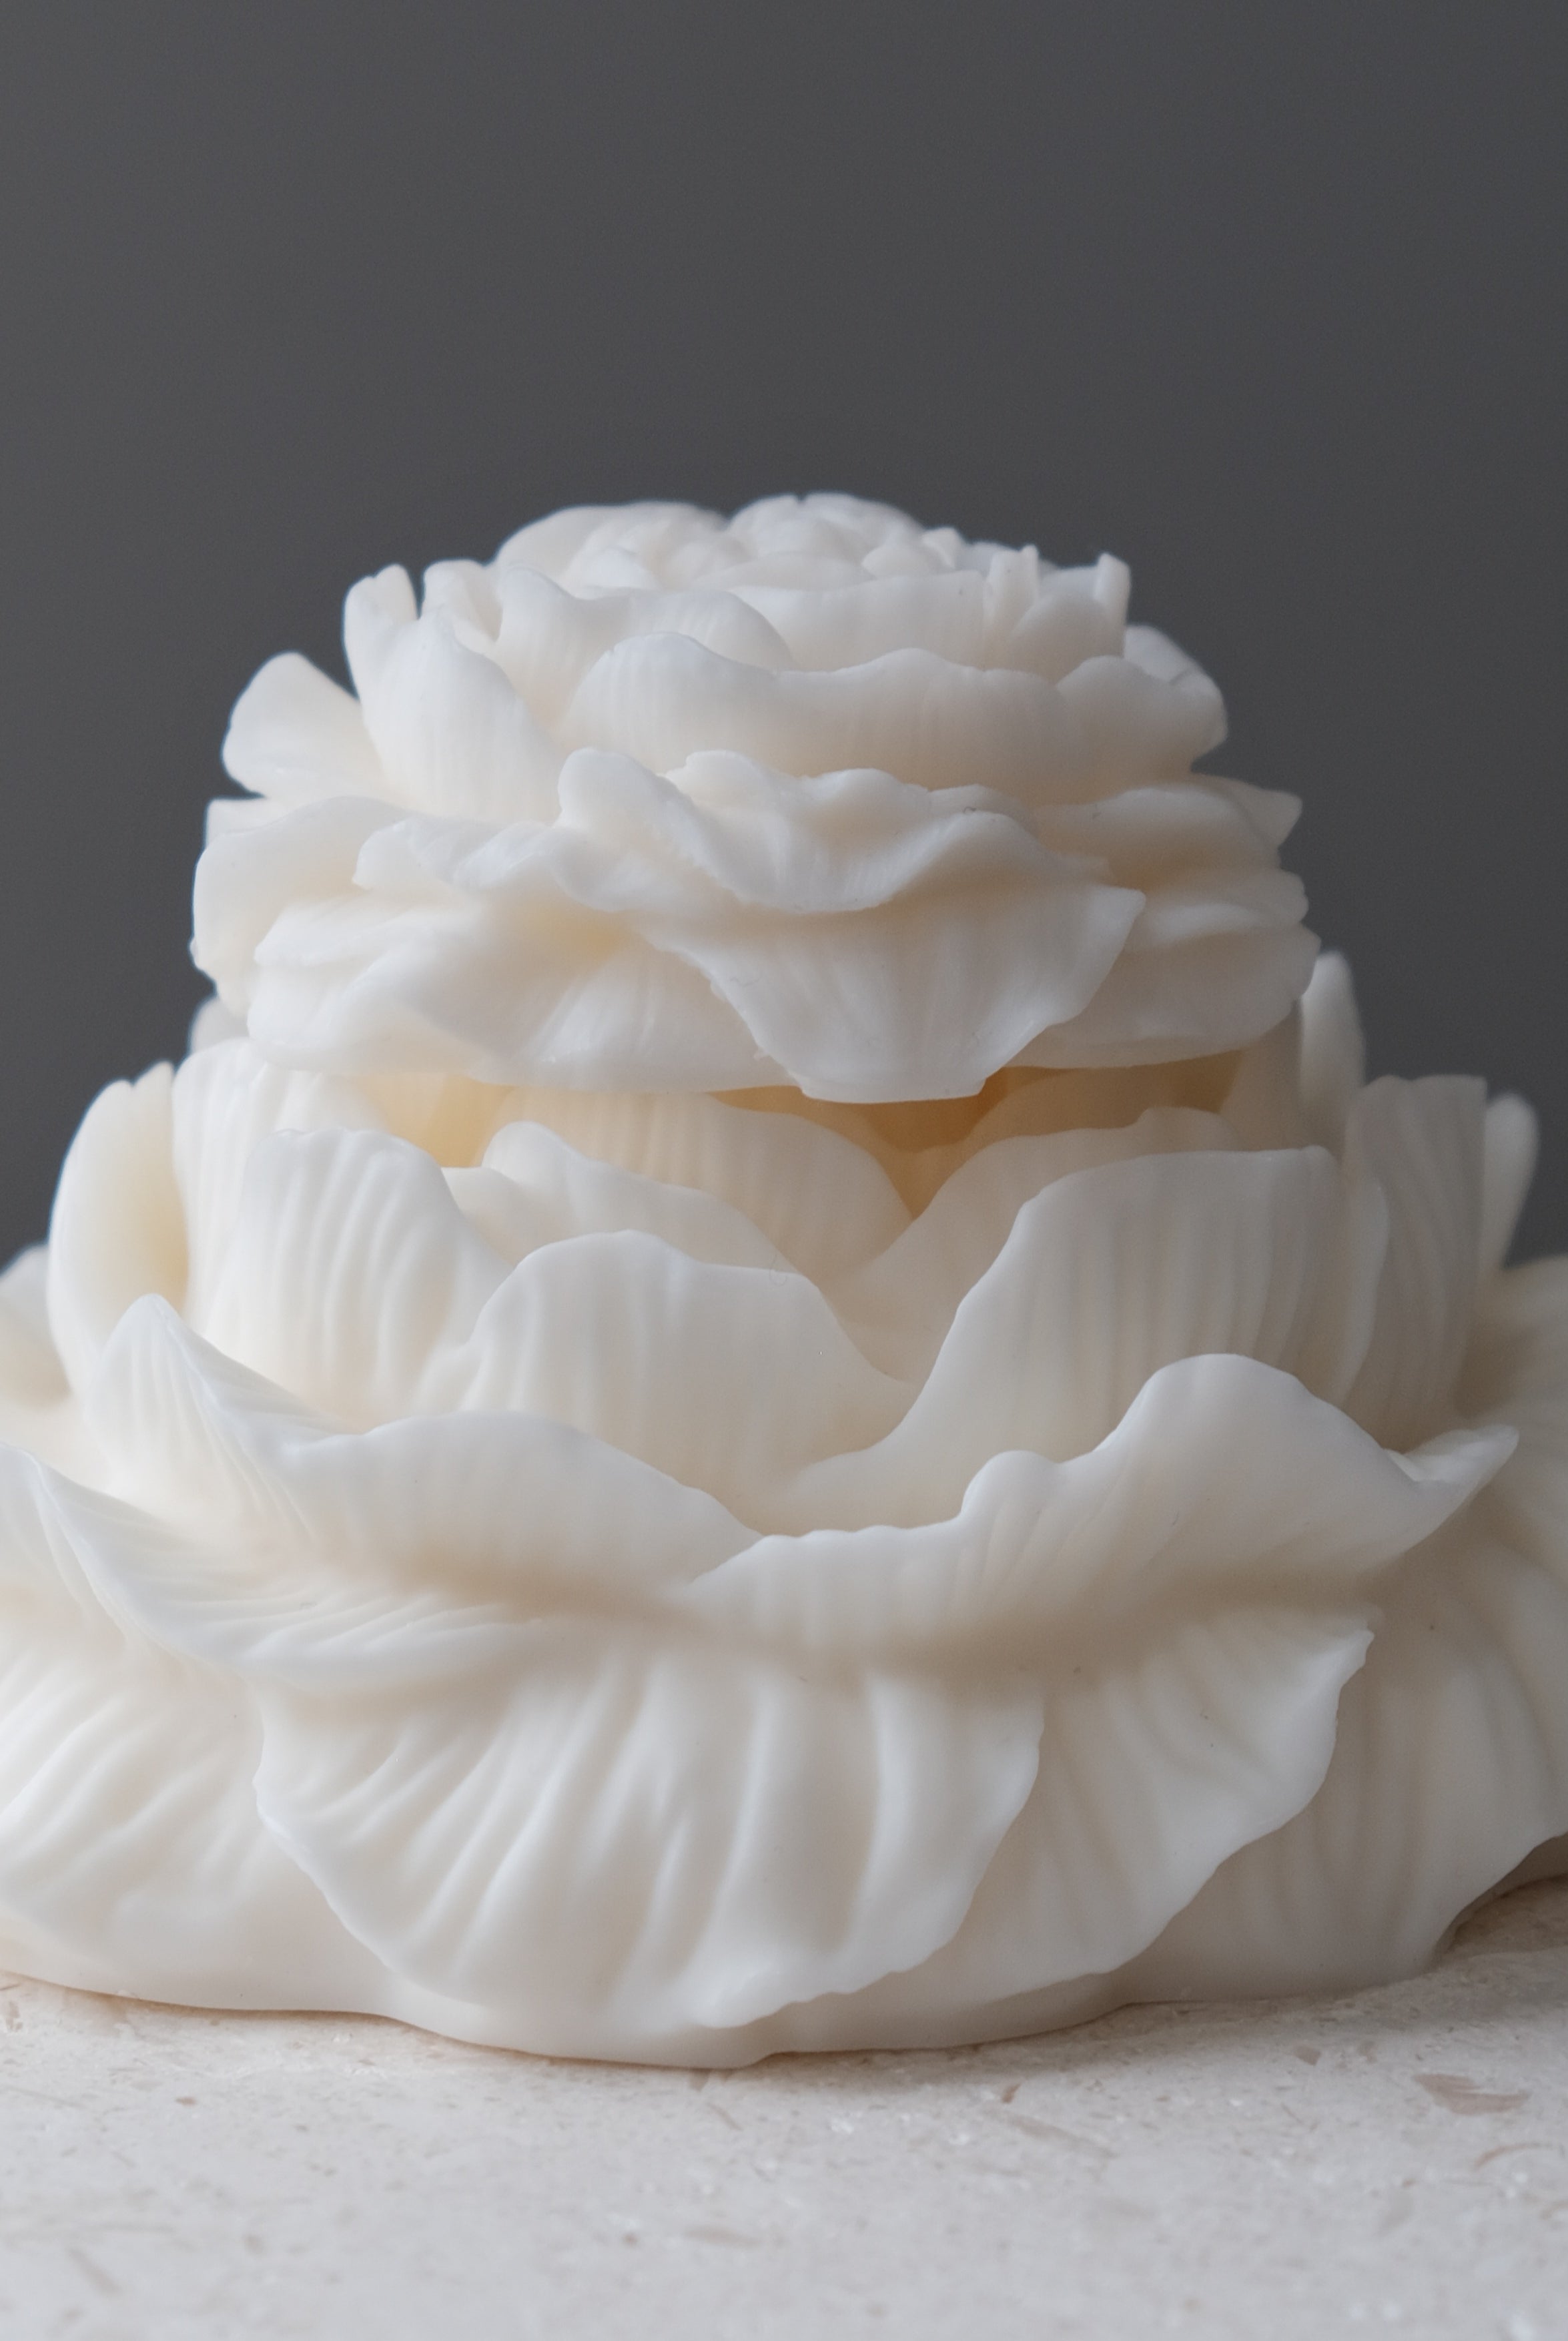
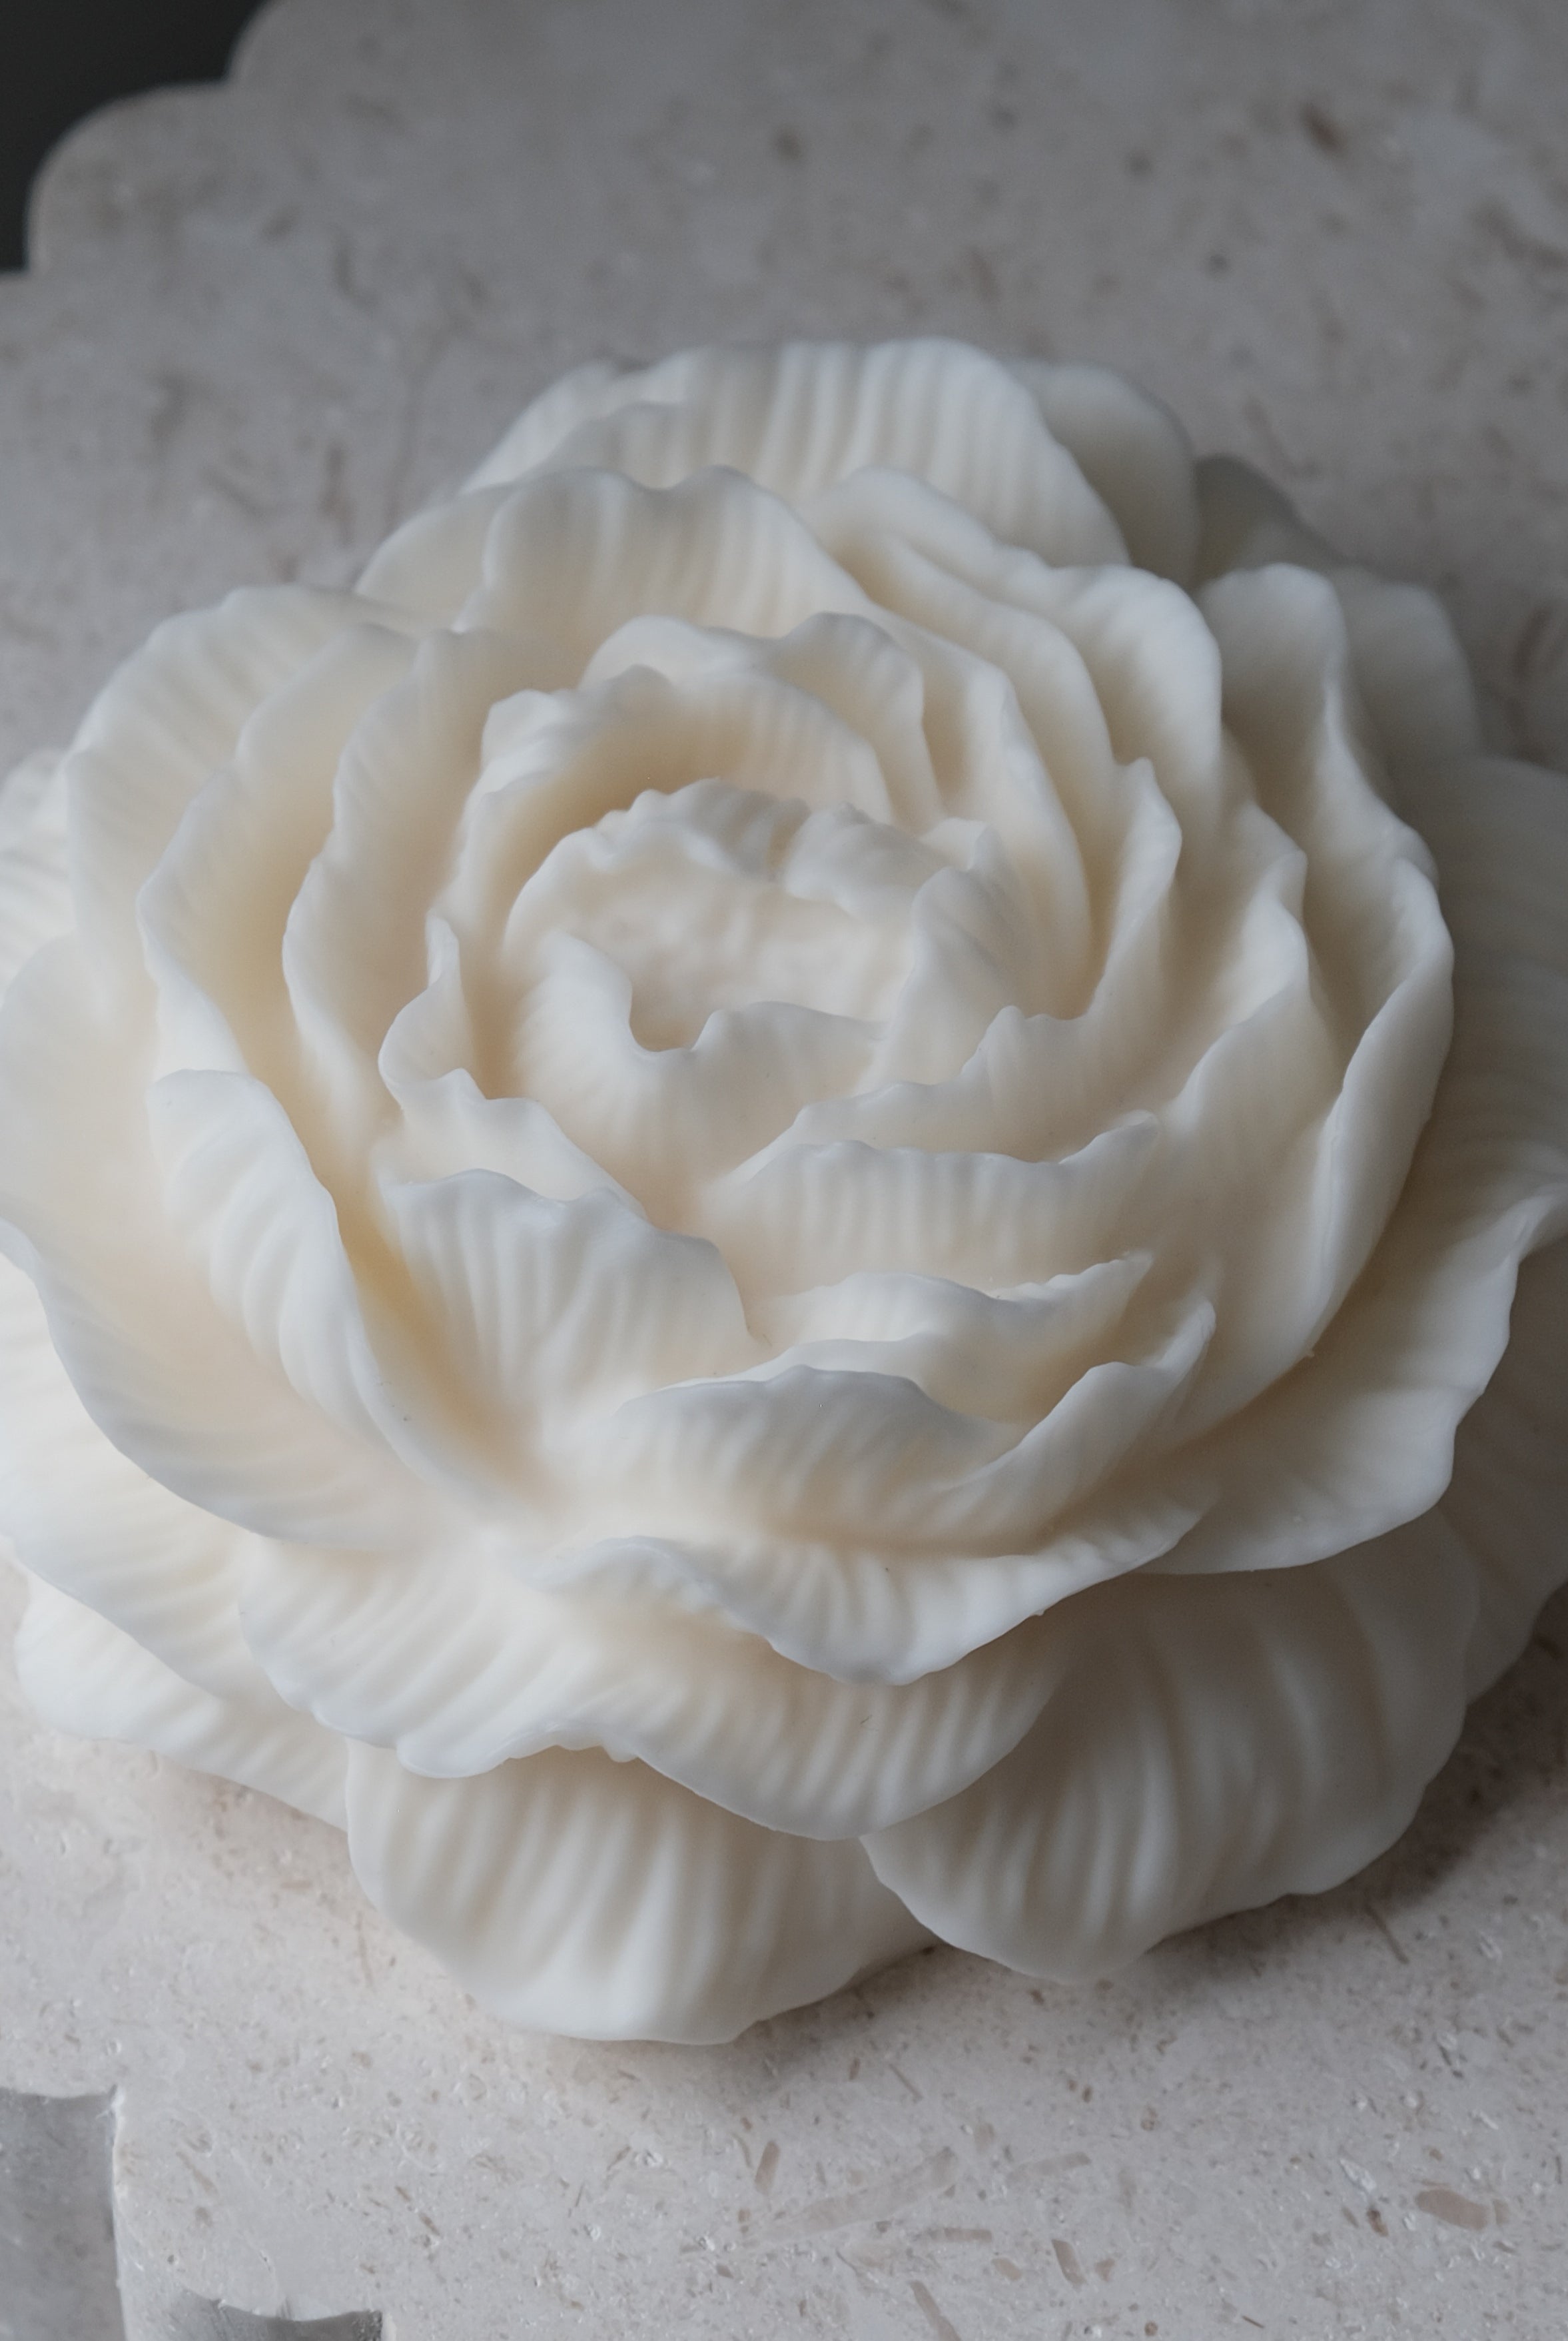
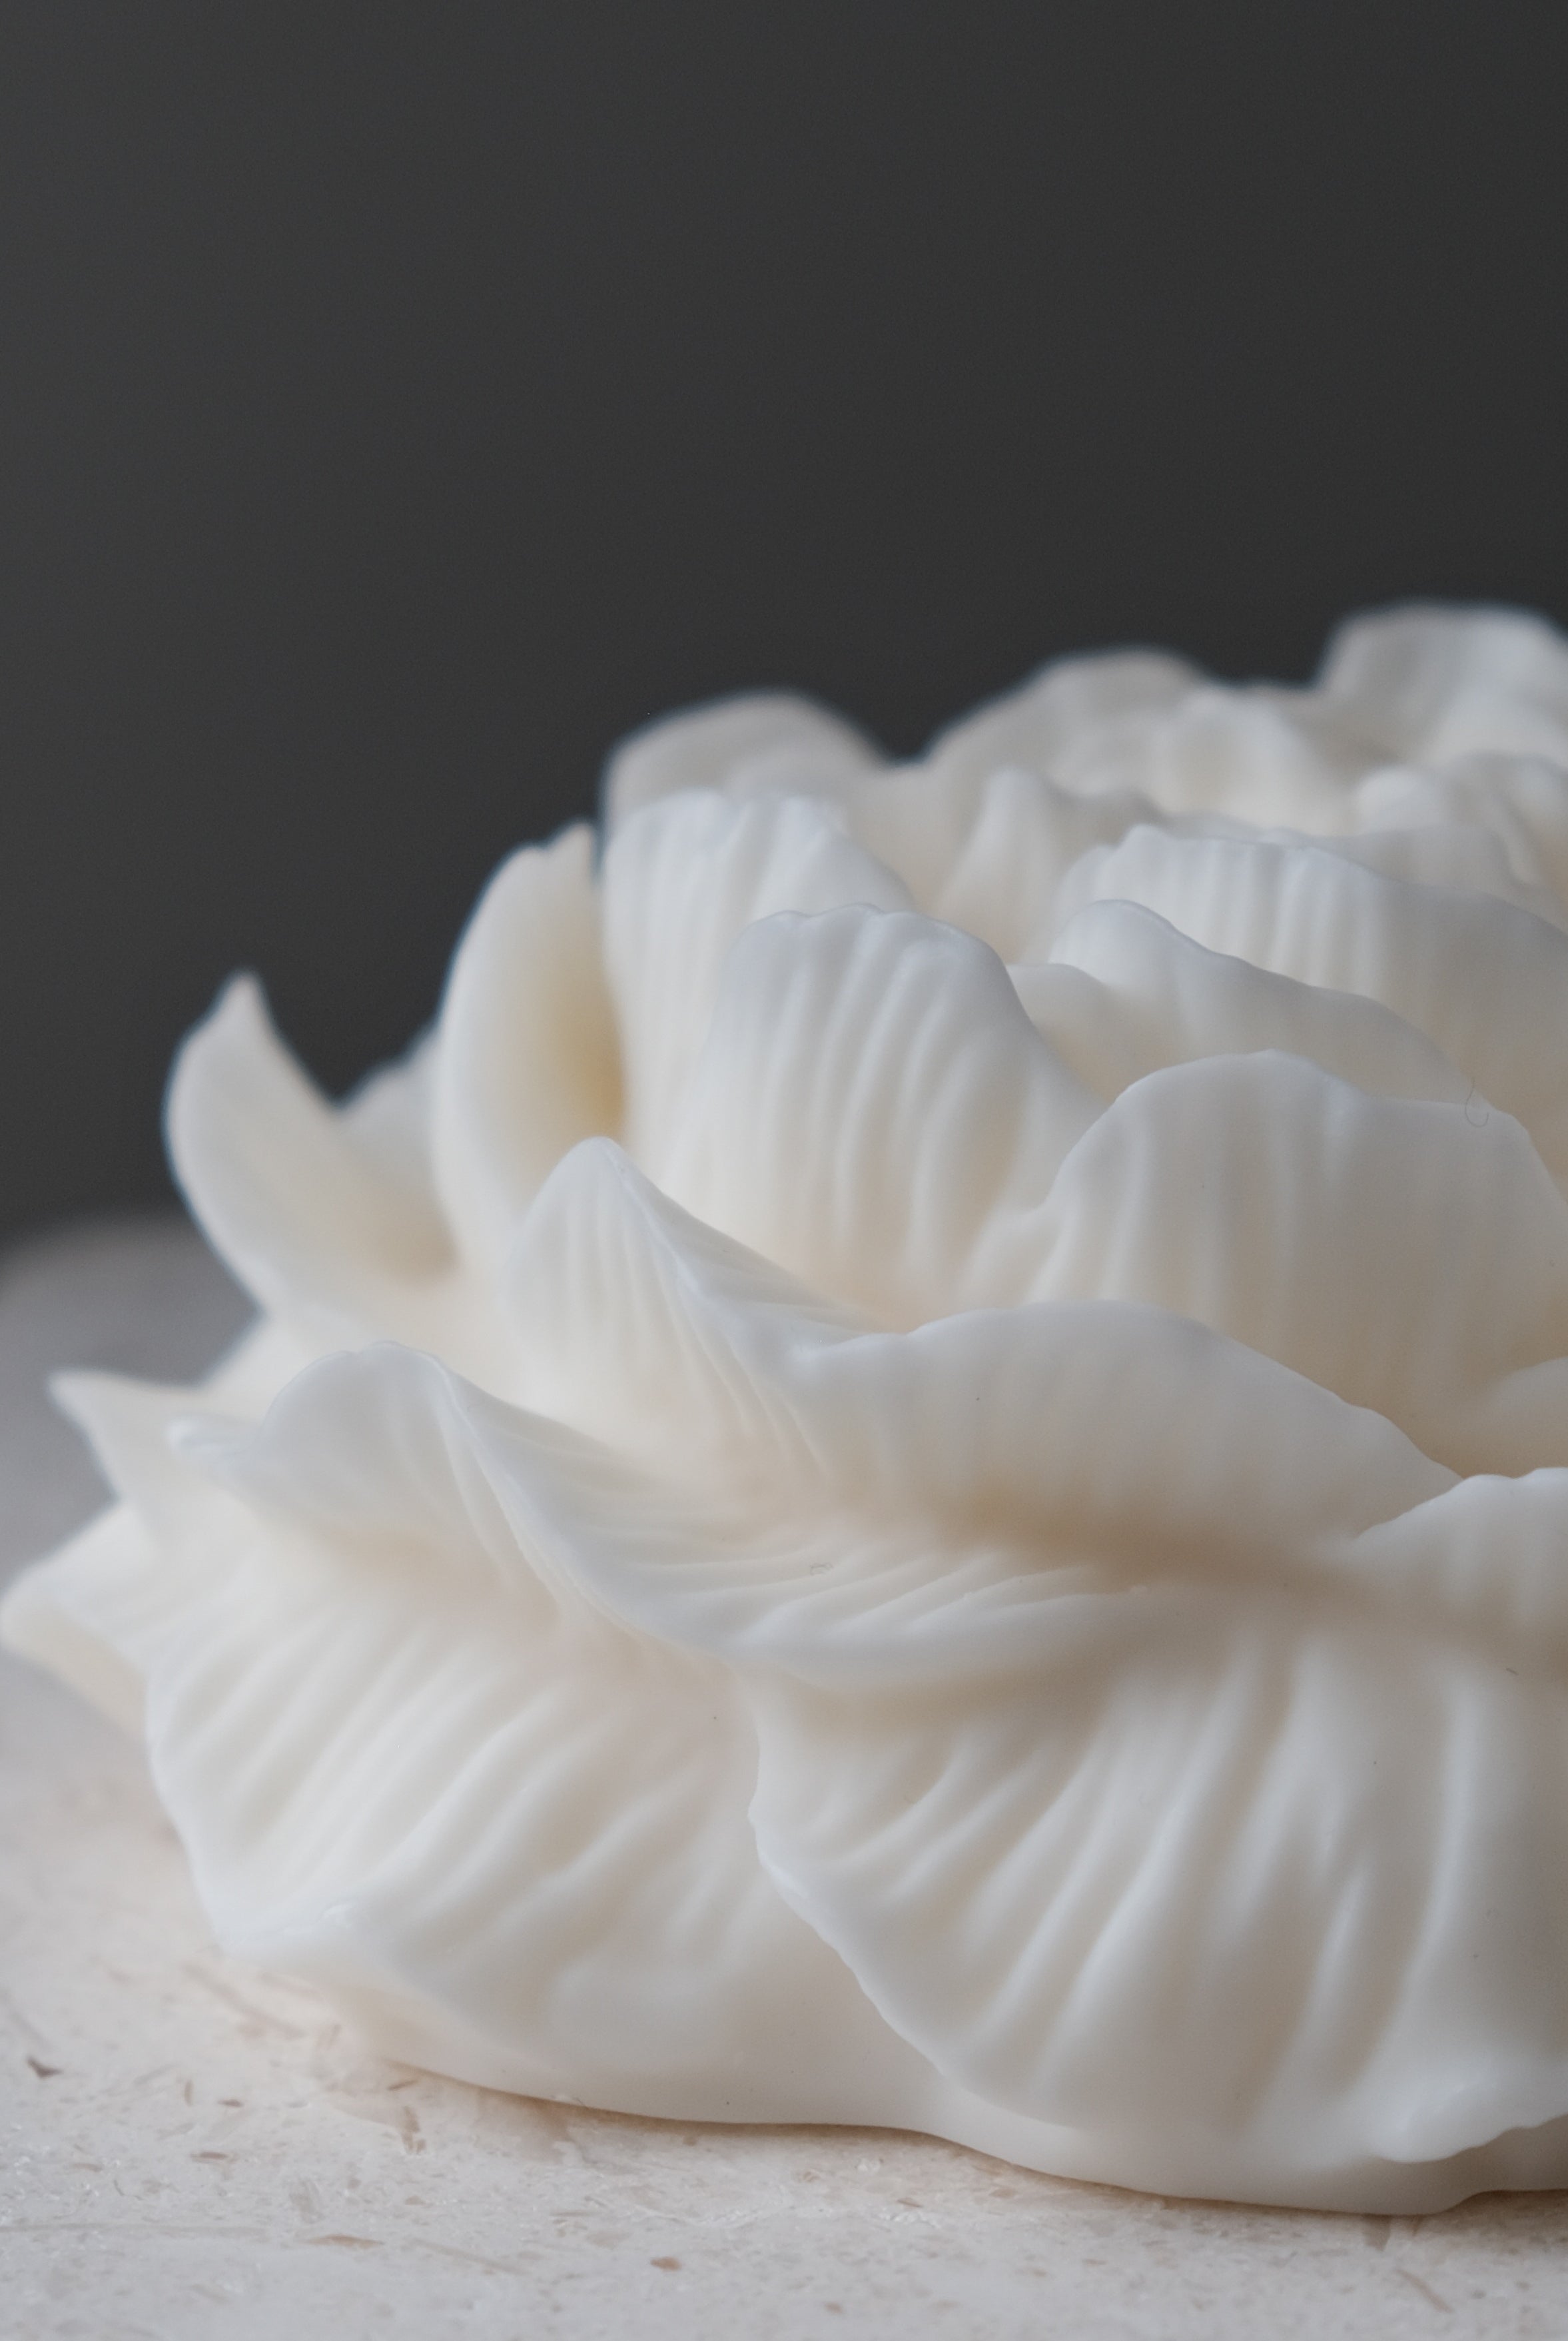
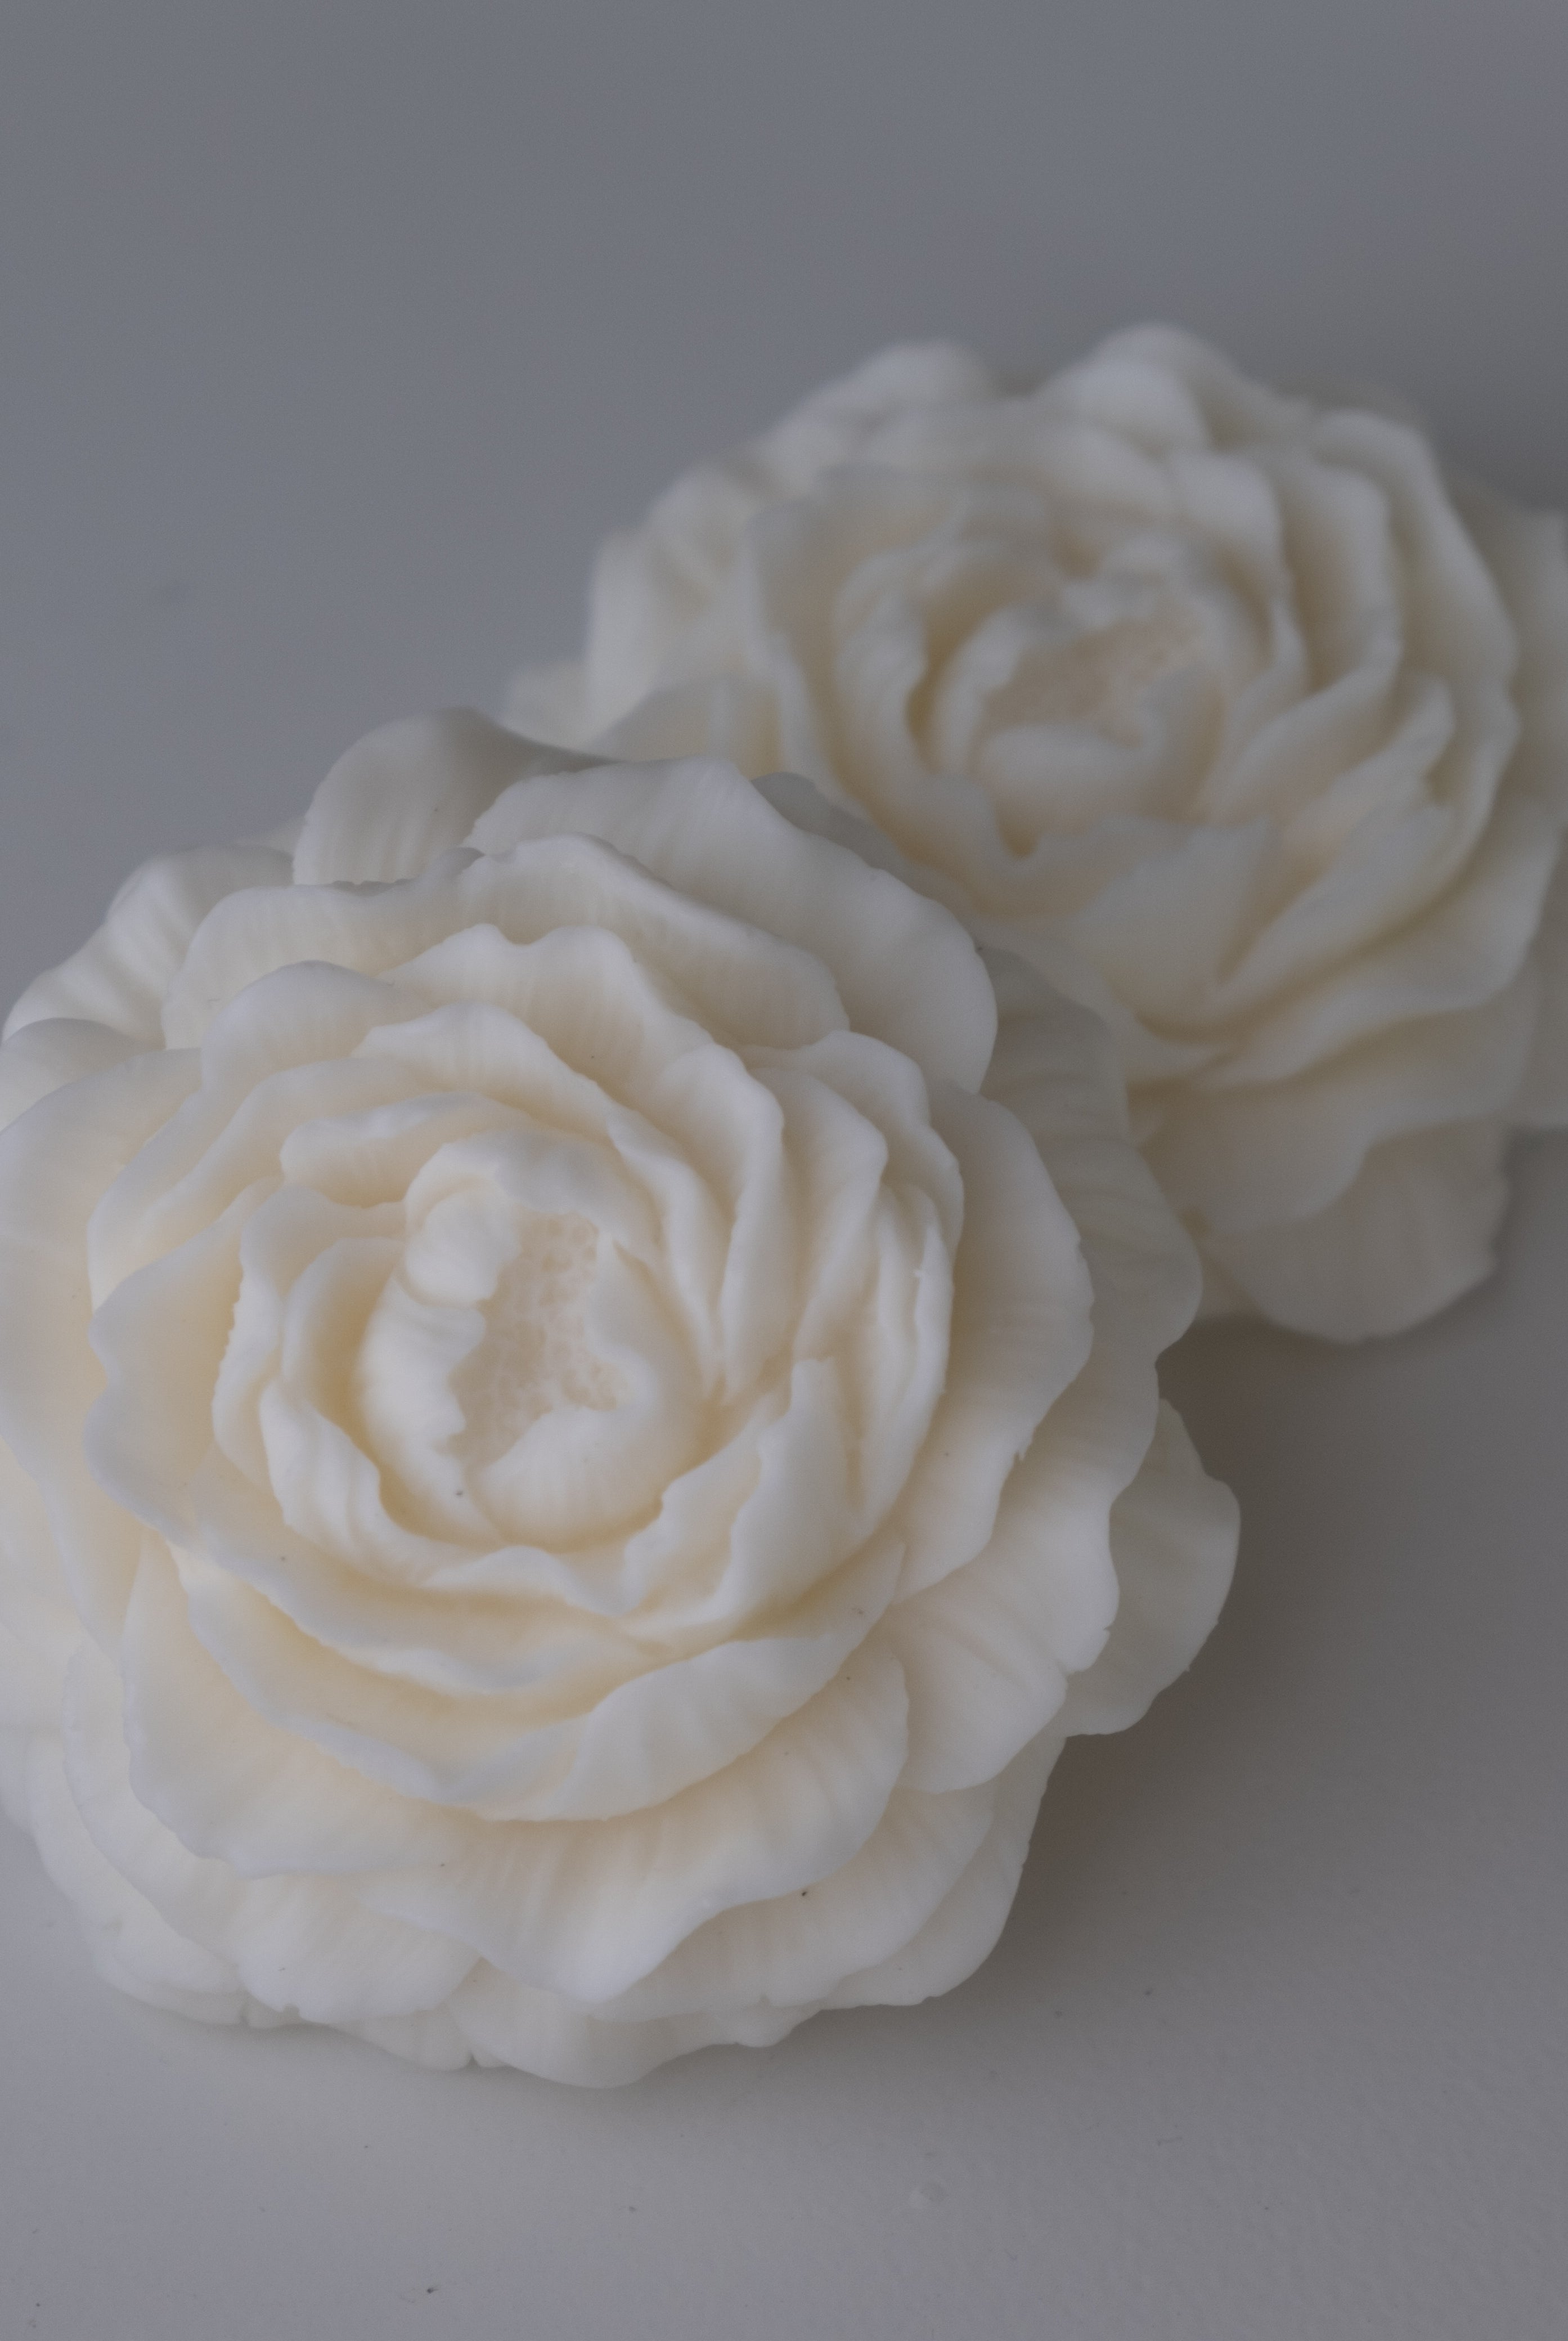
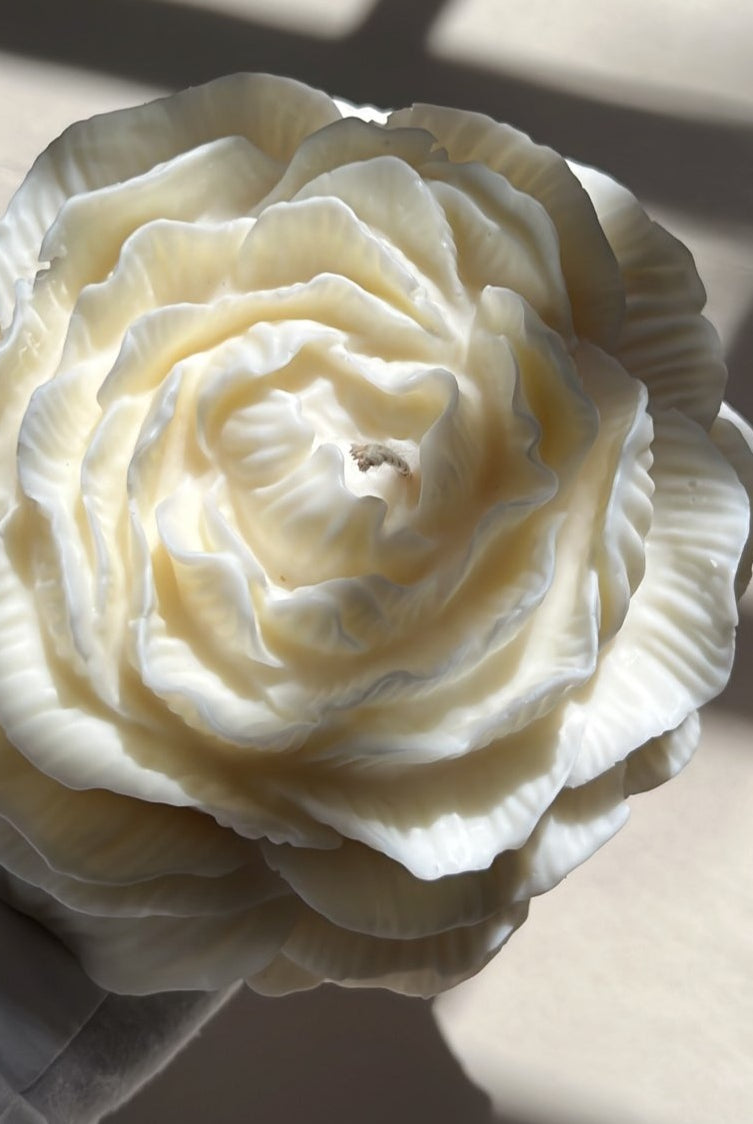
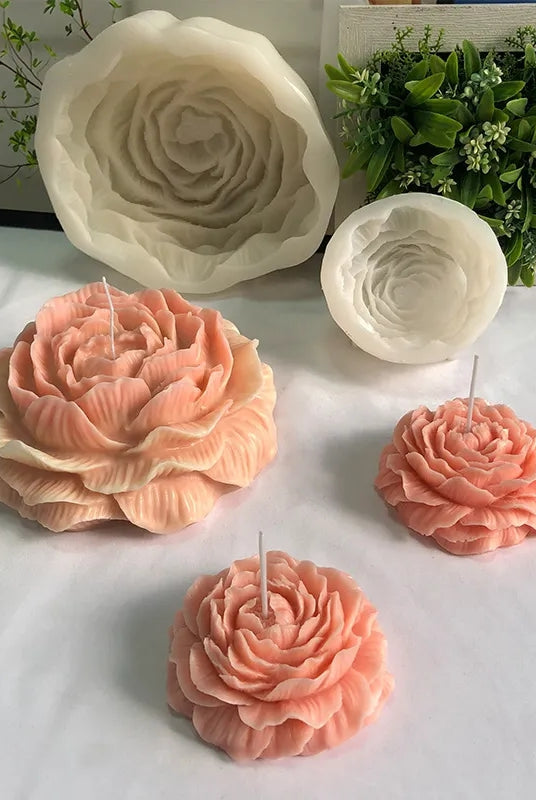
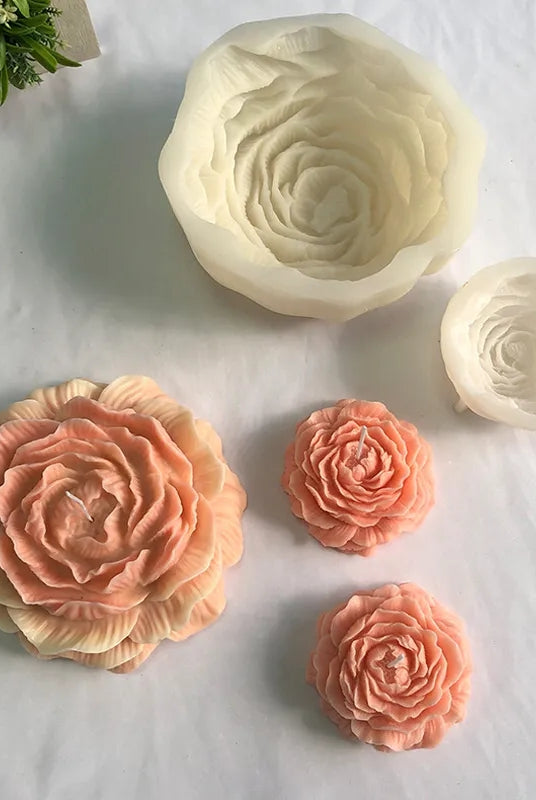
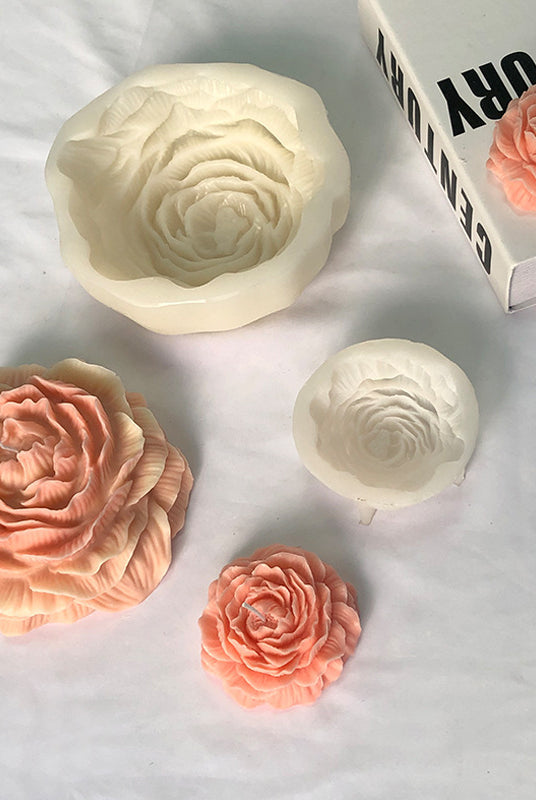
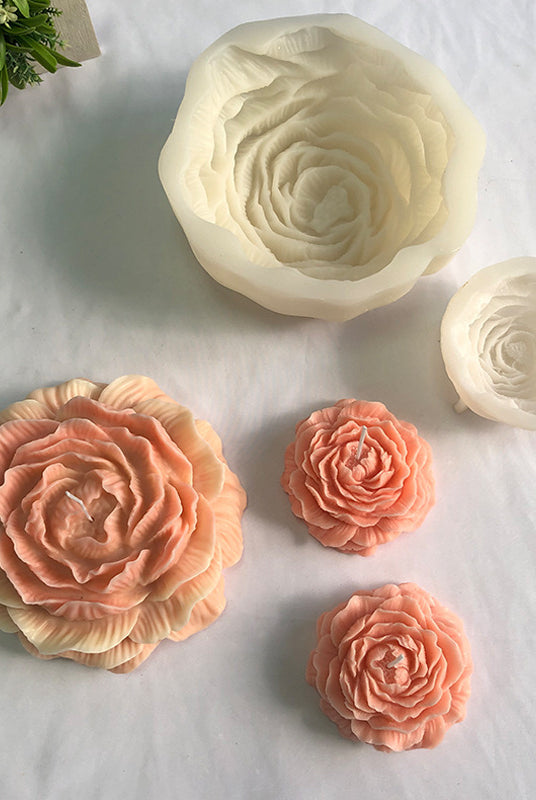
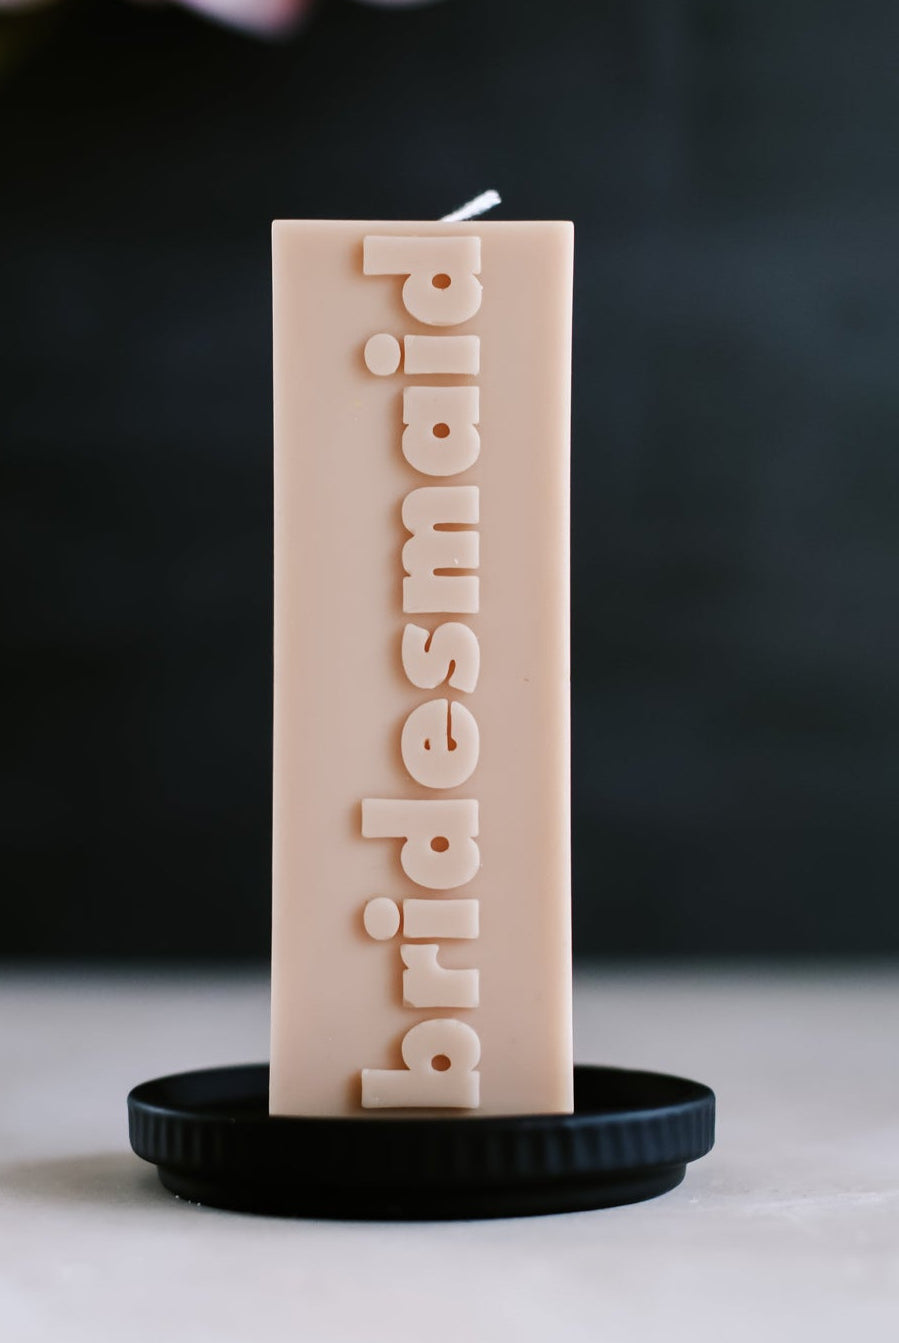
Custom Candle Wax Refill Silicone Mould
Pickup available at Munno Para West, South Australia
Usually ready in 1 hour
A Sustainable Solution for Your Candle Business.
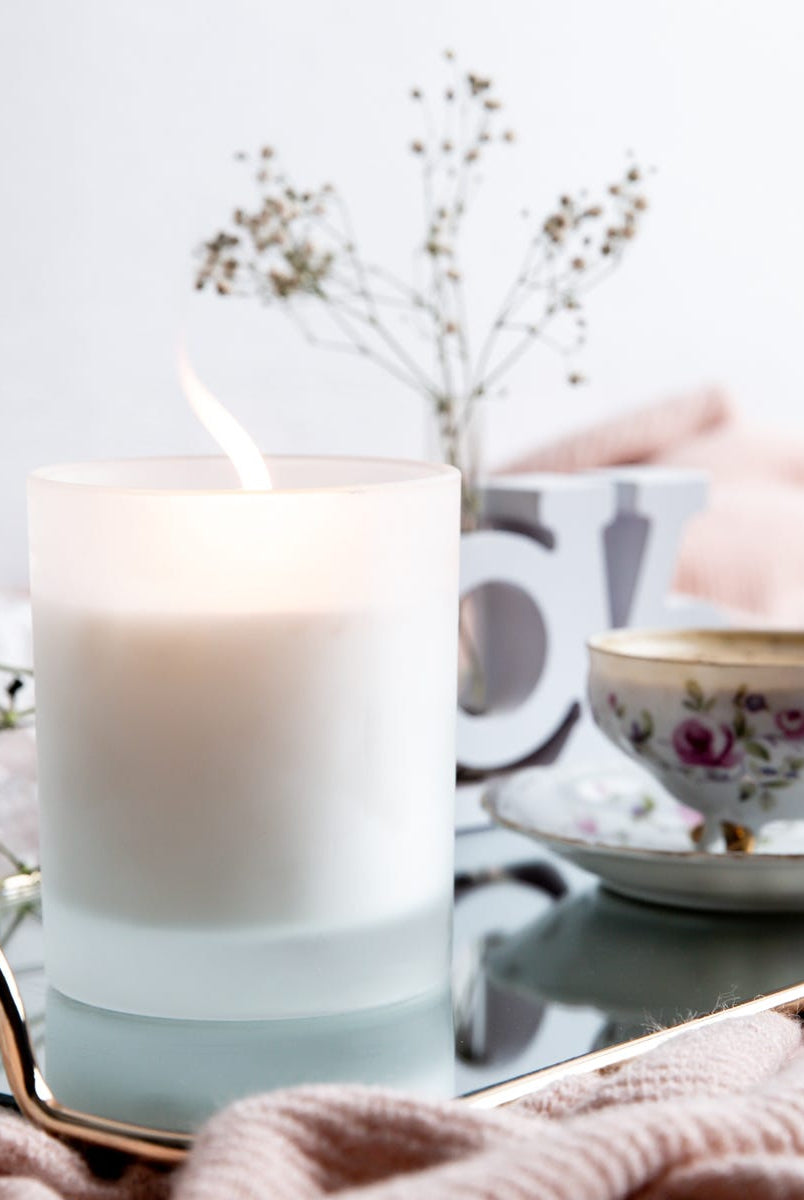
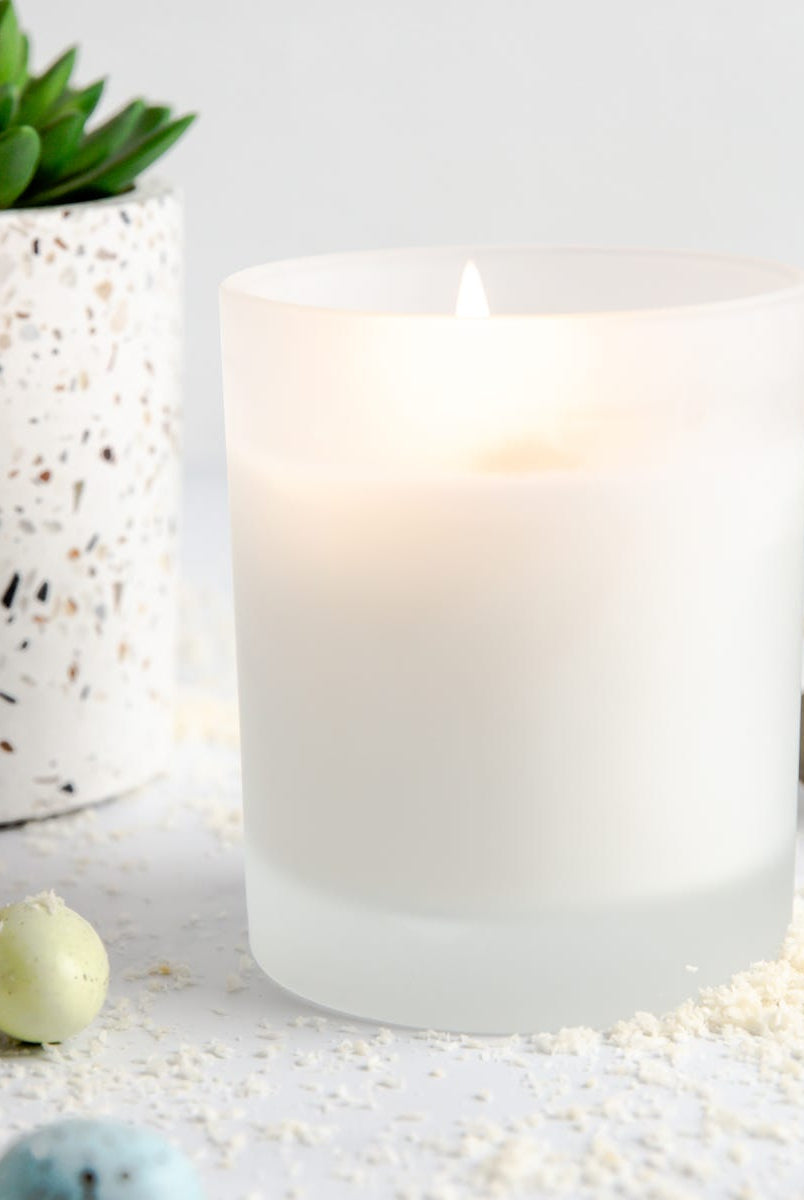
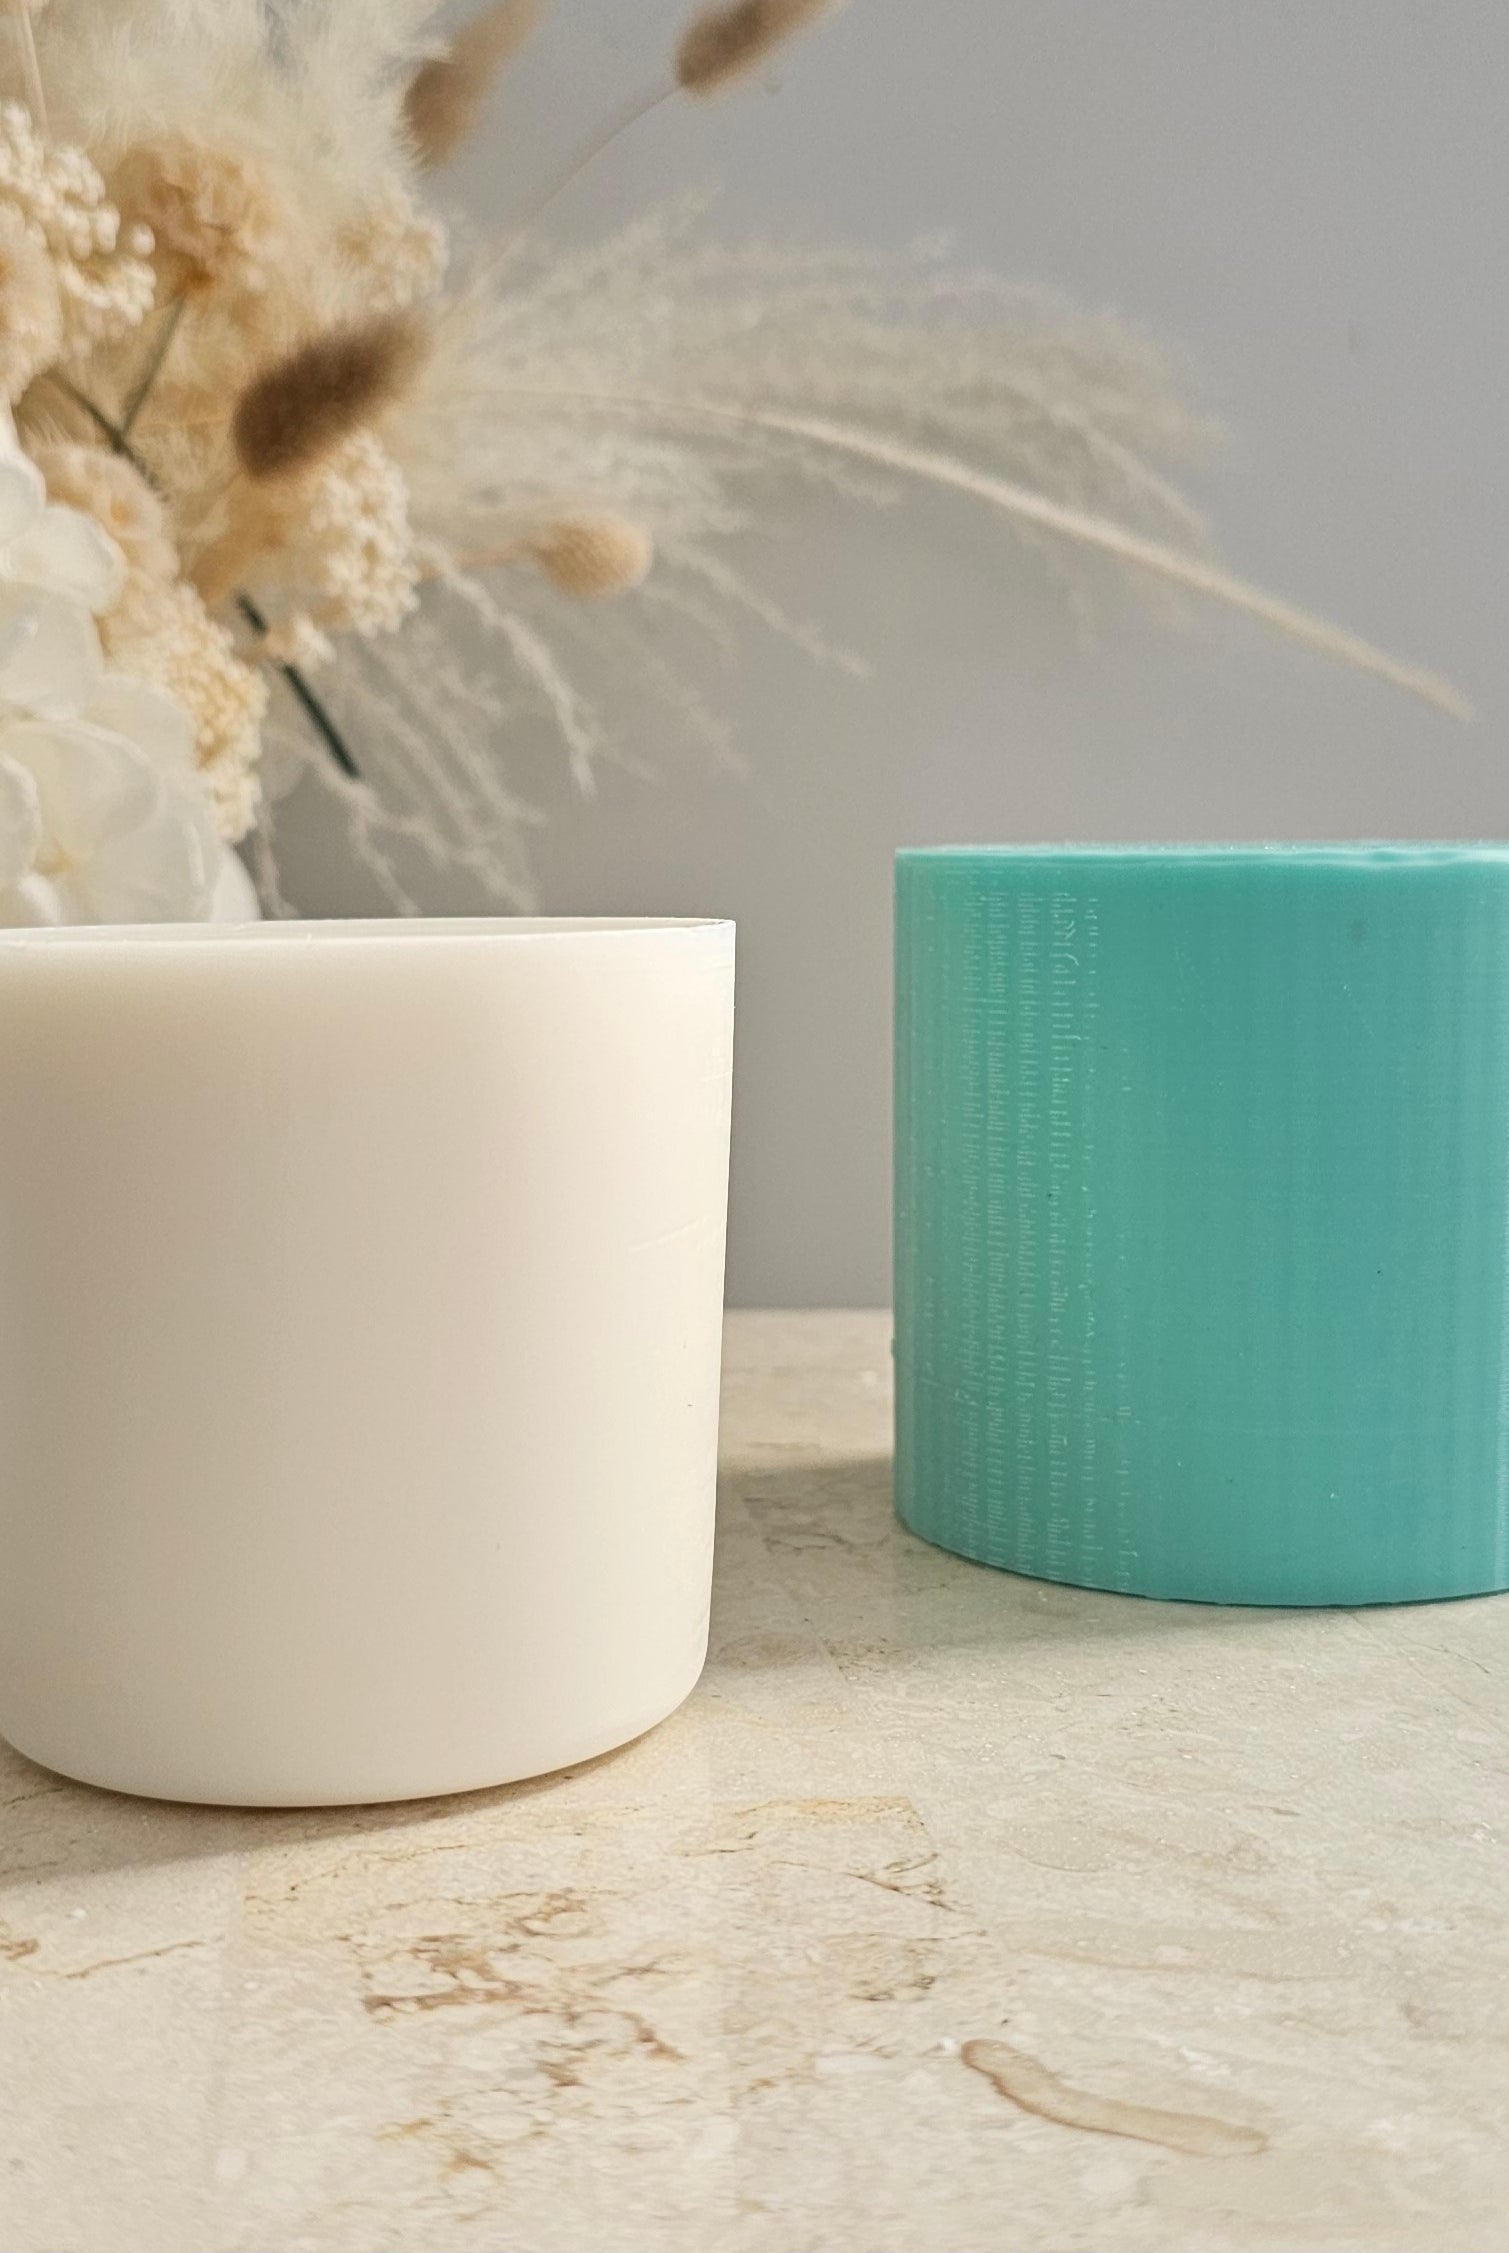
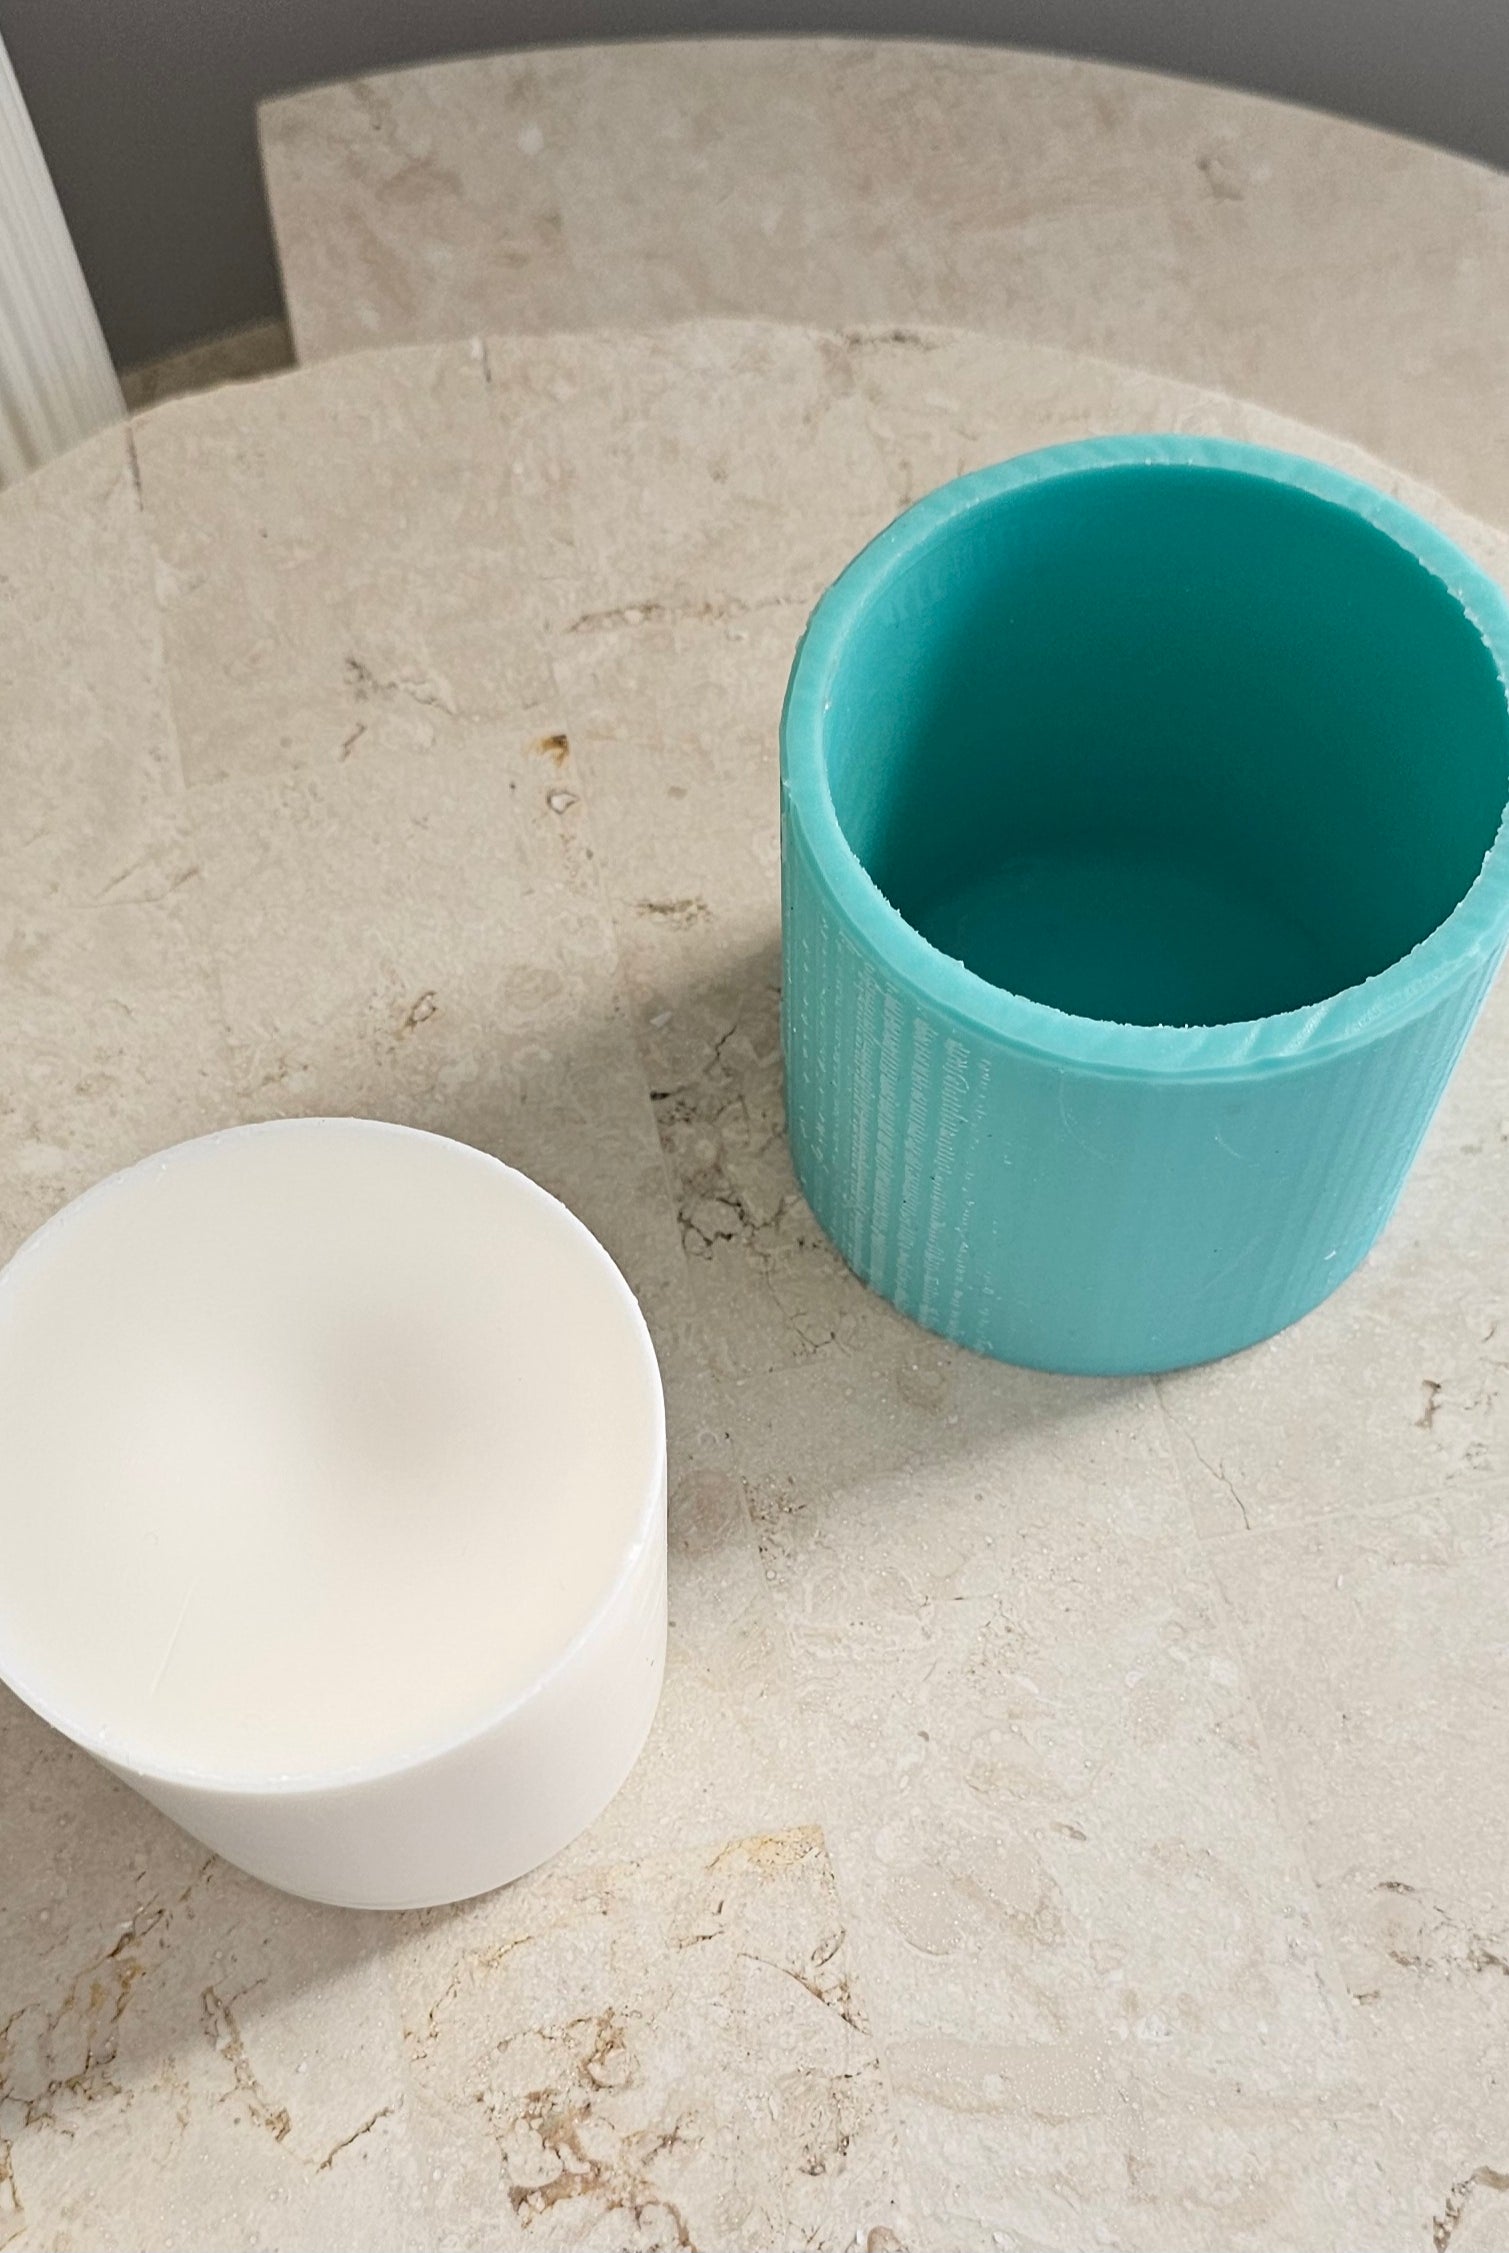
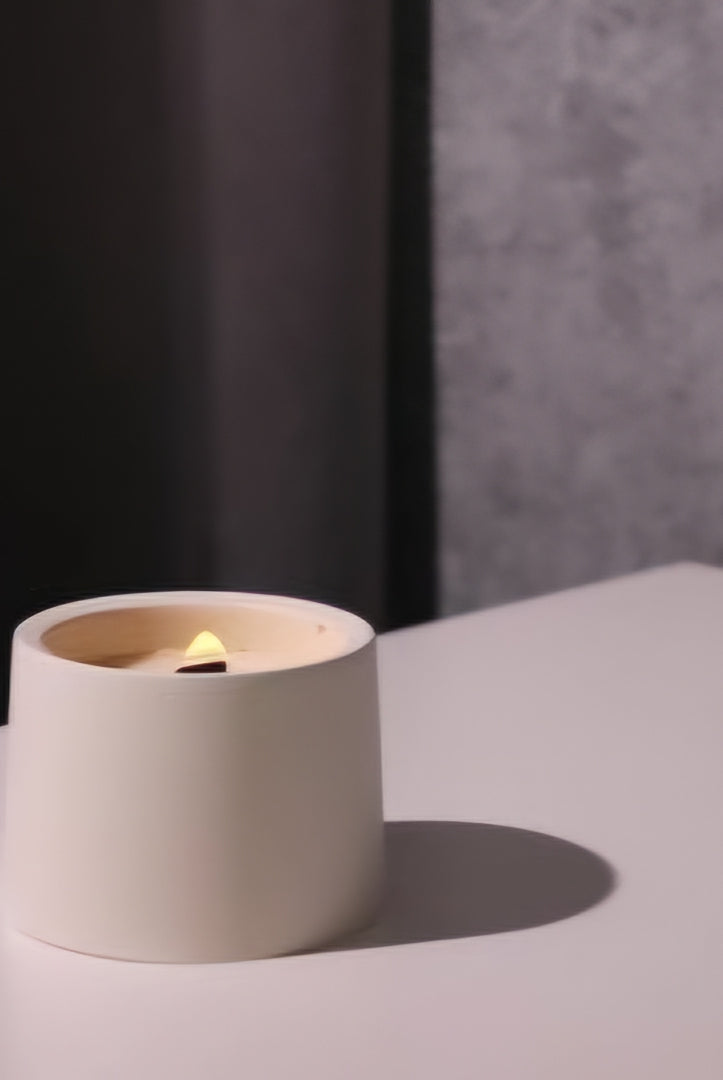
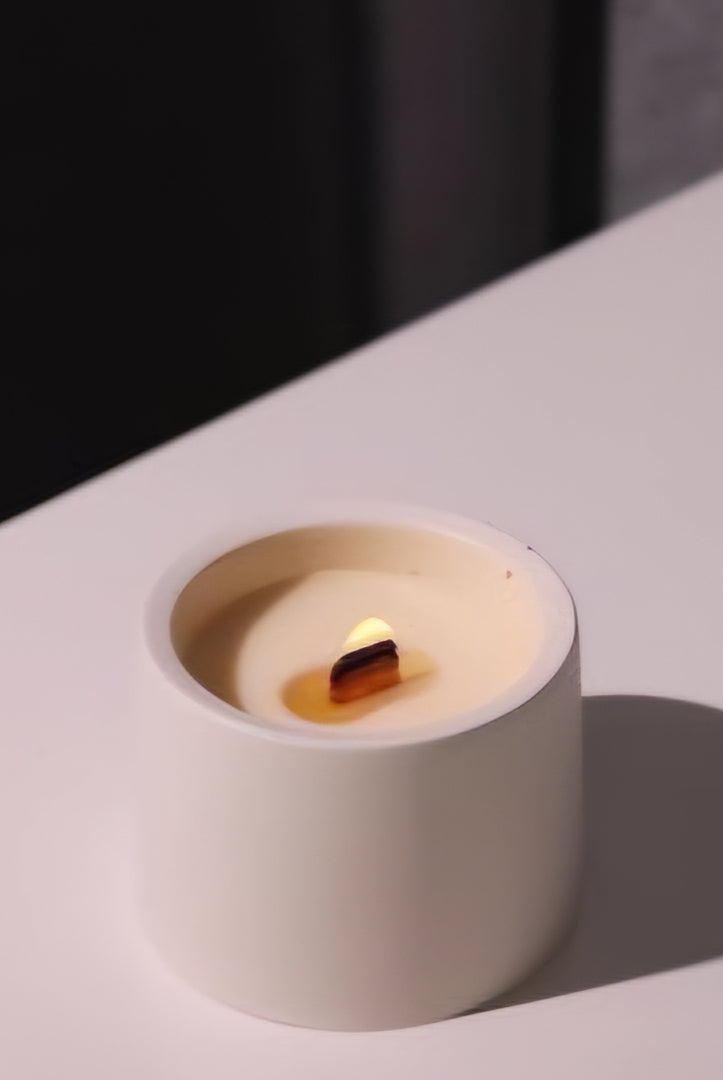
Set your small candle business apart with our custom-designed refill silicone moulds, tailored to fit your signature candle jars. These moulds allow you to offer your customers a sustainable and cost-effective way to refill their favourite jars, keeping them coming back to your brand while reducing waste.
Why Your Business Needs Custom Refill Moulds
- Premium Quality: We use platinum-cure silicone, the highest-quality silicone, to ensure your moulds are durable, flexible, and built to last.
- Uniform Results: Every mould comes with a 3D-printed mould support to maintain shape and consistency during the pouring process.
- Promote Sustainability: Show your commitment to the environment by encouraging customers to reuse their candle jars.
- Boost Customer Loyalty: Provide a practical and affordable refill option that keeps your customers returning for more.
- Custom Fit for Your Brand: Each mould is tailored to your unique jar designs, ensuring a professional finish.
Jar Requirements
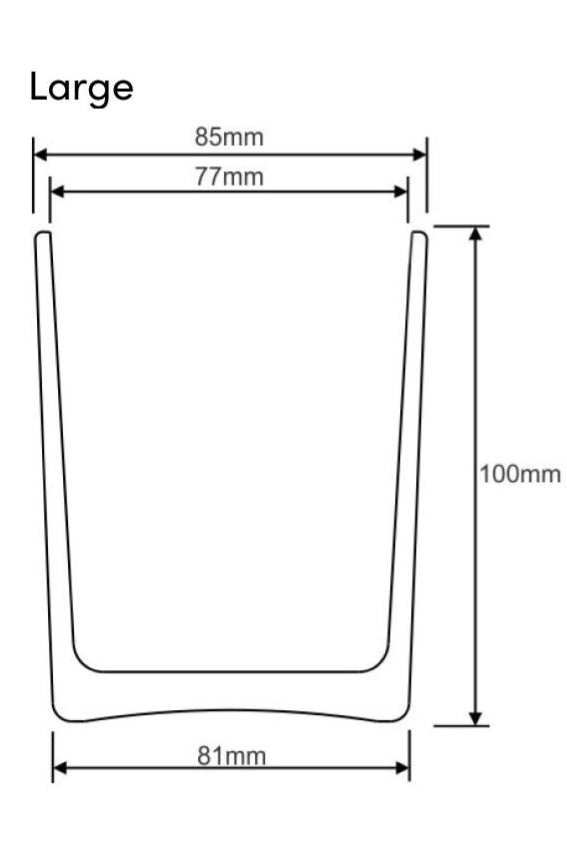
Our cost price covers jars up to 9mm internal diameter and a capacity of approximately 400g of wax. Jars must have a uniform shape or be slightly wider at the opening to work effectively as refills. For larger jars or non-standard designs, contact us for a custom quote.
How It Works
Once you place an order, we’ll contact you to confirm the details and arrange for you to send us a sample of your jar. This ensures the mould is perfectly crafted to fit your product. Please note that postage will be at your own expense.
By offering refill options, you’ll not only provide added value to your customers enhance your brand’s eco-conscious appeal. Take the step toward sustainability and customer loyalty today!
Please allow approximately 7 business days to craft your custom wax refill mould.
Mould Perfomance & Storage
The physical life of the mould depends on how you use it (materials cast, frequency, etc.). Casting abrasive materials such as concrete can quickly erode mould detail, while casting non-abrasive materials, such as wax, will not affect mould detail. Do not over-stretch or use any abrasive tools or fingernails when demoulding.
Before storing, the mould should be cleaned with a soap solution and fully dry. Moulds should be stored on a level surface in a cool, dry environment to maintain its original shape.
Important Disclaimer: The included 3D-printed mould support shell is made from PLA plastic, which is heat-sensitive. Exposing the shell to heat or direct sunlight will cause it to warp. Avoid using a heat gun or any high-heat tools near the support shell to maintain its integrity. Additional support shells can be purchased if required.
How To Use
Acrylic PVC Candle Moulds:
To use this candle mould, simply start by threading the wick through the center of the mould and securing it in place with a wick holder. Use blu tack to cover the wick hole to prevent leakage before pouring melted wax into the mould. Depending on the type of wax you are using, you may need to perform a second pour to even out the surface of the candle. Allow your candle to cure overnight before carefully unmoulding it. If the candle gets stuck, squeeze around the mould to release the candle from the sides.
Silicone Candle Moulds:
To use our candle moulds, simply start by threading the wick through the center of the mould and securing it in place with a wick holder. Then, pour in your melted wax and let it cool until it hardens. Depending on the type of wax you are using, you may need to perform a second pour to even out the surface of the candle. Allow your candle to cure overnight before carefully unmoulding it.
Concrete Trays & Vessels:
To make the most of your vessel mould, follow these steps:
- Preparation: Begin by gathering your selected material and ensure it's mixed according to the manufacturer's instructions.
- Pouring: Carefully fill the mould with your chosen material, ensuring it reaches the top.
- Air Bubble Removal: For a smoother finish, gently tap the mould on a sturdy surface to encourage any trapped air bubbles to rise to the surface.
- Curing: Adhere to the recommended curing time for your chosen material.
- Demoulding: Once the material has set and cured, carefully flex and remove the mould to unveil your creation.
- If your tray or vessel will be used for candles, it is vital to seal it with a heat-resistant sealer. Apply at least two coats to both the interior and exterior of the vessel. Ensure the sealant is fully dry before pouring in the wax.
Shipping
Standard (Australia):
- 3-7 business days
- $12 shipping fee
Express (Australia)
- 1-3 business days
- $17
Standard (New Zealand)
- 4-14 business days
- $20
DHL Express (International)
- 3-7 business days via DHL Express
- Calculated based on location and weight
Returns & Refunds
Parcel Claims:
Report missing or damaged items within 24 hours of delivery to be eligible for store credit or a replacement. Include proof of purchase and photographic evidence. Contact us at info@mykacandlesandmoulds.com.
Moulds Disclaimer:
Expect slight imperfections in our handmade silicone moulds, which won't affect the final product. For unlevel moulds, adjust using simple supports.
Exchanges/Refunds:
No alterations, cancellations, exchanges, or refunds after purchase except as covered under parcel claims.
Lost/Damaged Parcels:
If a package is lost or damaged, contact us immediately for assistance with a claim.
For detailed information on our policies, please visit our full Returns & Refunds Policy.
