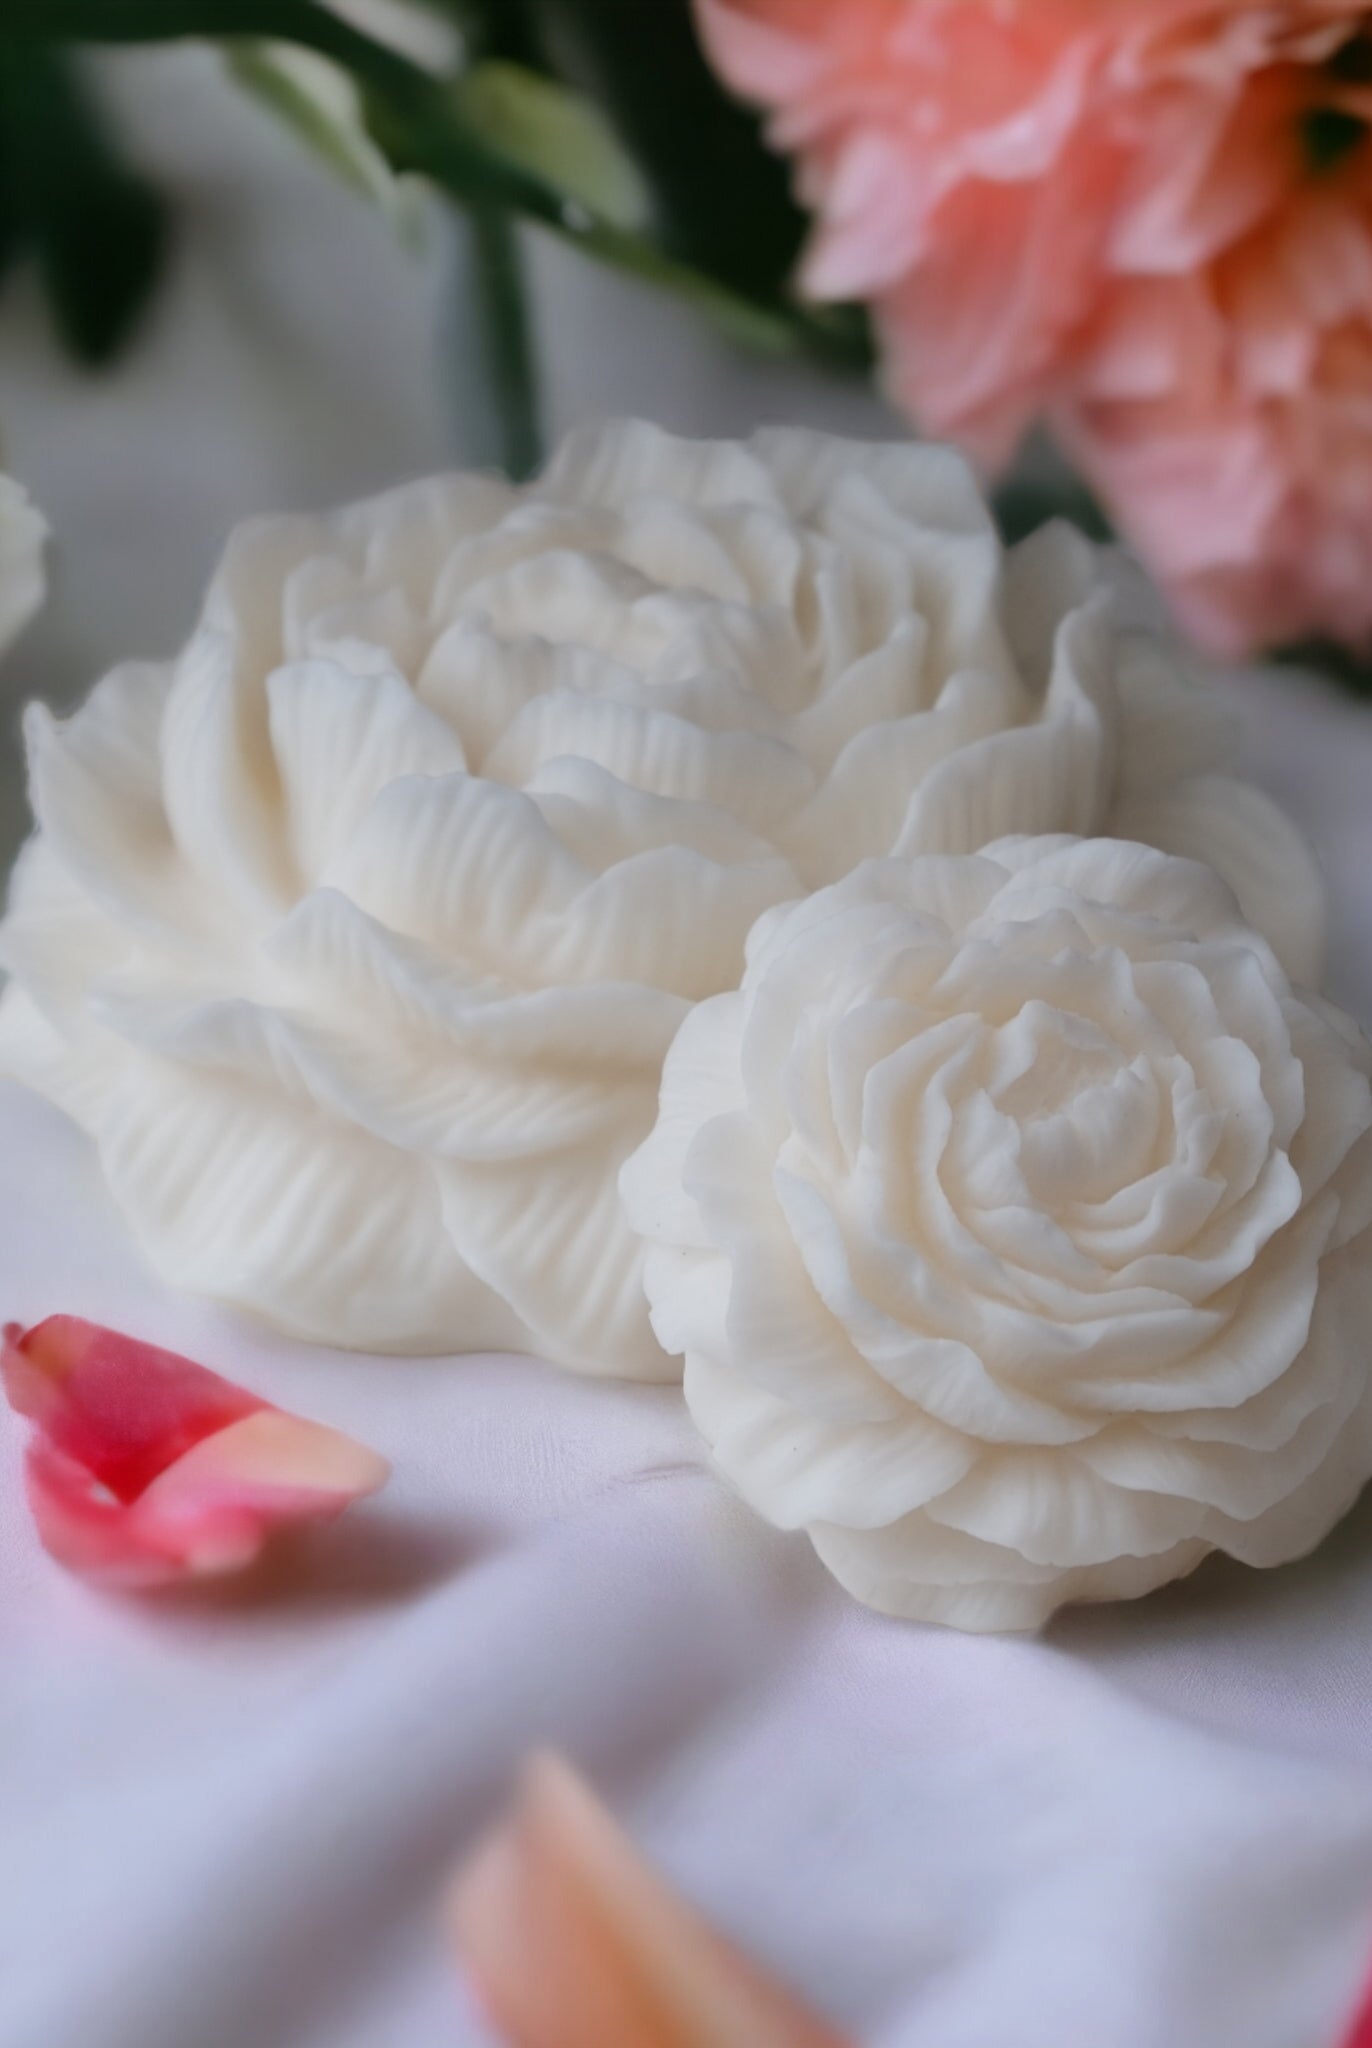
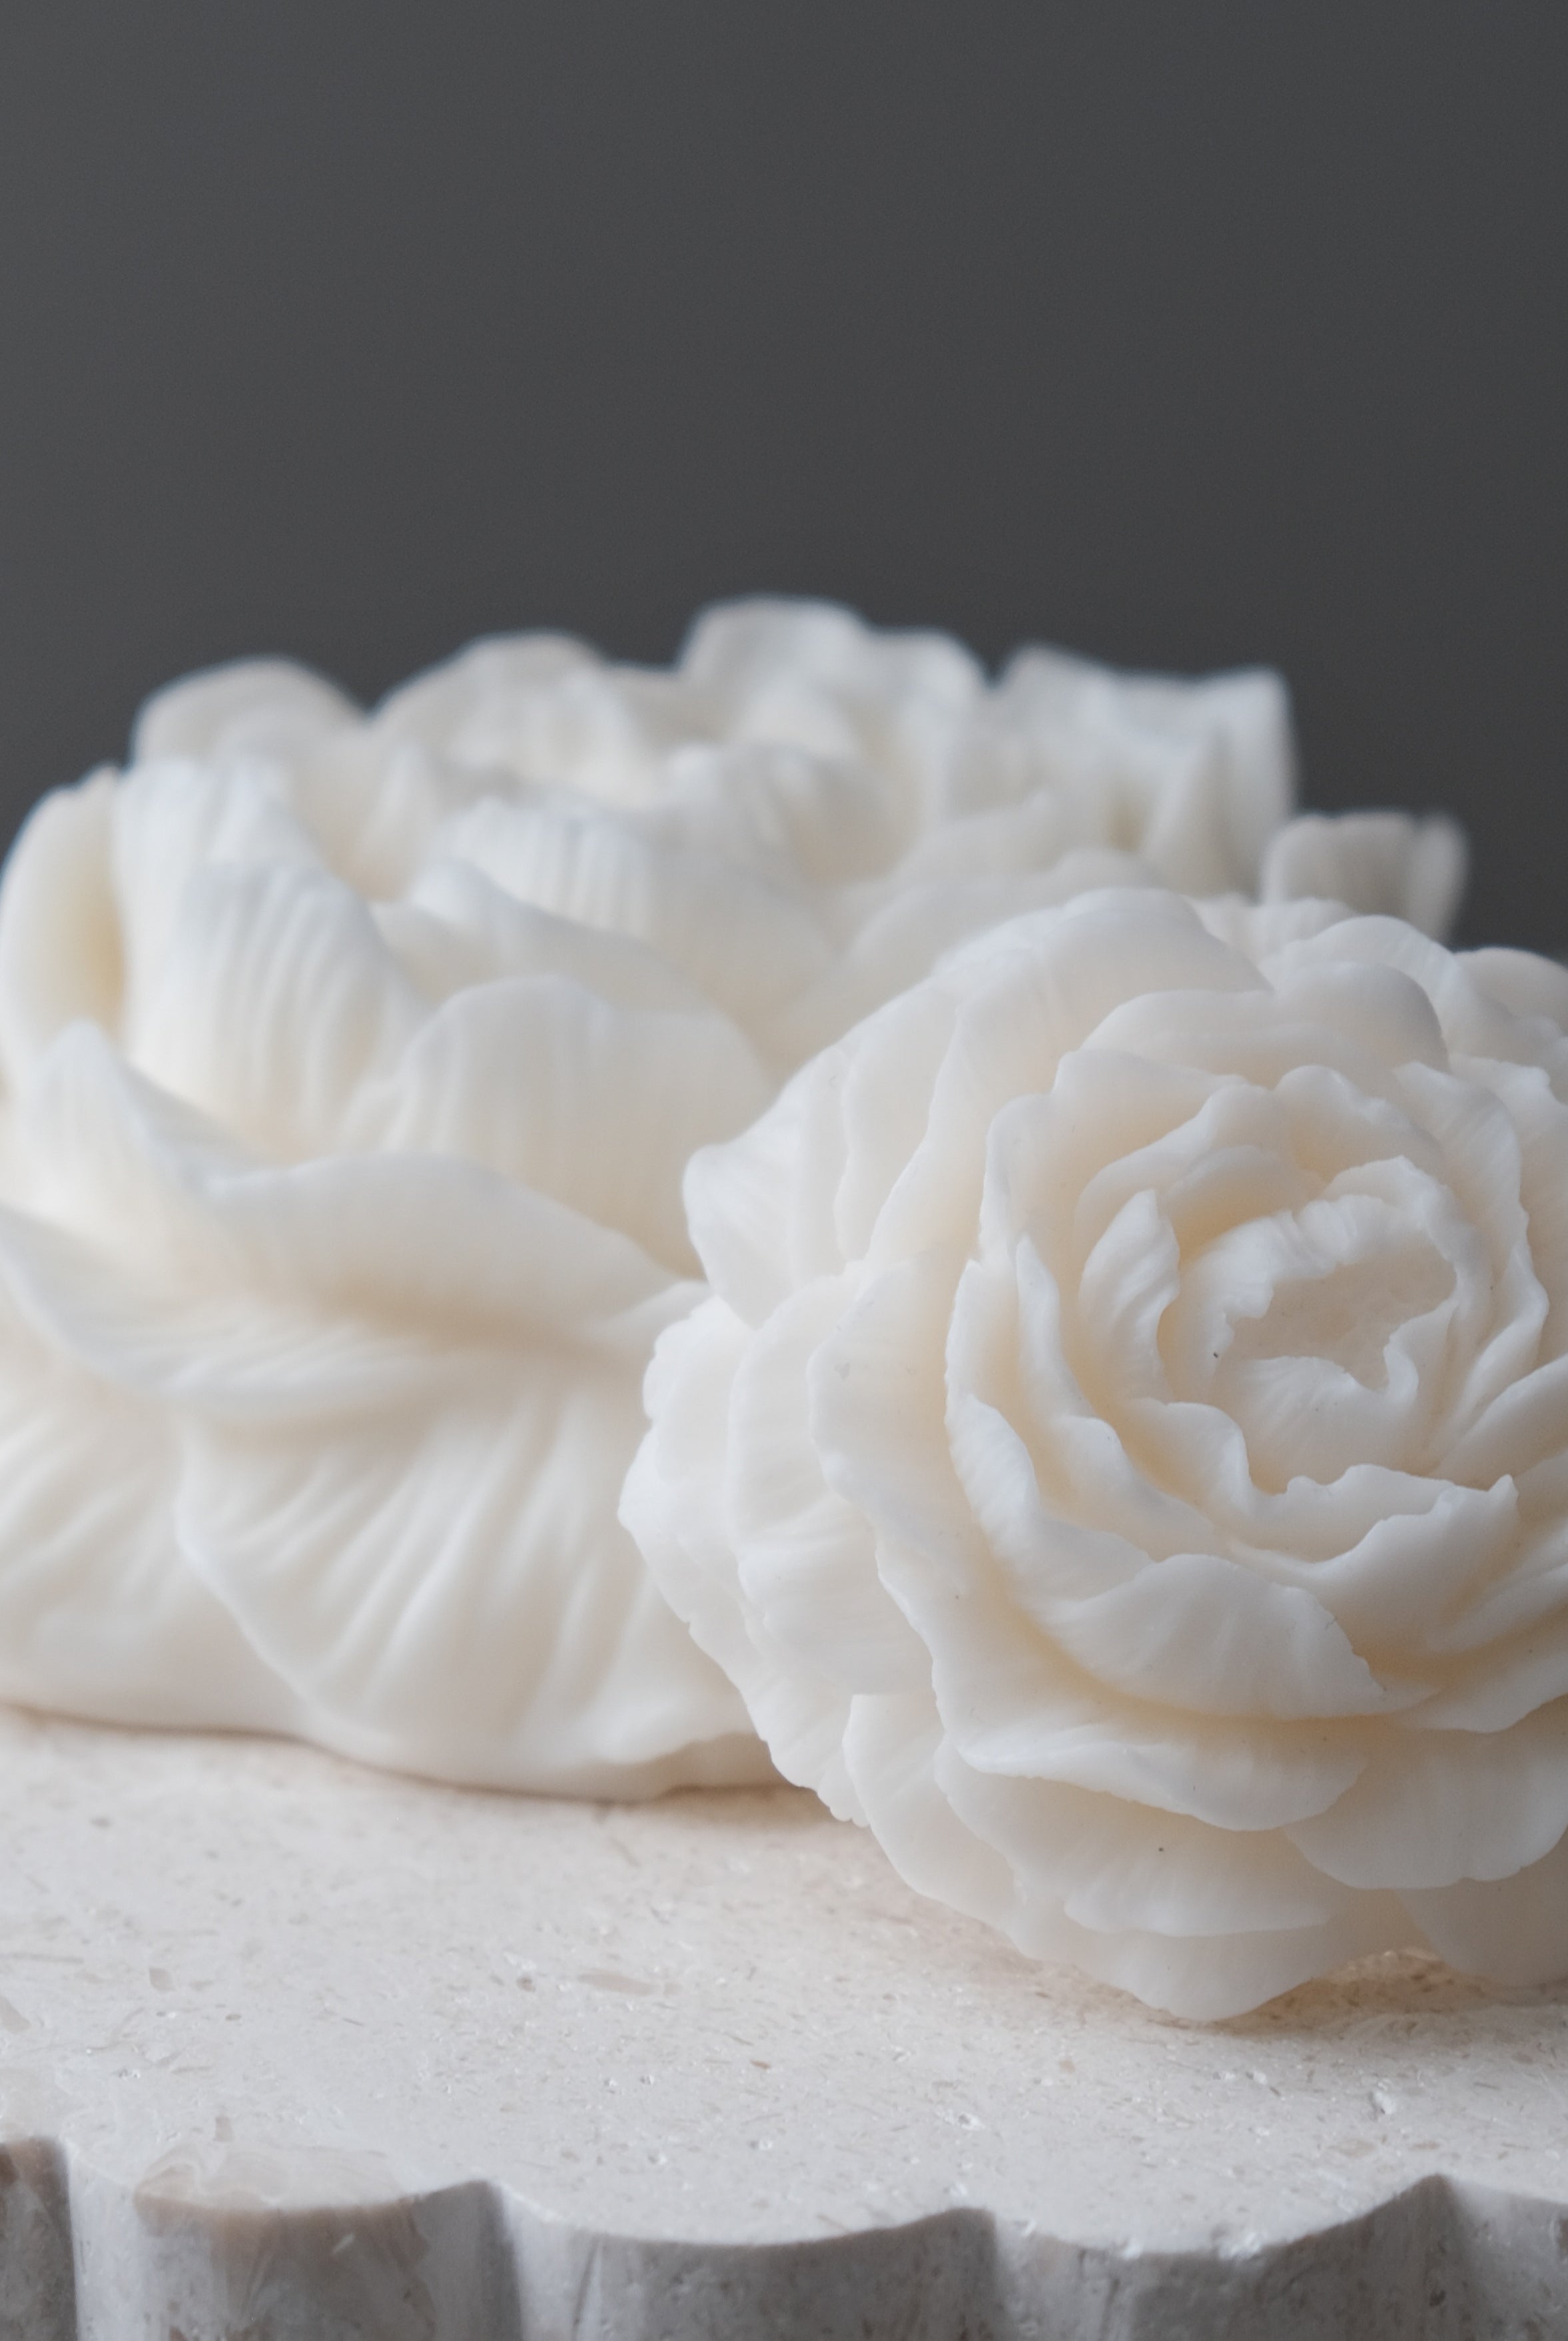
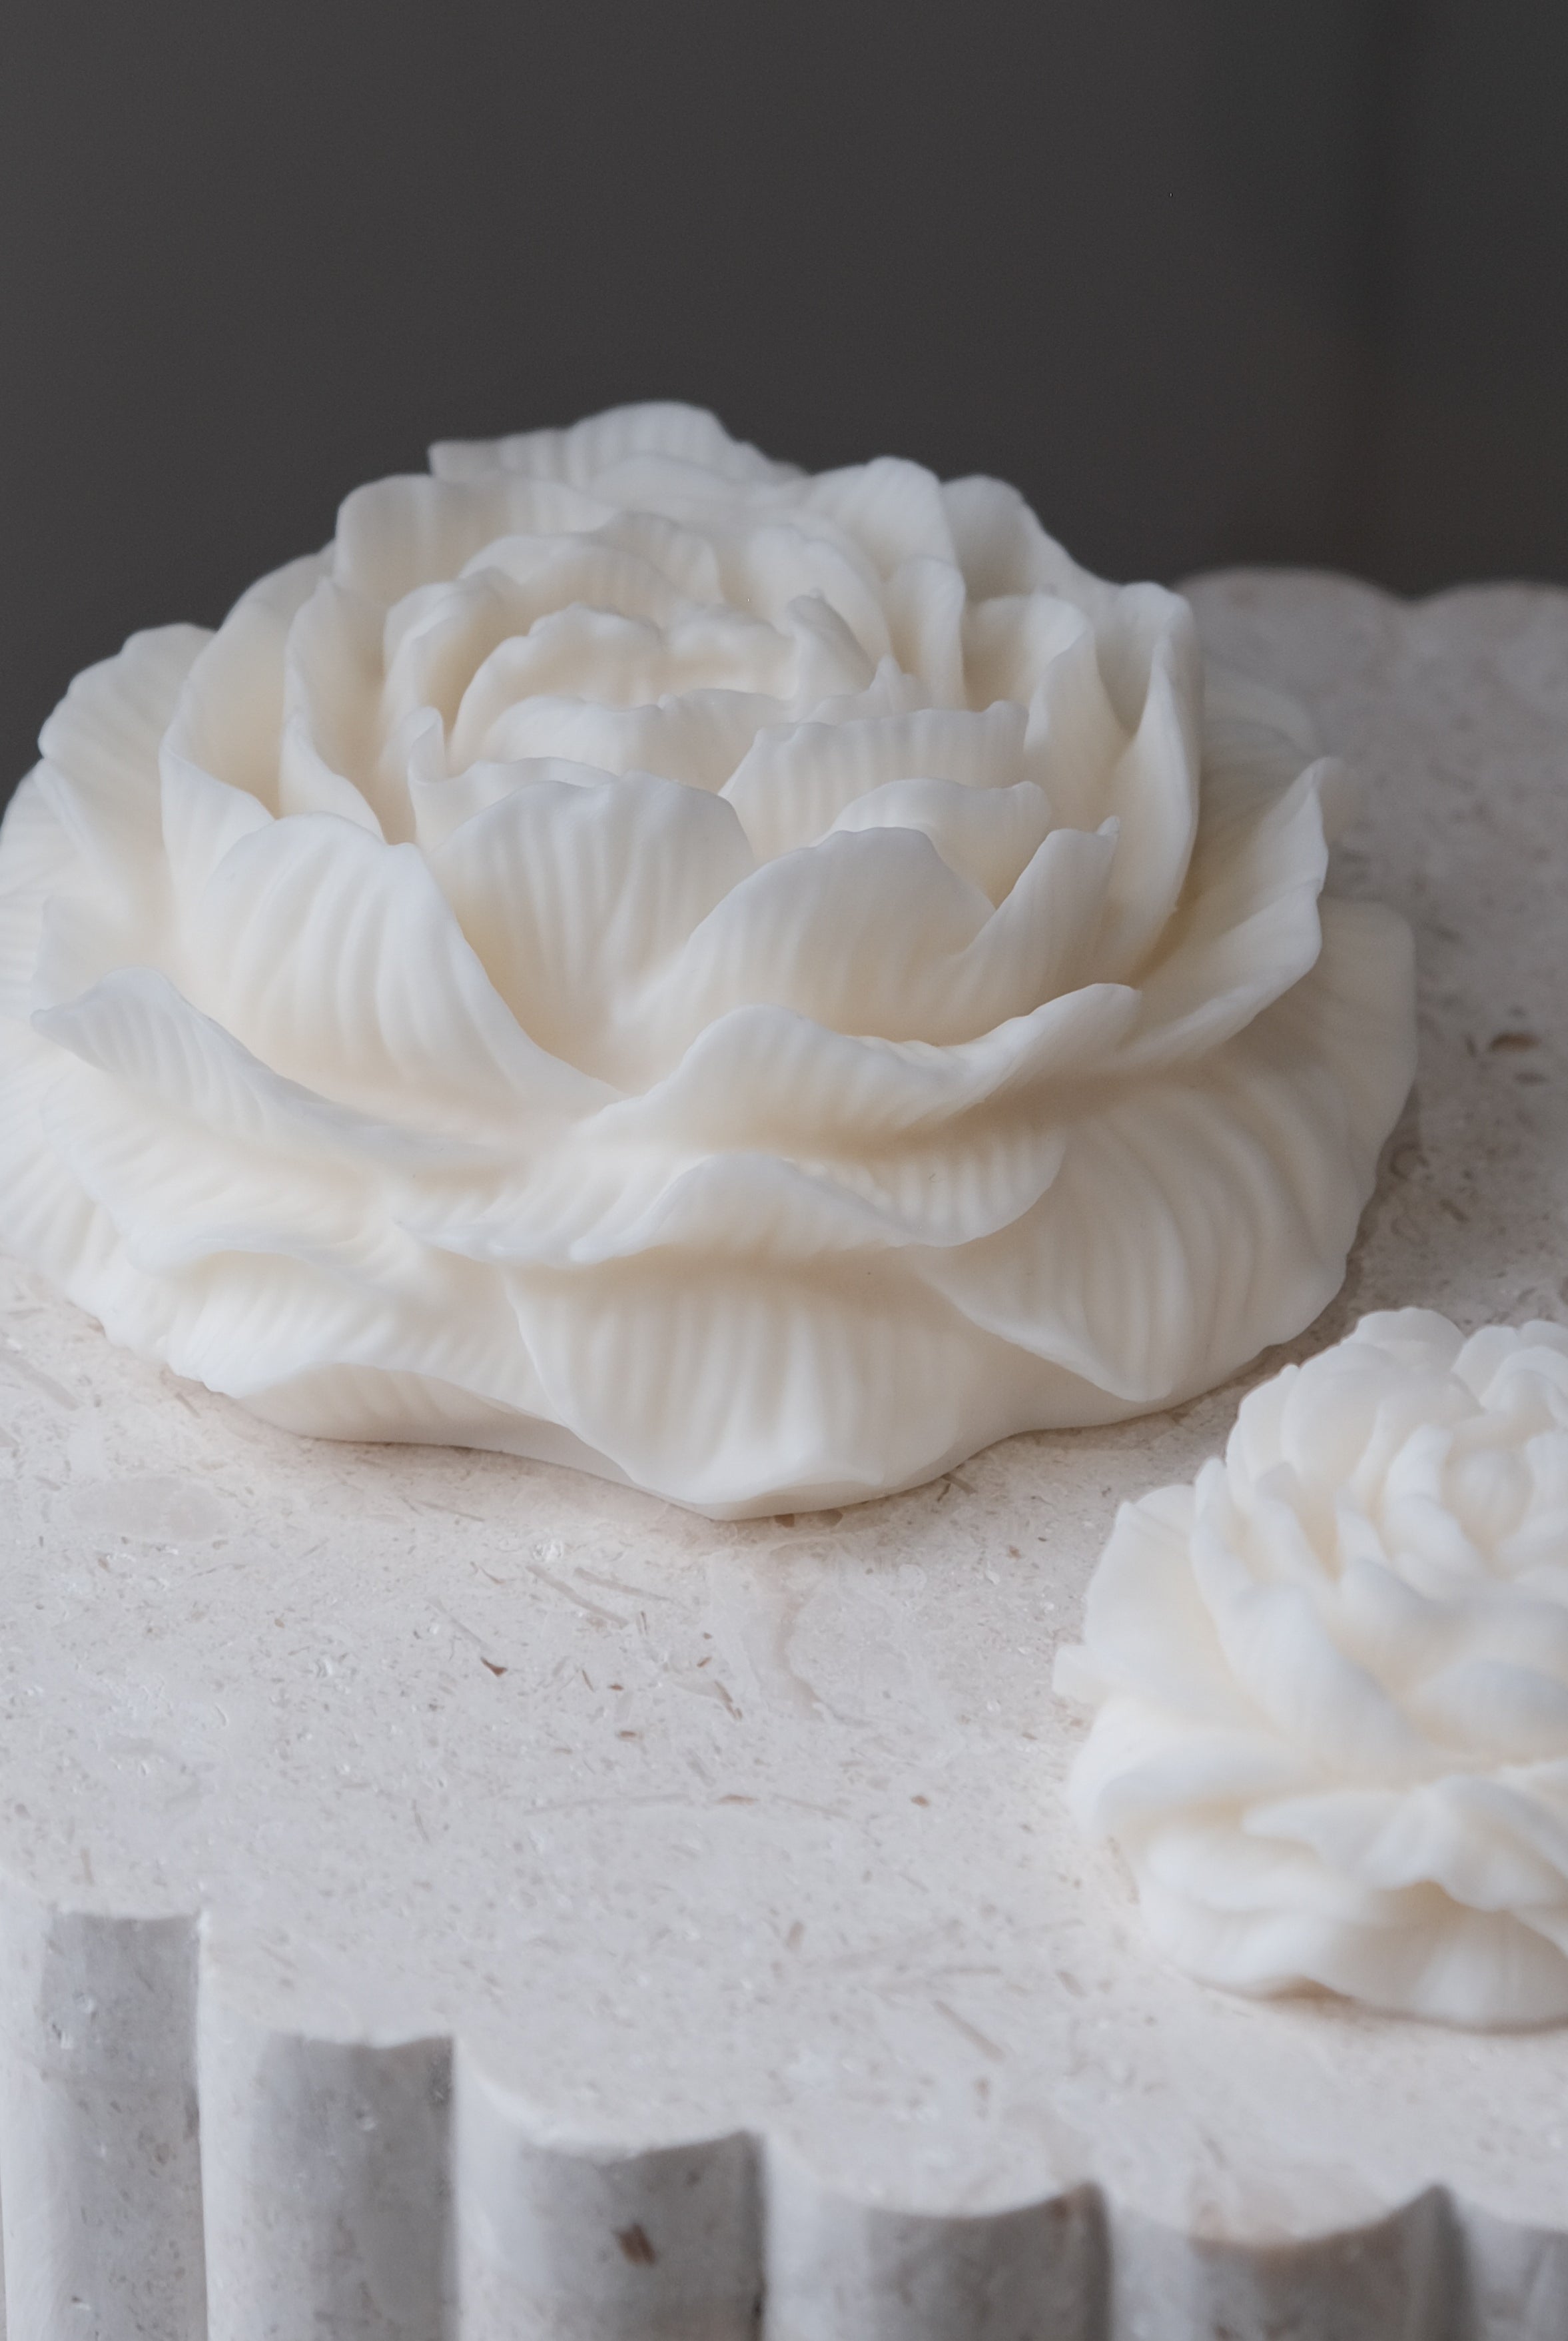
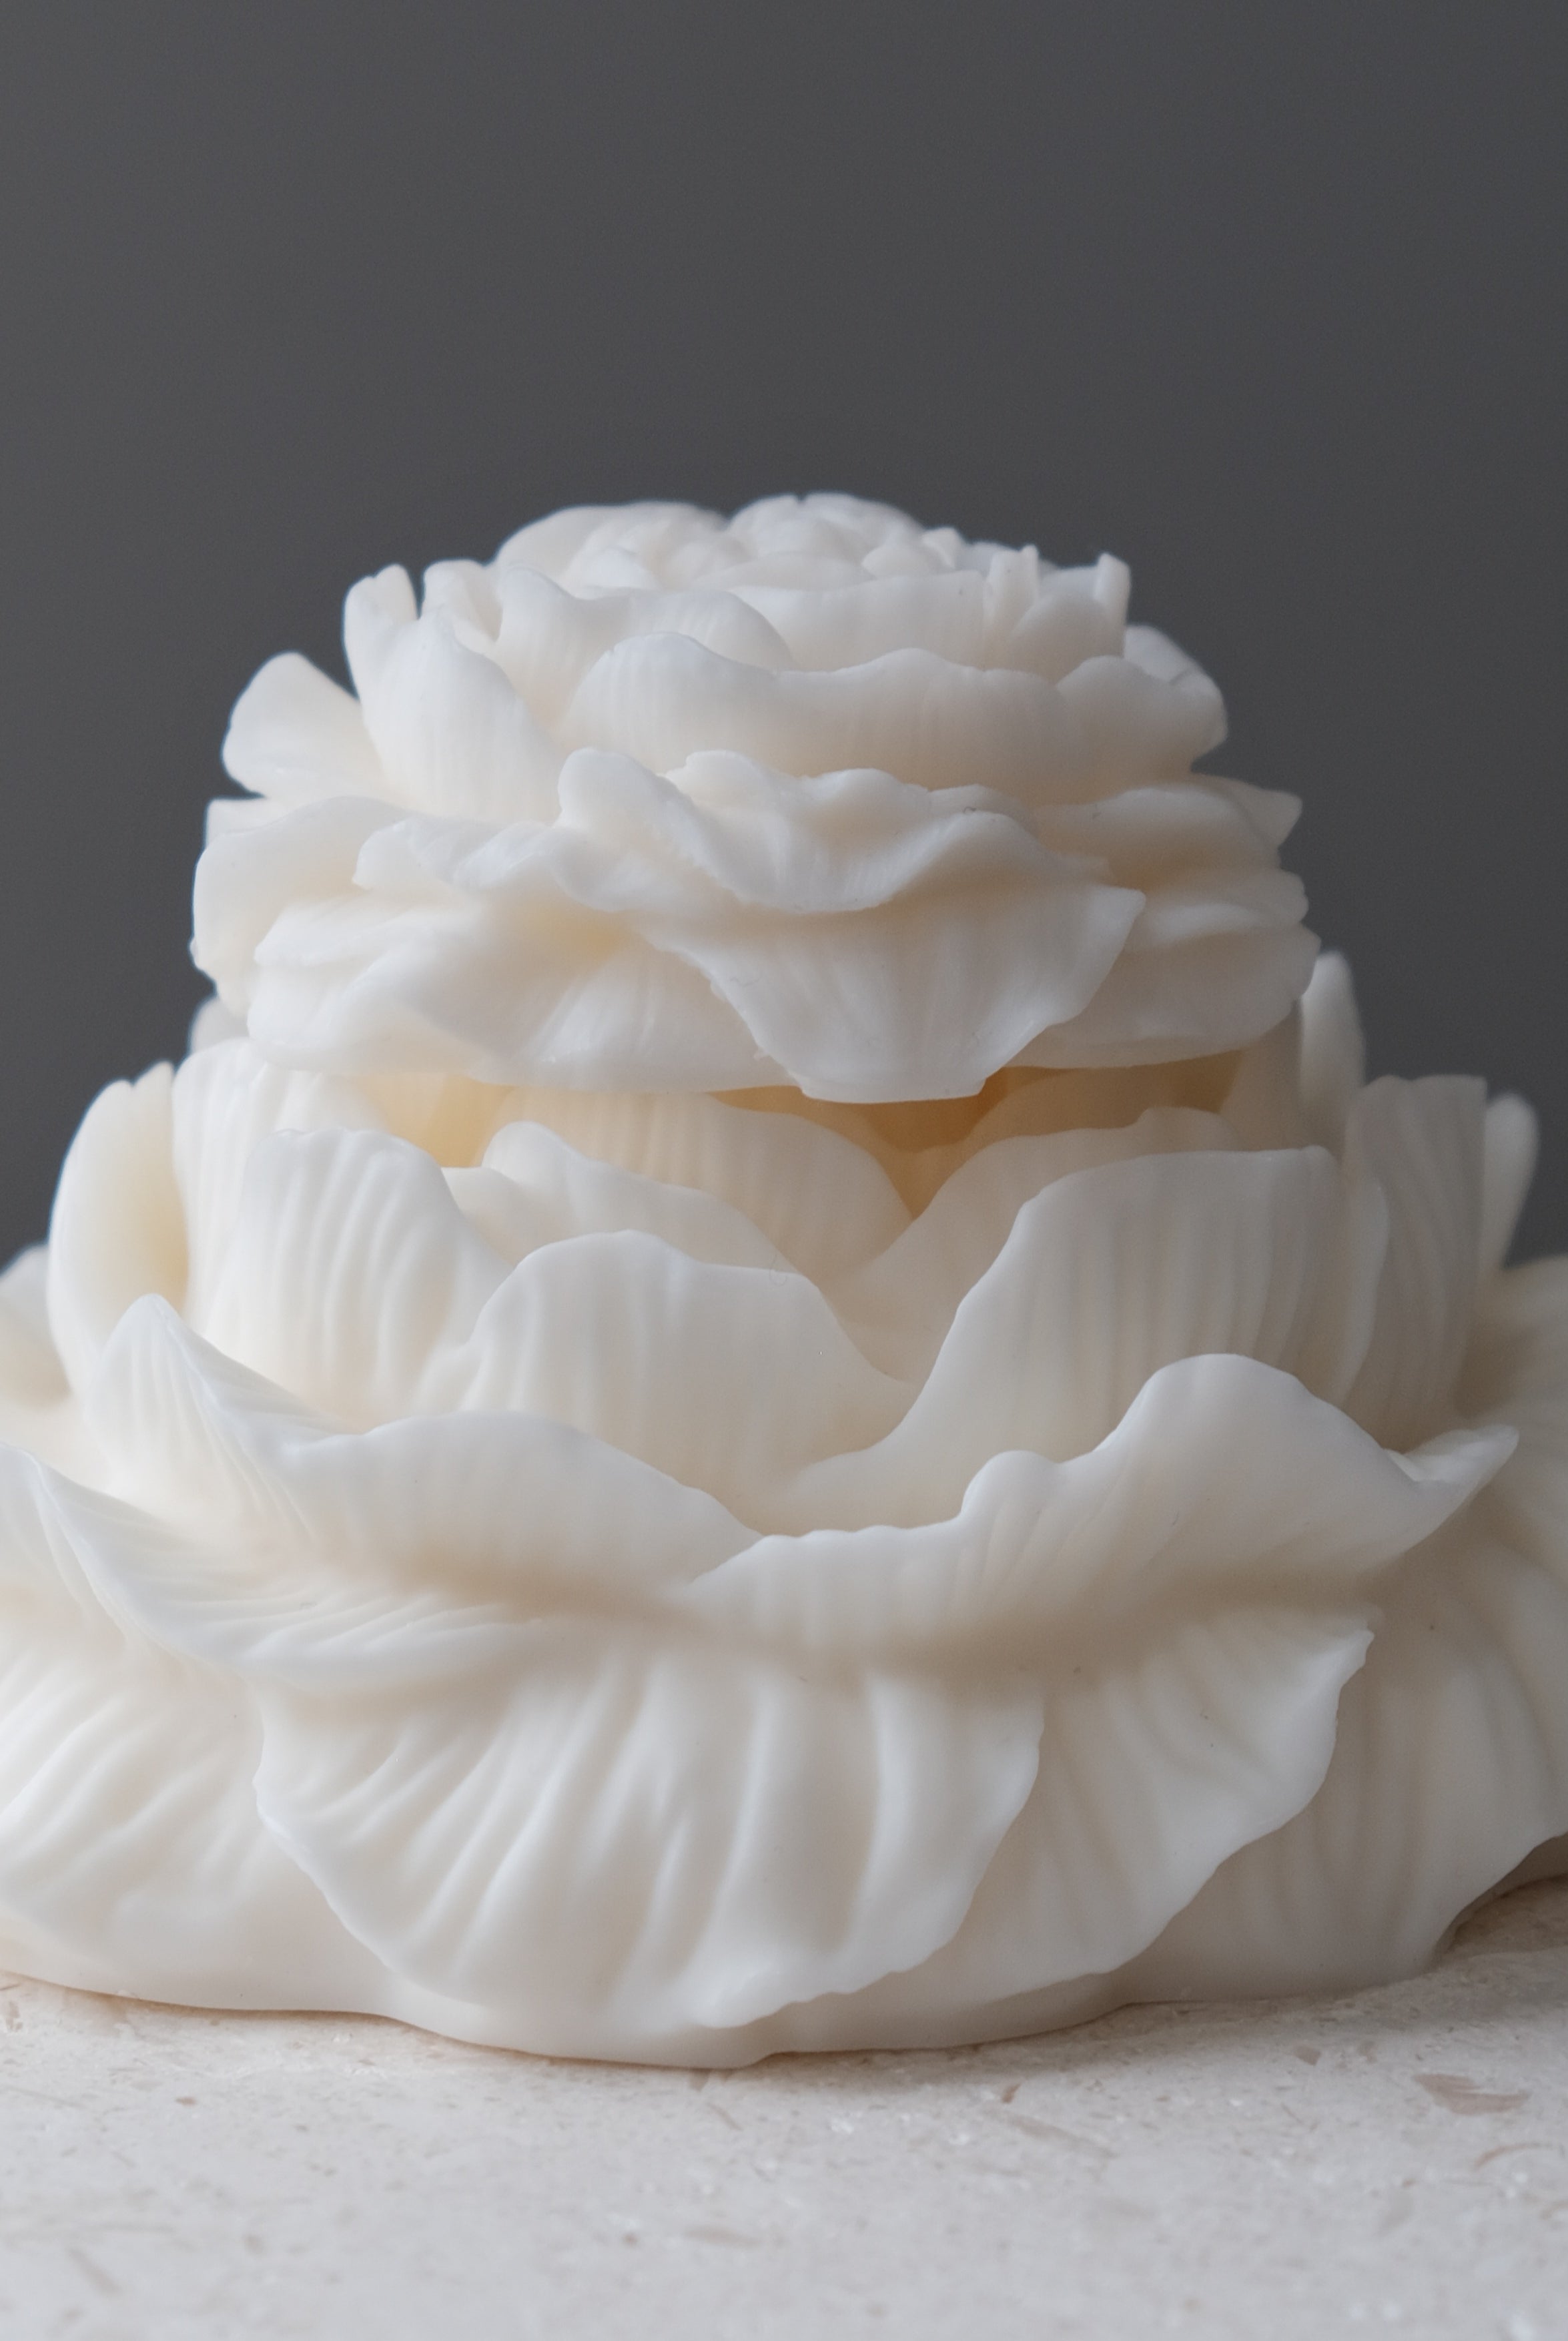
Pillar Candle Making Kit for Beginners
Couldn't load pickup availability
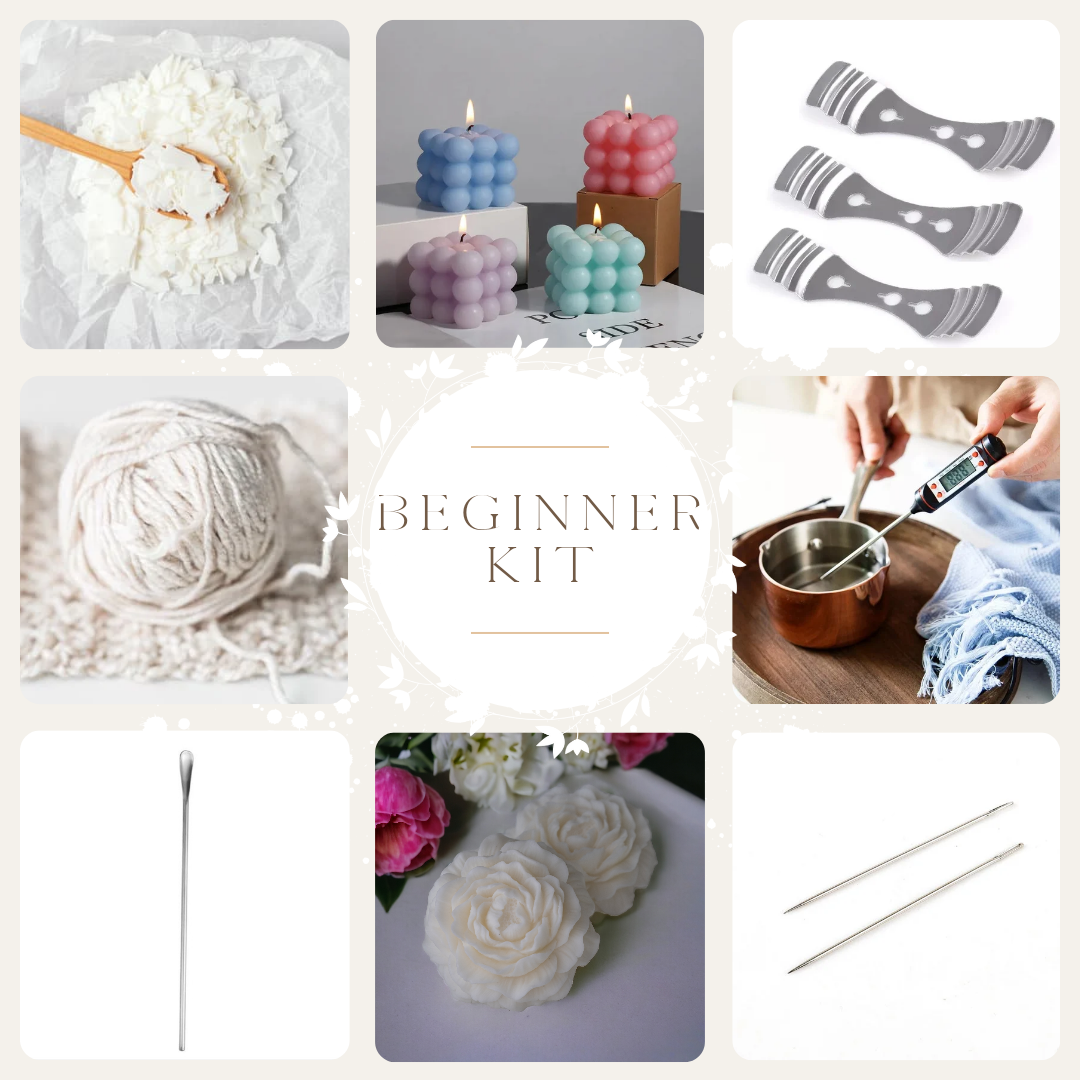
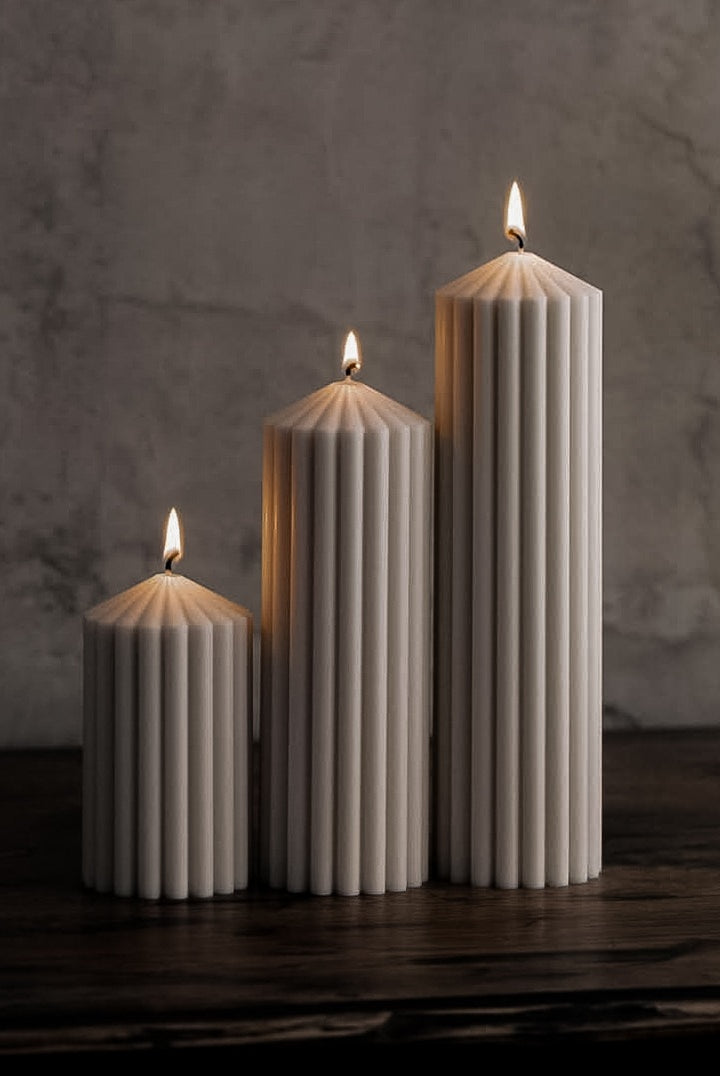
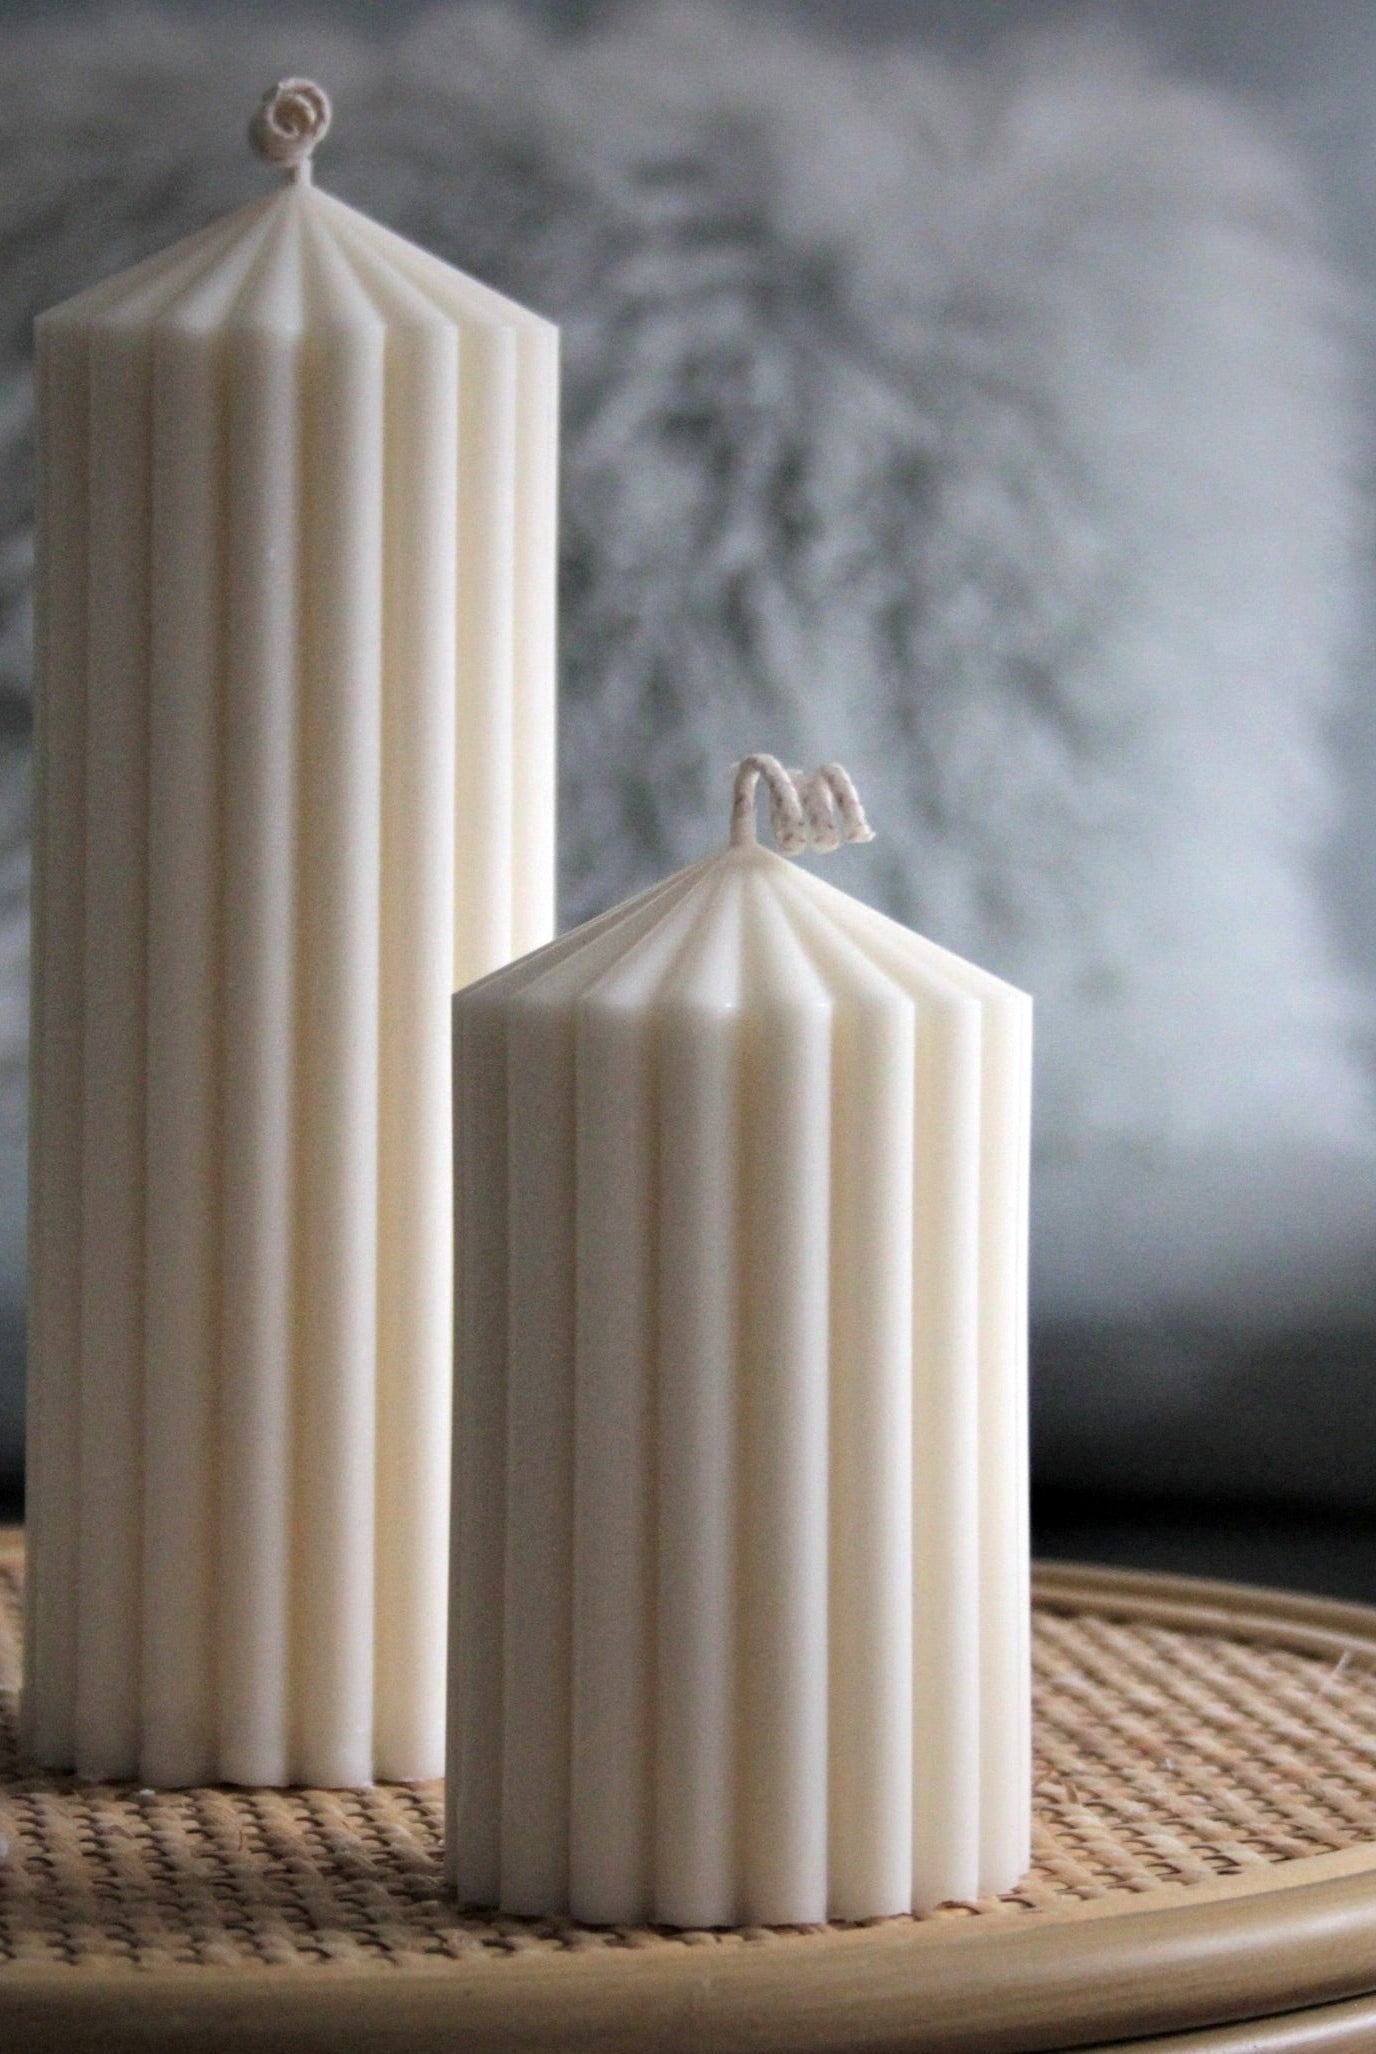
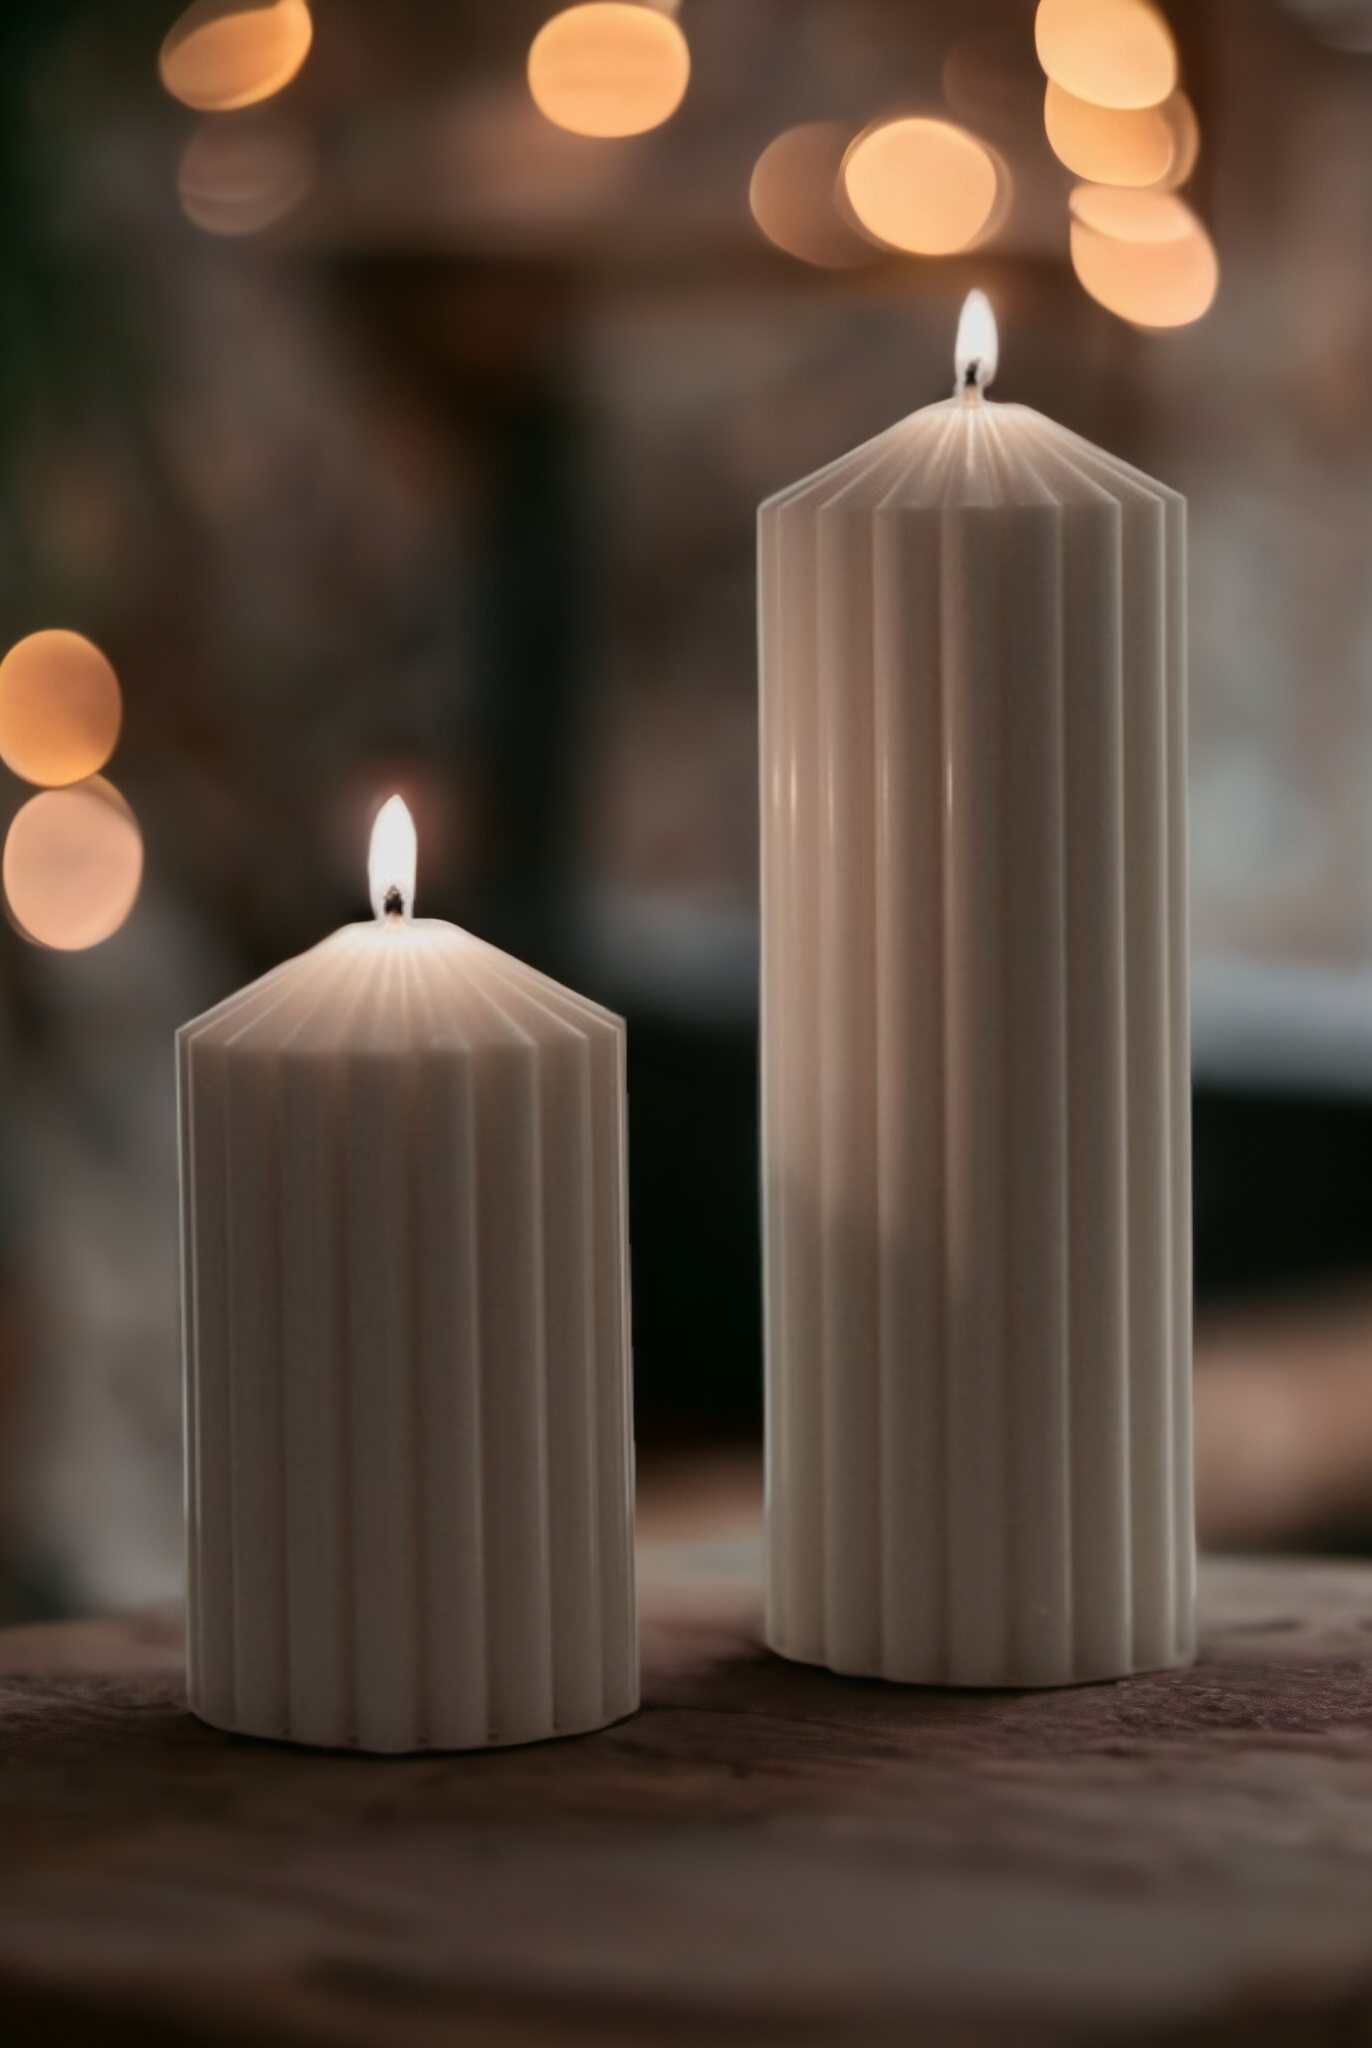
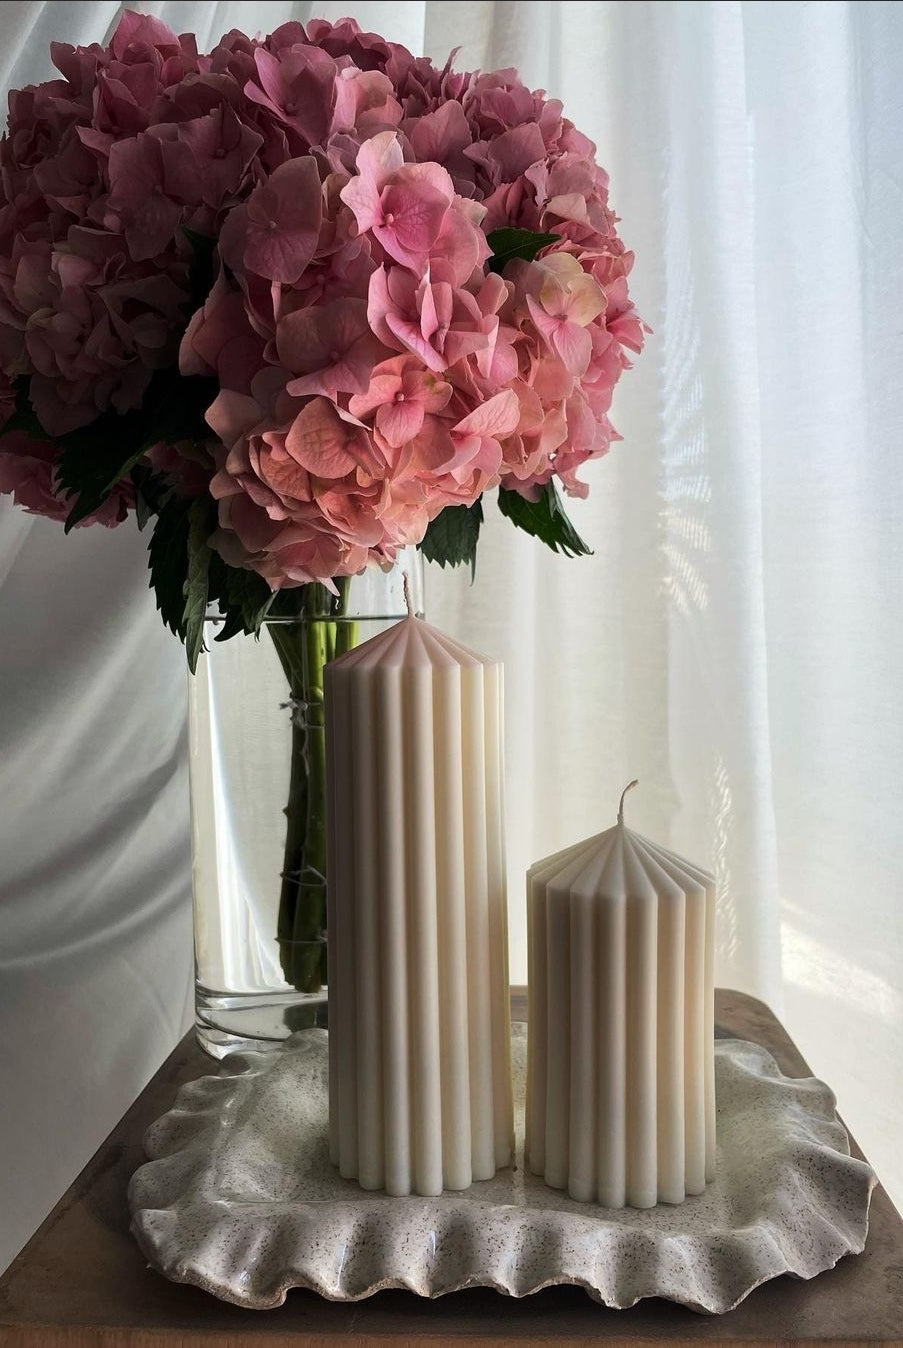
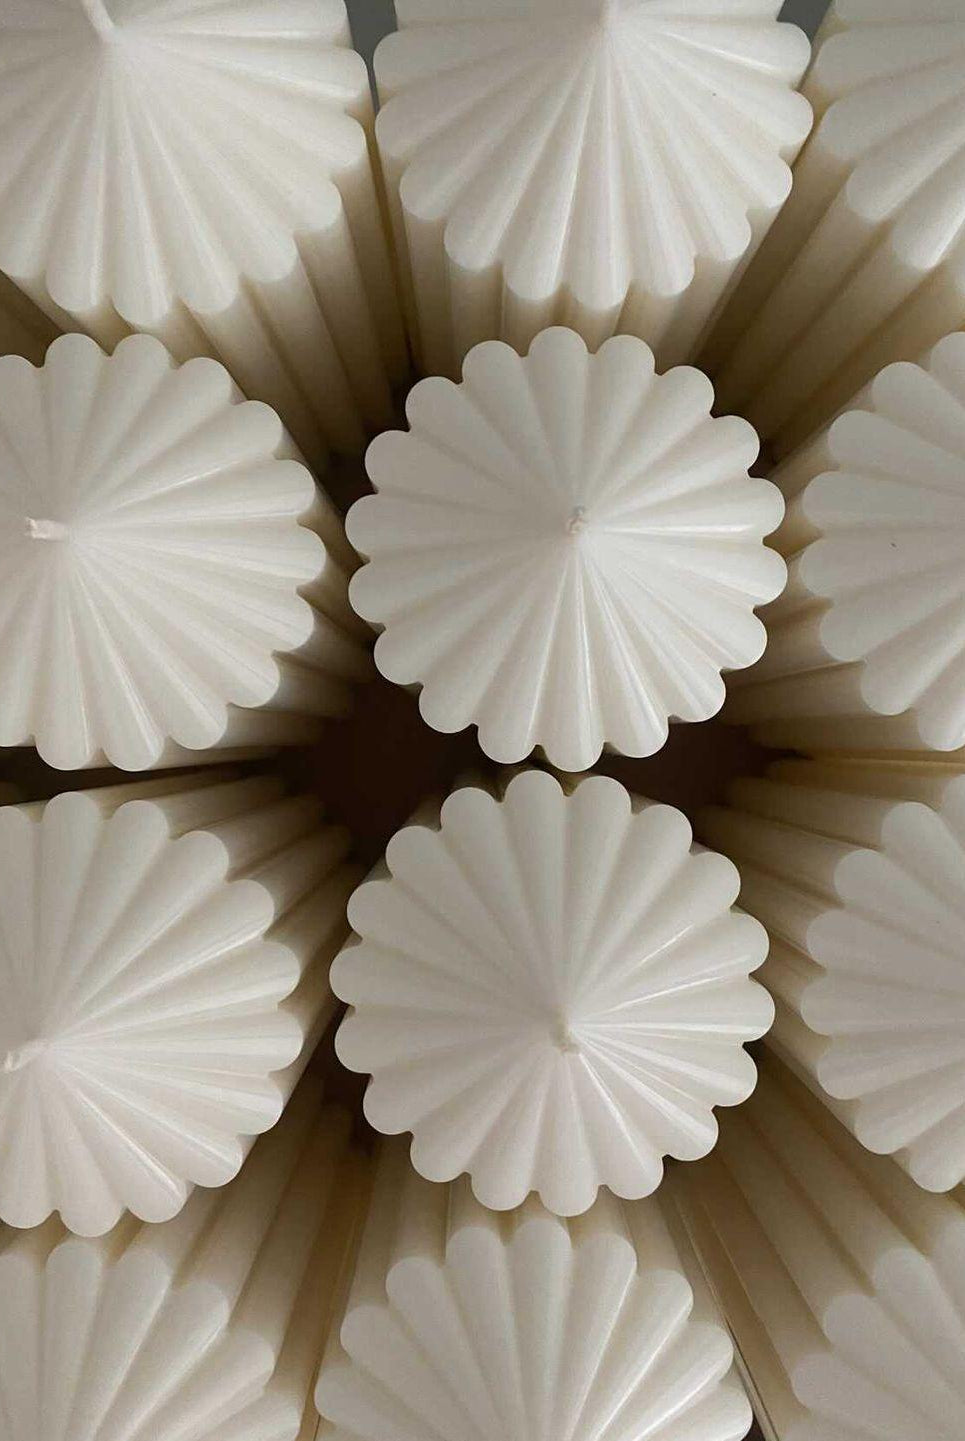
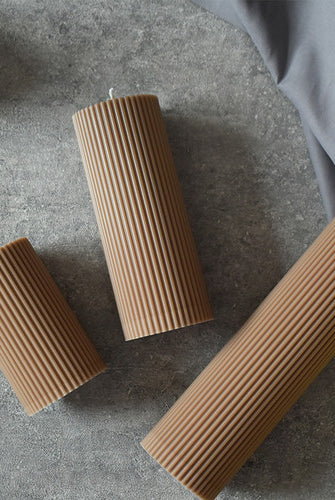
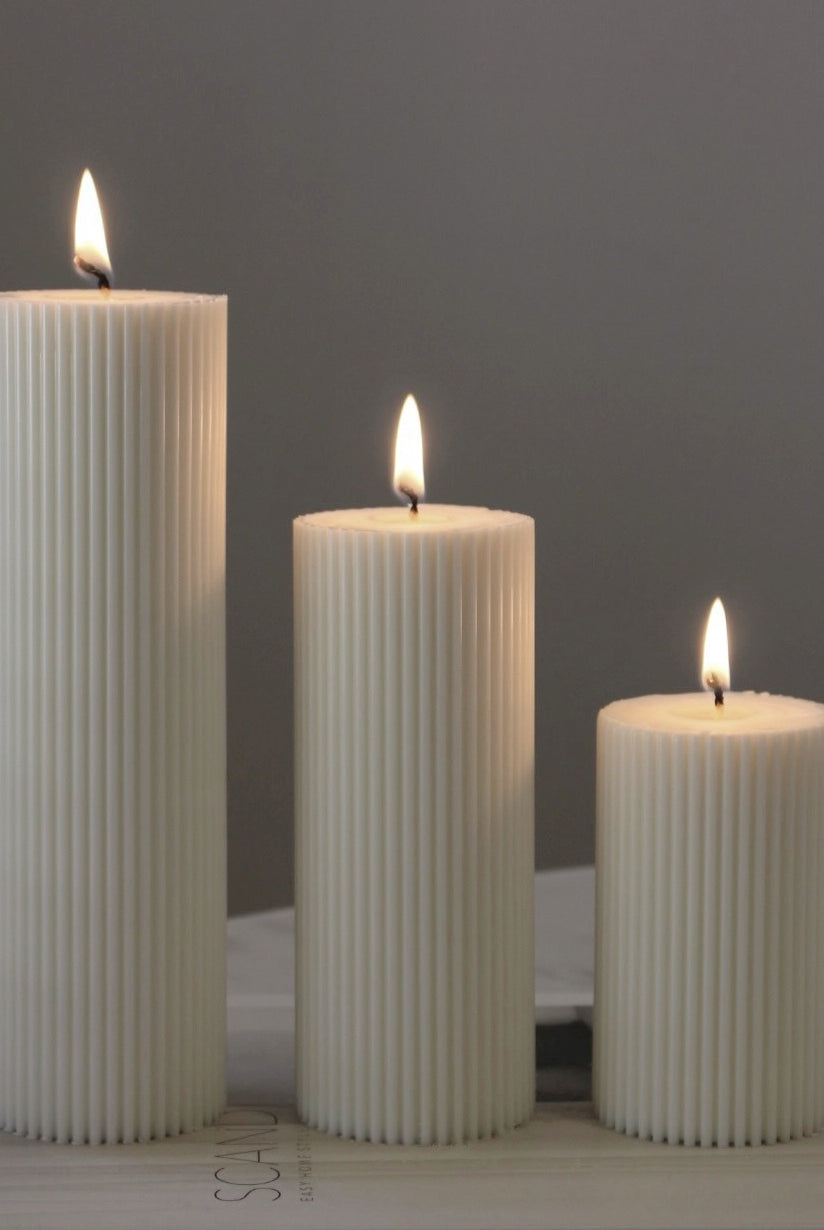
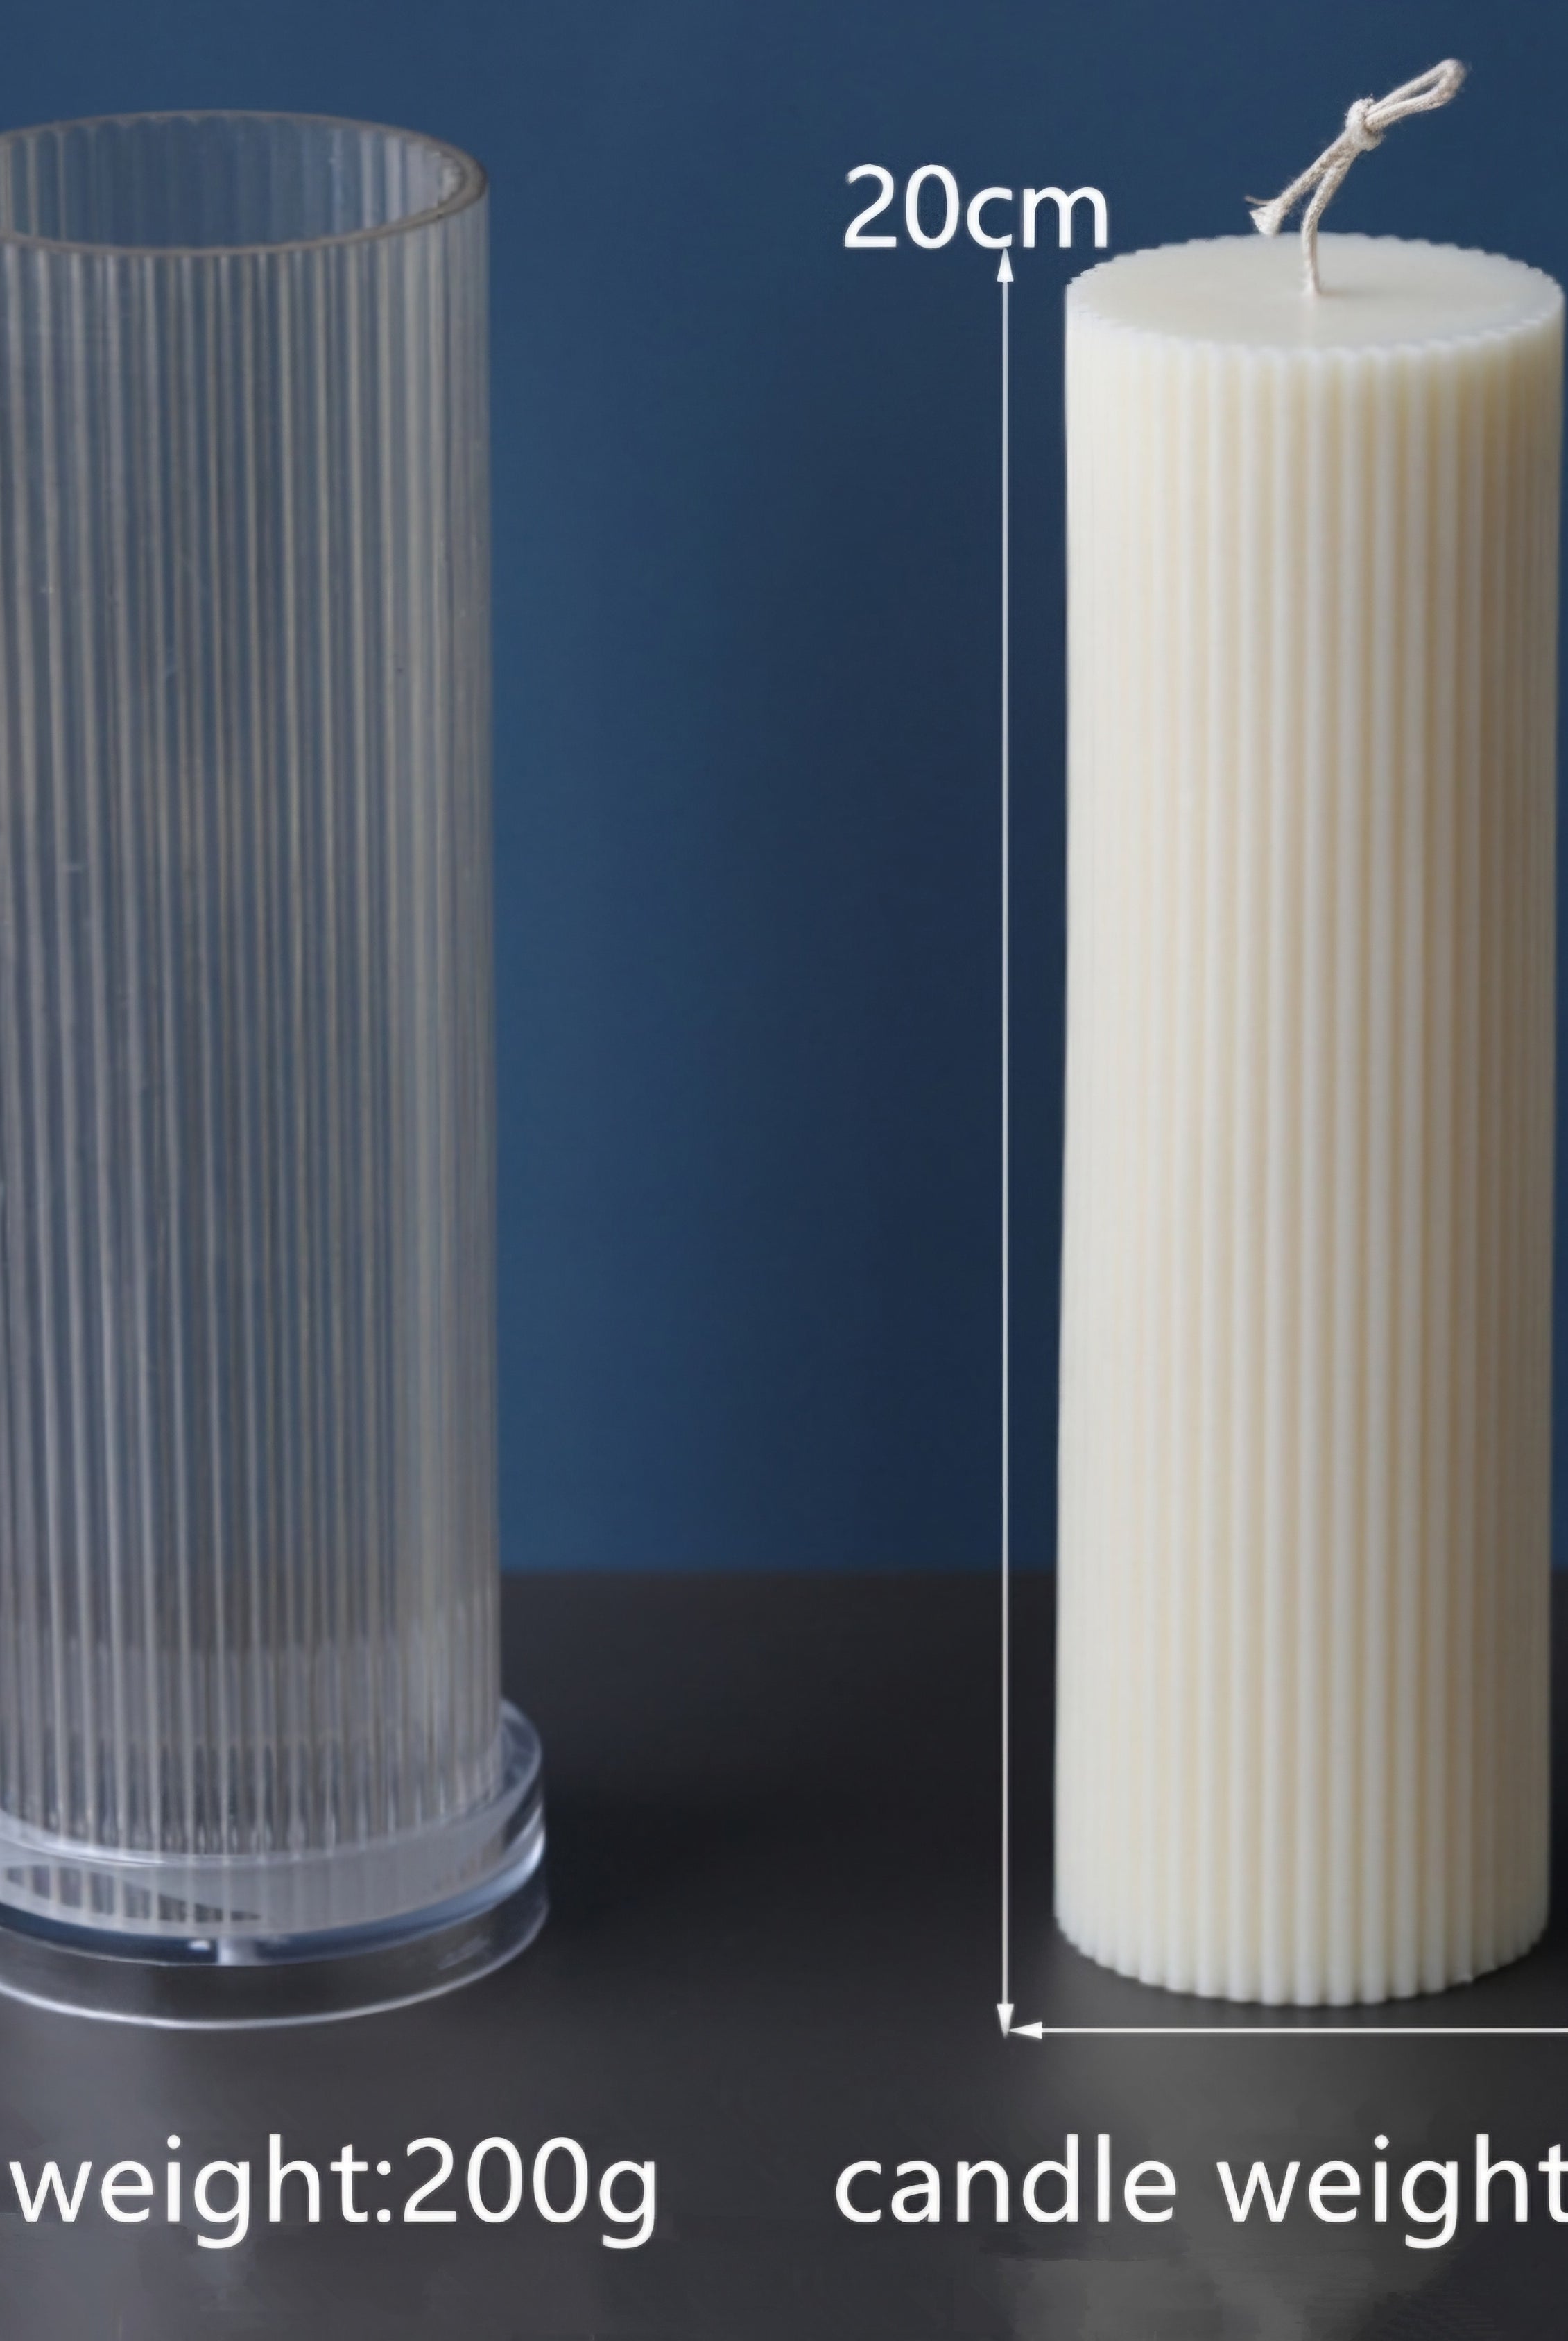
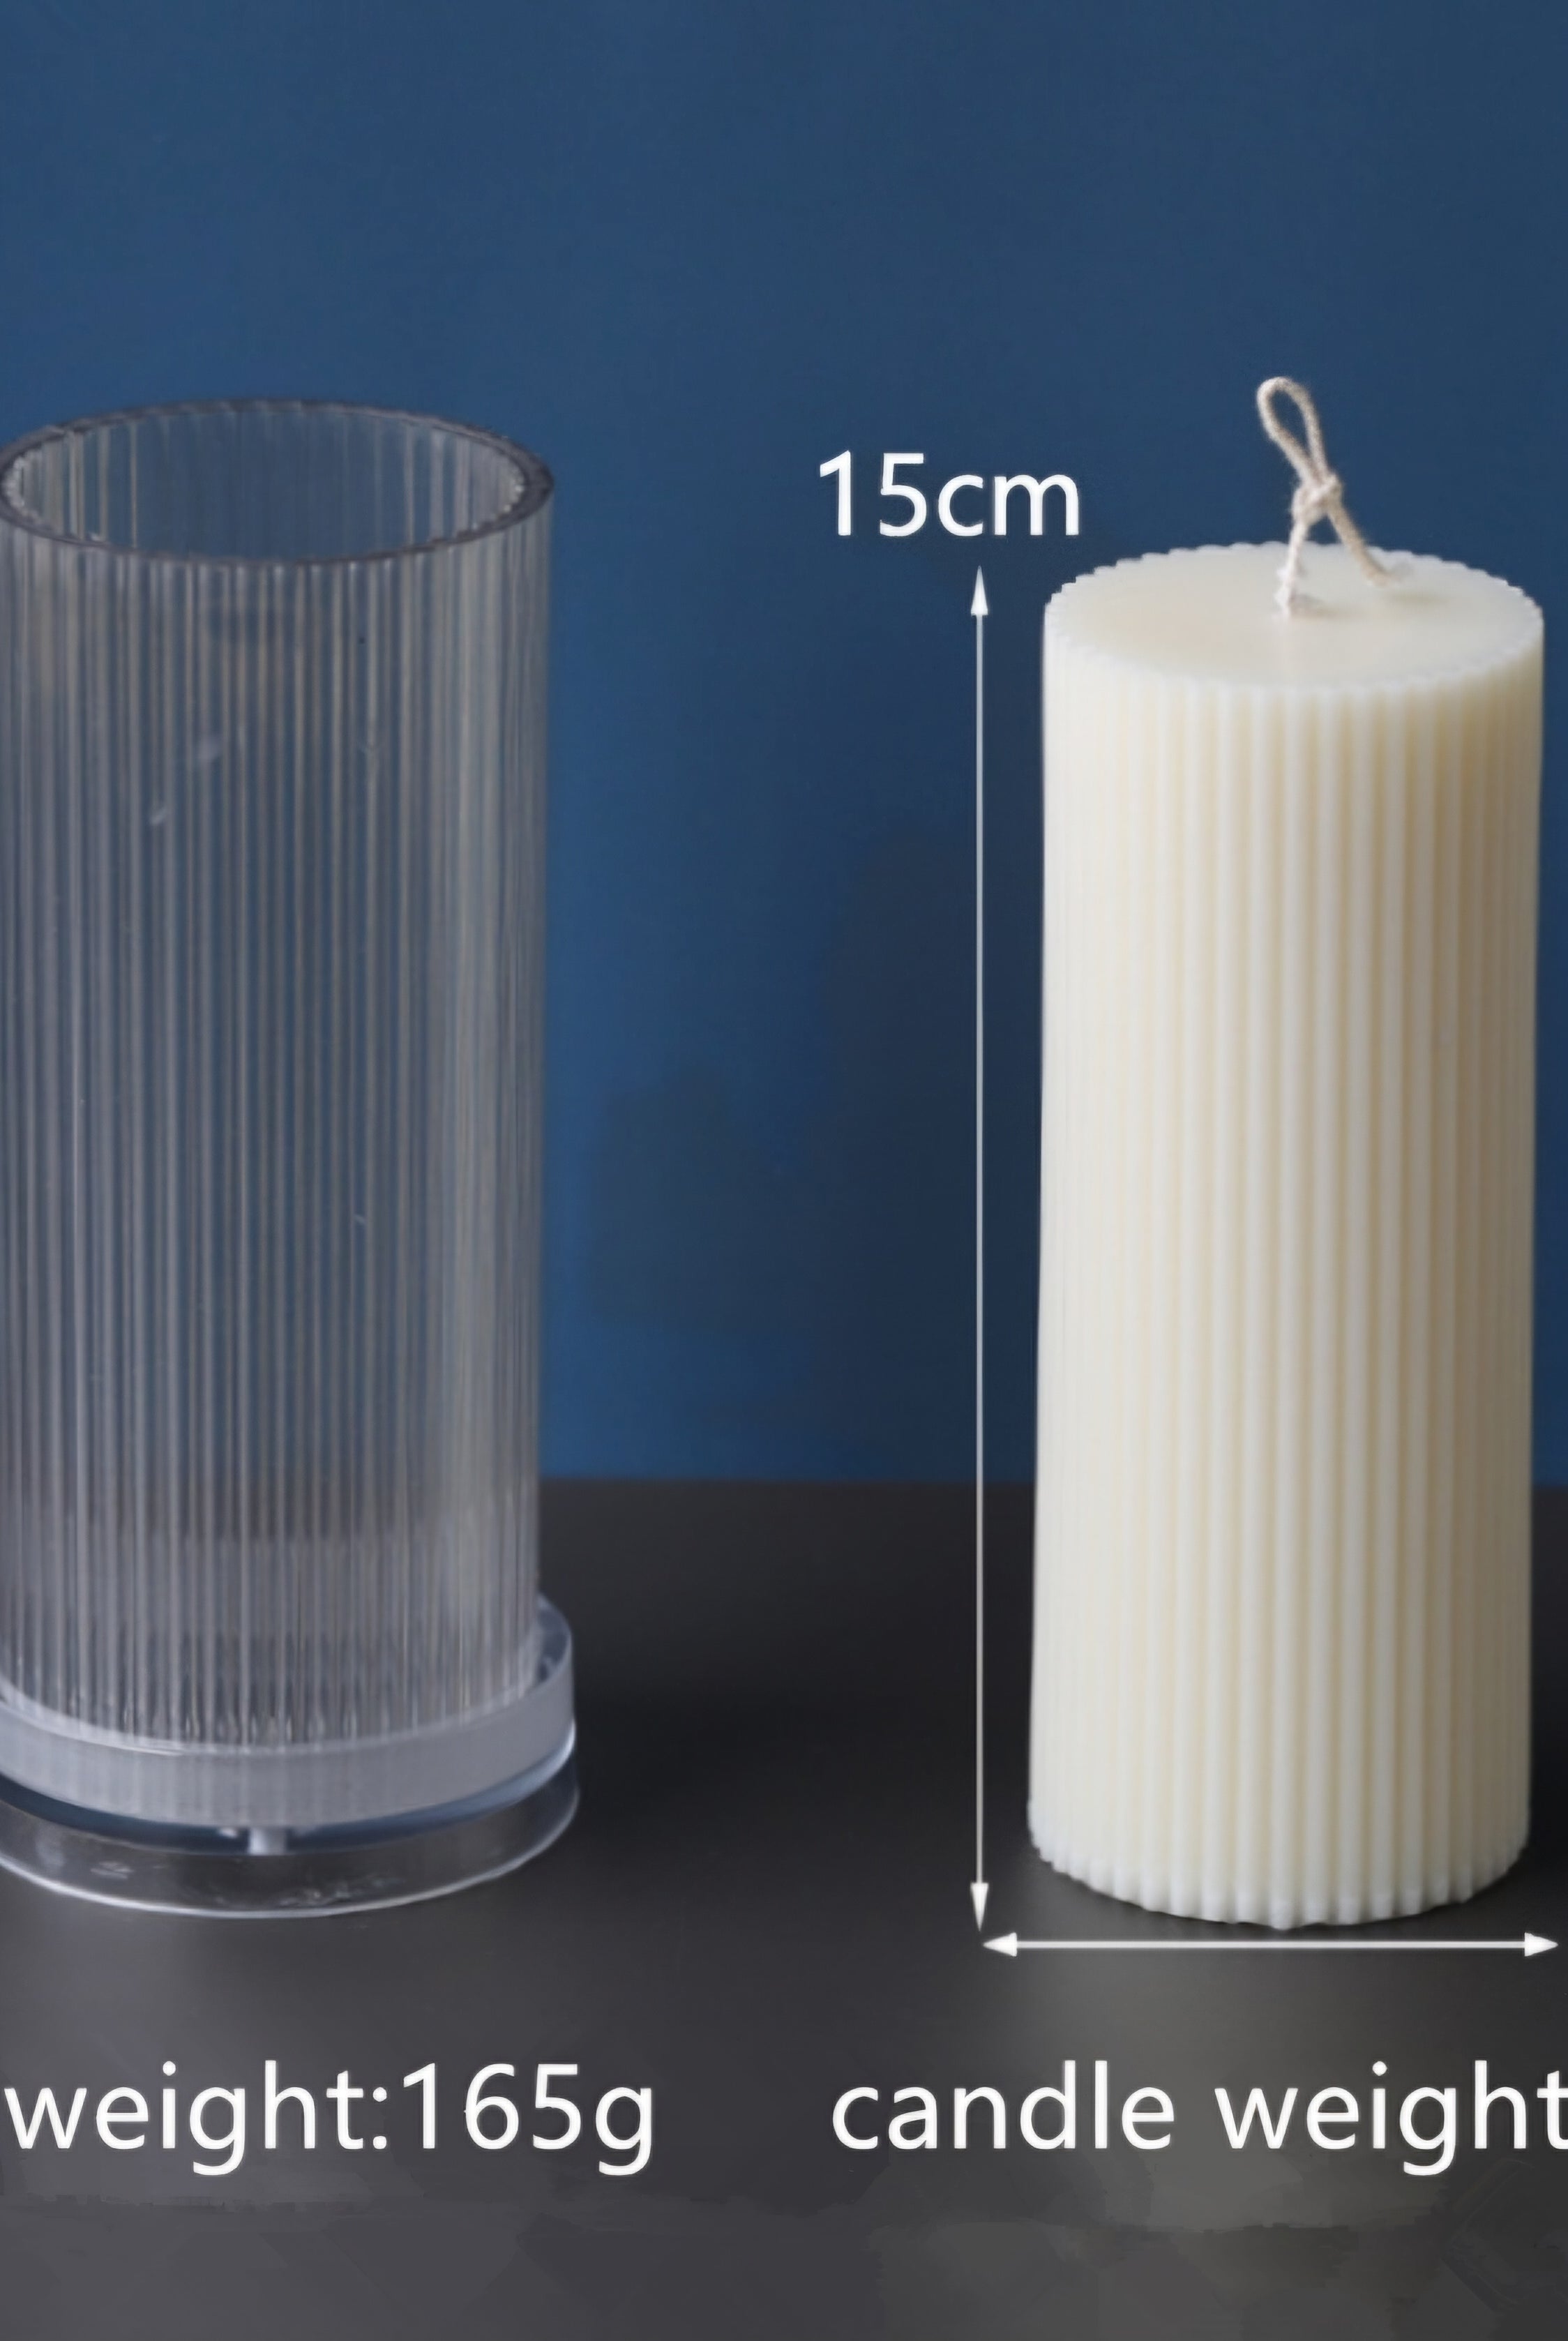
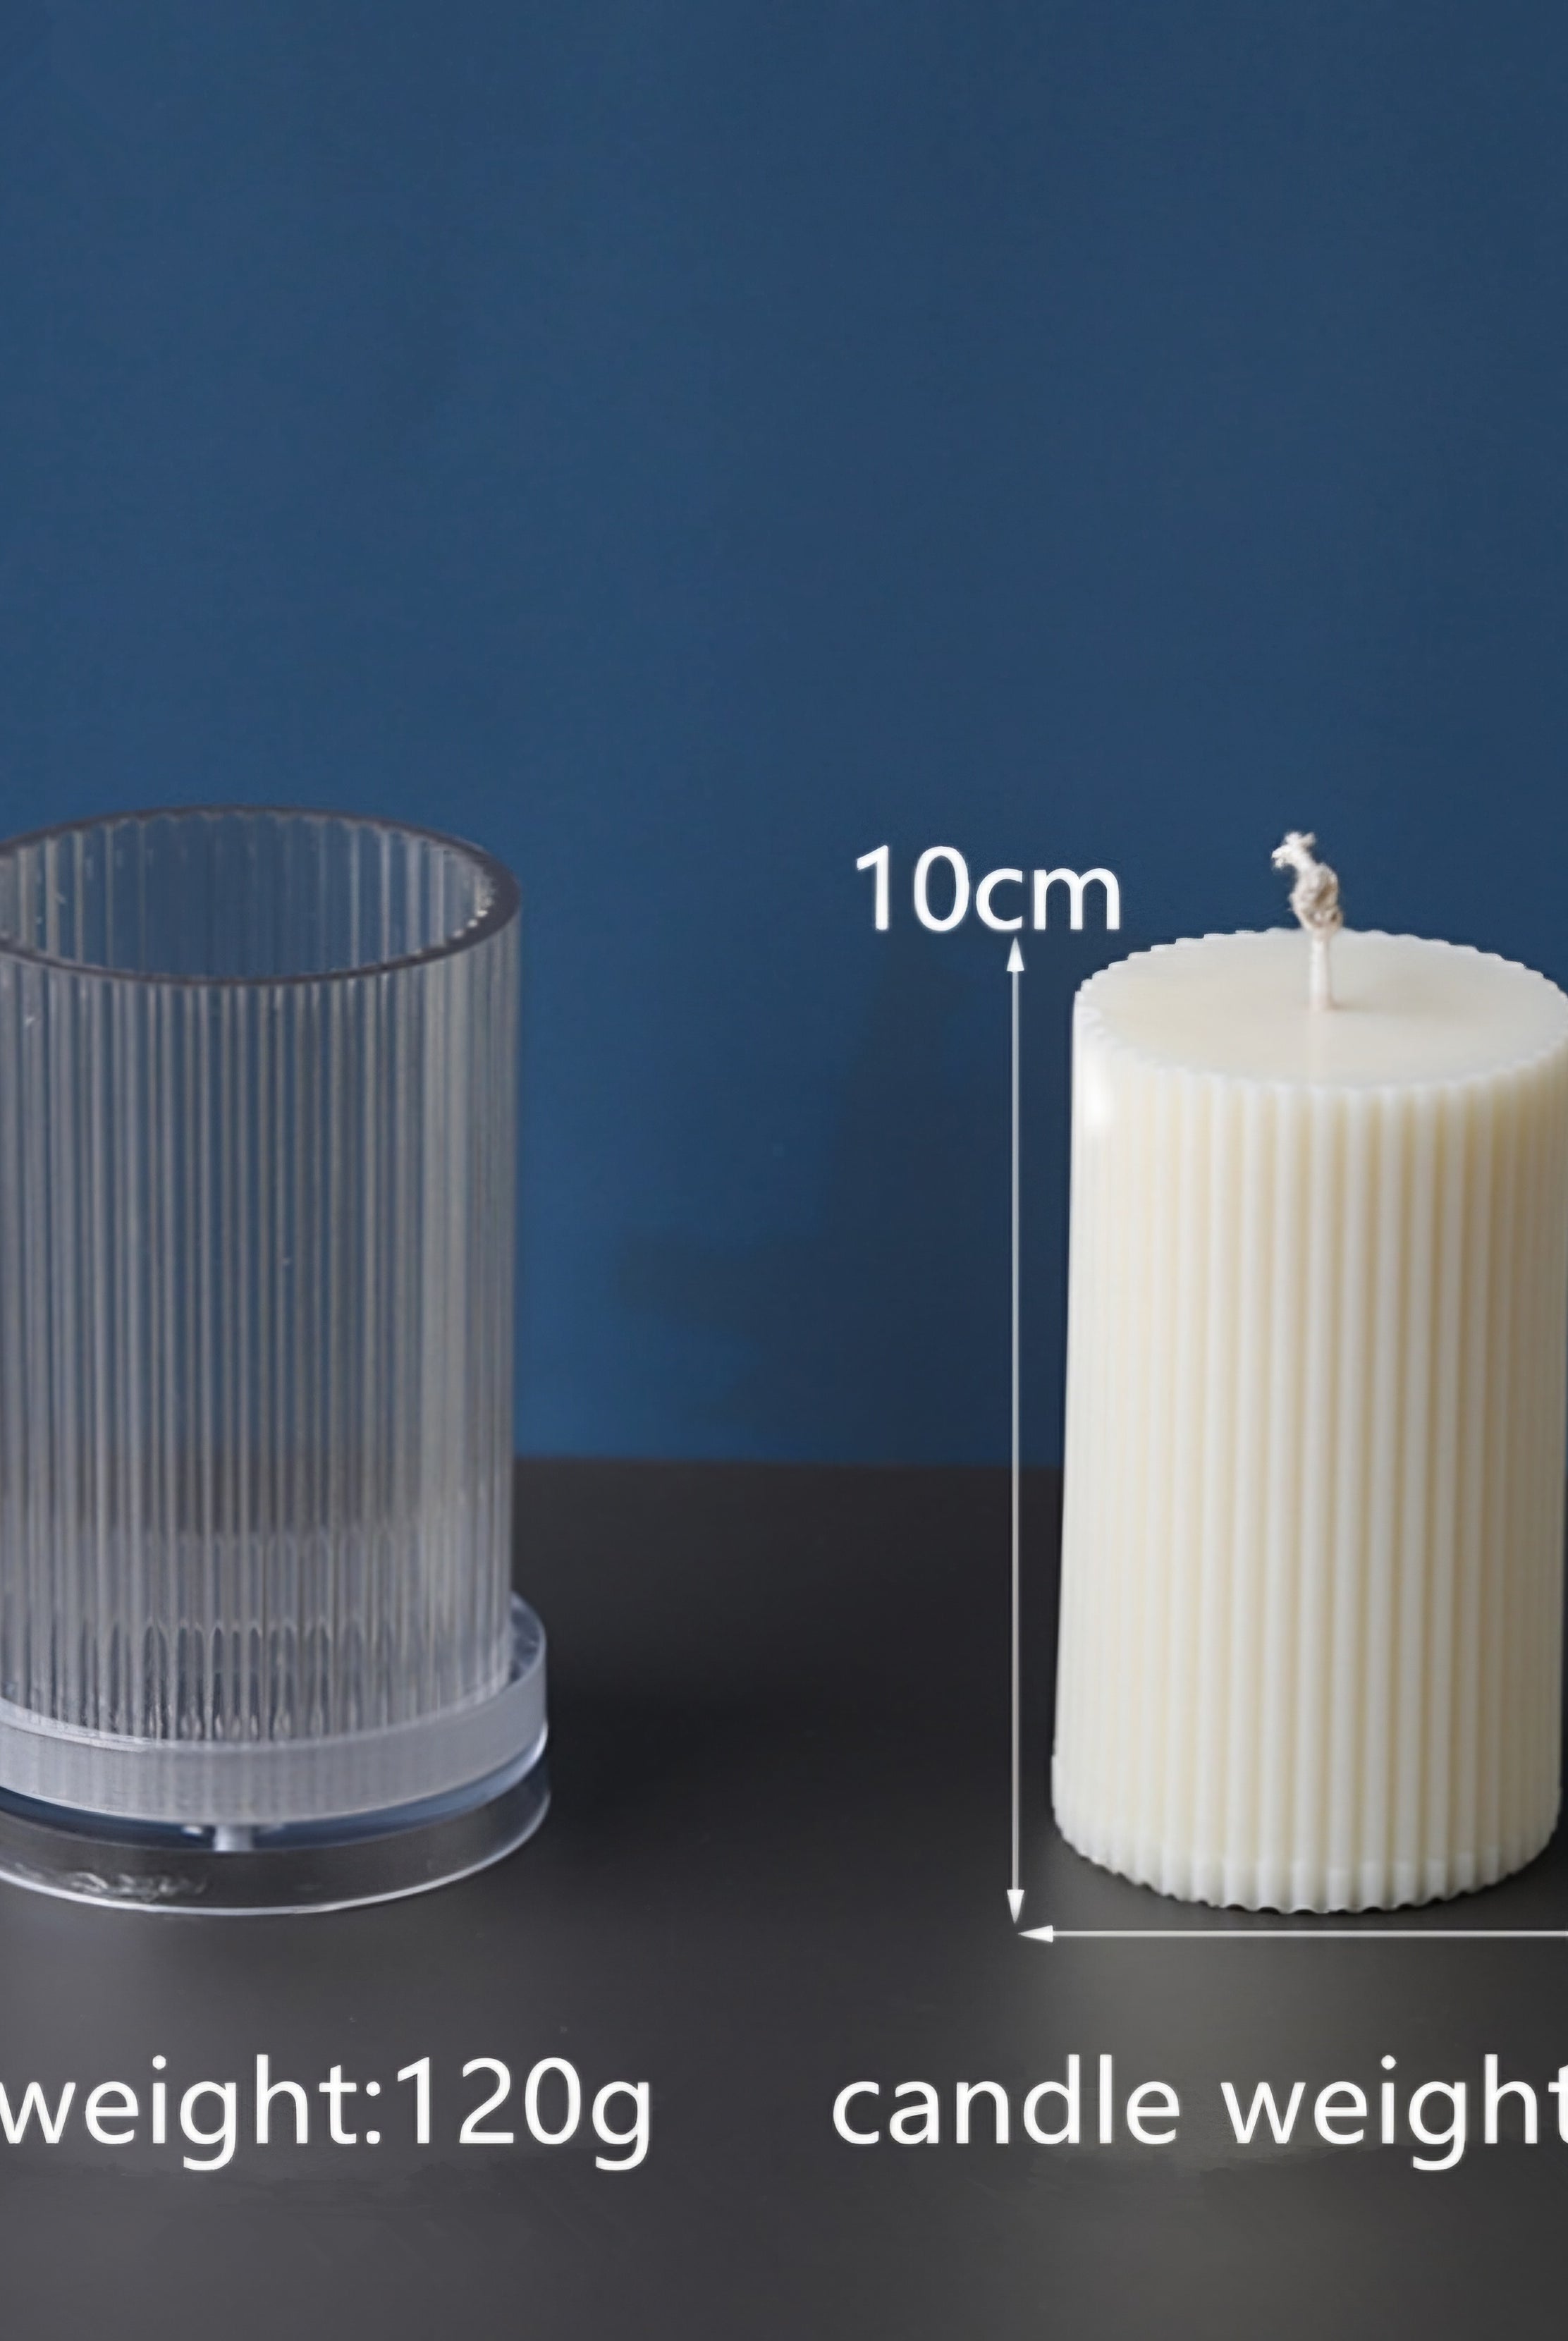
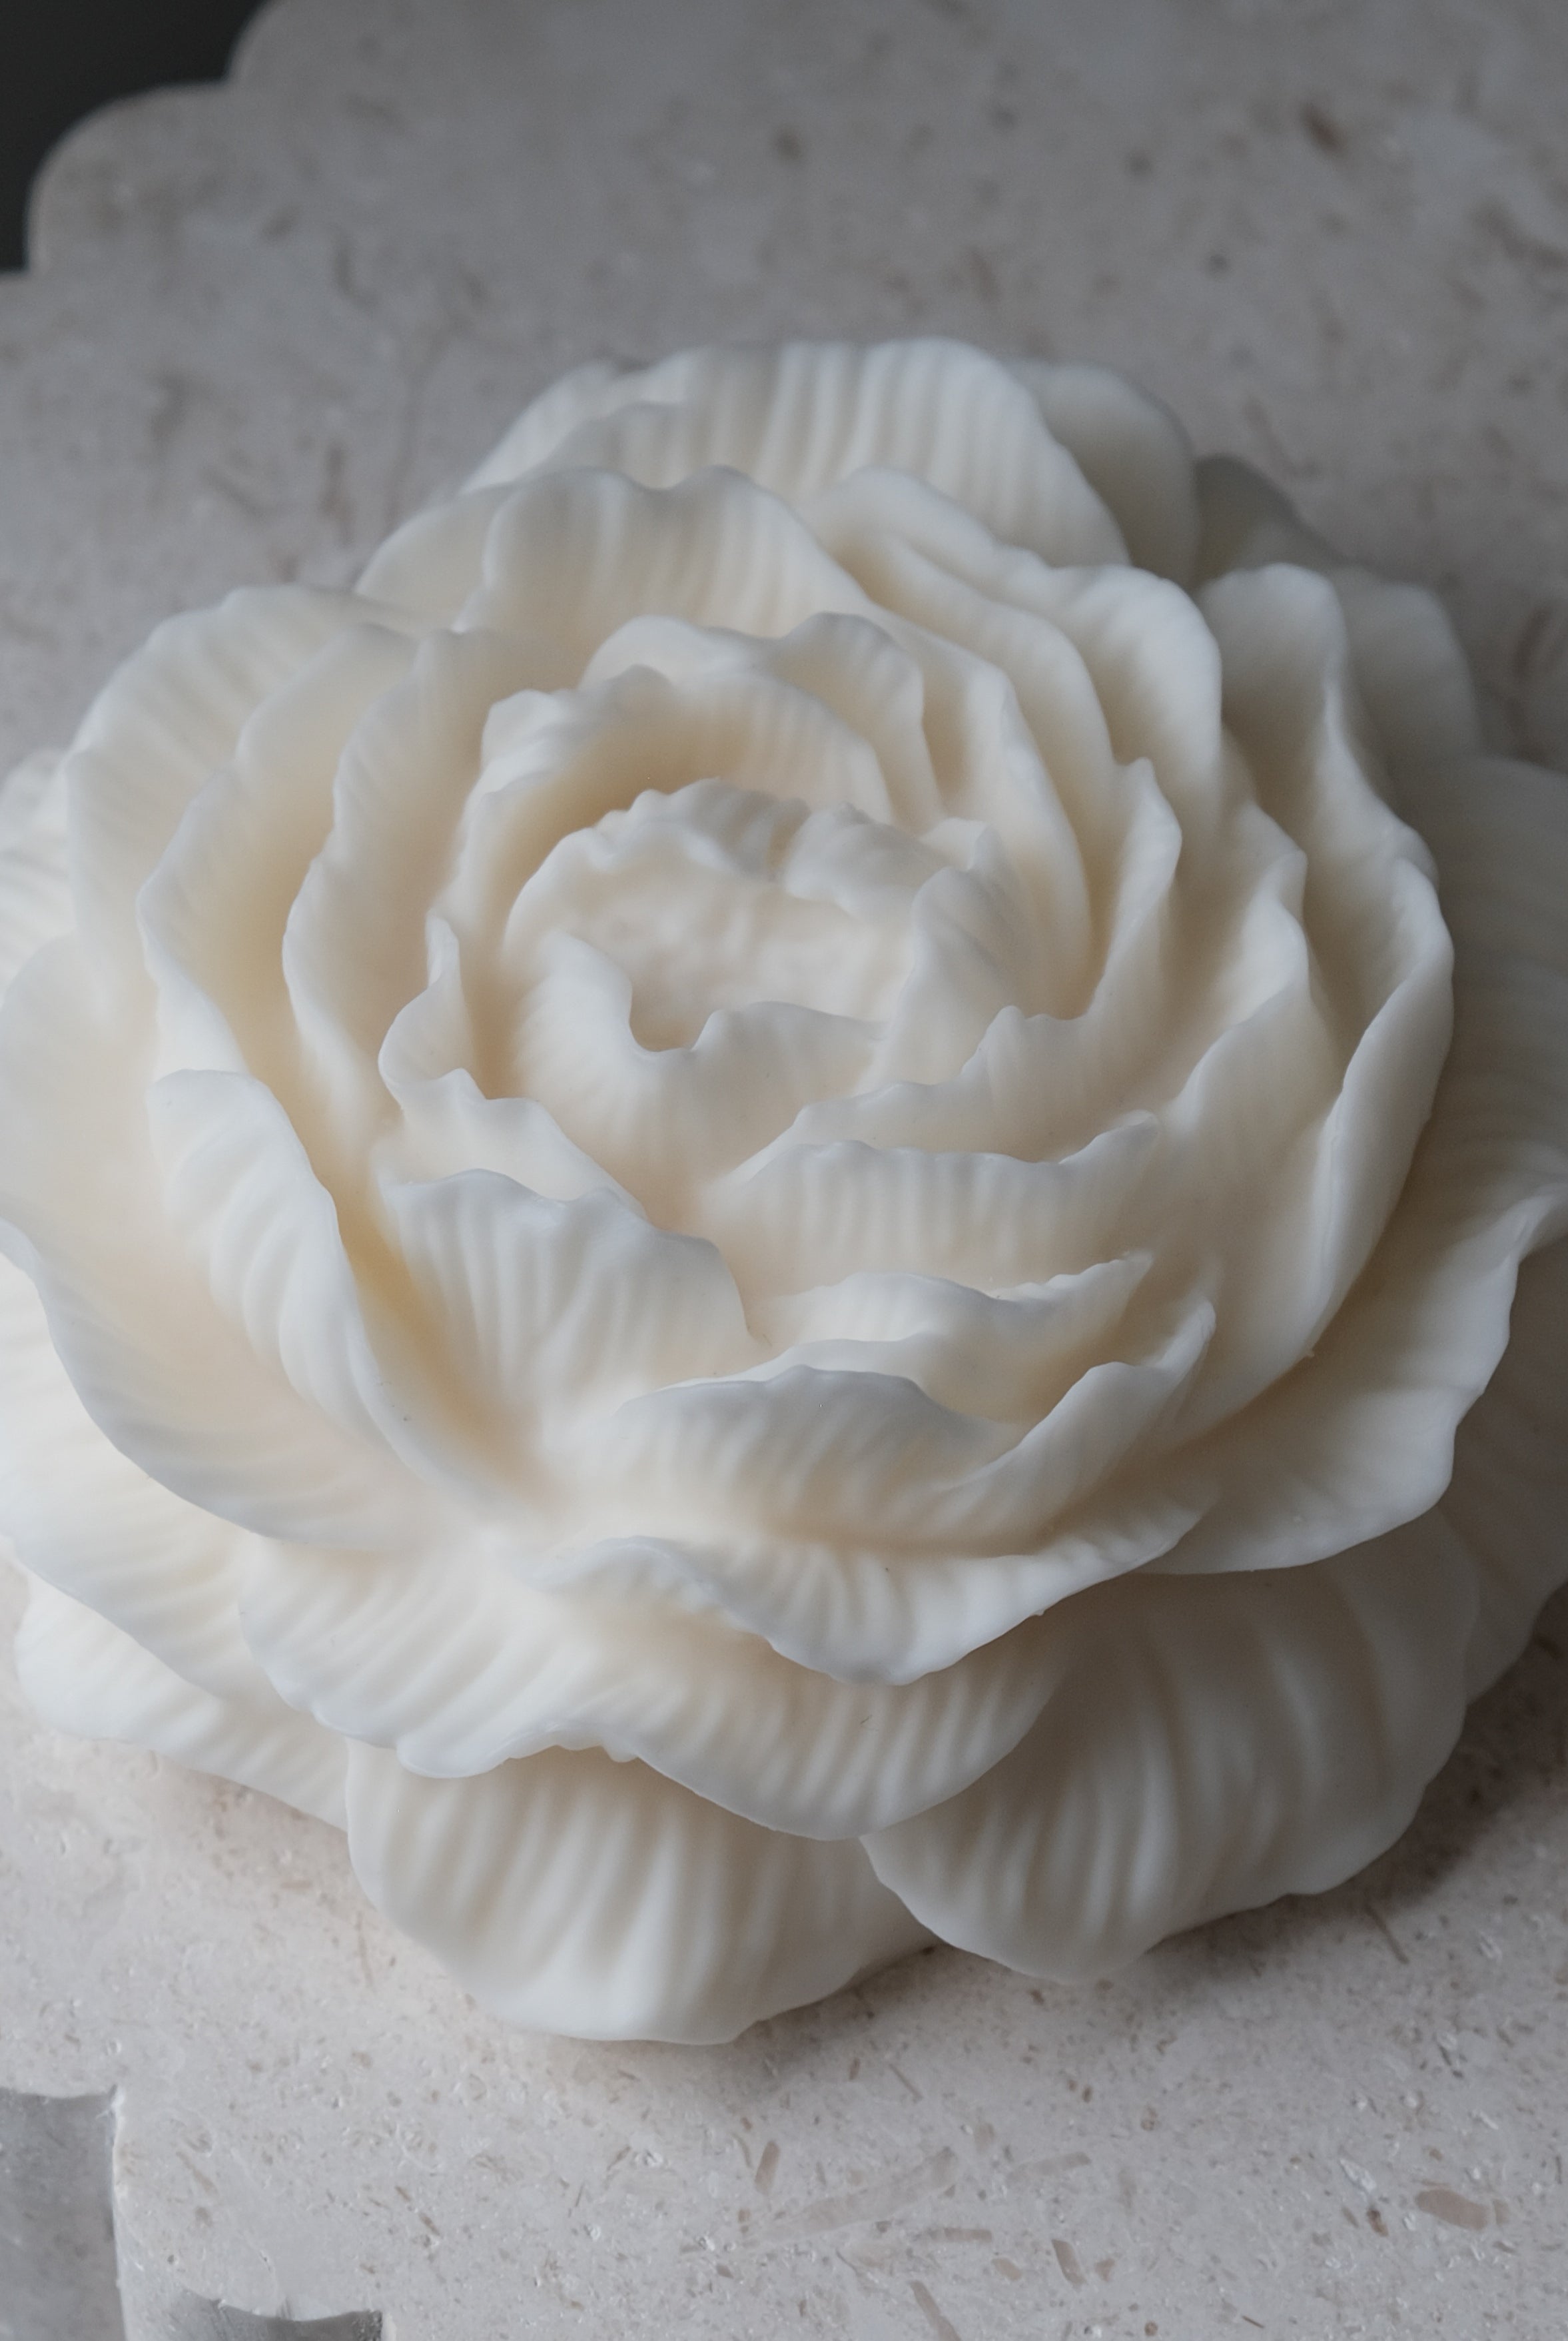
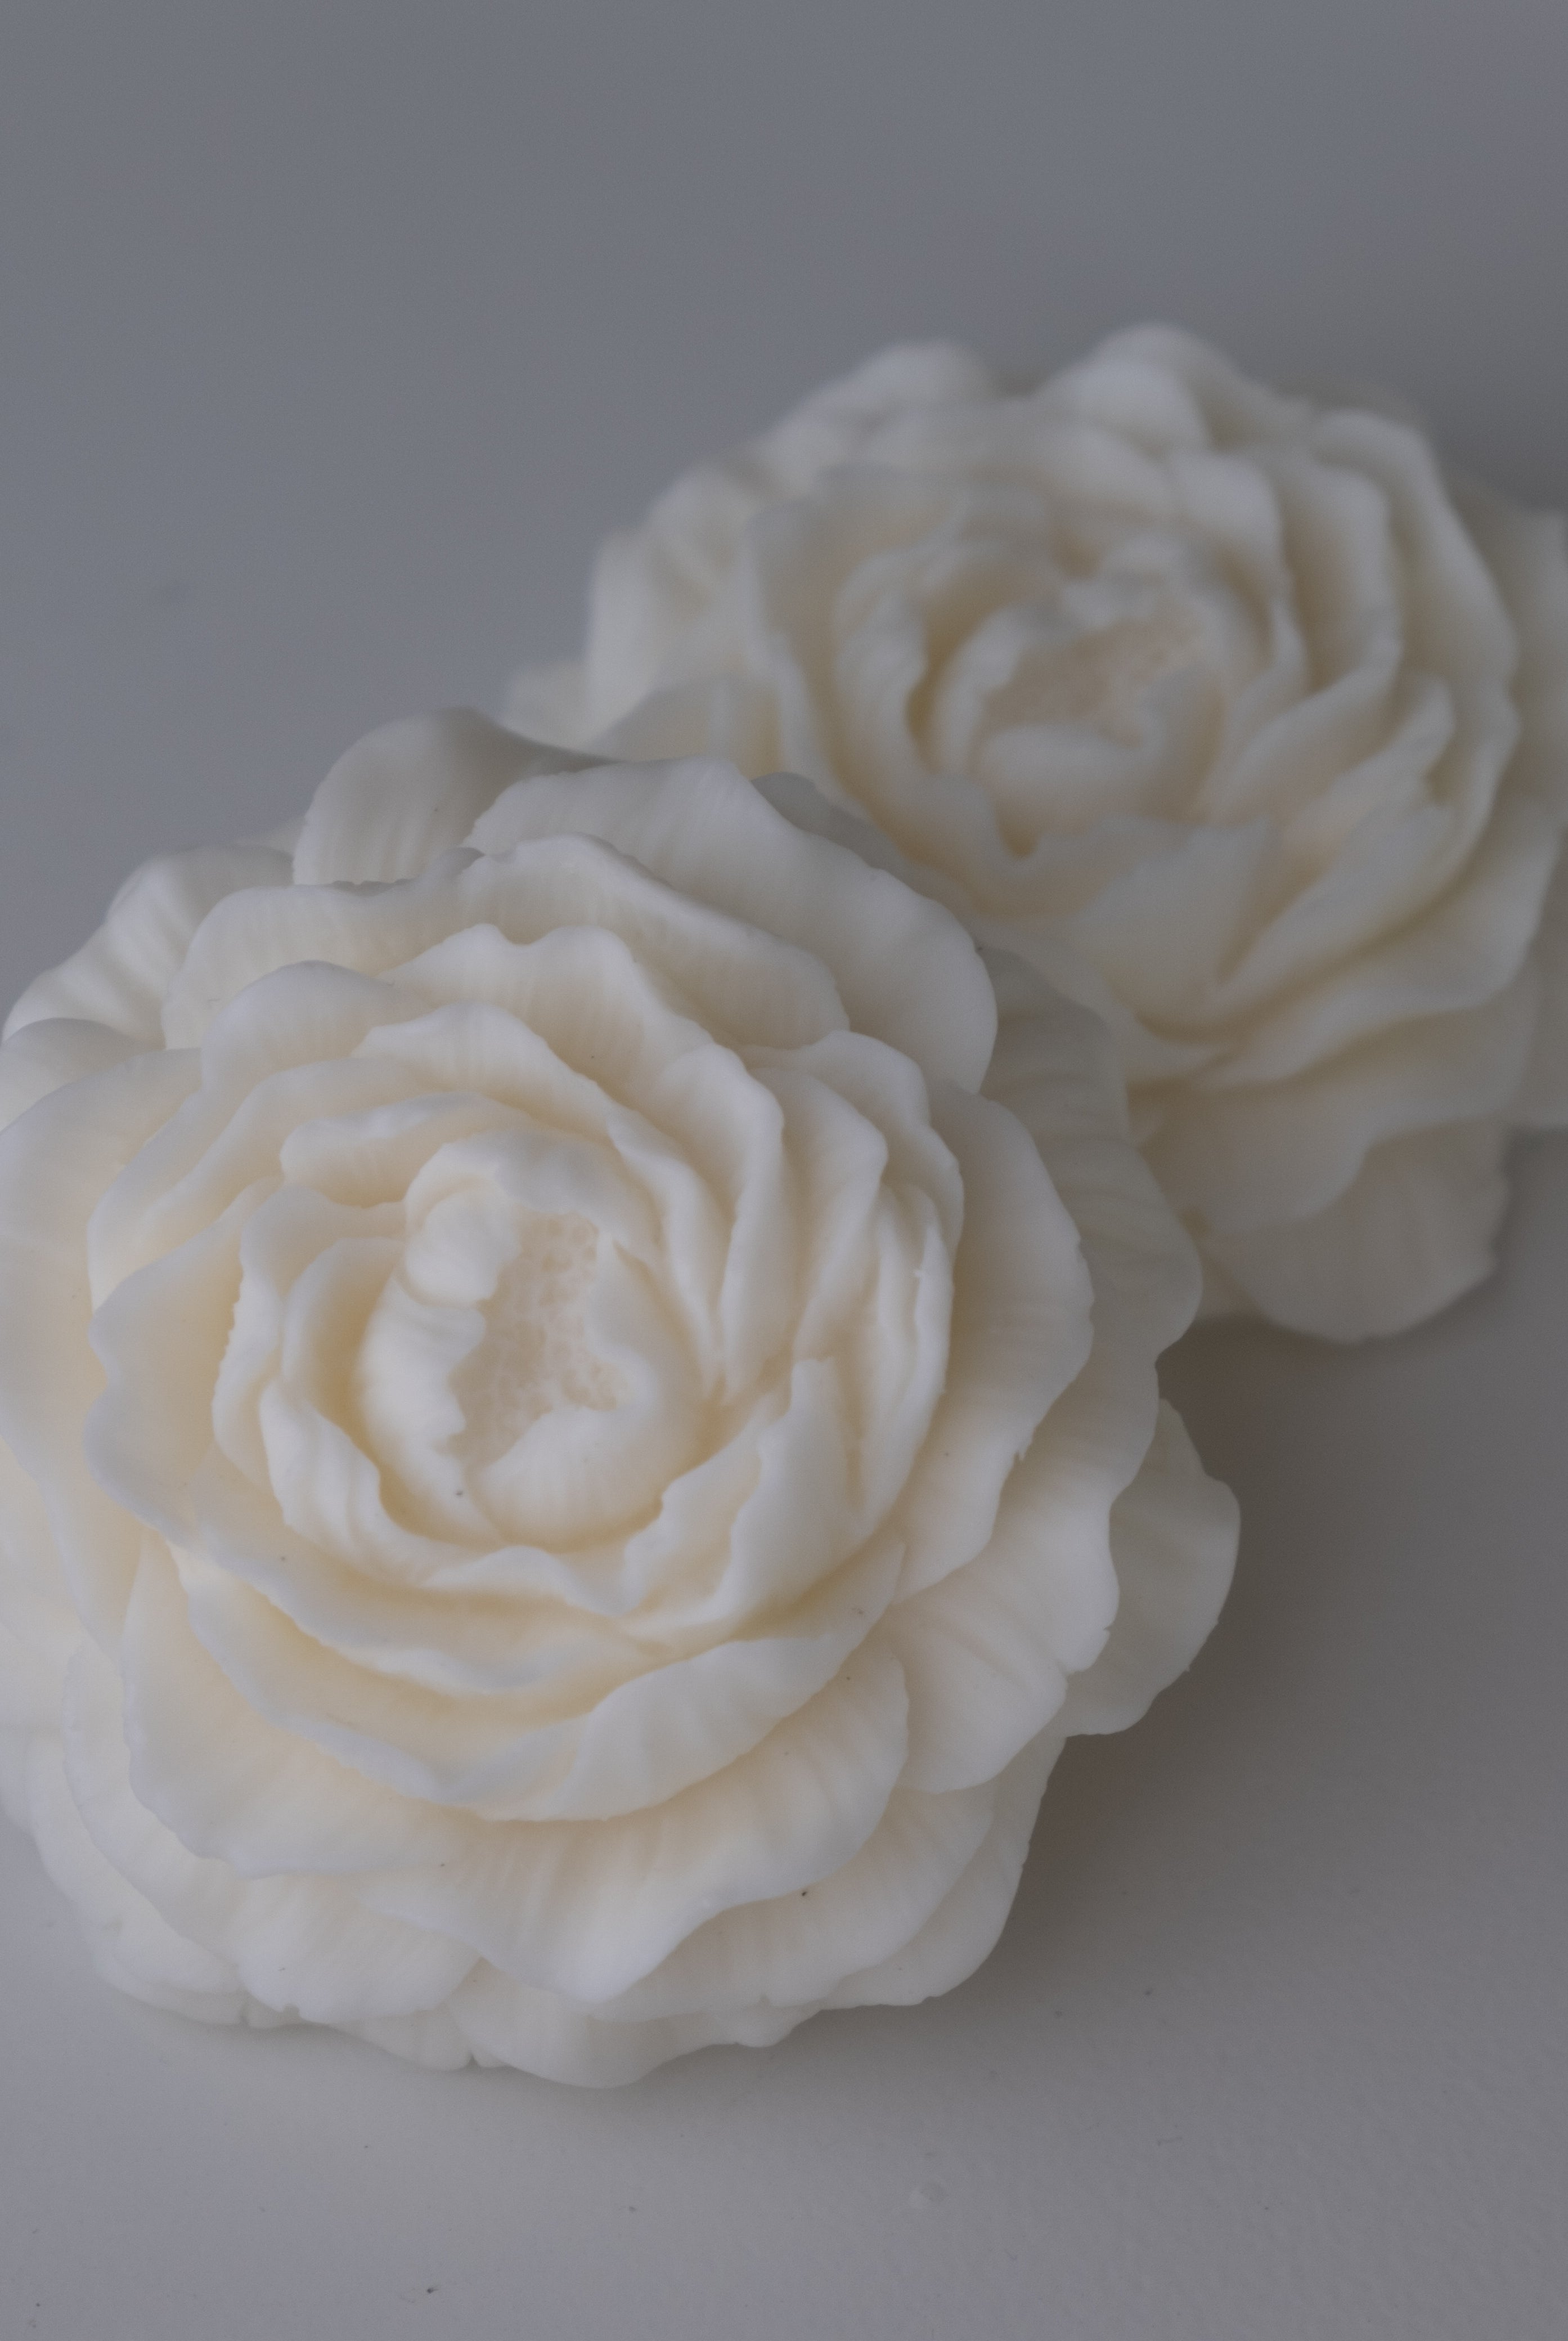
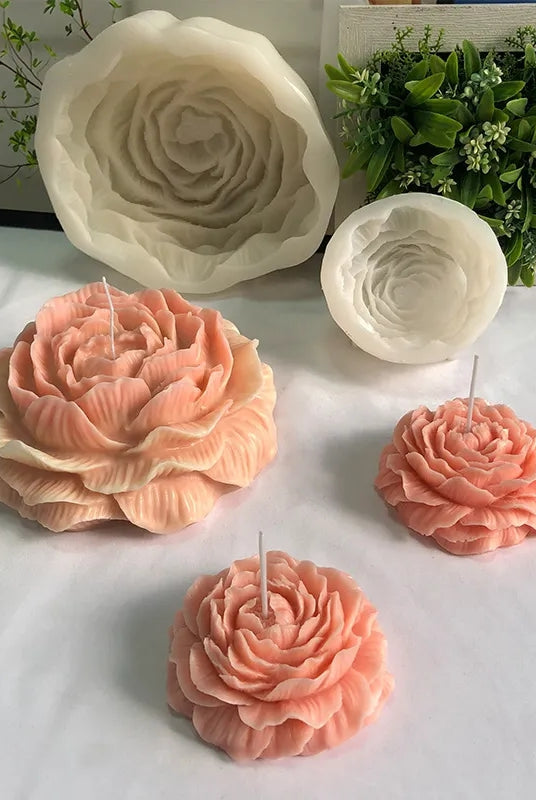
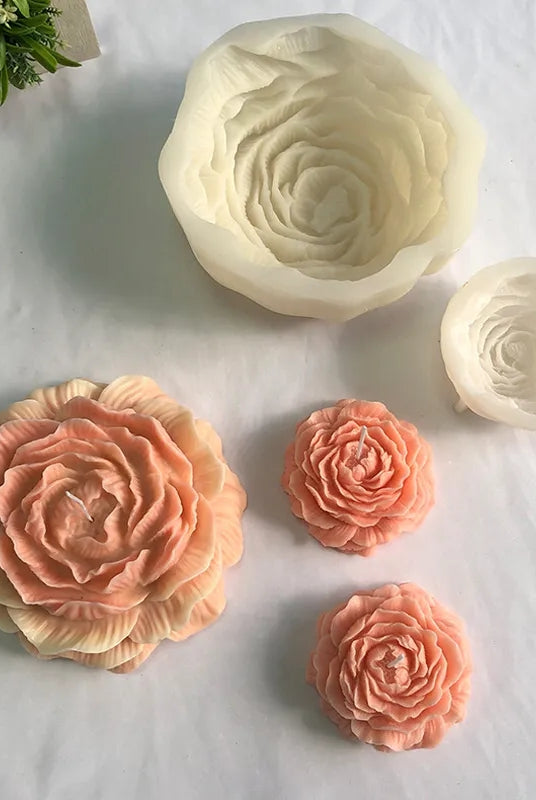
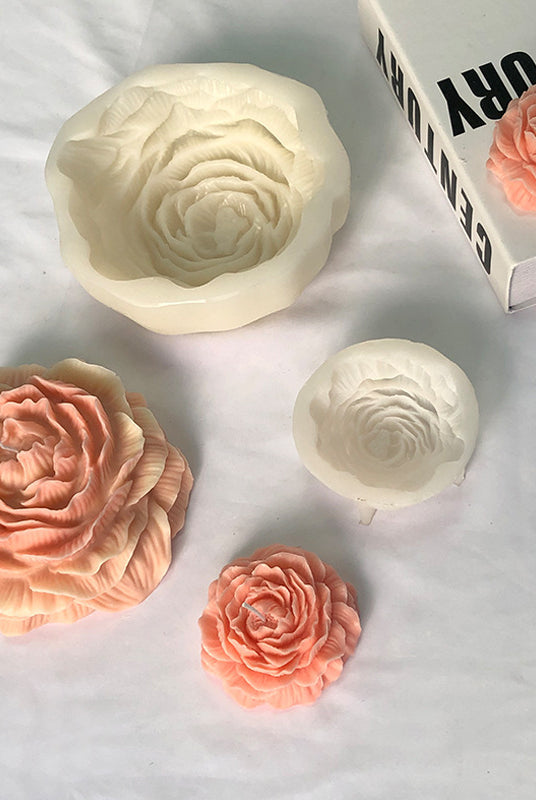
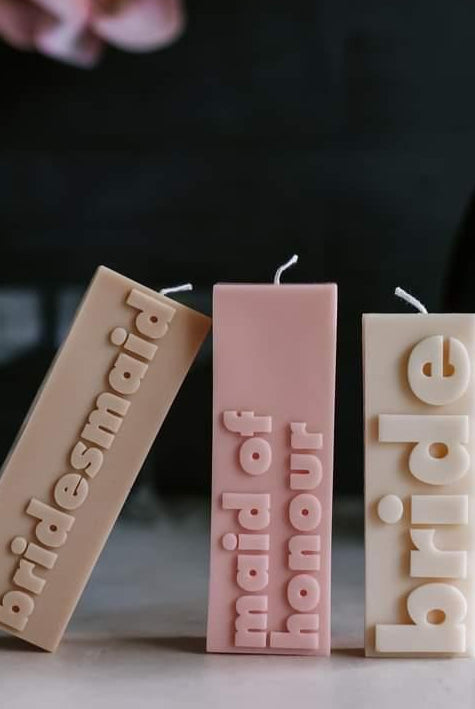
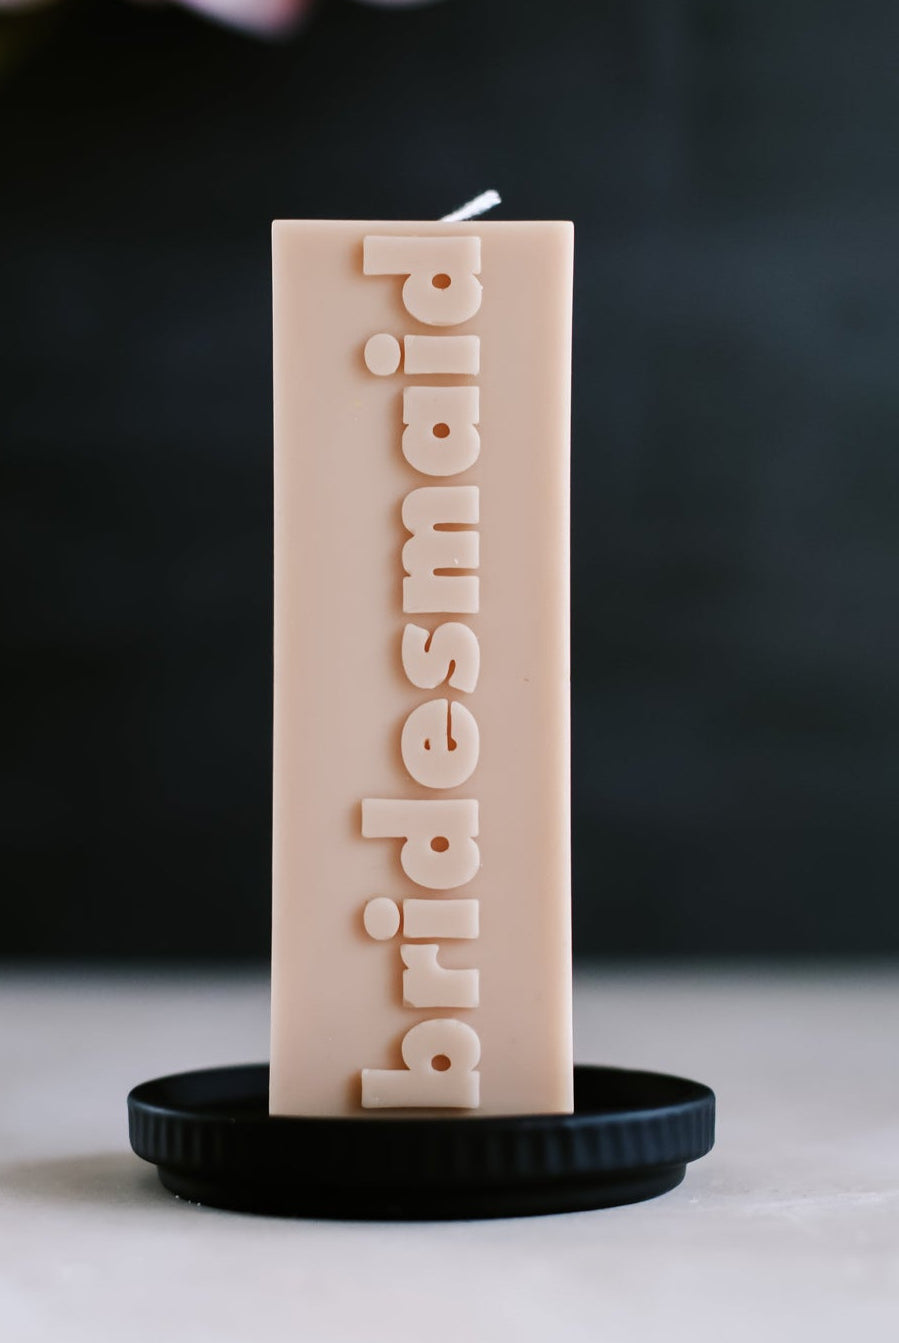
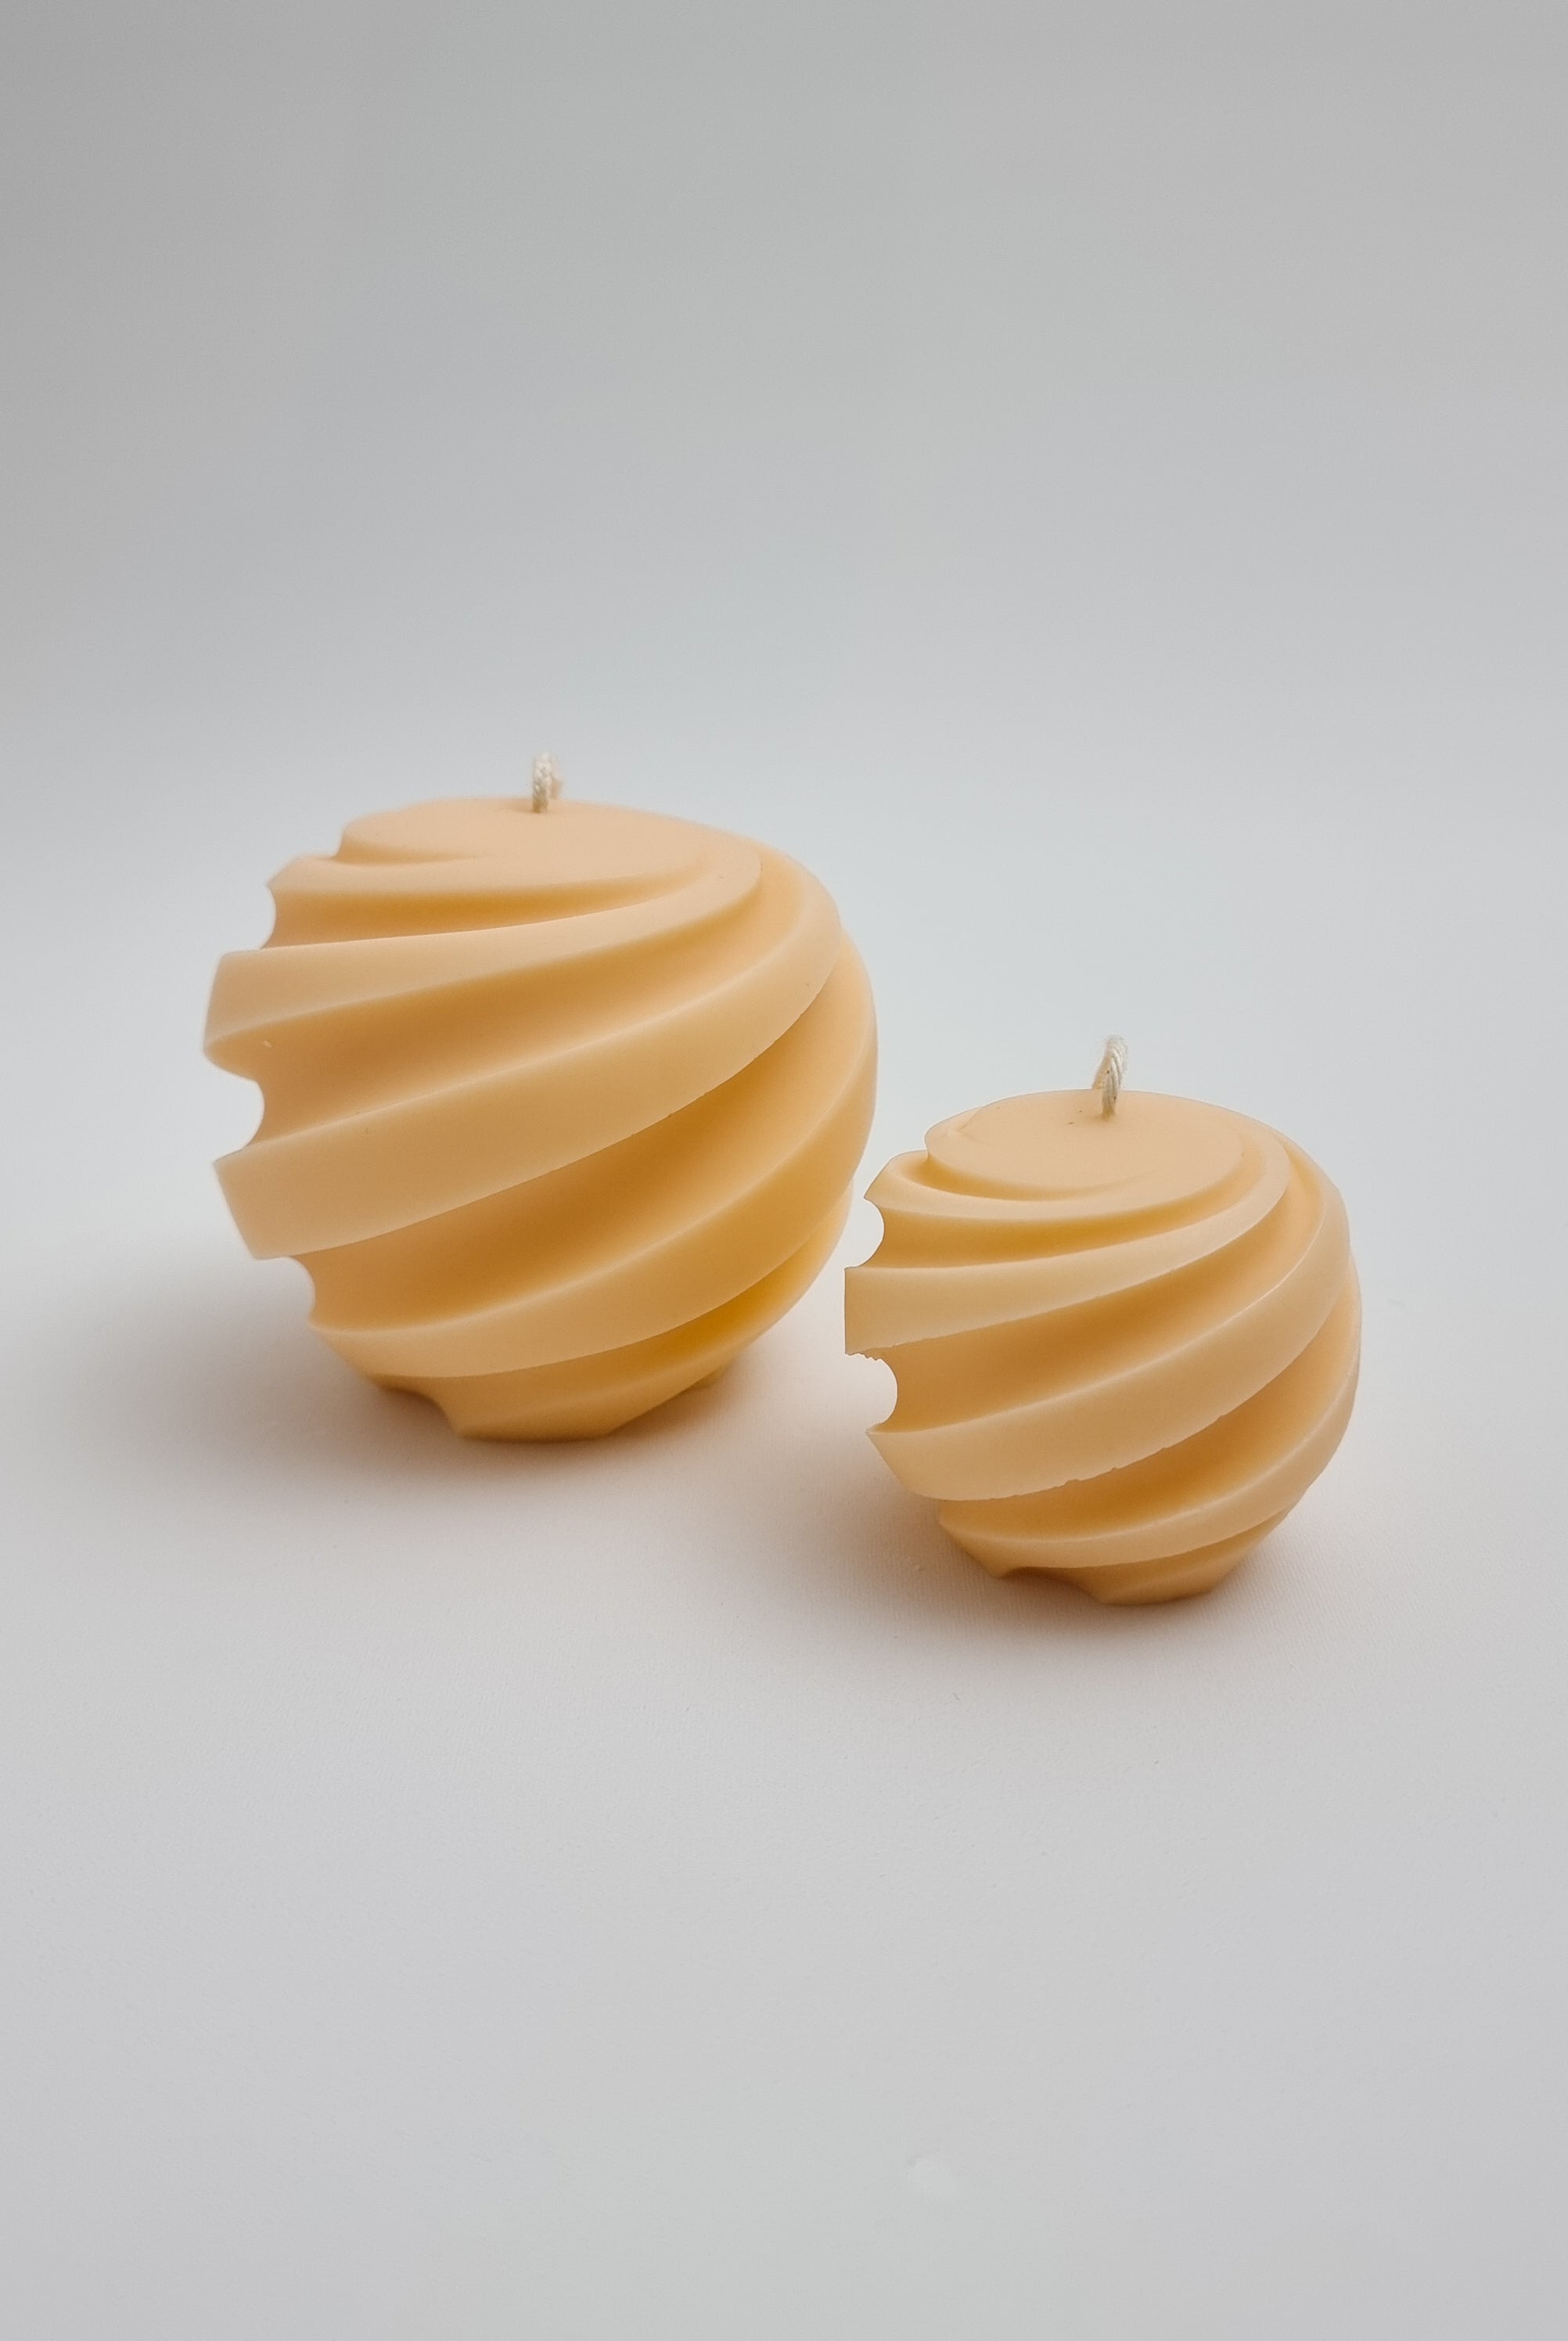
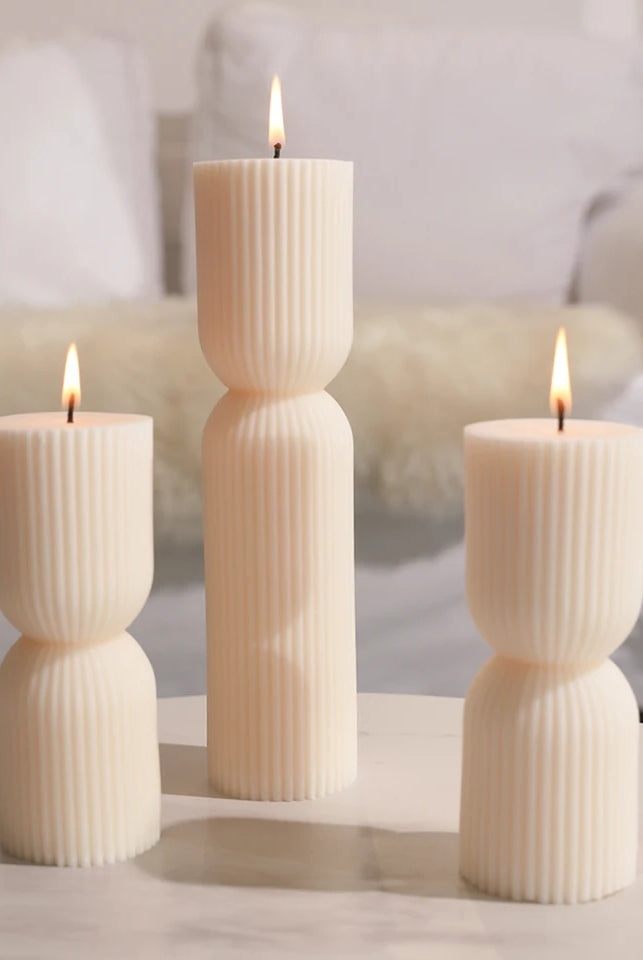
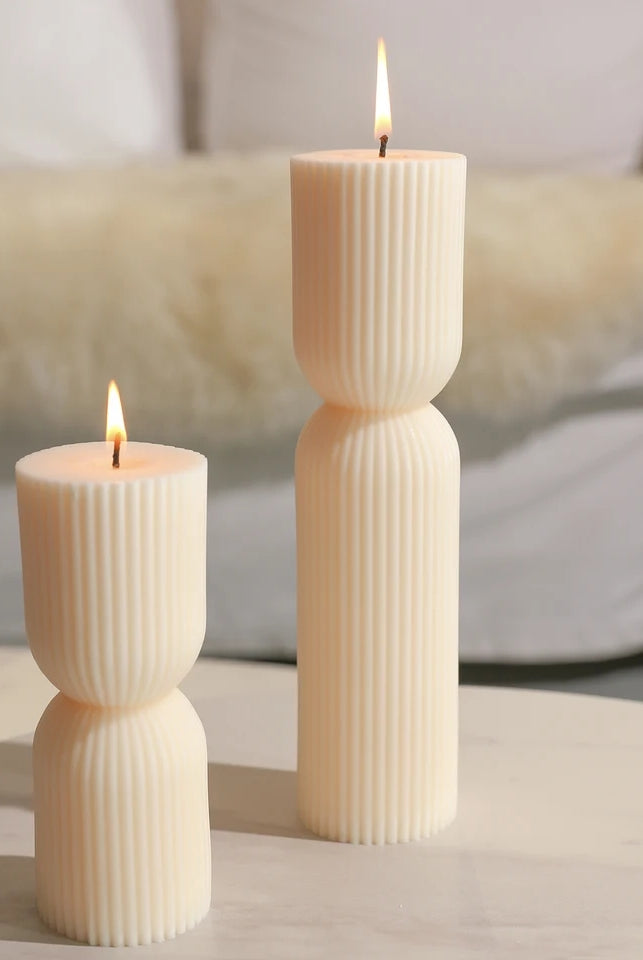
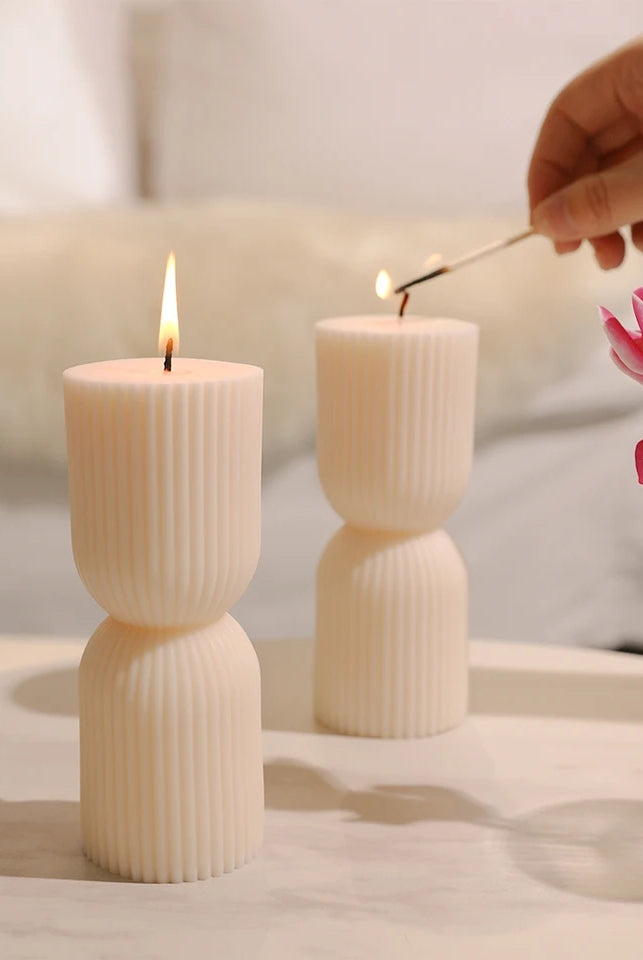
Unleash your creativity and experience the joy of candle making with our Beginner Pillar Candle Making Kit. This comprehensive kit includes everything you need to create four stunning pillar candles, each infused with the enticing aroma of your choice. The moulds and equipment can also be reused again and again to create more candles.
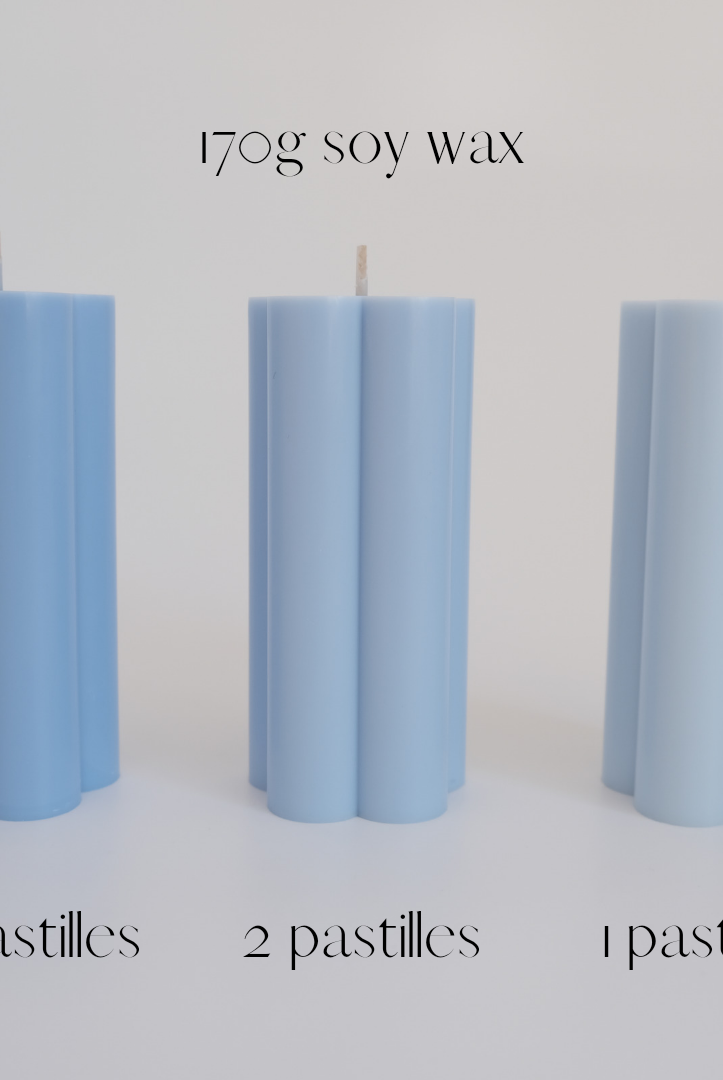
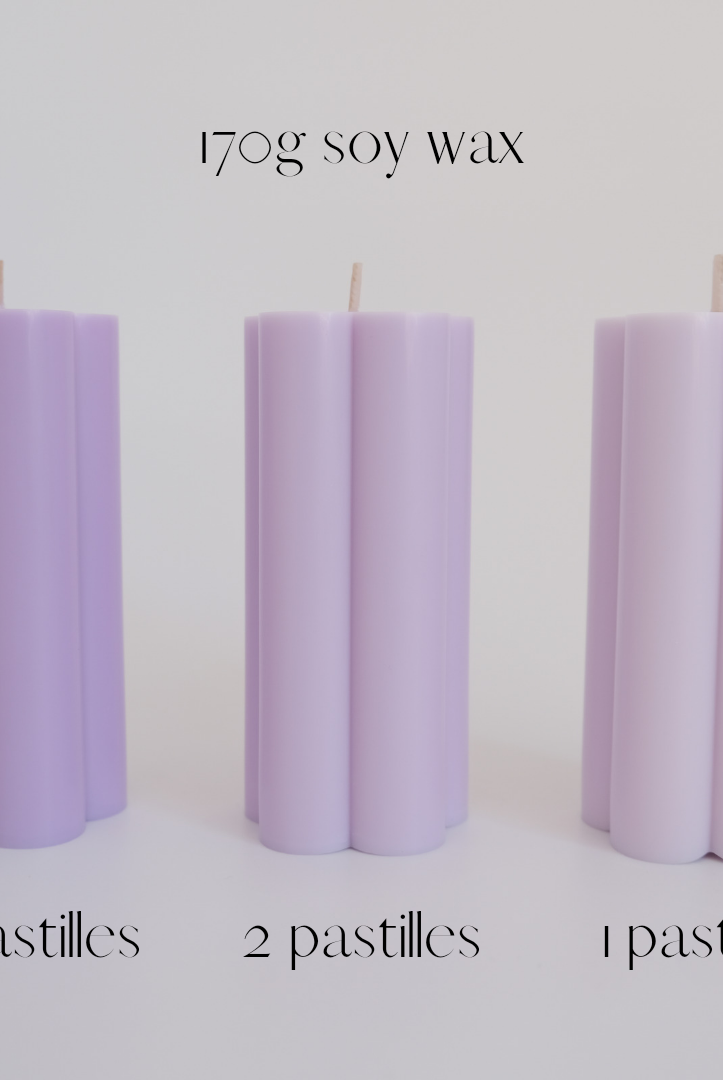
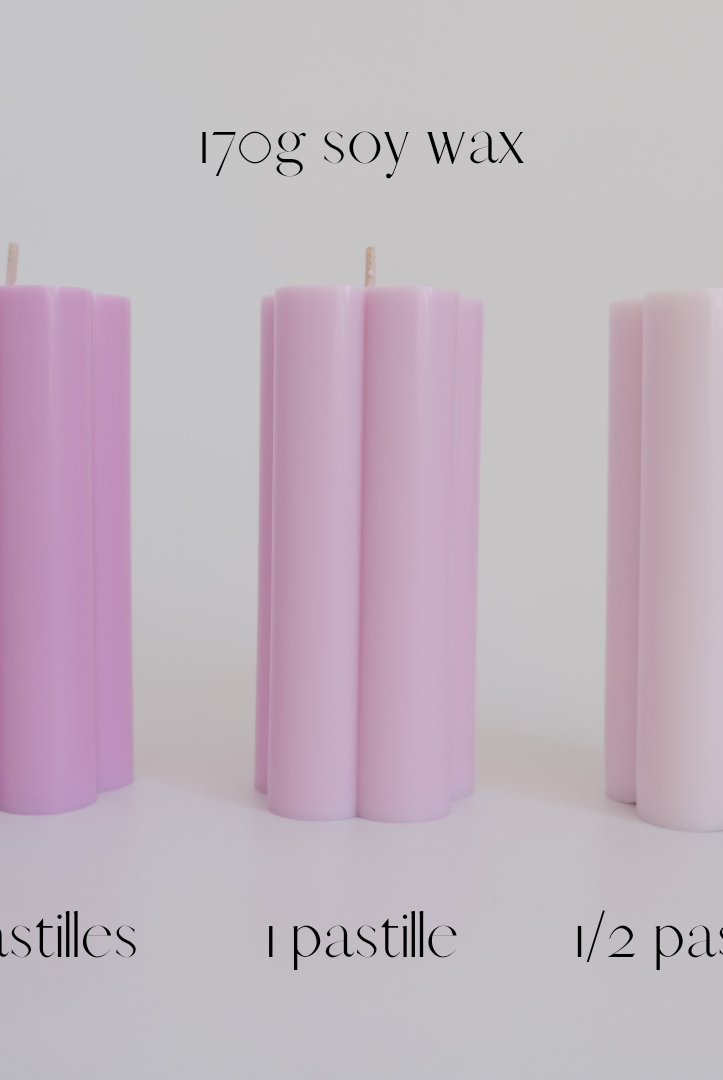
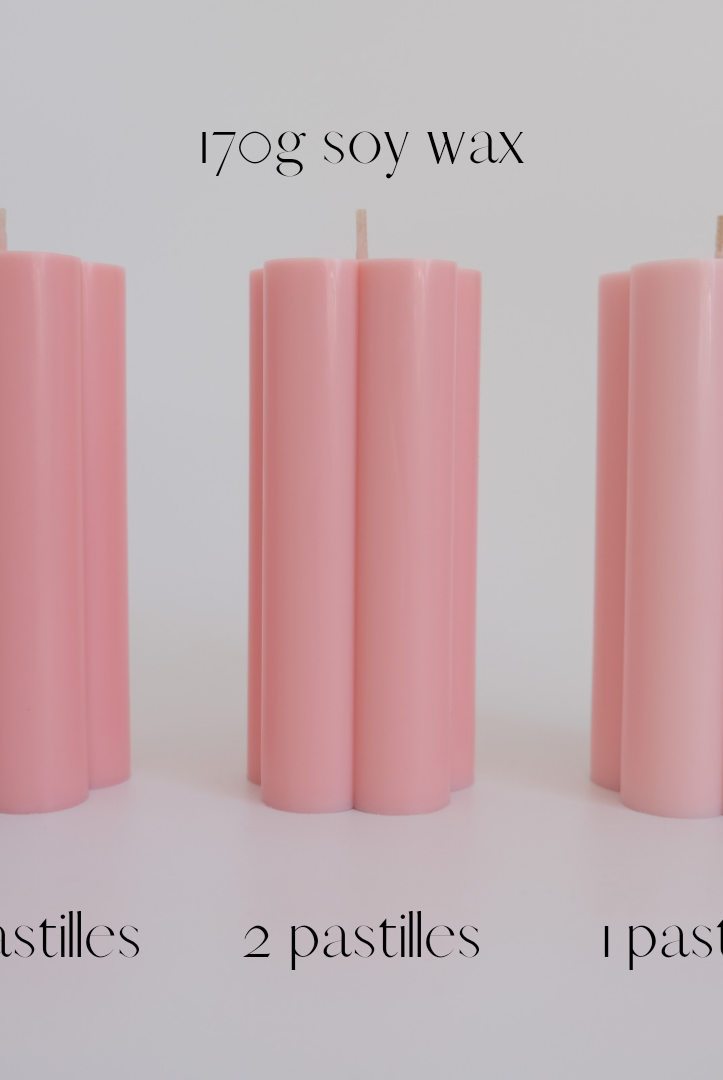
Designed for beginners, this kit provides the versatility to craft two candles simultaneously, resulting in a total of four candles, all infused with the fragrance and colour of your choosing. We include a single colour dye chip, giving you the option to craft two uncoloured candles and two coloured candles. One dye chip is sufficient to add a touch of pretty pastel shade to two candles. For optimal results, we recommend starting with the white candles first. This allows you to familiarize yourself with the candle-making process before adding colour to create beautifully hued candles.
Follow our step-by-step instructions to effortlessly craft your candles, from setting up the silicone moulds to pouring the wax and adding the perfect fragrance. The result? Four exquisite candles that bring a touch of warmth and tranquillity to any space.
This kit ensures a seamless candle-making experience, providing the perfect opportunity for newbies to immerse themselves in the therapeutic art of candle making. Elevate your home décor or gift these handcrafted candles to loved ones – the possibilities are as endless as your imagination. Light up your world with our Beginner Pillar Candle Making Kit and savour the satisfaction of creating your own blissful moments.
Please note: to reduce our environmental footprint, we've opted for online-only instructions.
Kit includes:
- 1 x Long metal mixing spoon
- 1 x Long wicking needle
- 1 x 500g Myka soy pillar wax (divided into two 250g bags)
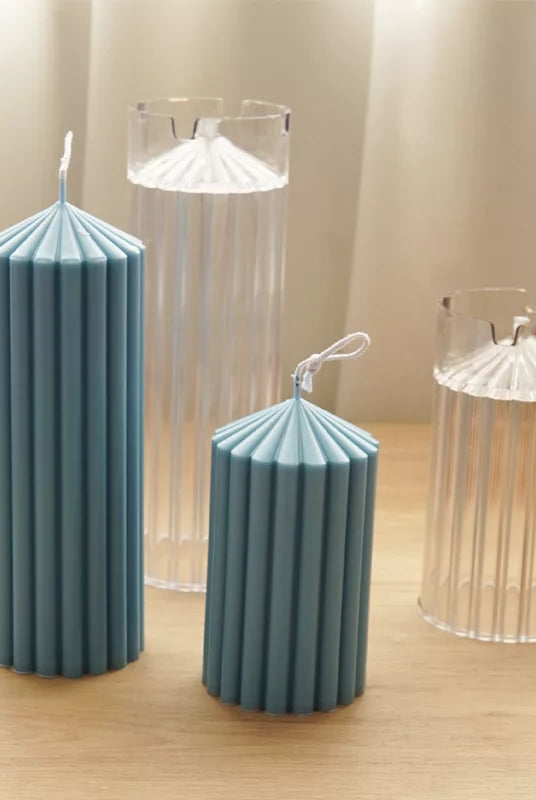
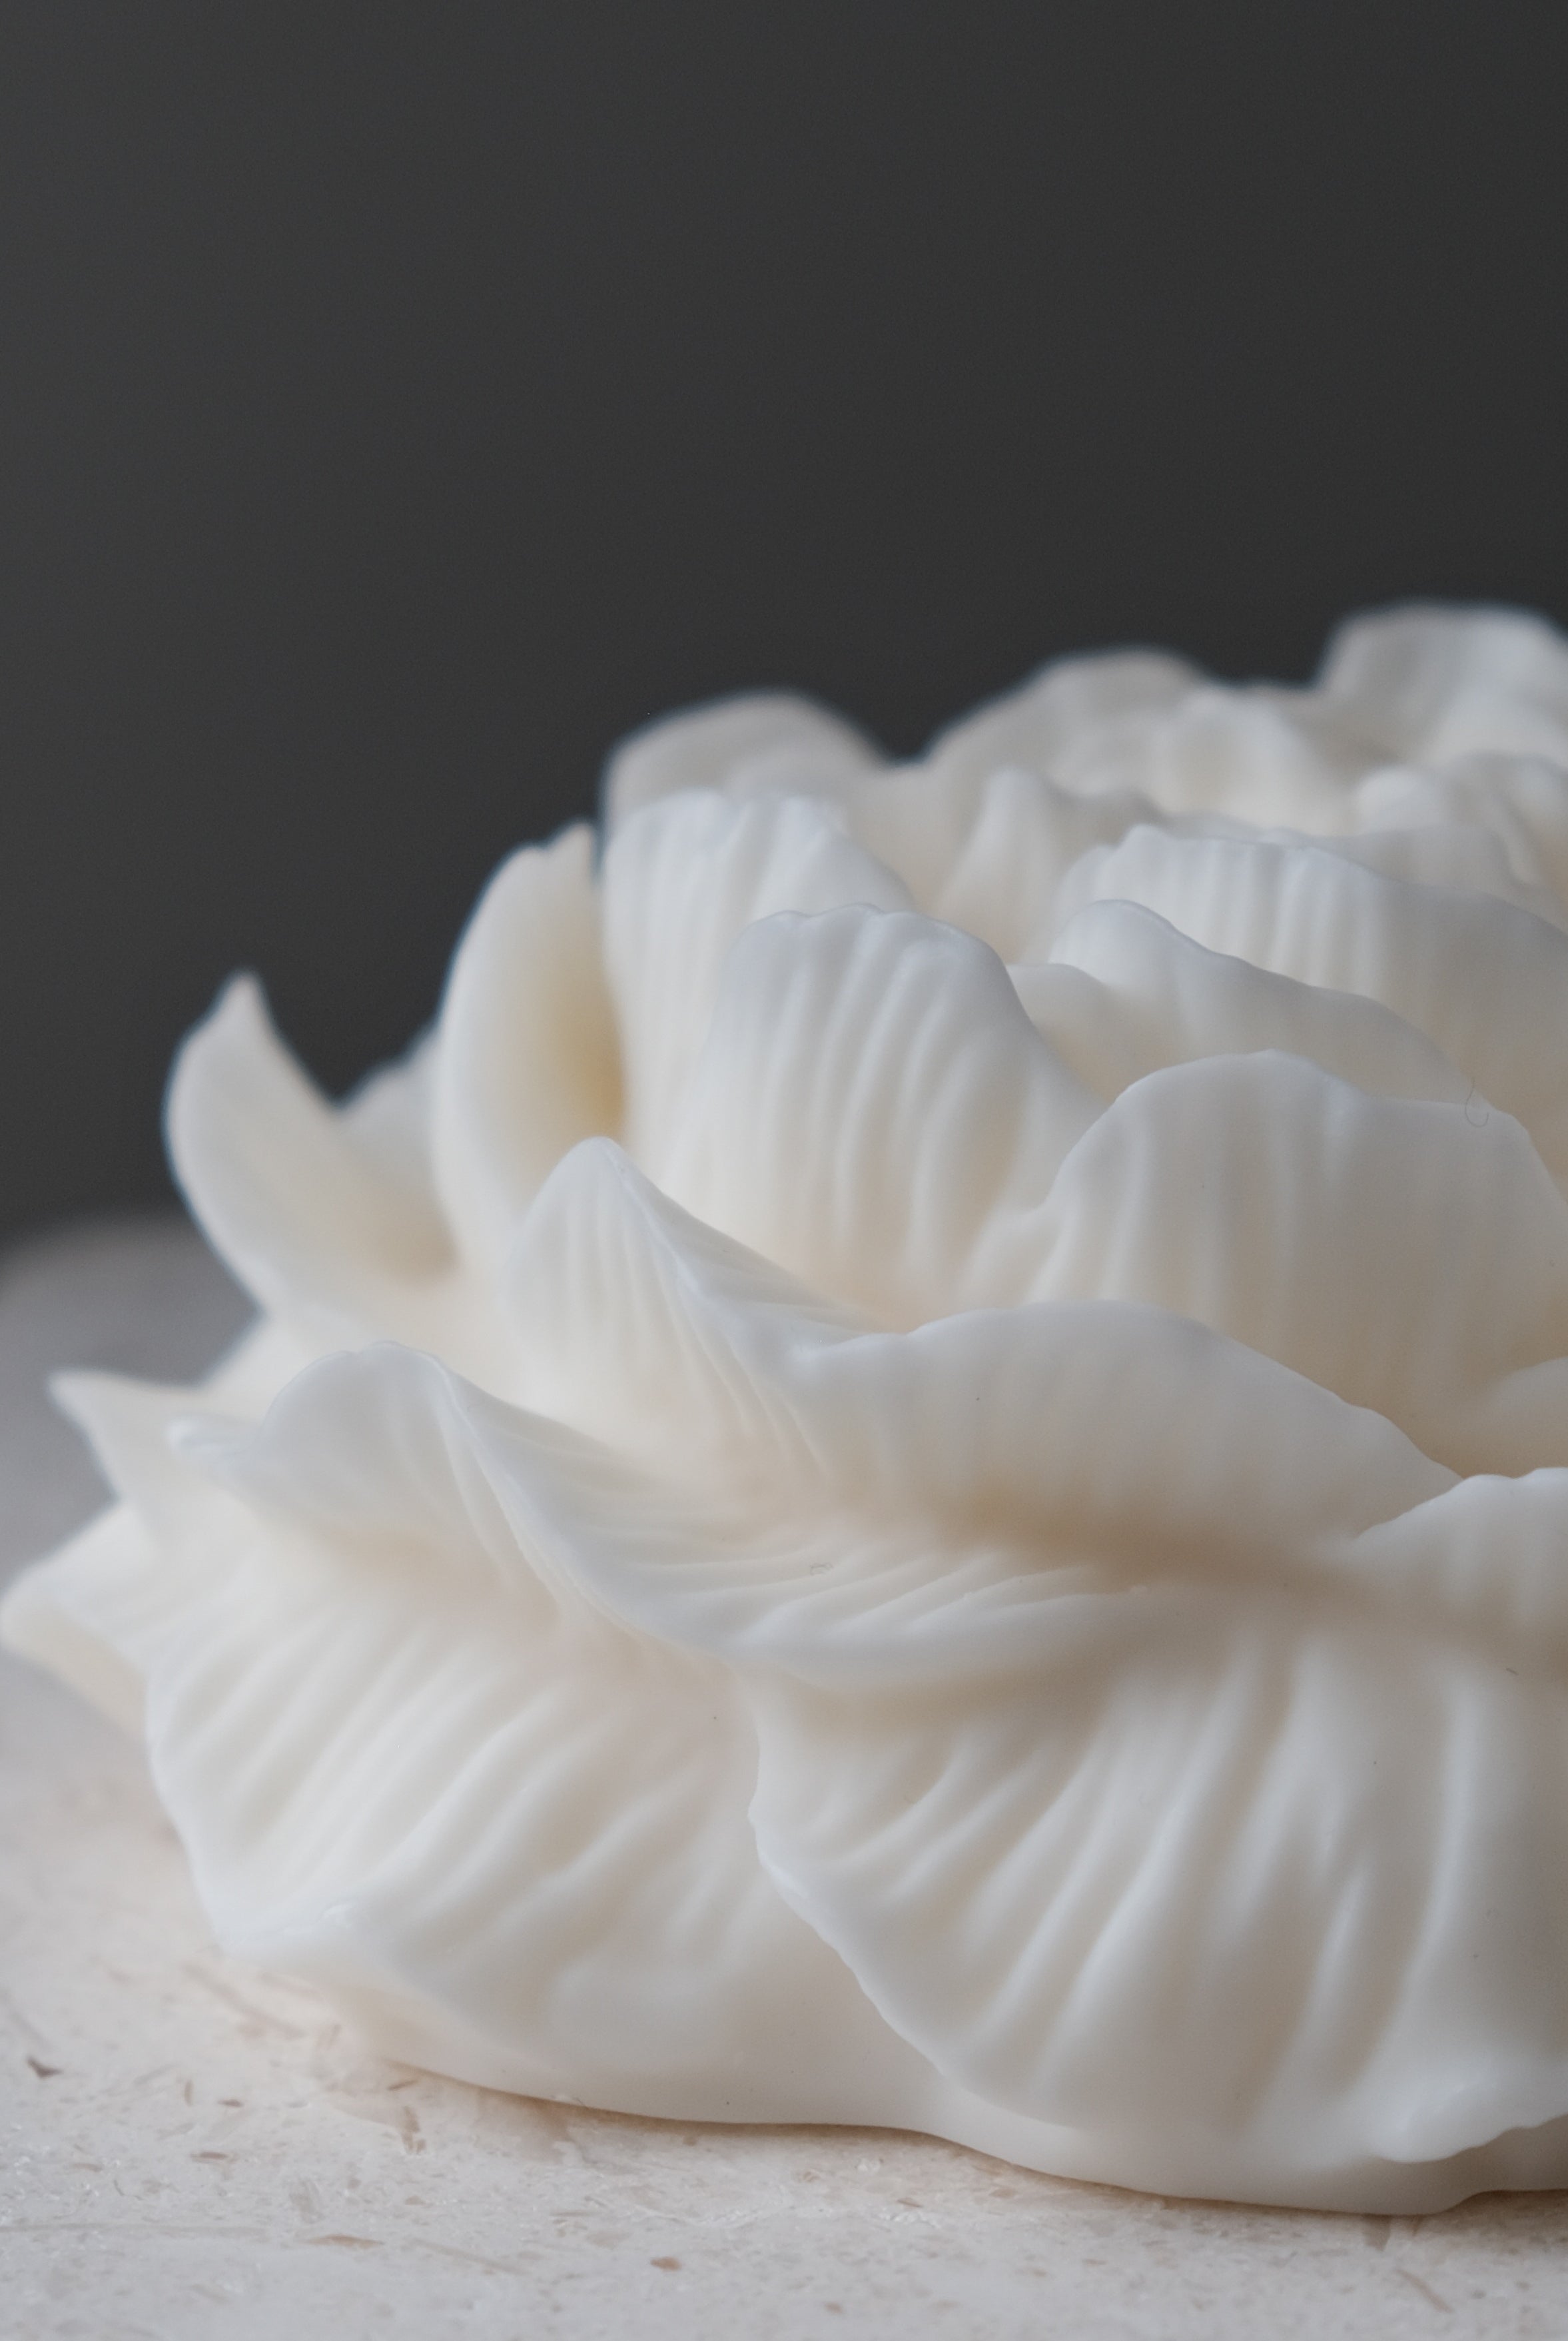
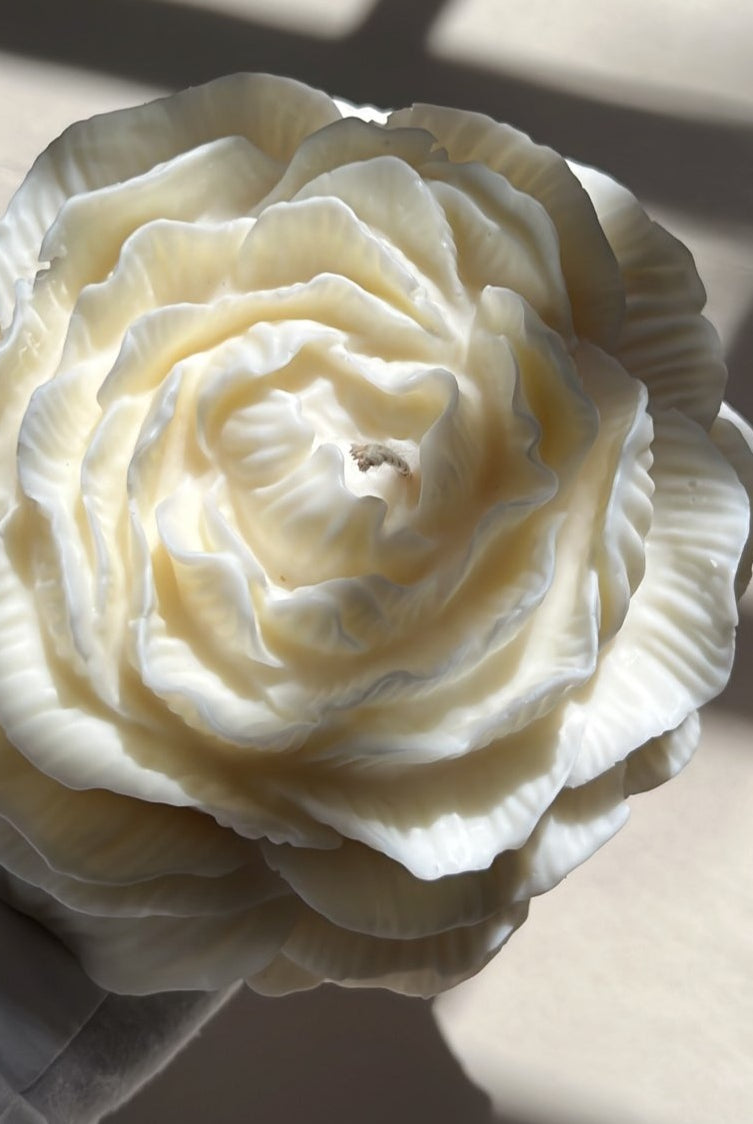
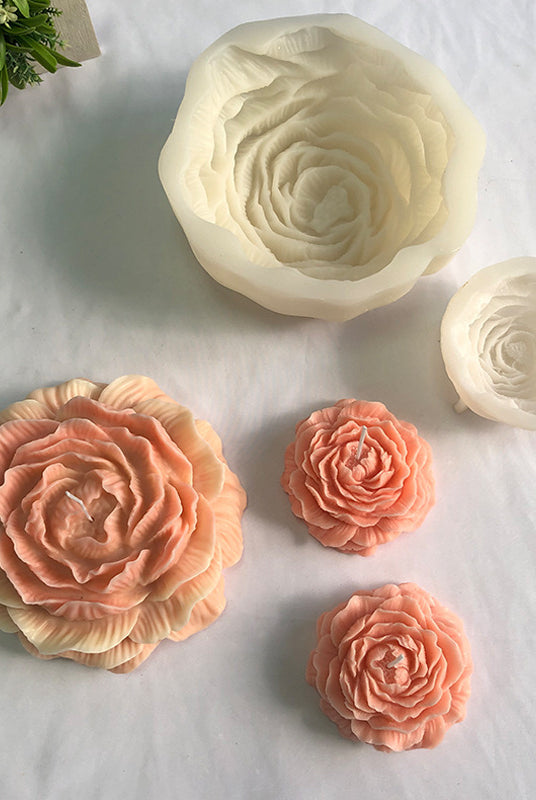
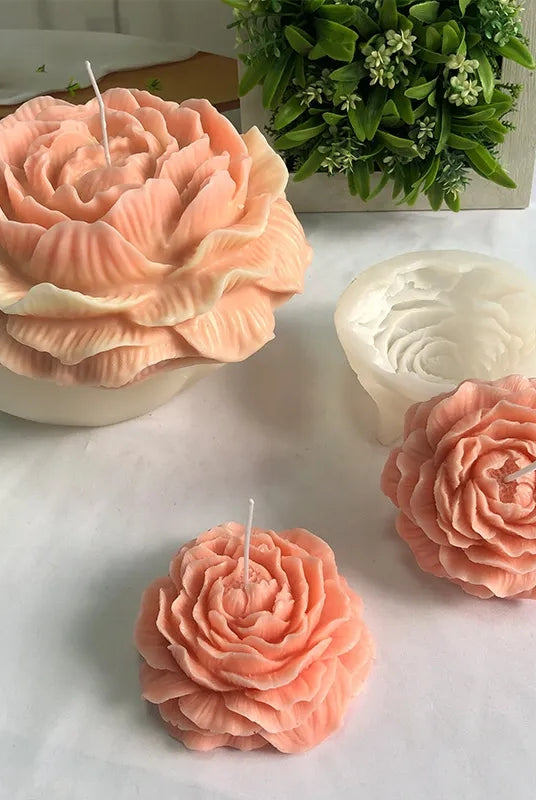
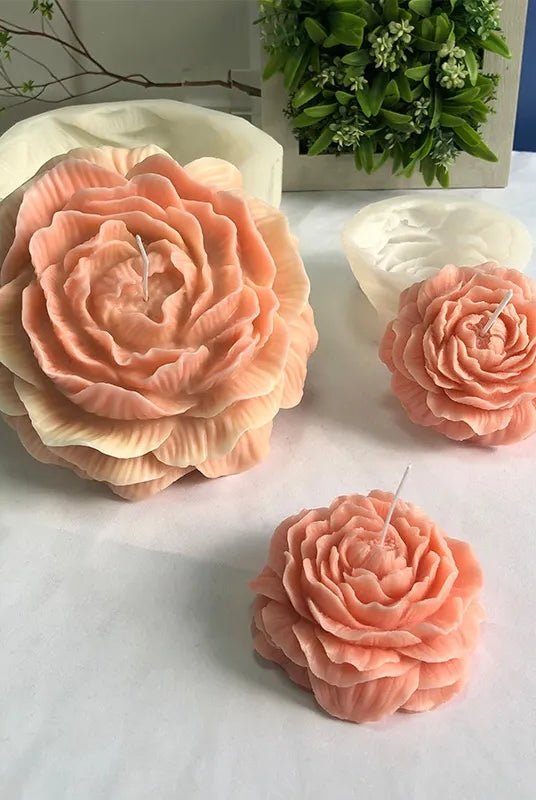
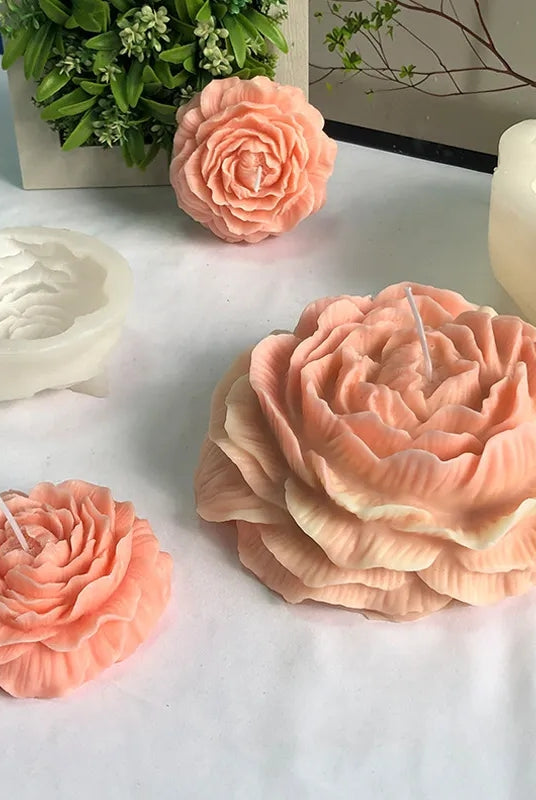
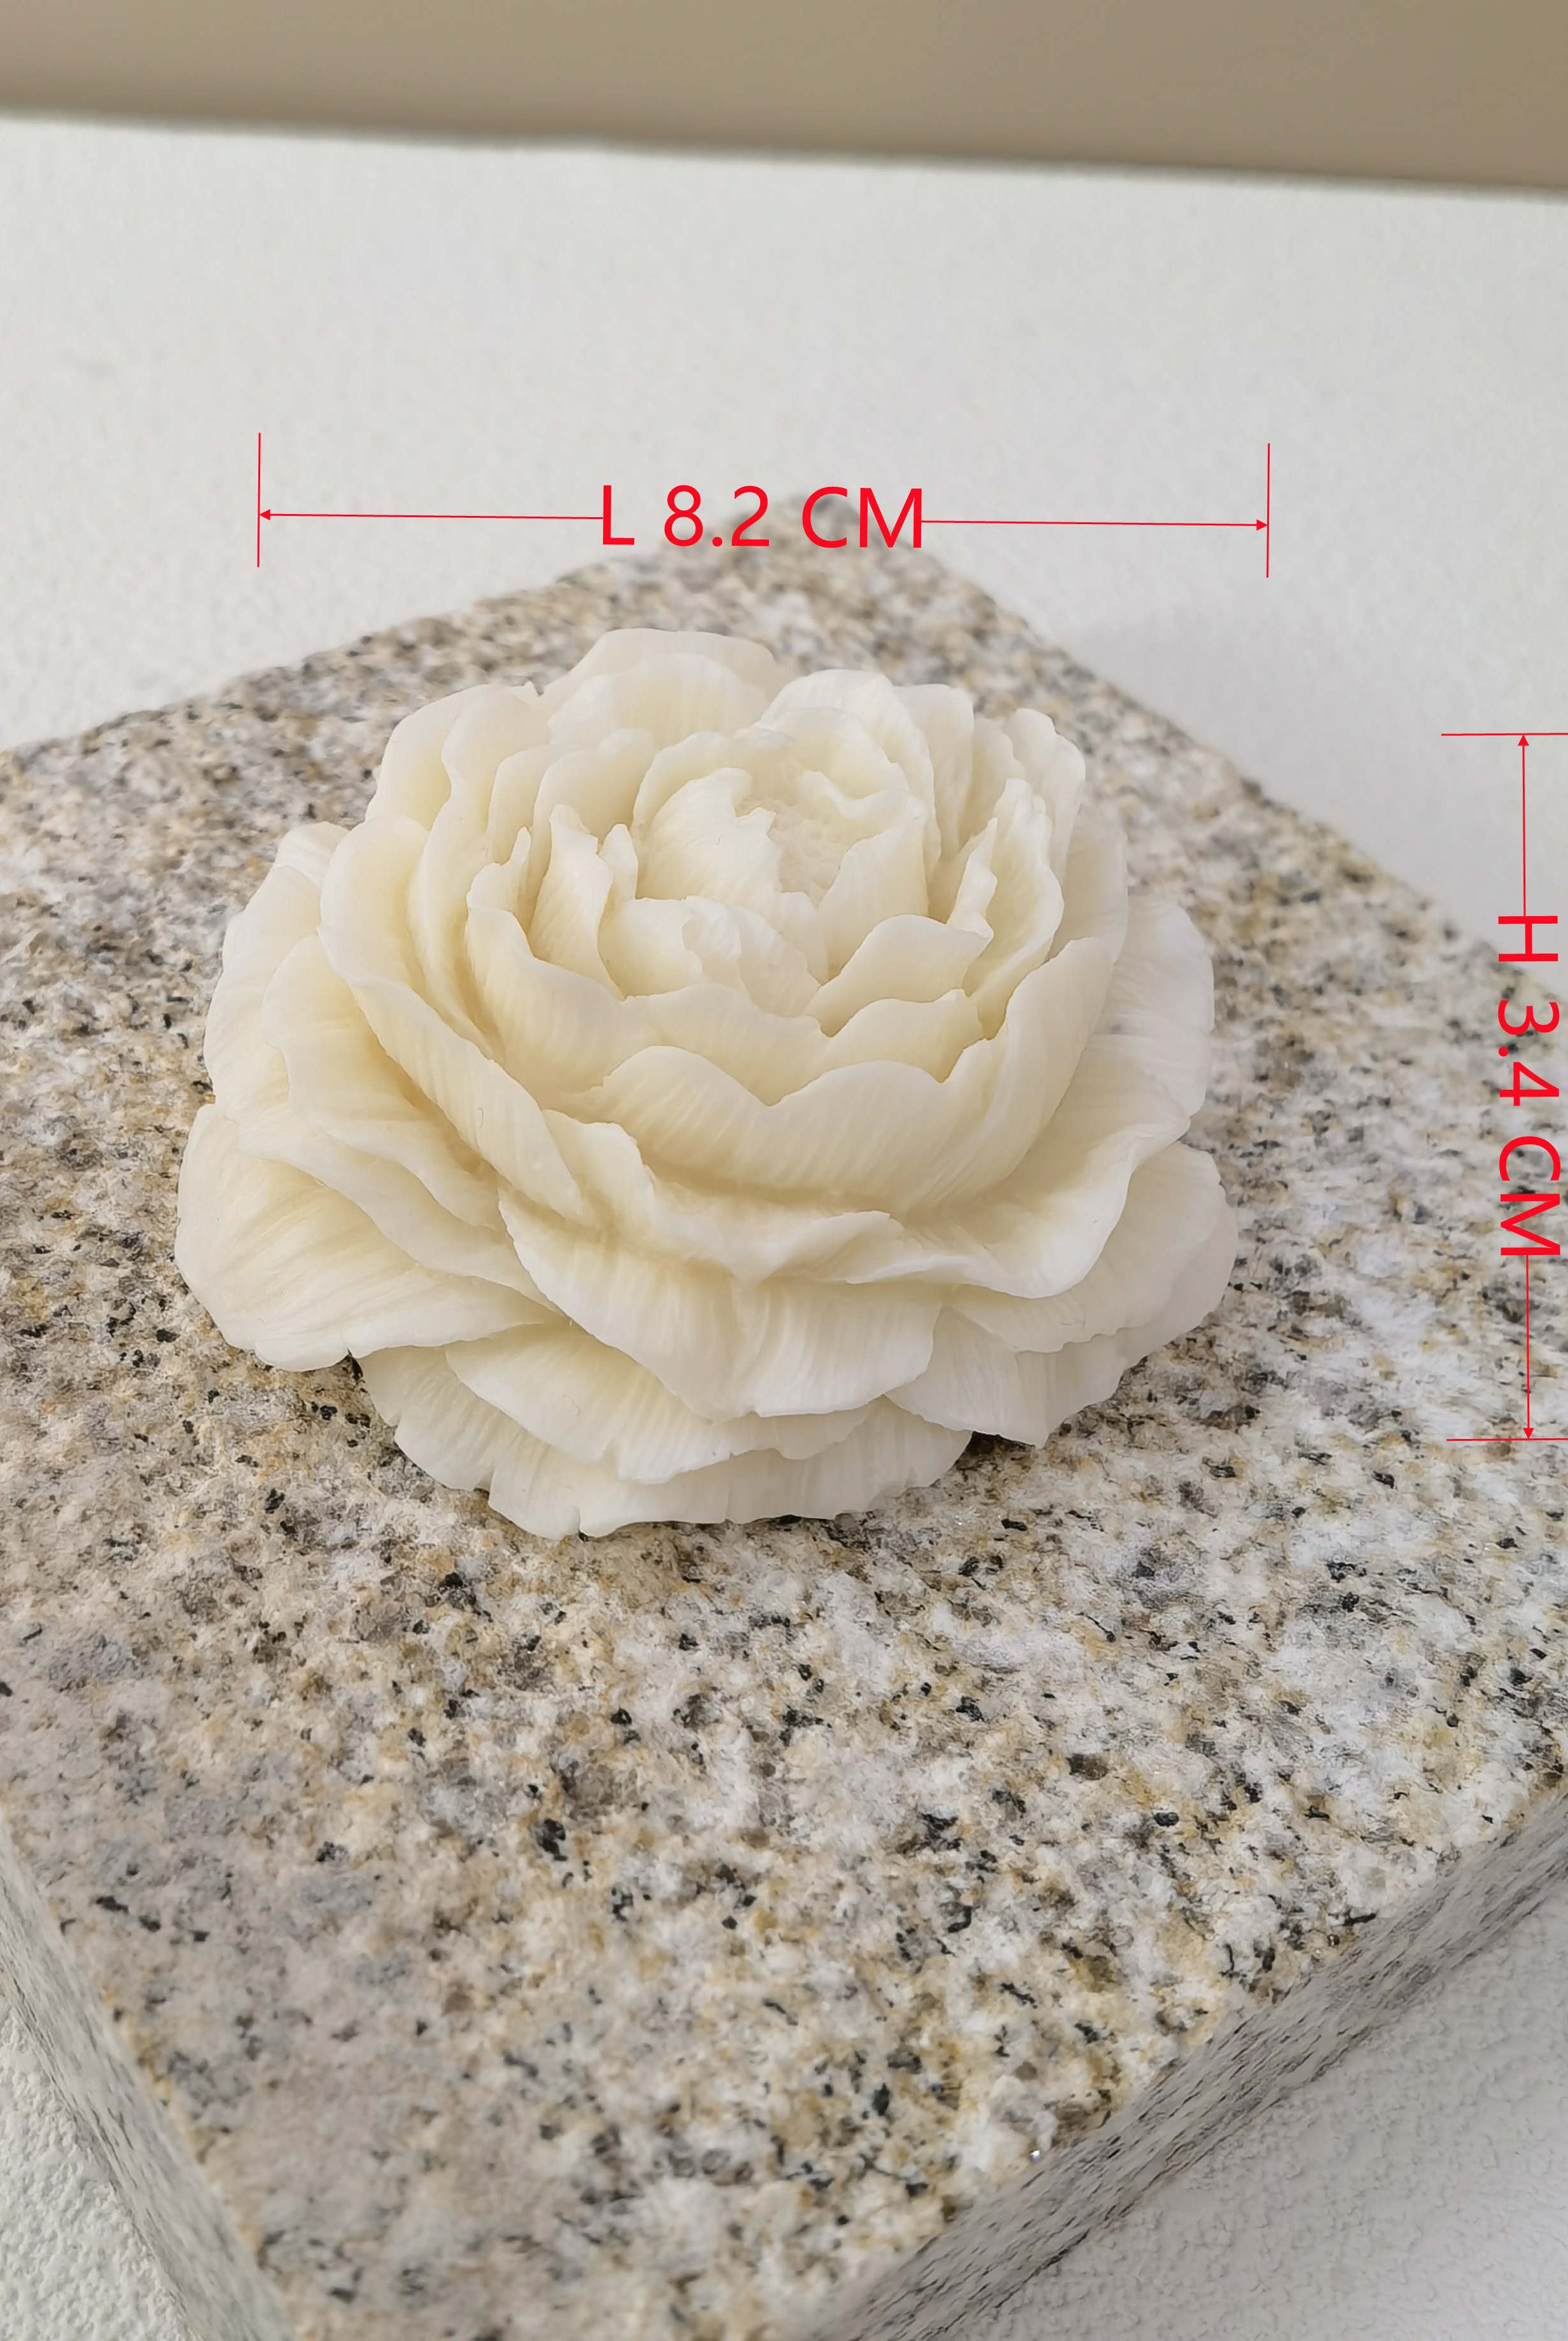
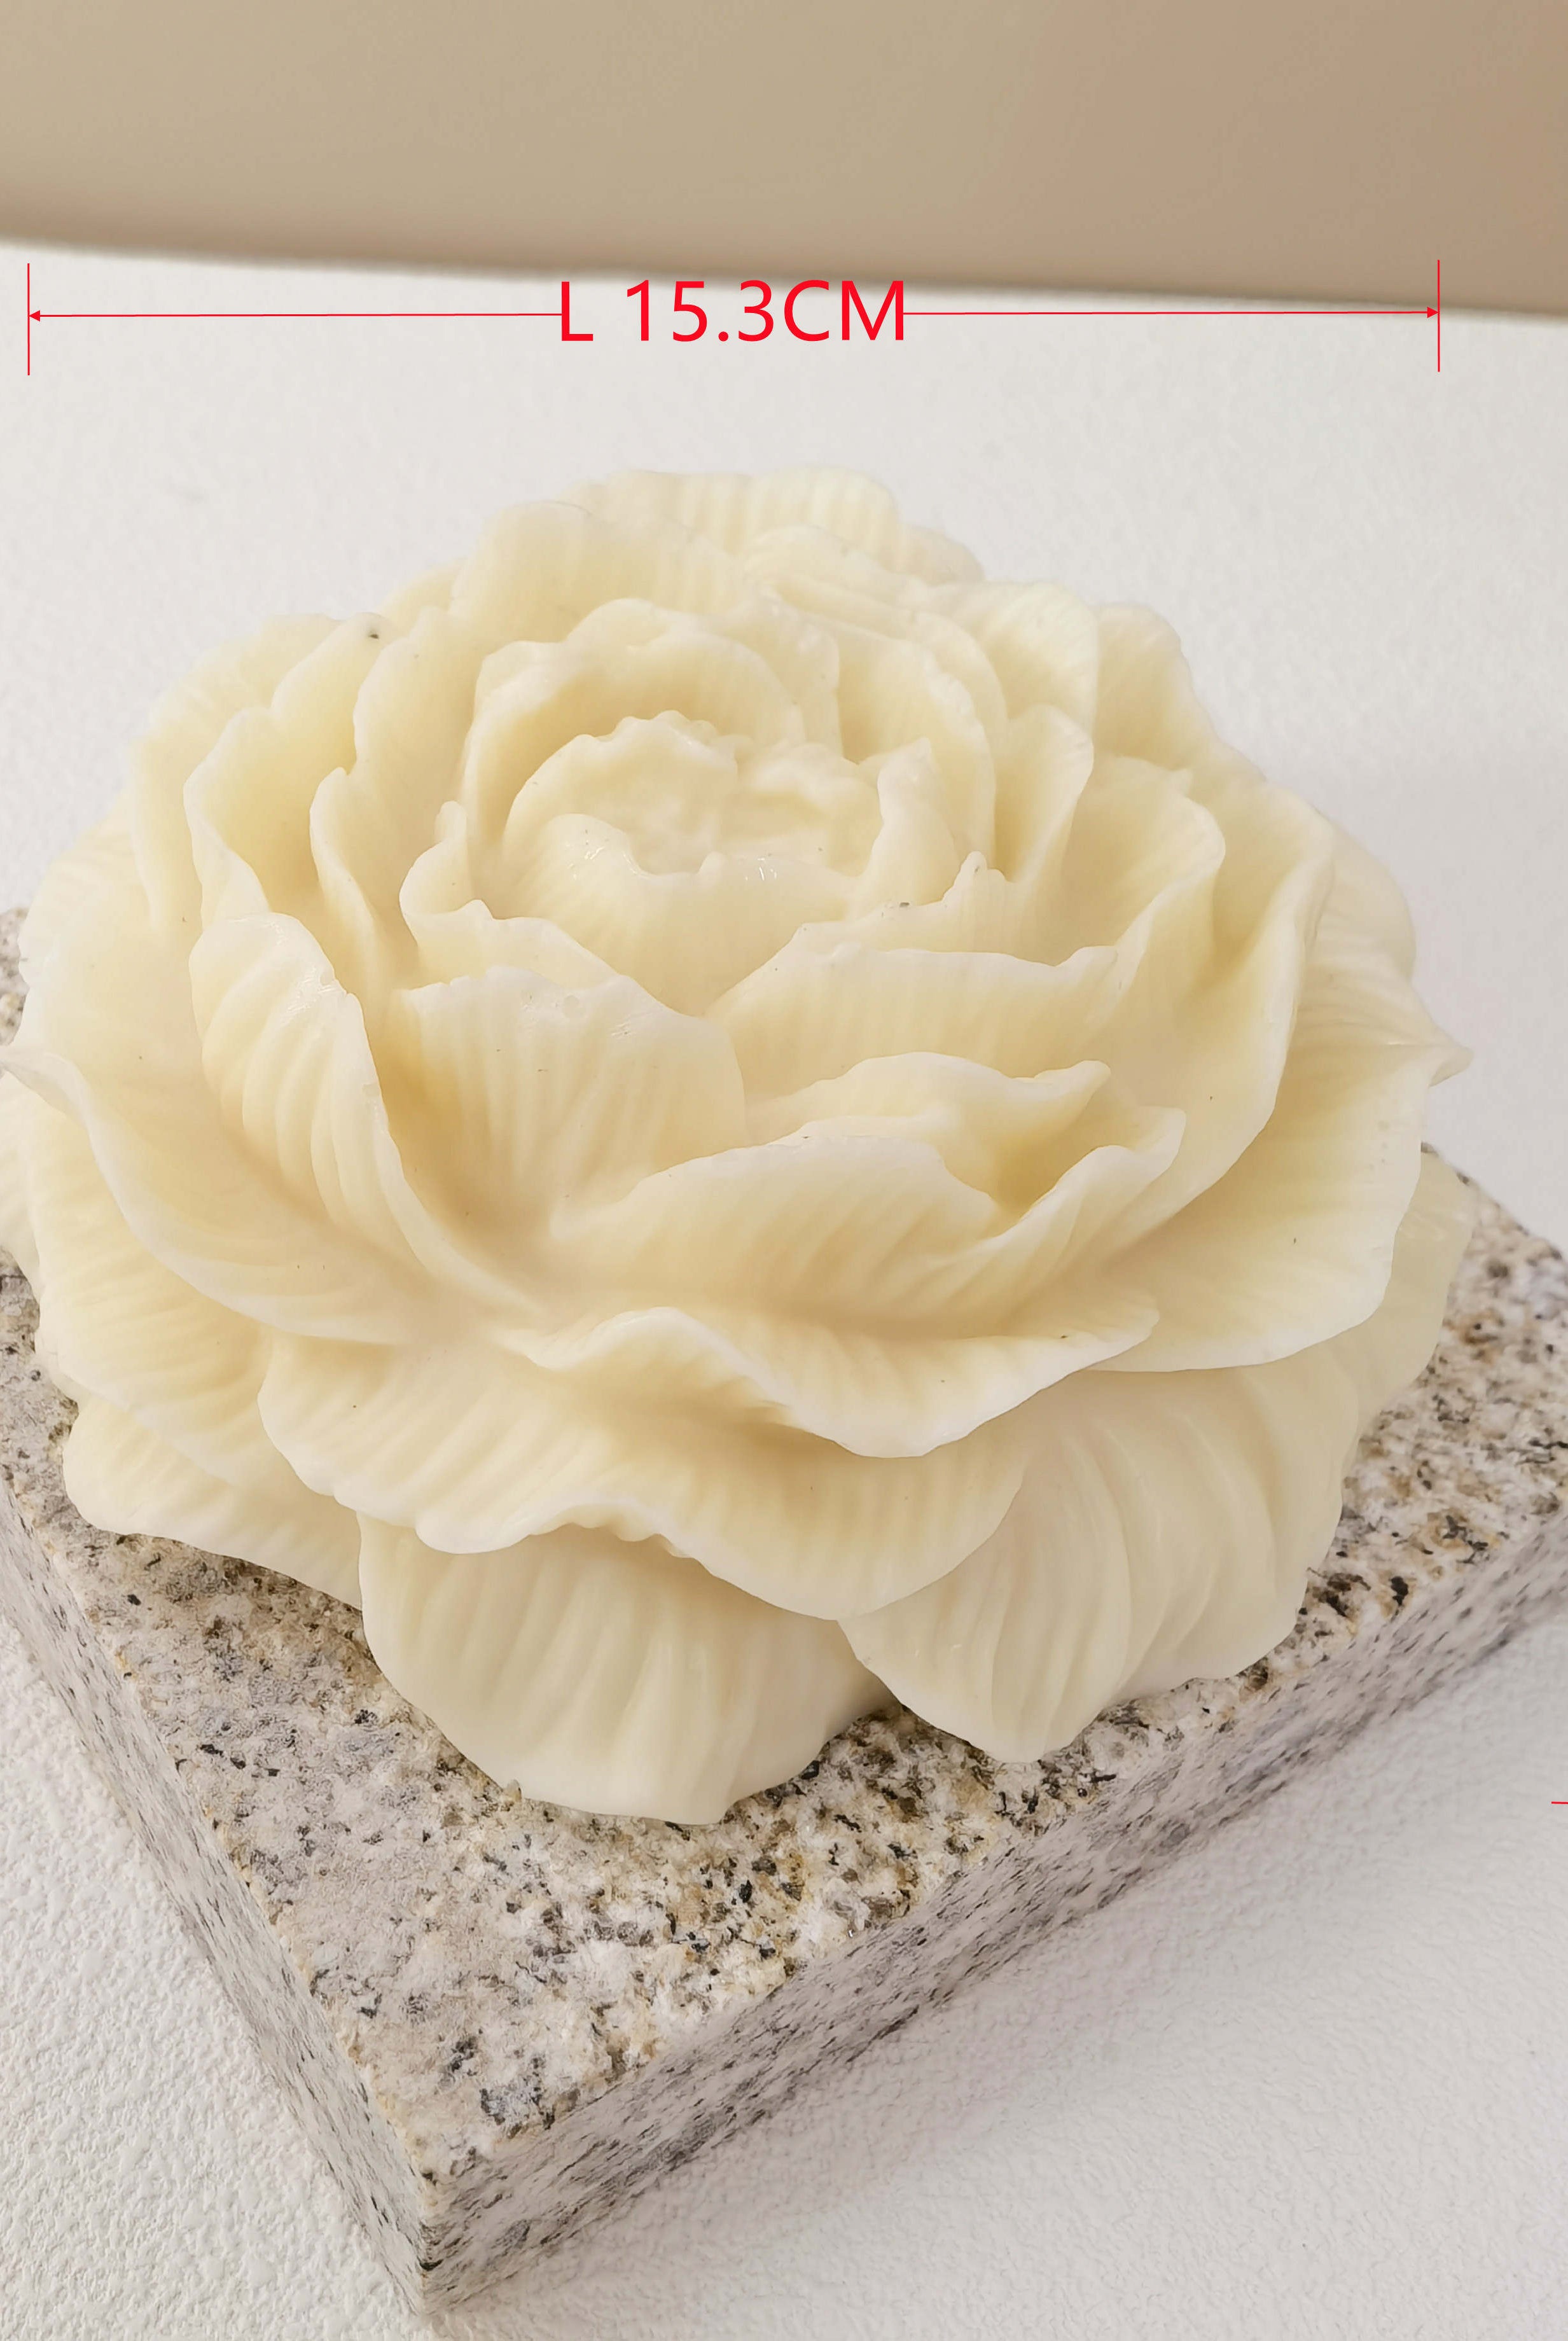
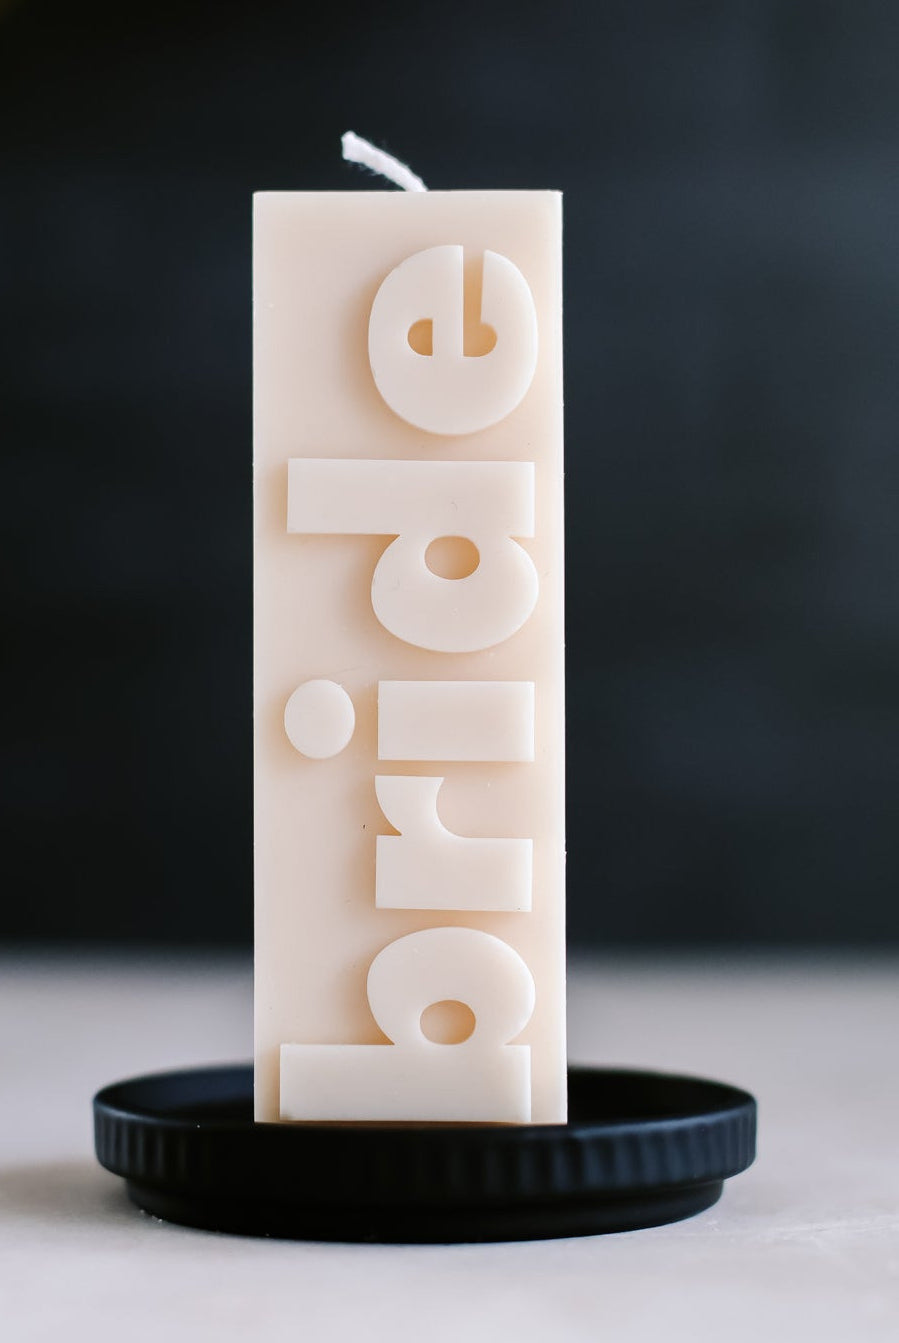
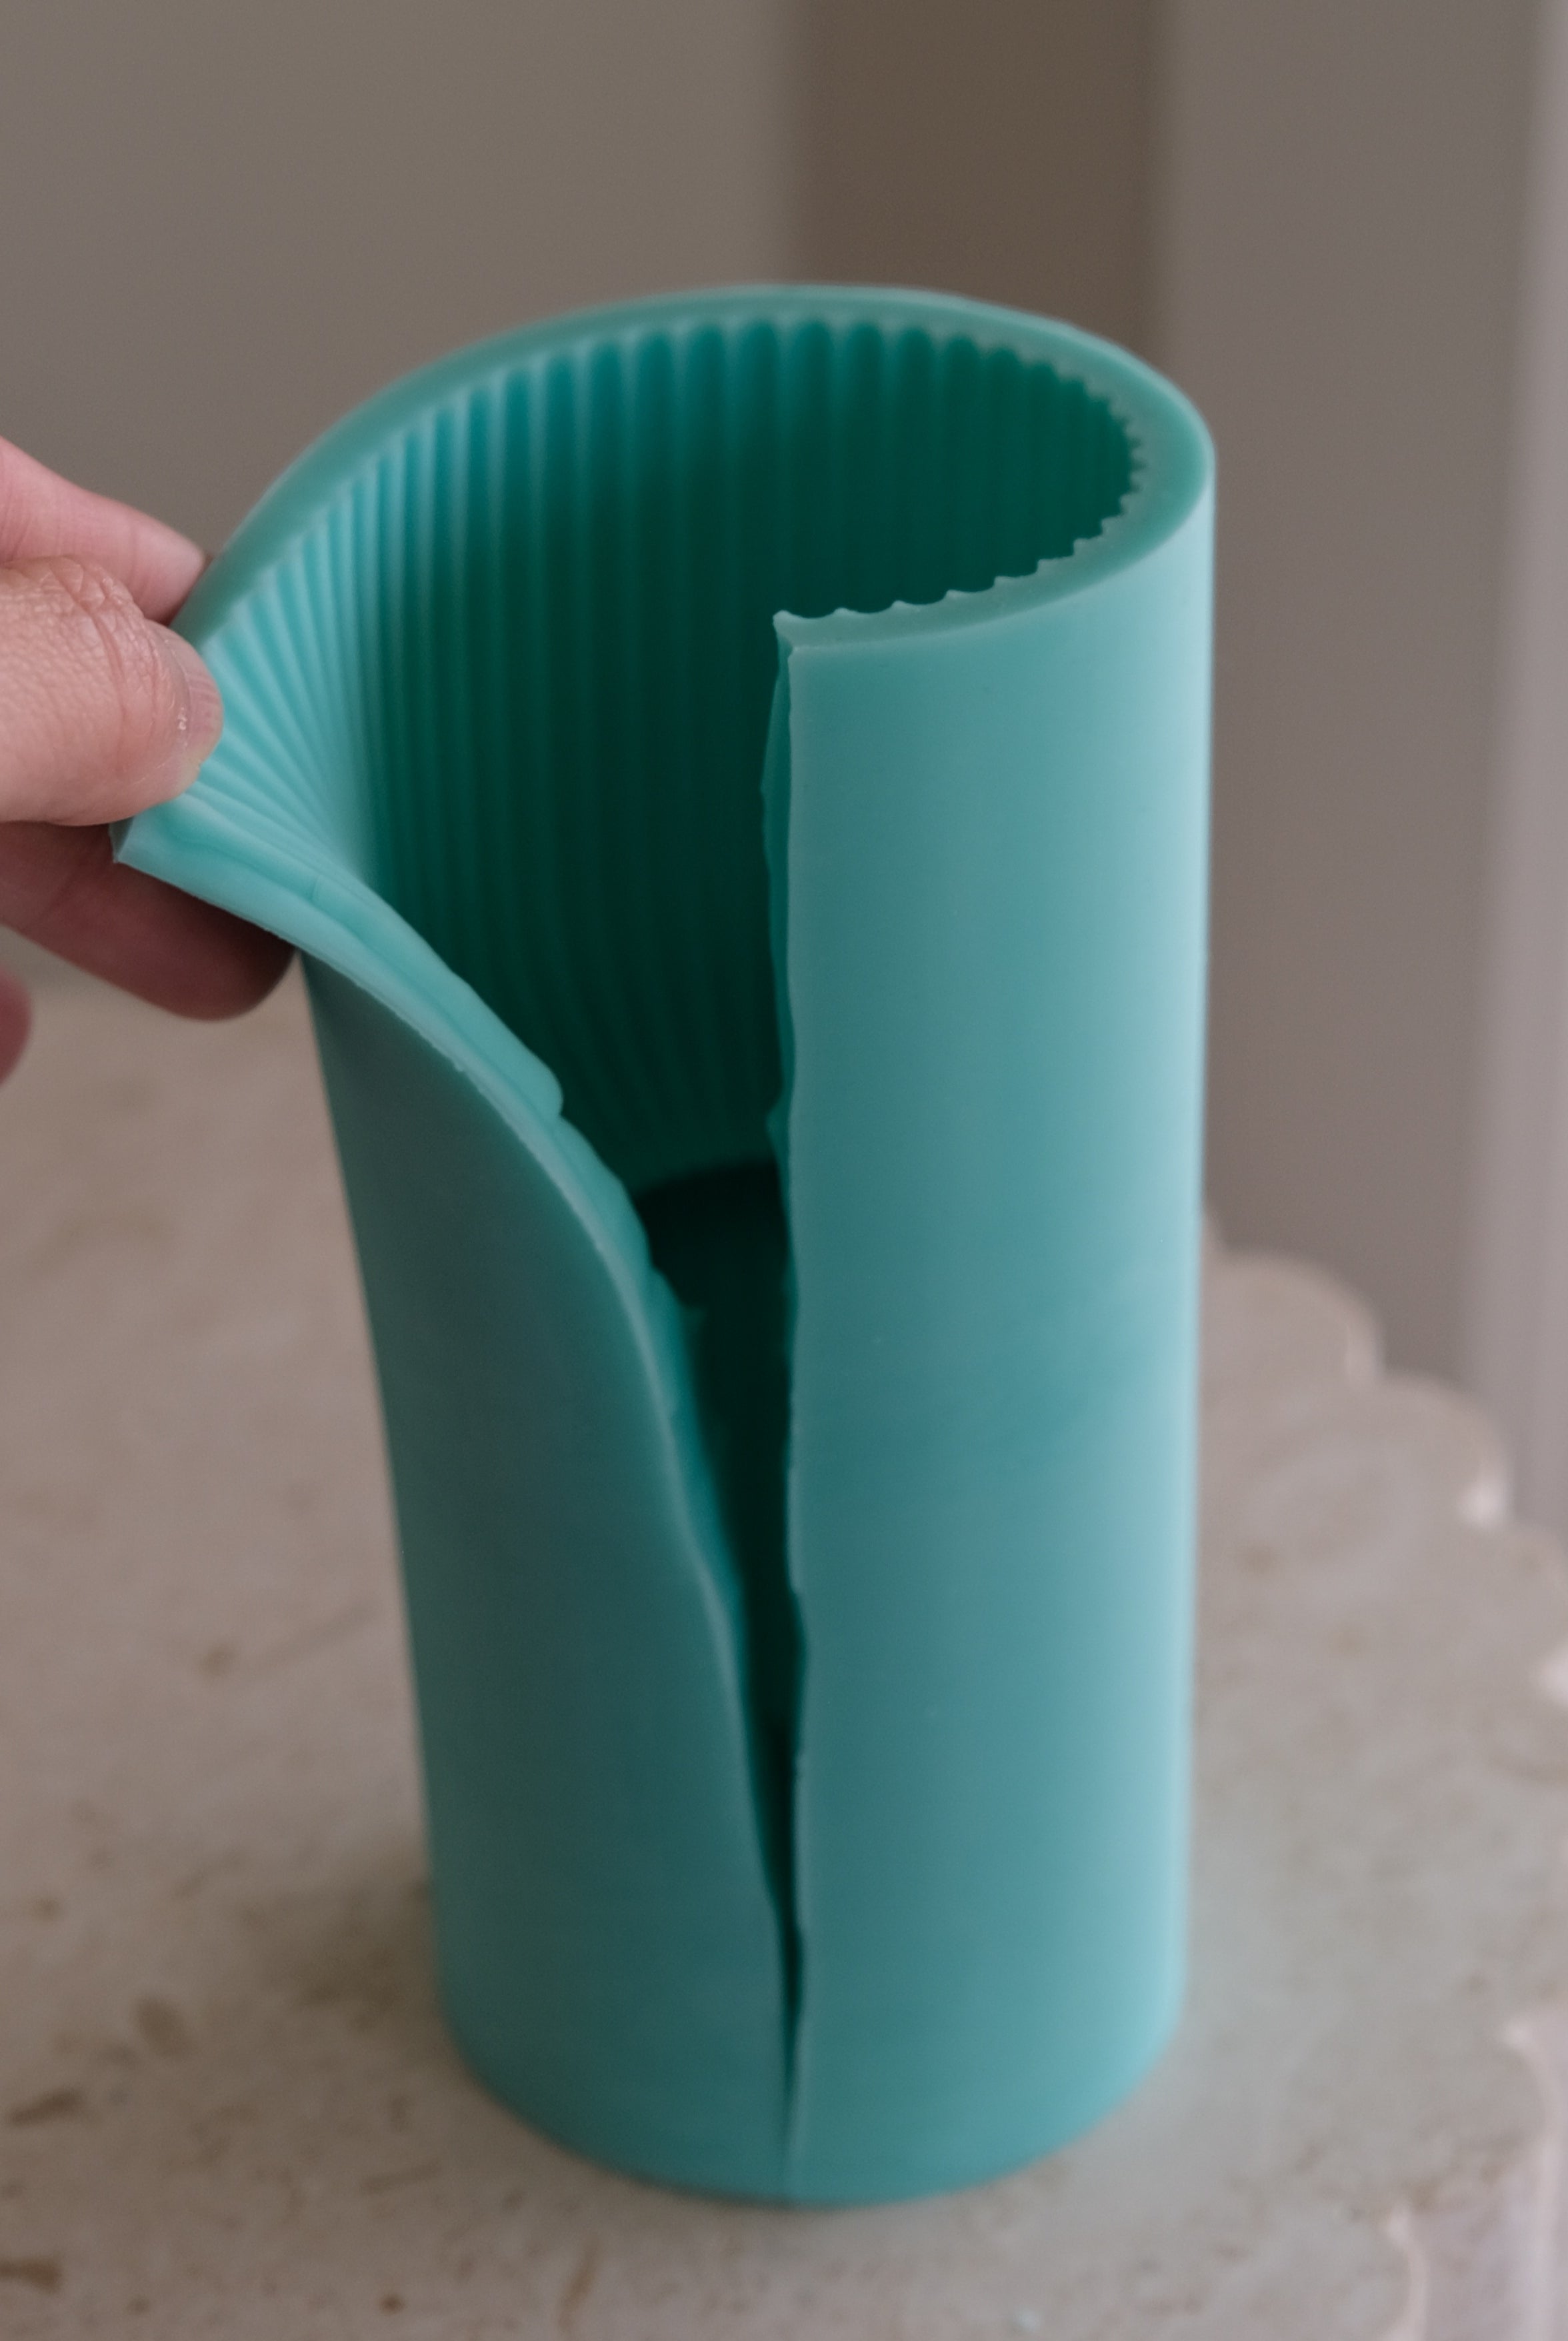
- 2 x Silicone moulds - bubble cube & small peony
- 2 x Wick holders
- 1 x Fragrance oil of your choice
- 1 x Colour dye chip of your choice
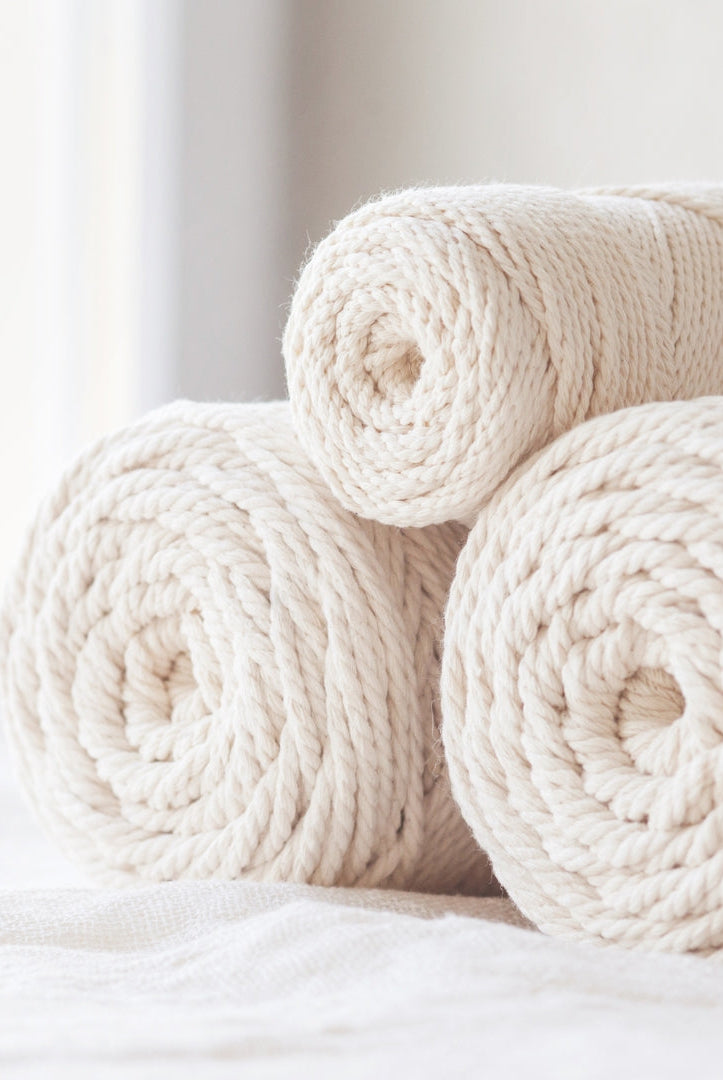
- 1m length of 12 ply cotton wick
You provide:
- Microwave
- Microwave-safe glass jug (e.g., Pyrex)
- Thermometer
- Heat gun or hairdryer (optional)
Instructions
Step 1: Setting Up the Silicone Moulds
- Cut the cotton ply wick to the desired length, making it slightly taller than the silicone moulds.
- Use the wicking needle to thread the wick through the centre of each mould.
- Secure the wicks using the metal wick holders, ensuring it is centred and taut so that it stays in place during the pouring process.
Step 2: Melting the Wax
- Empty one of the two bags of soy pillar wax into your microwave-safe glass jug.
- If using colour, add the dye chip directly into the wax as well.
- Microwave the wax in 30-second intervals, stirring occasionally.
- Use the digital thermometer to monitor the wax temperature.
- Continue until the wax reaches a temperature between 80-85°C (176-185°F).
Step 3: Adding Fragrance
- Pour half of your selected fragrance oil into the melted wax. For an accurate measurement, we recommend using a kitchen scale to measure out 15g of fragrance.
- Stir the wax thoroughly with the long metal mixing spoon to ensure an even distribution of fragrance.
Step 4: Pouring the Candles
- Optionally, use a heat gun or hair dryer to warm the inside of the moulds to prevent jump lines and air bubbles.
- Slowly pour the melted wax into the prepared silicone moulds to the top.
- Remember, one bag of wax creates two candles (peony & bubble cube).
Step 5: Finishing Touches
- Allow the candles to cure. As the wax contracts, you may notice the surface sinking, which is completely normal behaviour for pillar wax.
- Remove the wick holders and cut the excess wick with a wick trimmer or scissors.
- Reheat any remaining wax in the microwave and perform a second pour. While this step is optional, it will help create a flat, even base and hide the wick at the bottom of the candle.
Step 6: Unmoulding the Candle
- Ensure the candle is fully cured before proceeding with this step.
- Pop the candle, still in the mould, into the fridge for at least 15 minutes prior to unmoulding. This step is especially beneficial in warm climates as it helps the candle contract and firm up further. If you are in a cold environment, you may skip this step.
- Remove the candle from the fridge and start stretching out the sides of the silicone mould while rotating it.
- Once the candle seems to be released on all sides, carefully push the candle out from the bottom of the mould while continuing to stretch out the sides. This method of pushing from the base instead of pulling from the top helps keep the candle intact and minimizes the risk of breakages.
- Once the candle has been successfully demoulded, trim the wick to 3mm.
Step 7: Enjoy
- Congratulations on making your first pillar candle!
- To burn, place the candle on a candle plate or trinket dish to catch dripping wax and prevent staining on surfaces.
- Now you're ready to enjoy the warm glow and delightful fragrance of your handmade pillar candles.
Step 8: Cleaning
Glass Jug:
- Reheat any remaining wax using a heat gun or in the microwave for a few seconds.
- Wipe the glass jug clean with a paper towel, followed by a regular wash using dishwashing liquid.
Silicone Moulds:
- Soak in a mixture of boiling water and vinegar to dissolve wax residue and neutralize fragrance.
- As silicone moulds are heat-resistant up to 230°C (446°F), this process is safe.
- Wait until it has cooled enough to touch, then wash with soapy water.
- Discard the wax-infused water outside to prevent sink clogs.
- Allow silicone moulds to air dry completely before storing in a dust-free environment. Practicing good mould care ensures they last for years to come.
Click here to view the fragrance notes for our fragrance options.
For additional details about pillar candles, please explore our pillar candle FAQ page.
How To Use
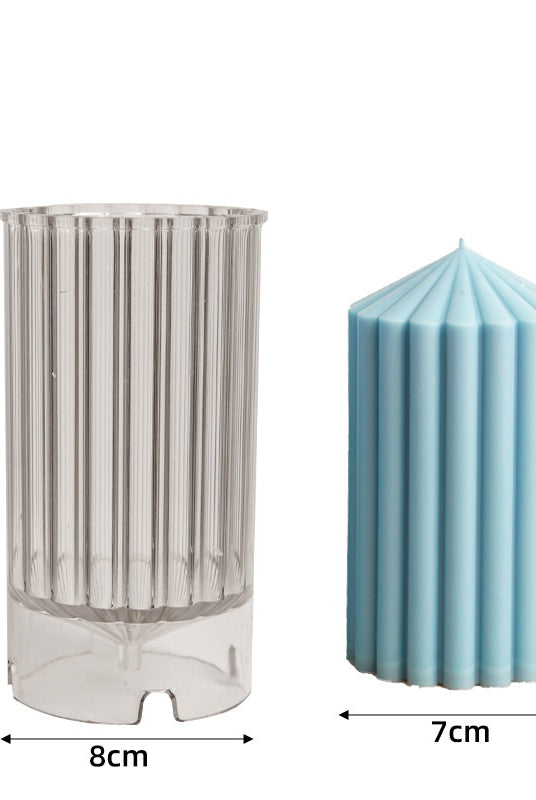
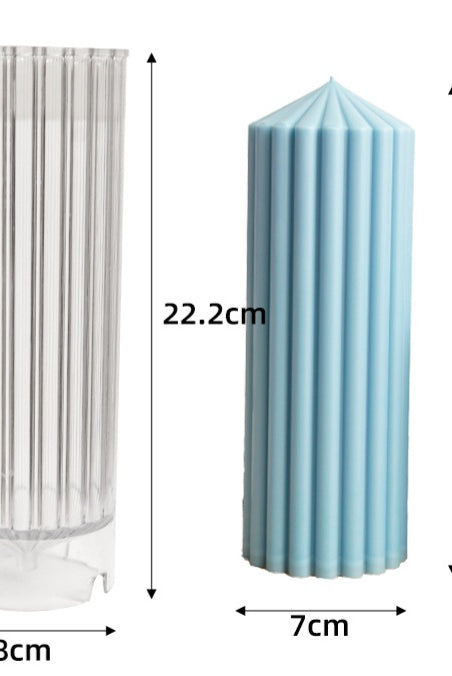
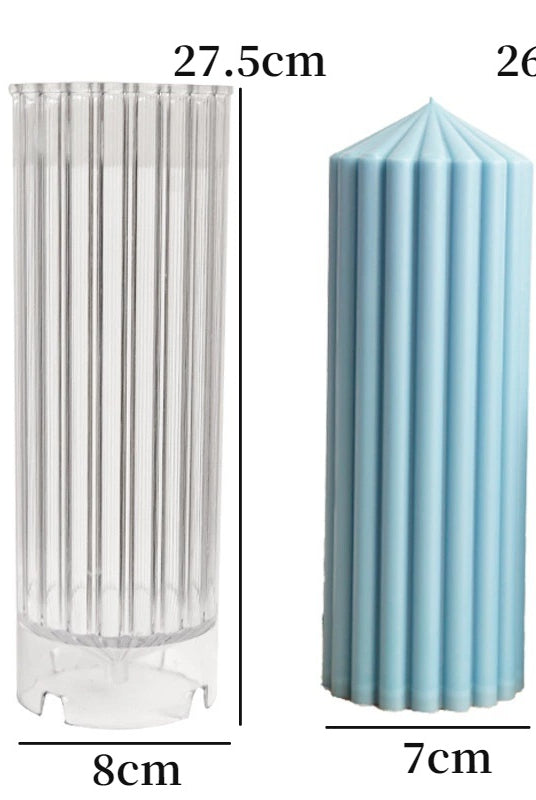
Acrylic PVC Candle Moulds:
To use this candle mould, simply start by threading the wick through the center of the mould and securing it in place with a wick holder. Use blu tack to cover the wick hole to prevent leakage before pouring melted wax into the mould. Depending on the type of wax you are using, you may need to perform a second pour to even out the surface of the candle. Allow your candle to cure overnight before carefully unmoulding it. If the candle gets stuck, squeeze around the mould to release the candle from the sides.
Silicone Candle Moulds:
To use our candle moulds, simply start by threading the wick through the center of the mould and securing it in place with a wick holder. Then, pour in your melted wax and let it cool until it hardens. Depending on the type of wax you are using, you may need to perform a second pour to even out the surface of the candle. Allow your candle to cure overnight before carefully unmoulding it.
Concrete Trays & Vessels:
To make the most of your vessel mould, follow these steps:
- Preparation: Begin by gathering your selected material and ensure it's mixed according to the manufacturer's instructions.
- Pouring: Carefully fill the mould with your chosen material, ensuring it reaches the top.
- Air Bubble Removal: For a smoother finish, gently tap the mould on a sturdy surface to encourage any trapped air bubbles to rise to the surface.
- Curing: Adhere to the recommended curing time for your chosen material.
- Demoulding: Once the material has set and cured, carefully flex and remove the mould to unveil your creation.
- If your tray or vessel will be used for candles, it is vital to seal it with a heat-resistant sealer. Apply at least two coats to both the interior and exterior of the vessel. Ensure the sealant is fully dry before pouring in the wax.
Shipping
Standard (Australia):
- 3-7 business days
- $12 shipping fee
Express (Australia)
- 1-3 business days
- $17
Standard (New Zealand)
- 4-14 business days
- $20
DHL Express (International)
- 3-7 business days via DHL Express
- Calculated based on location and weight
Returns & Refunds
Parcel Claims:
Report missing or damaged items within 24 hours of delivery to be eligible for store credit or a replacement. Include proof of purchase and photographic evidence. Contact us at info@mykacandlesandmoulds.com.
Moulds Disclaimer:
Expect slight imperfections in our handmade silicone moulds, which won't affect the final product. For unlevel moulds, adjust using simple supports.
Exchanges/Refunds:
No alterations, cancellations, exchanges, or refunds after purchase except as covered under parcel claims.
Lost/Damaged Parcels:
If a package is lost or damaged, contact us immediately for assistance with a claim.
For detailed information on our policies, please visit our full Returns & Refunds Policy.
