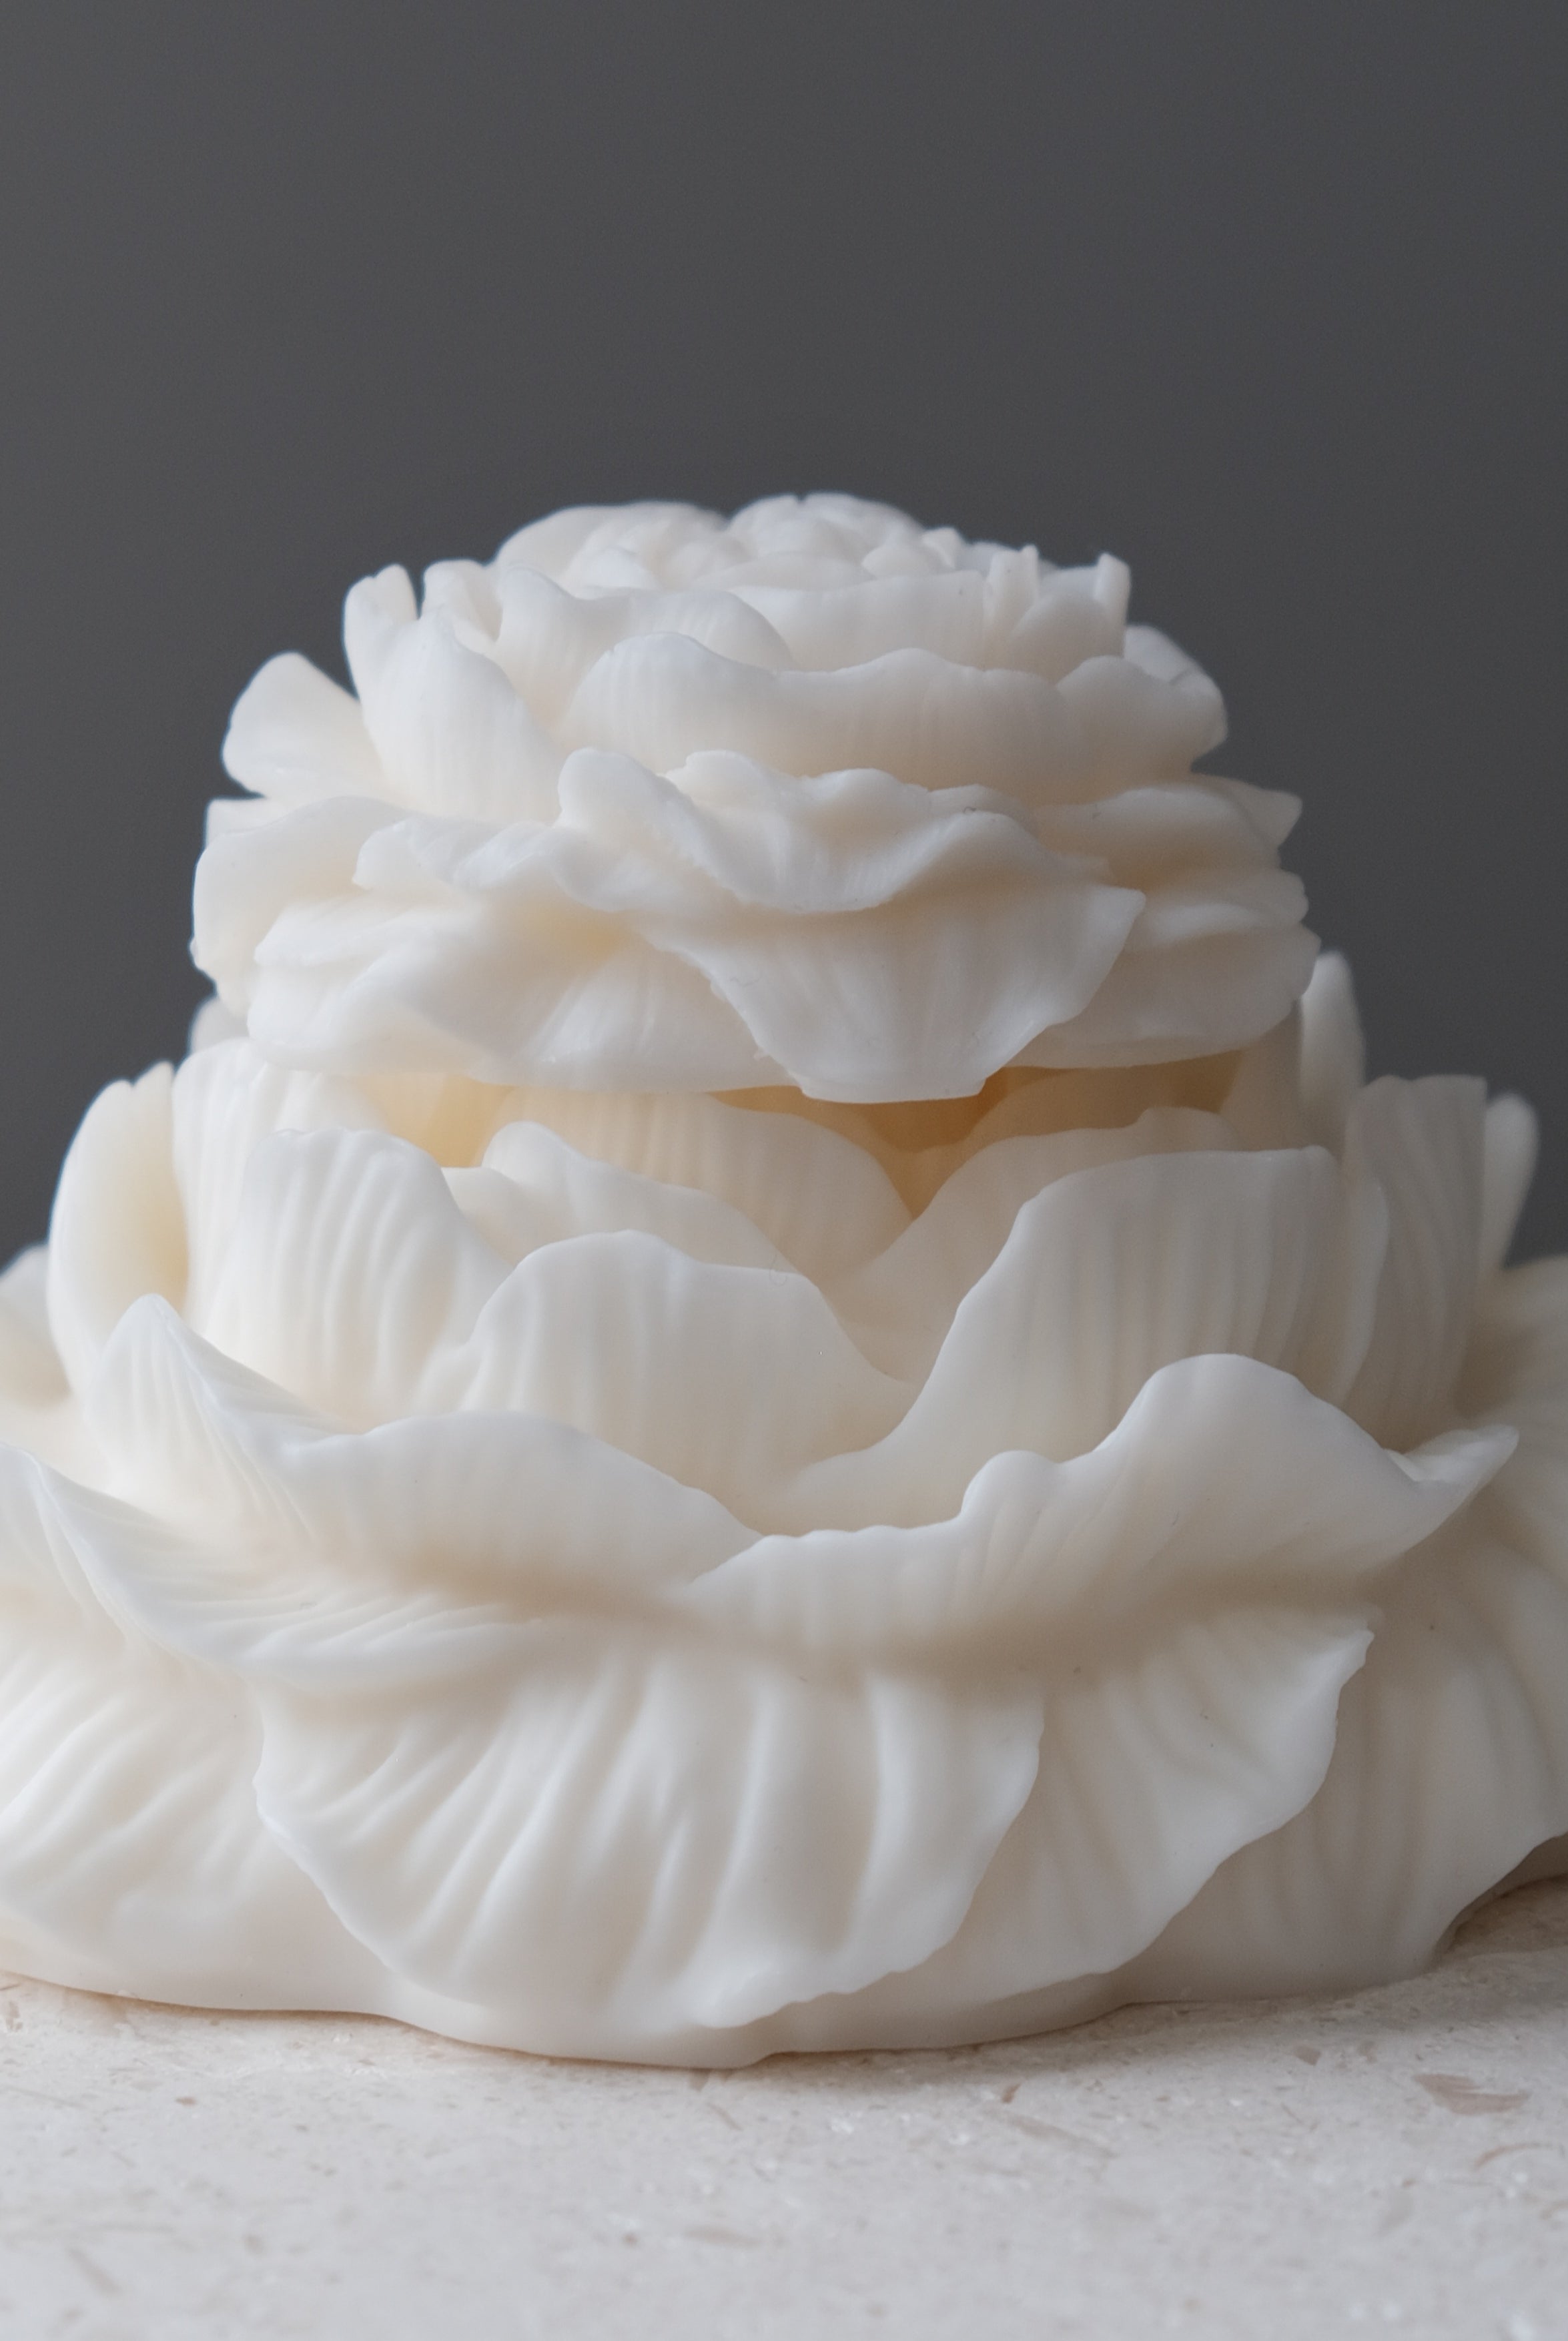
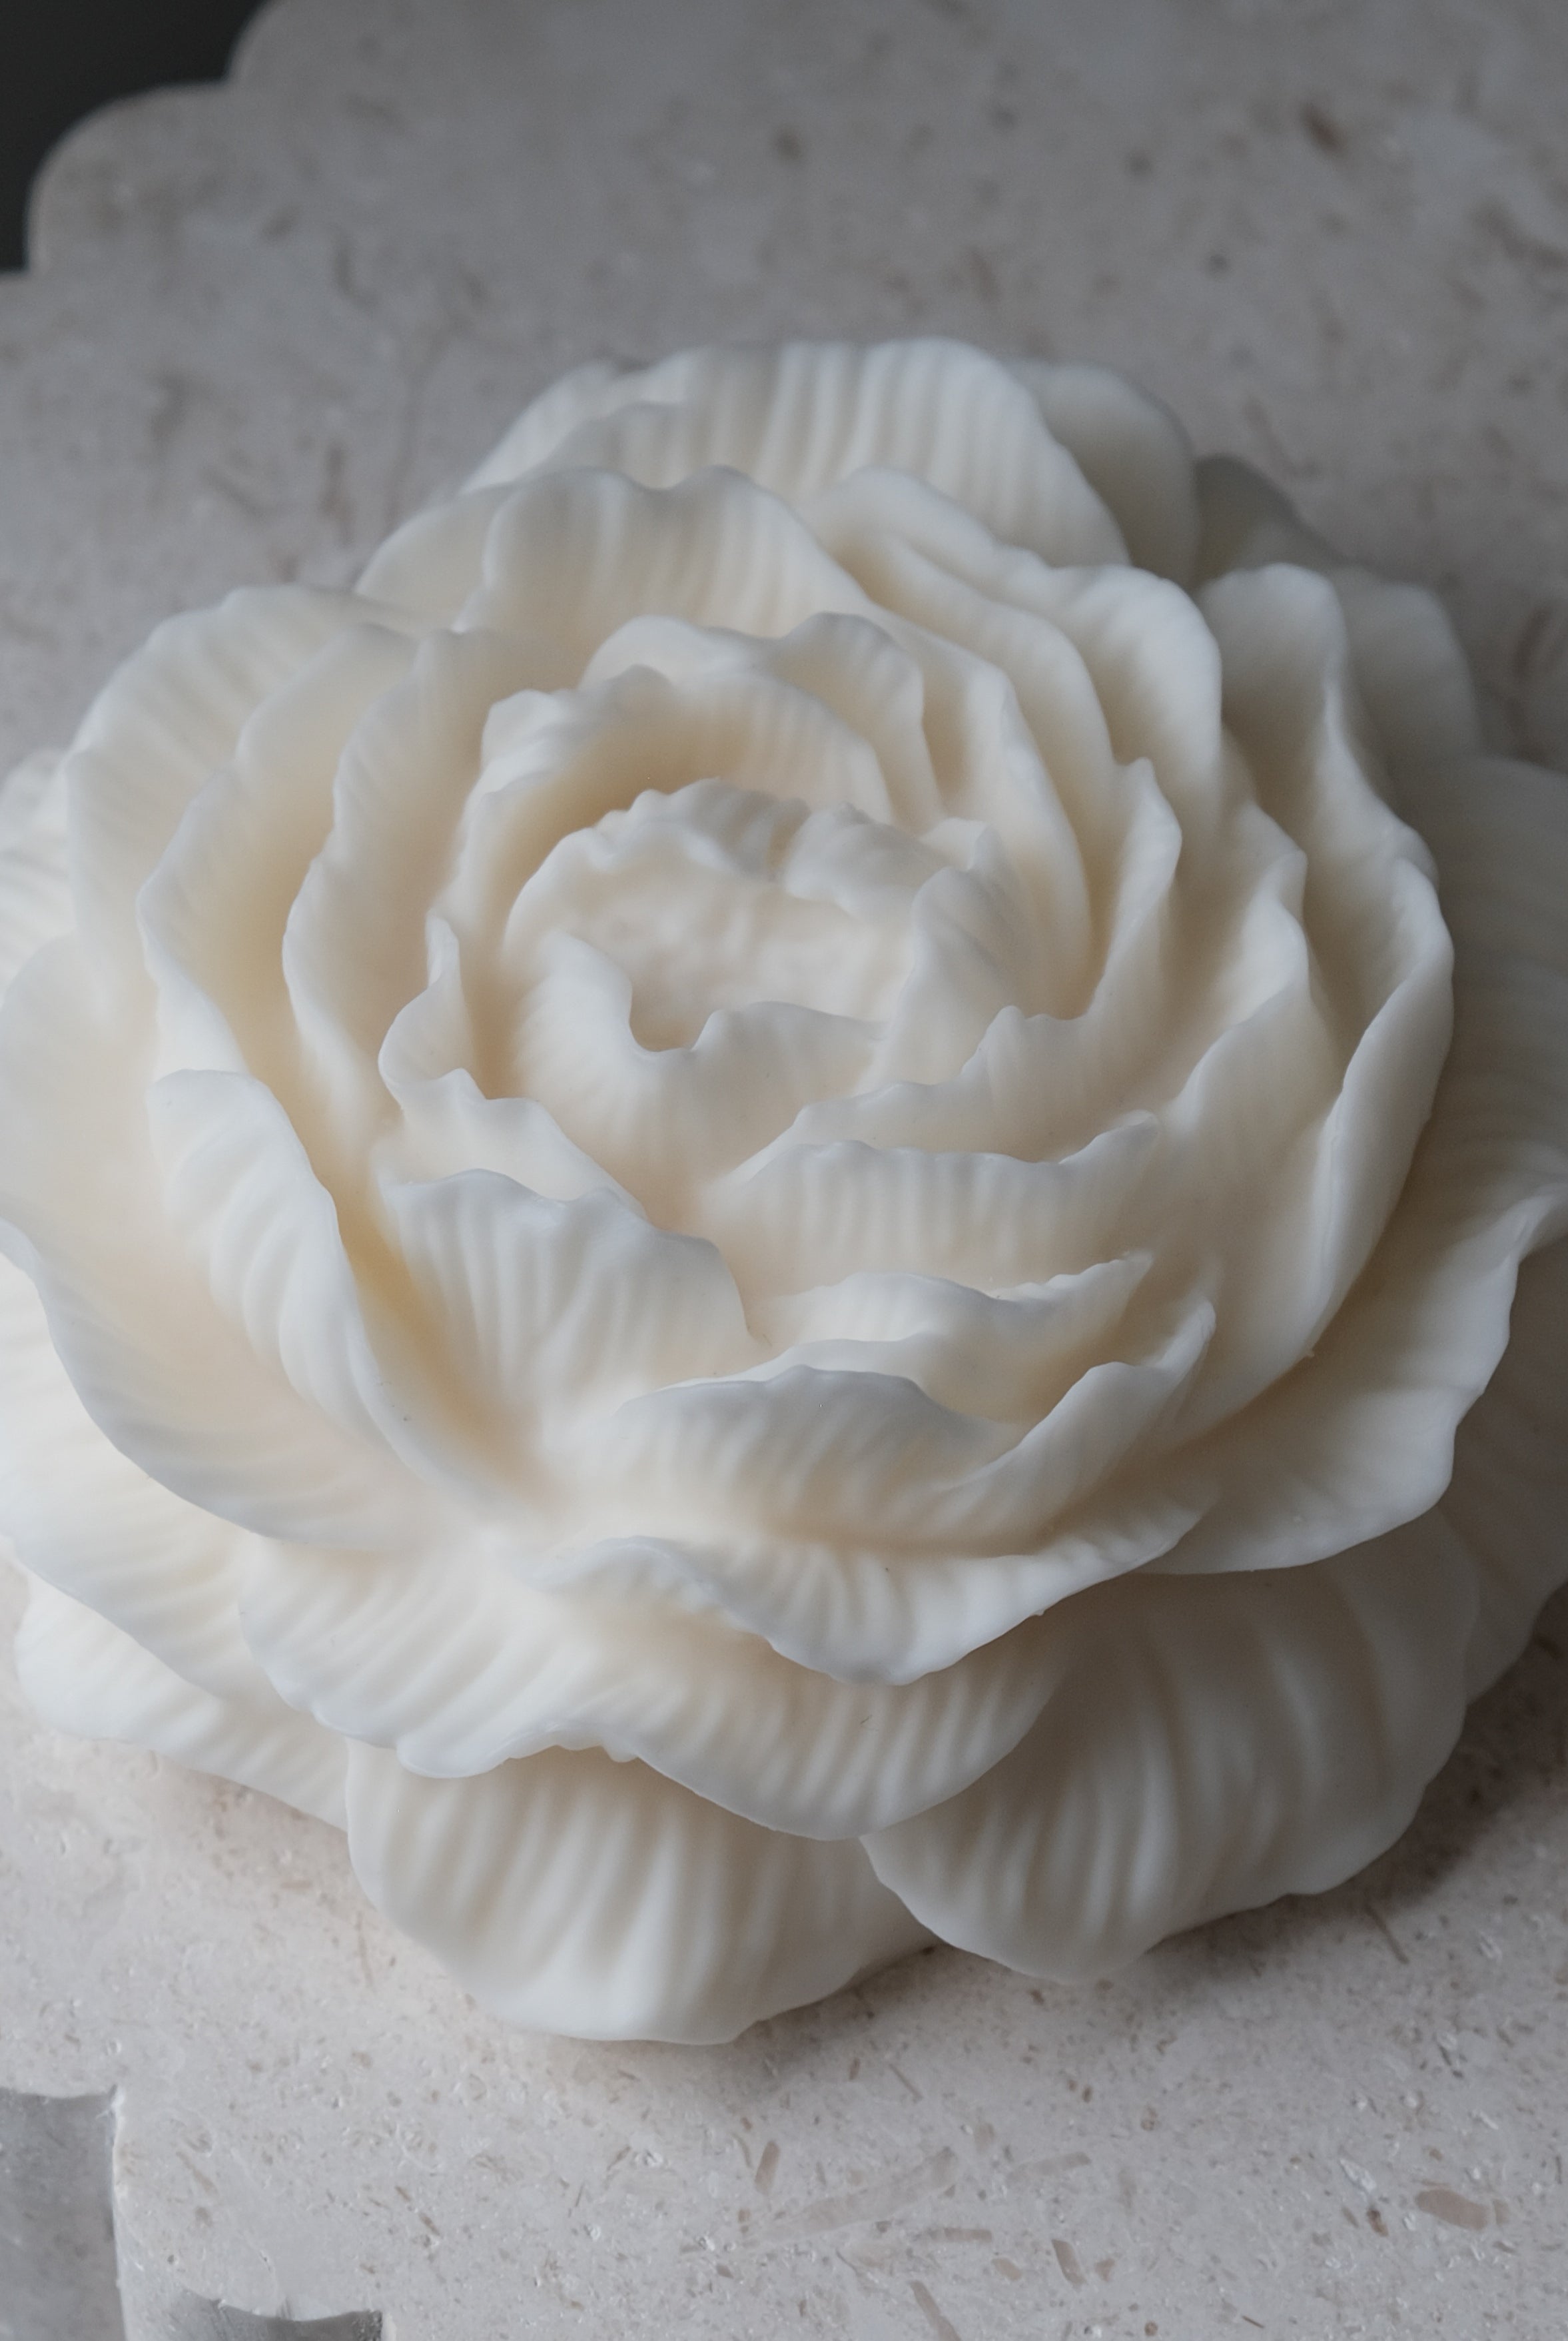
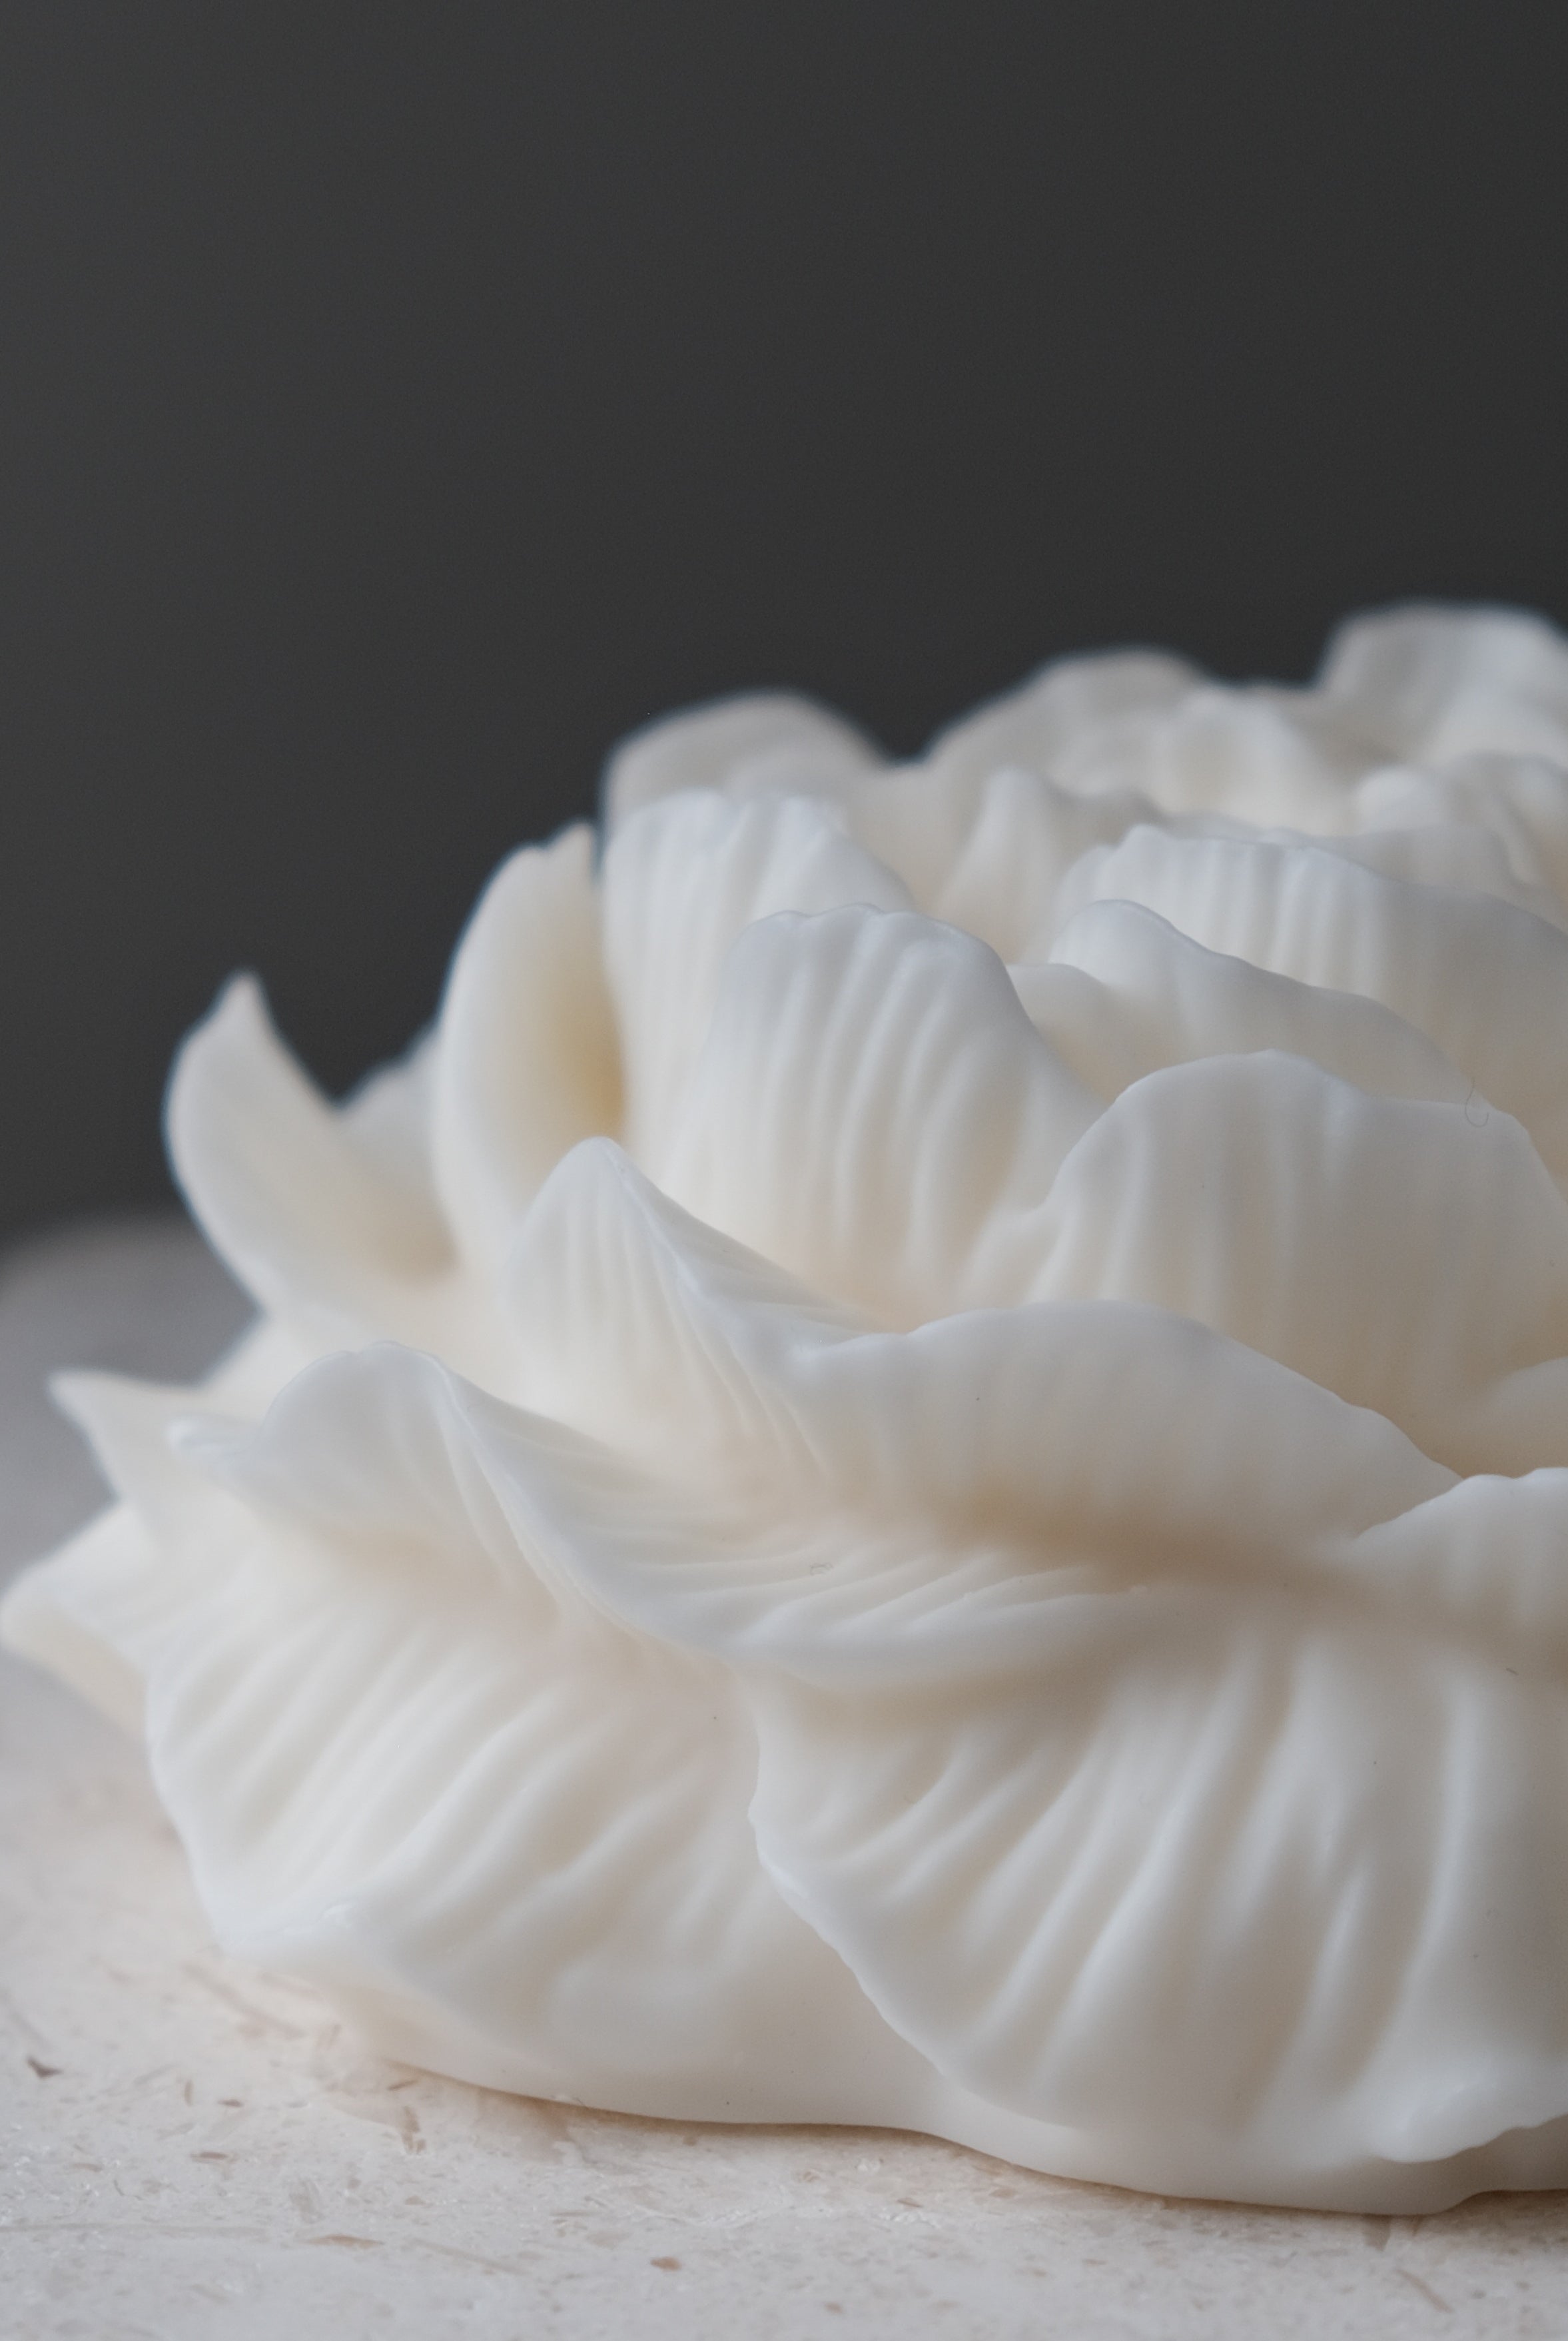
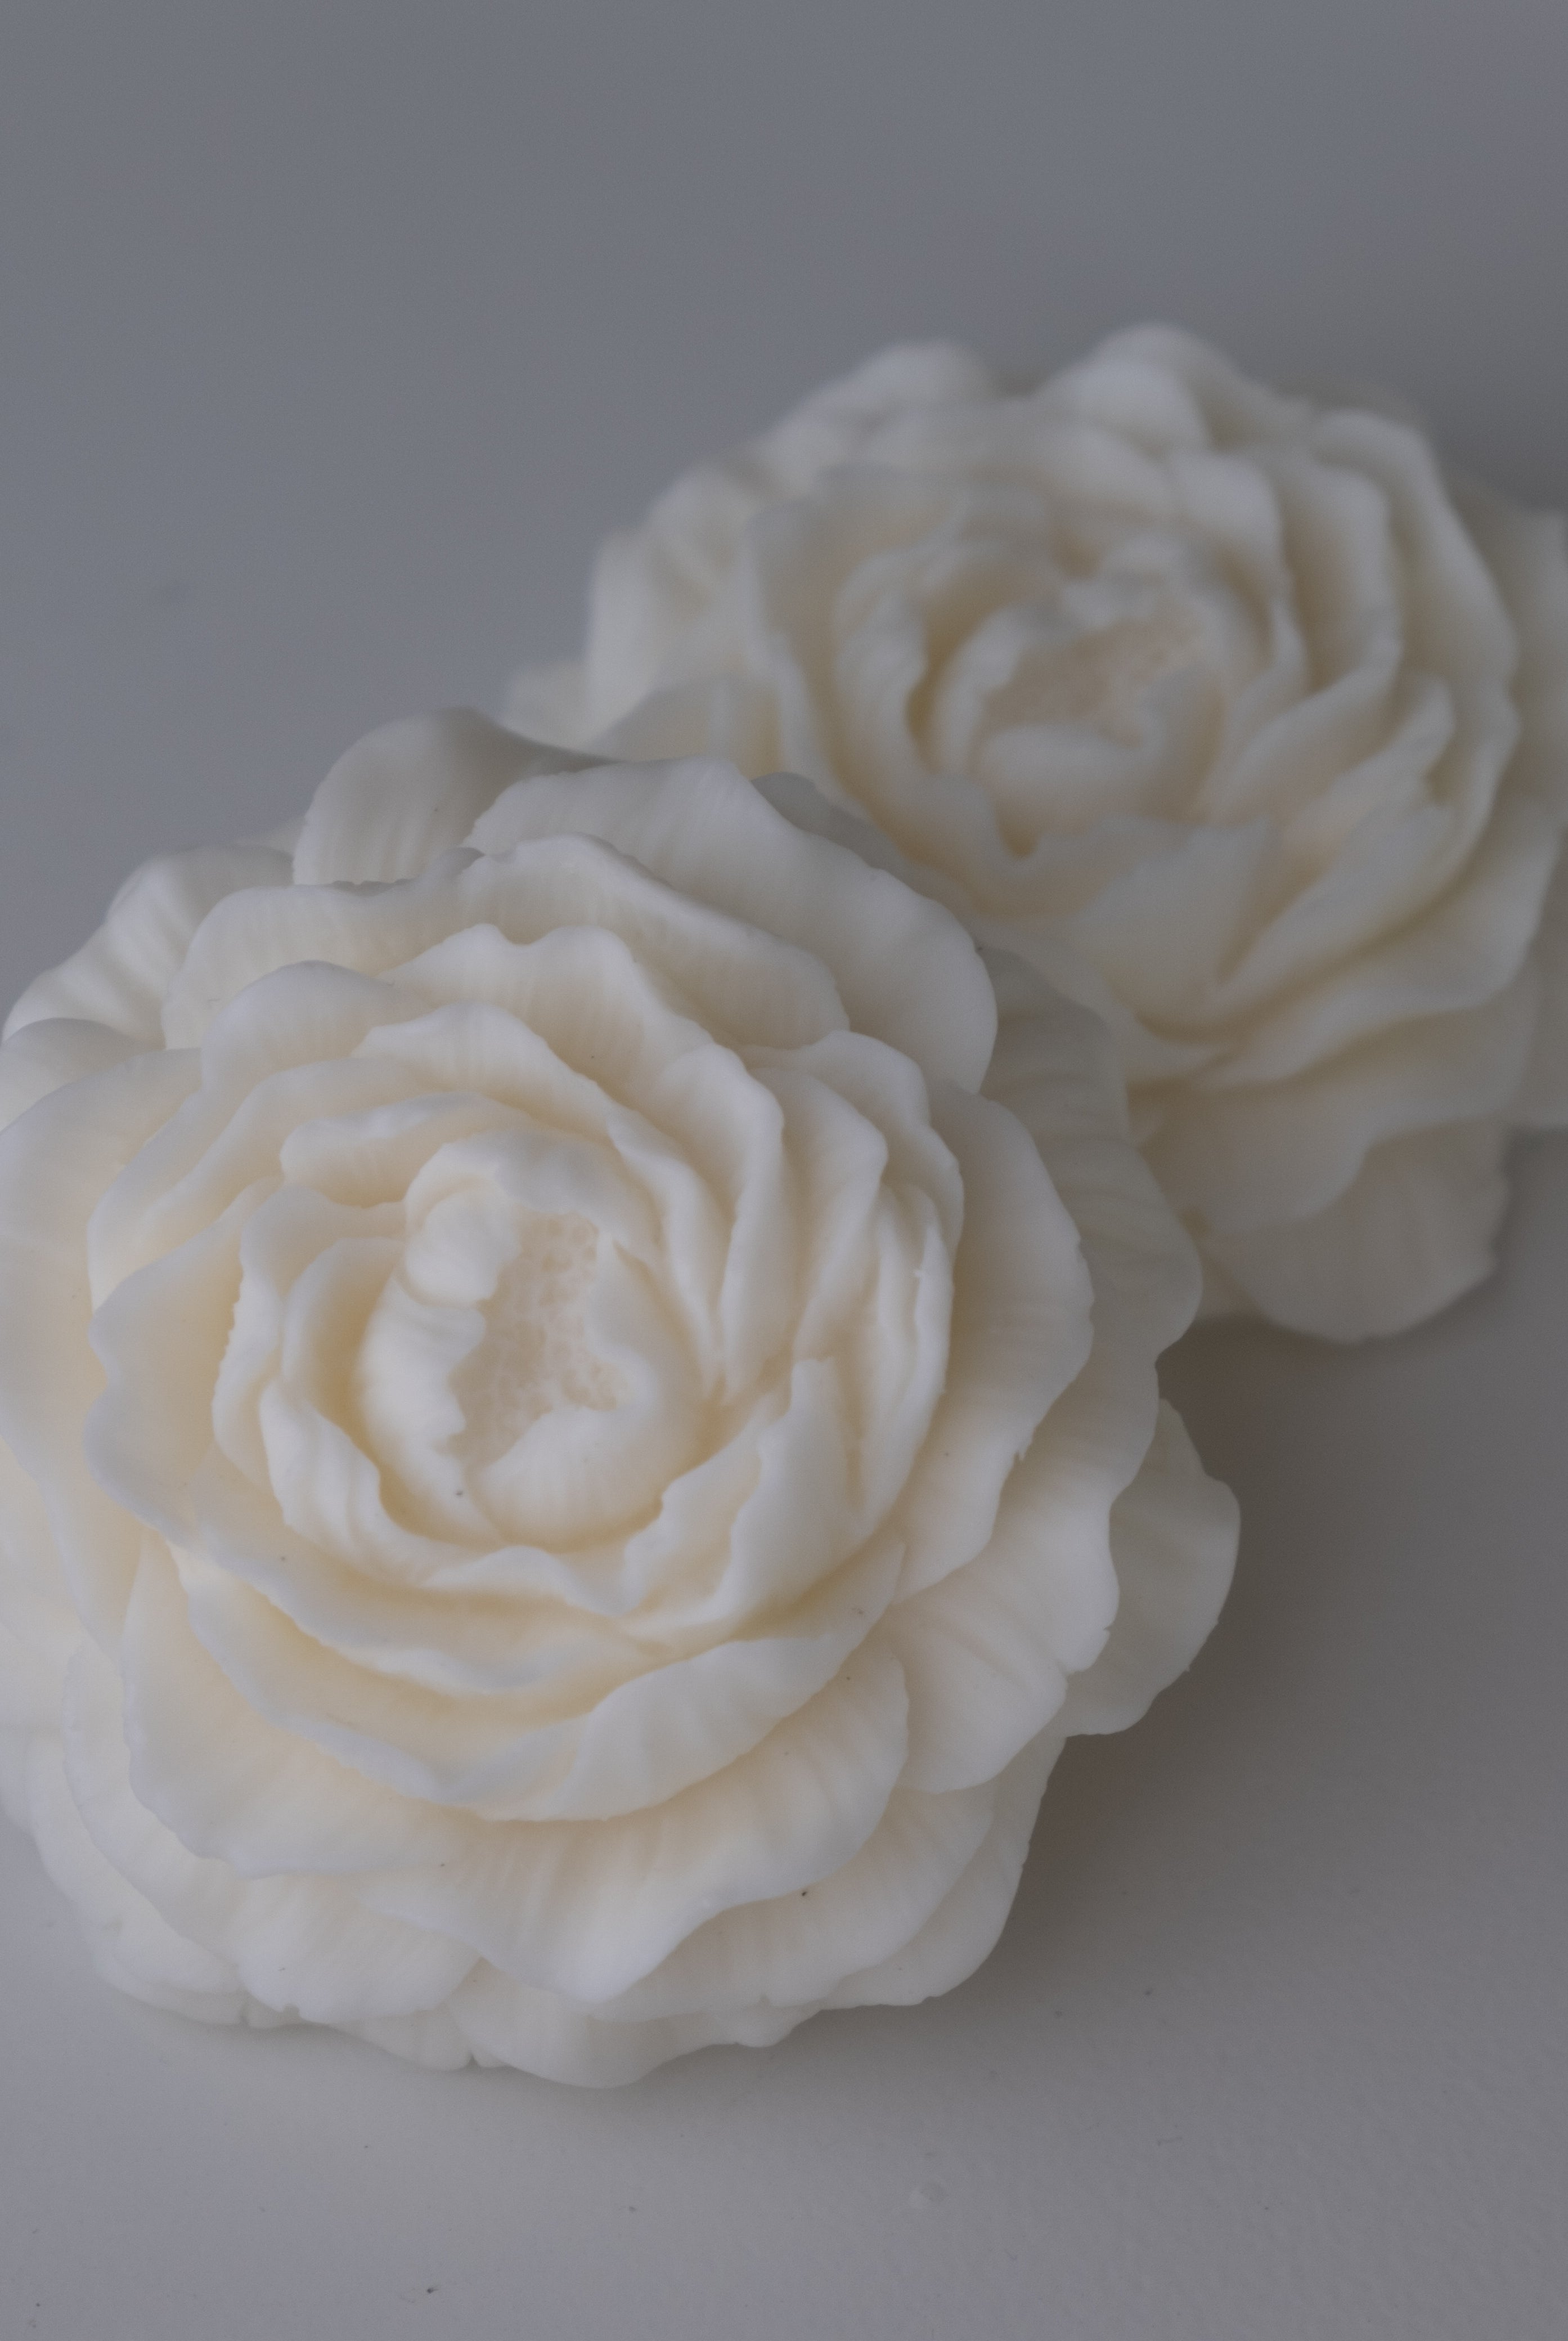
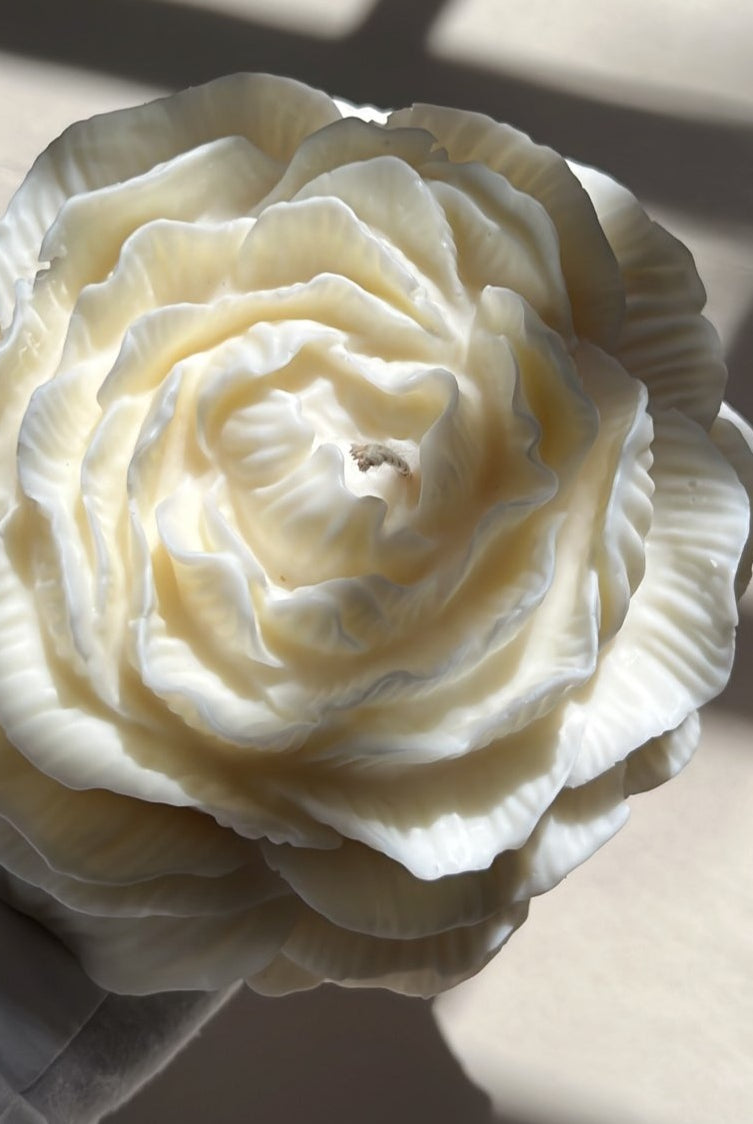
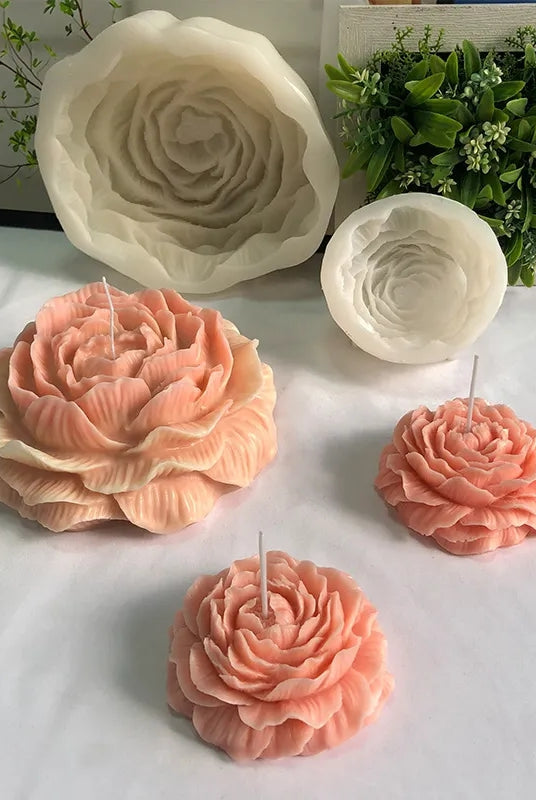
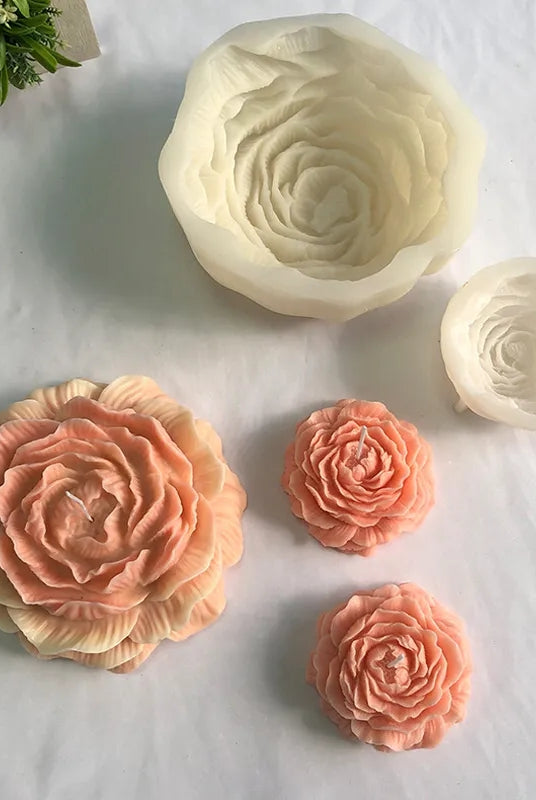
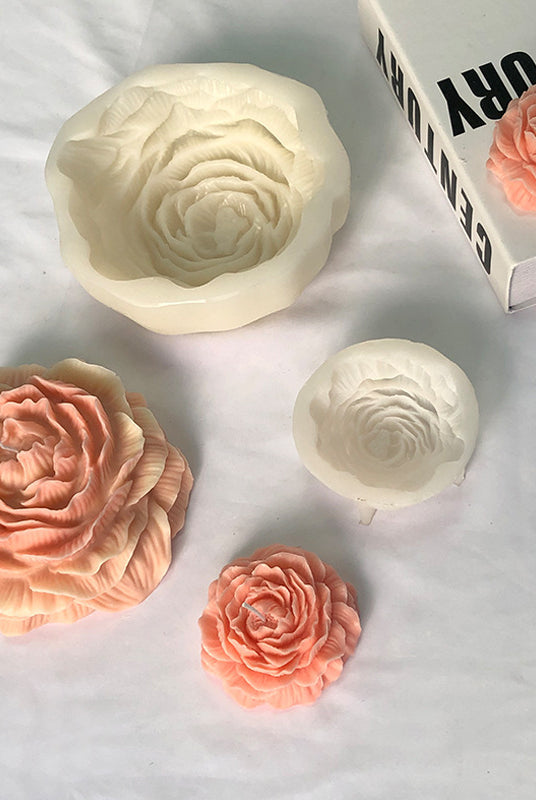
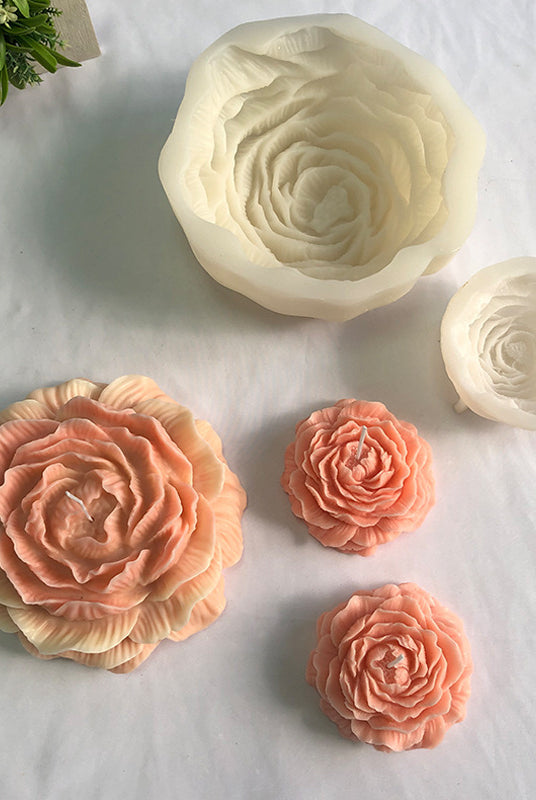
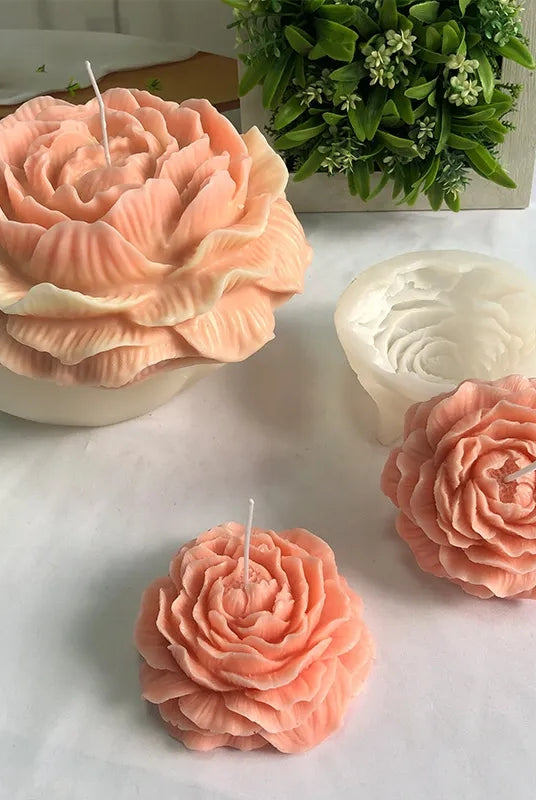
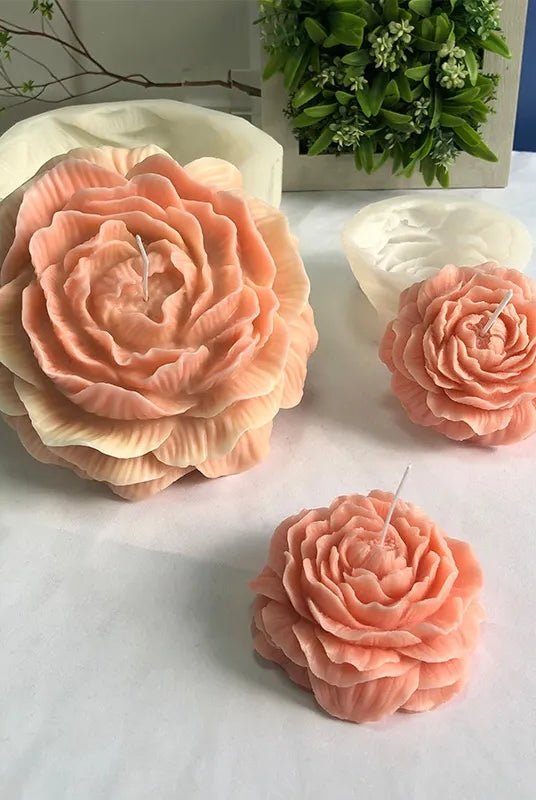
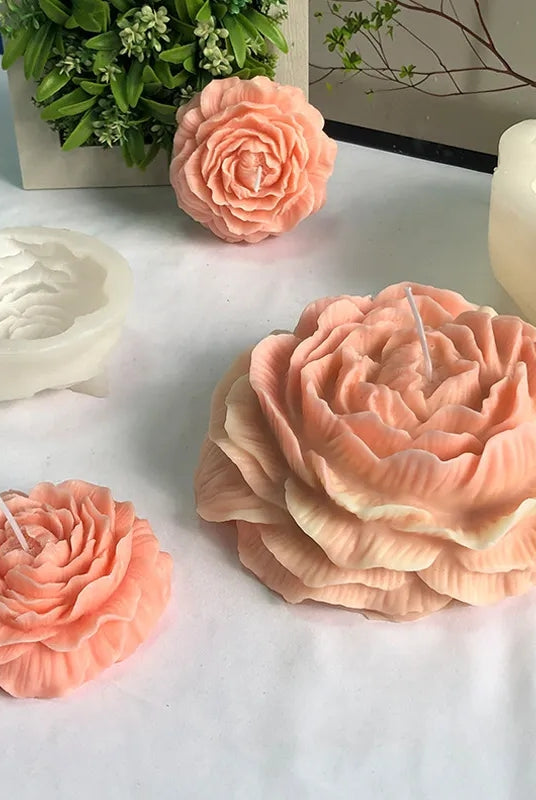
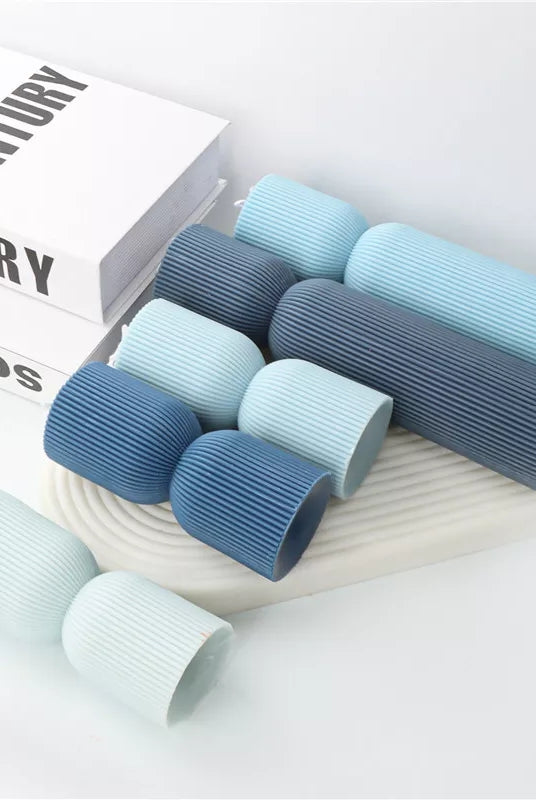
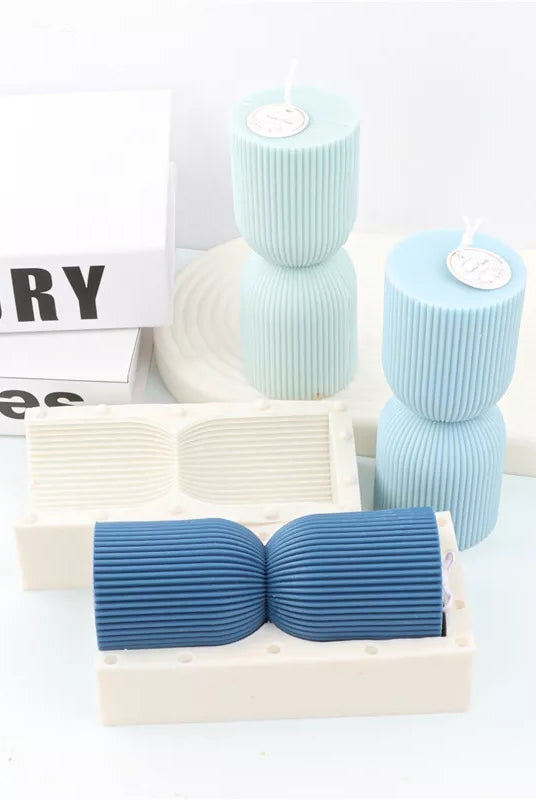
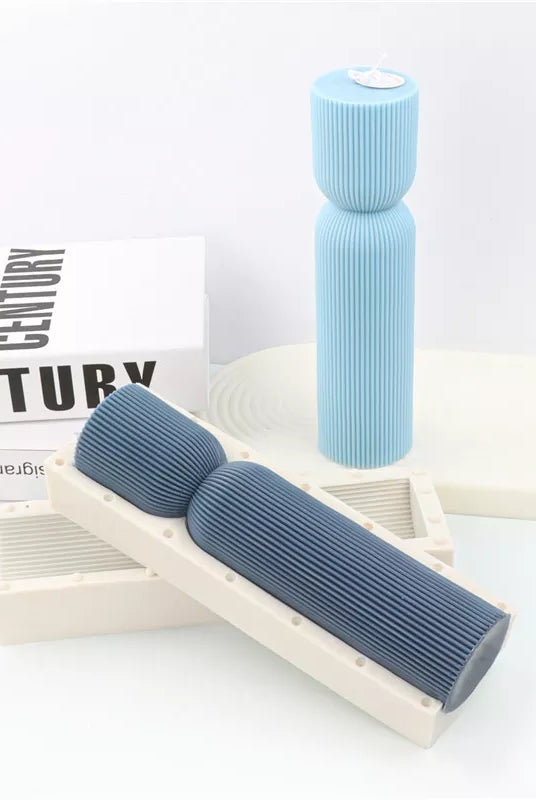
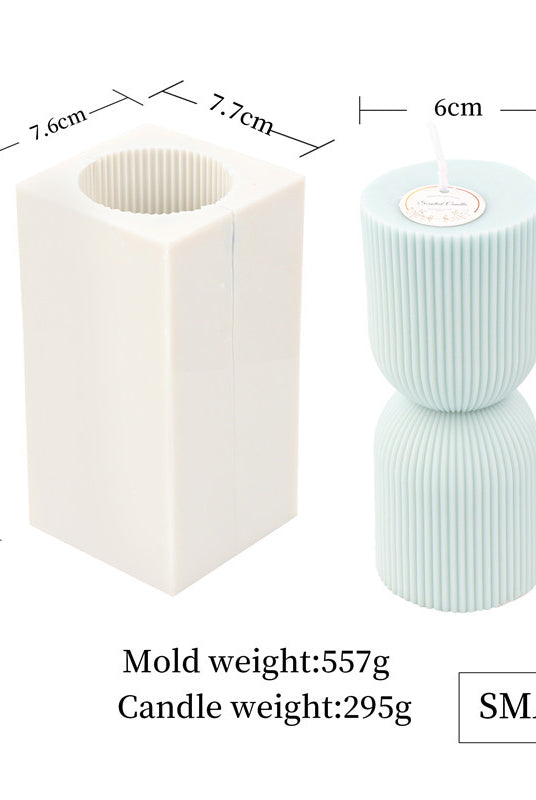
Silicone Hand Mould
Couldn't load pickup availability
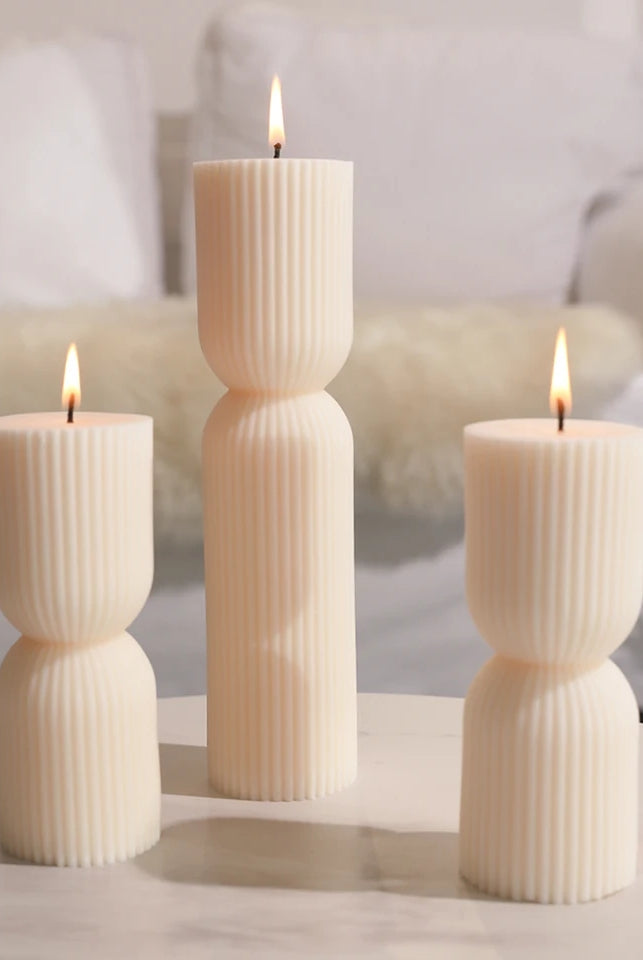
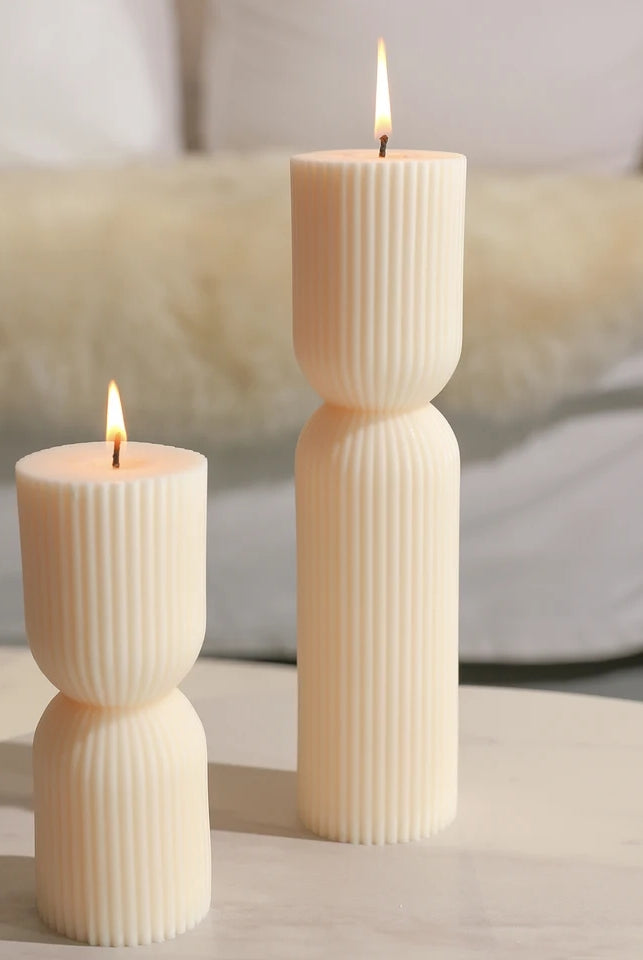
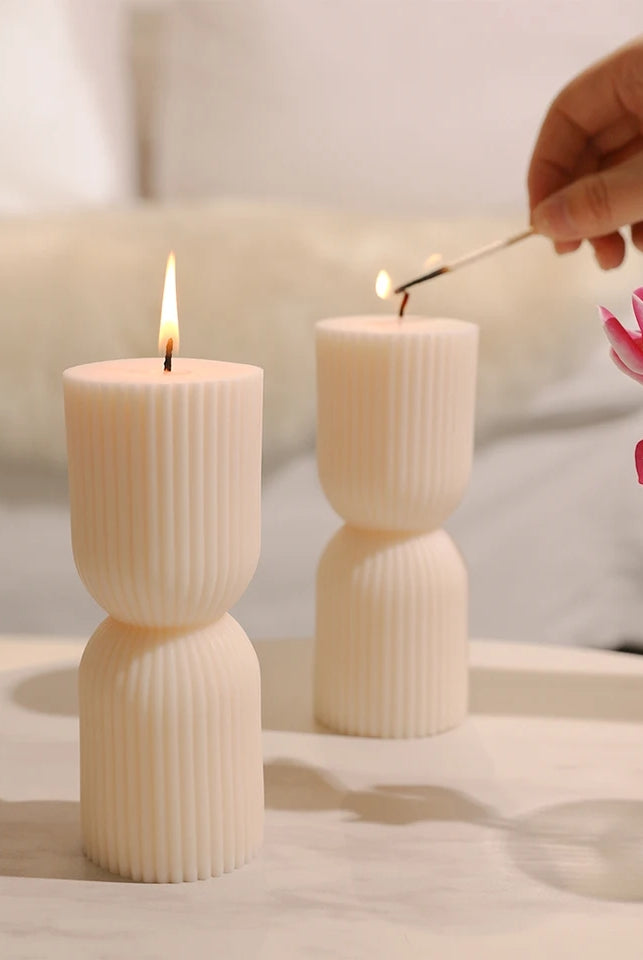
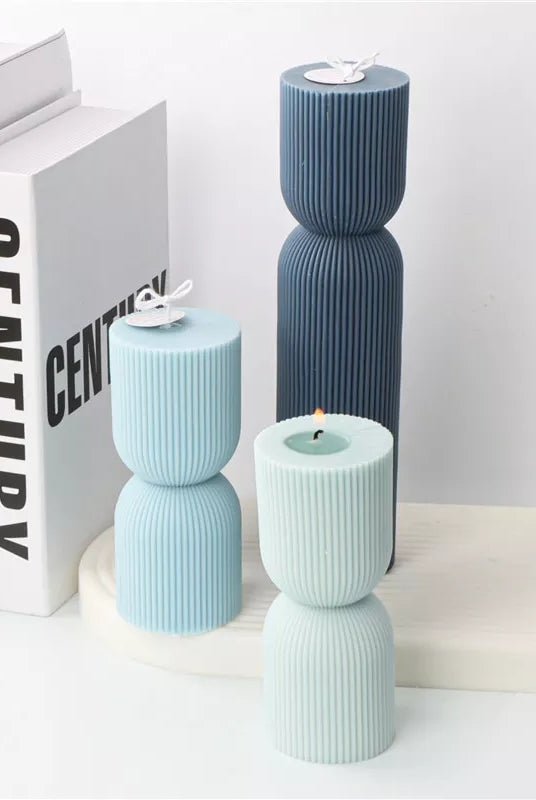
Imagine capturing the graceful lines and subtle details of a hand in your own crafted candles. Our Silicone Hand Mould offers just that—a perfect blend of artistry and practicality. This is designed for both novice and expert candle makers.
Made from top-quality silicone, this hand mould draws inspiration from the elegance of hand gestures. It offers a distinctive way to level up your candle-making projects. This silicone mould is flexible, durable and compatible with various waxes, including soy, beeswax and paraffin.
With this mould, you’re not just making candles—you’re creating art. Let’s make your next project unforgettable.
Specifications
-
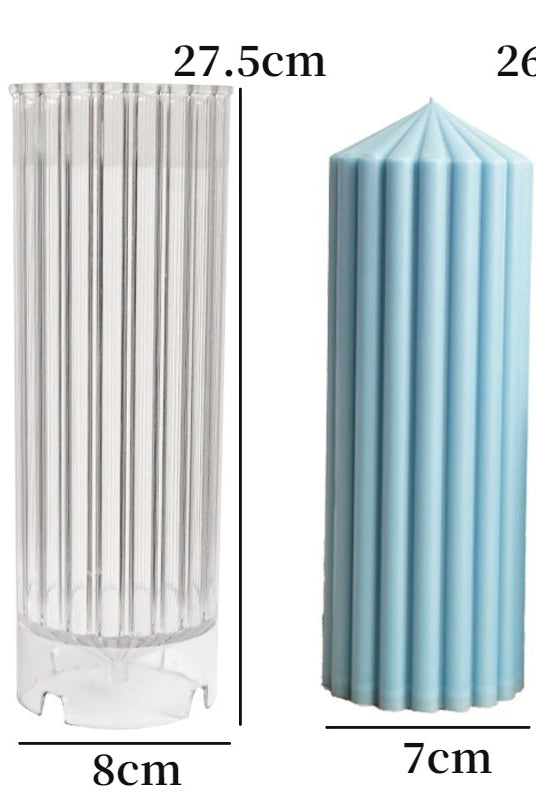
Finished Product: 15cm (H) x 7cm (W) x 3.5cm (L)
-
Wax Volume: 140g
-
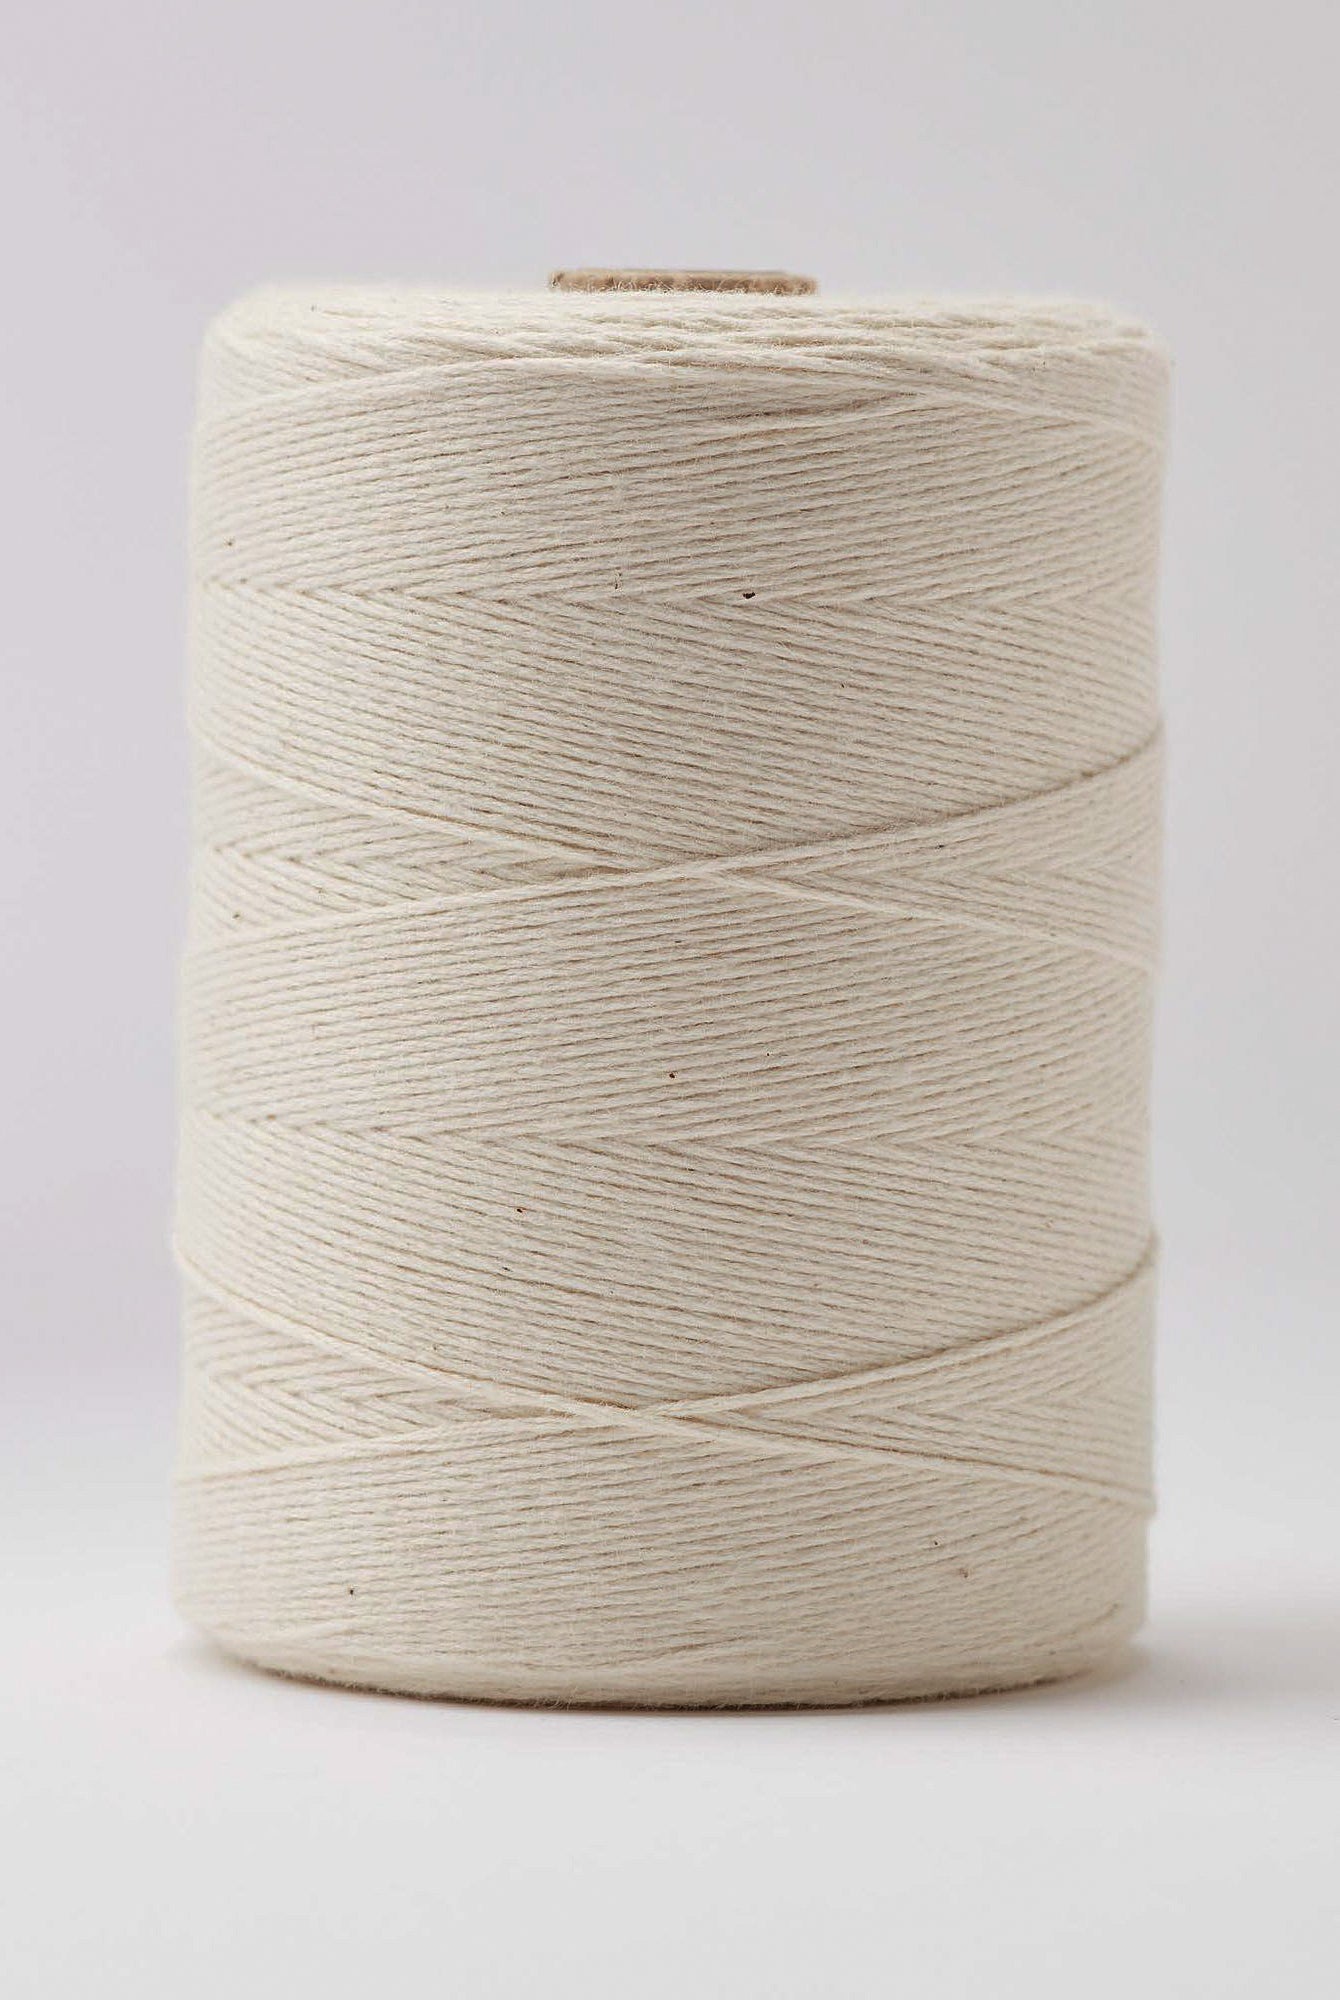
Wick Recommendation: 12-ply cotton
Note: These measurements are approximate and may vary based on your choice of wax and fragrance oil.
Mould Care
Clean our silicone hand mould with warm water and mild soap after every use. Store it in a dust-free environment.
Photo credit: @blowmywick_
Explore Our Collections
Discover our collection of beautiful silicone moulds, including the Easter Bunny Mould, the intricate Monarch Butterfly Mould, the elegant Saint Pillar Mould, and the exotic Morocco Mould. Each one is designed to bring your candle-making projects to life.
How To Use
Acrylic PVC Candle Moulds:
To use this candle mould, simply start by threading the wick through the center of the mould and securing it in place with a wick holder. Use blu tack to cover the wick hole to prevent leakage before pouring melted wax into the mould. Depending on the type of wax you are using, you may need to perform a second pour to even out the surface of the candle. Allow your candle to cure overnight before carefully unmoulding it. If the candle gets stuck, squeeze around the mould to release the candle from the sides.
Silicone Candle Moulds:
To use our candle moulds, simply start by threading the wick through the center of the mould and securing it in place with a wick holder. Then, pour in your melted wax and let it cool until it hardens. Depending on the type of wax you are using, you may need to perform a second pour to even out the surface of the candle. Allow your candle to cure overnight before carefully unmoulding it.
Concrete Trays & Vessels:
To make the most of your vessel mould, follow these steps:
- Preparation: Begin by gathering your selected material and ensure it's mixed according to the manufacturer's instructions.
- Pouring: Carefully fill the mould with your chosen material, ensuring it reaches the top.
- Air Bubble Removal: For a smoother finish, gently tap the mould on a sturdy surface to encourage any trapped air bubbles to rise to the surface.
- Curing: Adhere to the recommended curing time for your chosen material.
- Demoulding: Once the material has set and cured, carefully flex and remove the mould to unveil your creation.
- If your tray or vessel will be used for candles, it is vital to seal it with a heat-resistant sealer. Apply at least two coats to both the interior and exterior of the vessel. Ensure the sealant is fully dry before pouring in the wax.
Shipping
Standard (Australia):
- 3-7 business days
- $12 shipping fee
Express (Australia)
- 1-3 business days
- $17
Standard (New Zealand)
- 4-14 business days
- $20
DHL Express (International)
- 3-7 business days via DHL Express
- Calculated based on location and weight
Returns & Refunds
Parcel Claims:
Report missing or damaged items within 24 hours of delivery to be eligible for store credit or a replacement. Include proof of purchase and photographic evidence. Contact us at info@mykacandlesandmoulds.com.
Moulds Disclaimer:
Expect slight imperfections in our handmade silicone moulds, which won't affect the final product. For unlevel moulds, adjust using simple supports.
Exchanges/Refunds:
No alterations, cancellations, exchanges, or refunds after purchase except as covered under parcel claims.
Lost/Damaged Parcels:
If a package is lost or damaged, contact us immediately for assistance with a claim.
For detailed information on our policies, please visit our full Returns & Refunds Policy.


