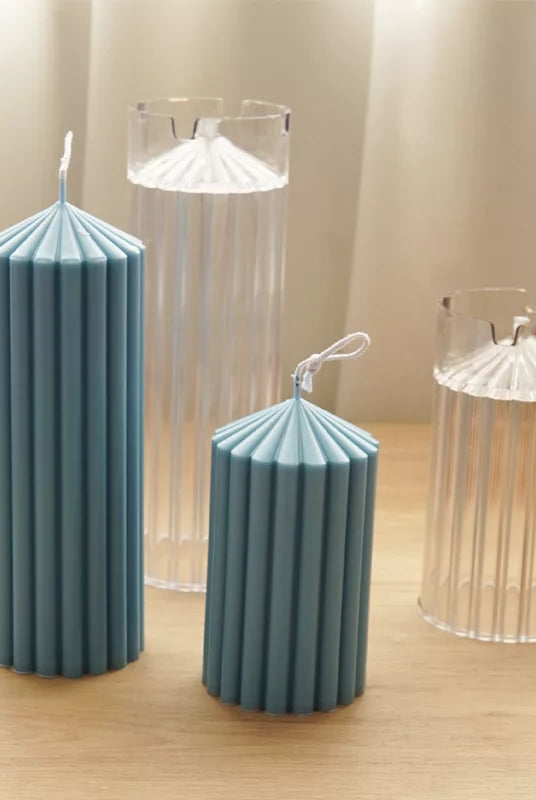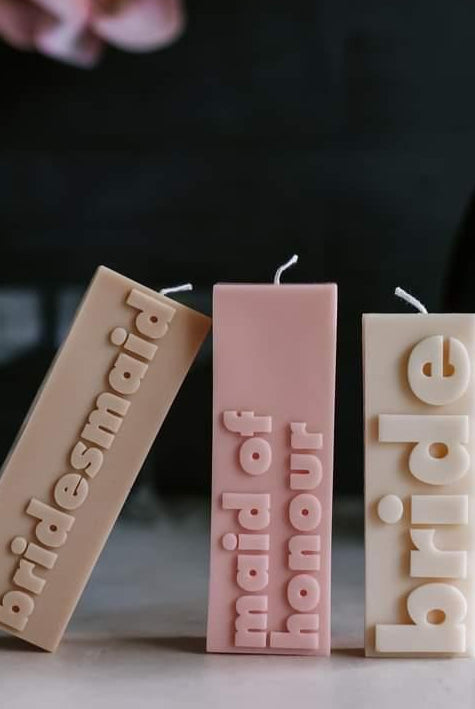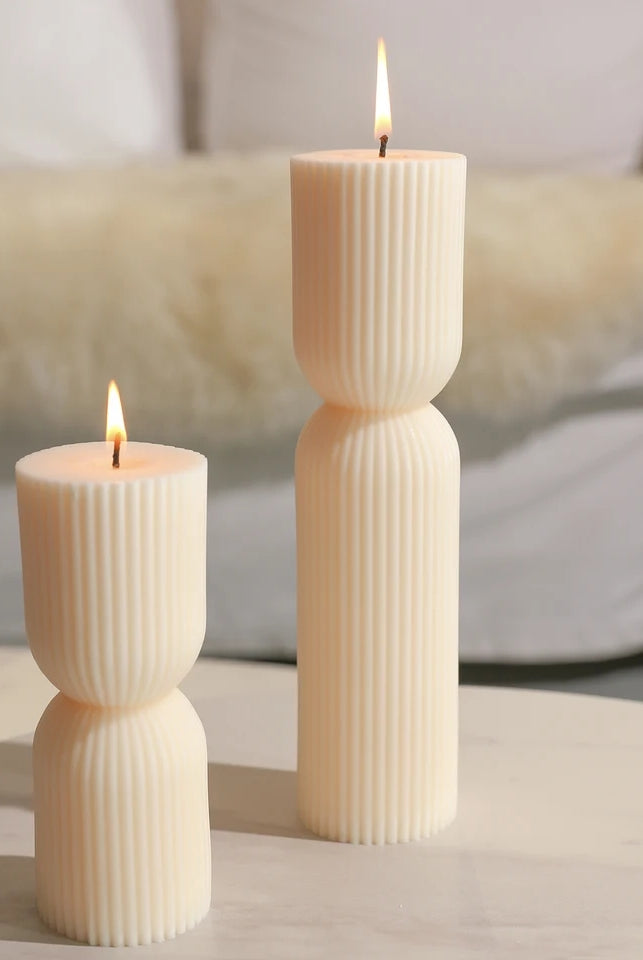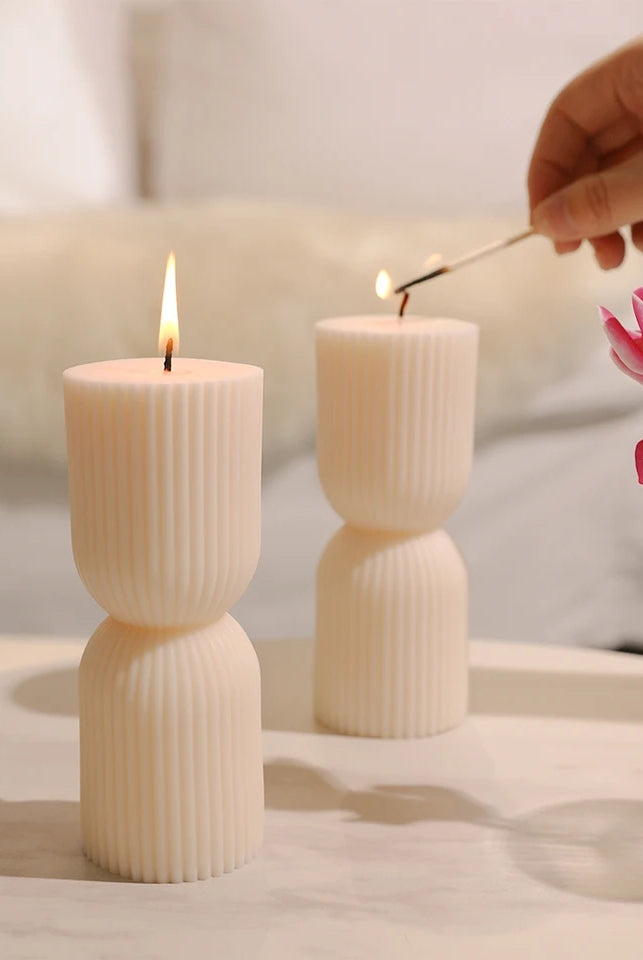


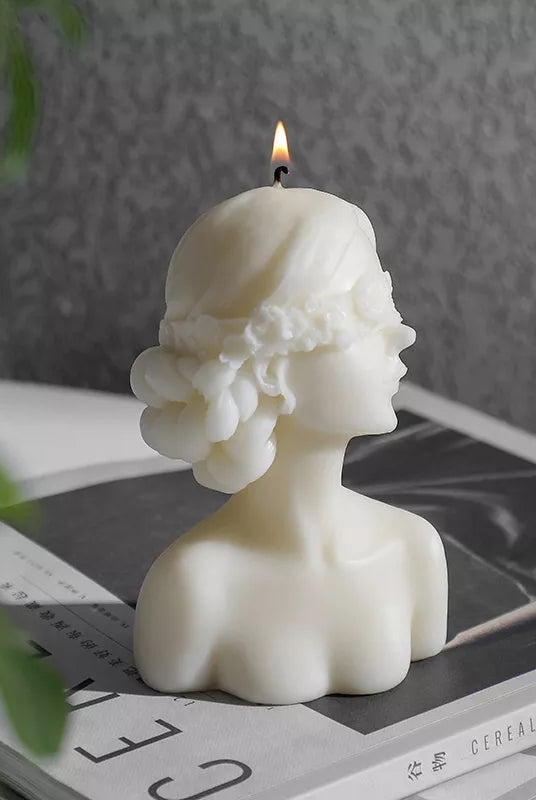
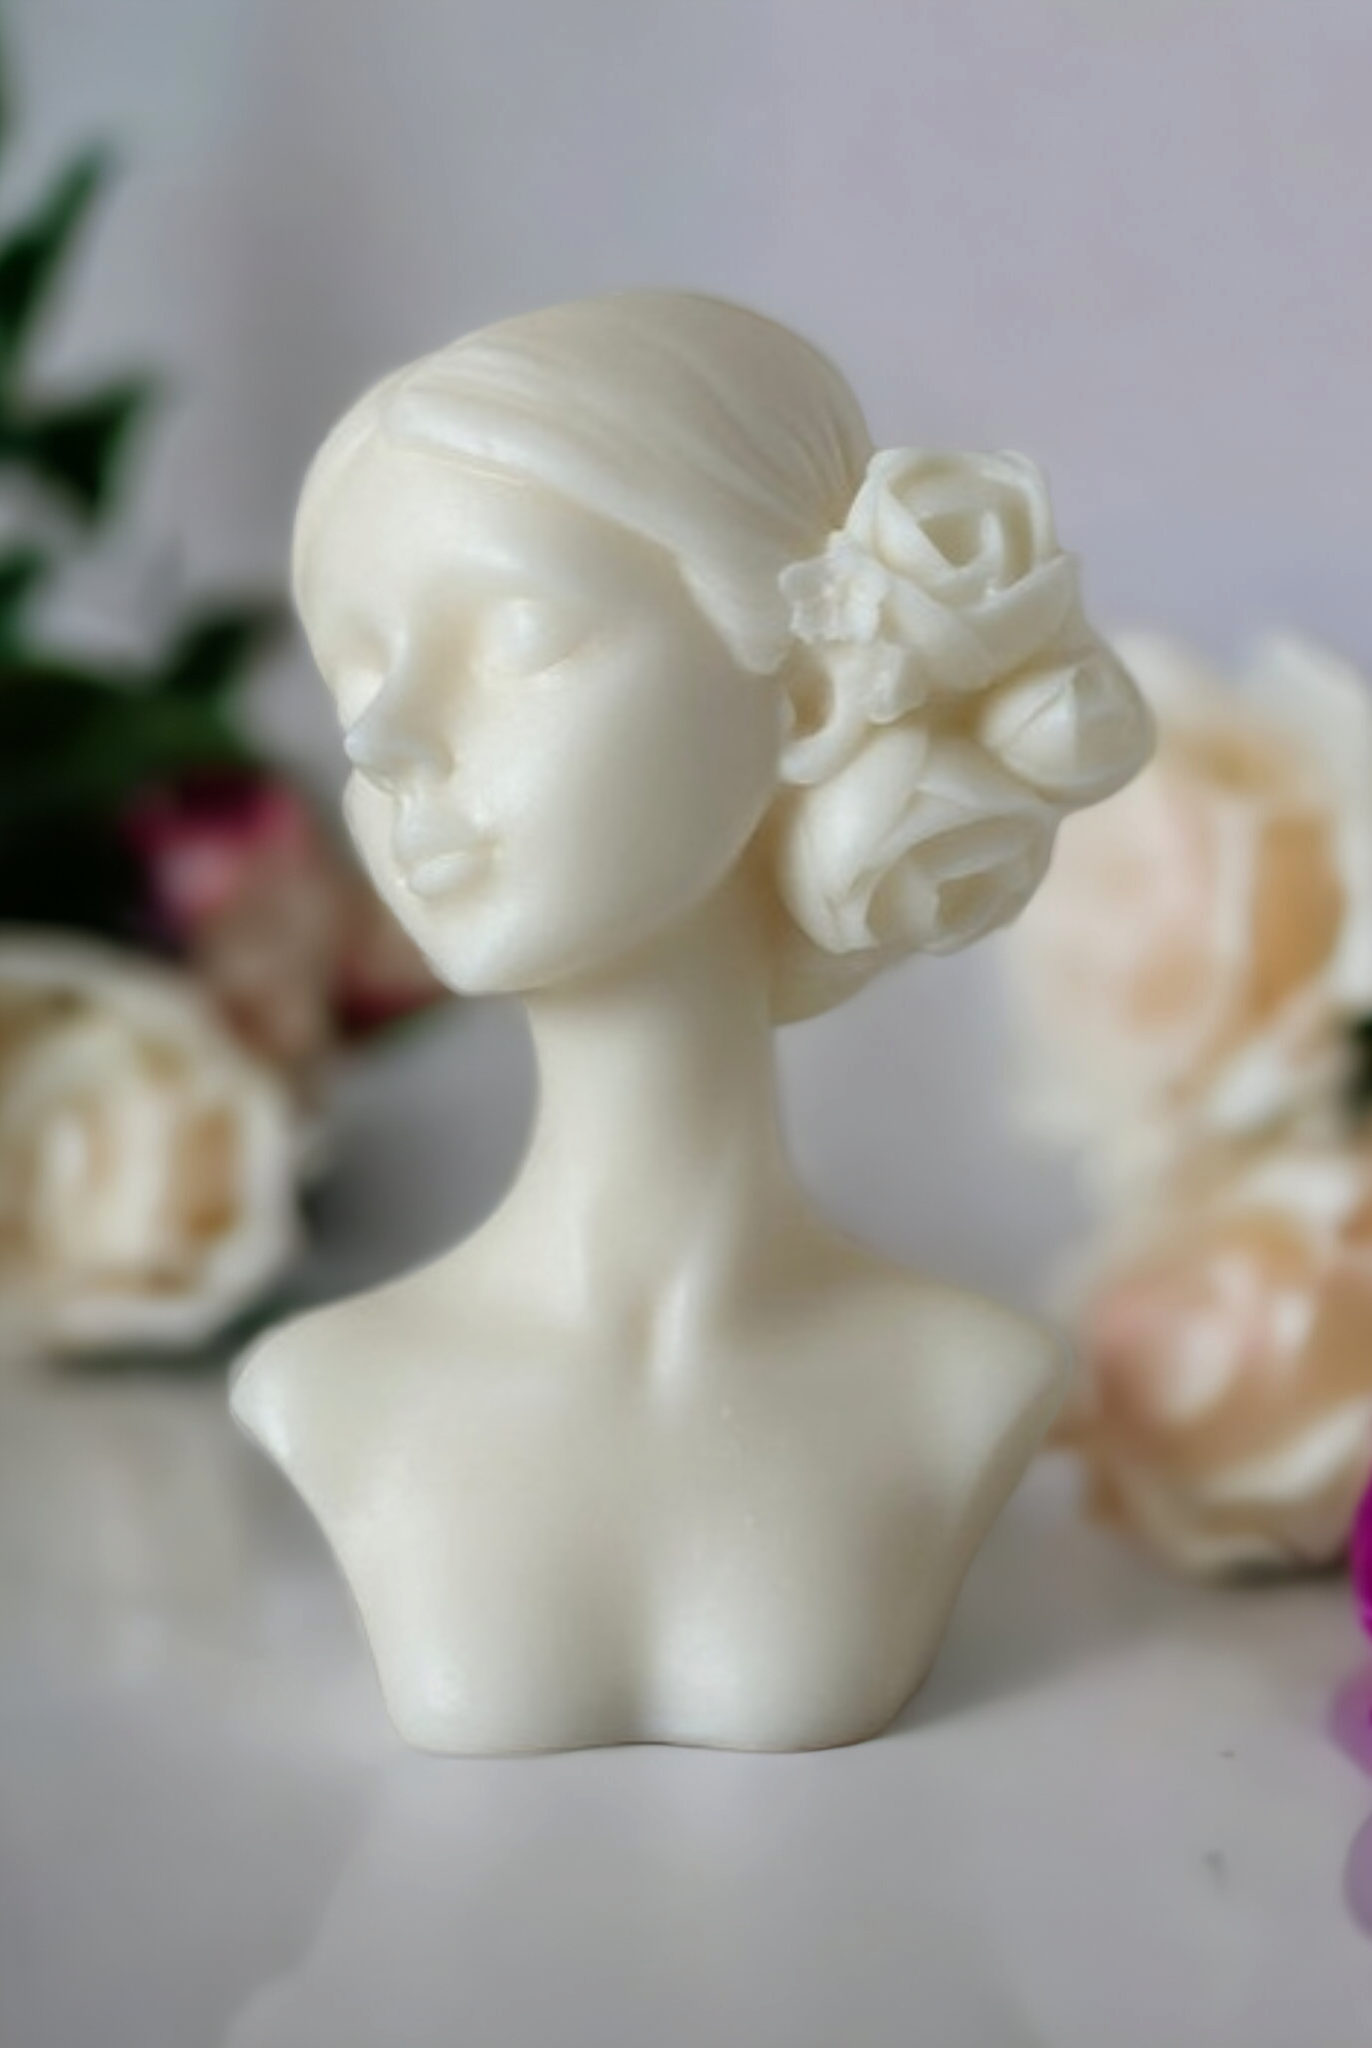
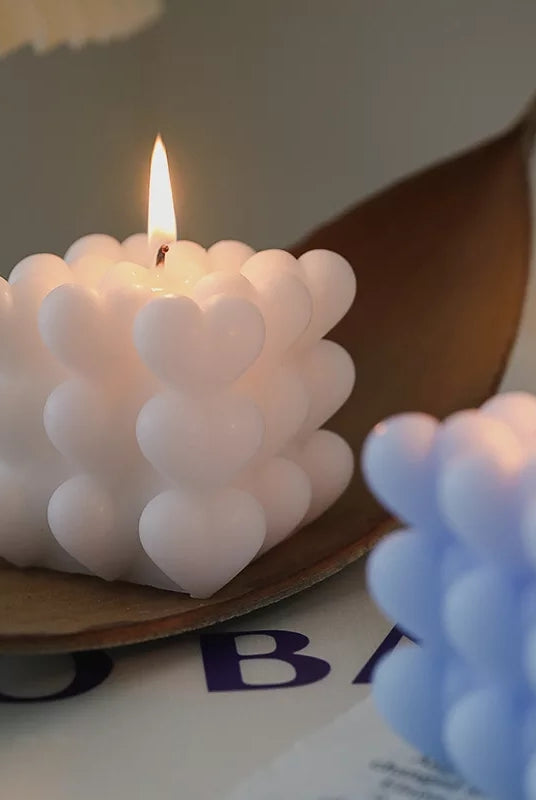
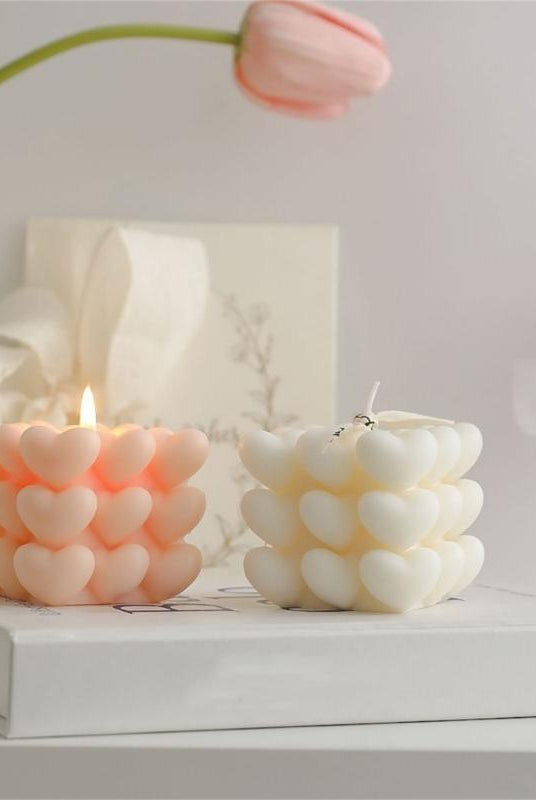
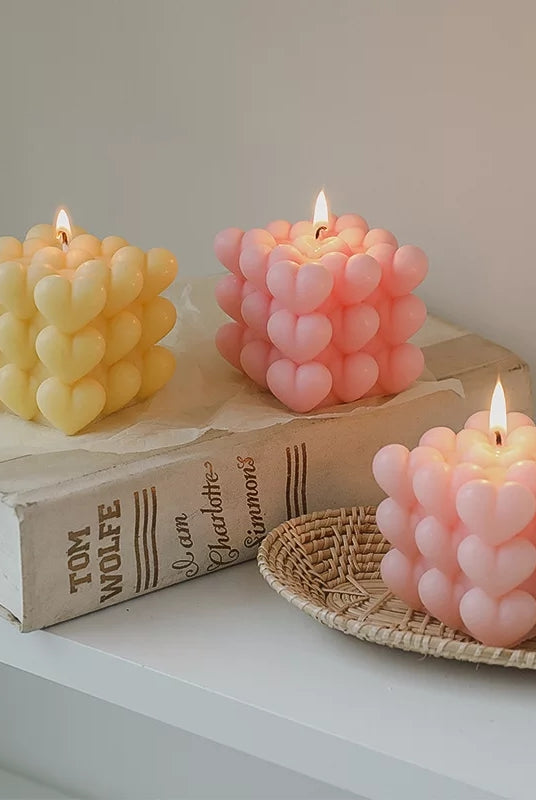
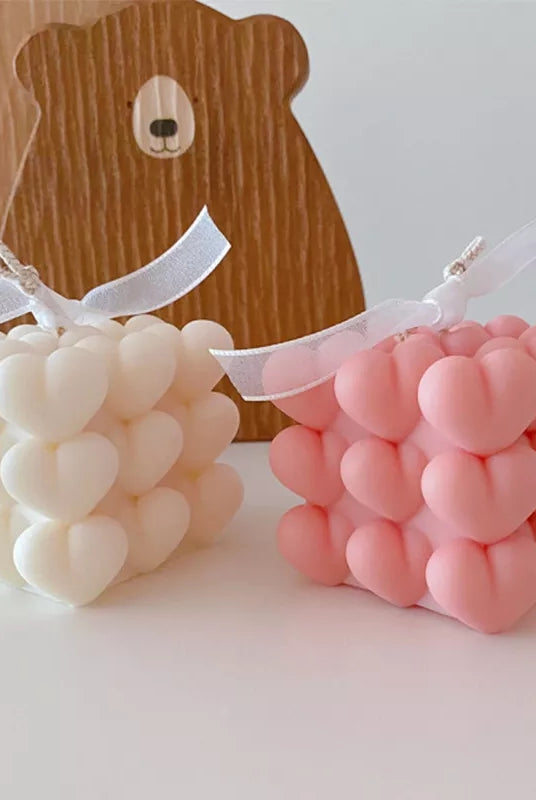
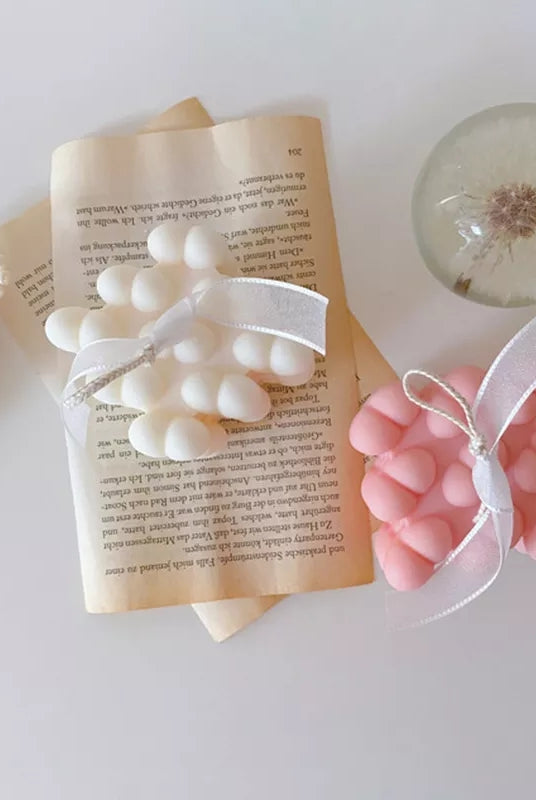
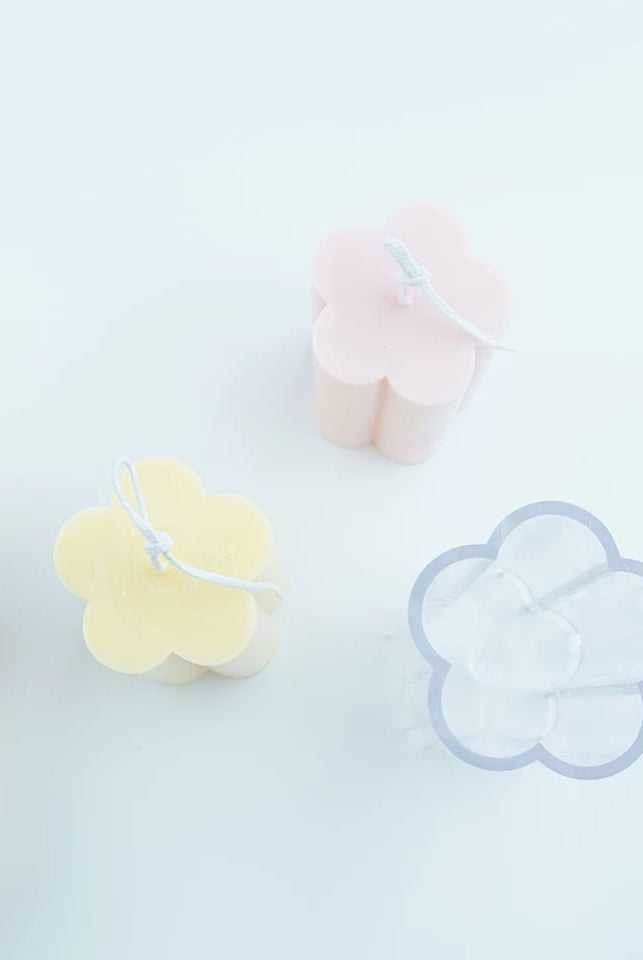
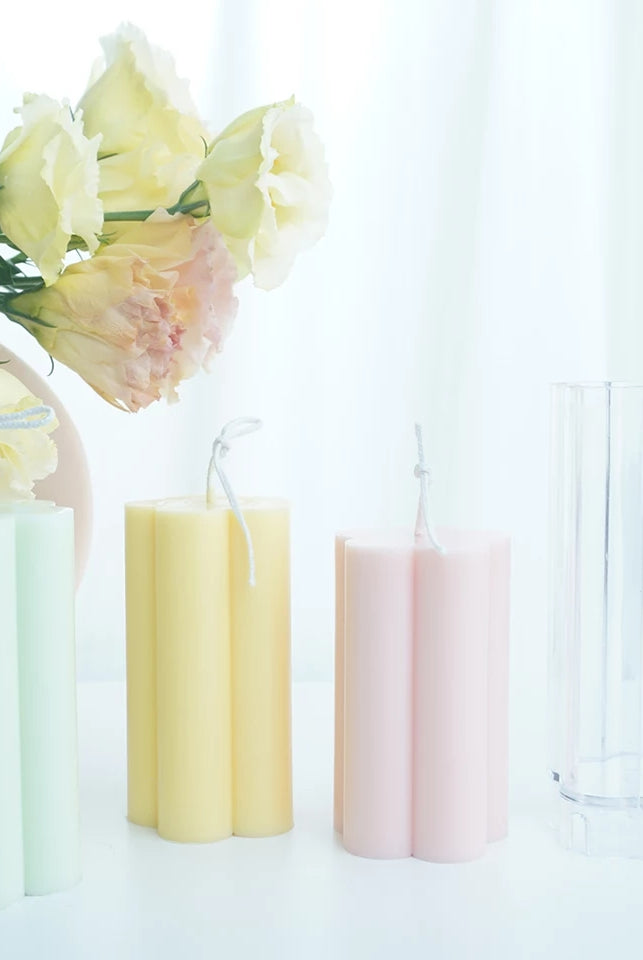
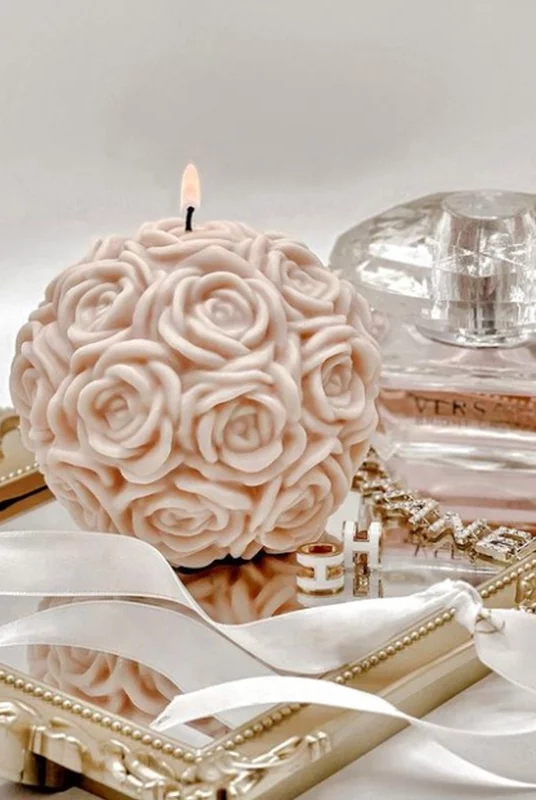
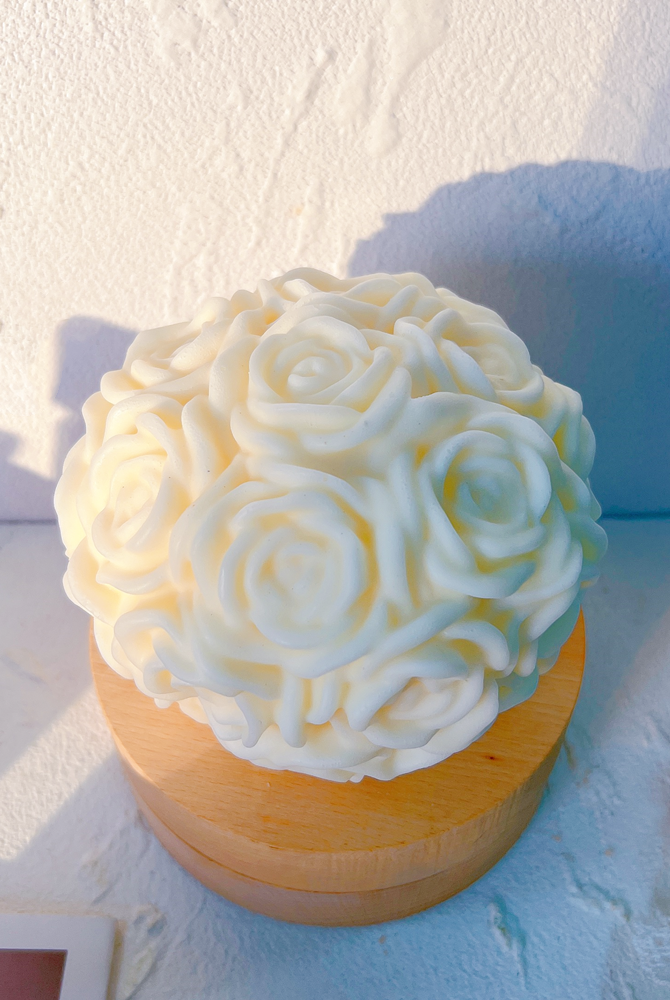
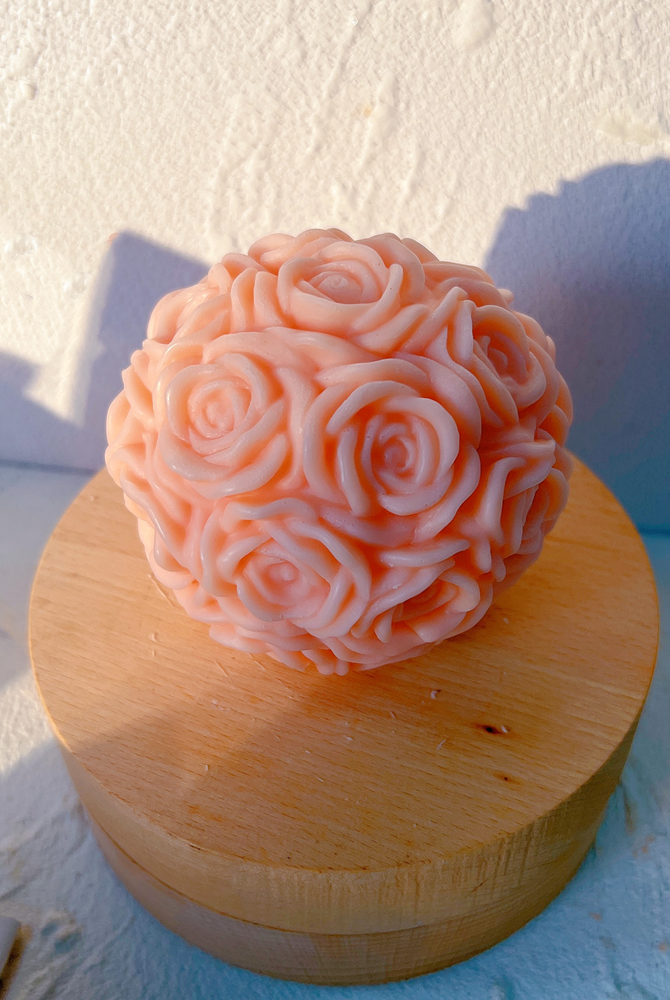
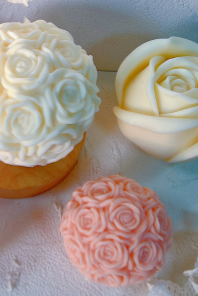
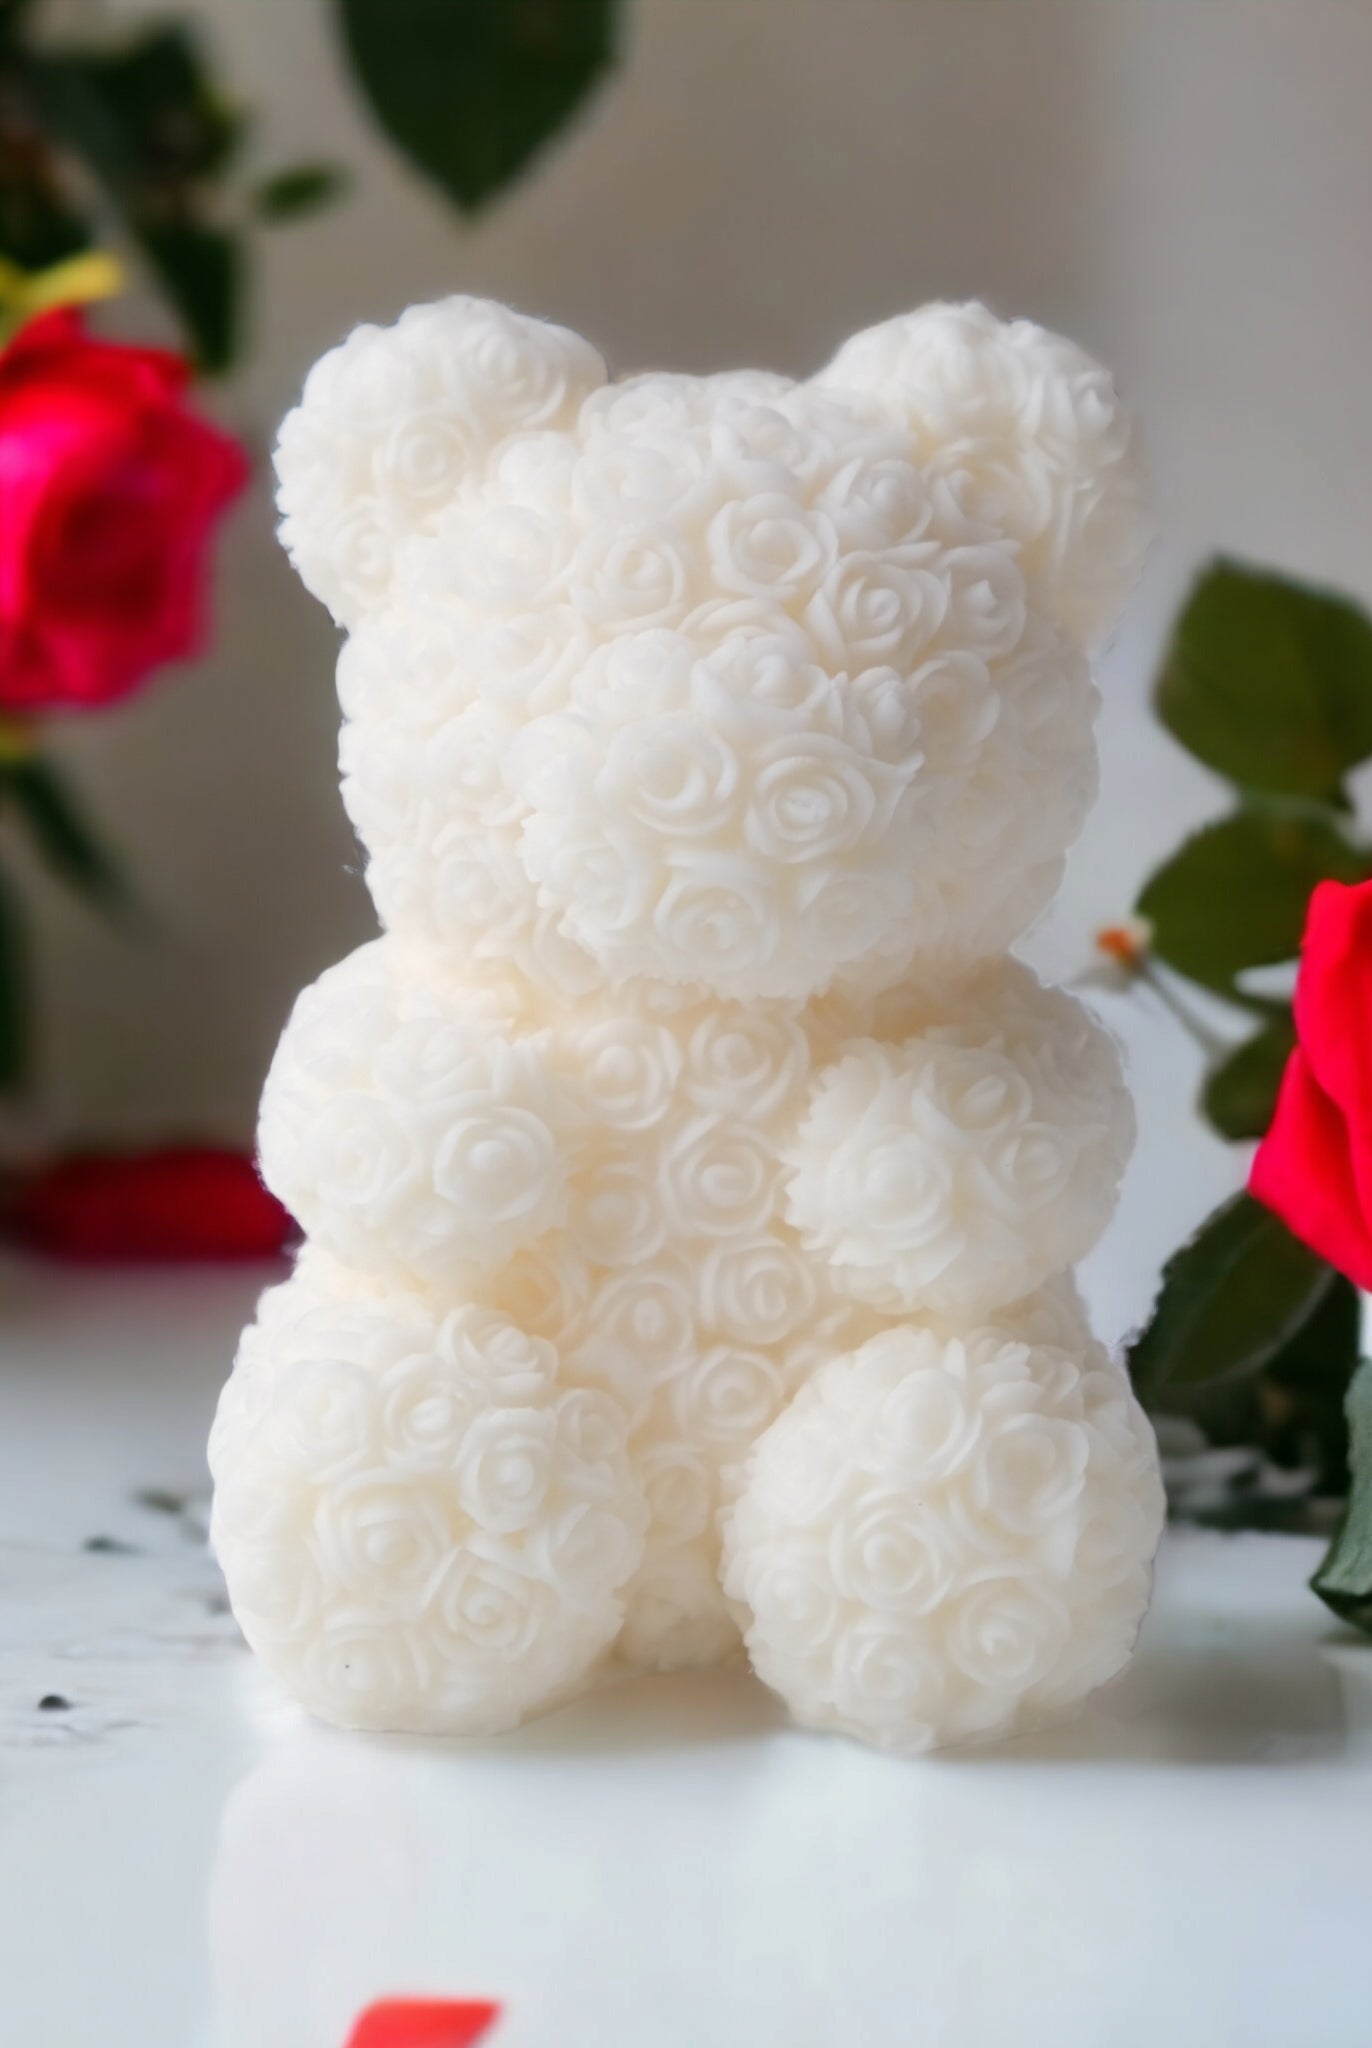
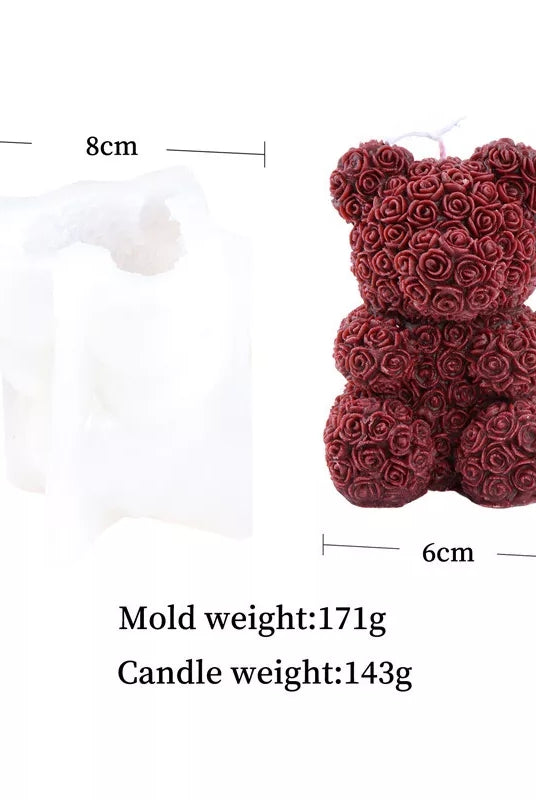
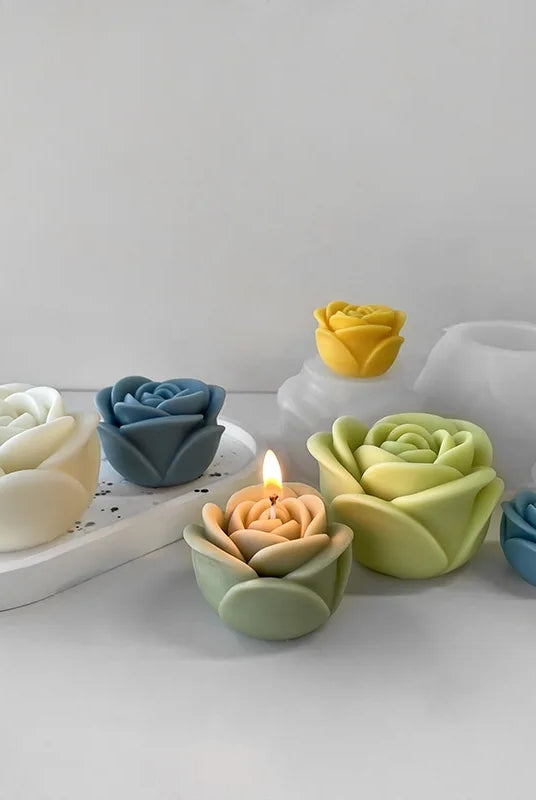


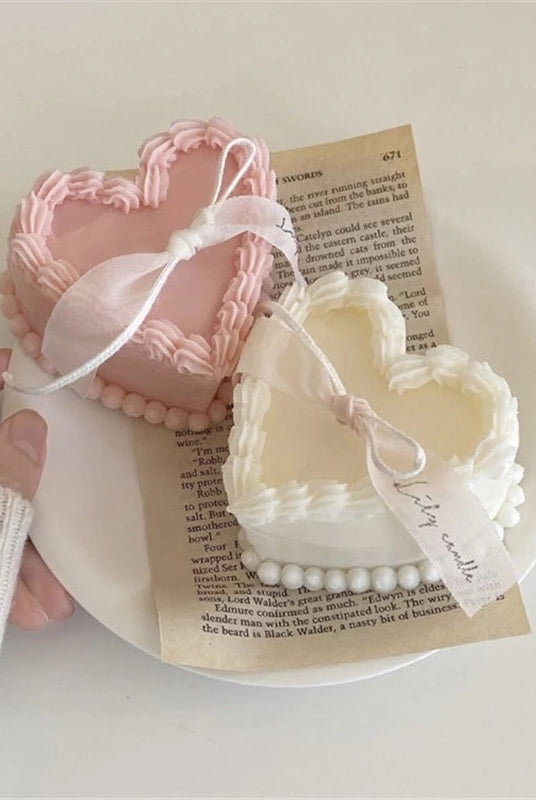
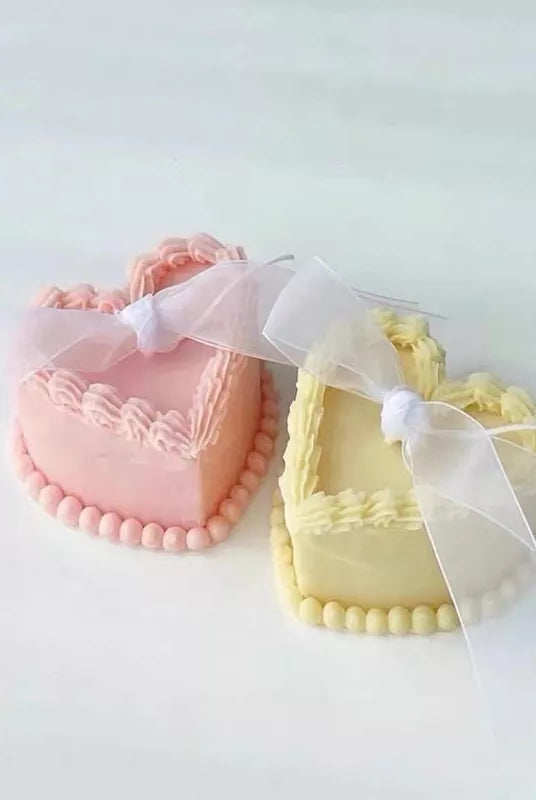

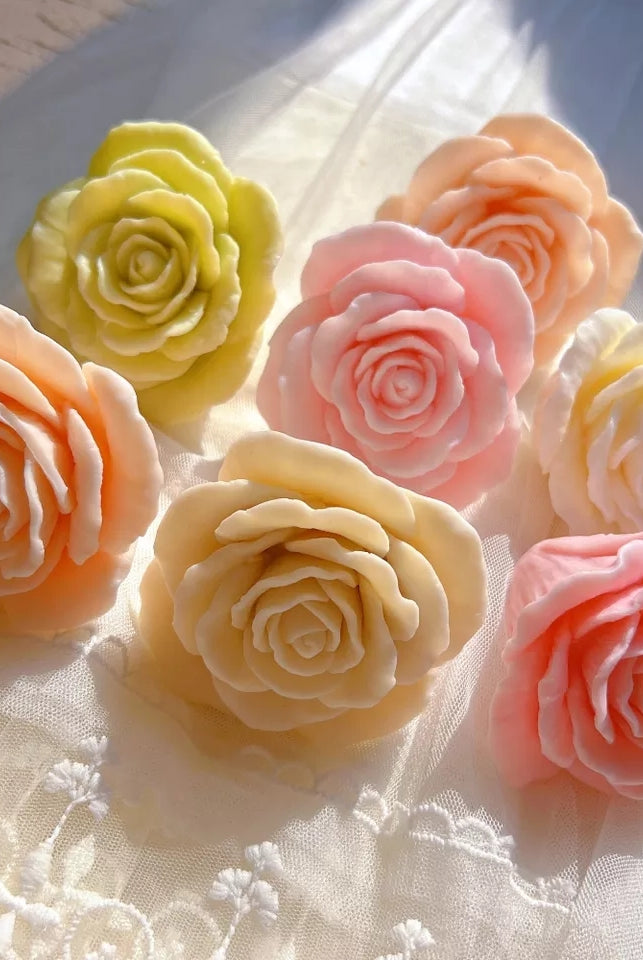
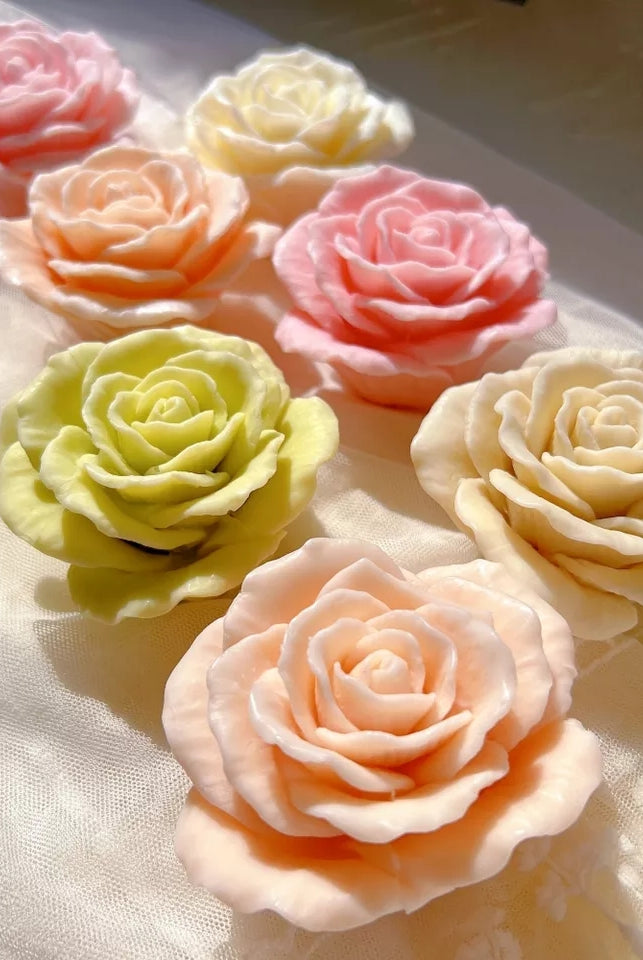
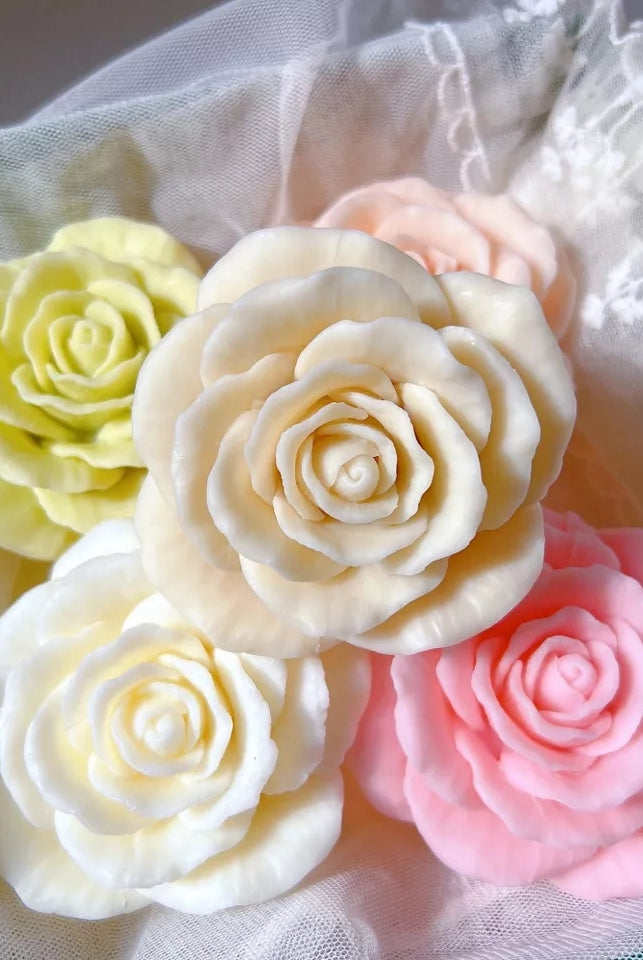
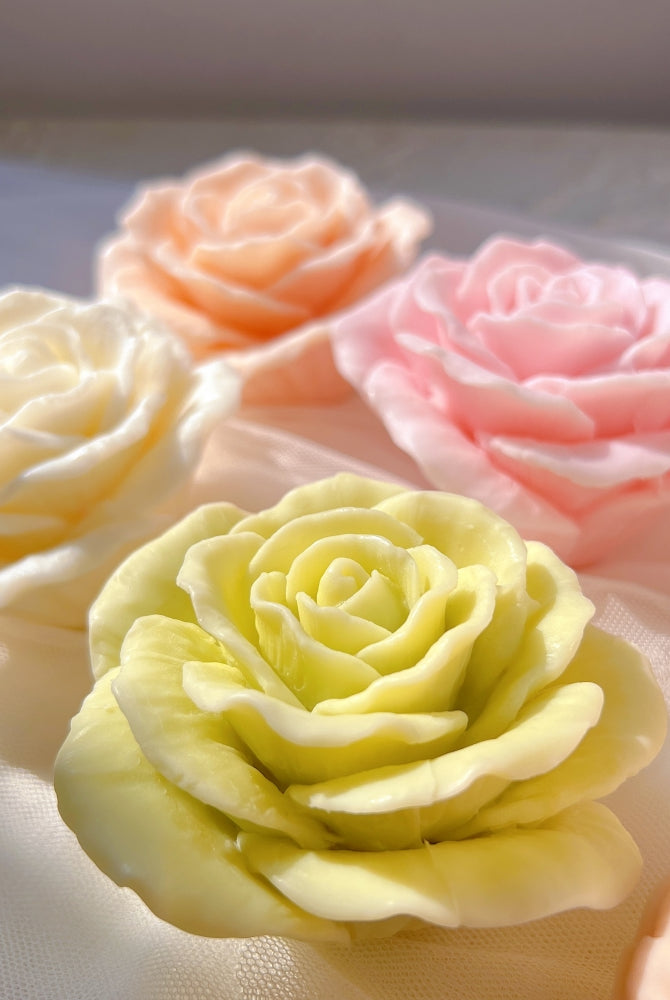
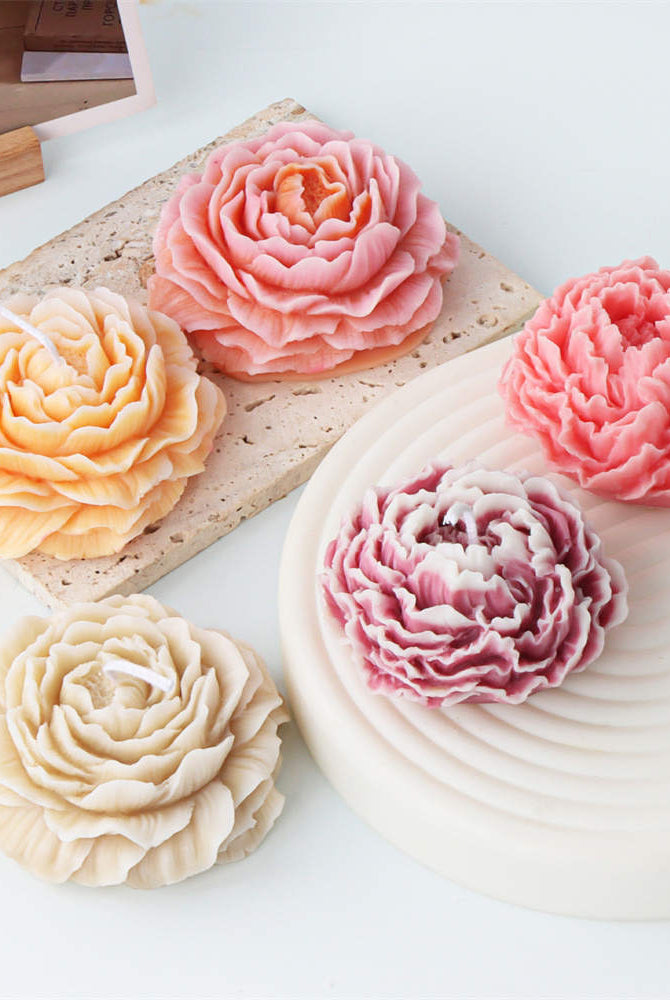
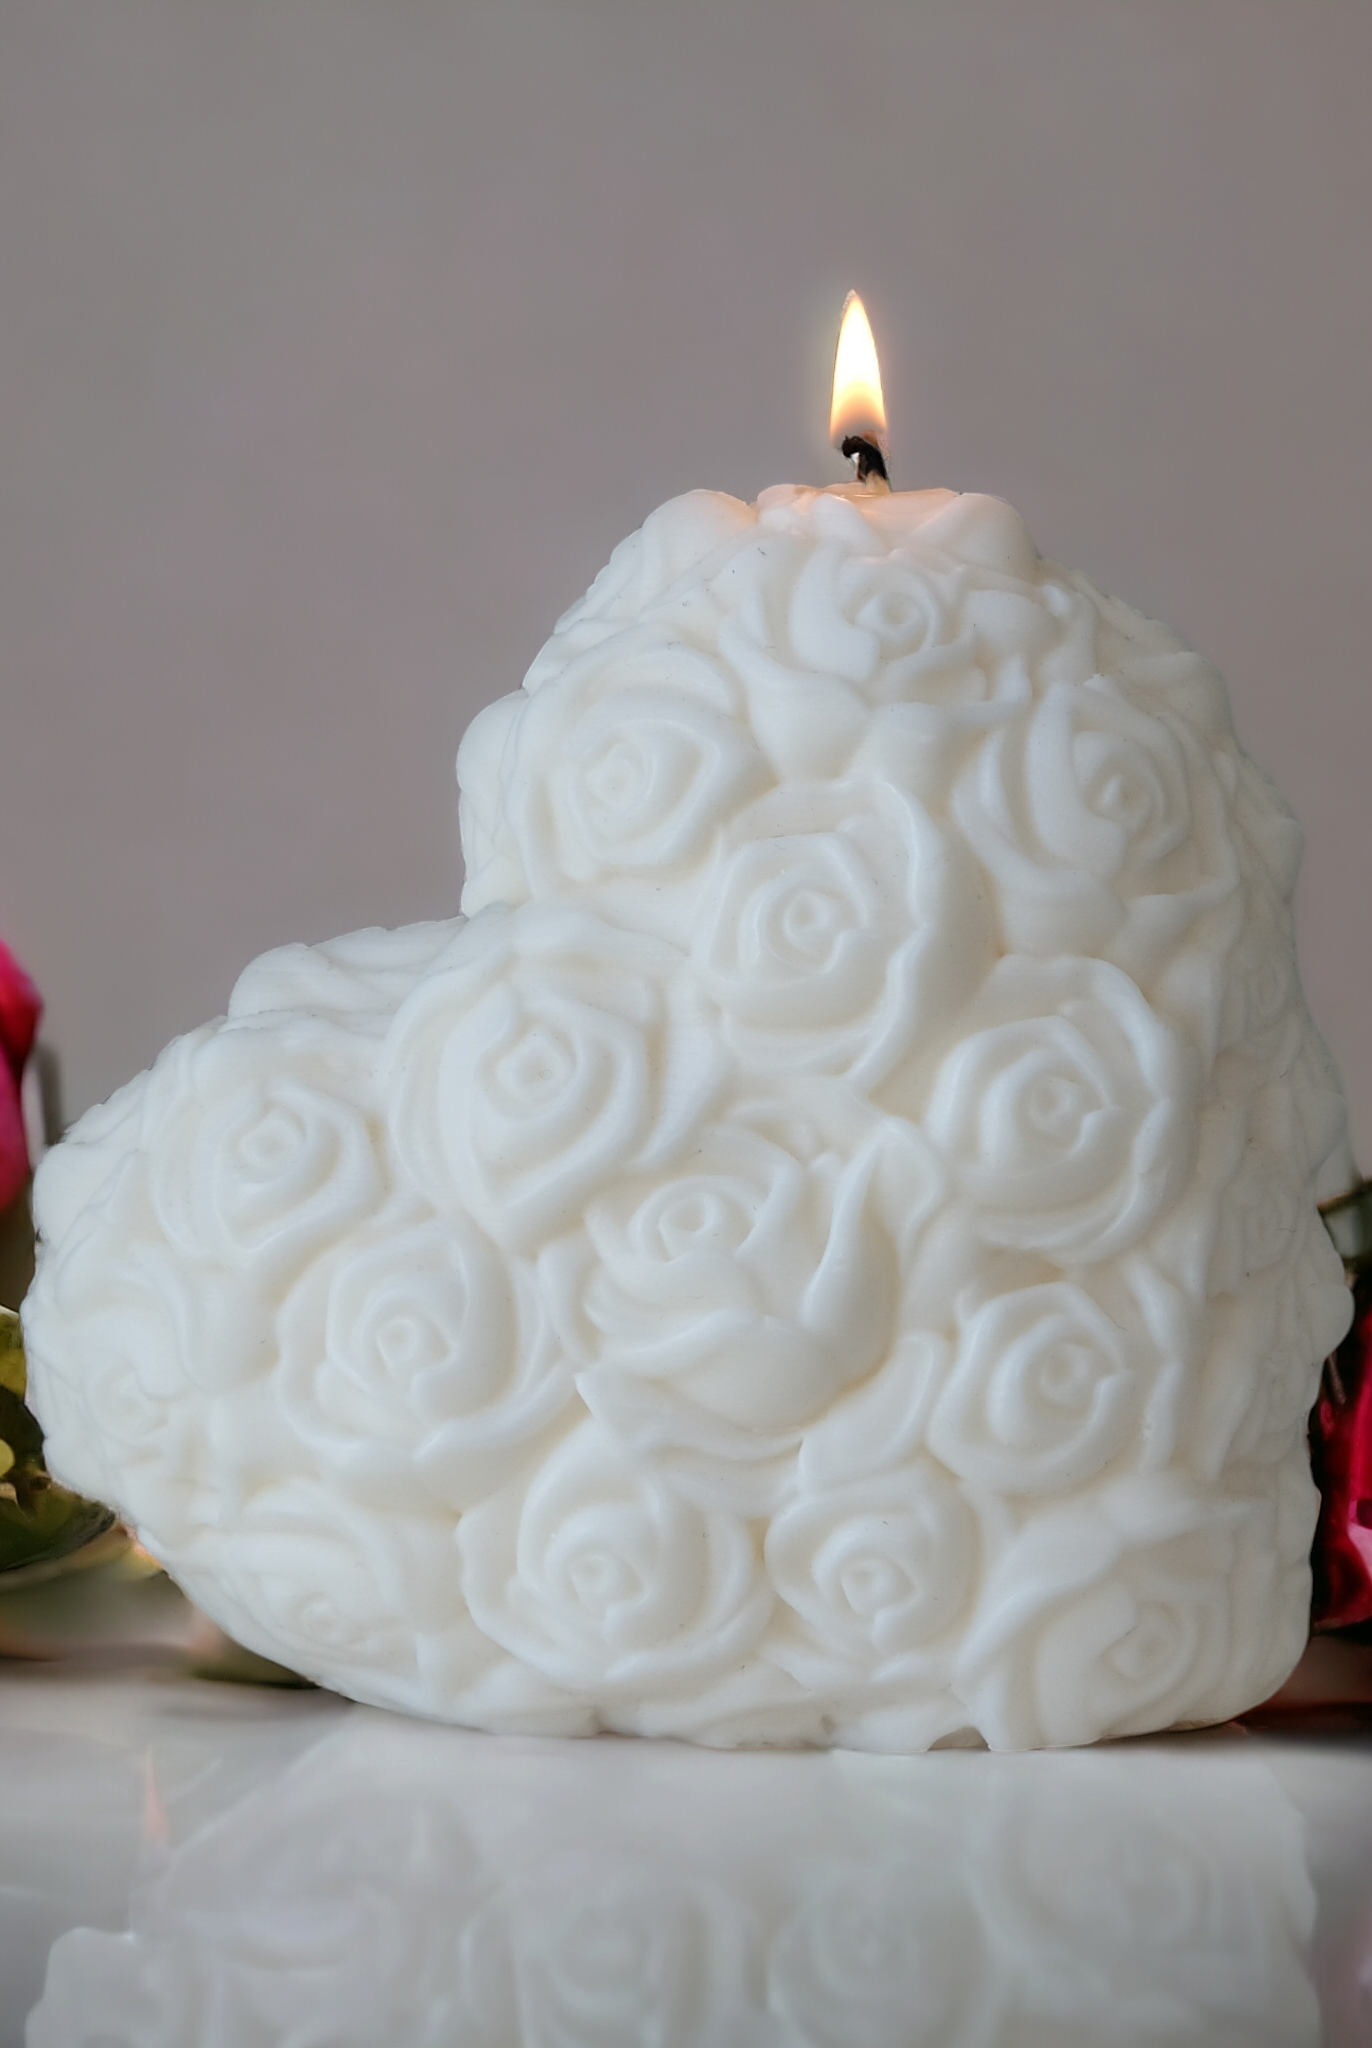
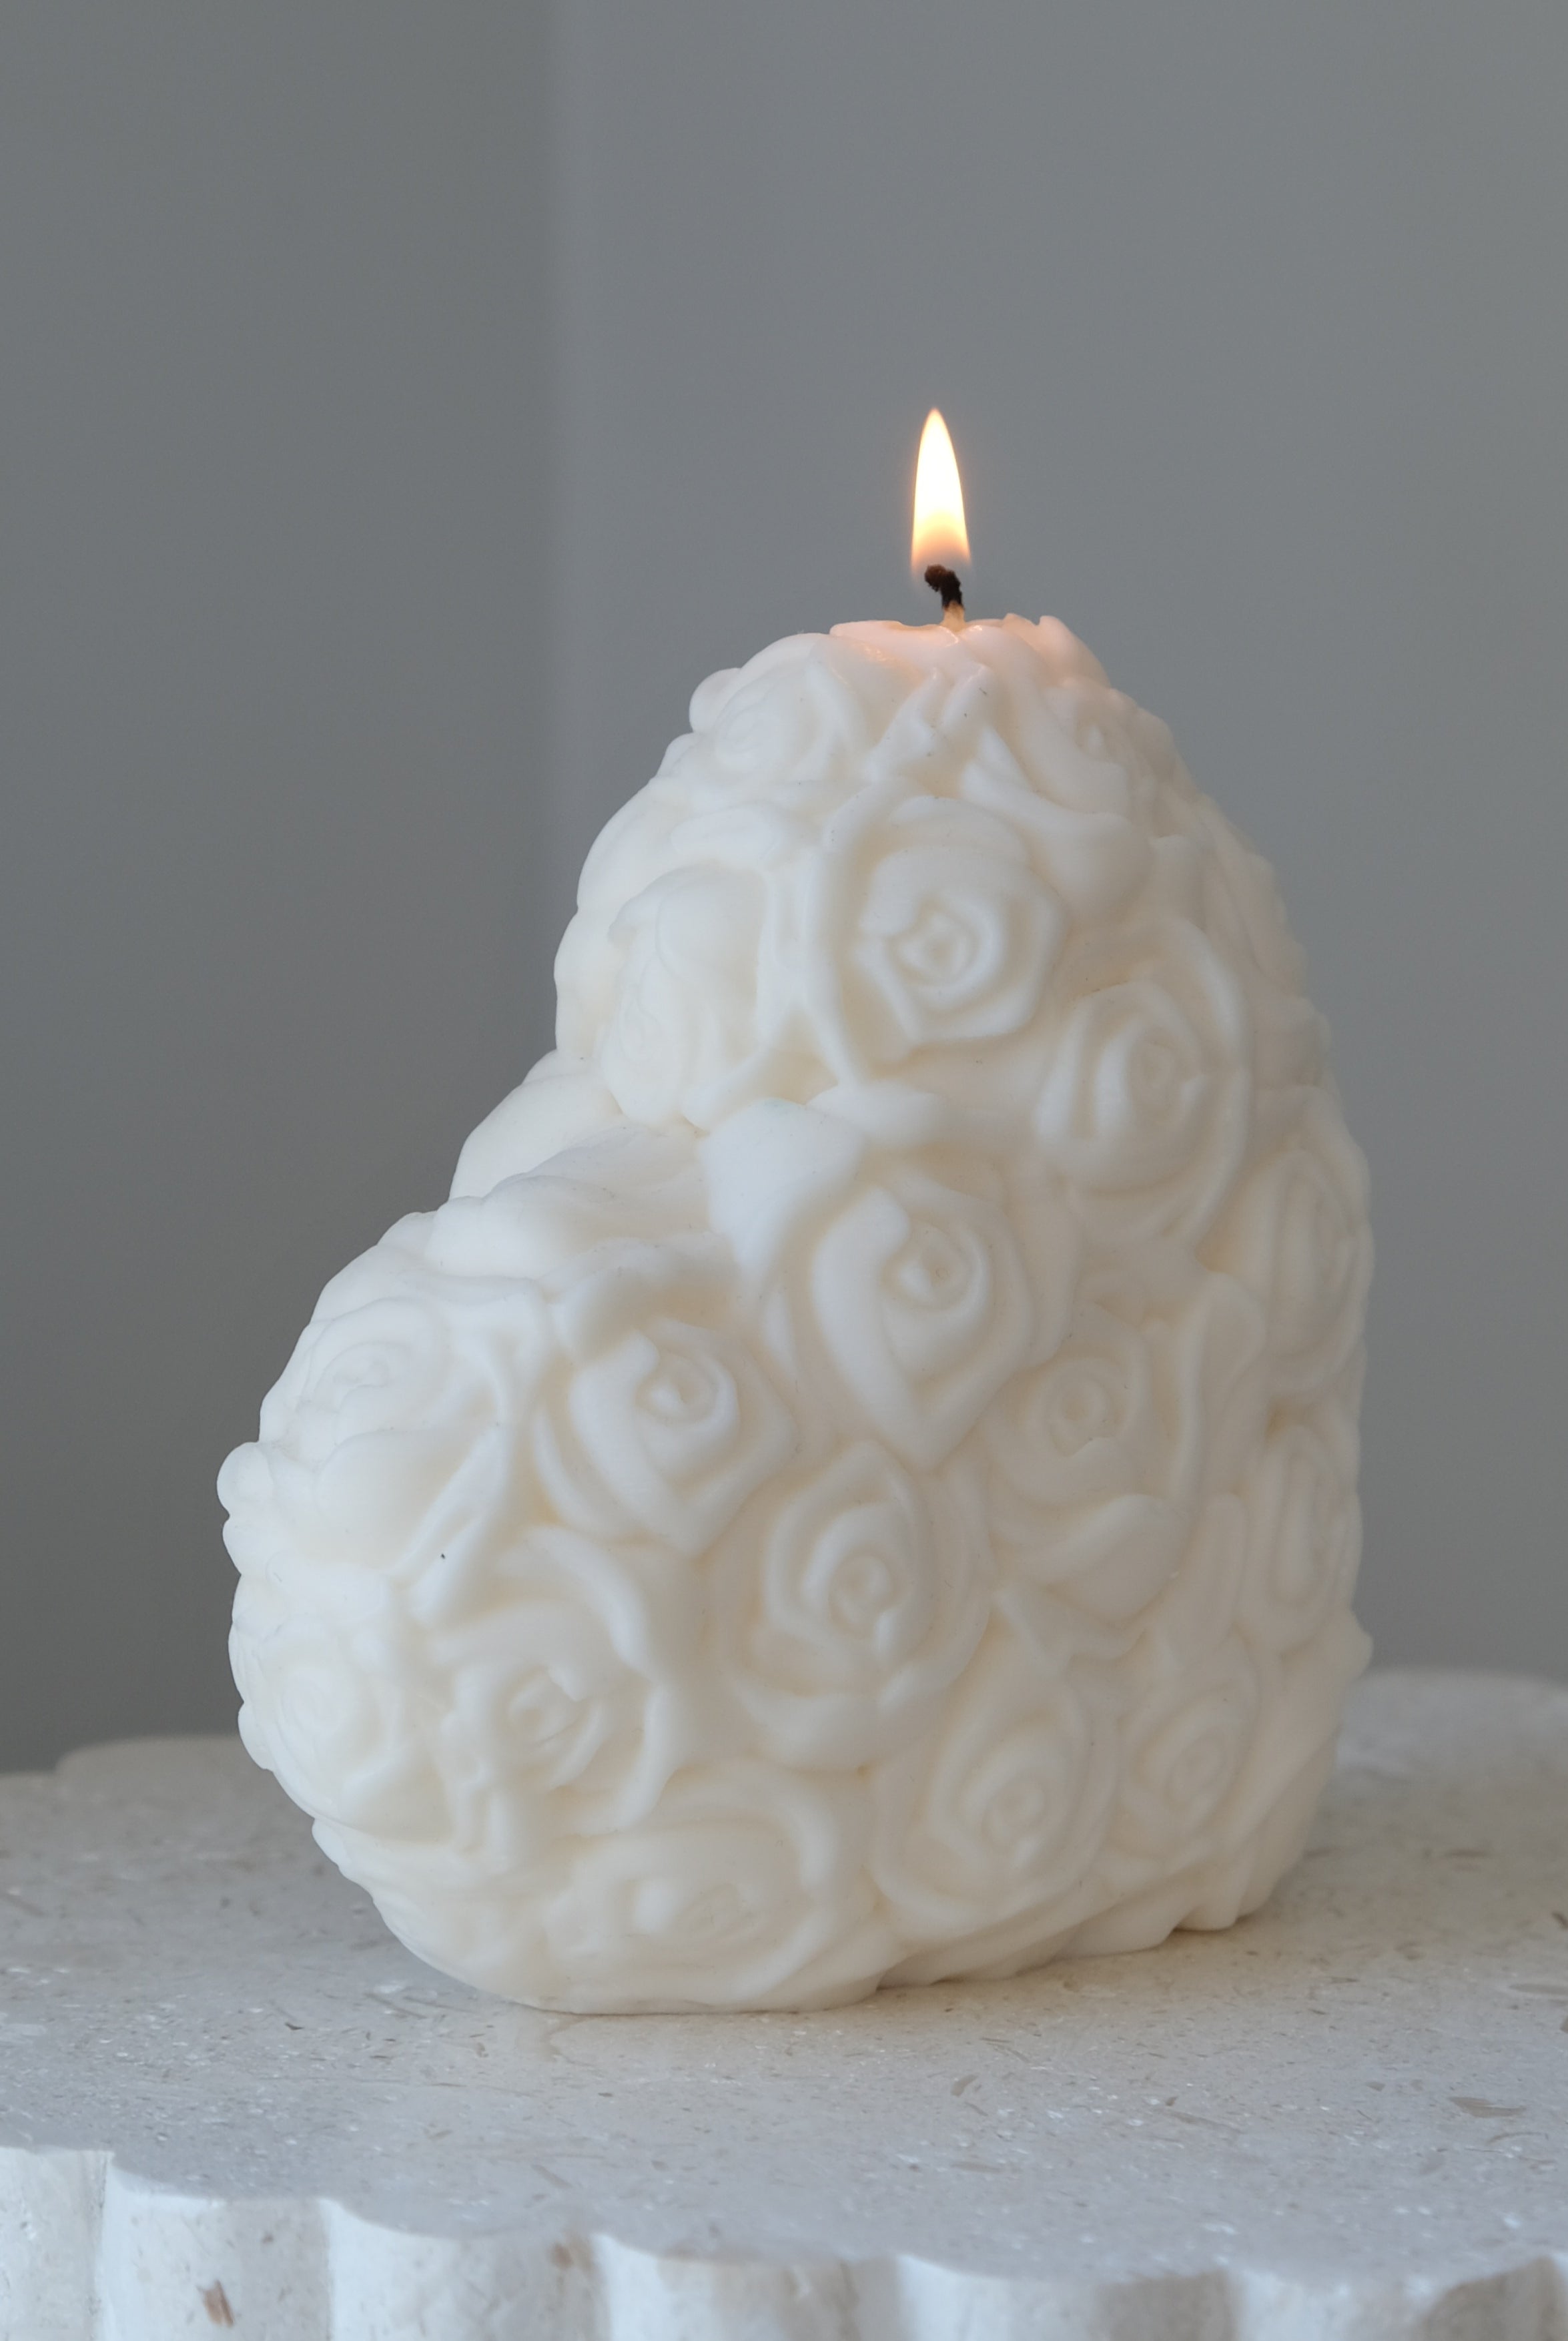
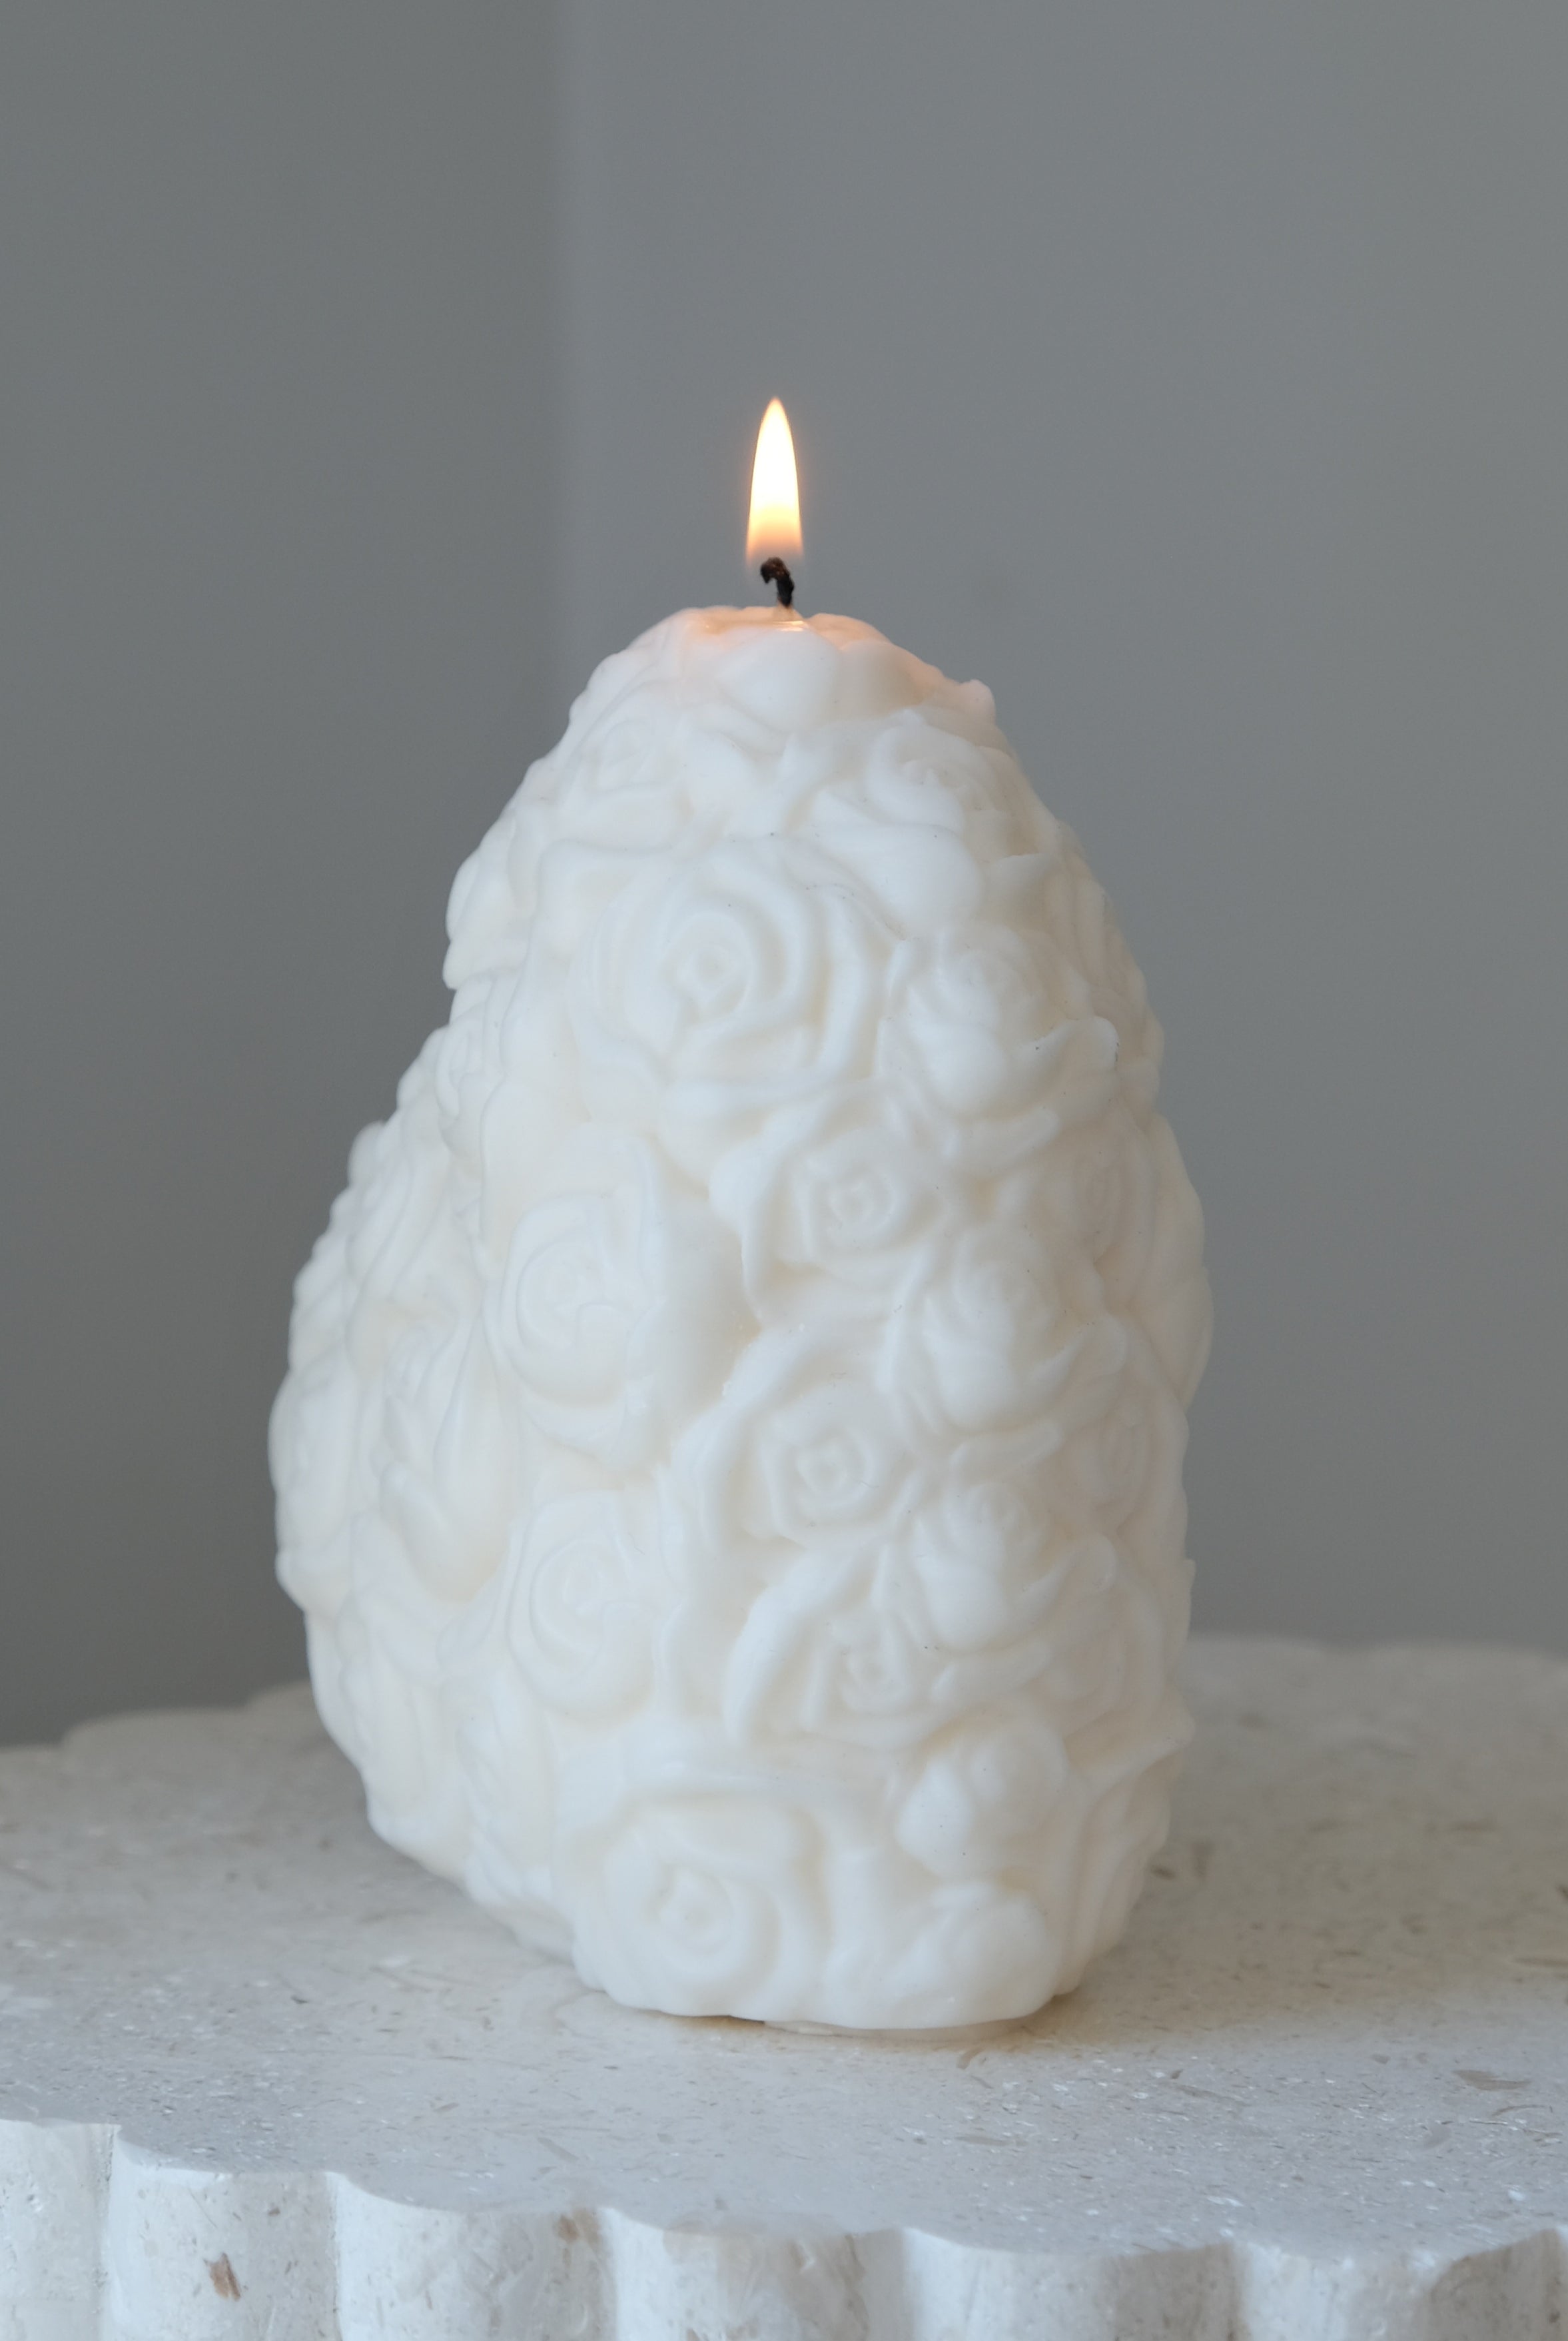
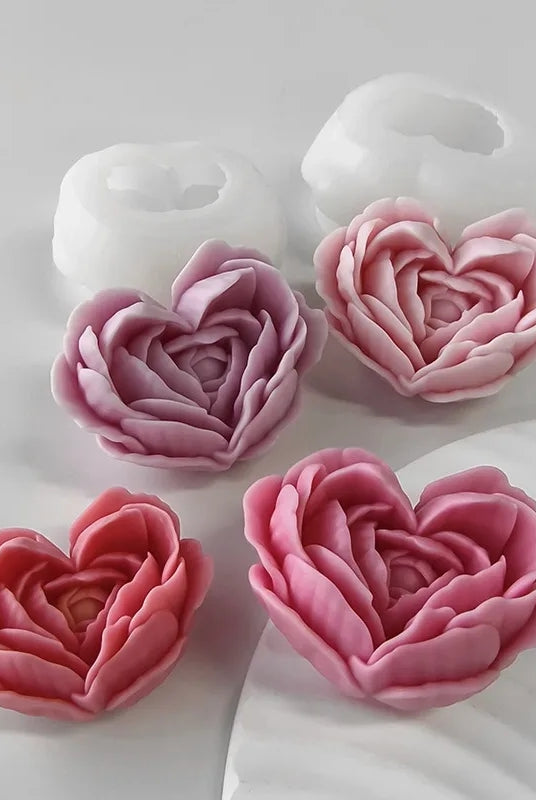
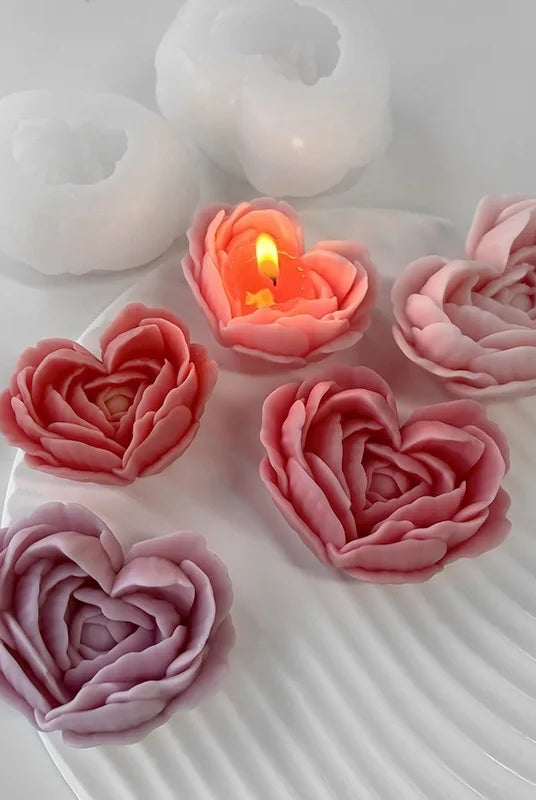
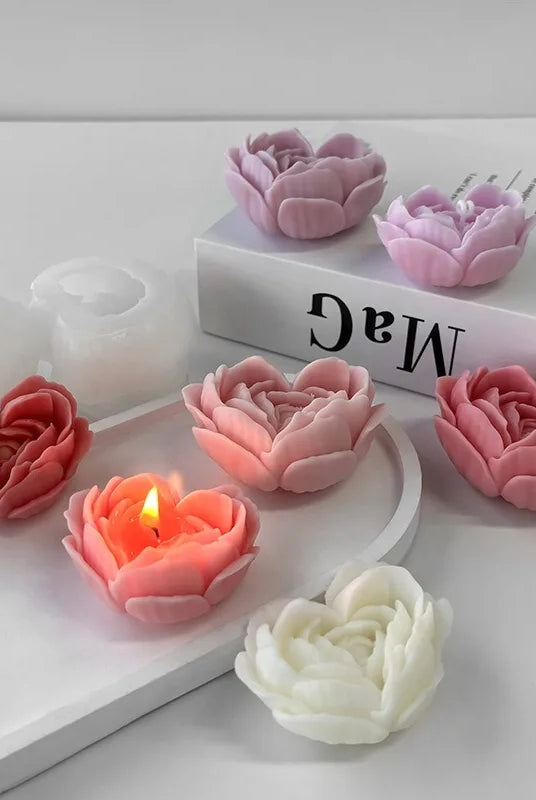
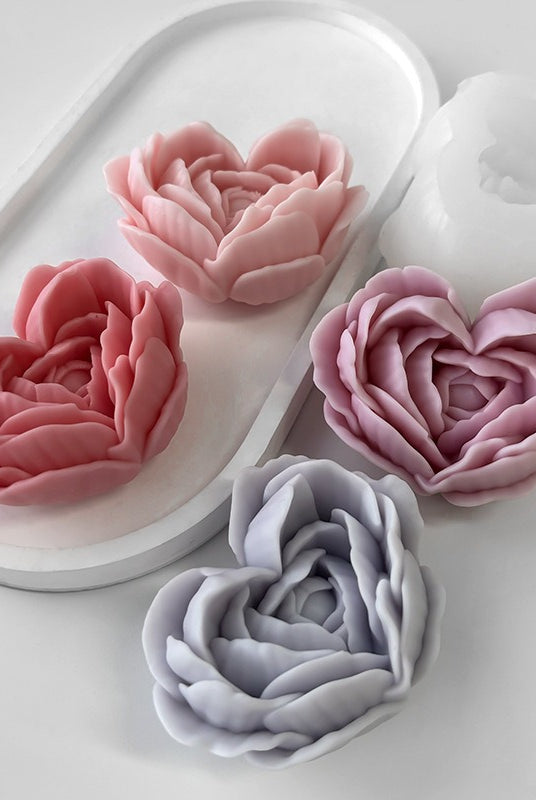
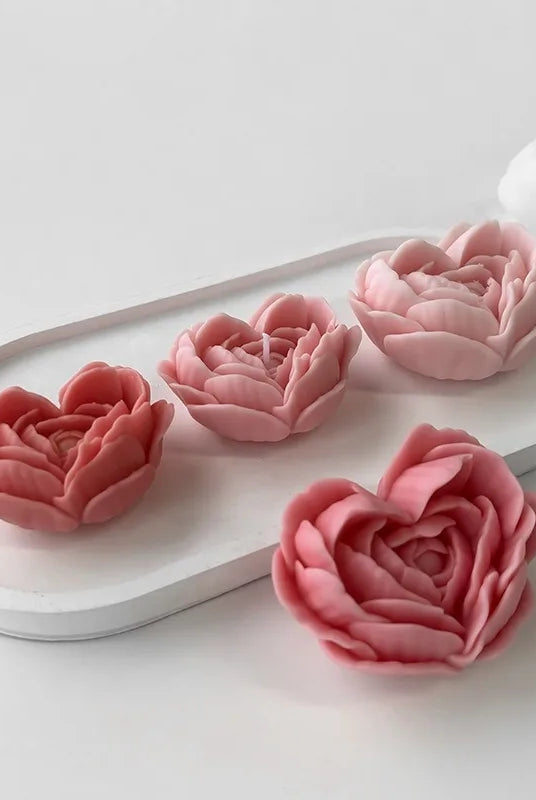
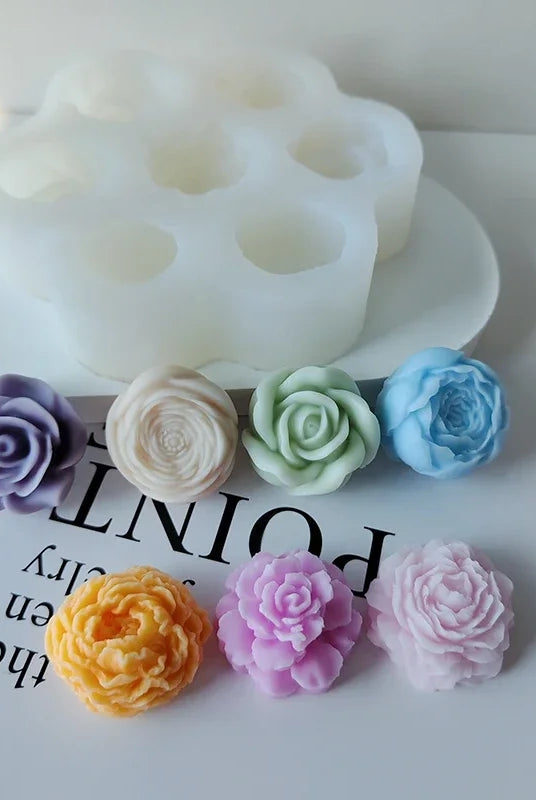
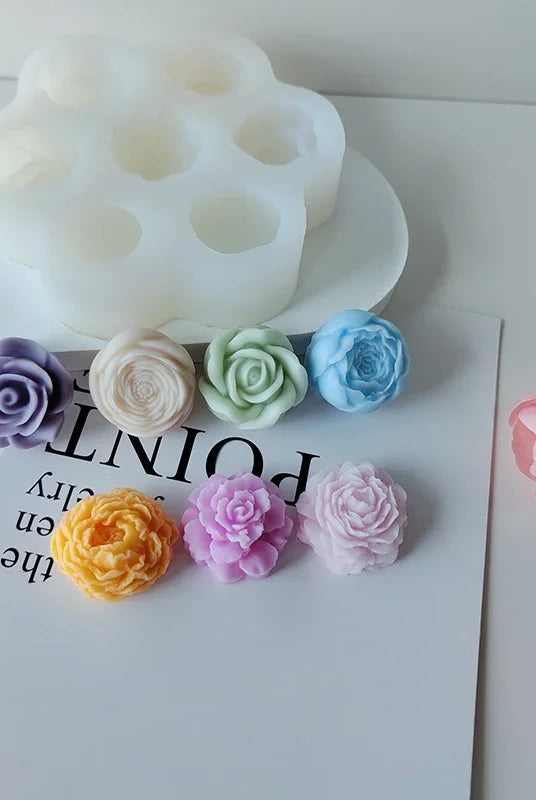
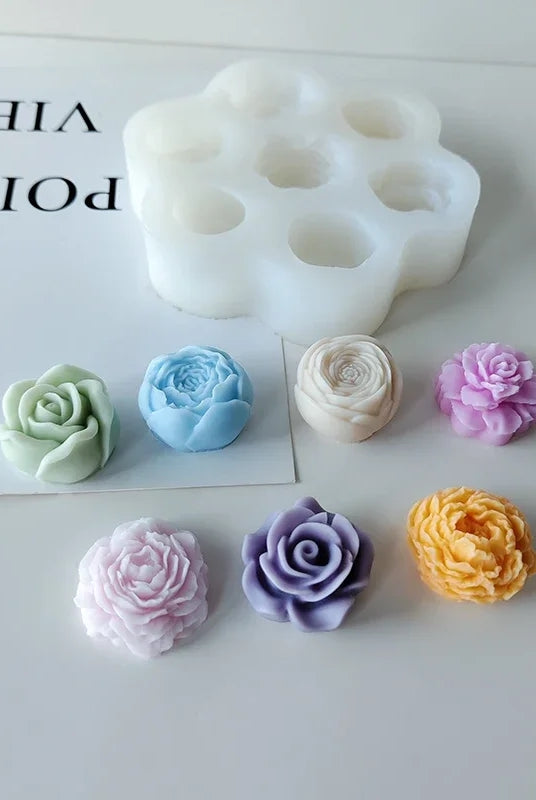
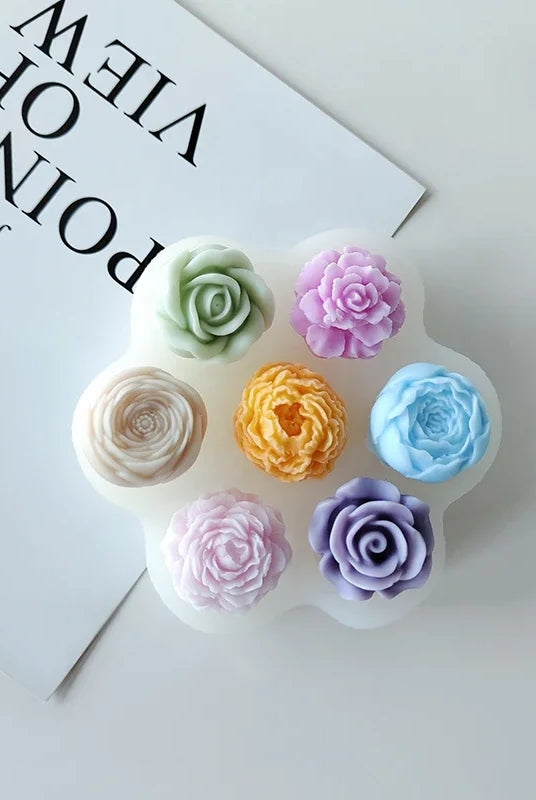
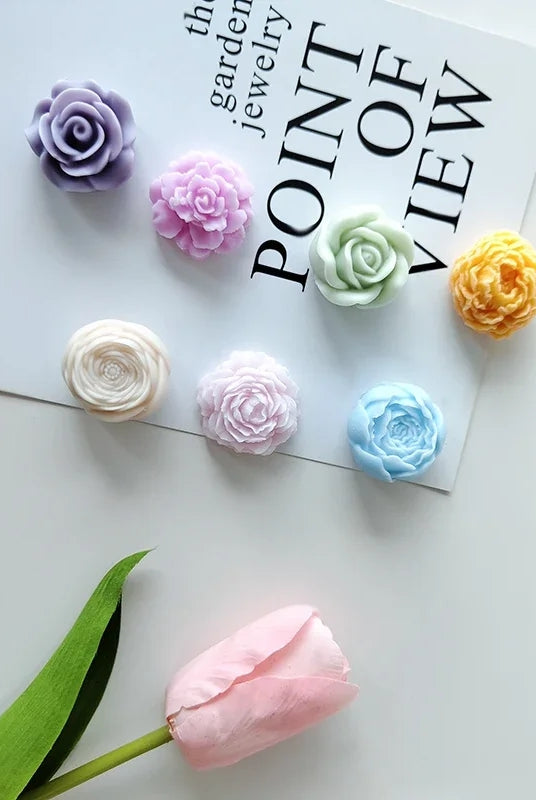
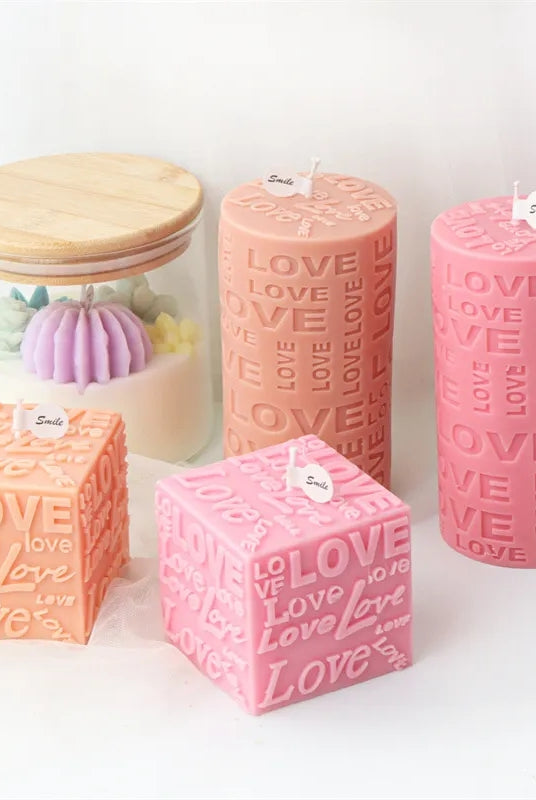
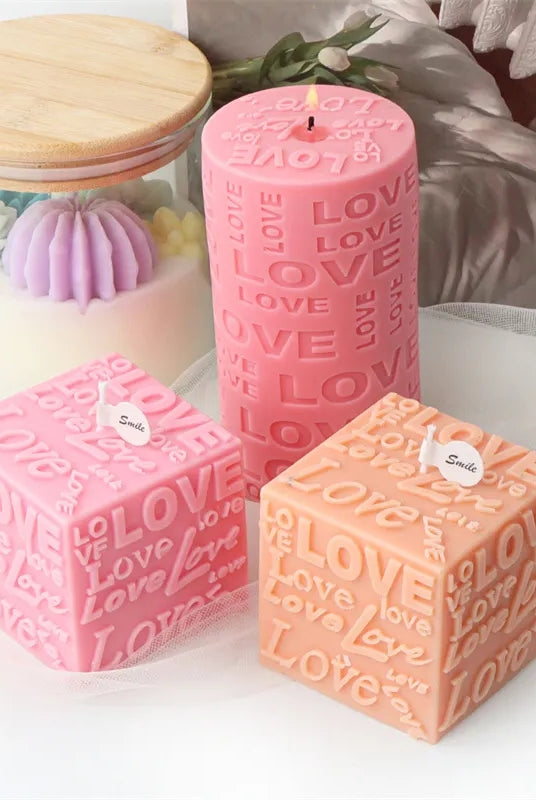
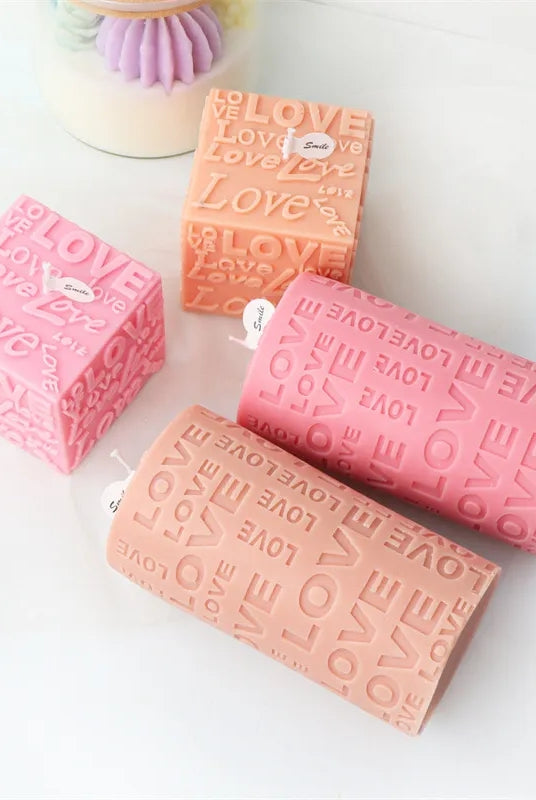
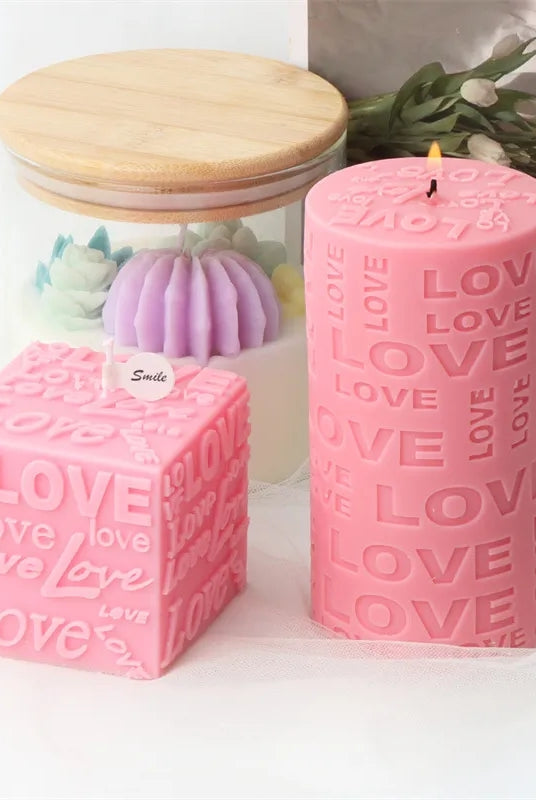
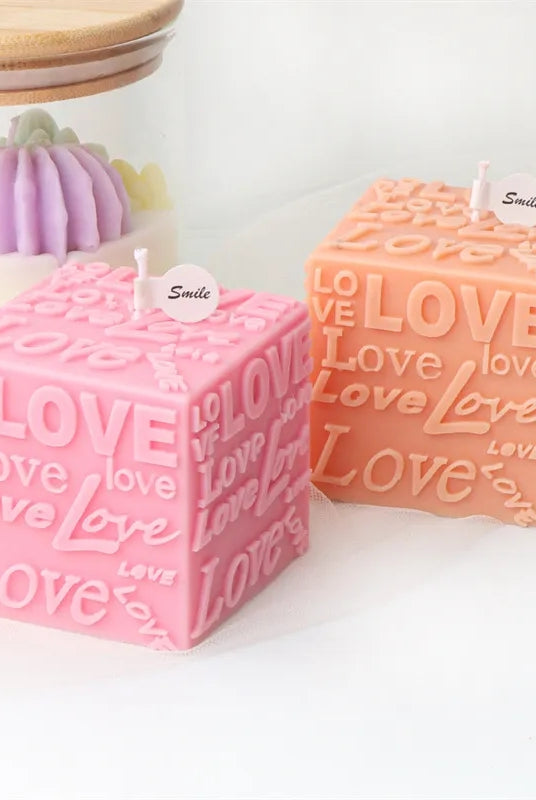
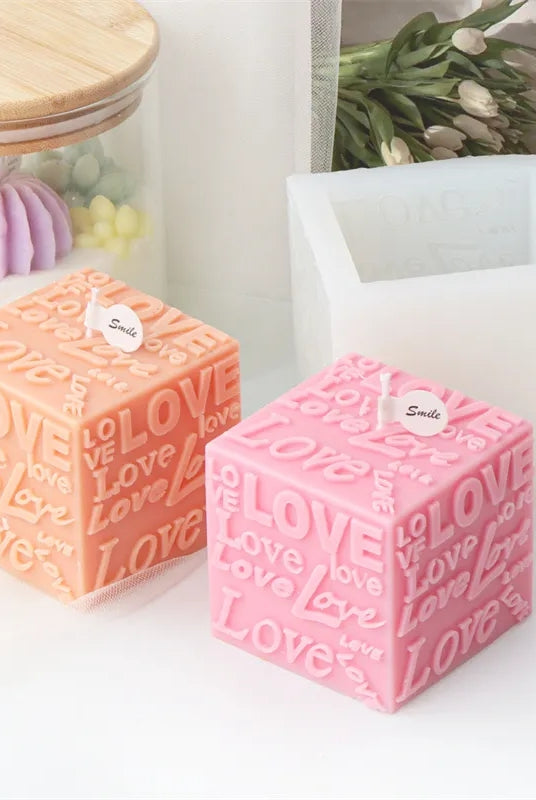
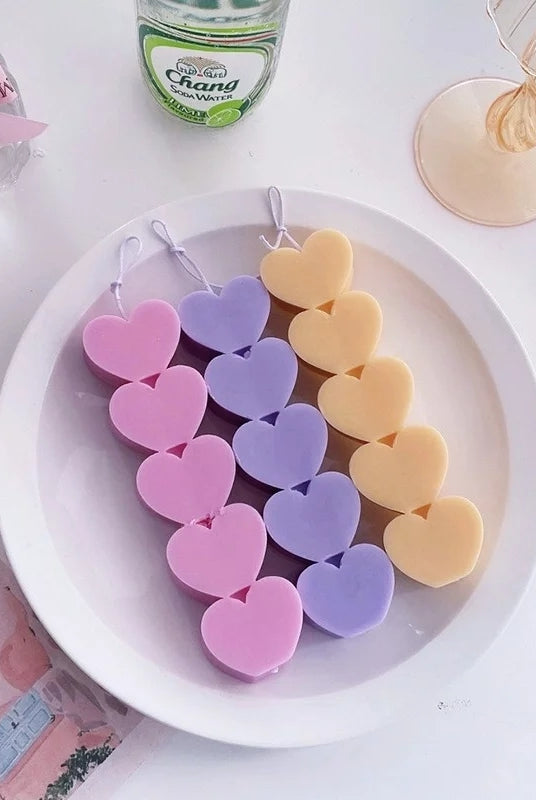
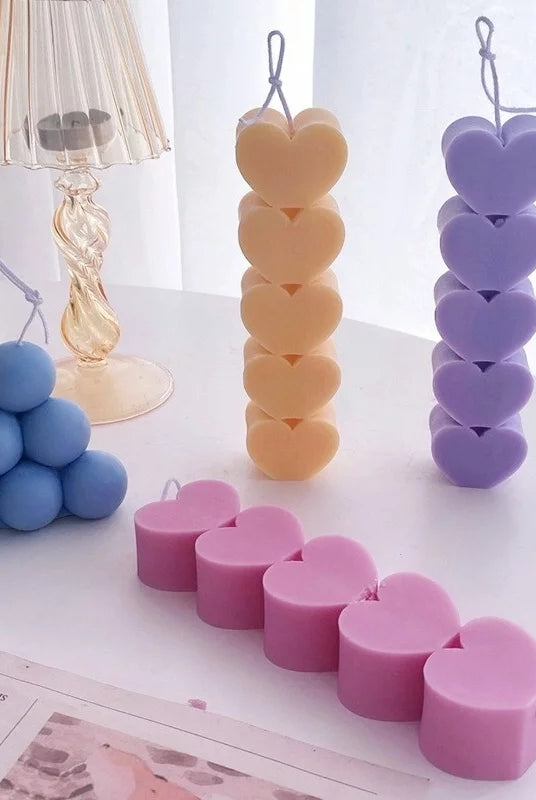
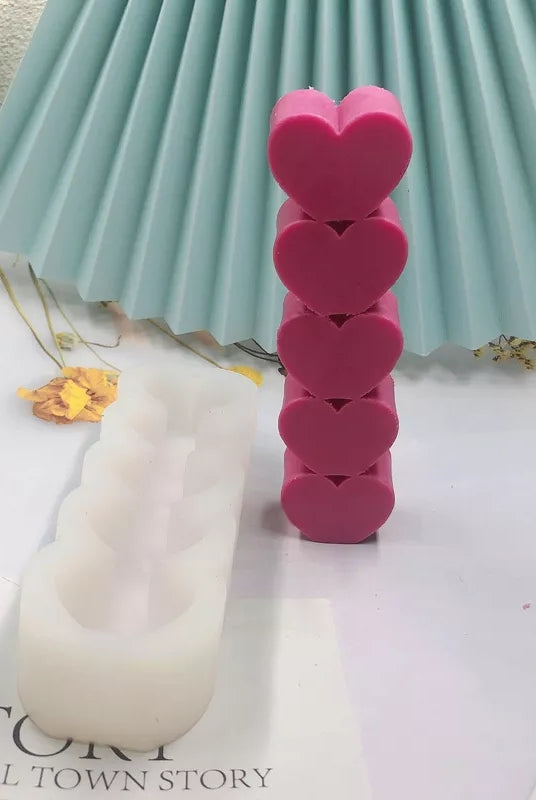
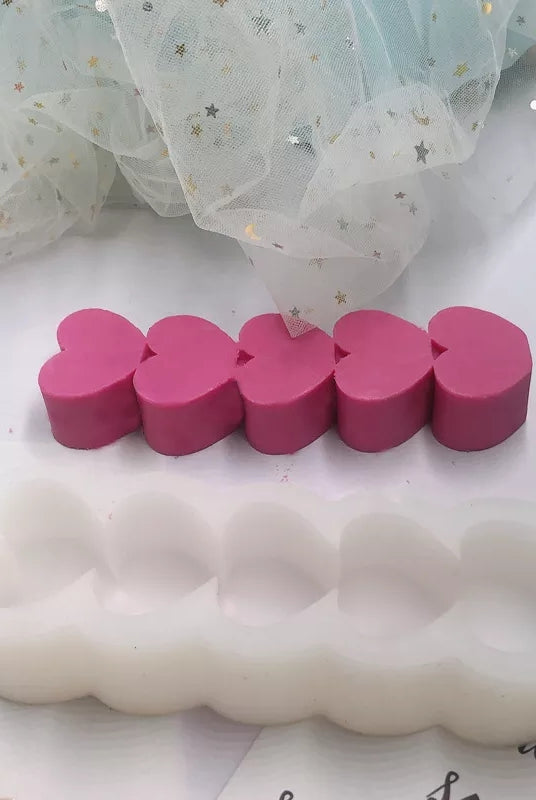
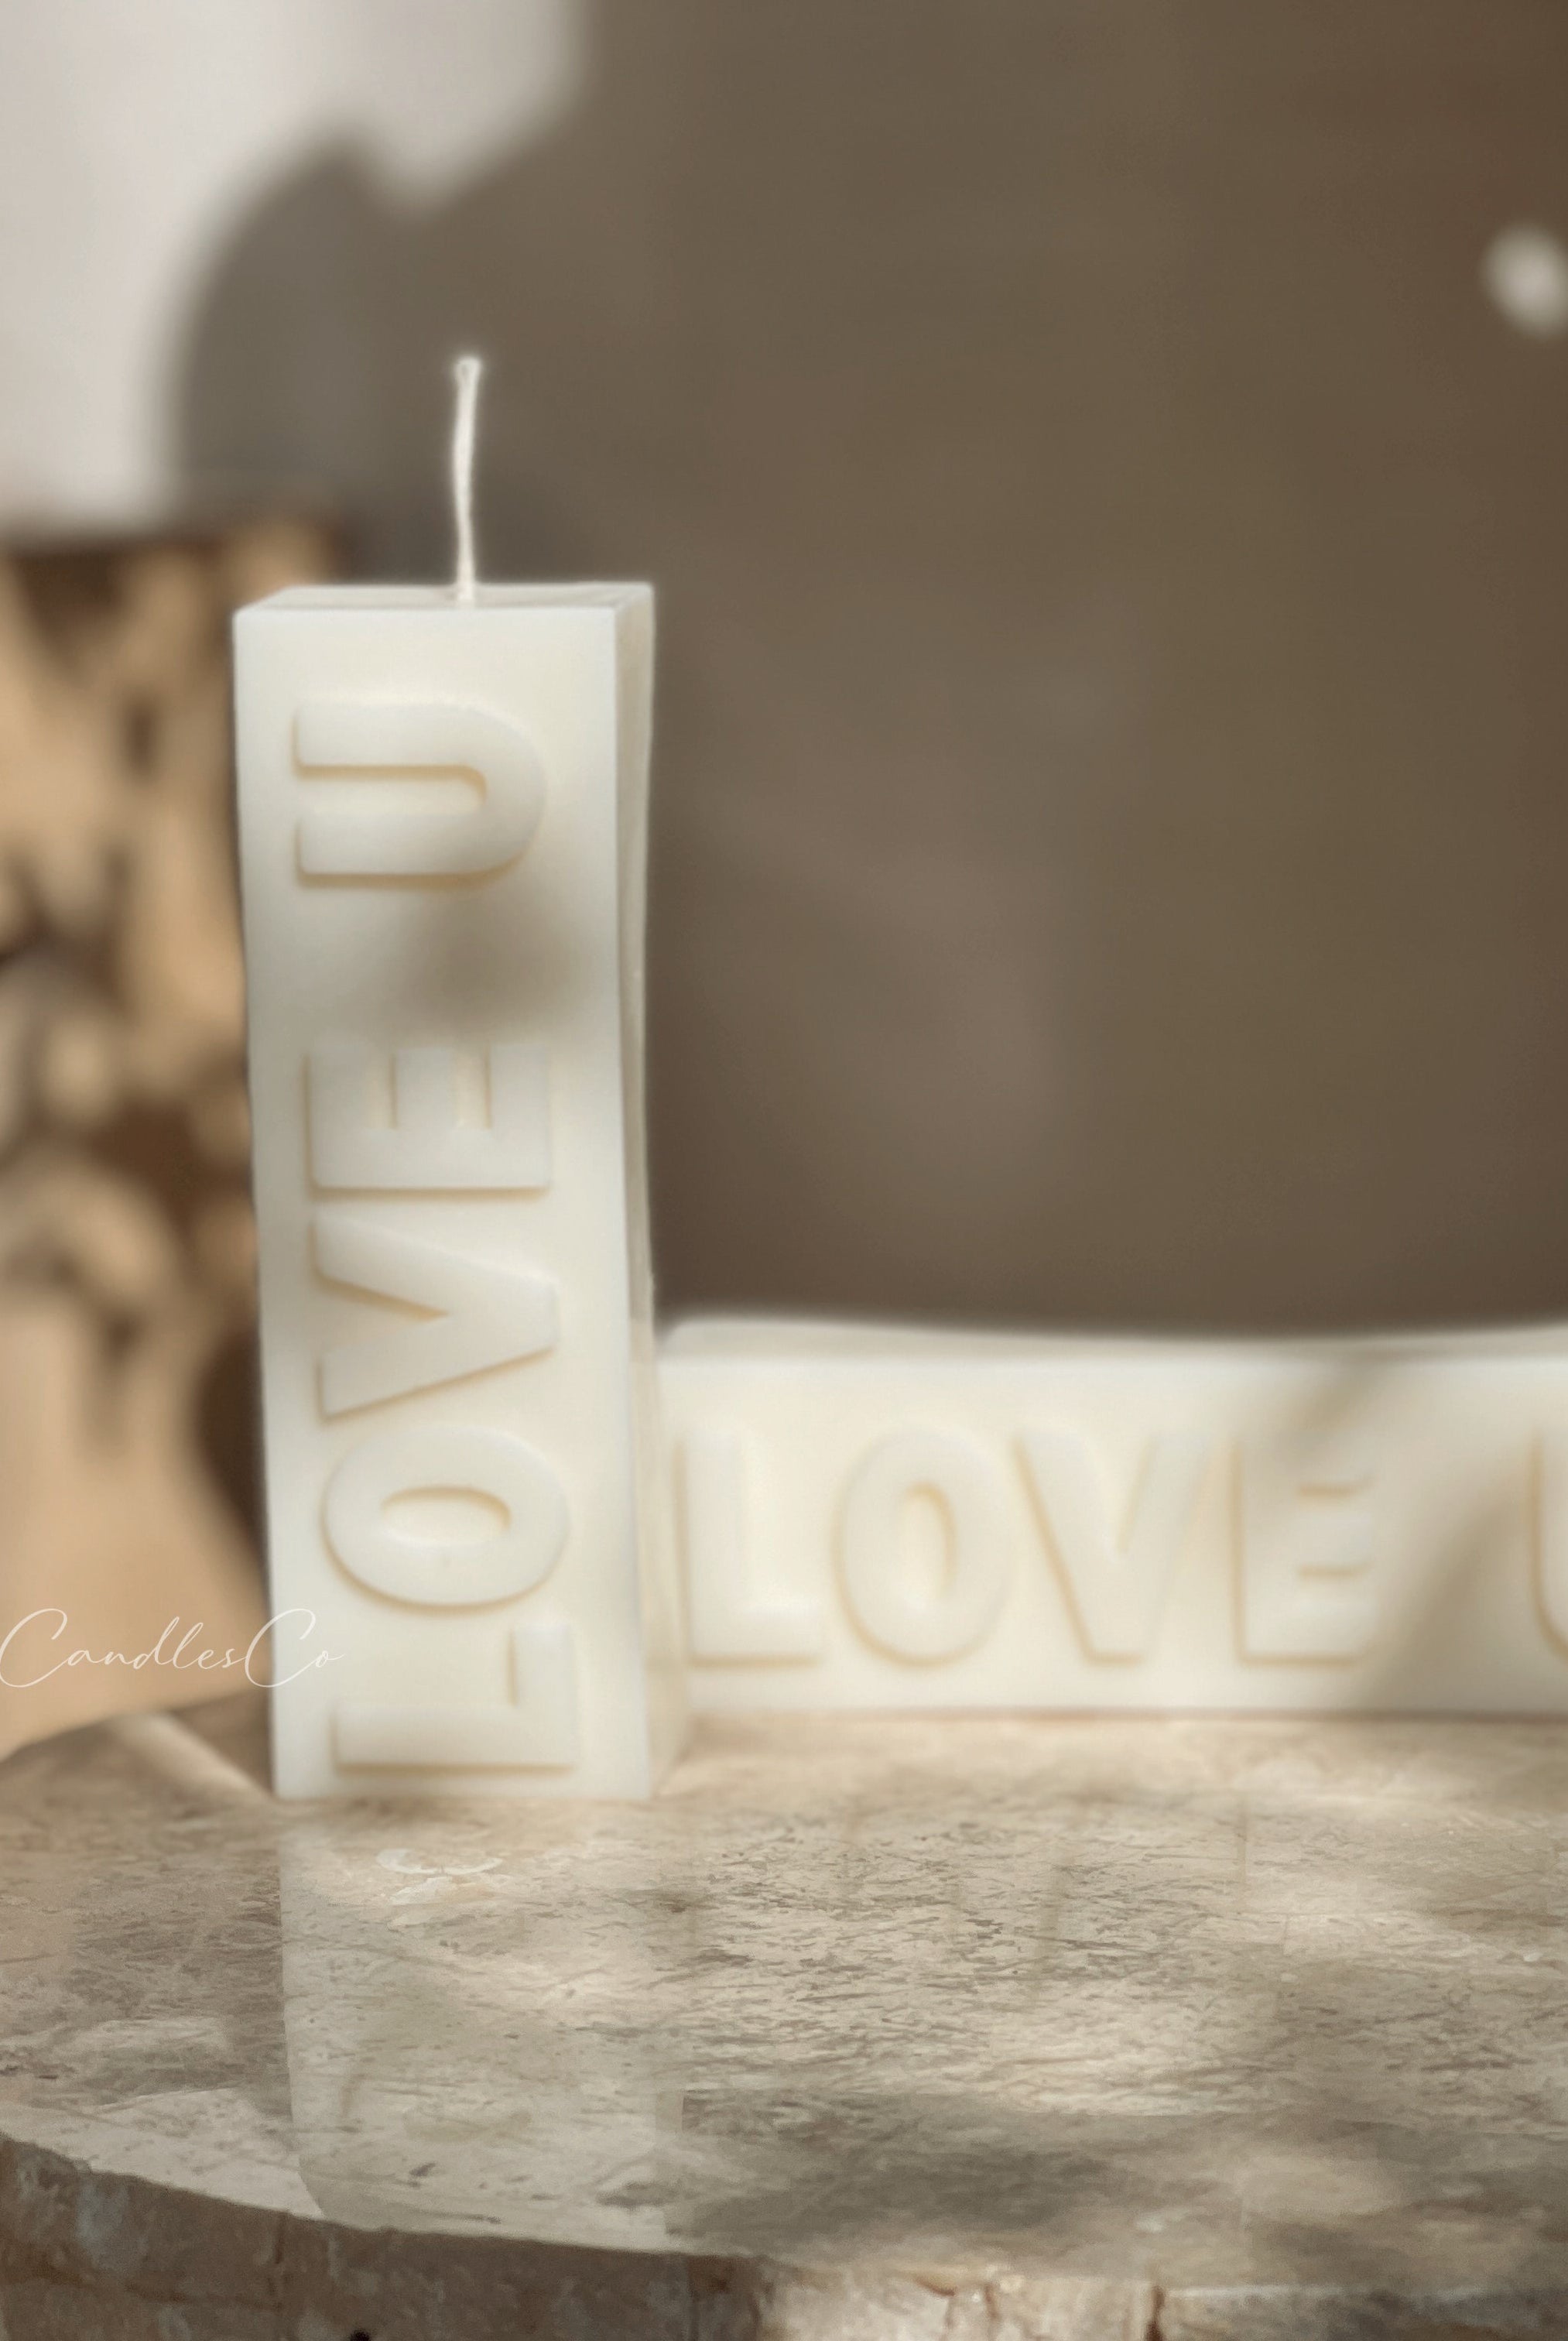
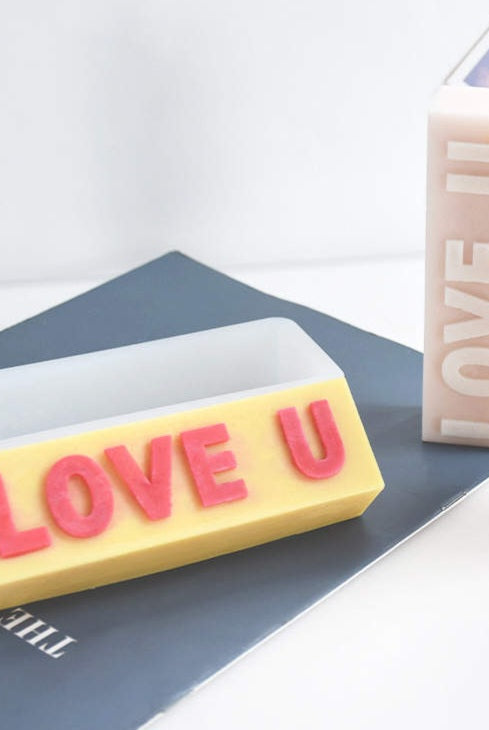


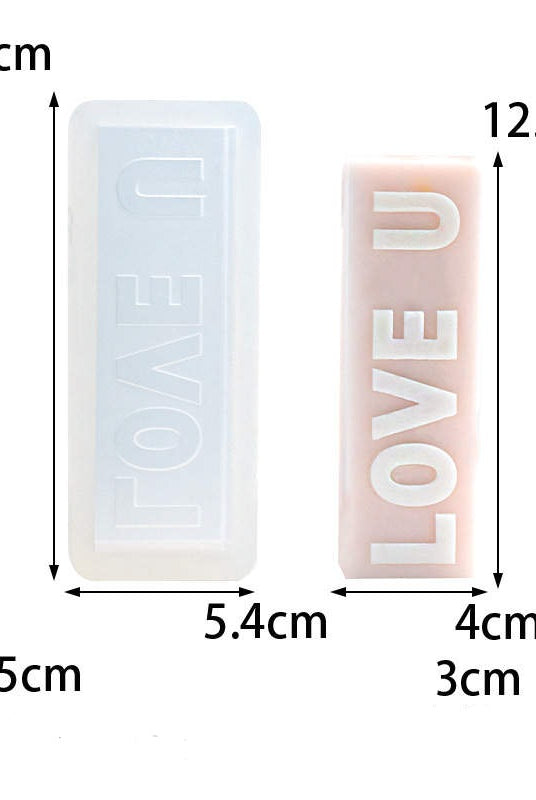
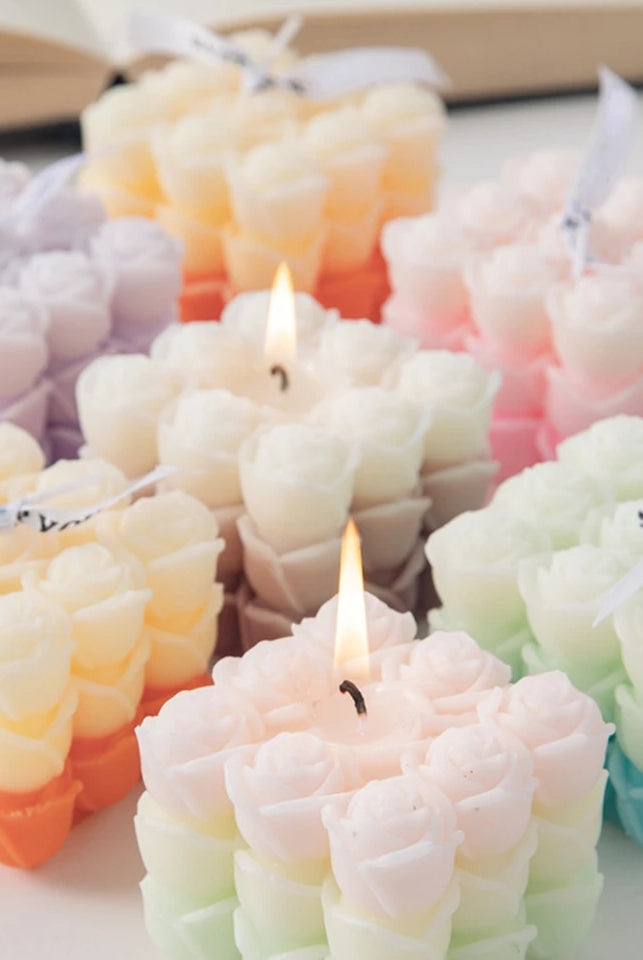
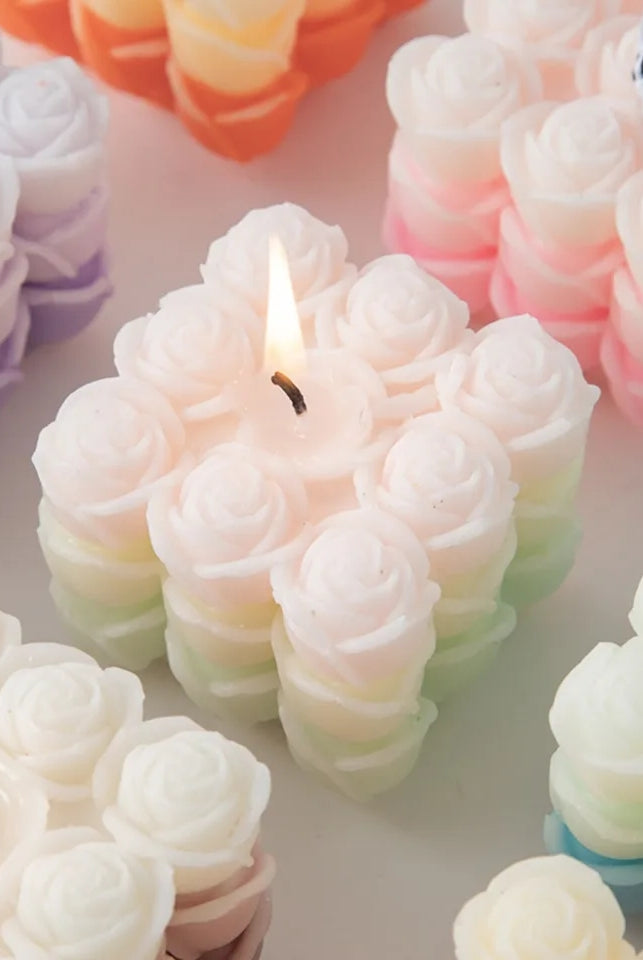
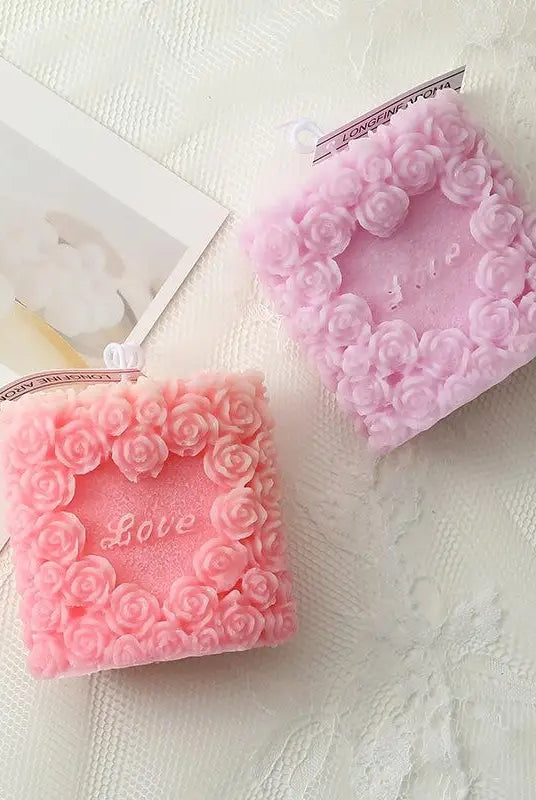
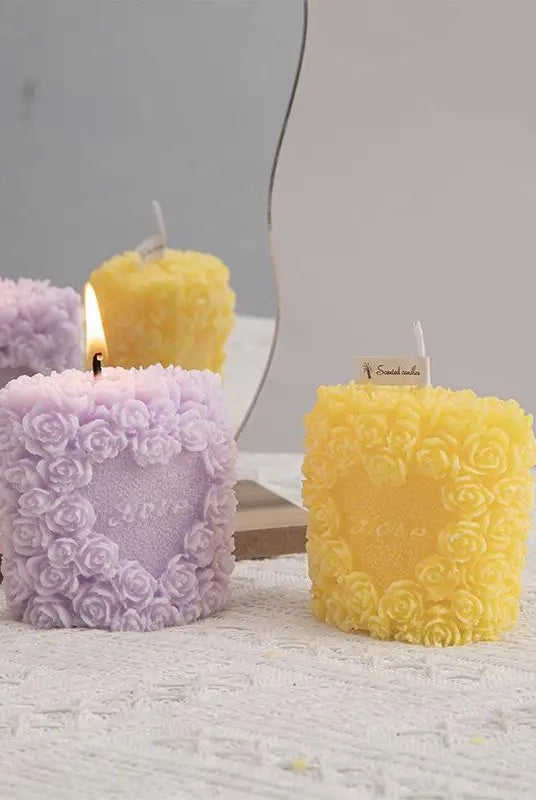
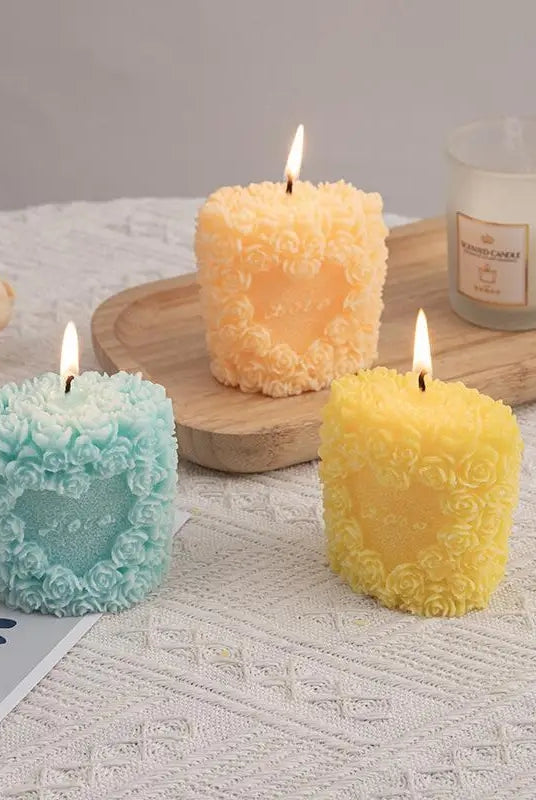
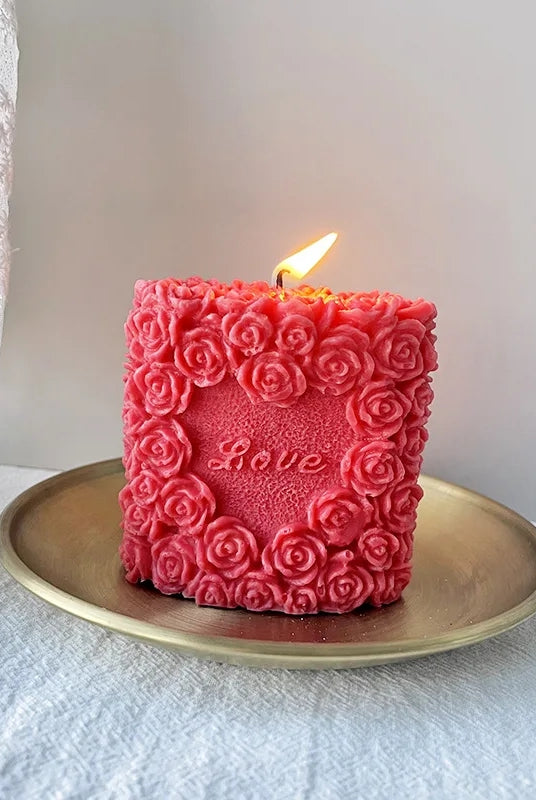
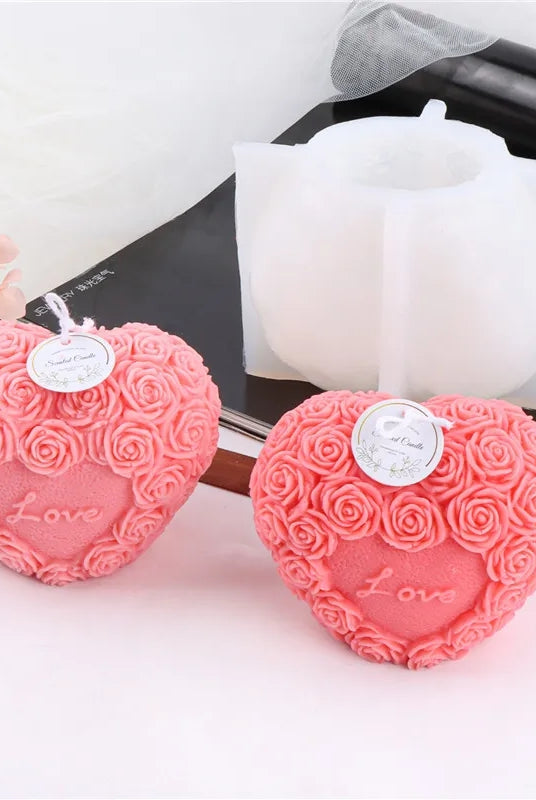
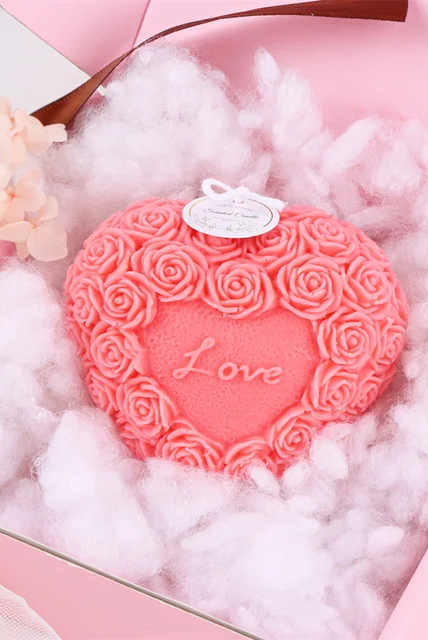

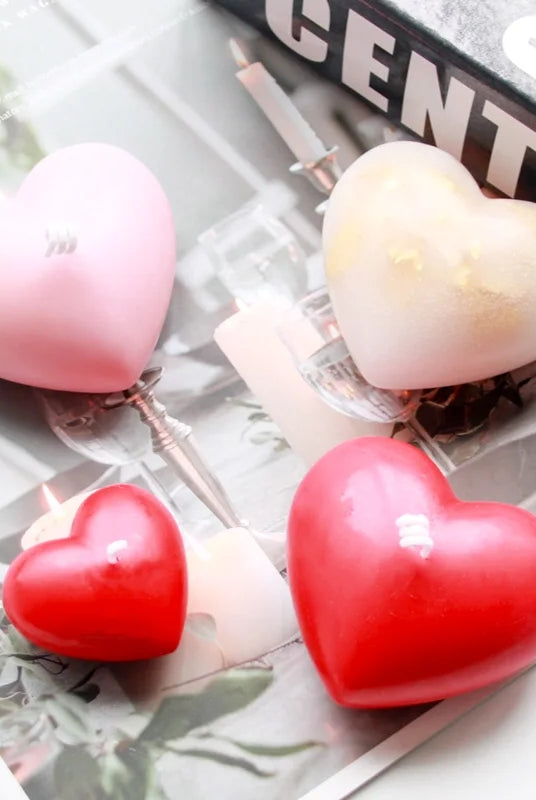

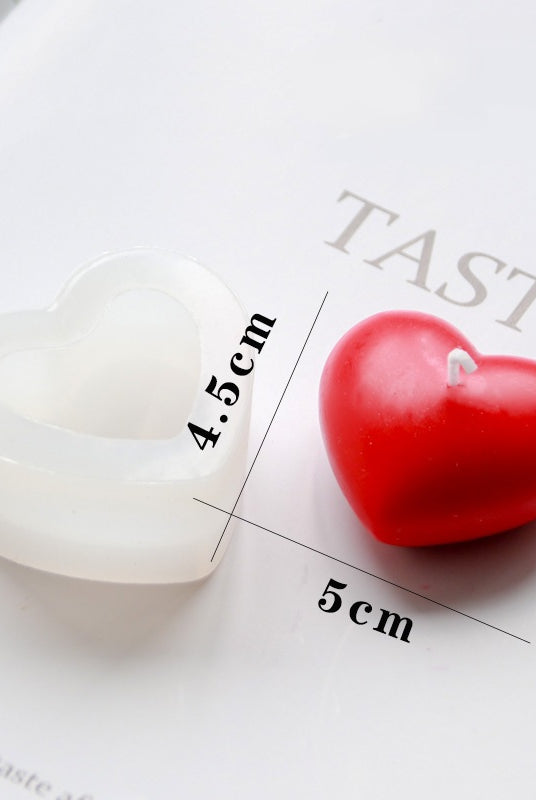
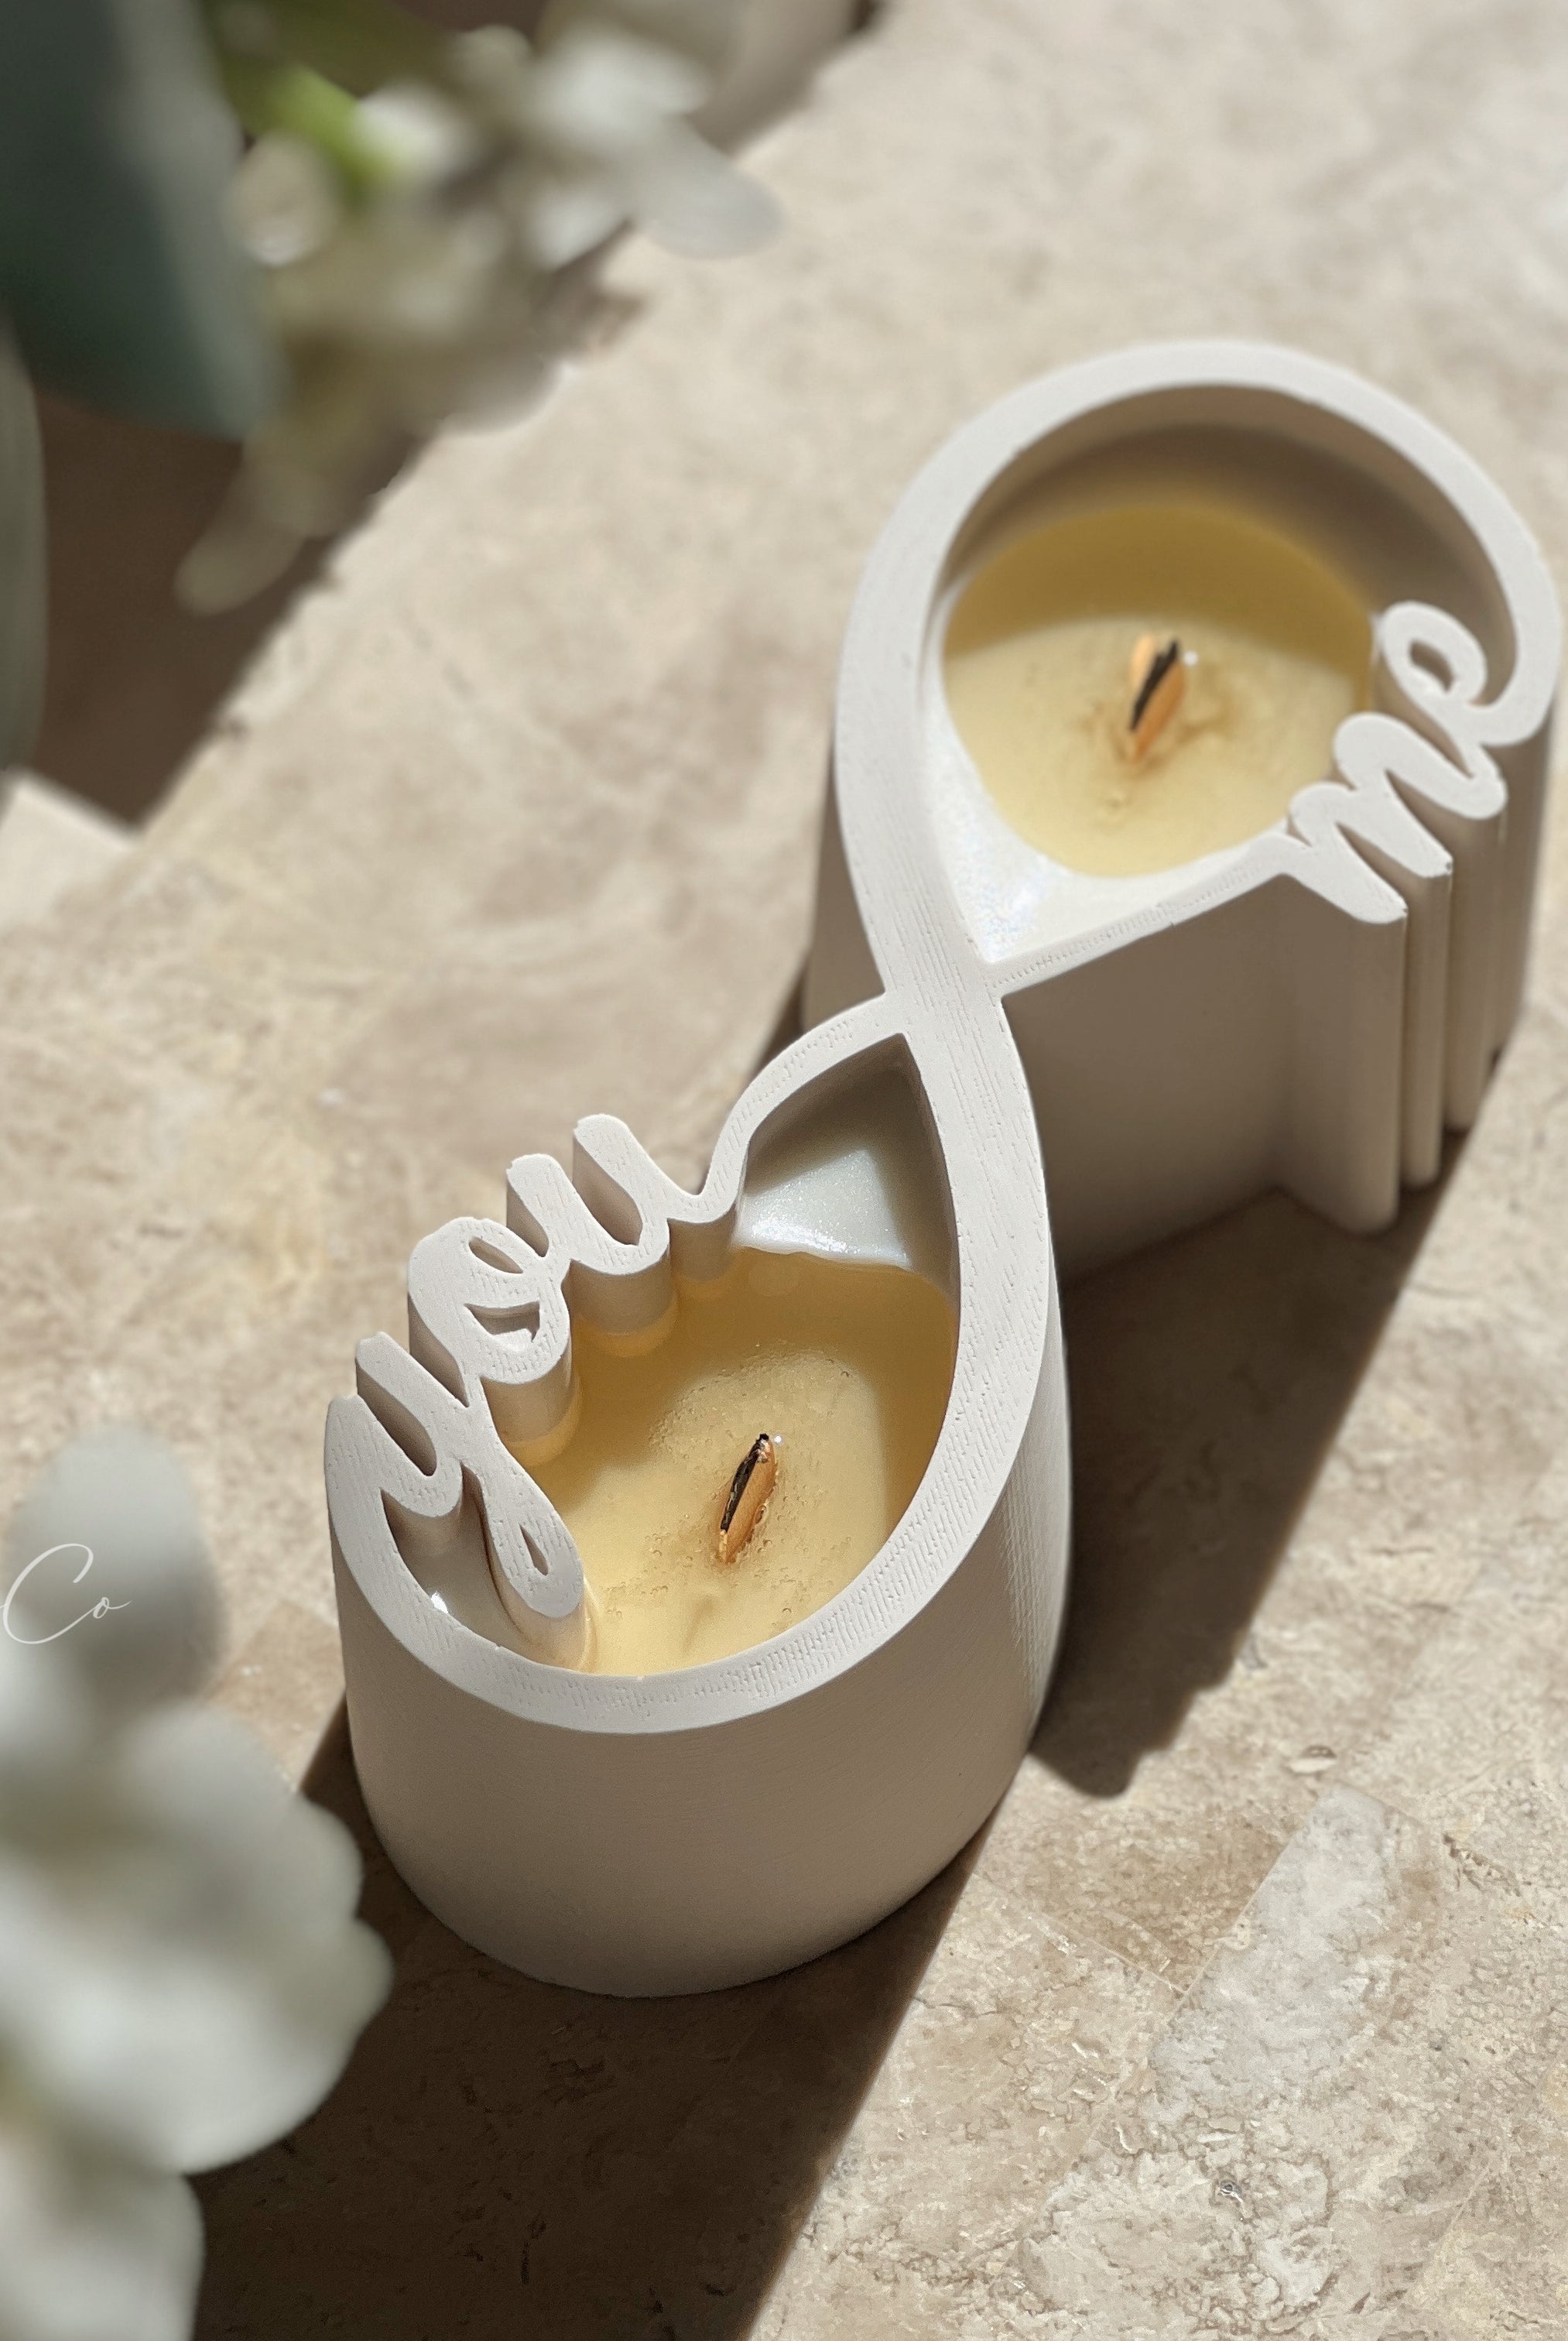
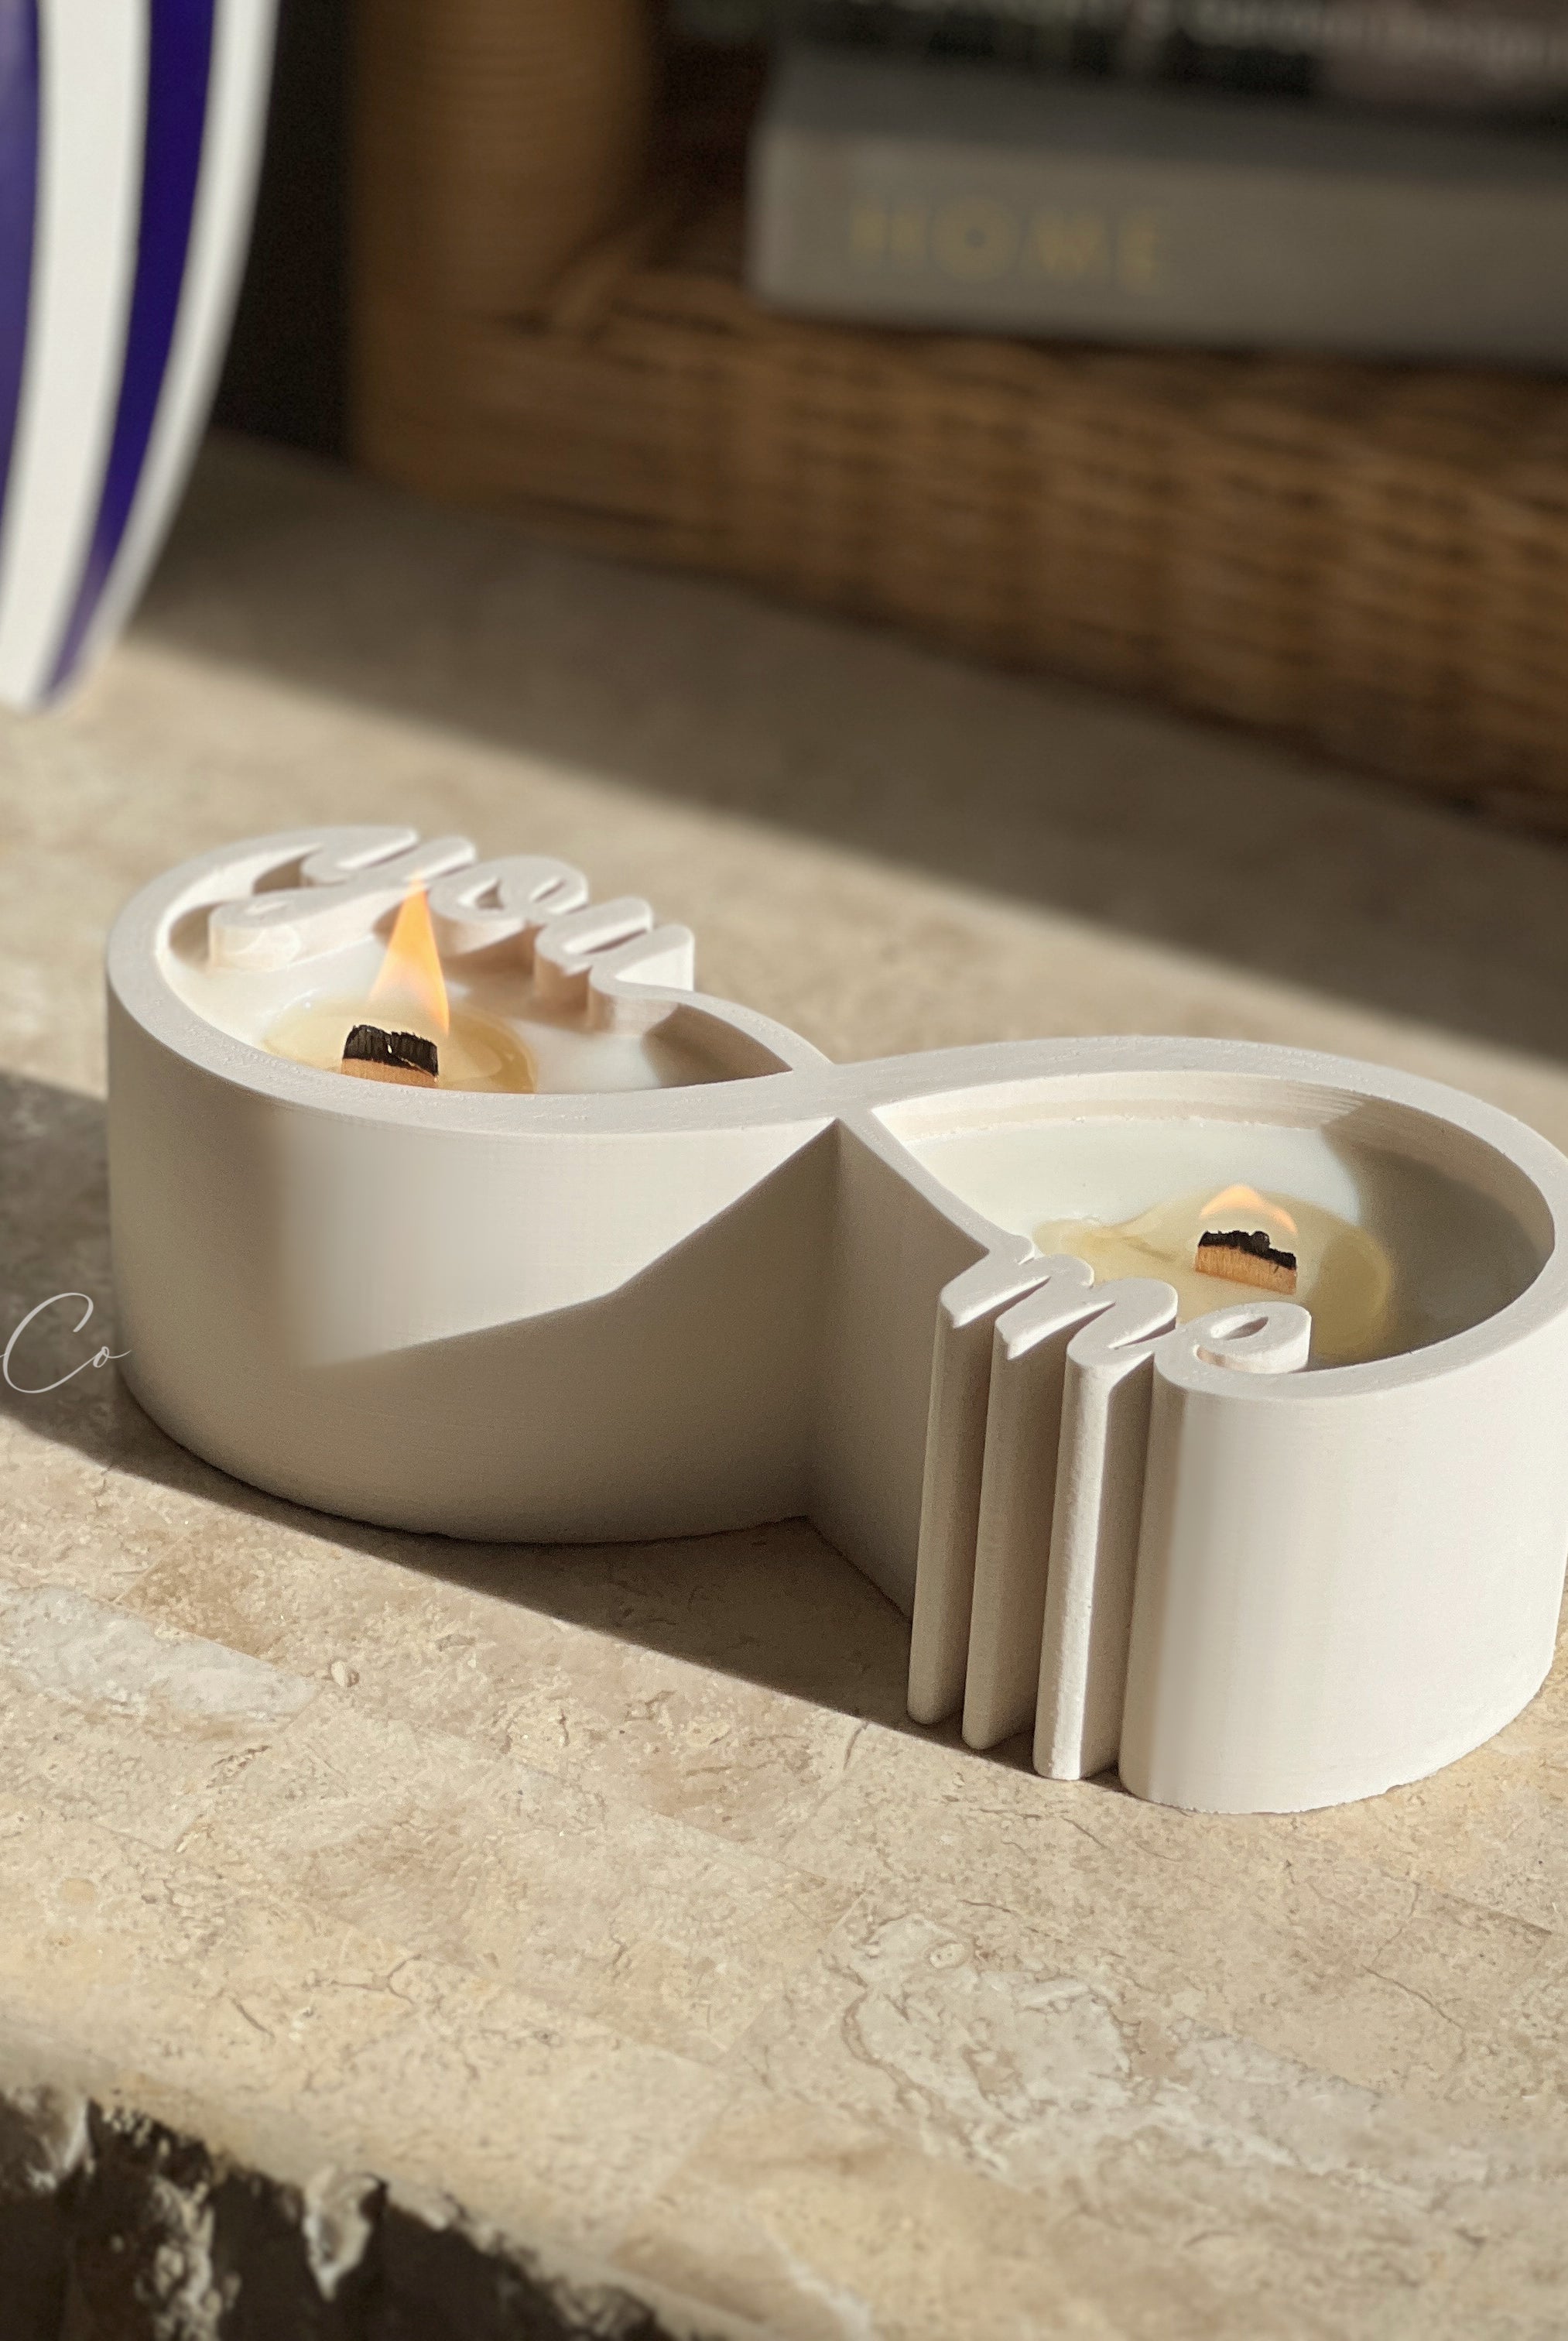
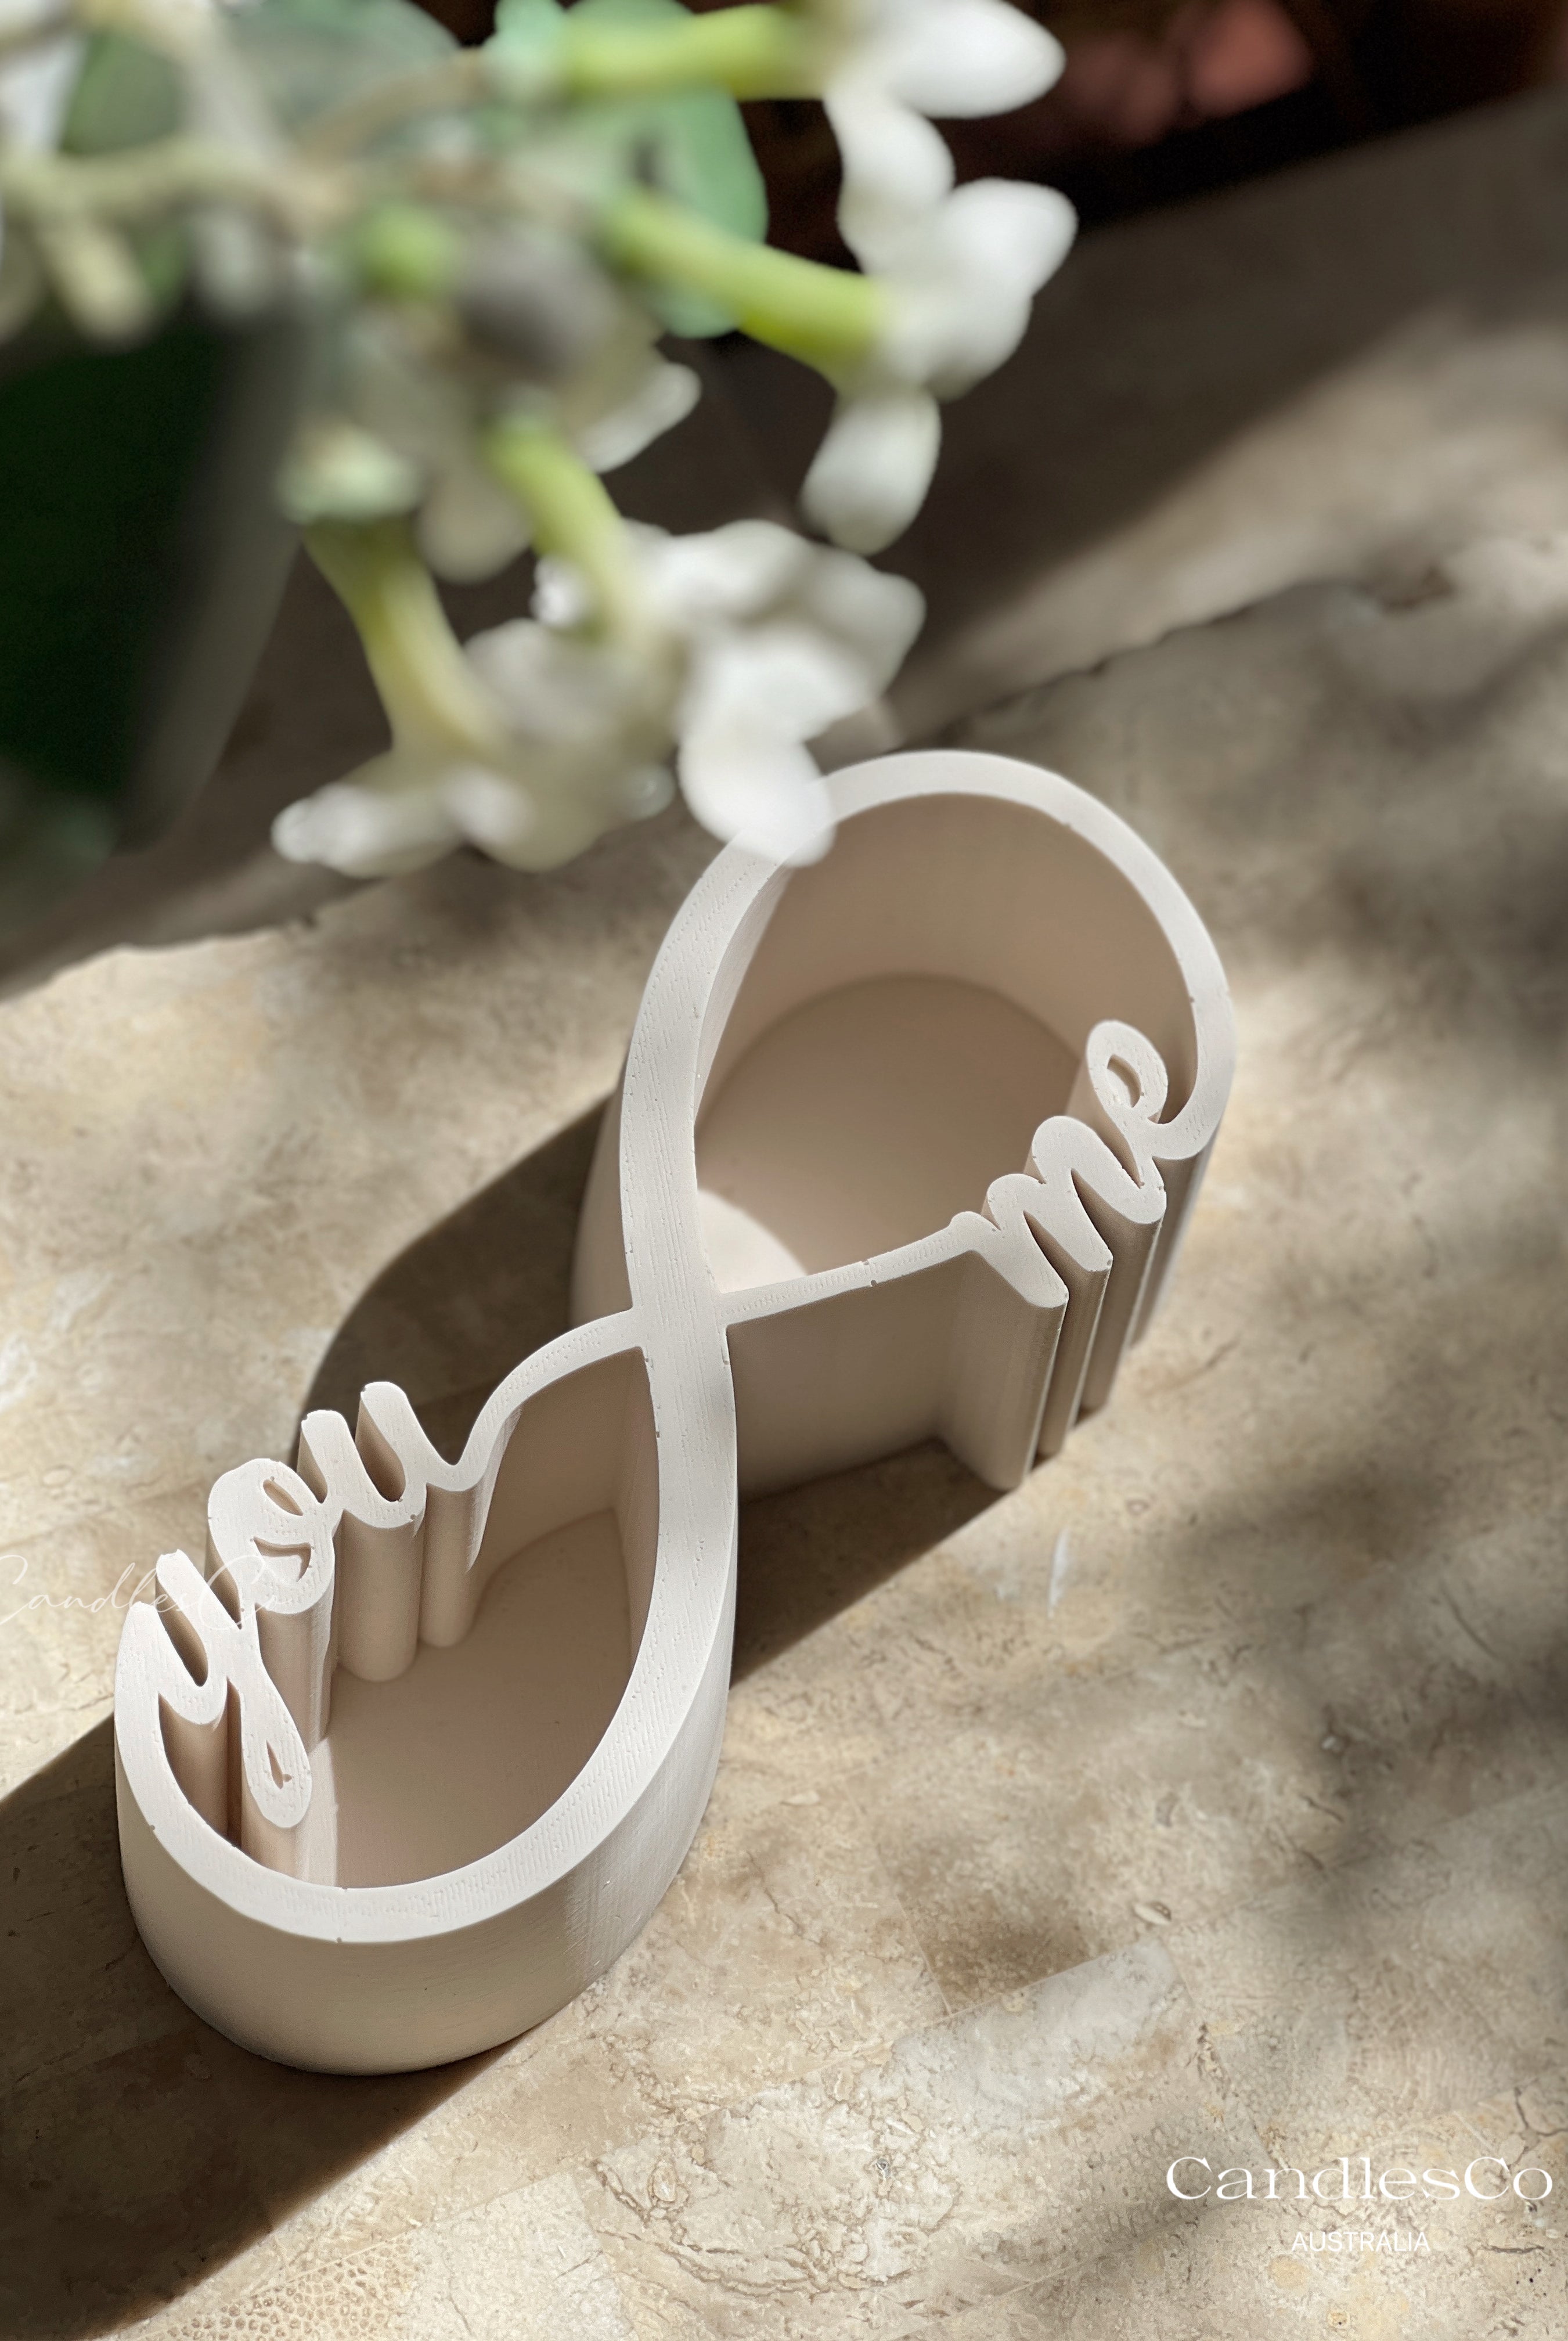


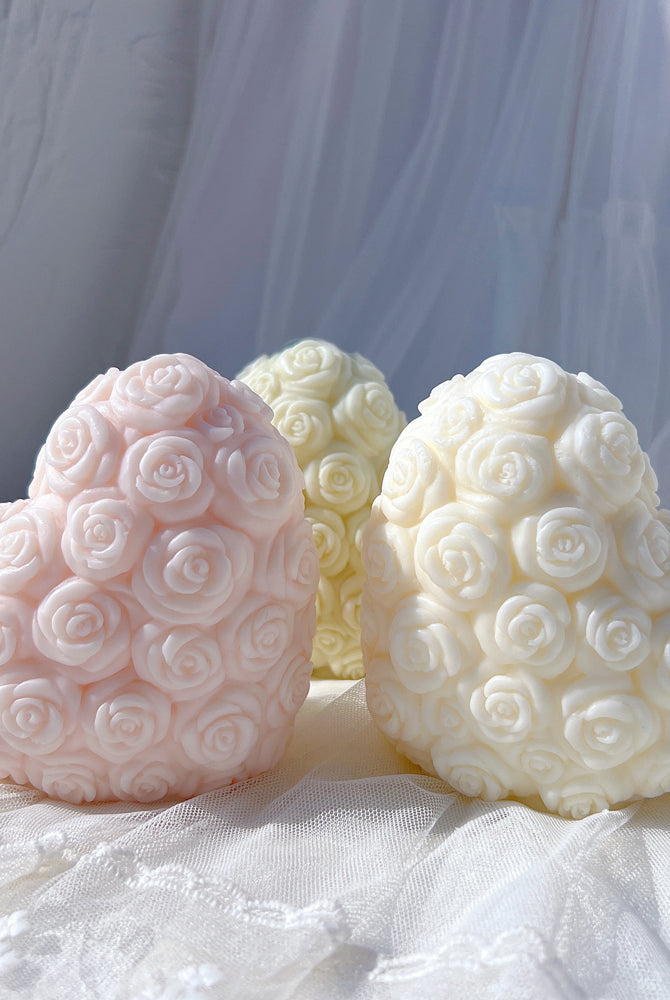
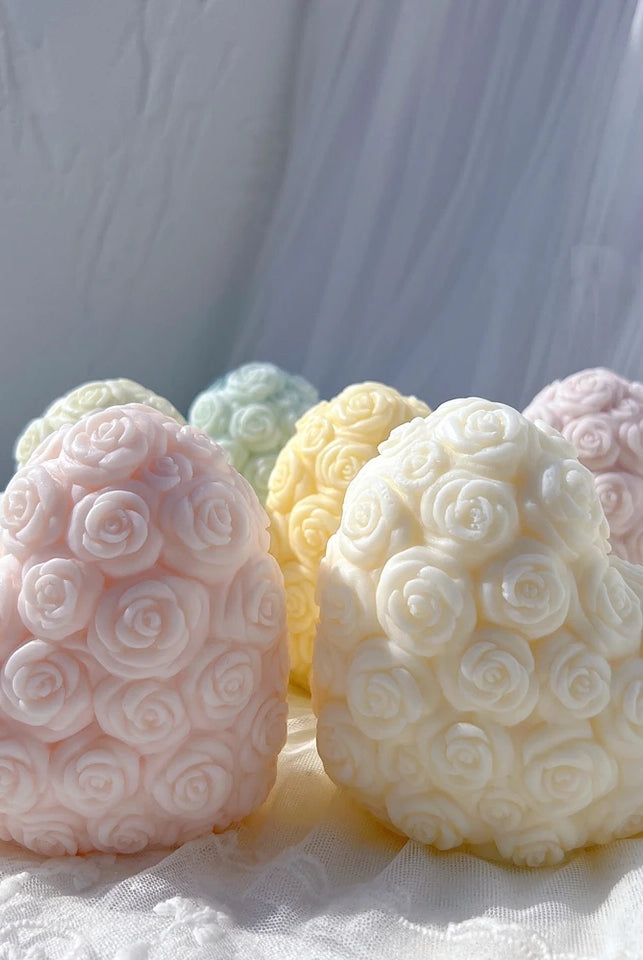
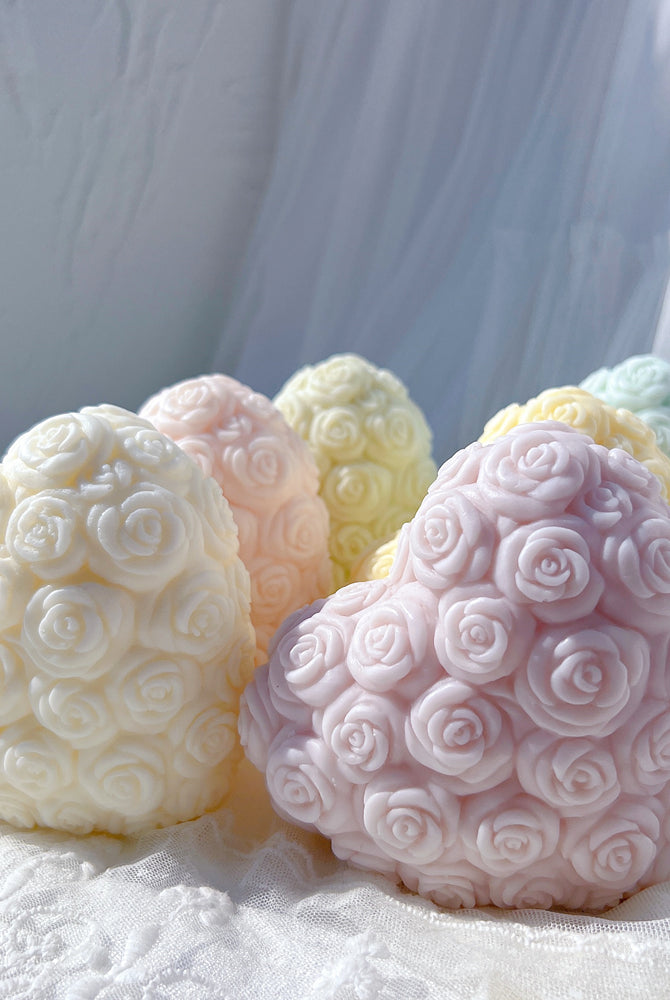
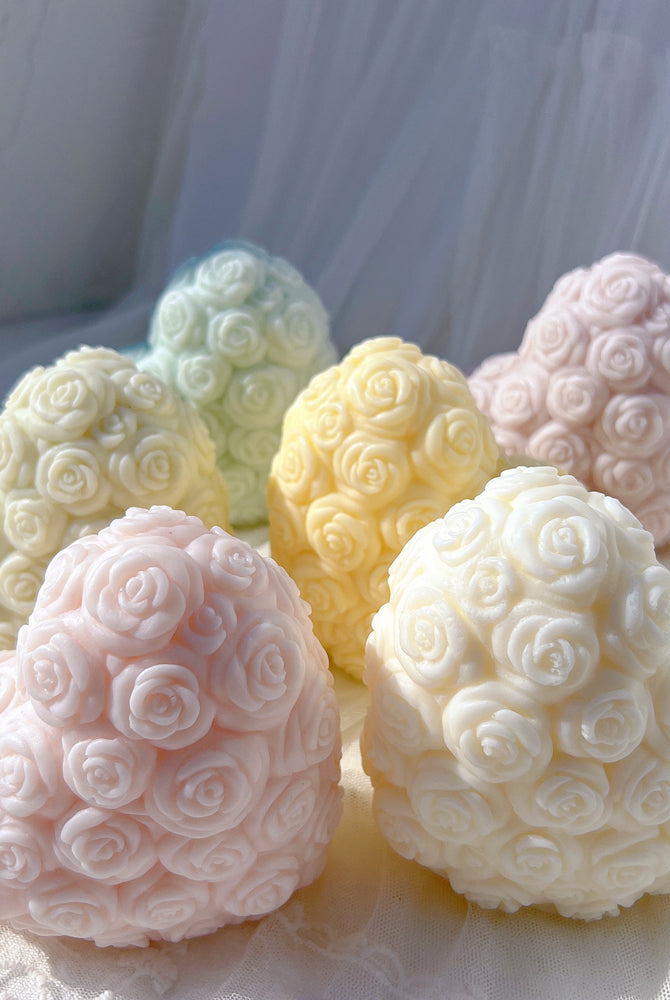
Create a unique gift for Valentine's Day with our candle moulds! Perfect for adding a touch of romance to any home.
Benefits of Our Candle Moulds
- Exceptional Craftsmanship and Quality
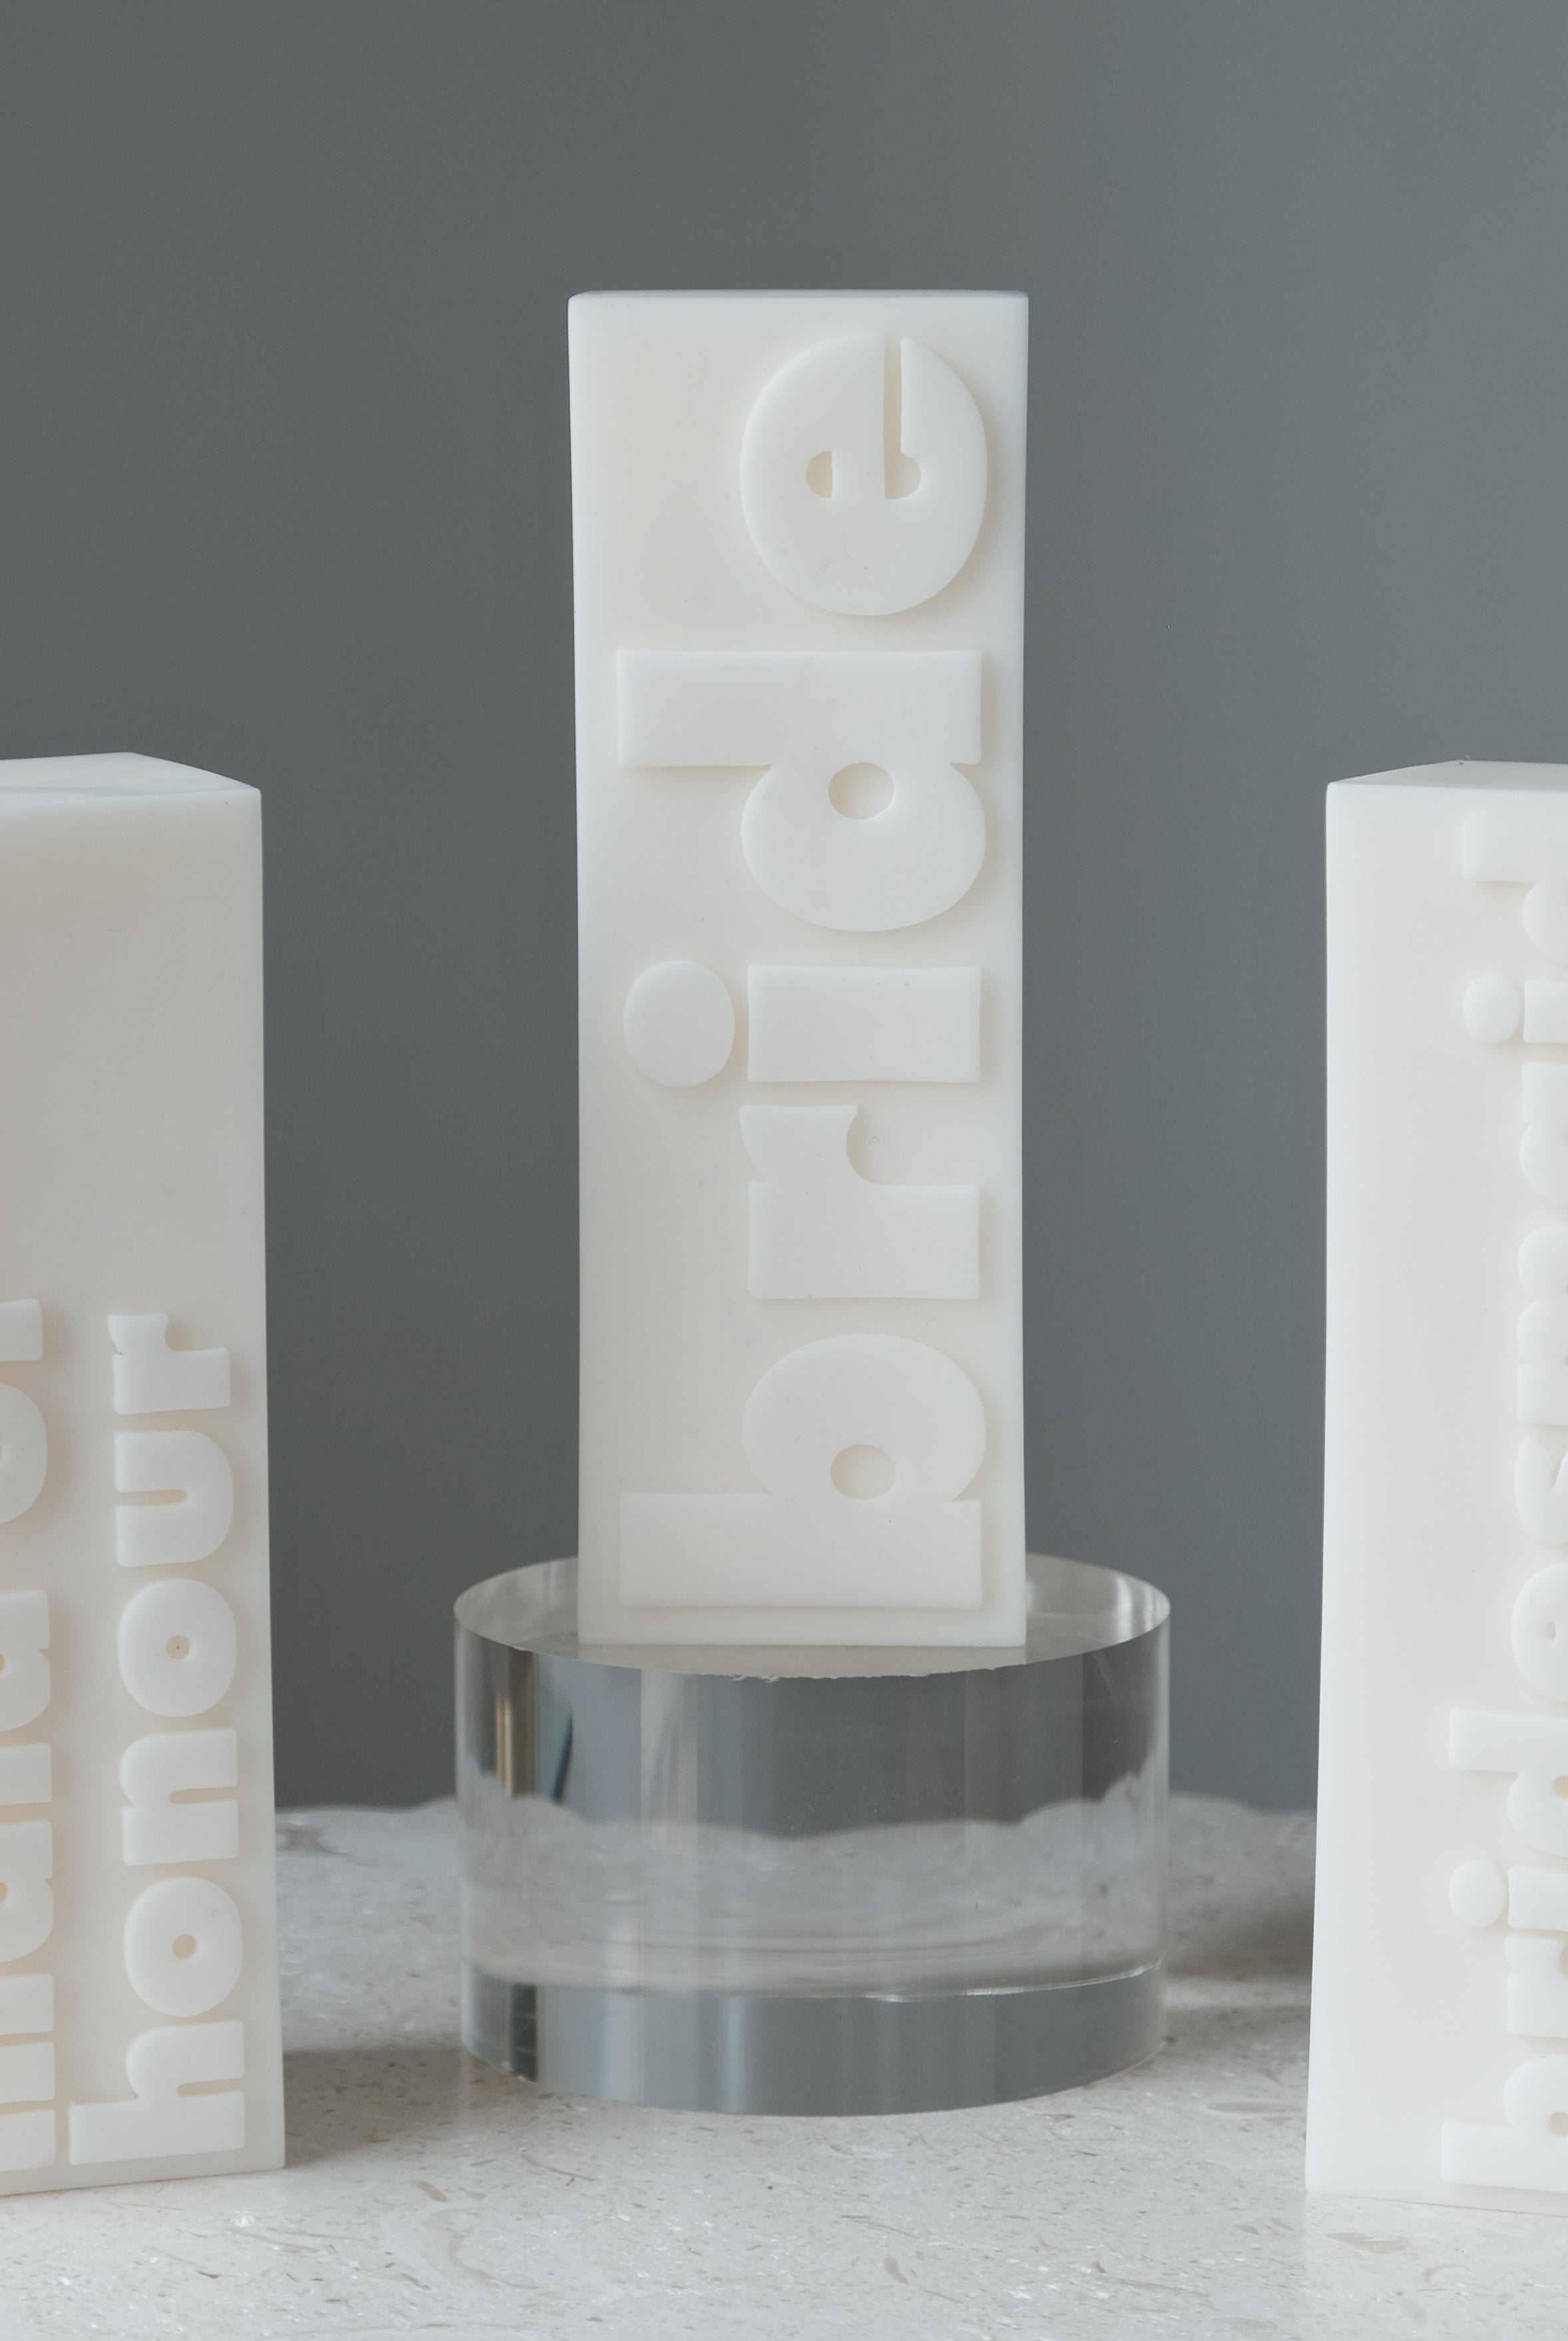
The careful production process ensures that all of our candle moulds are crafted with the highest quality
- Durability and Longevity
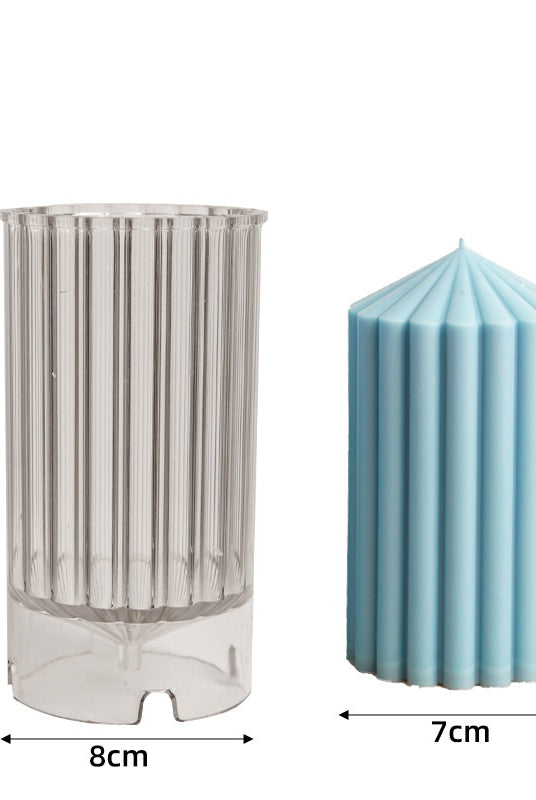
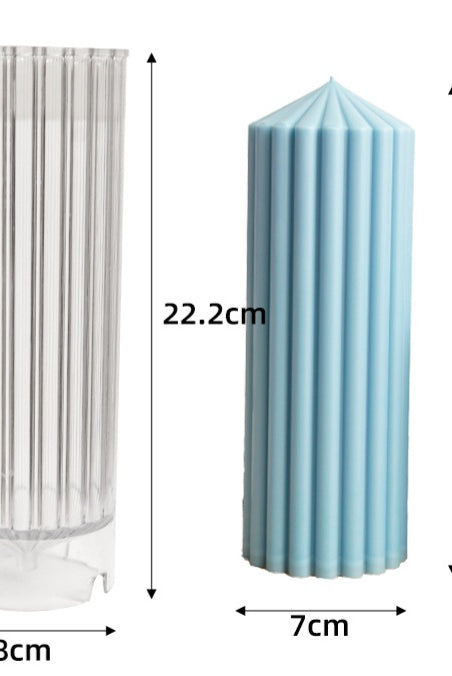
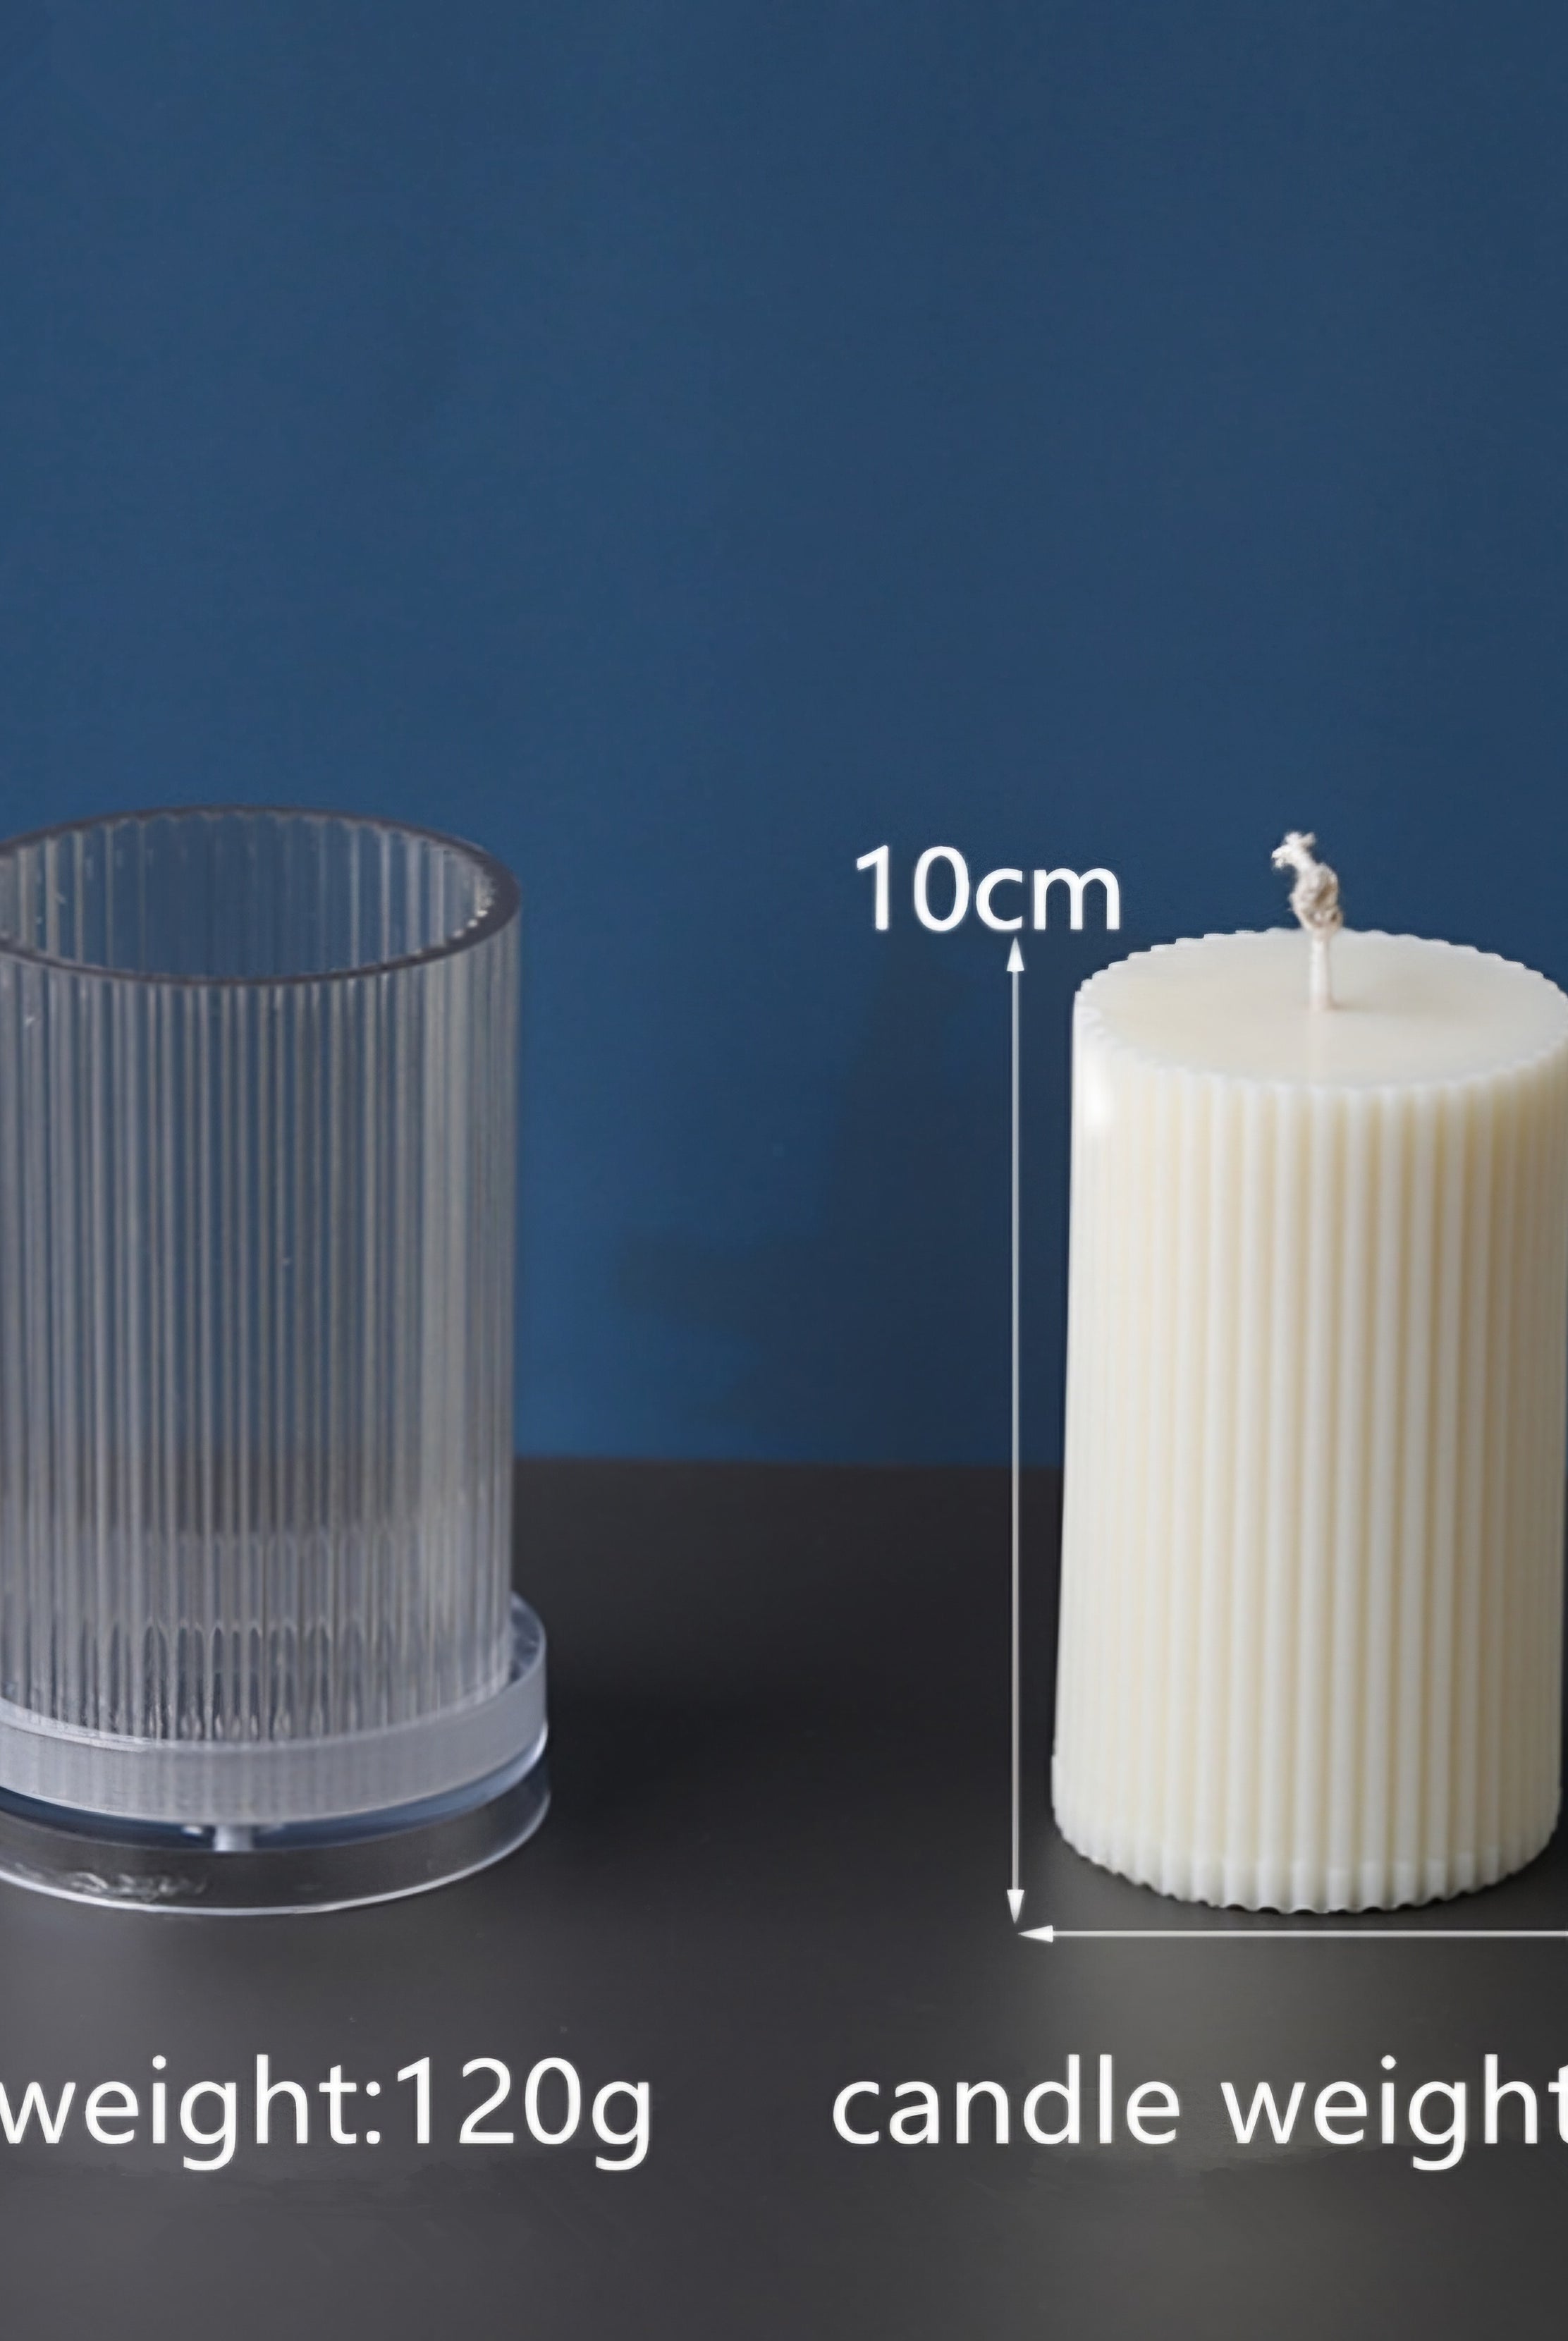
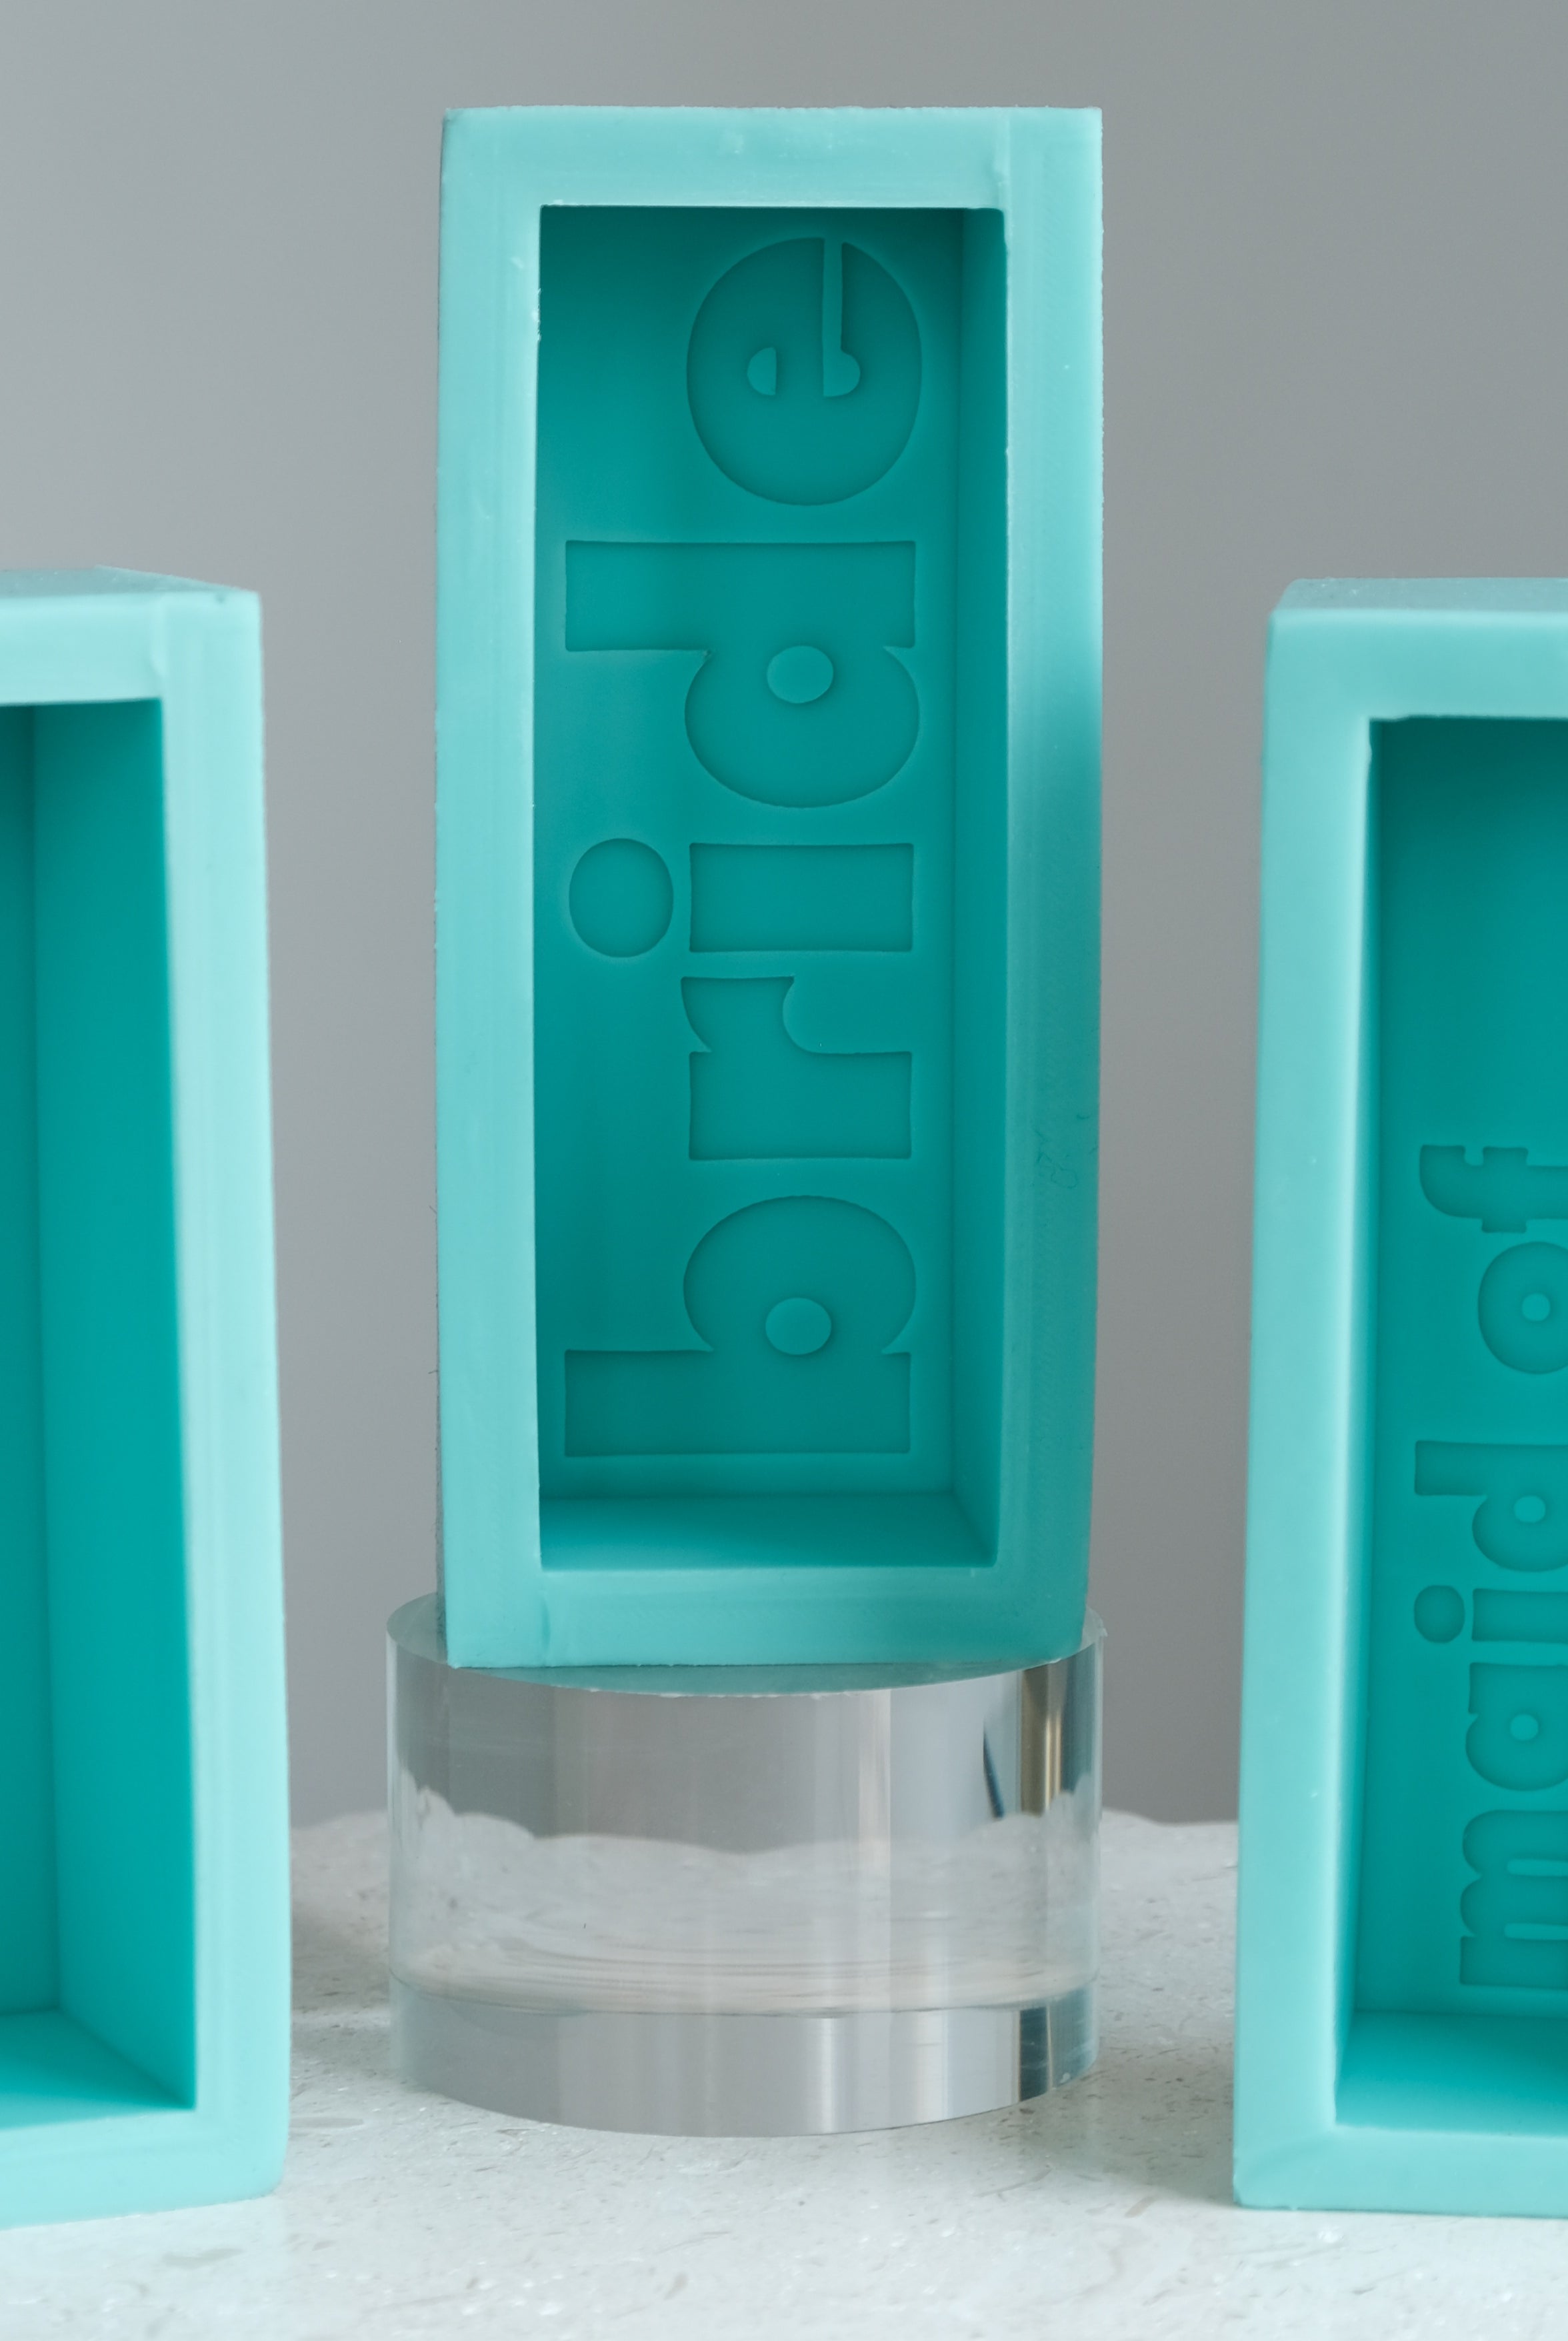
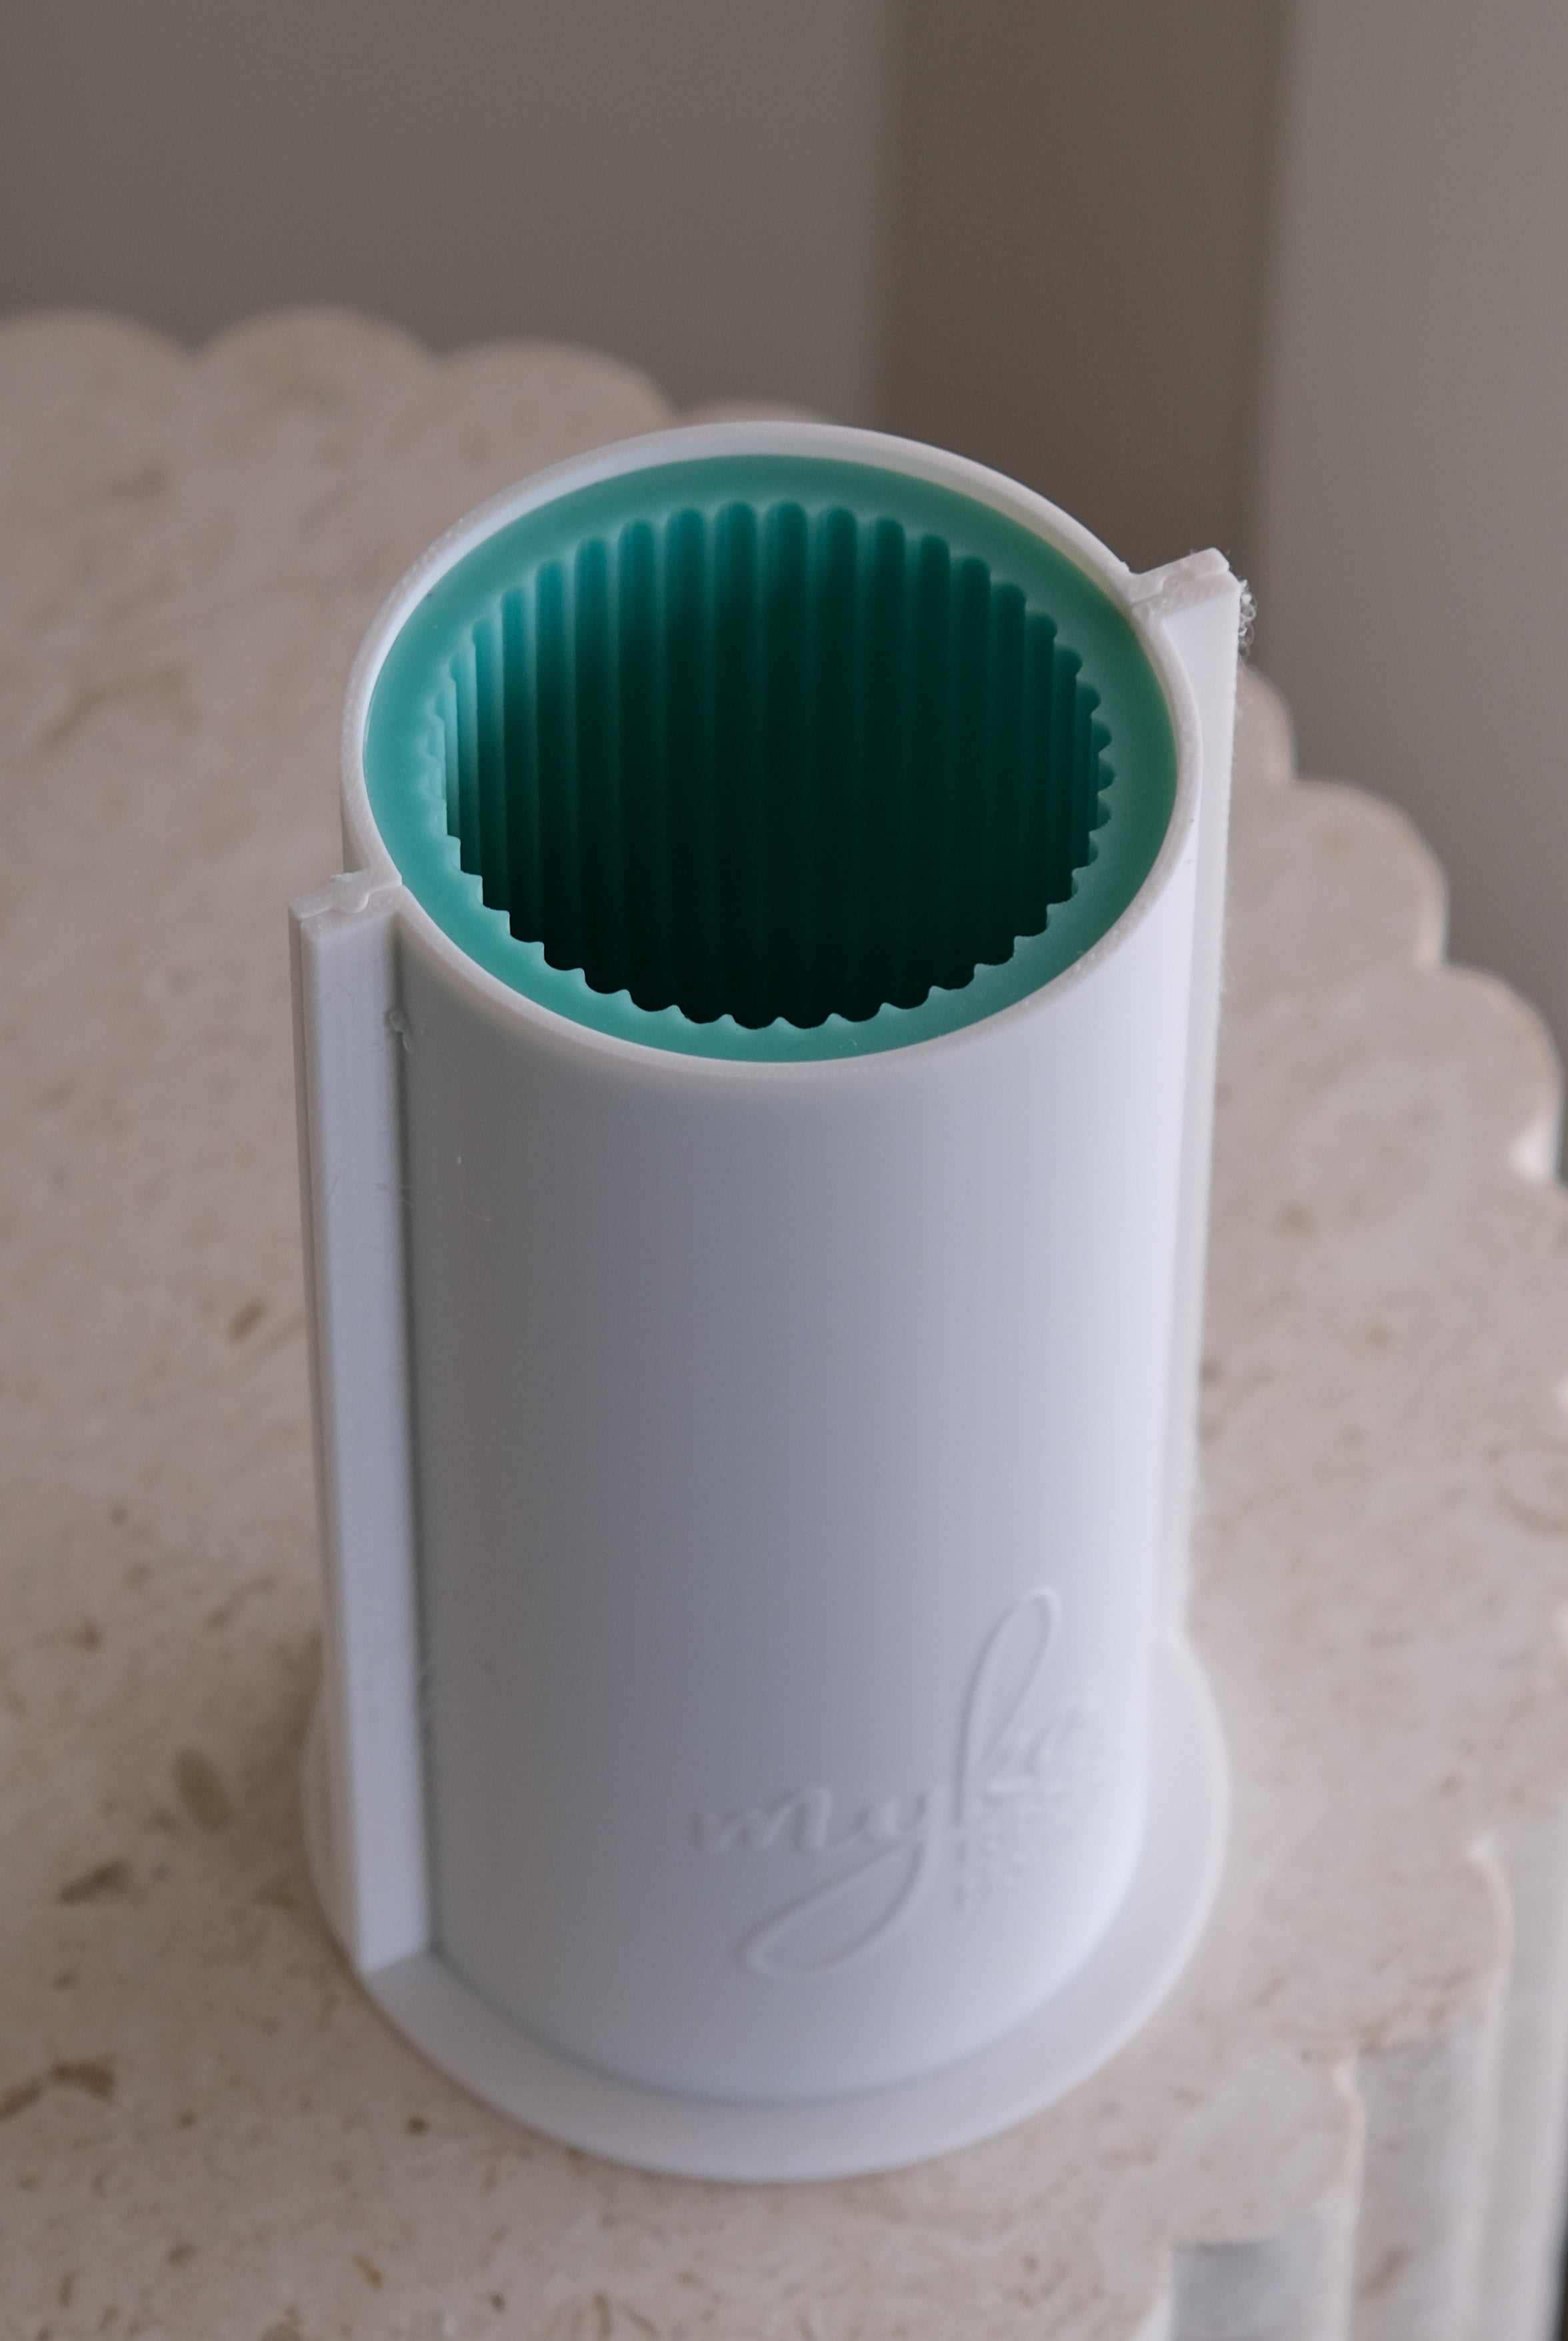
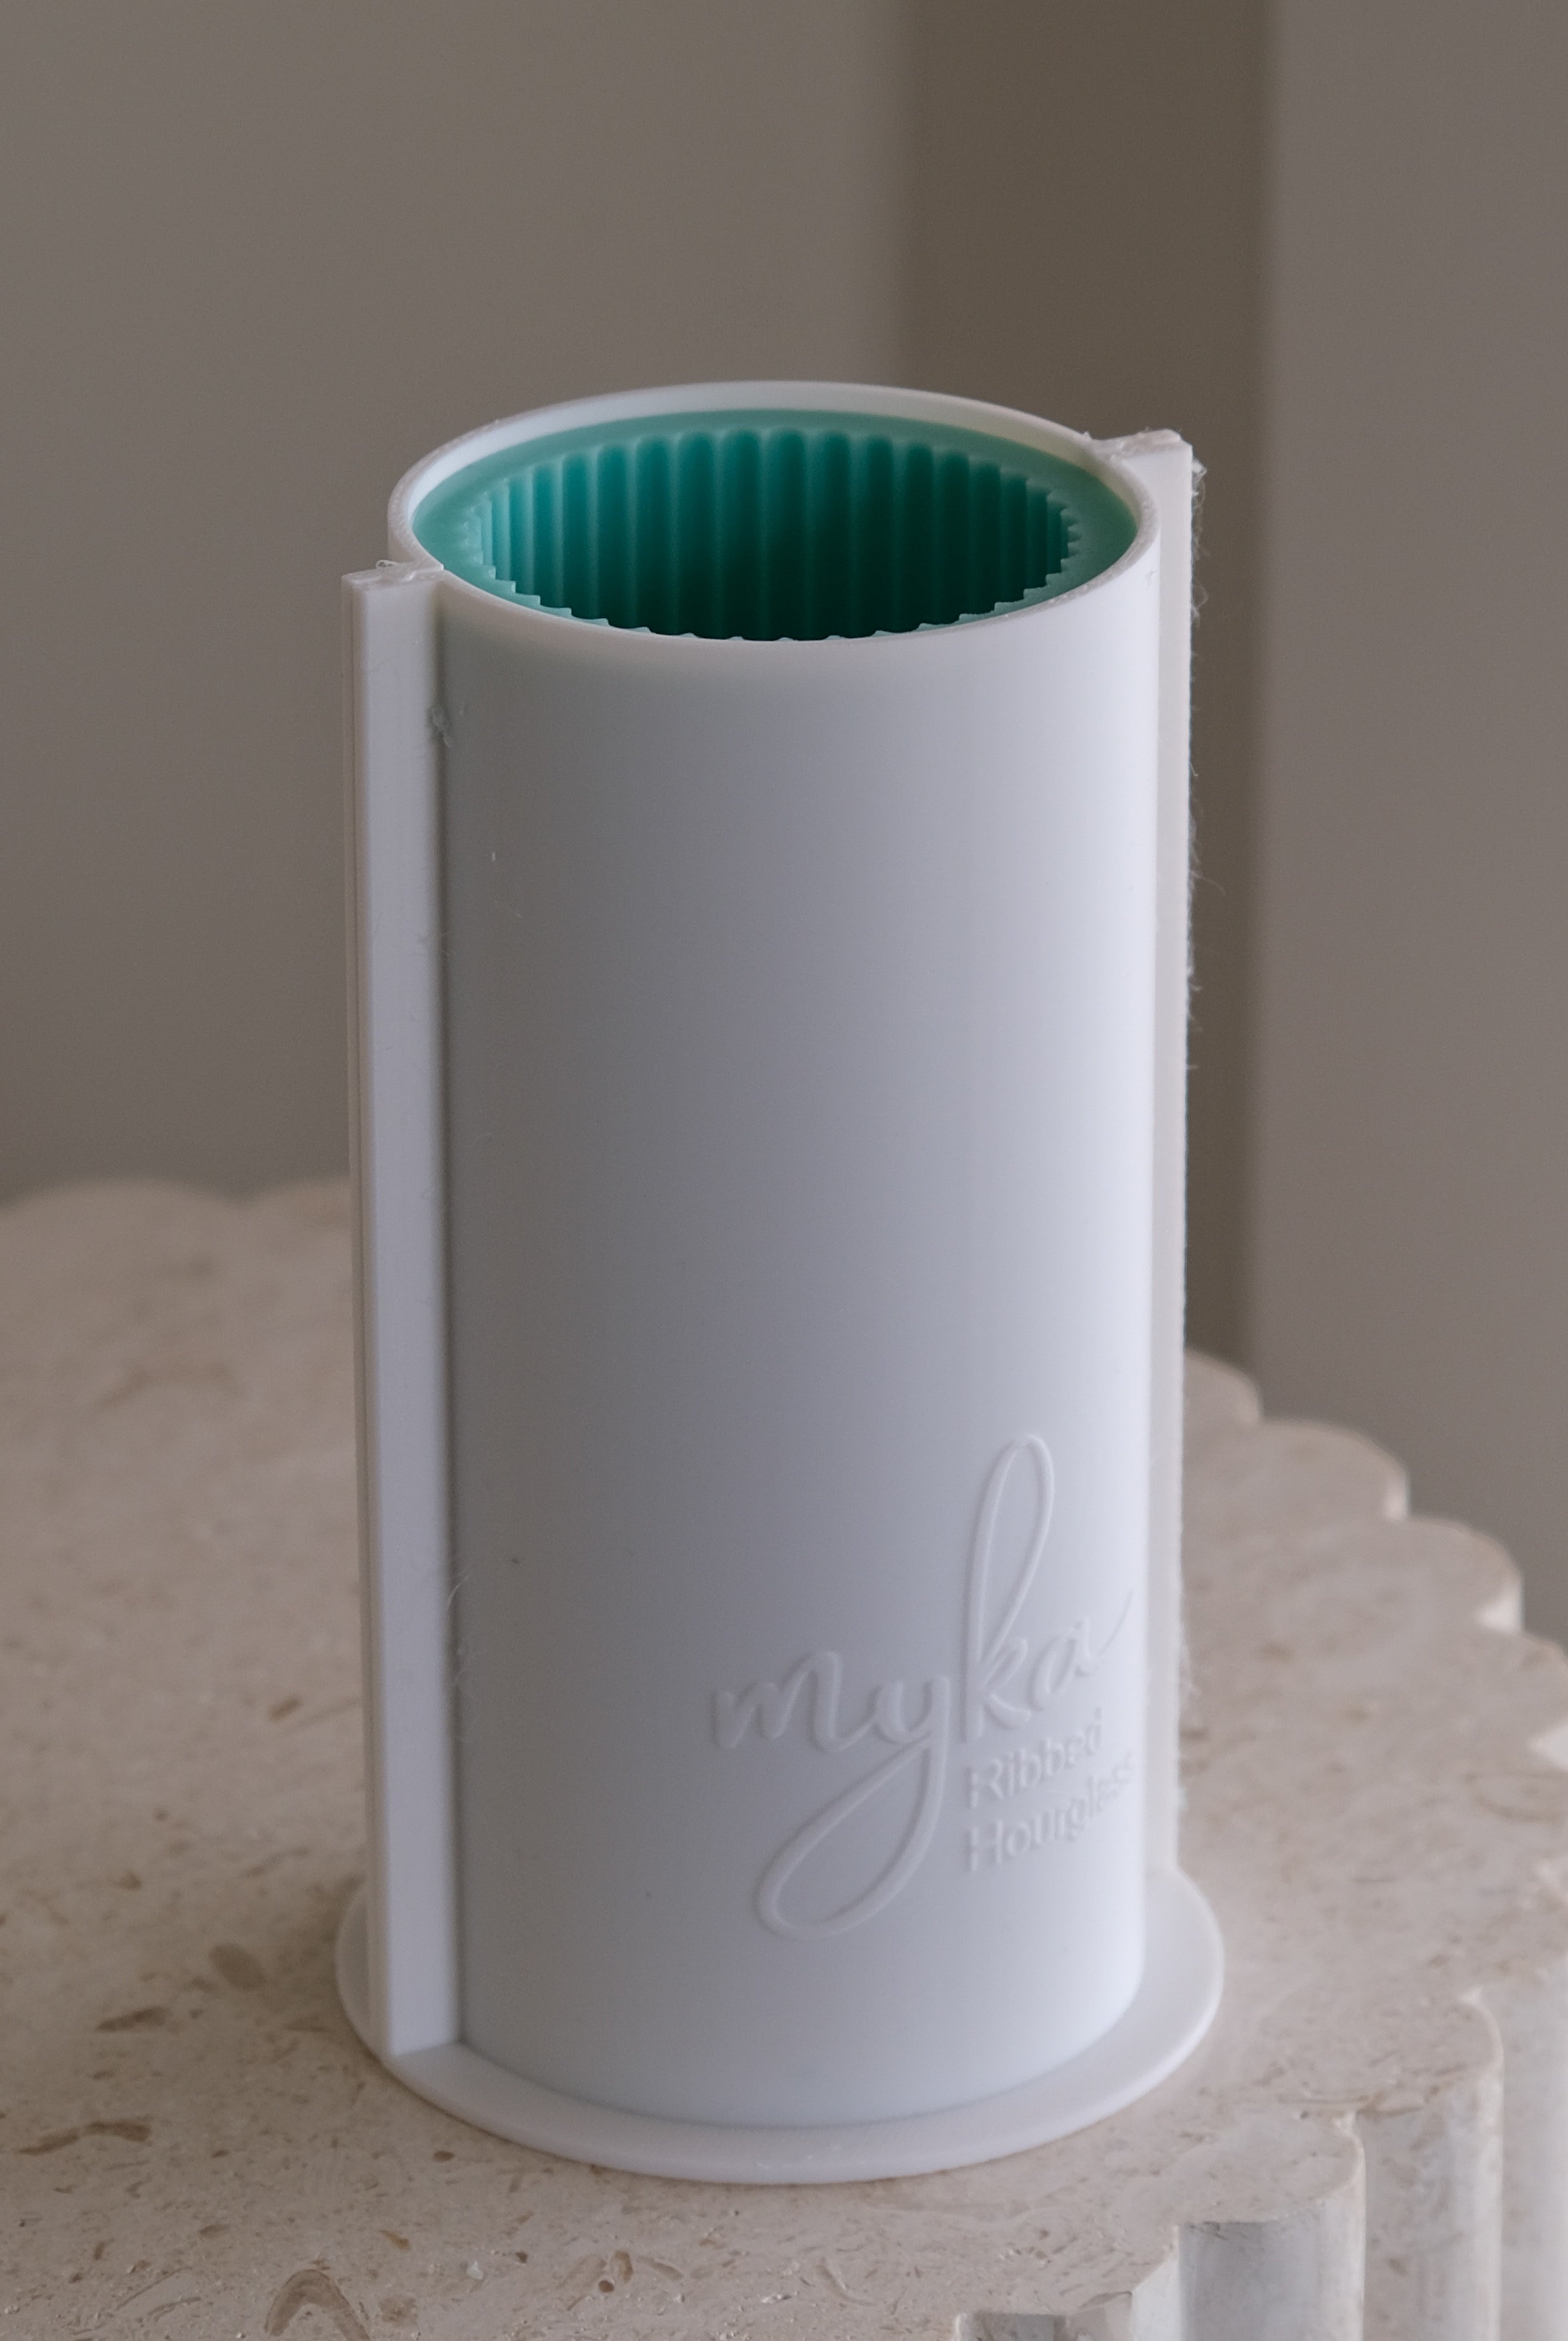
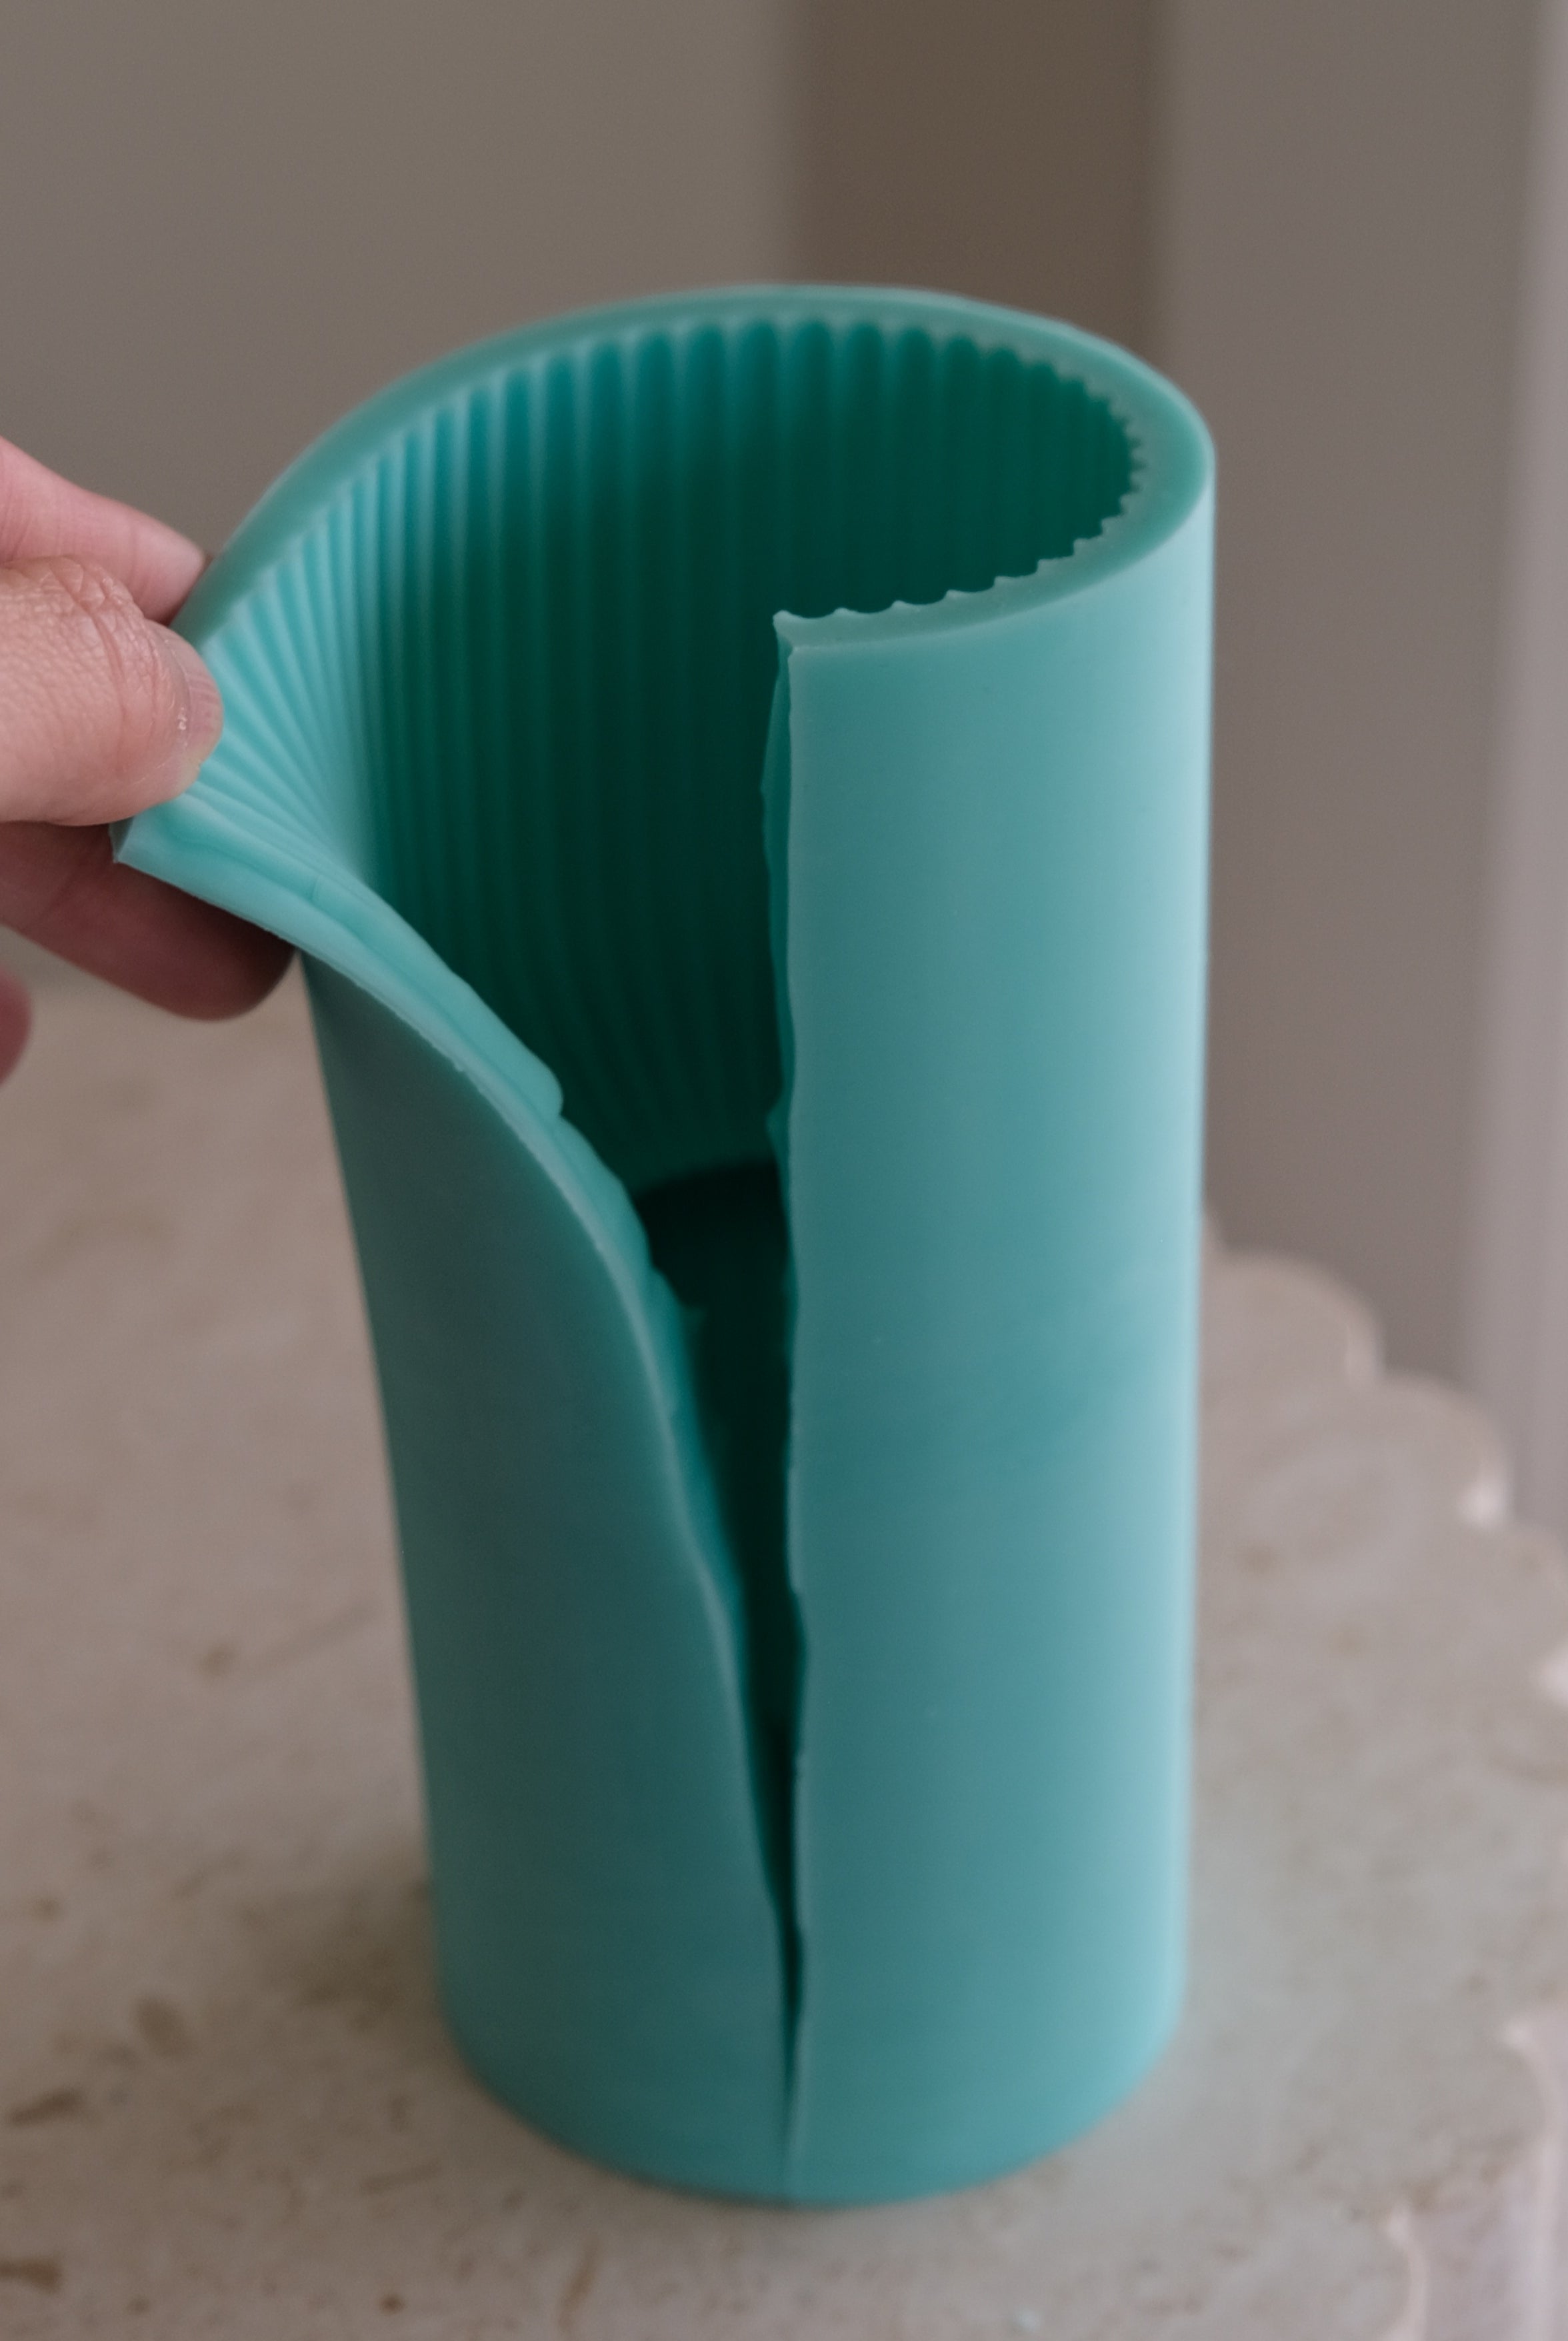
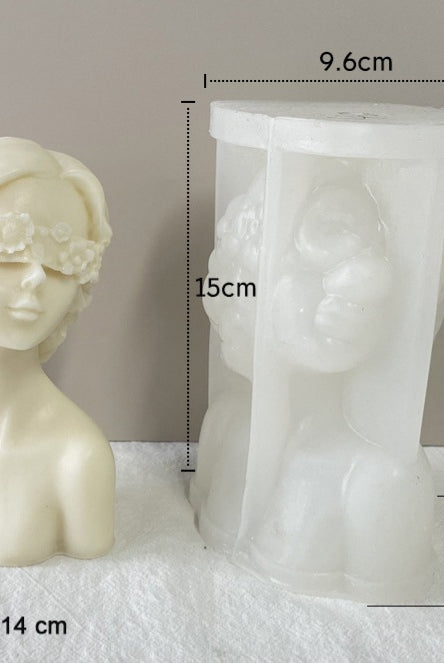
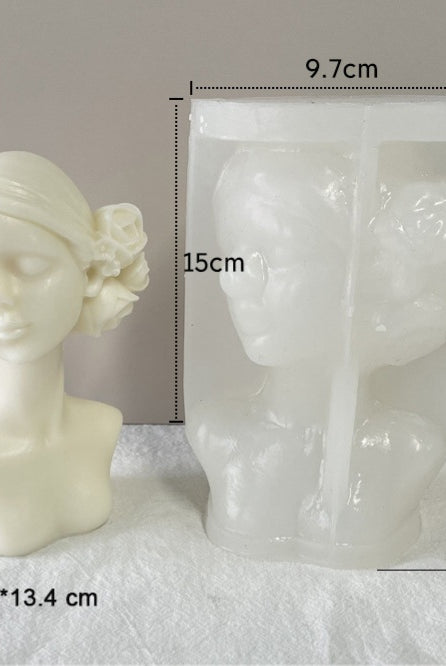
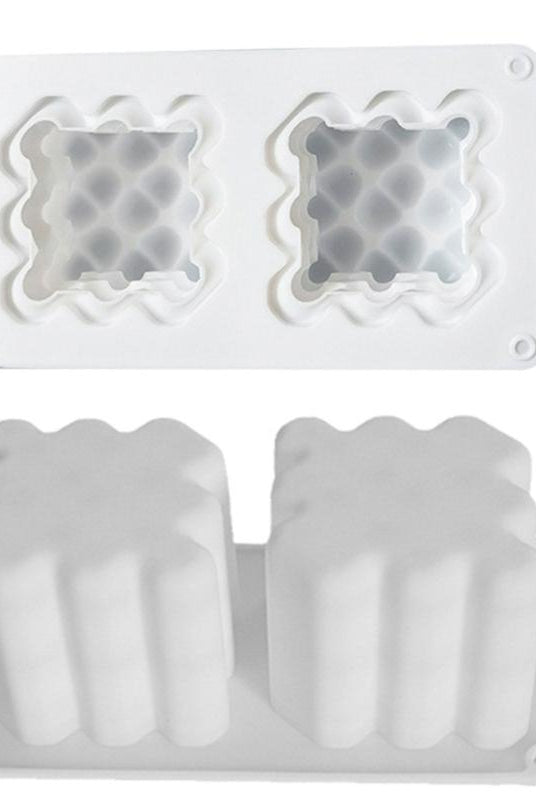
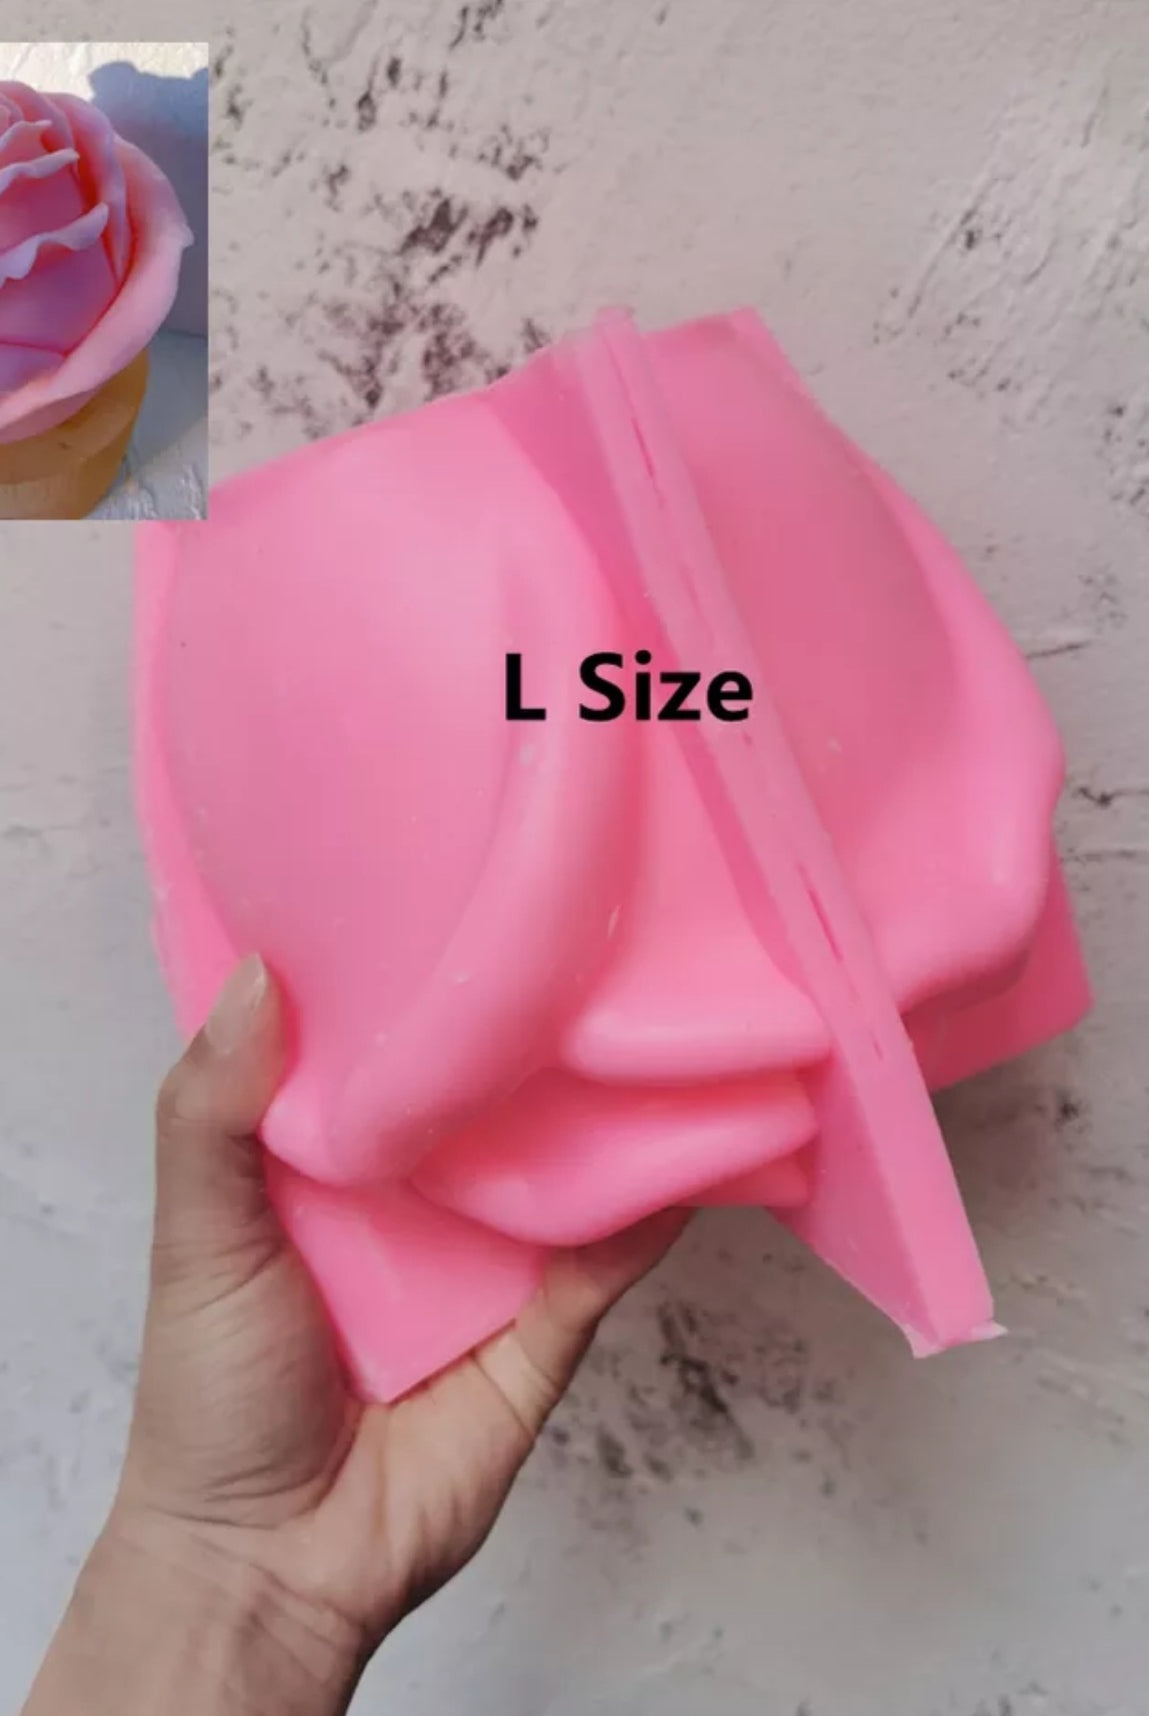
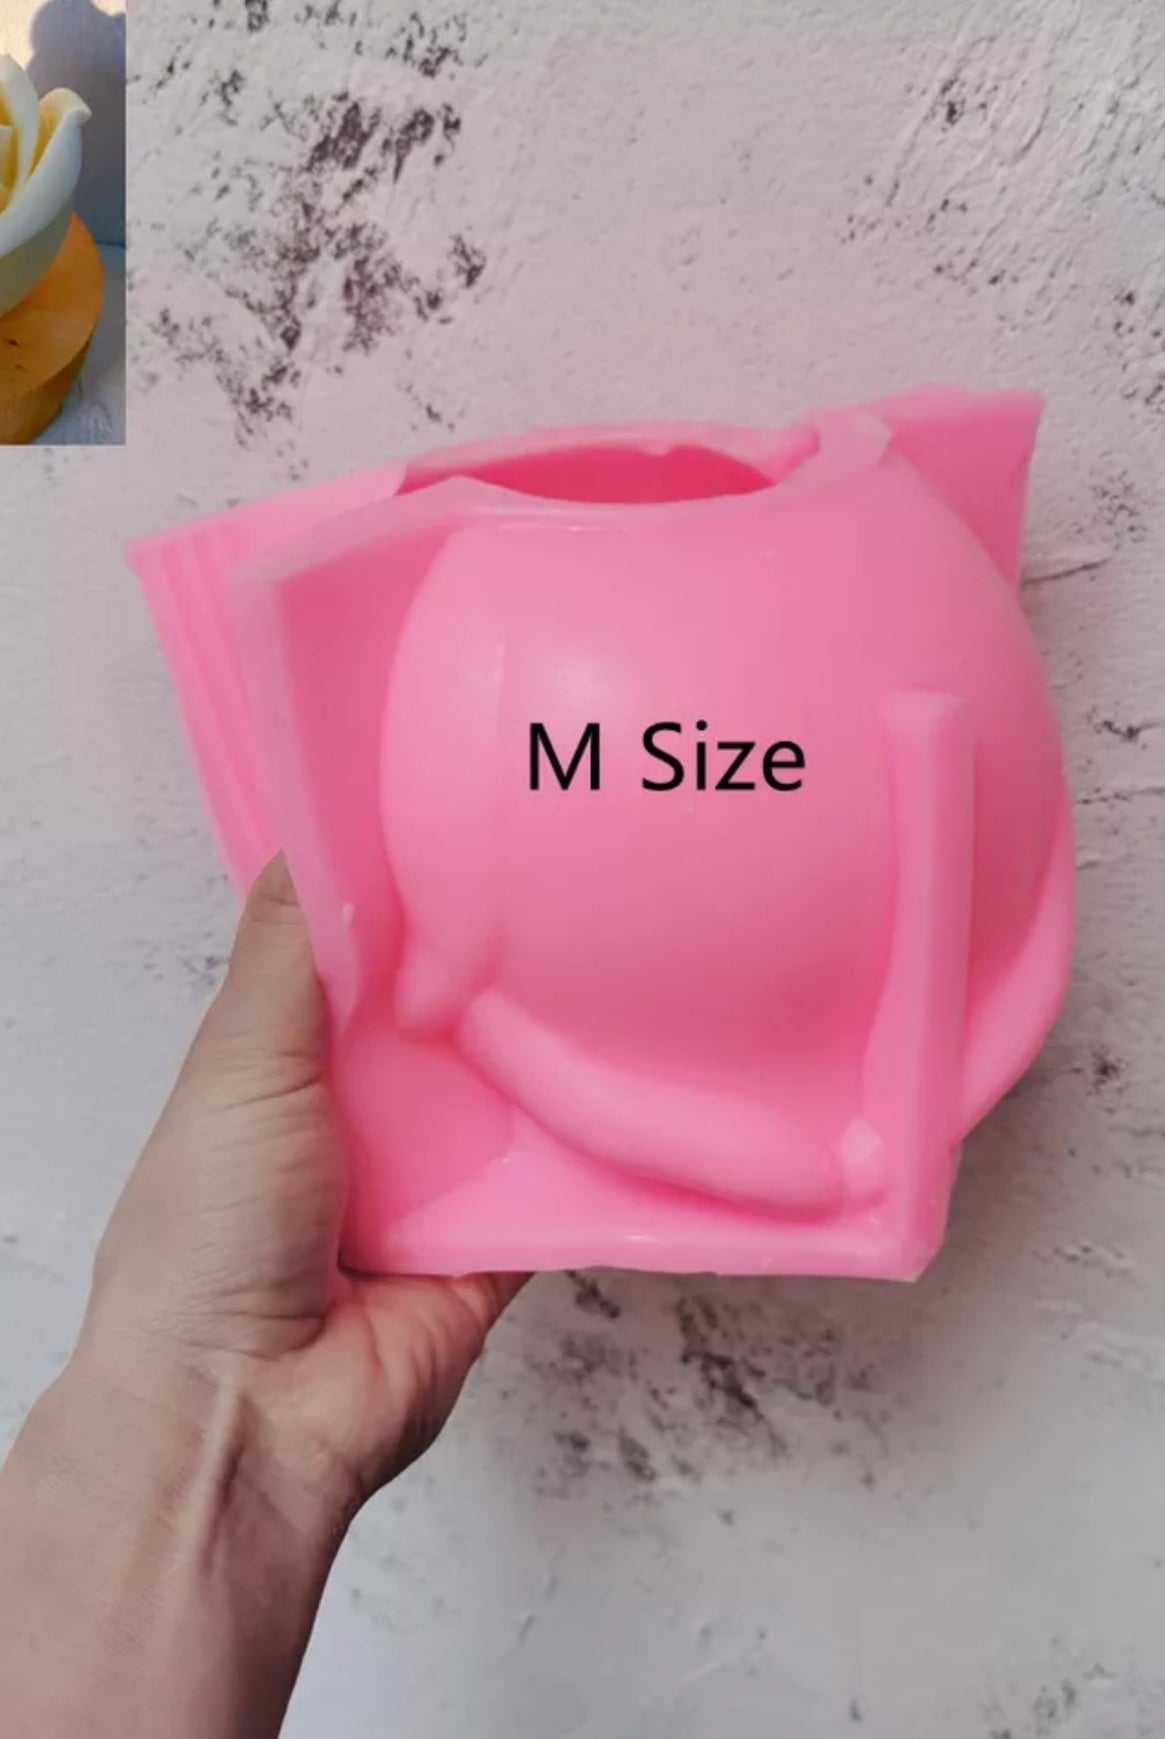
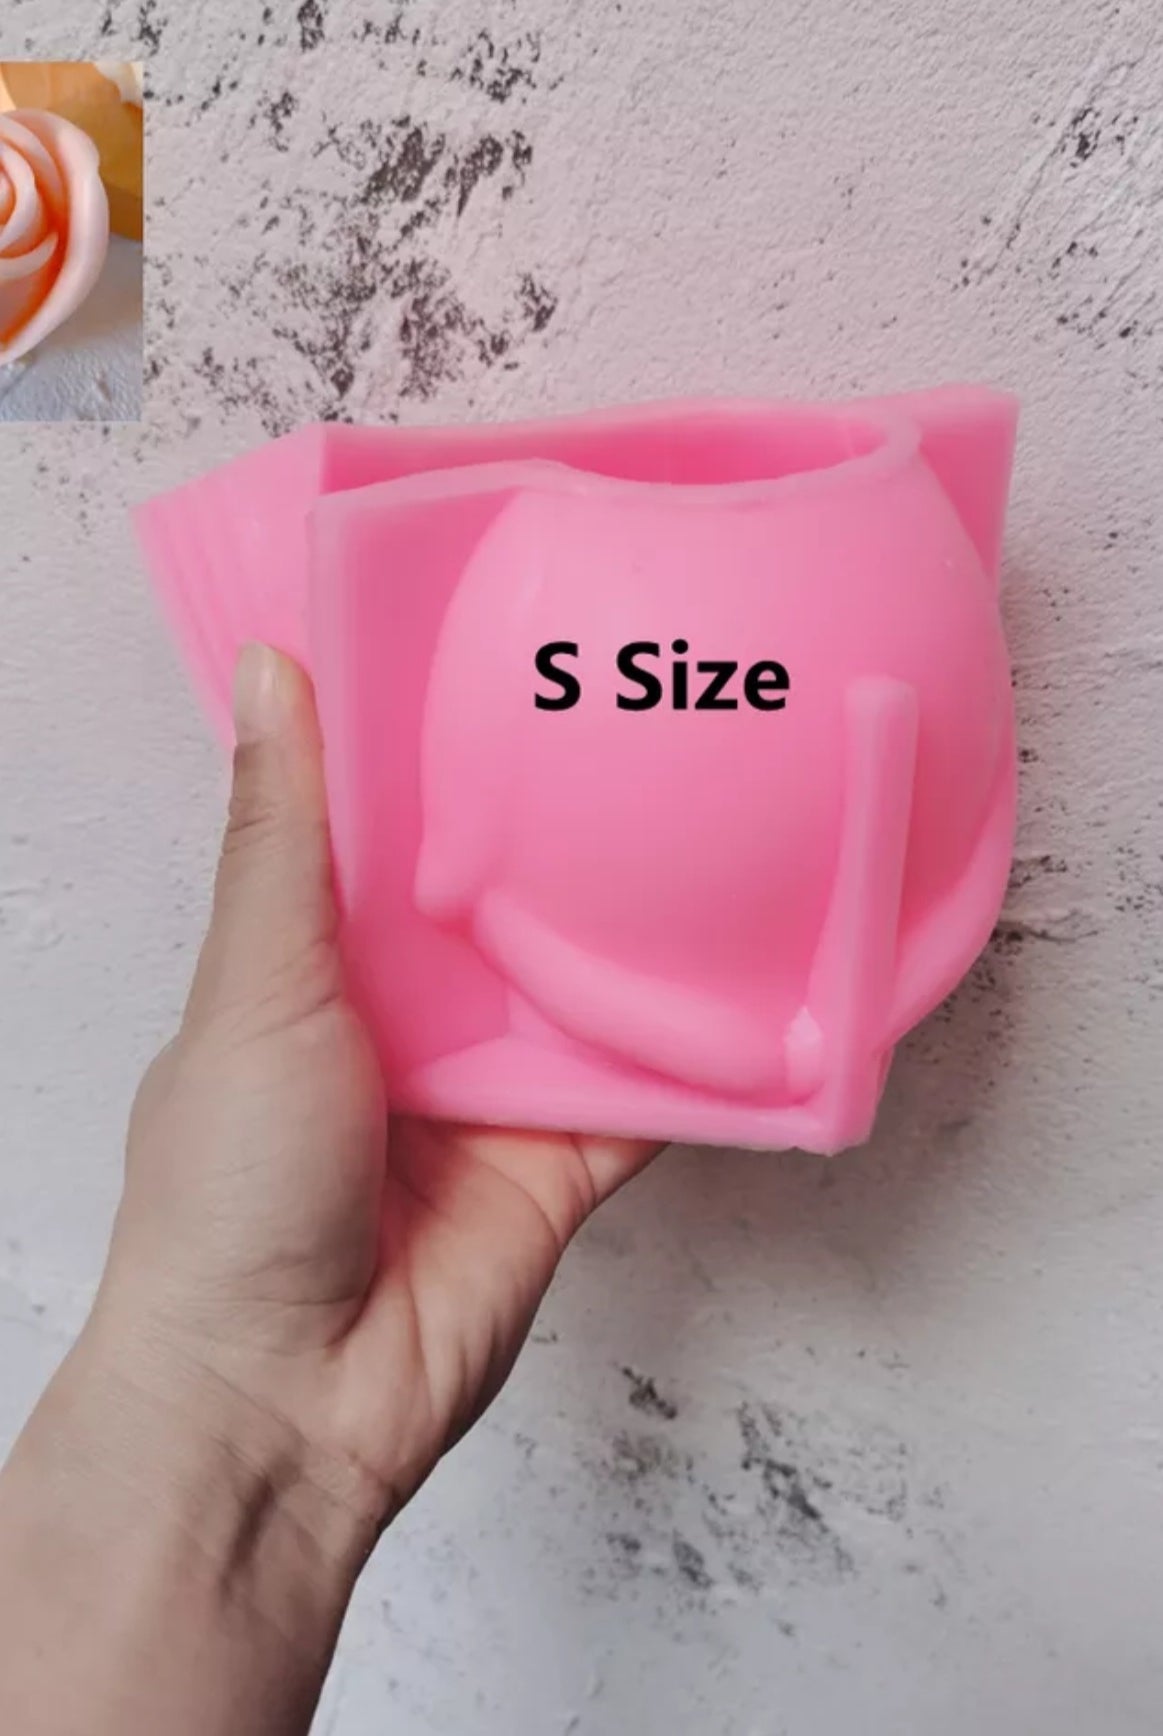
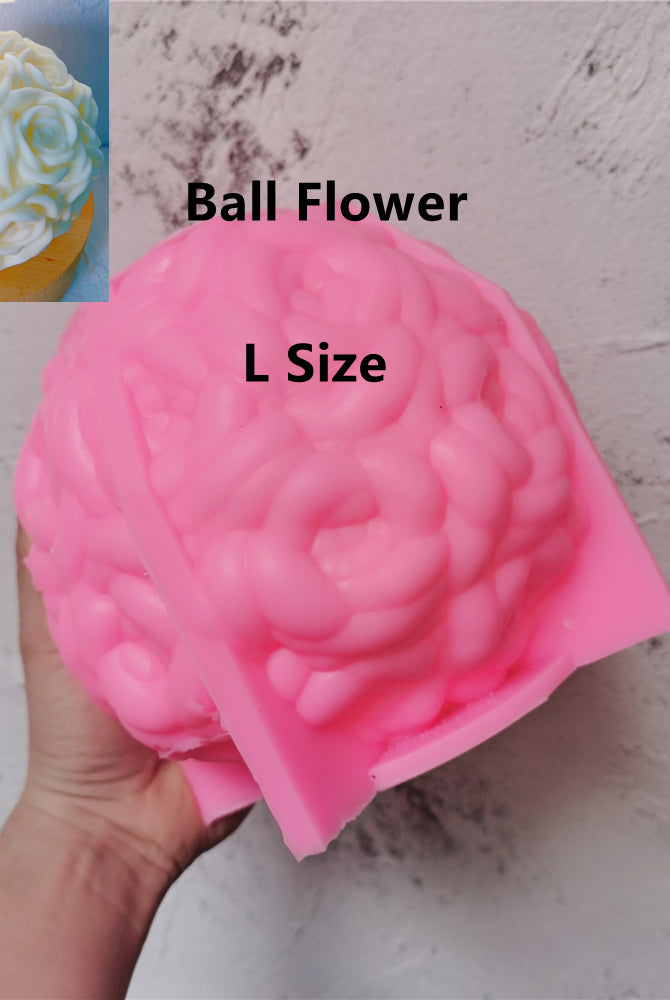
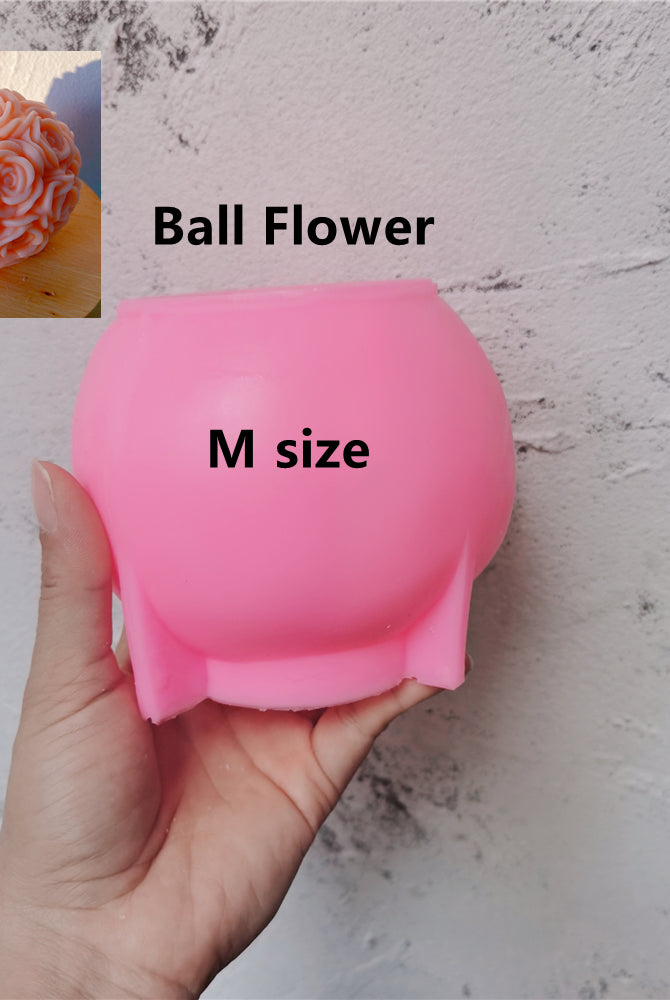
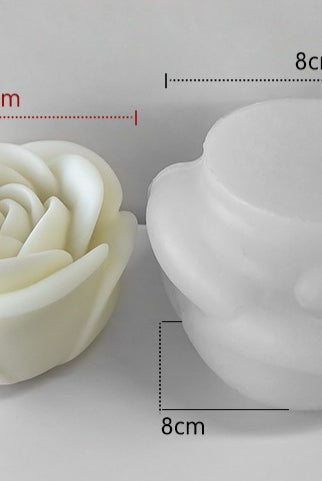
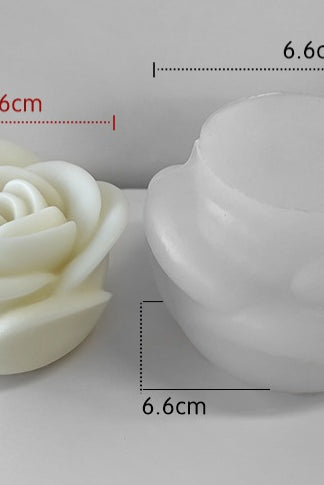
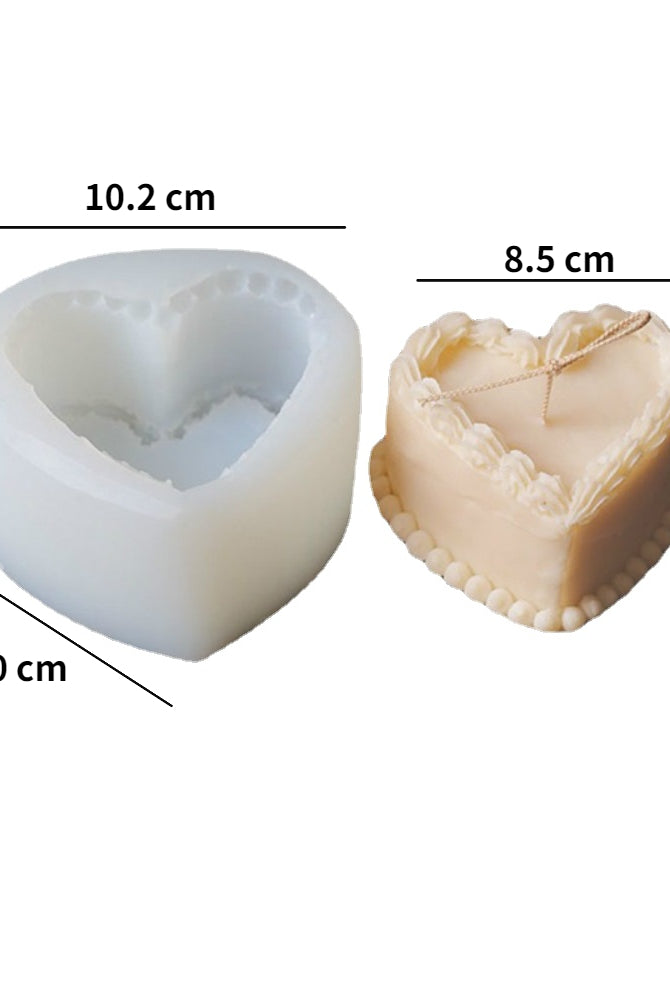
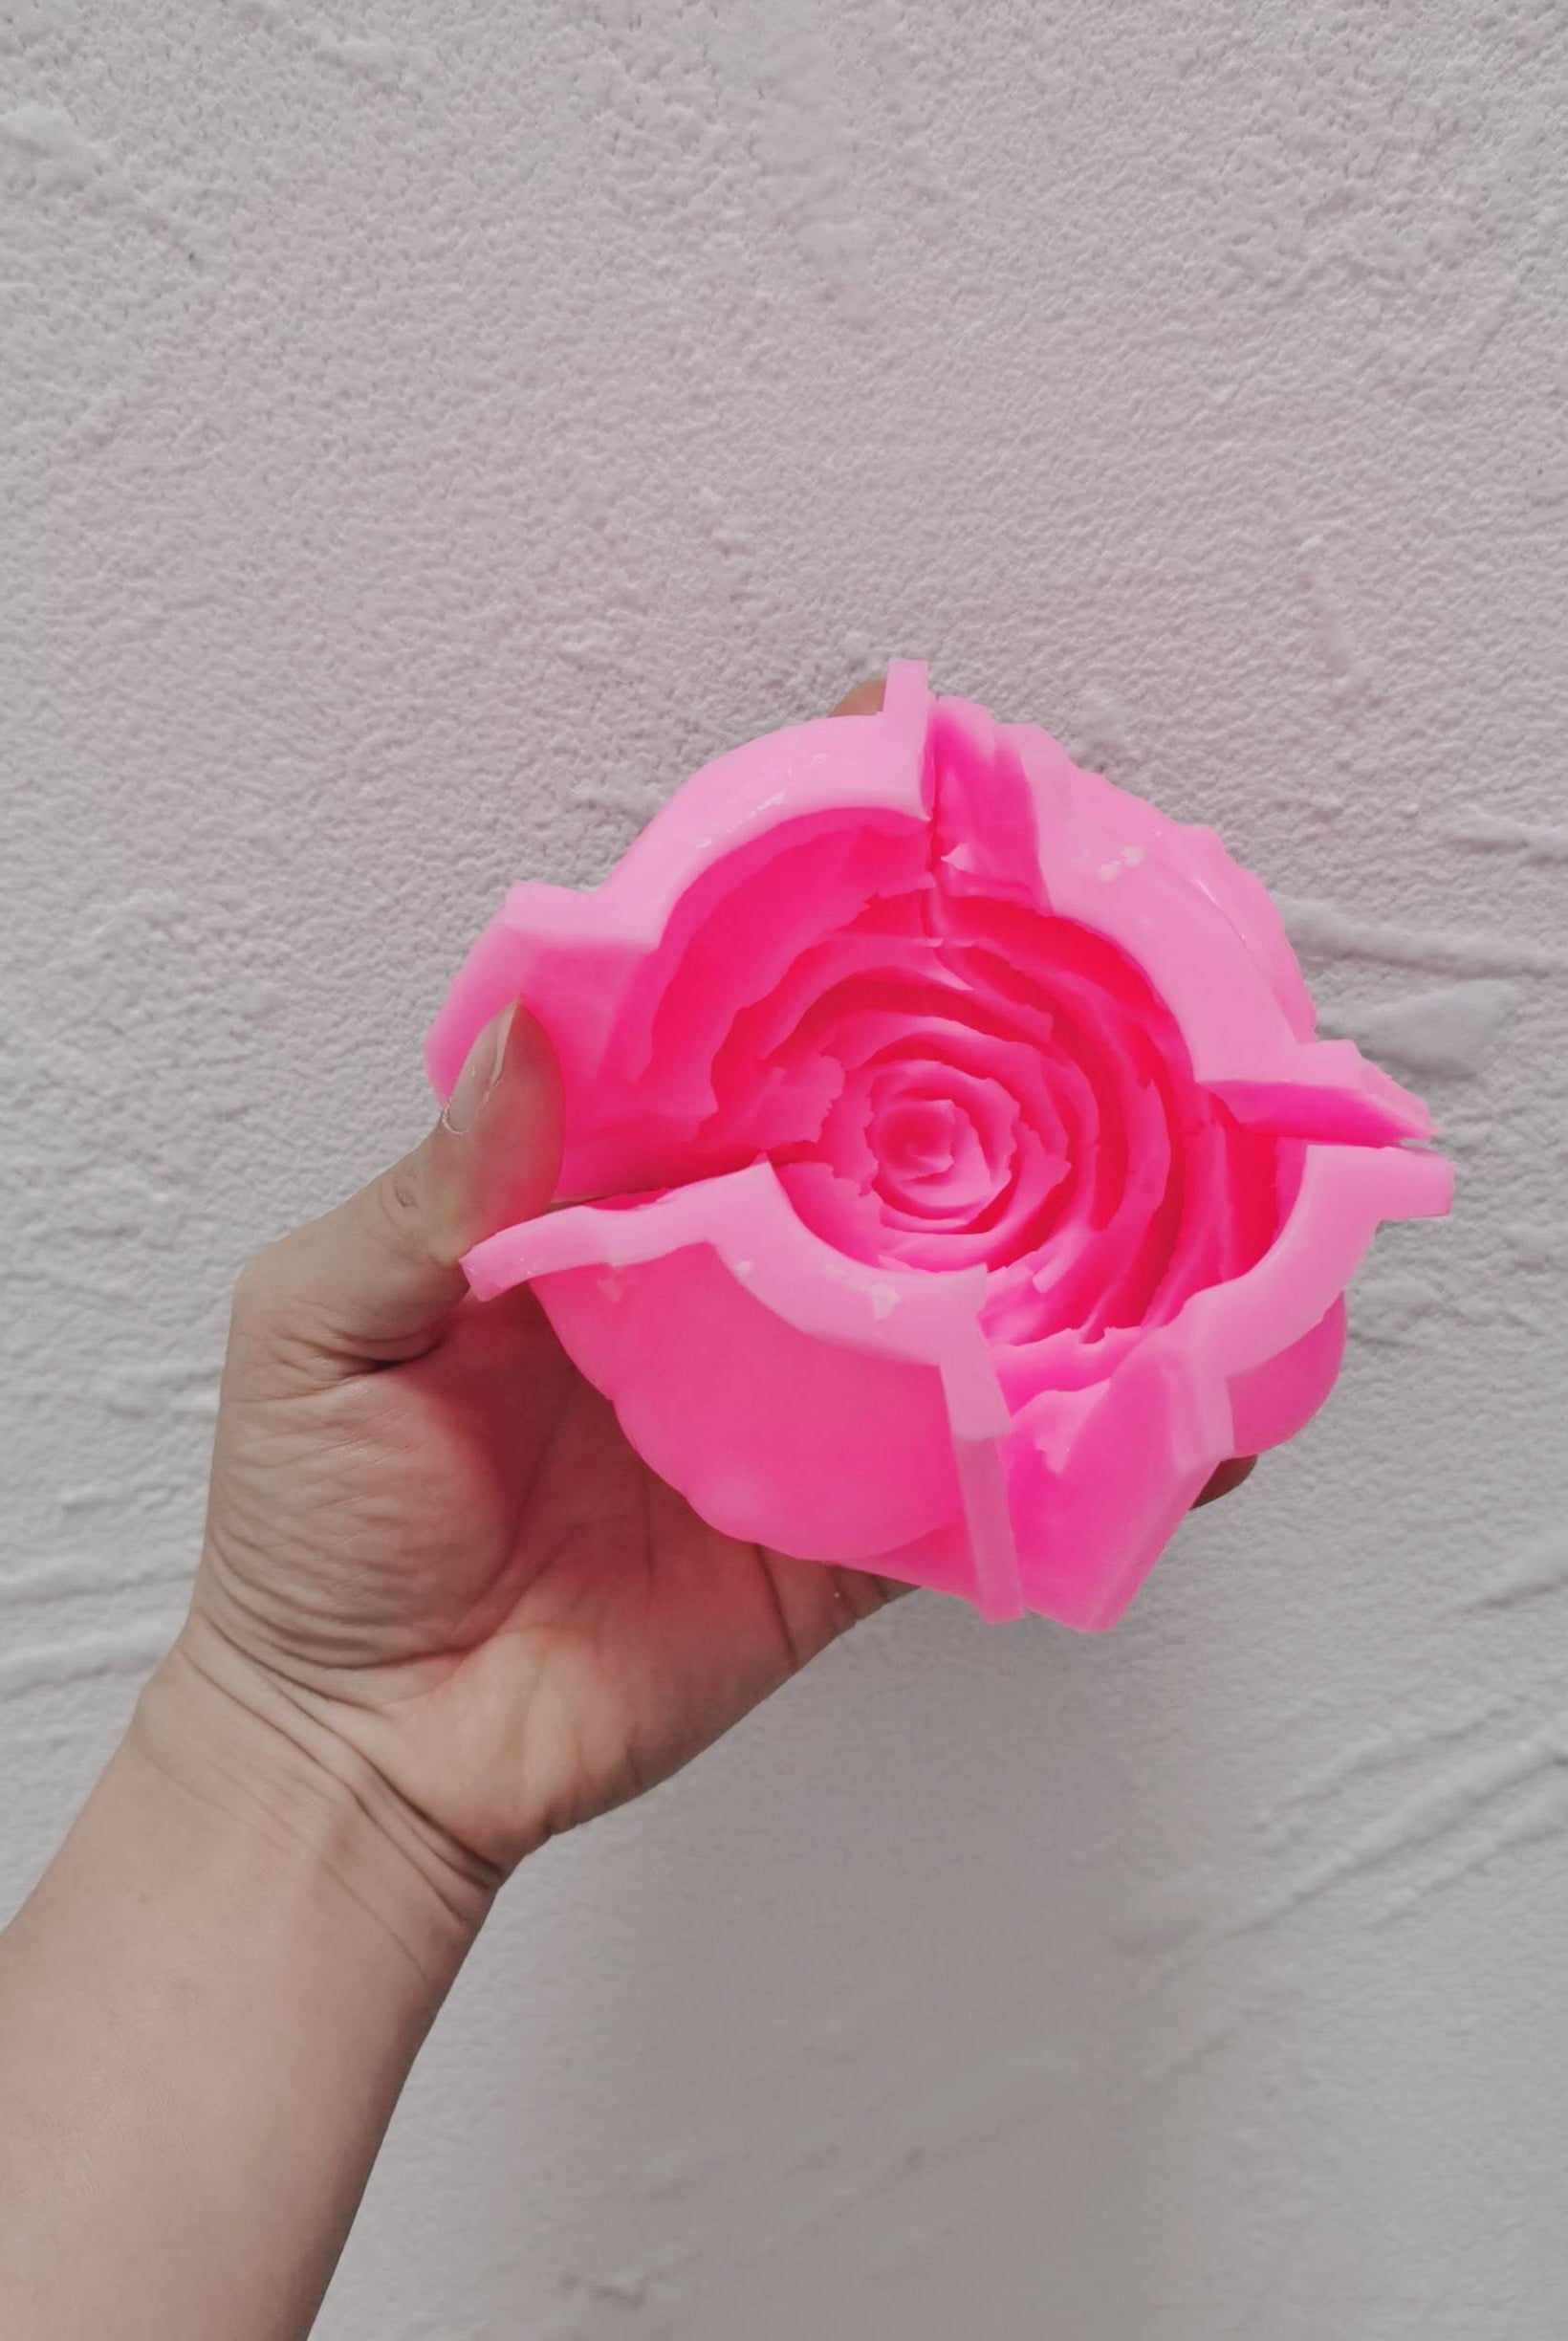
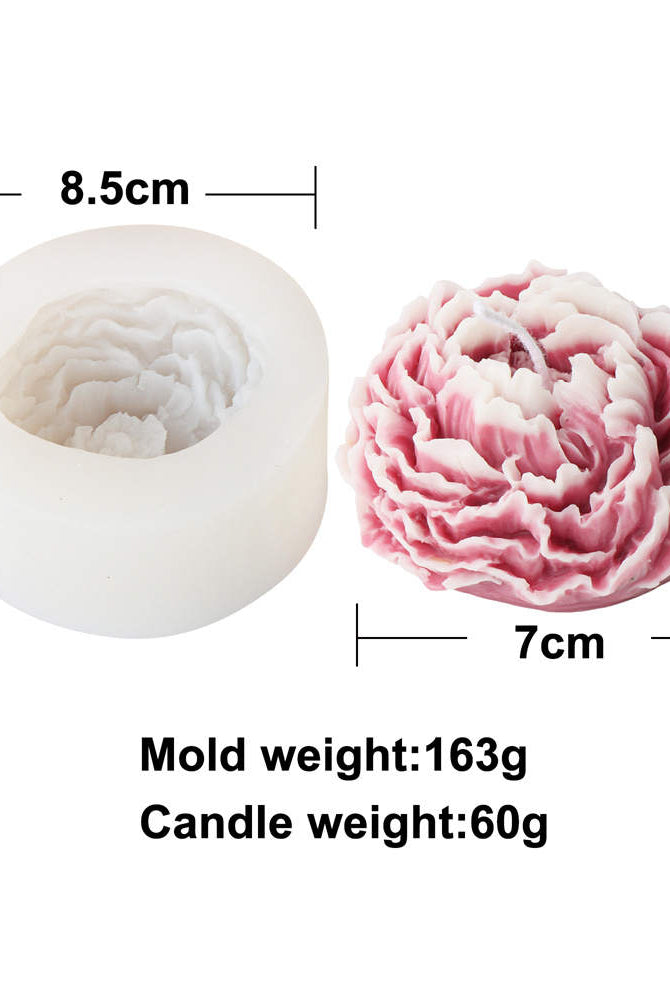
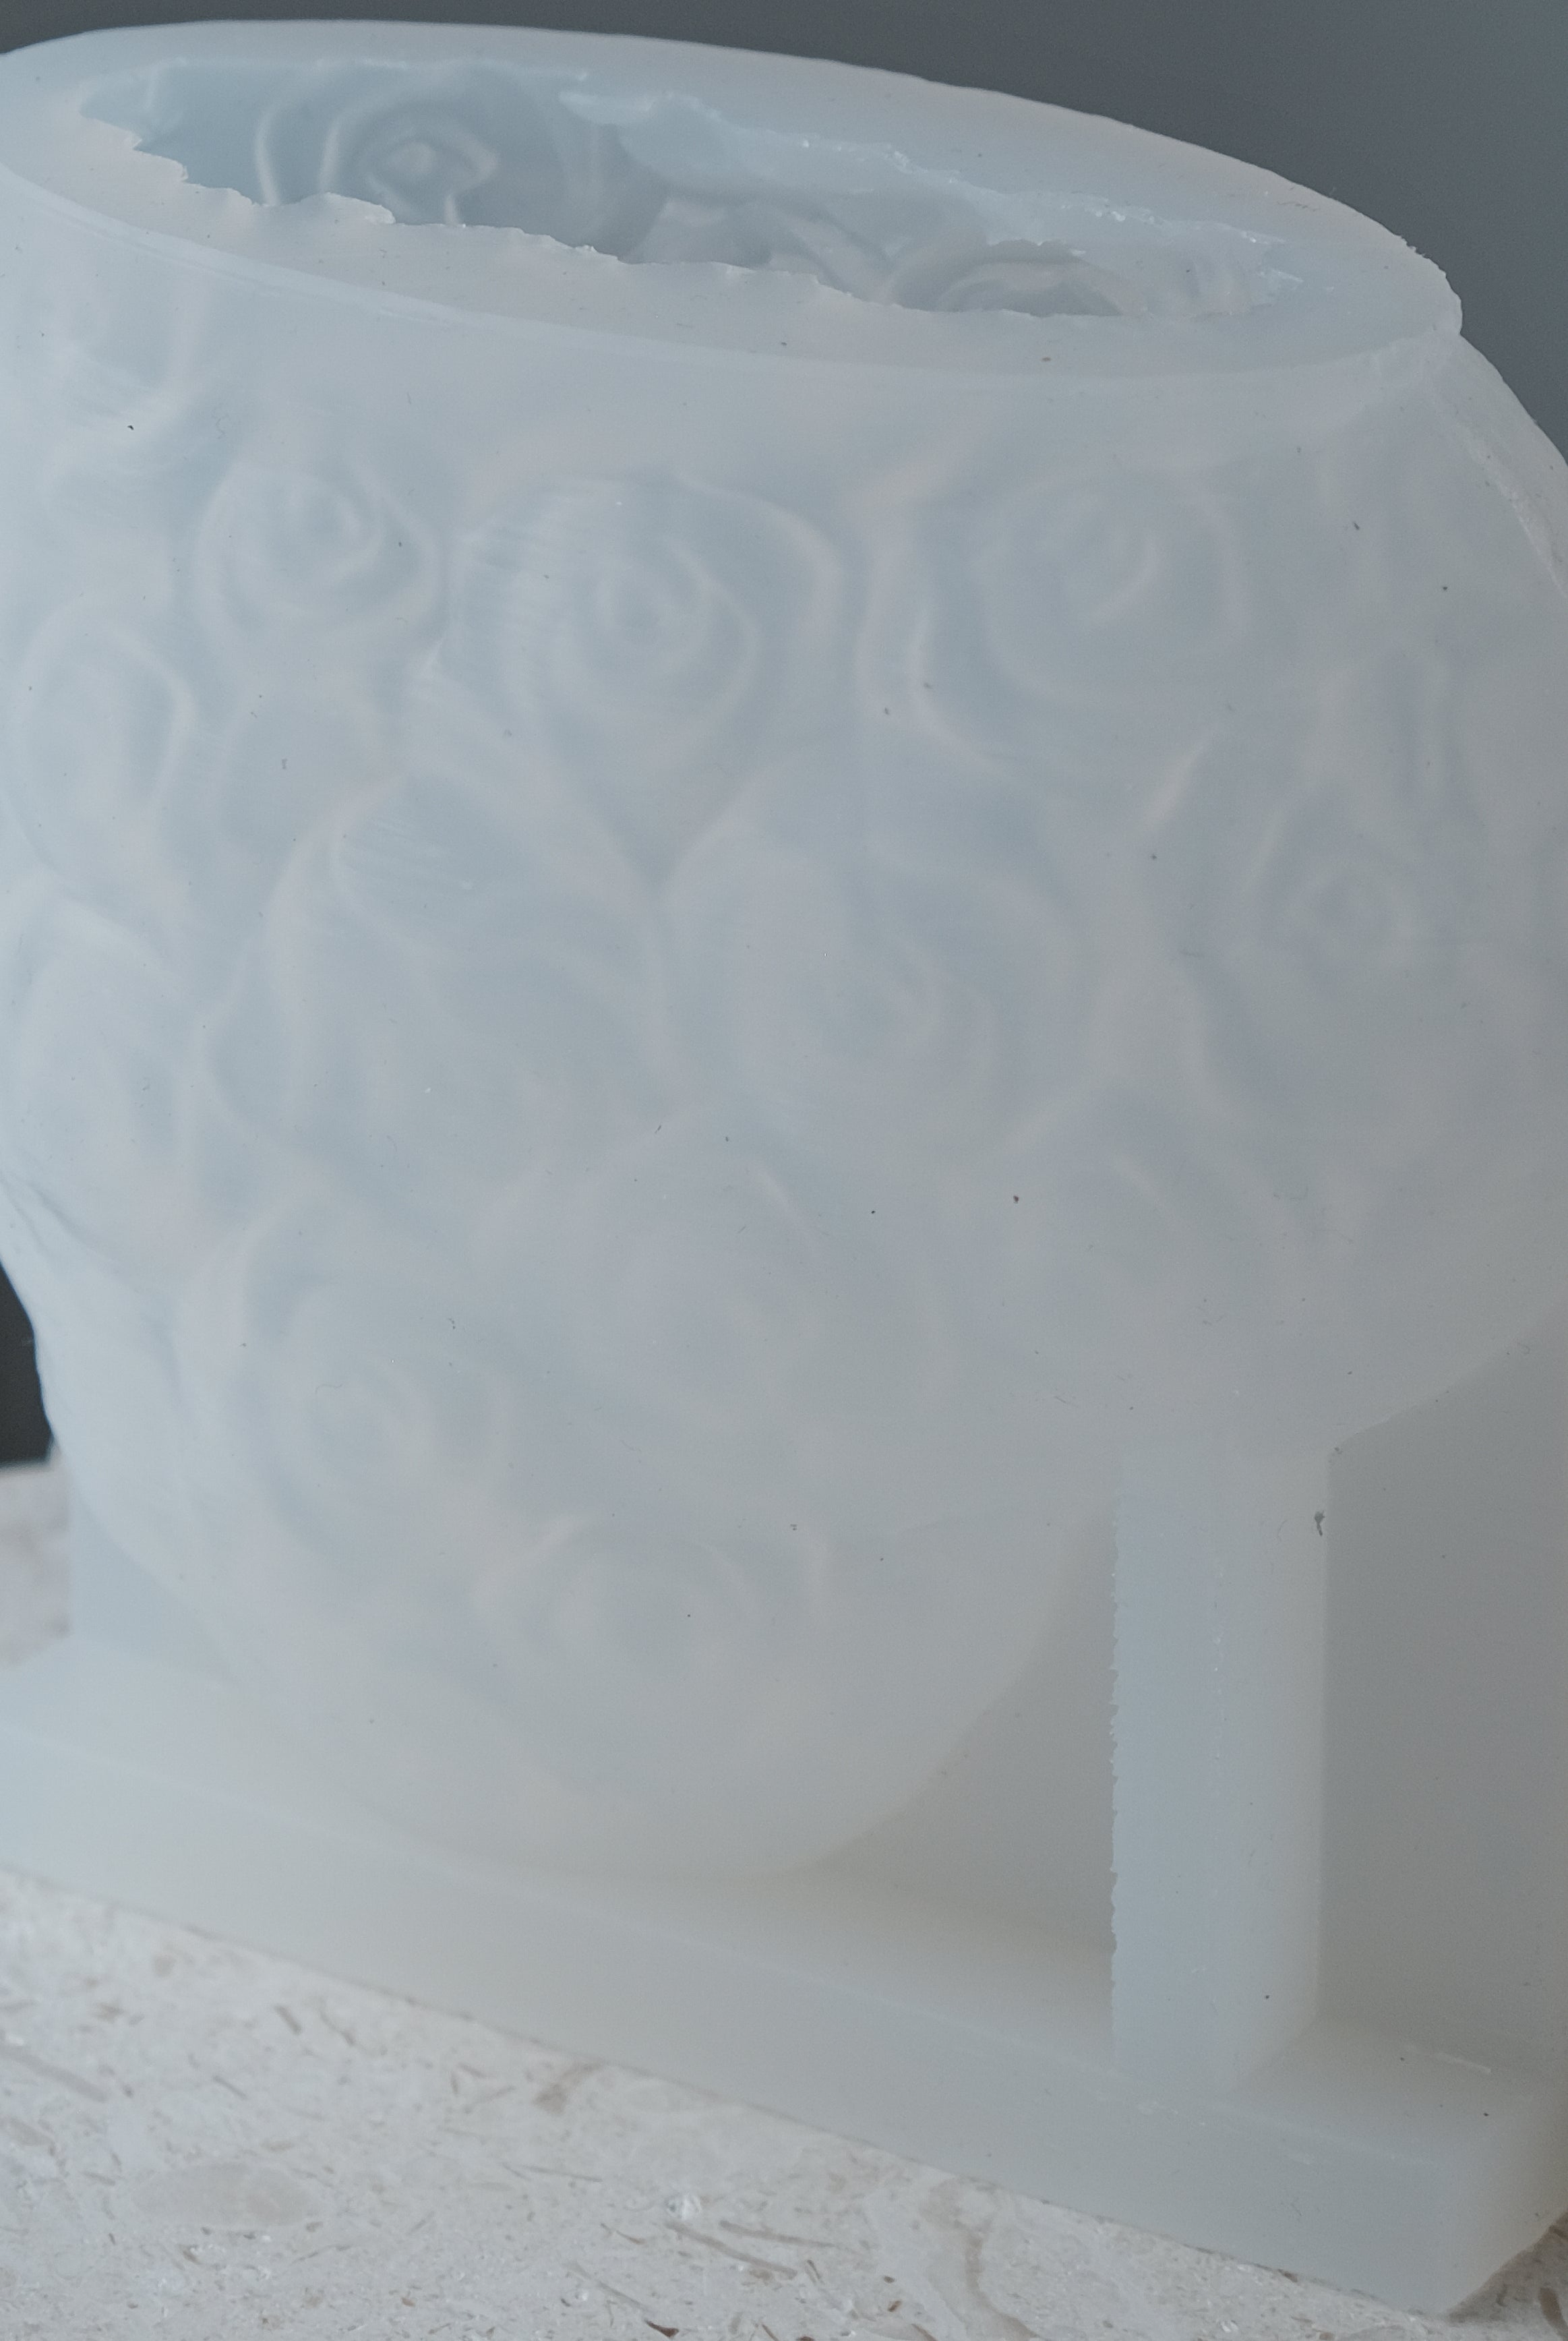
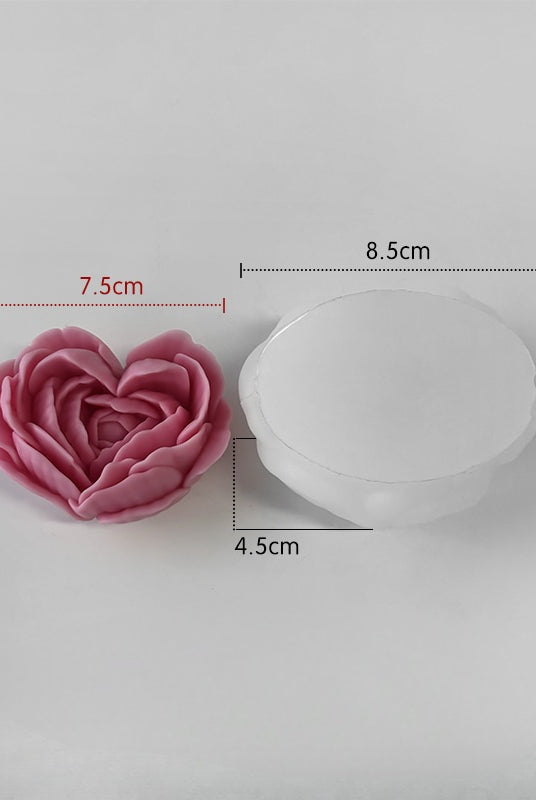
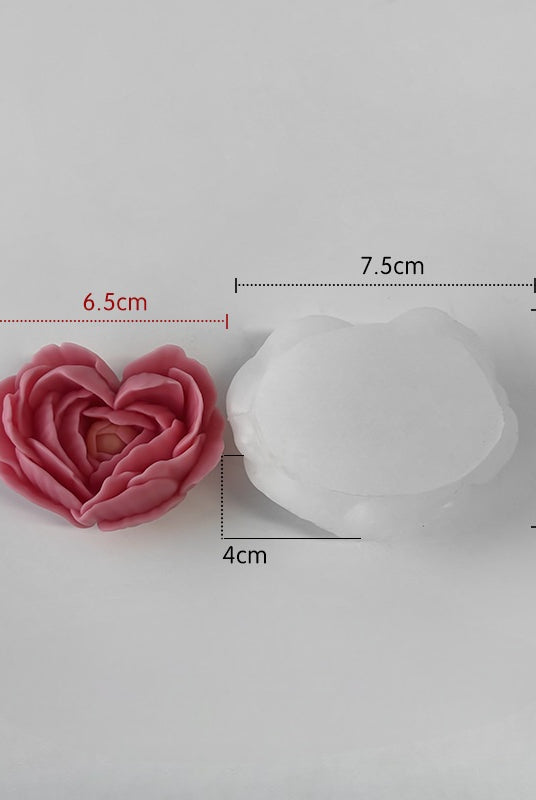
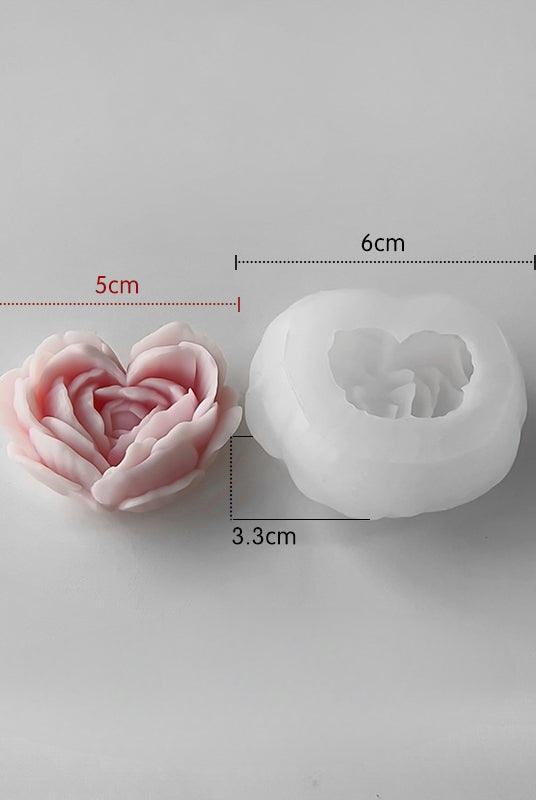
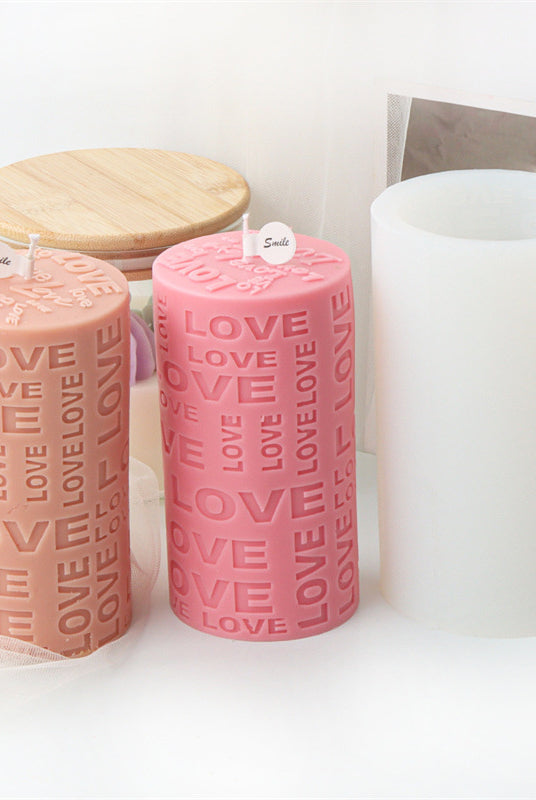
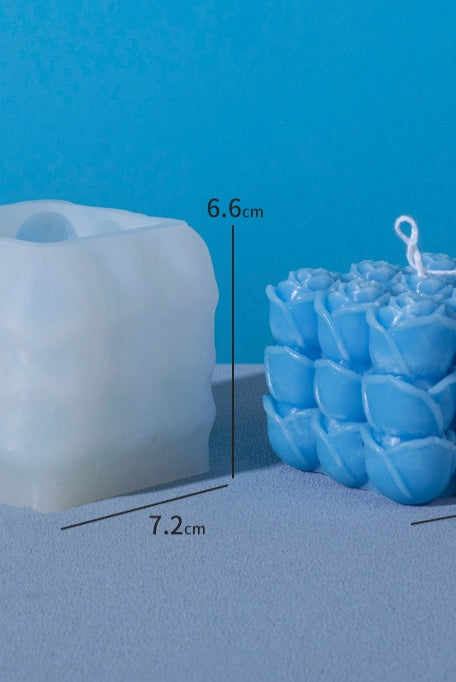
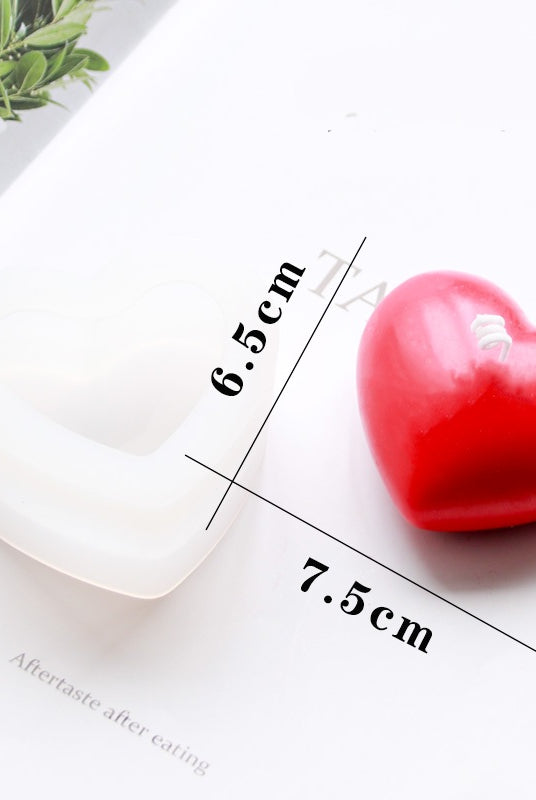
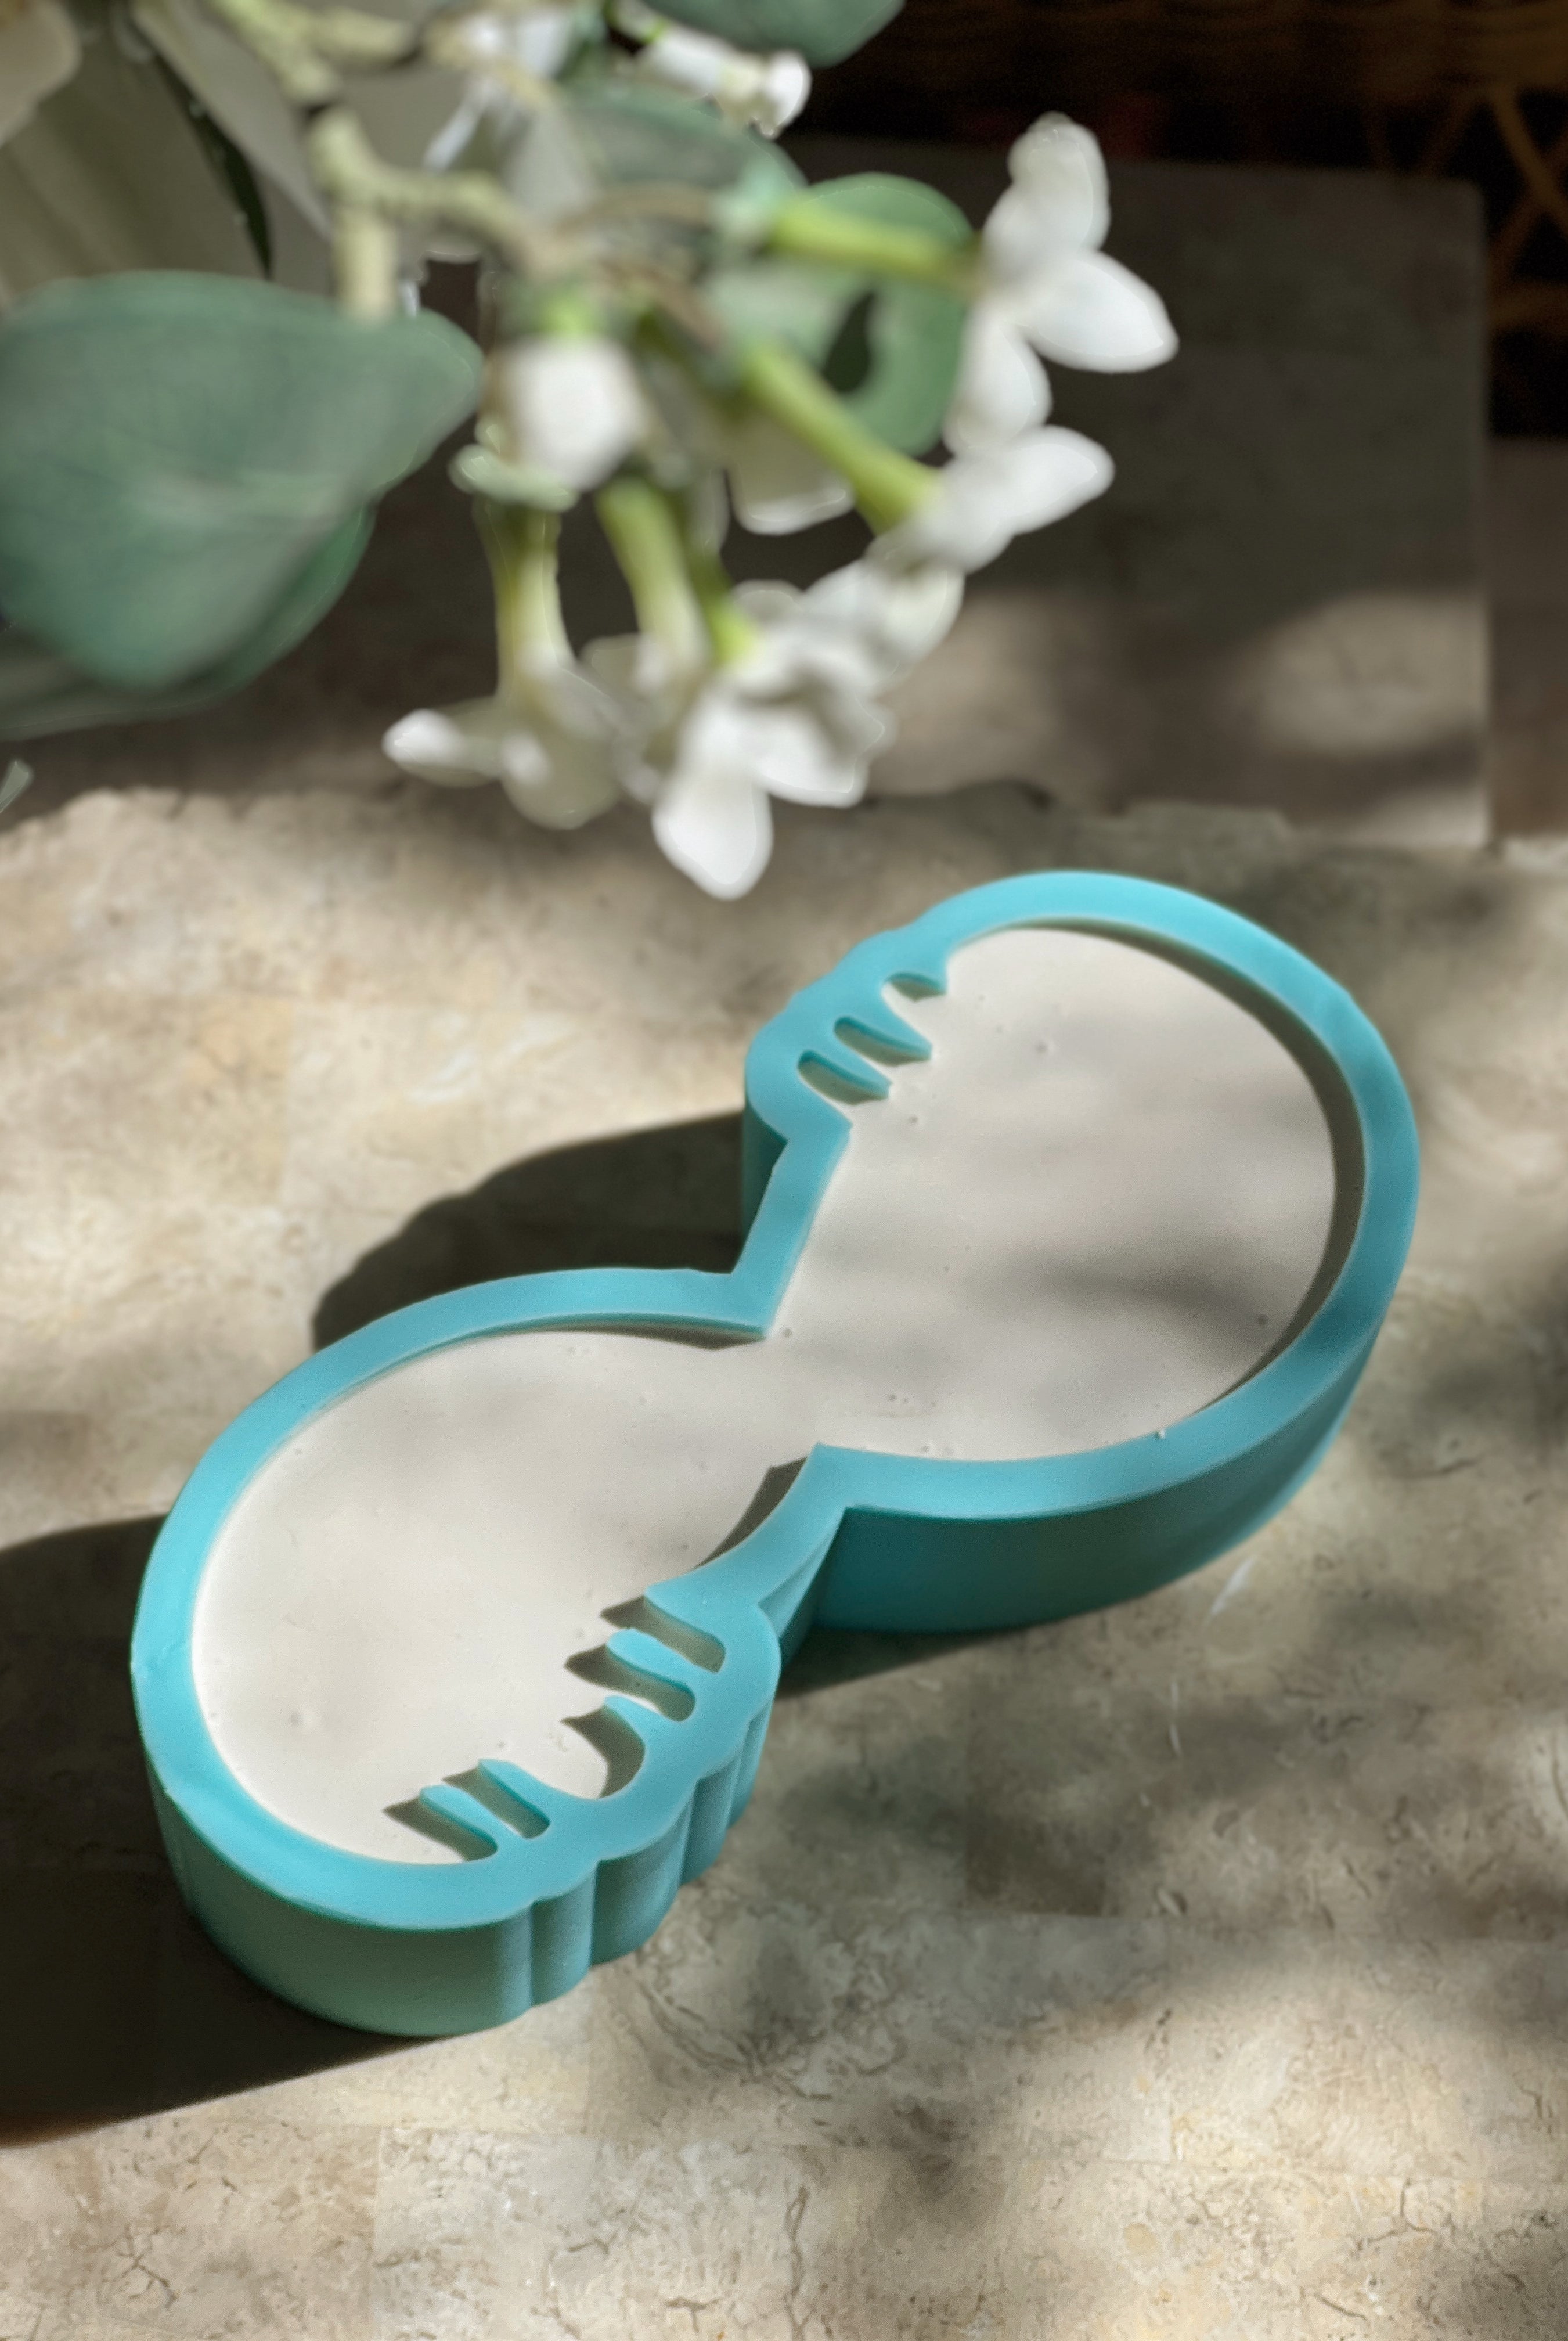
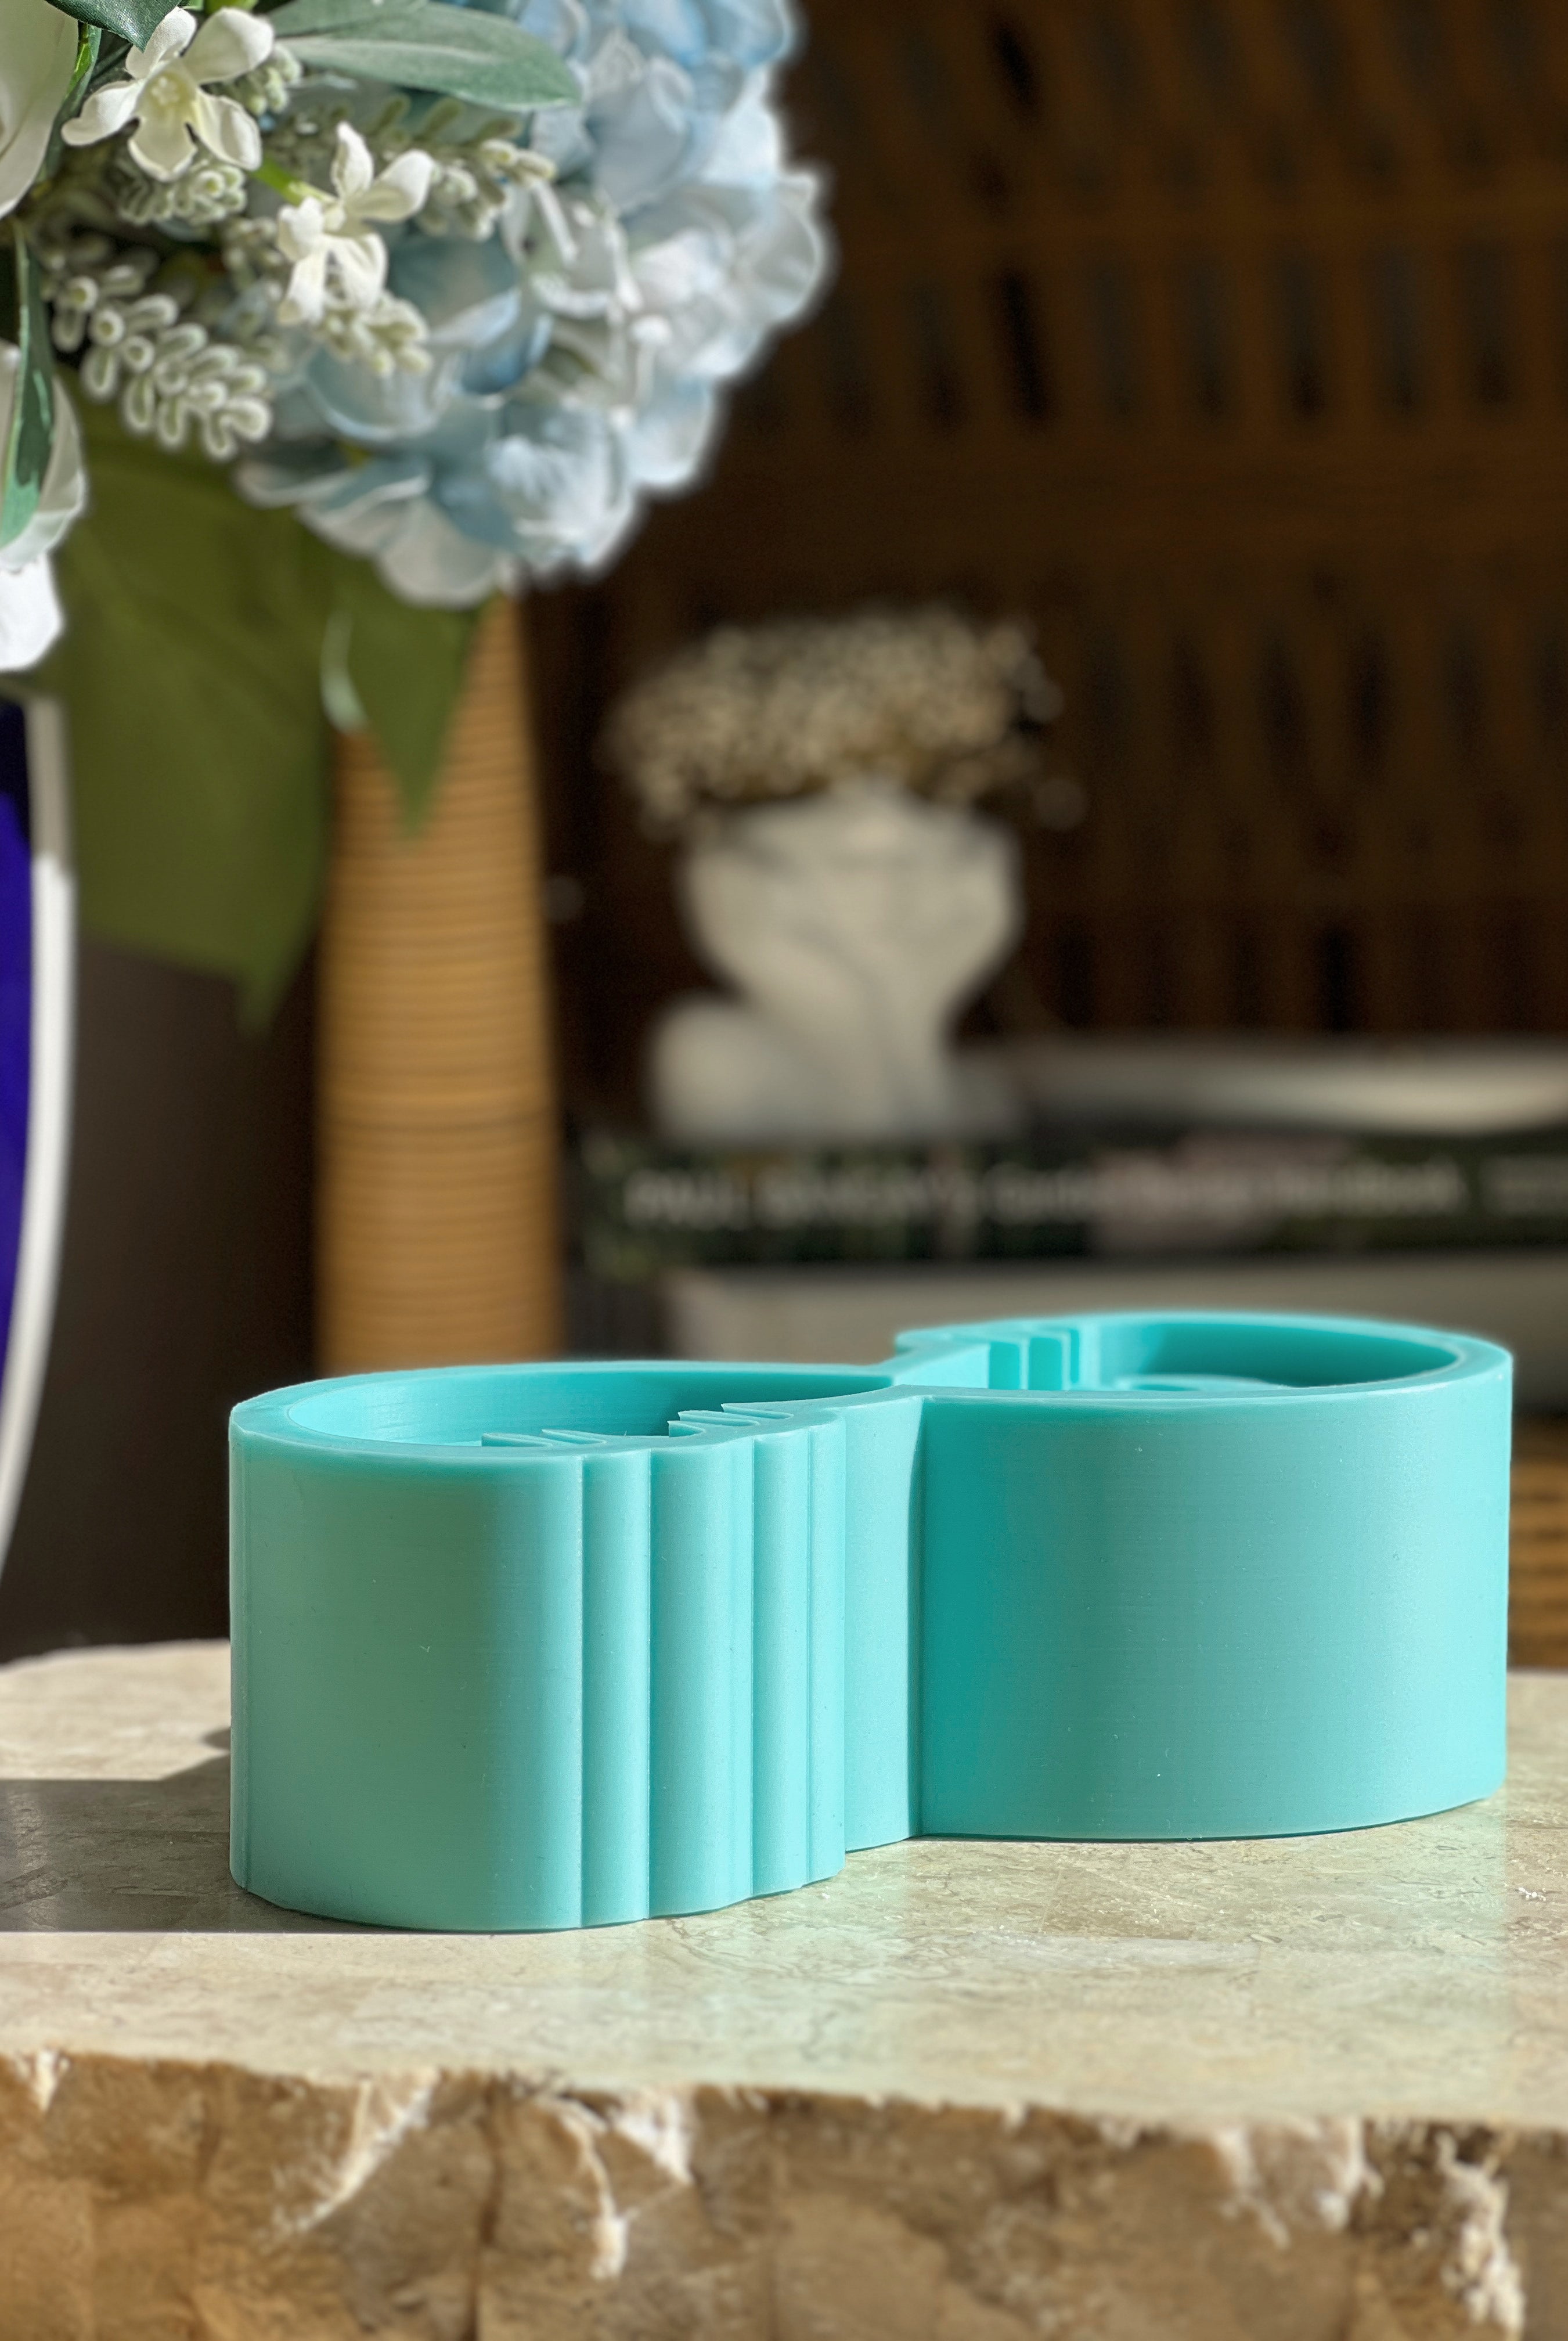
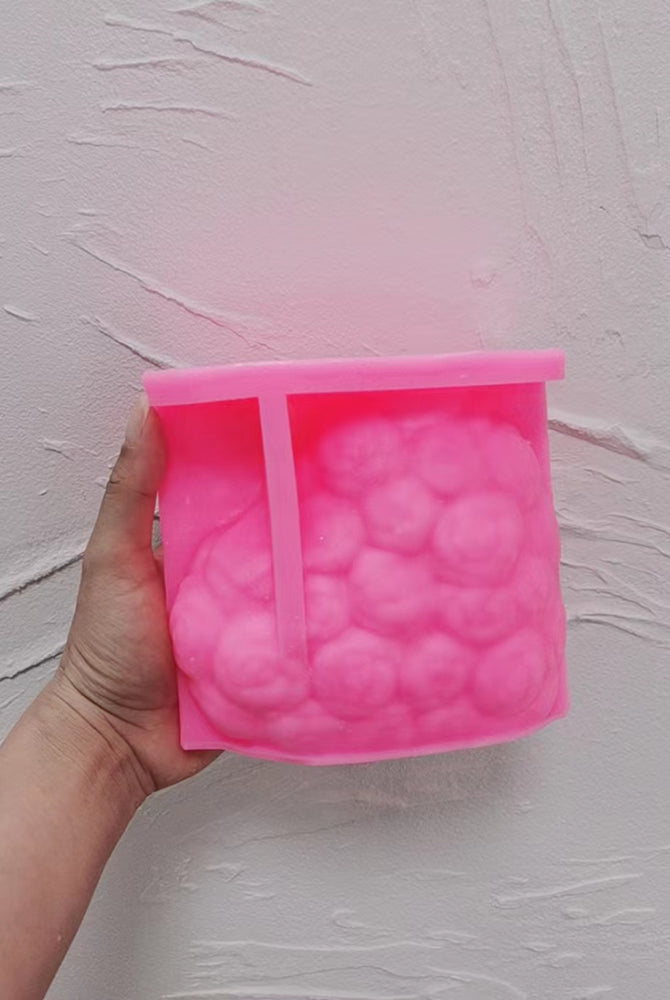
Made from platinum-cure silicone, our moulds have superior durability and tear strength, ensuring they can withstand extensive use to give you perfectly sculpted candles every time
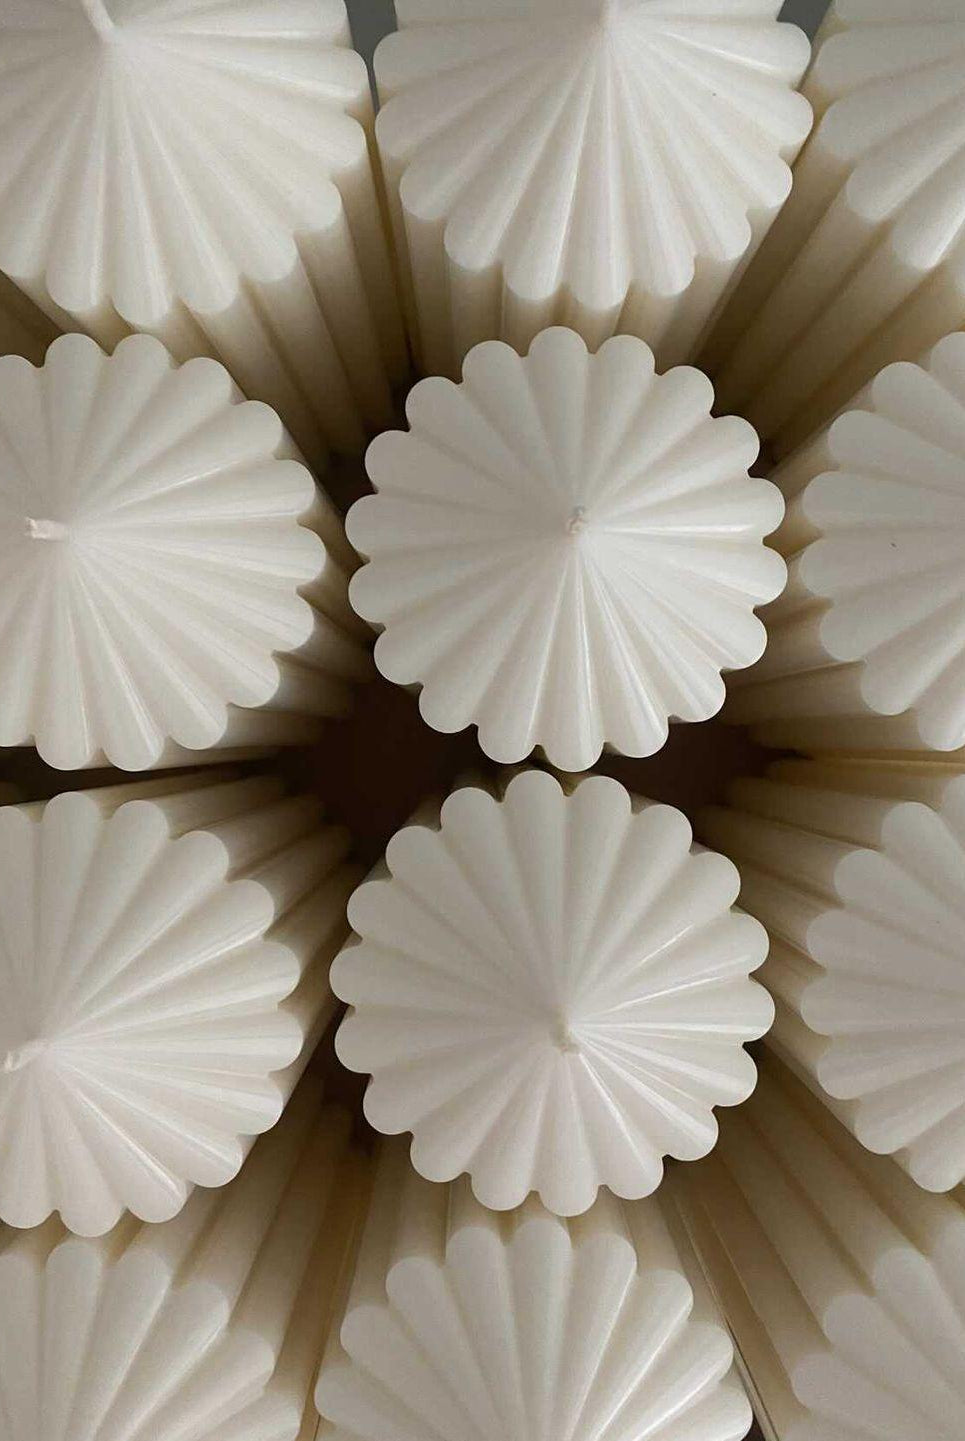
- Accurate Detail Reproduction
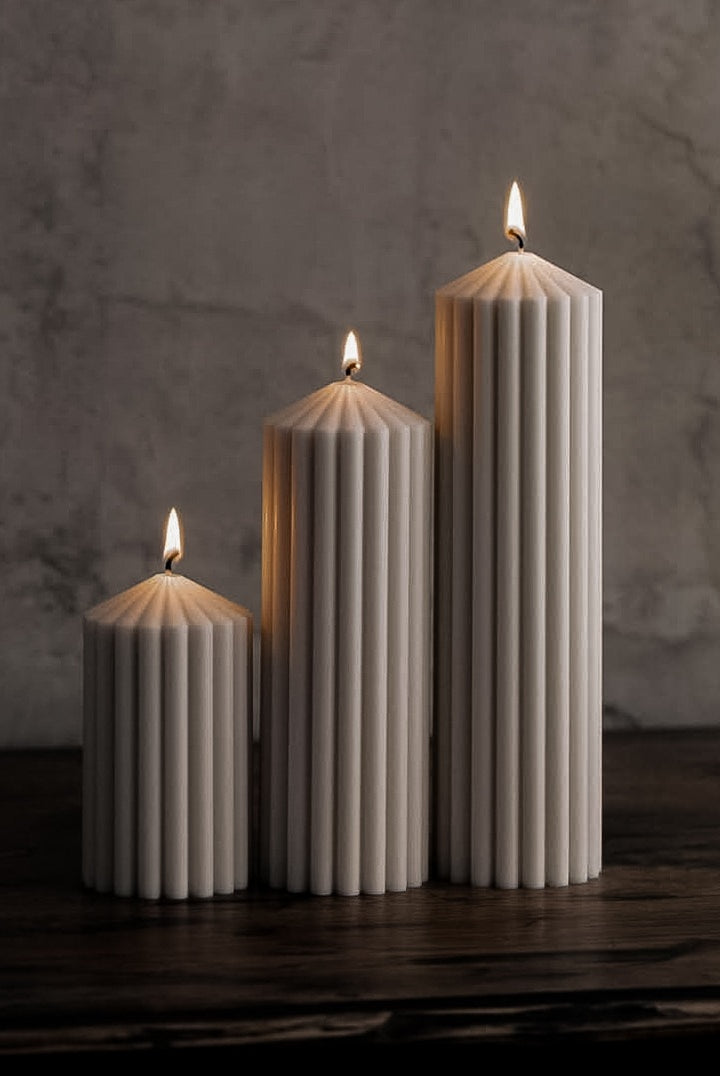
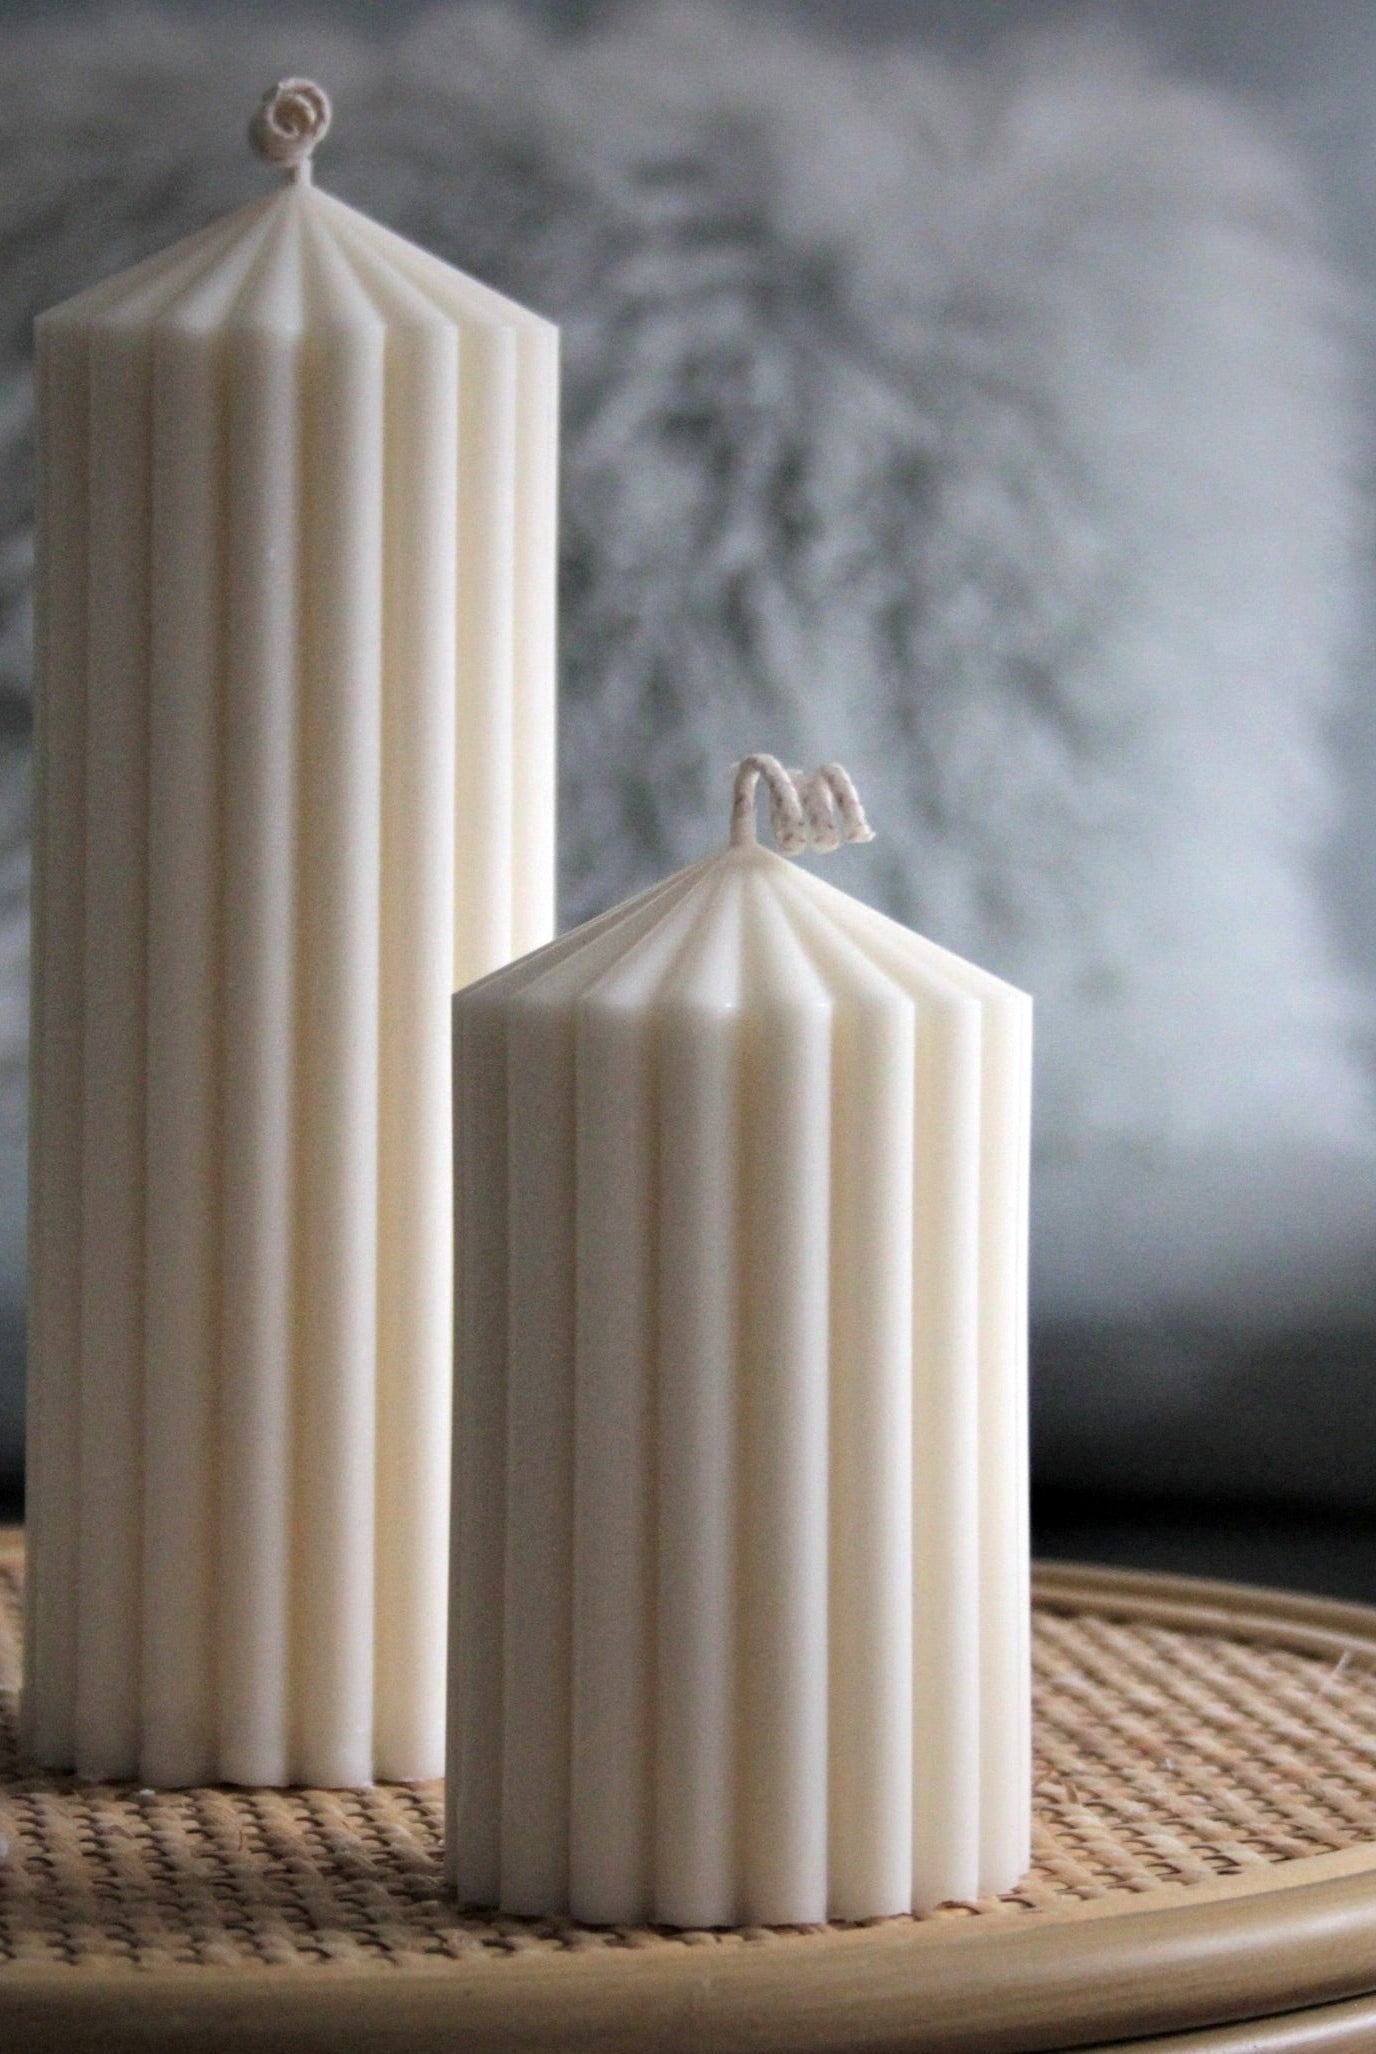
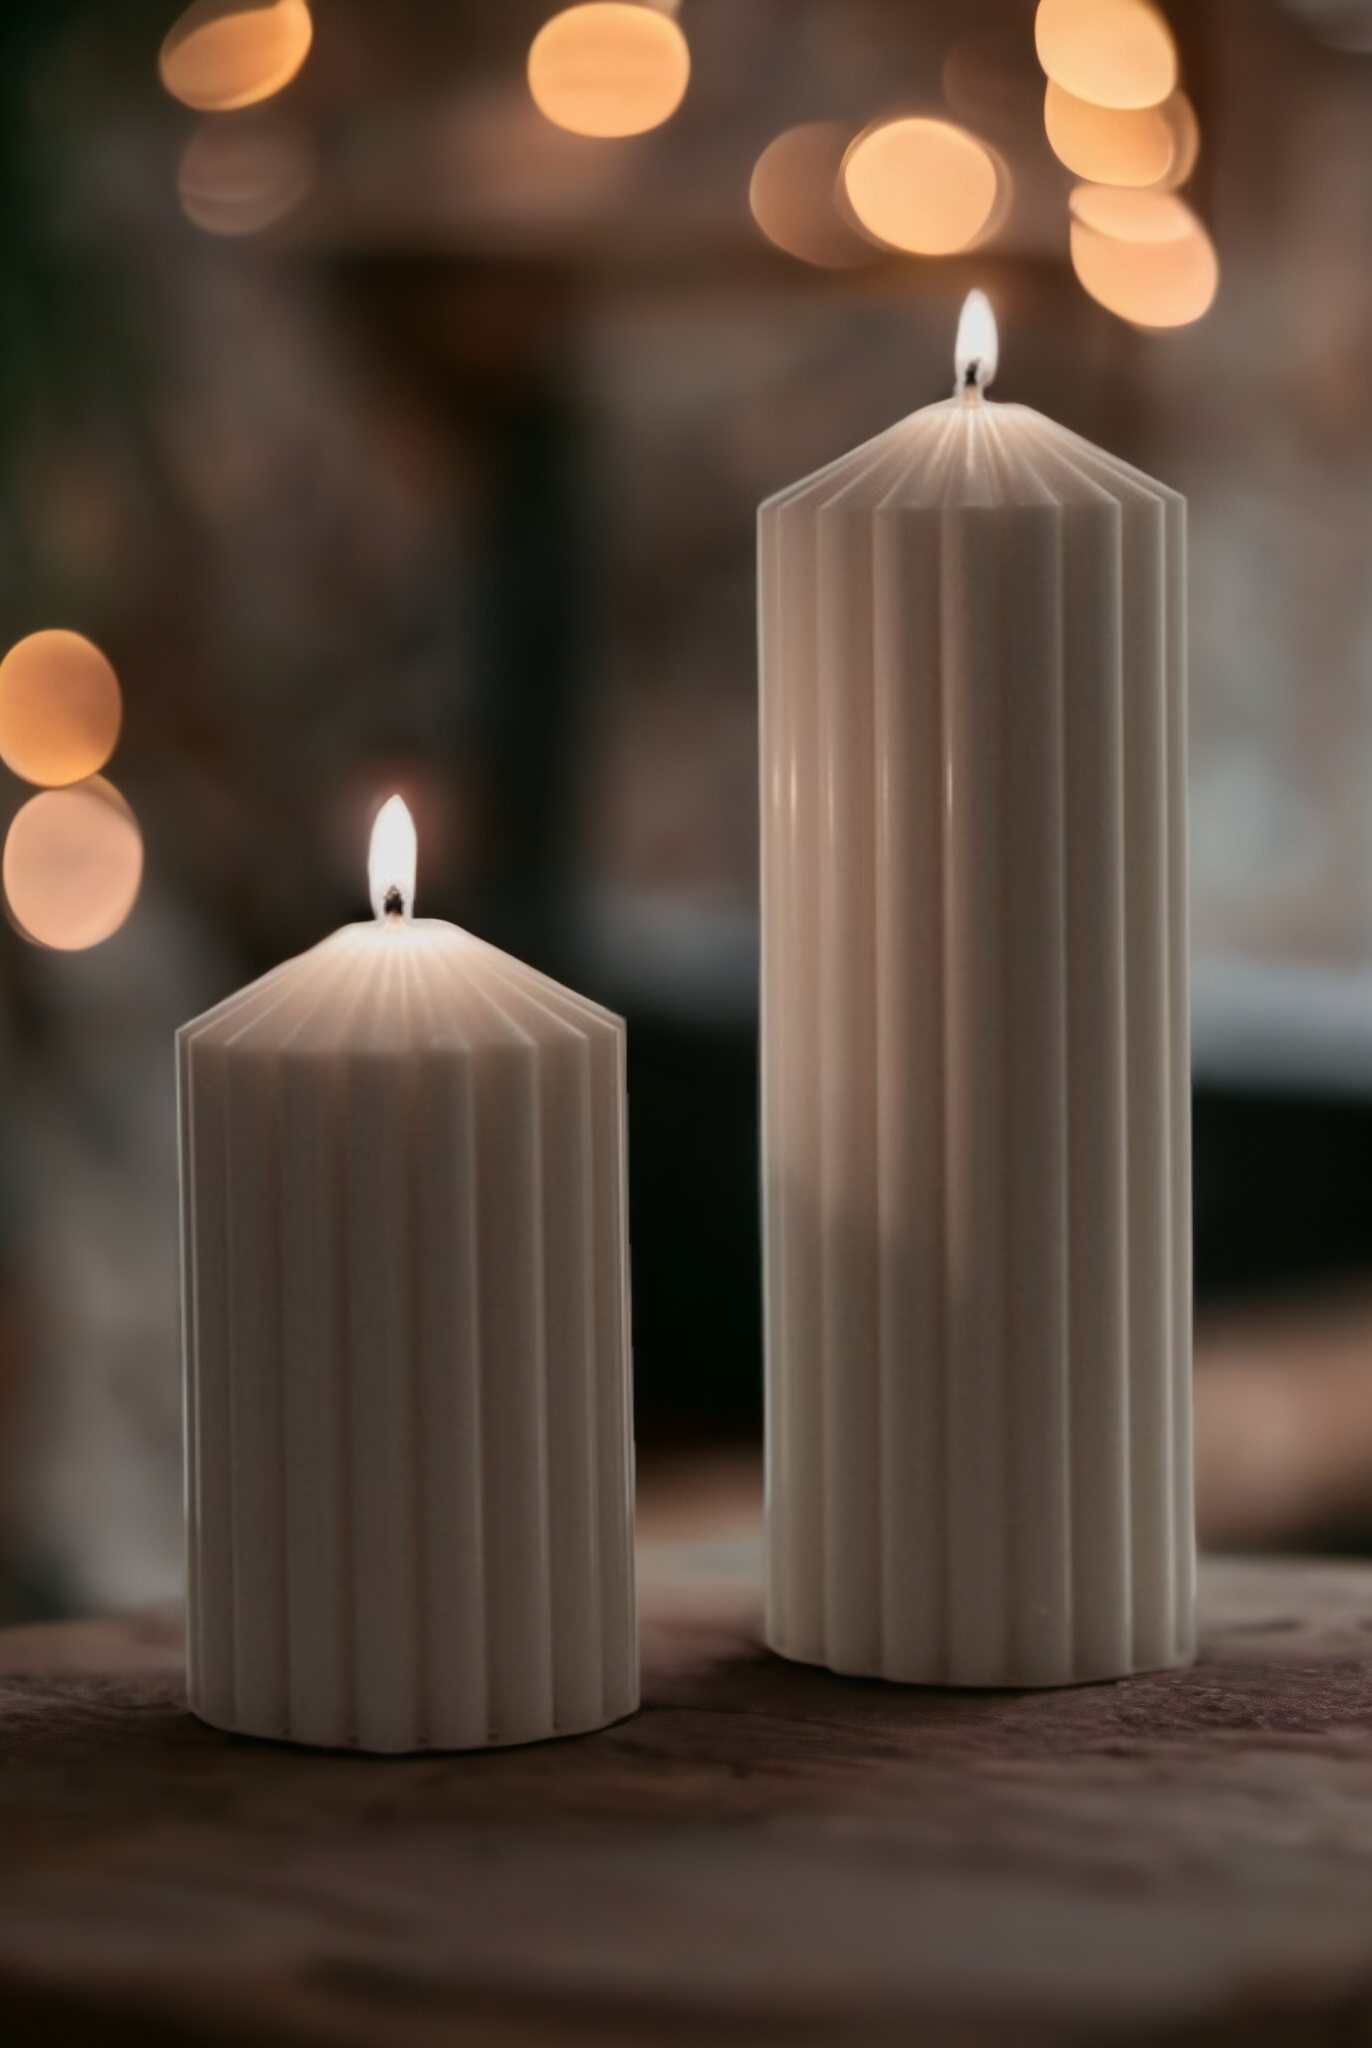
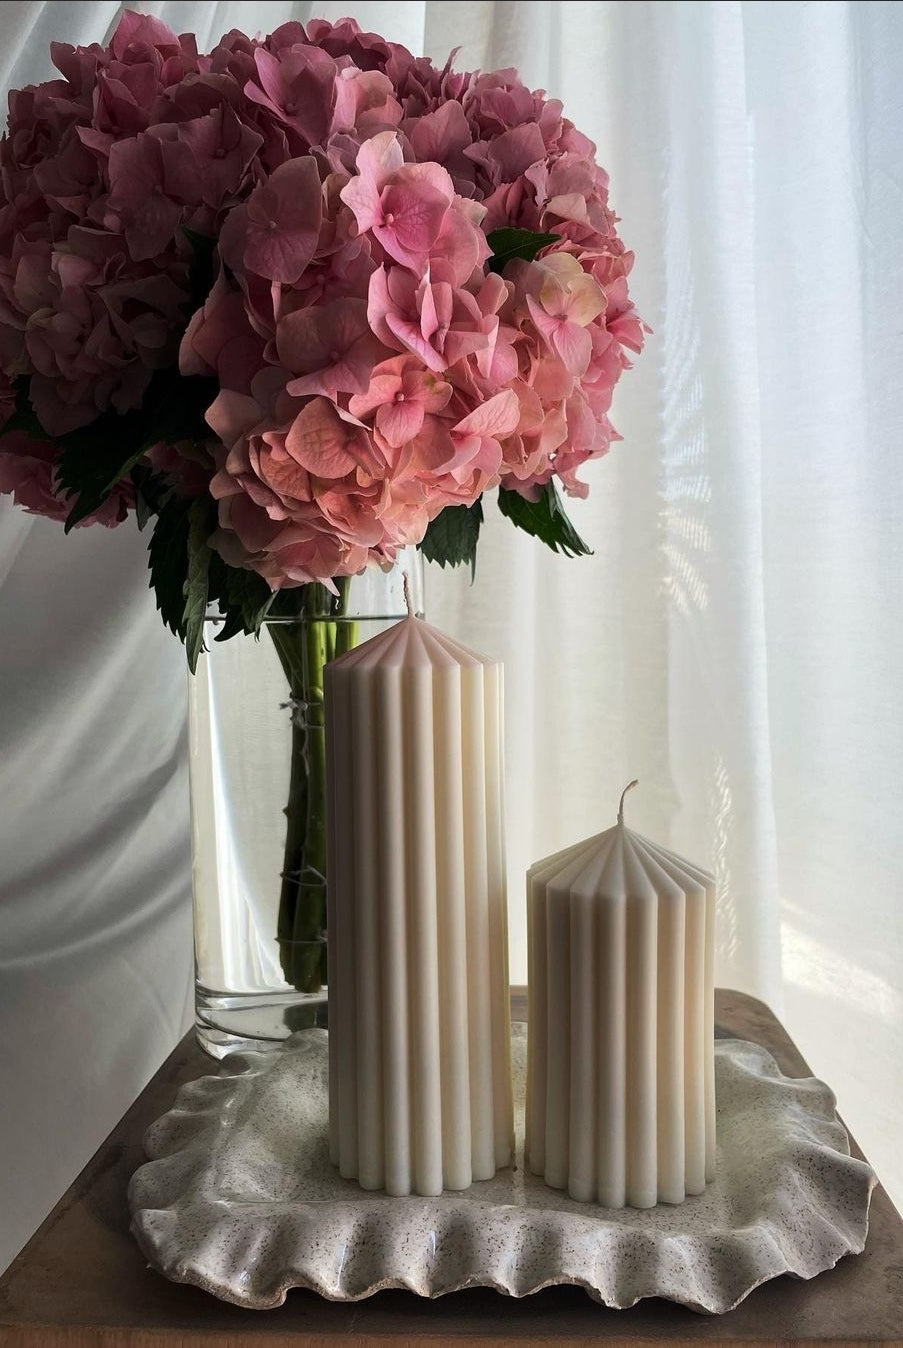
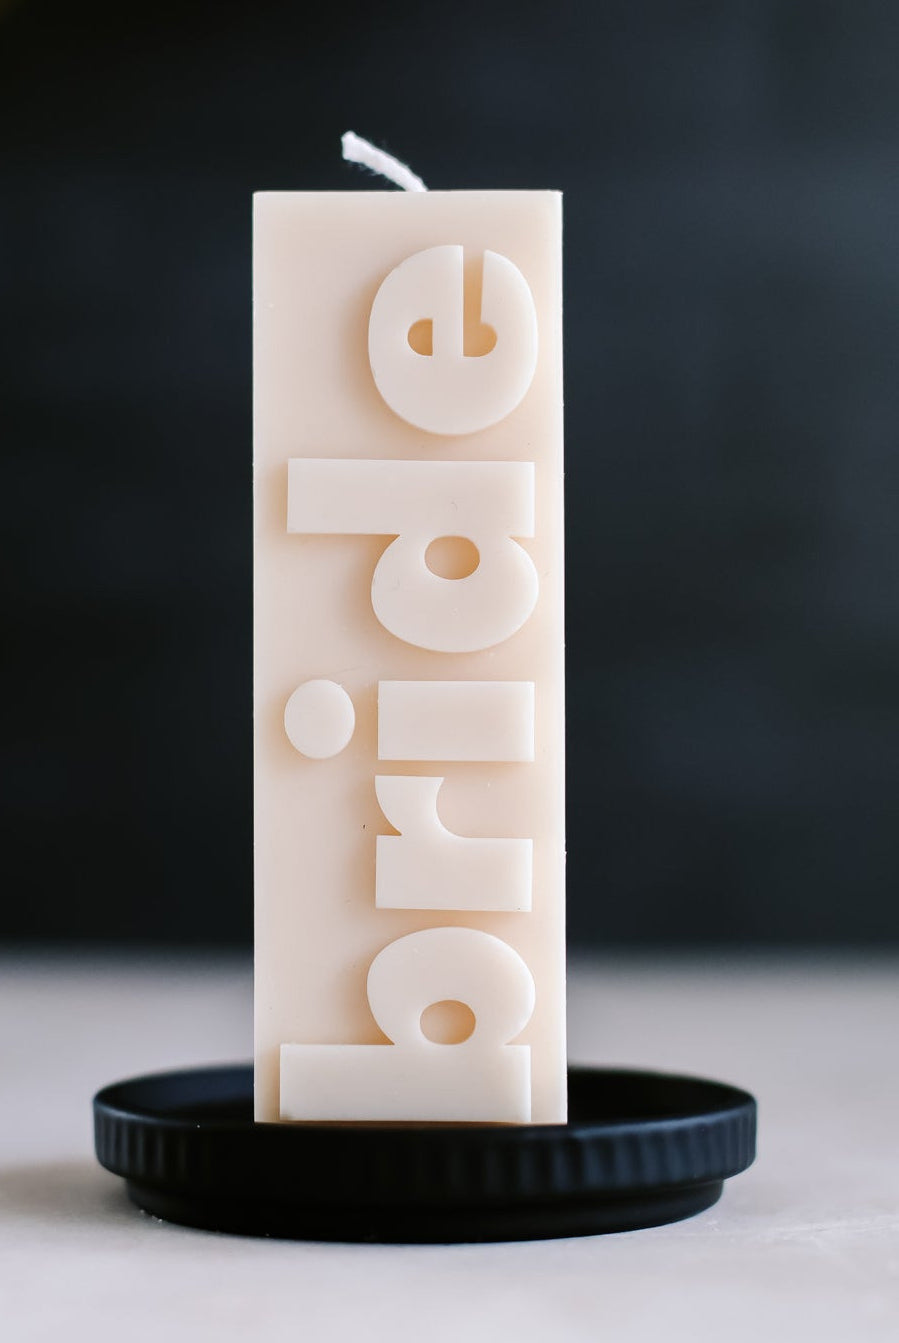
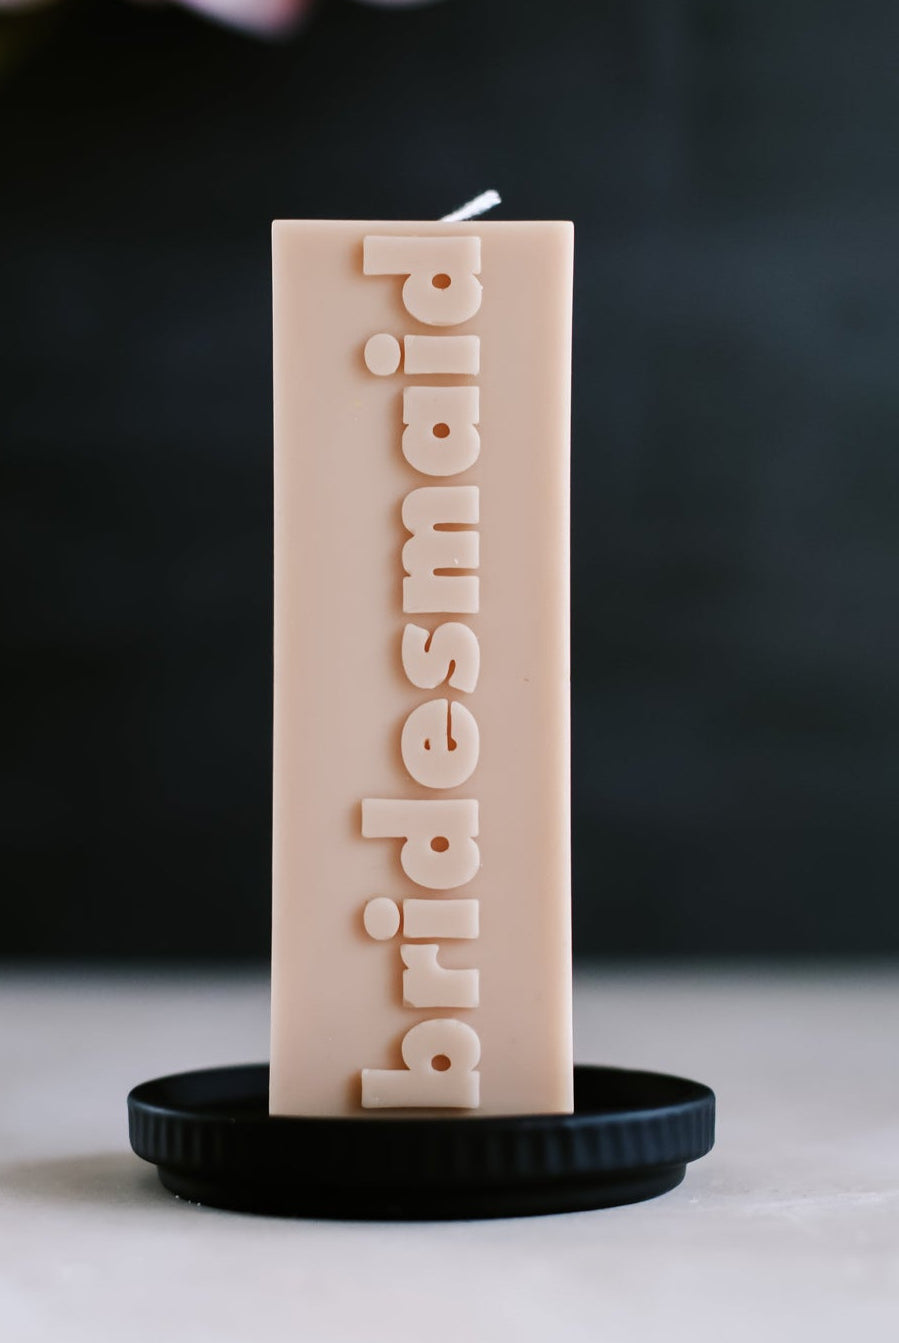
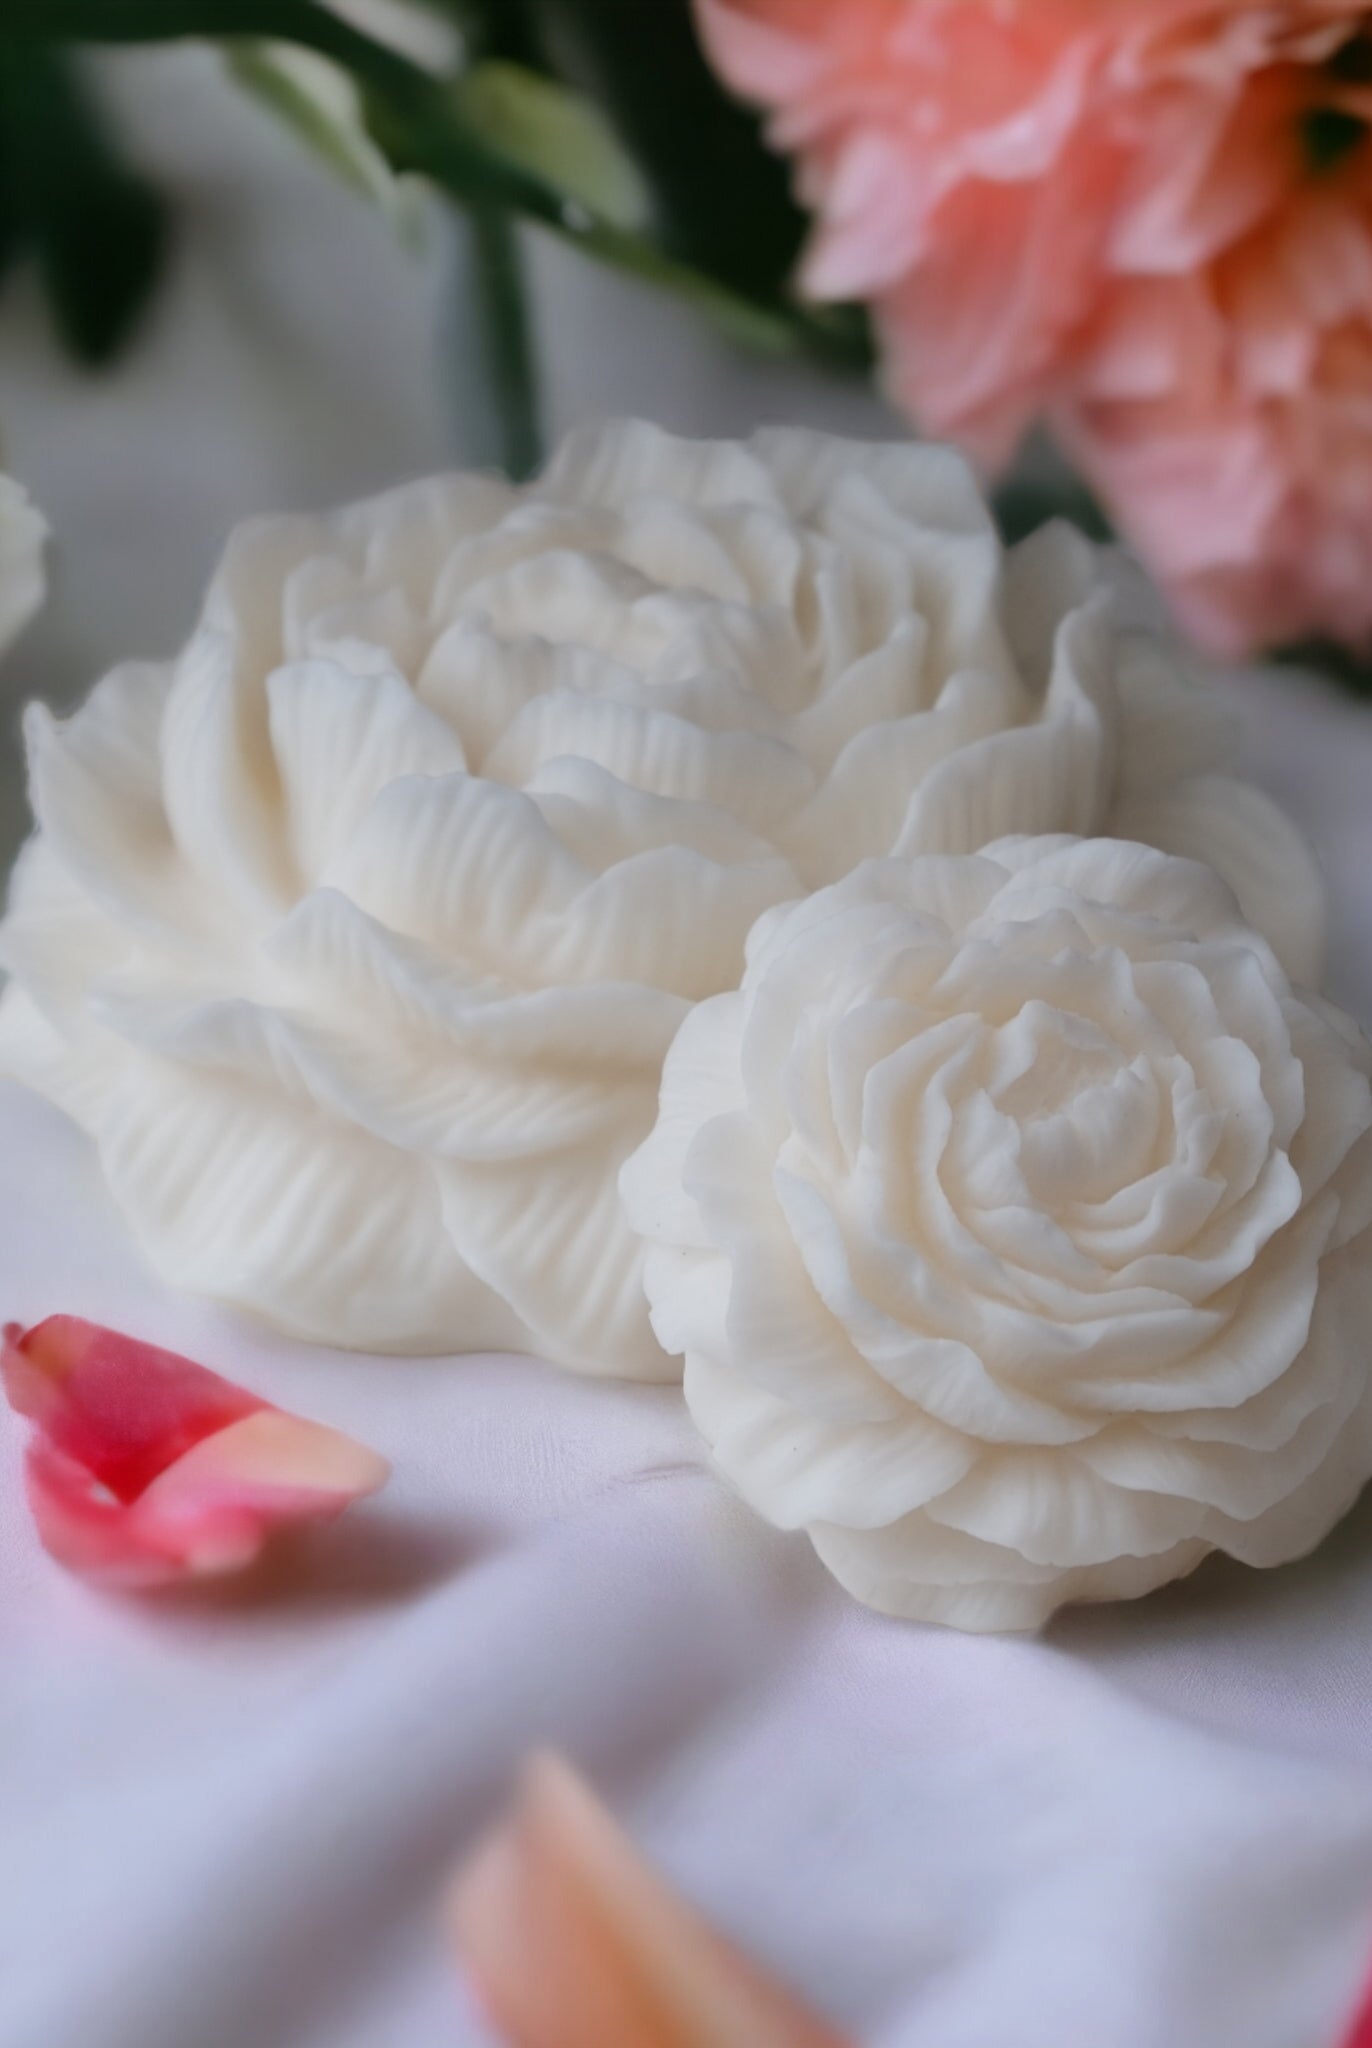
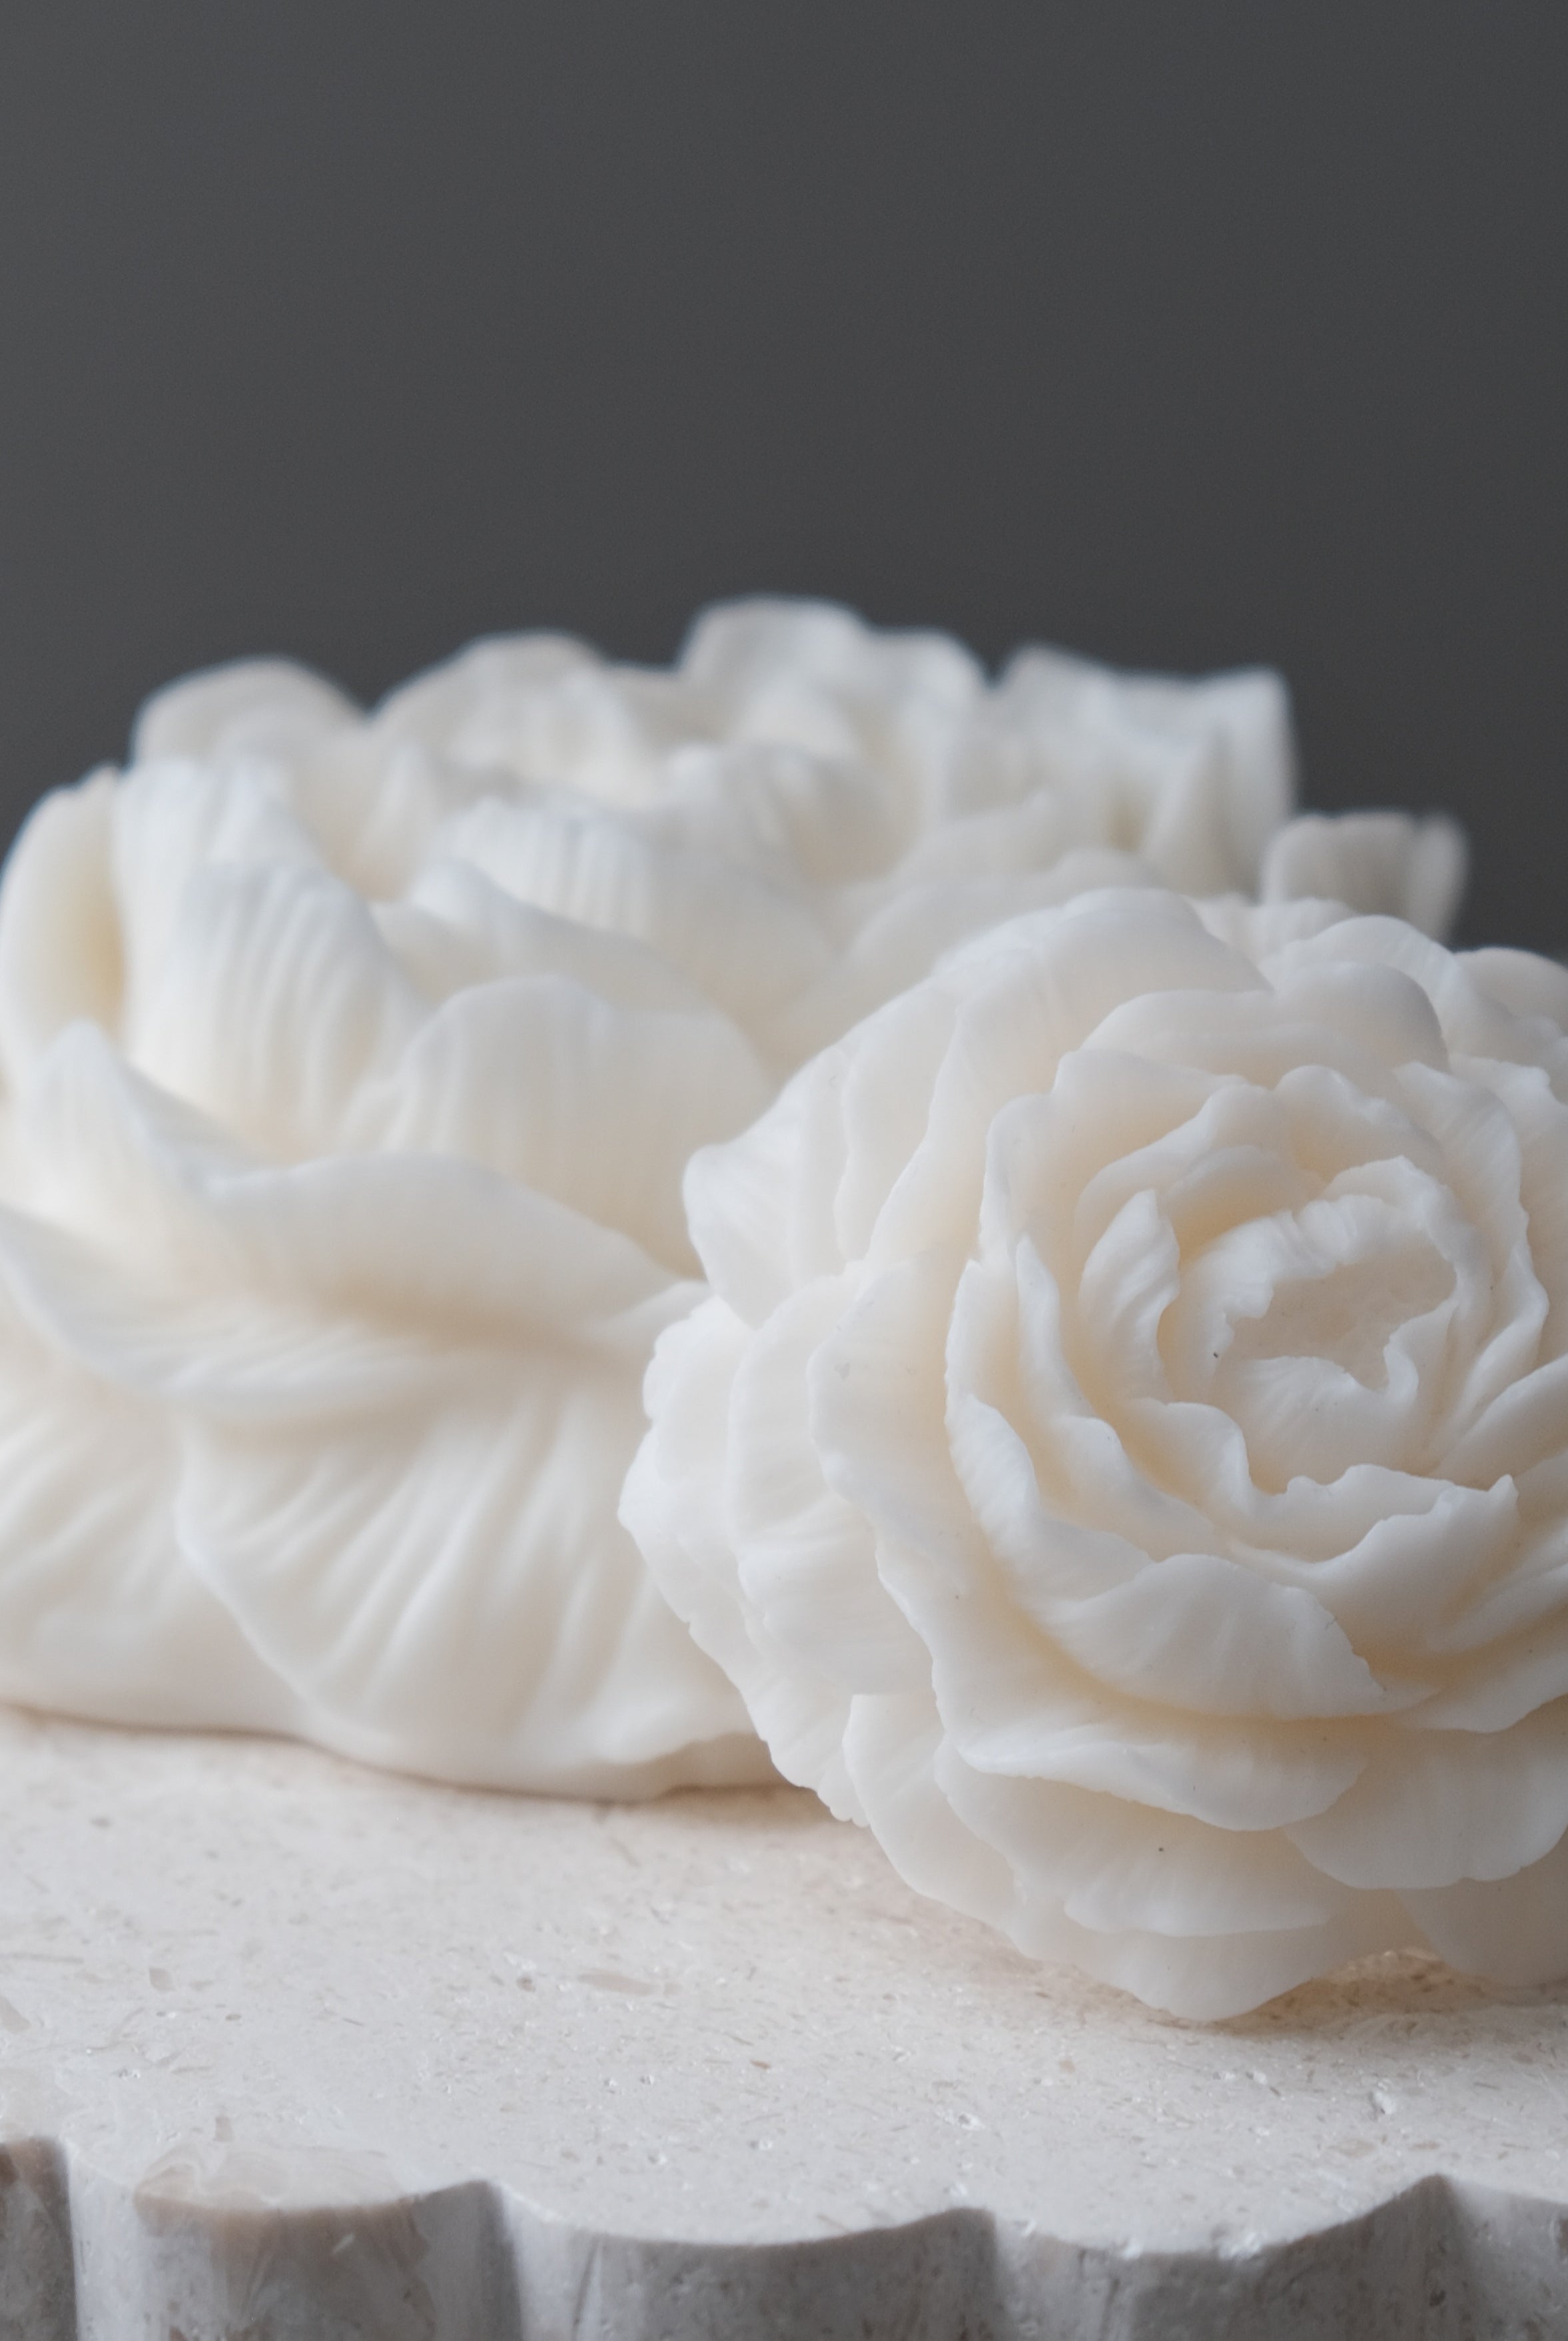
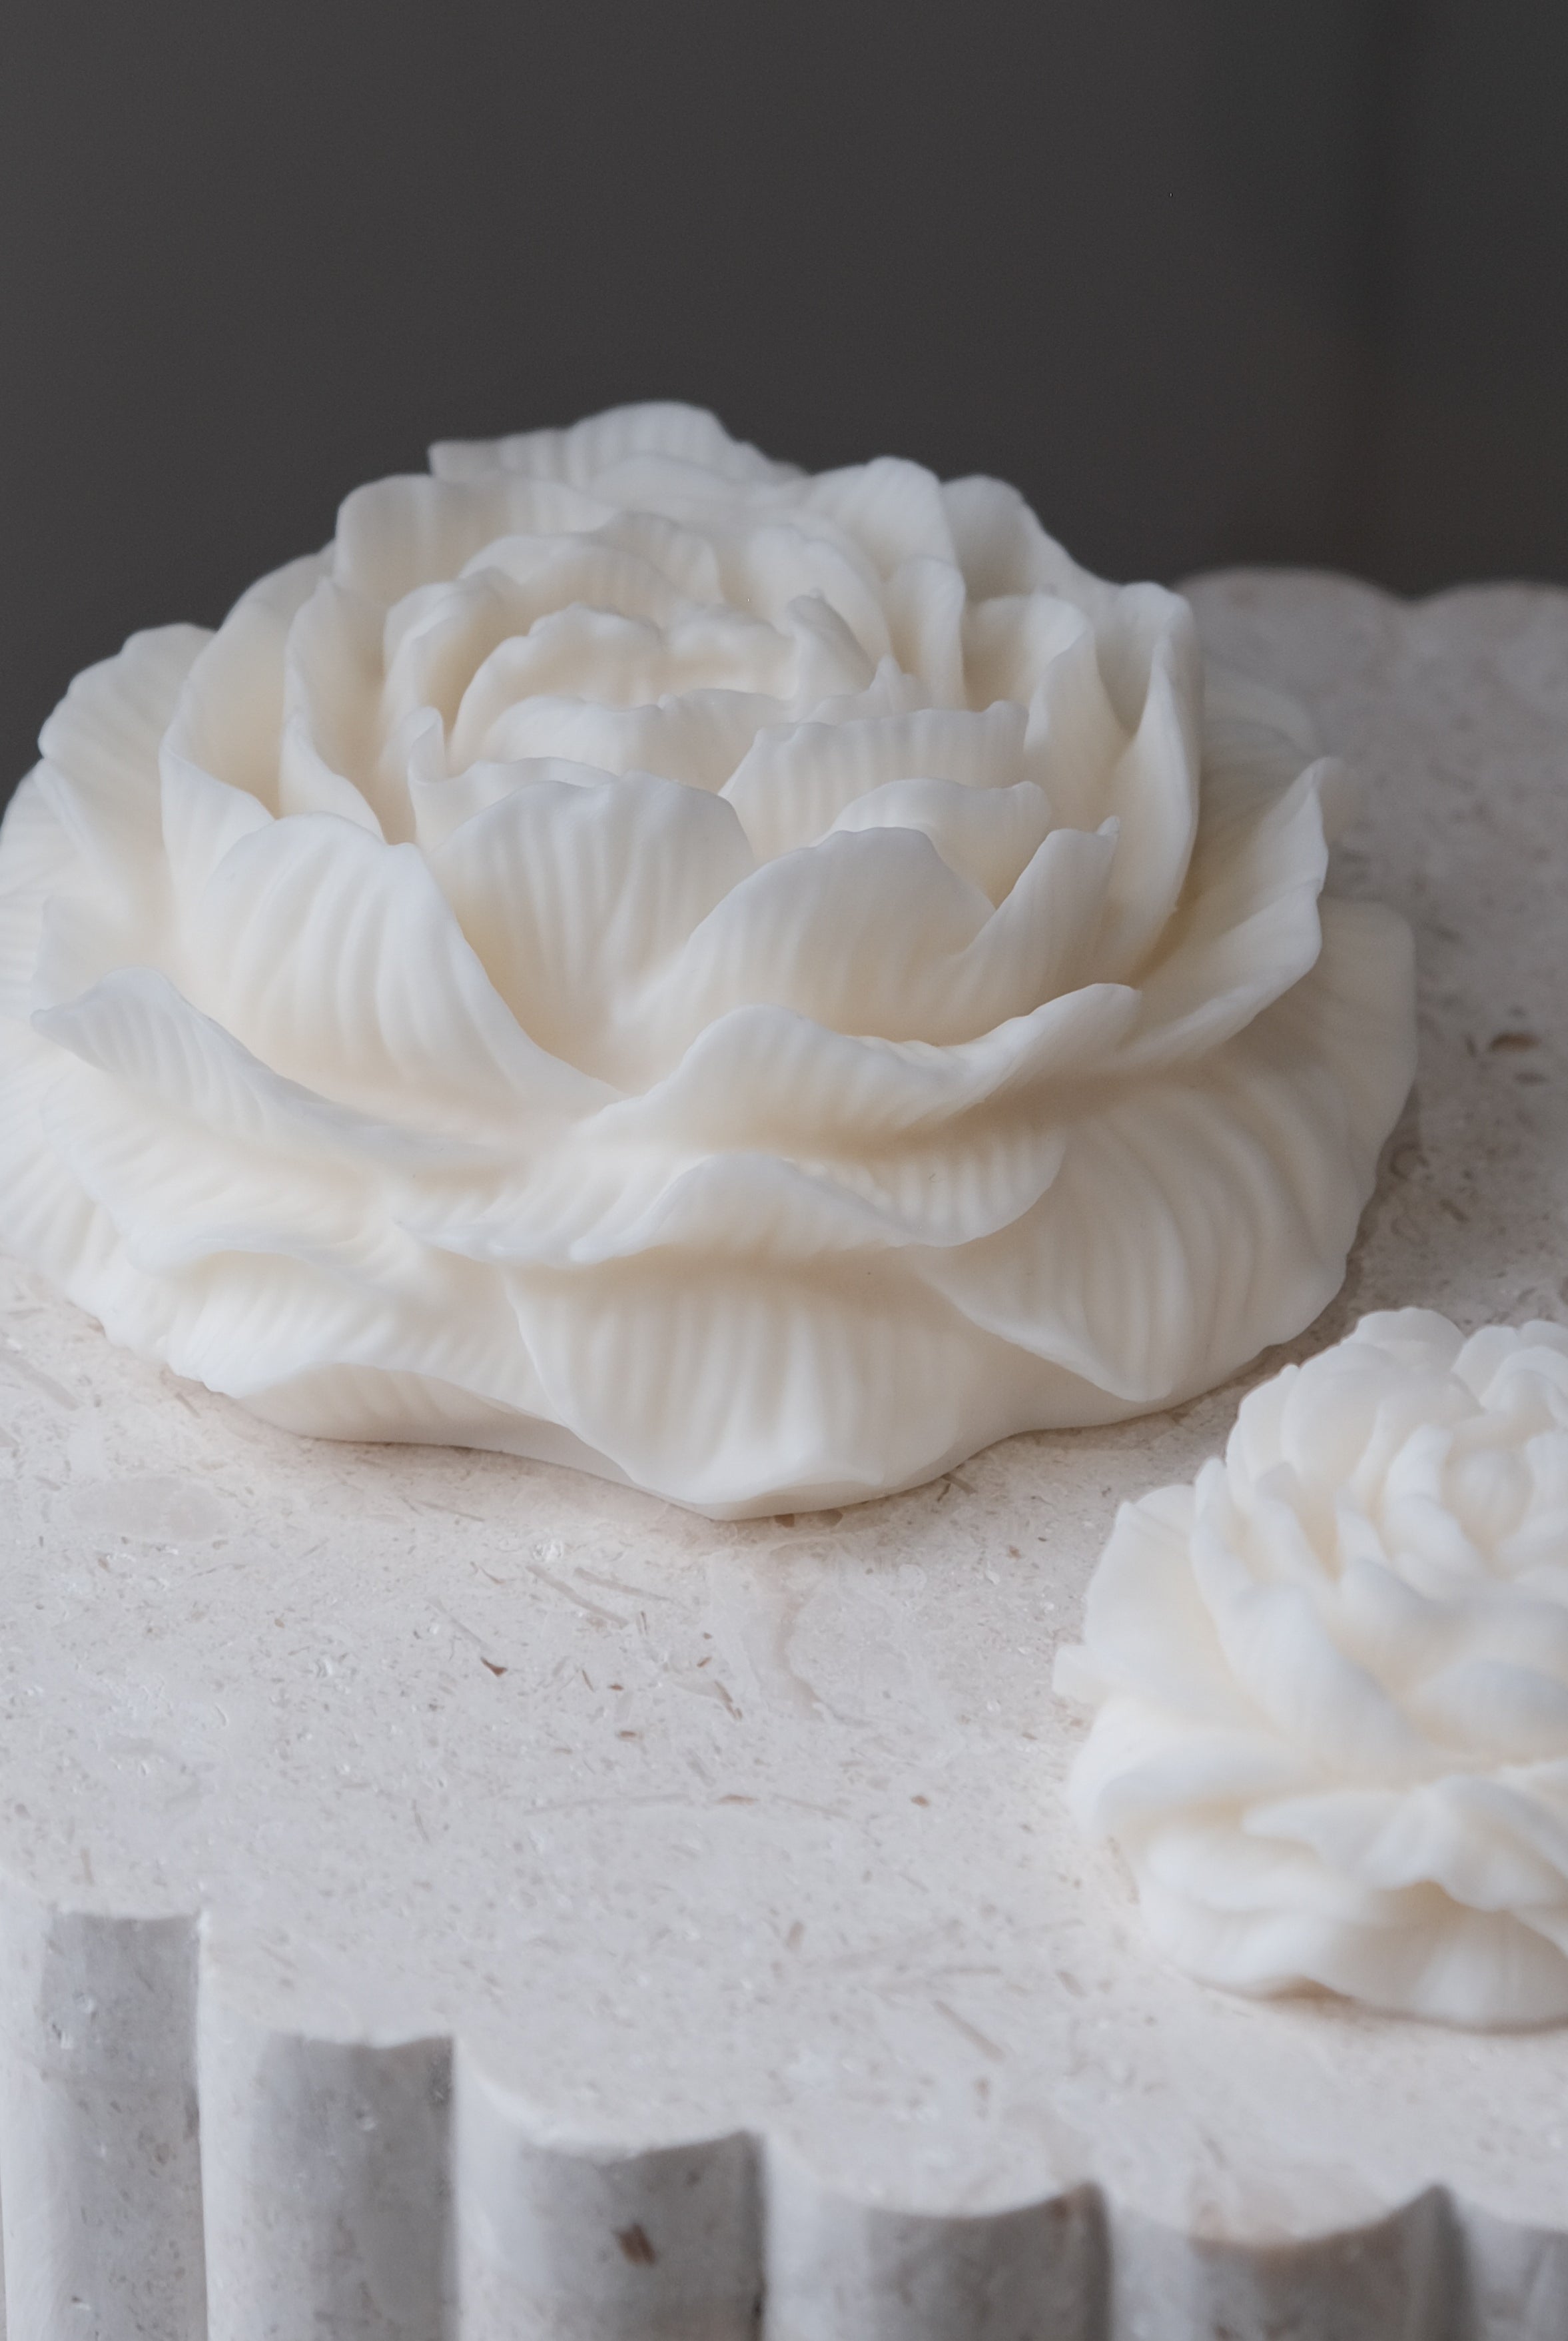
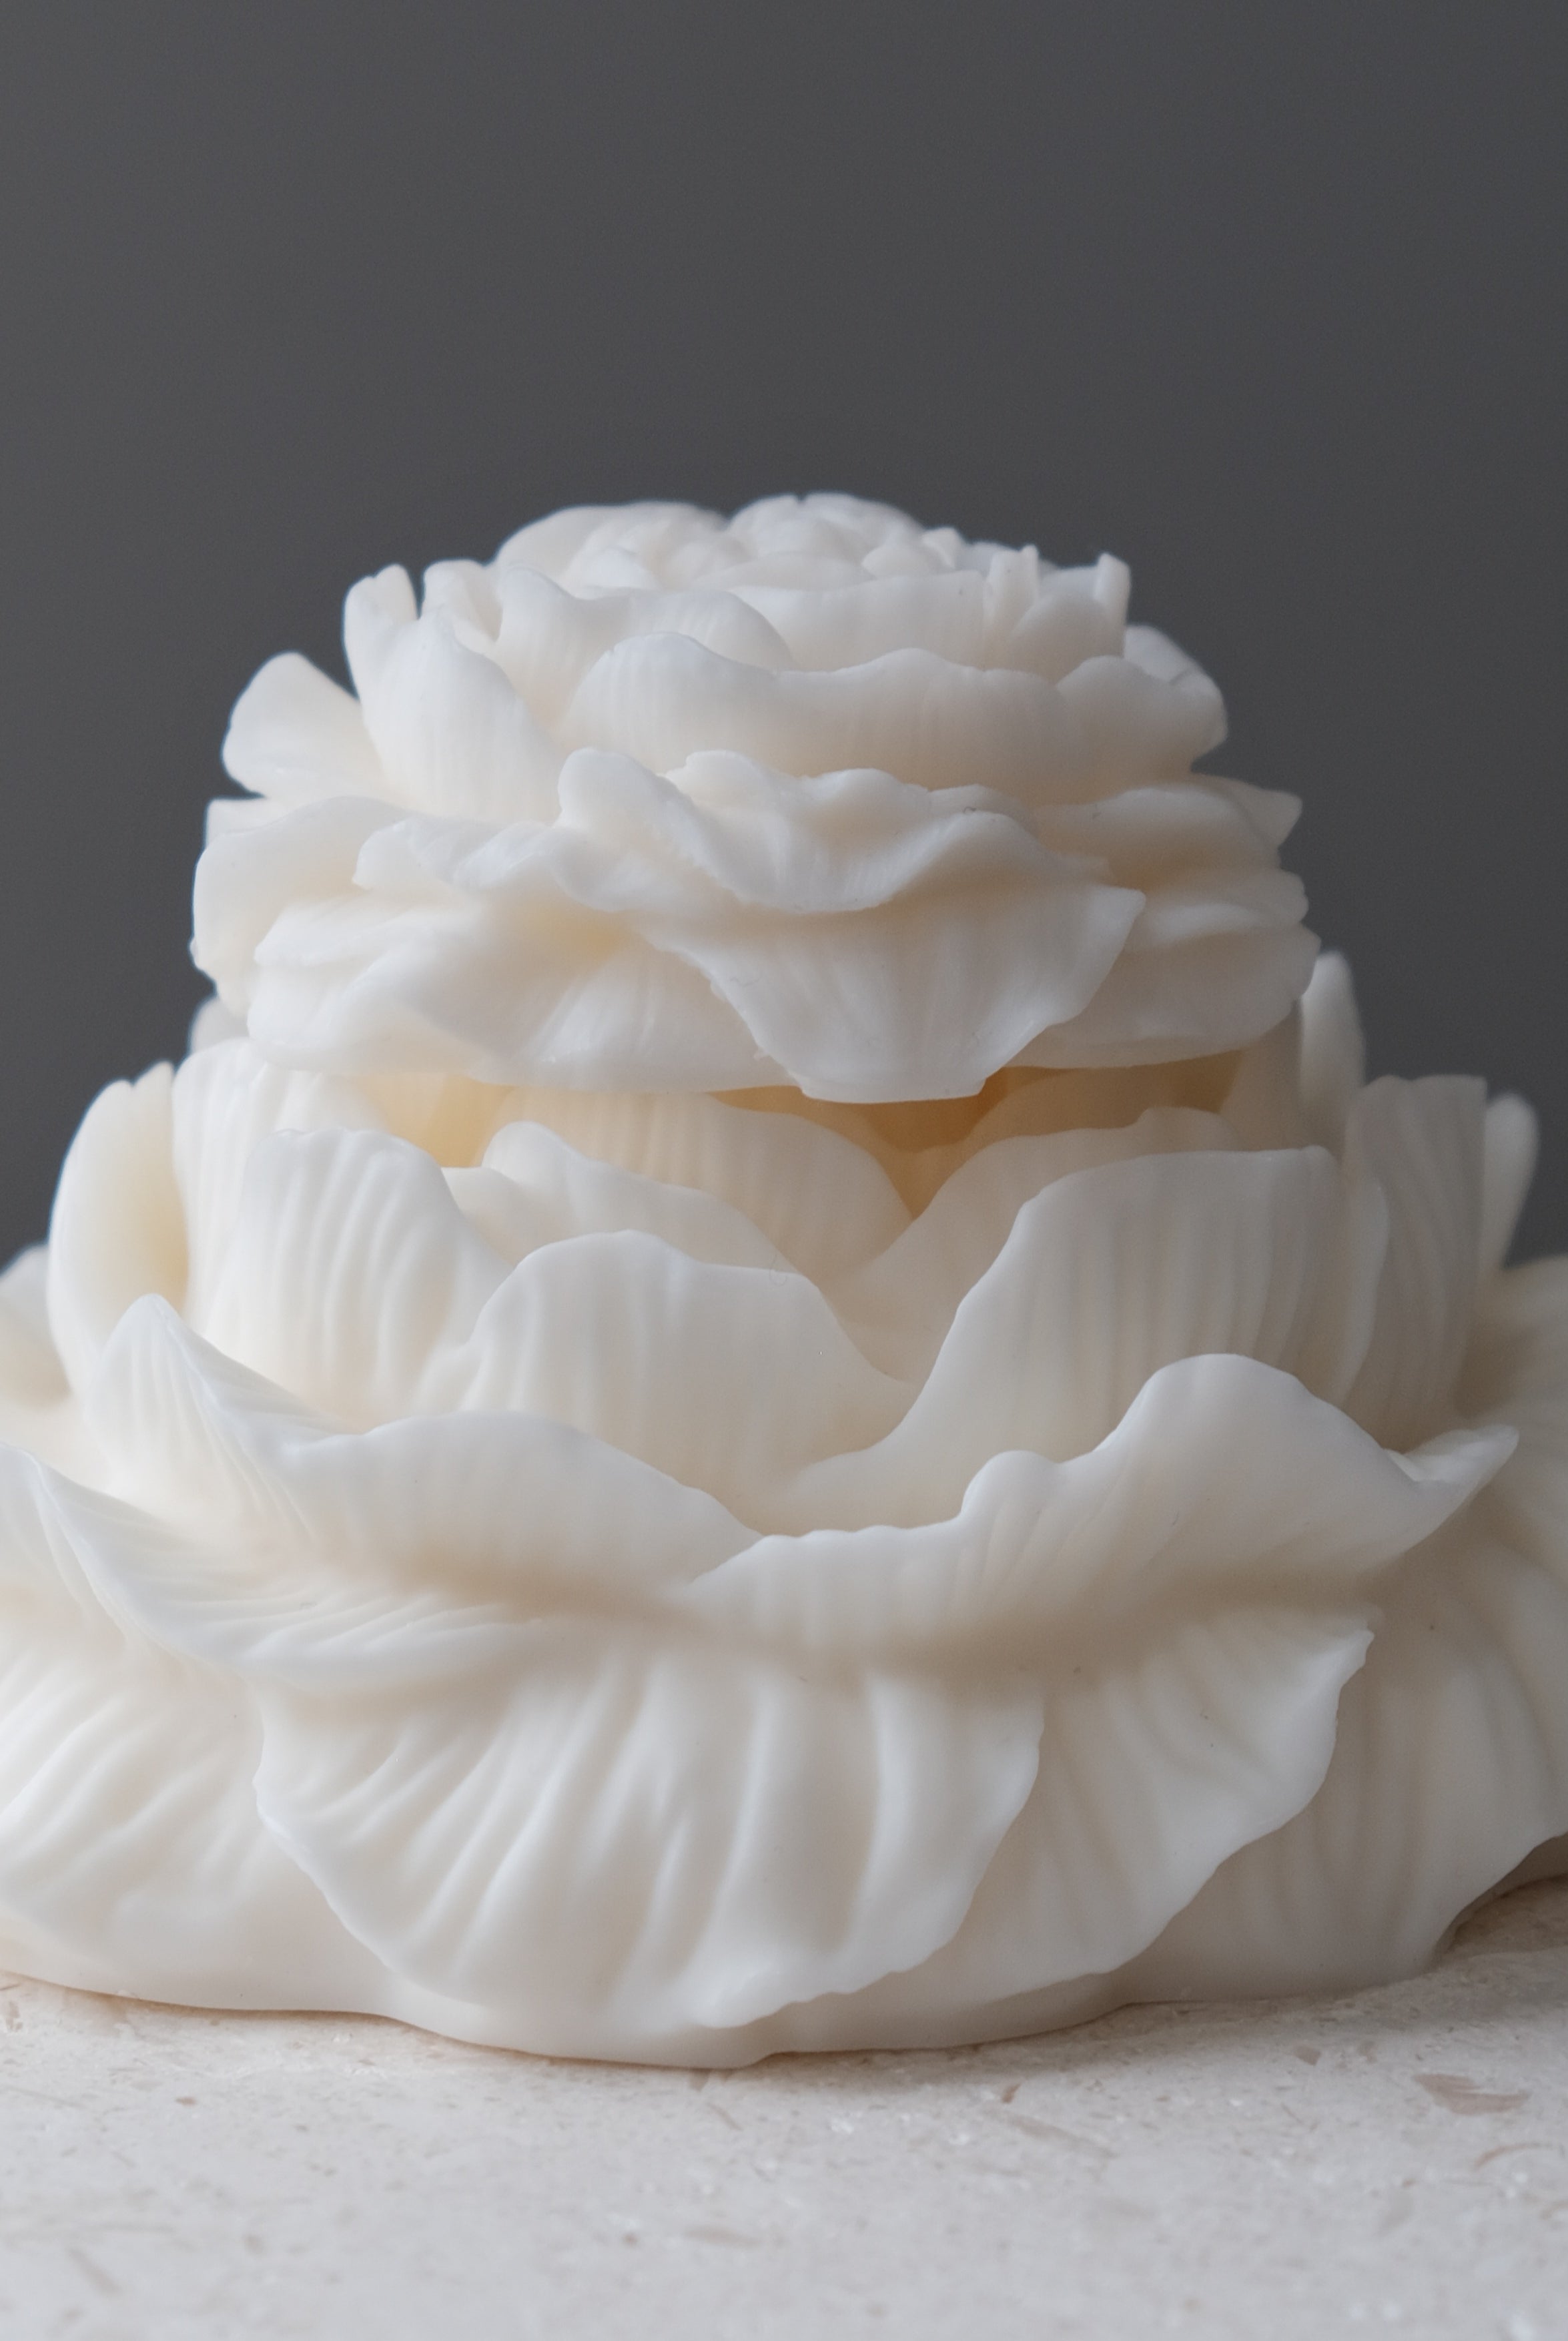
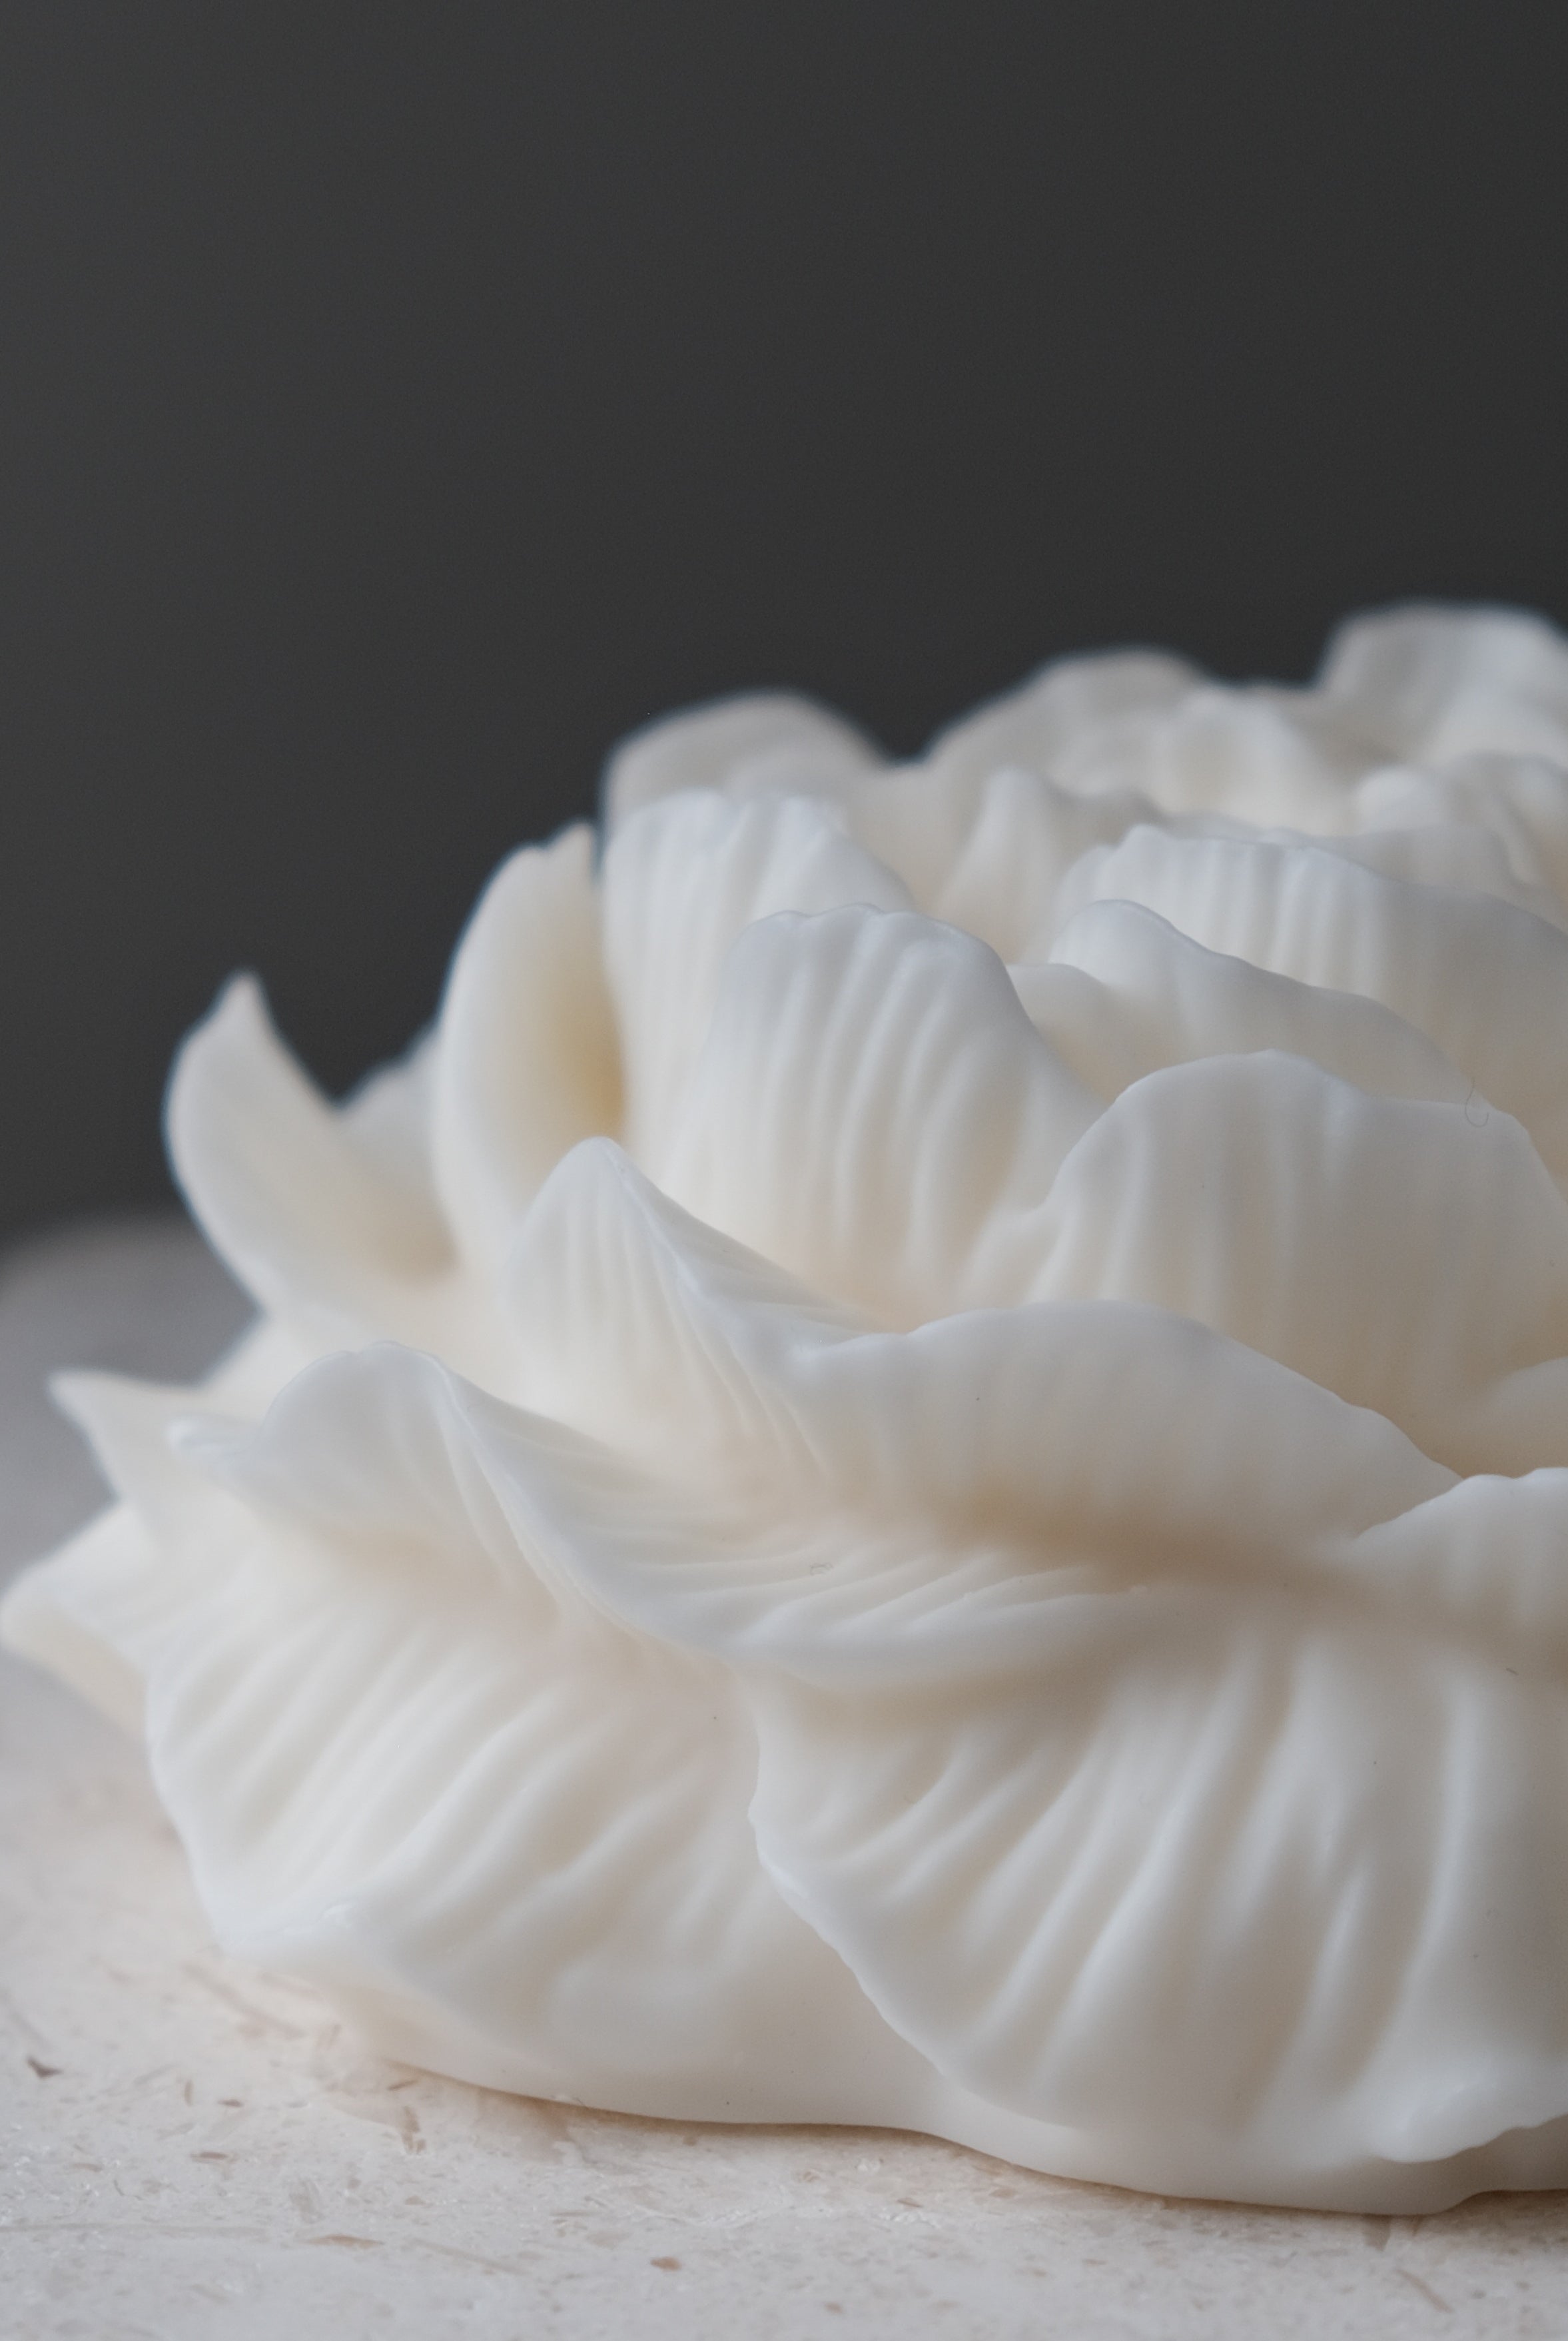
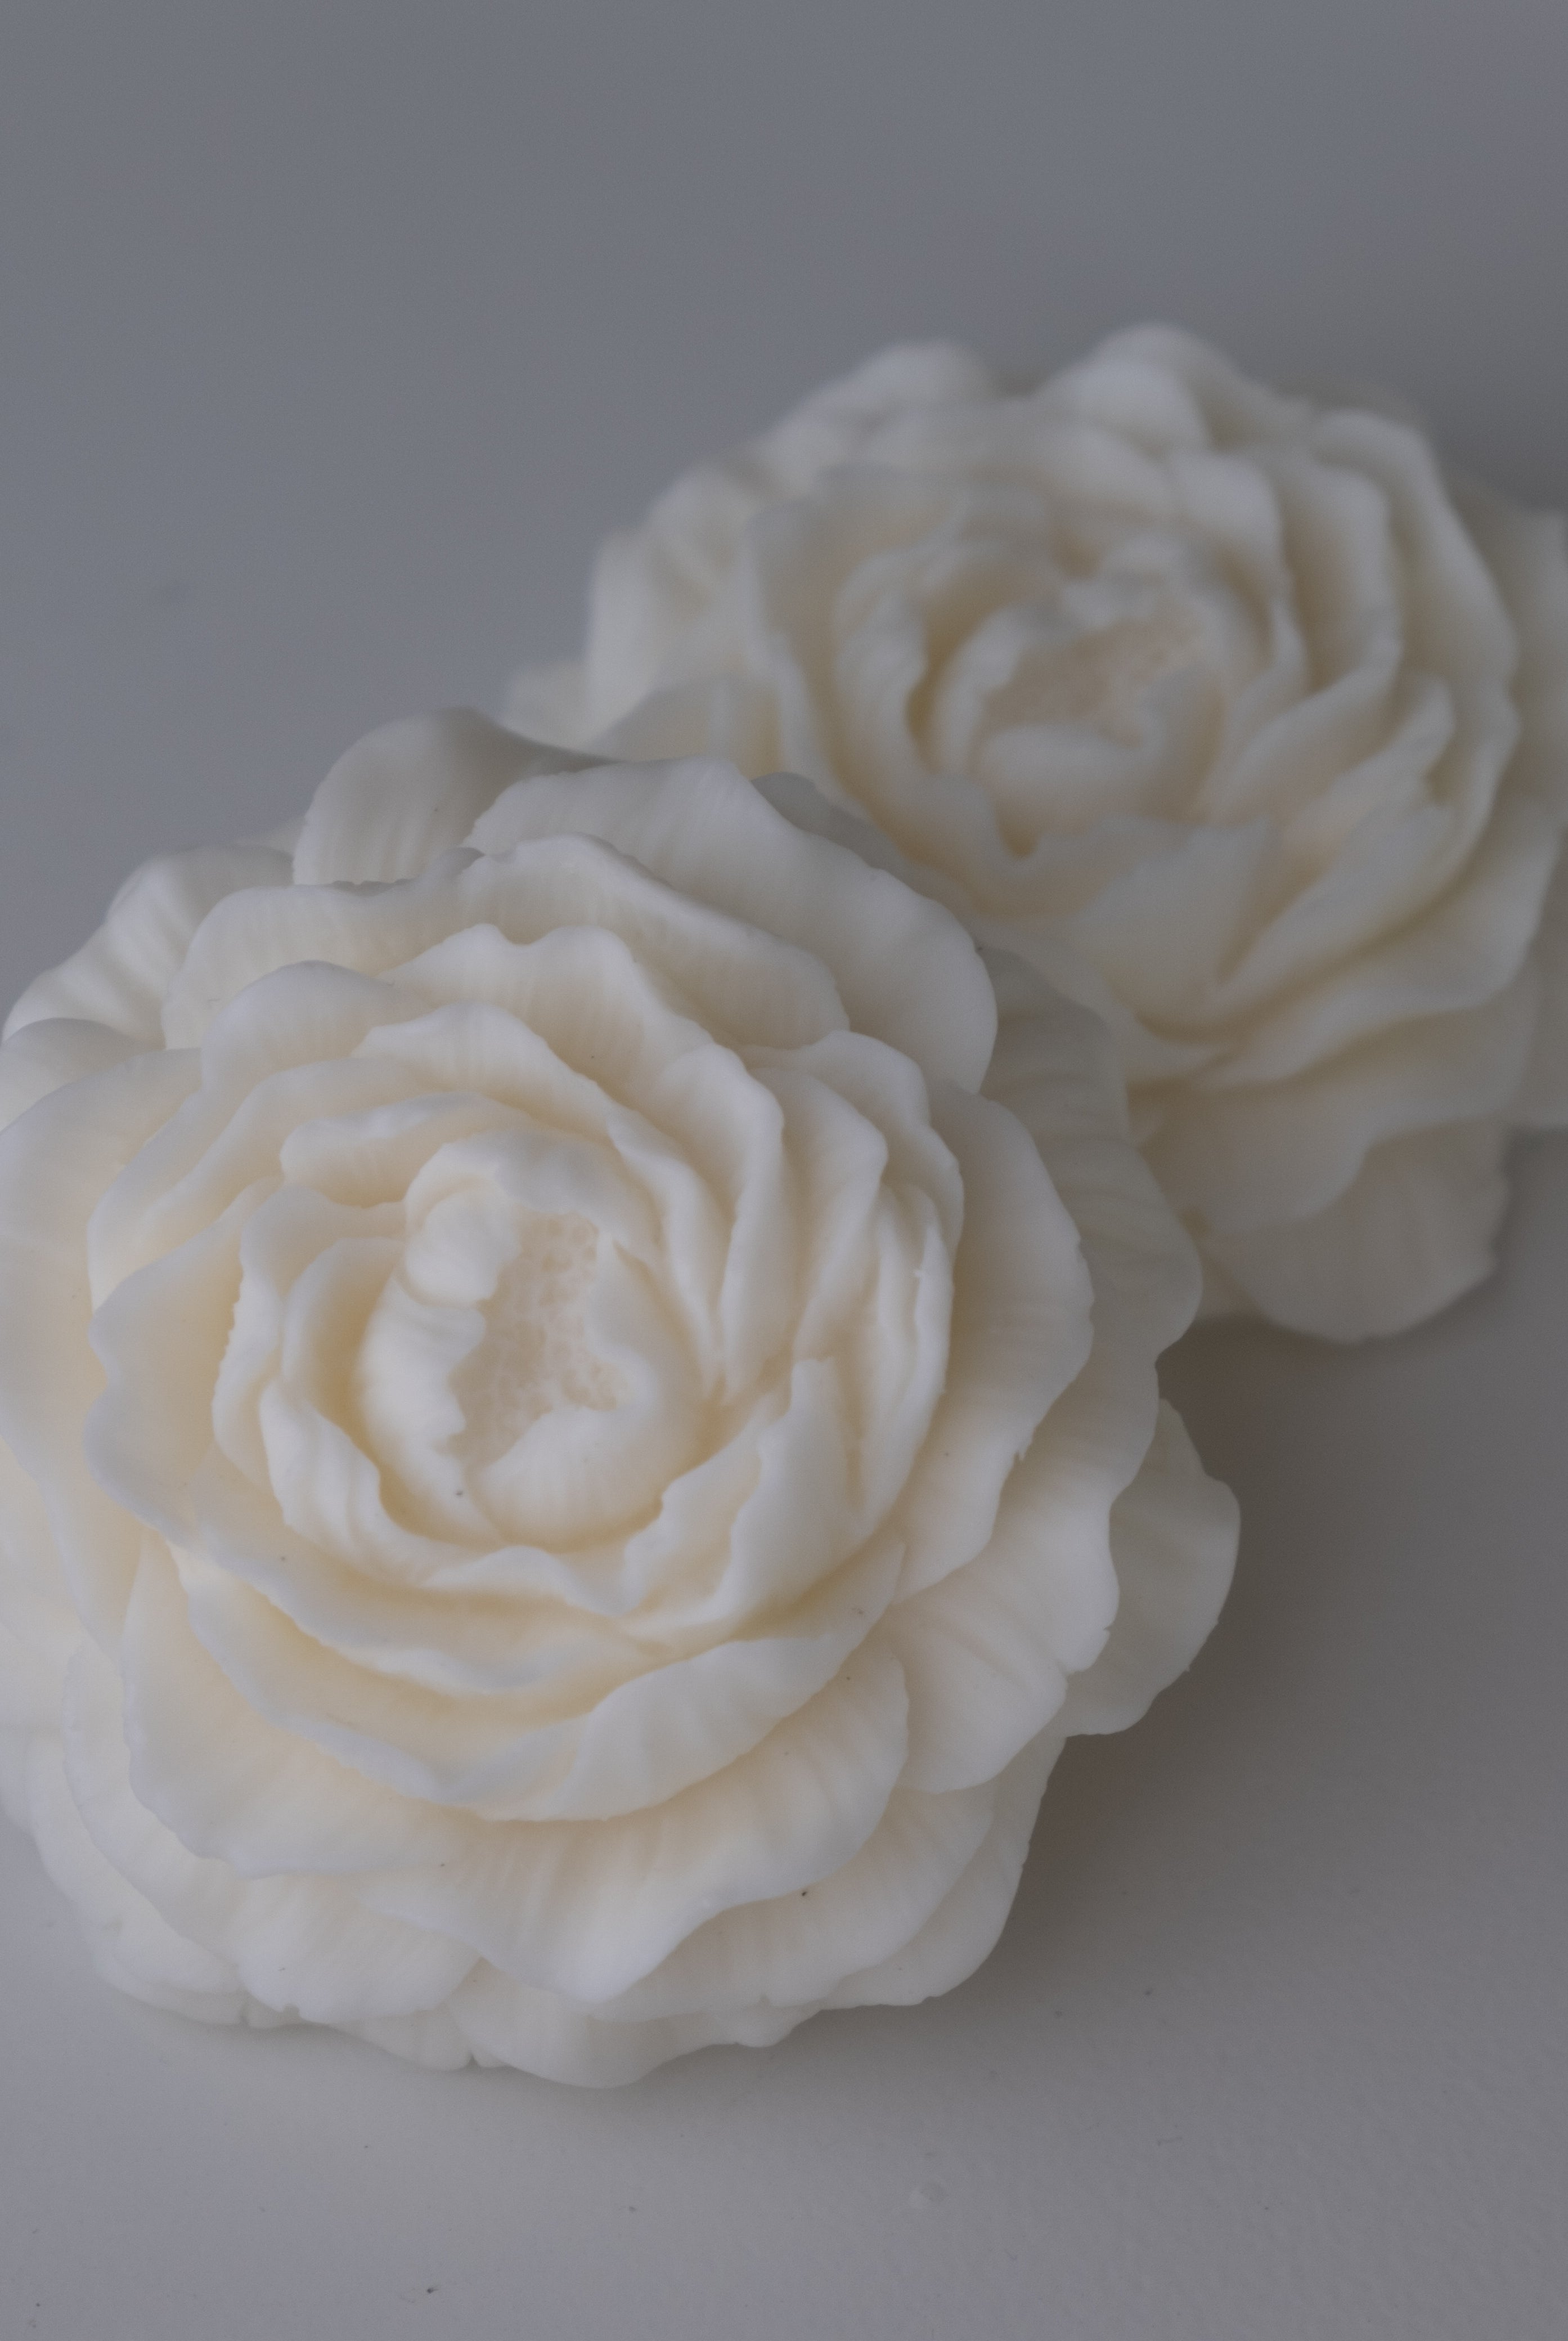
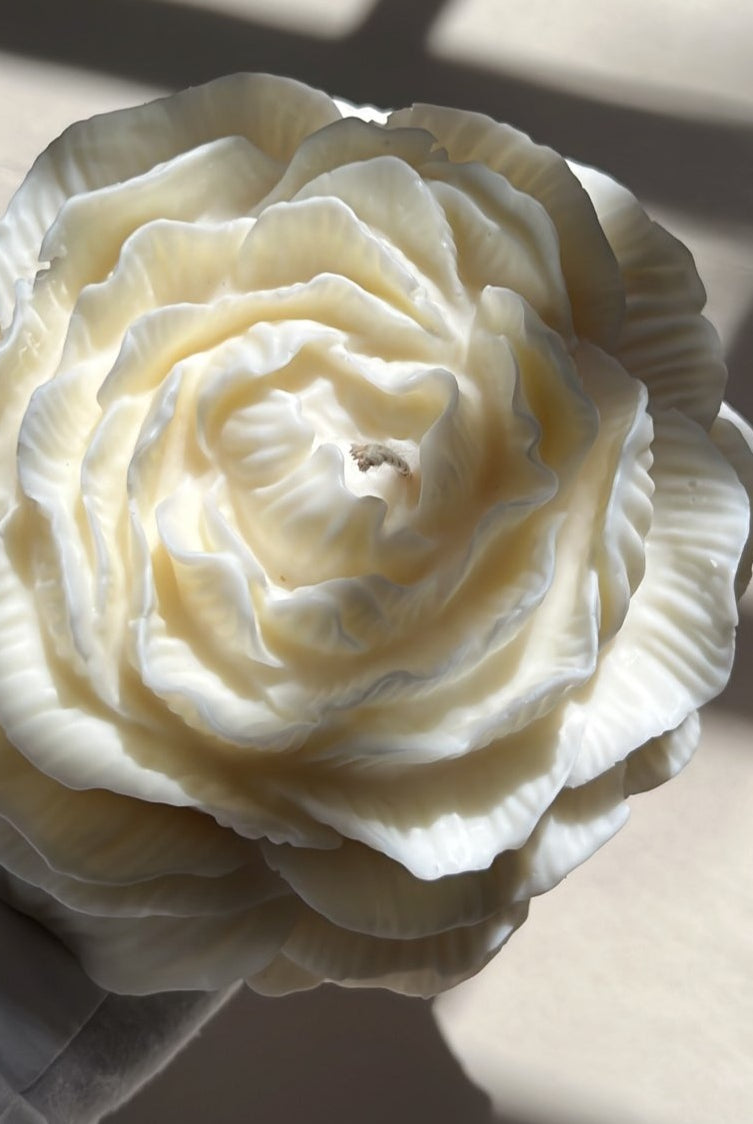
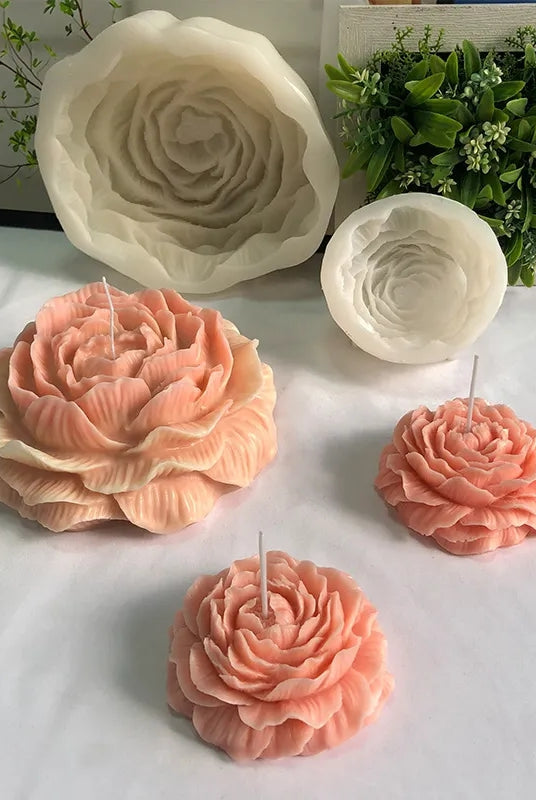
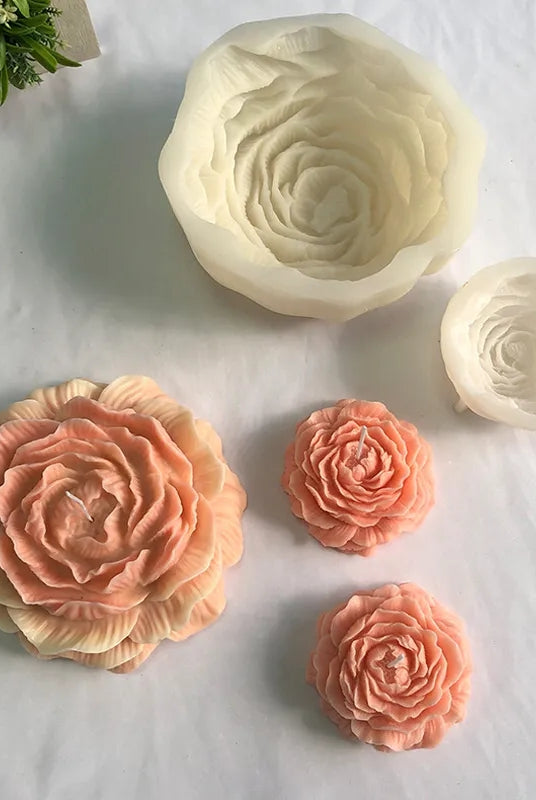
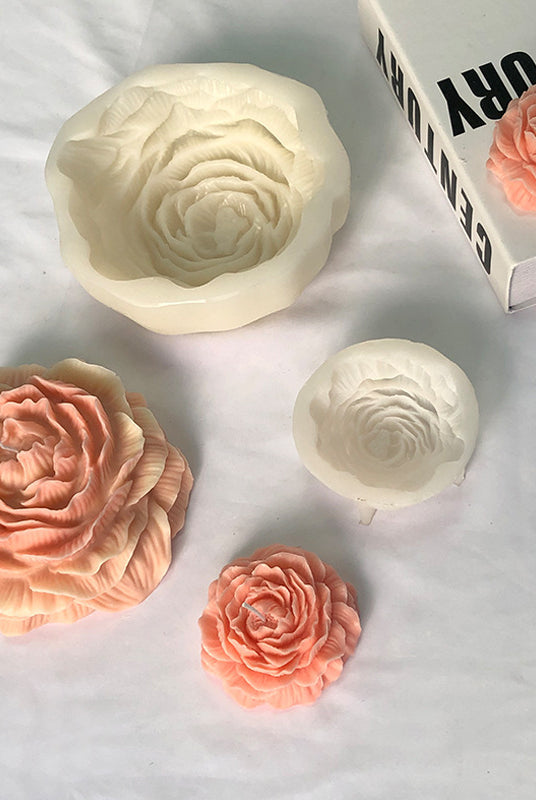
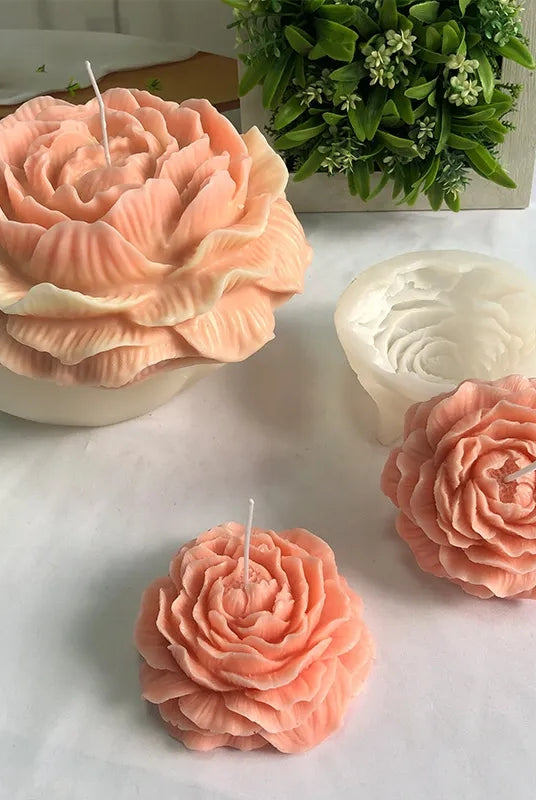
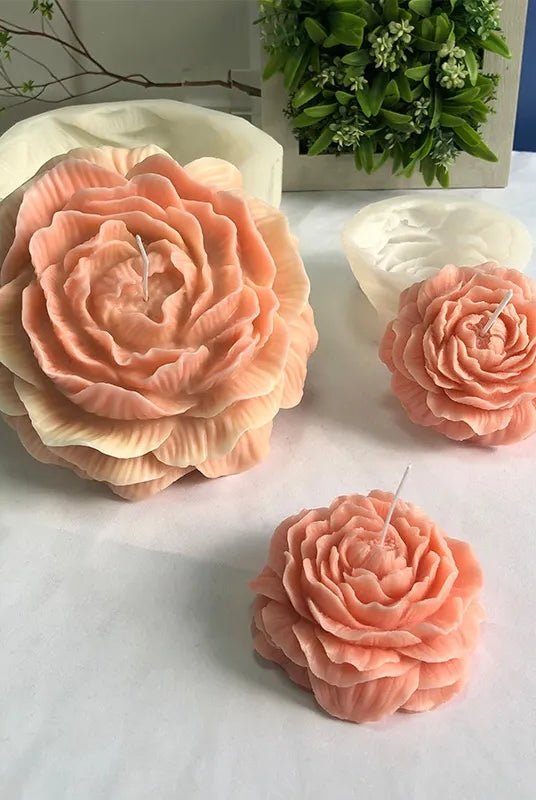
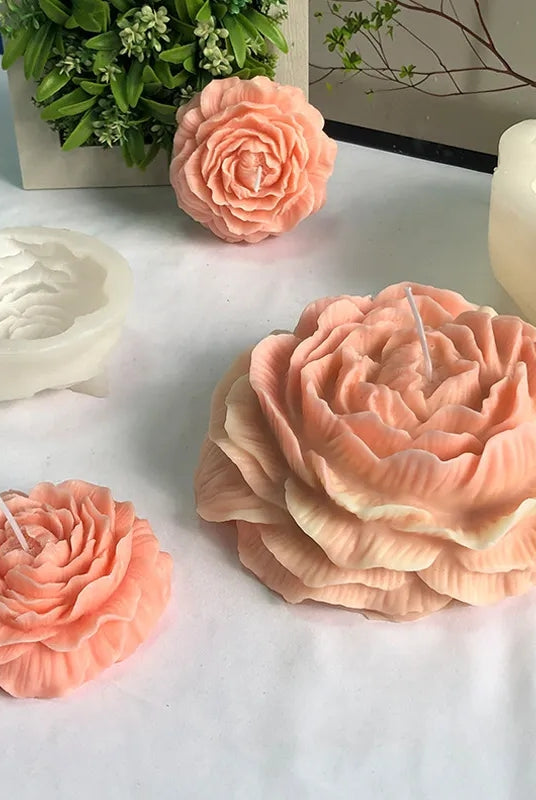
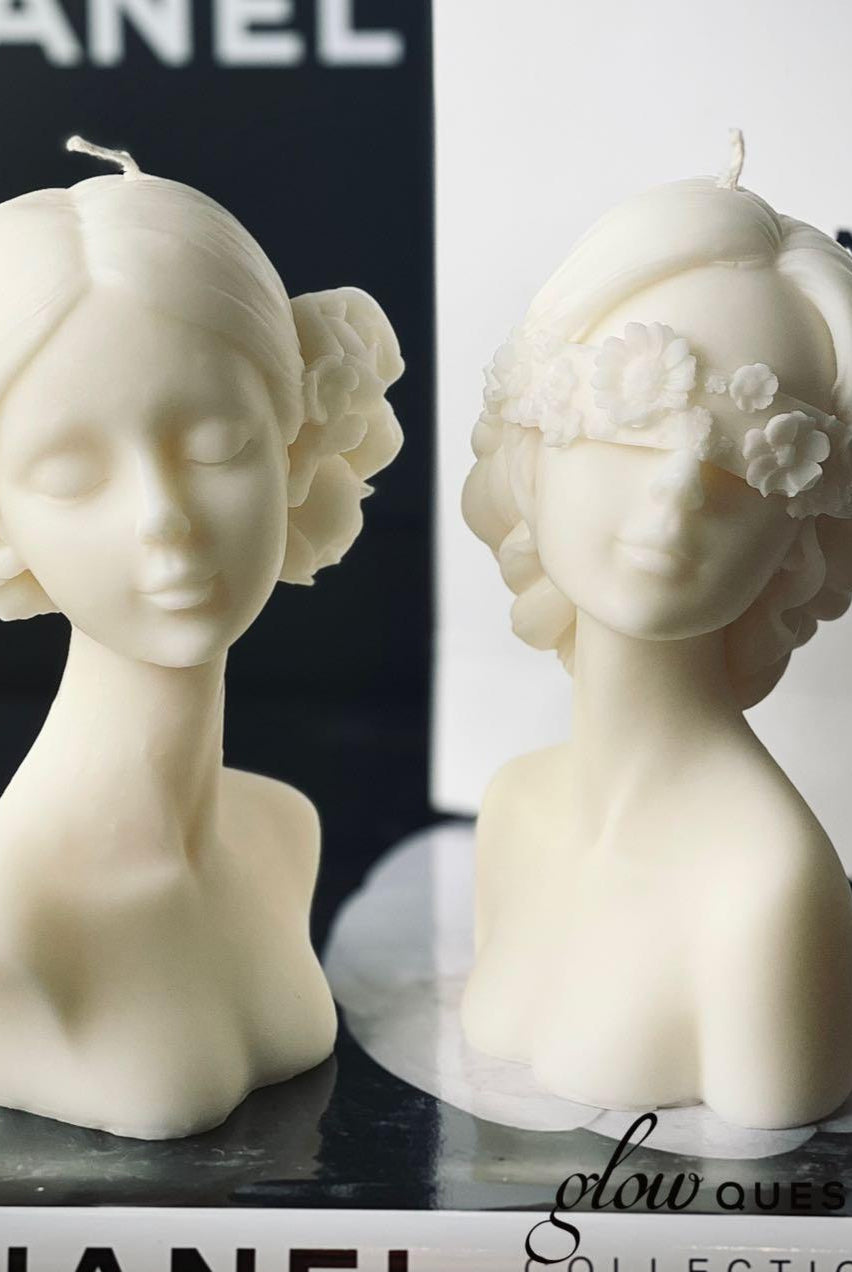
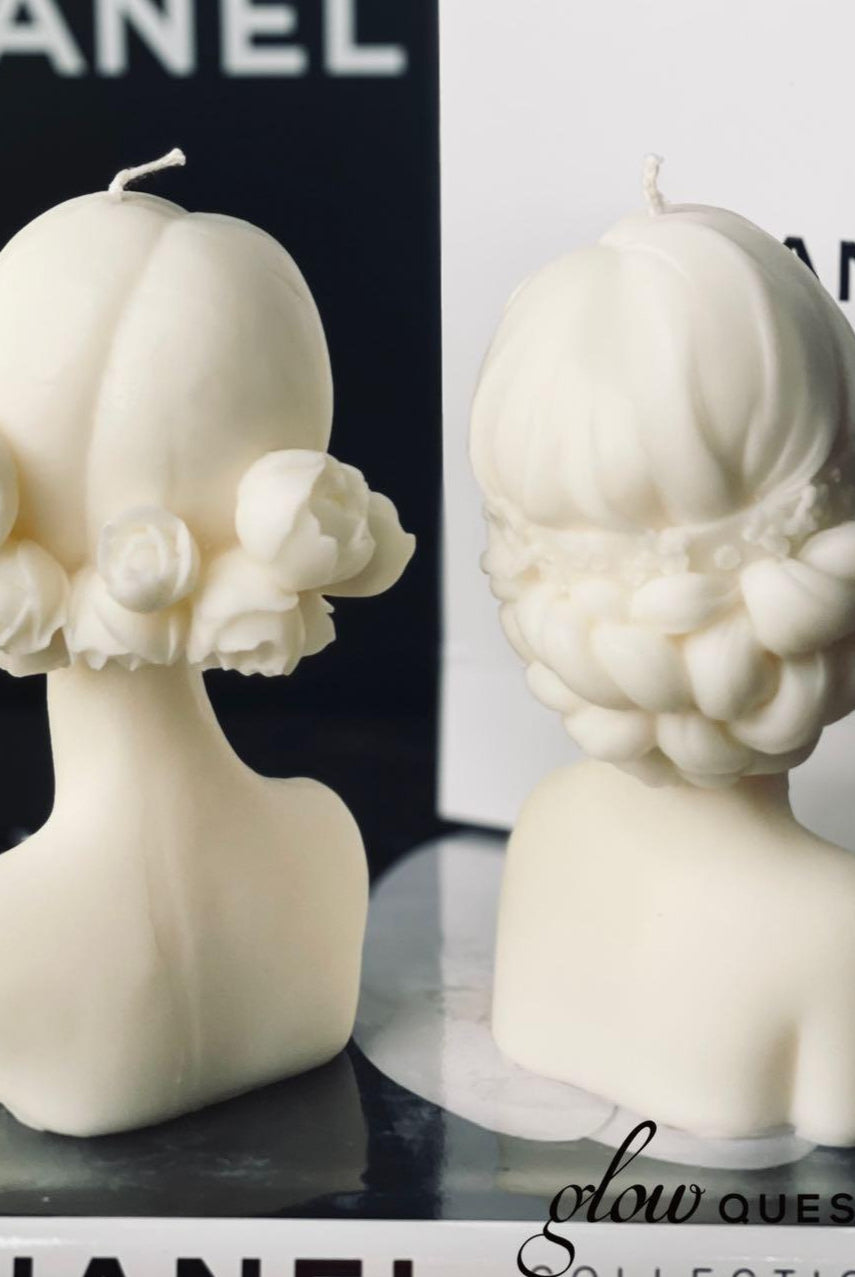
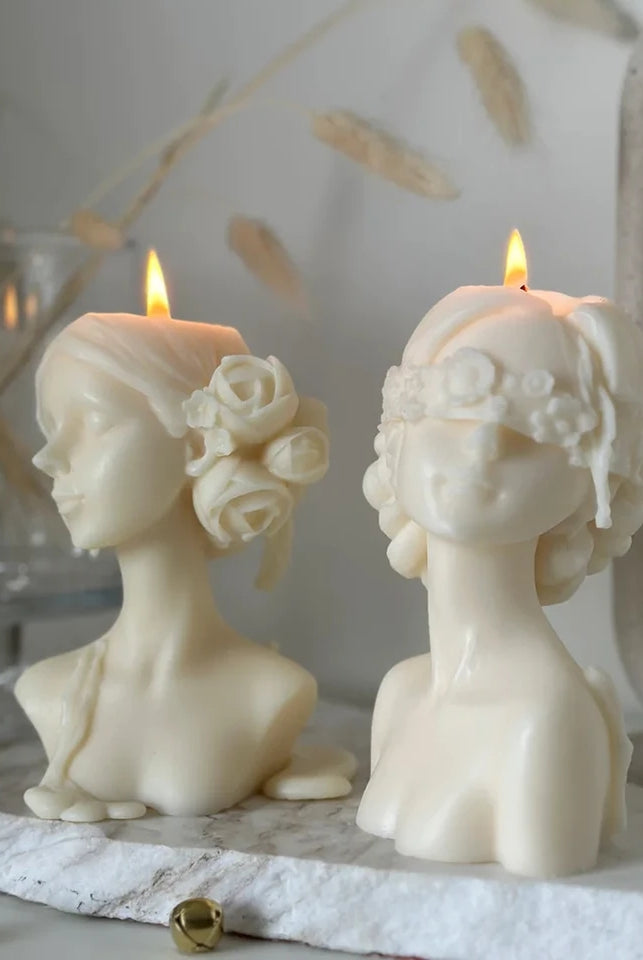
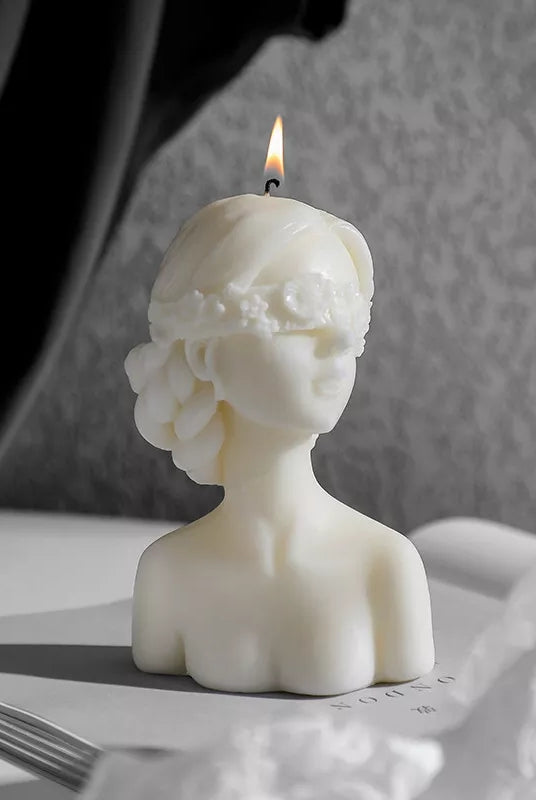
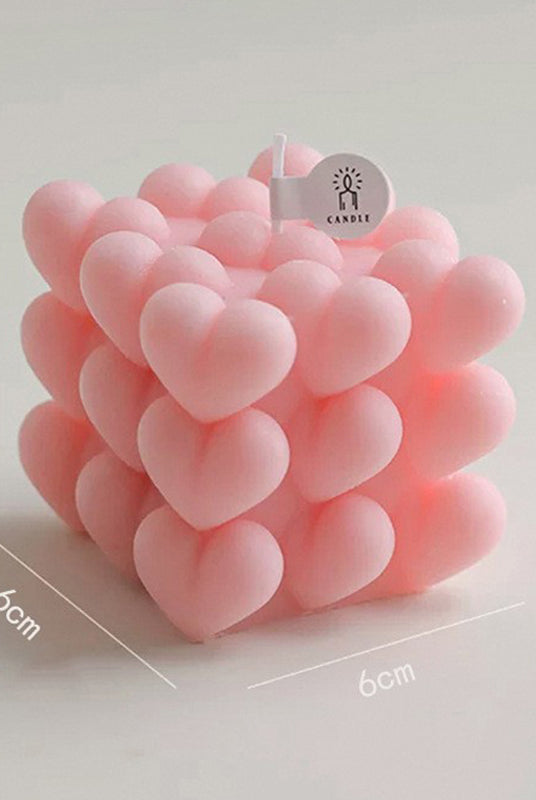
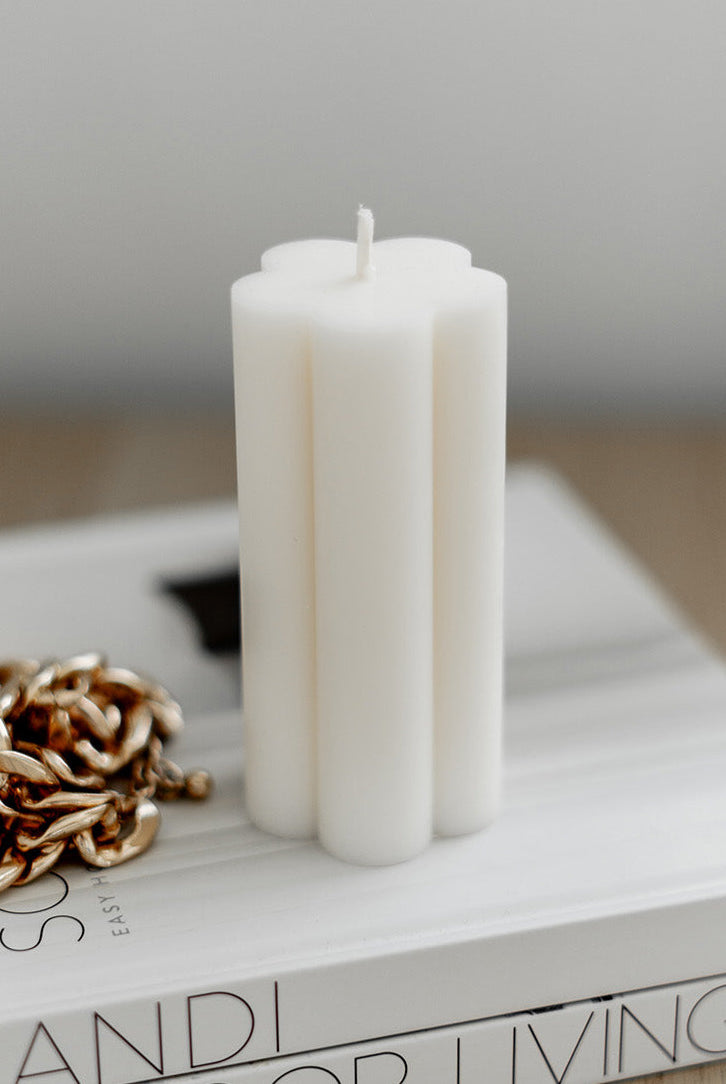
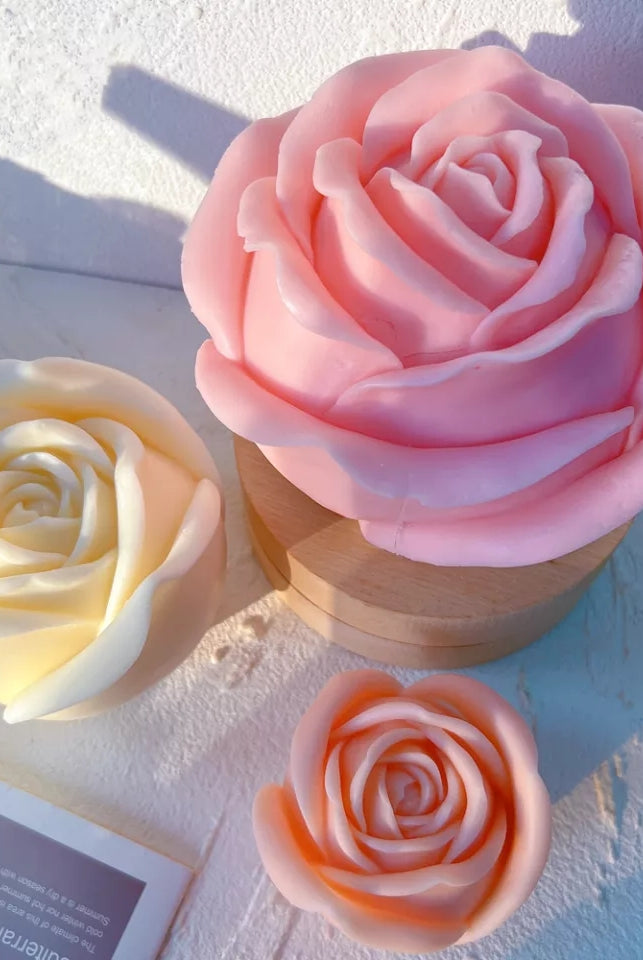
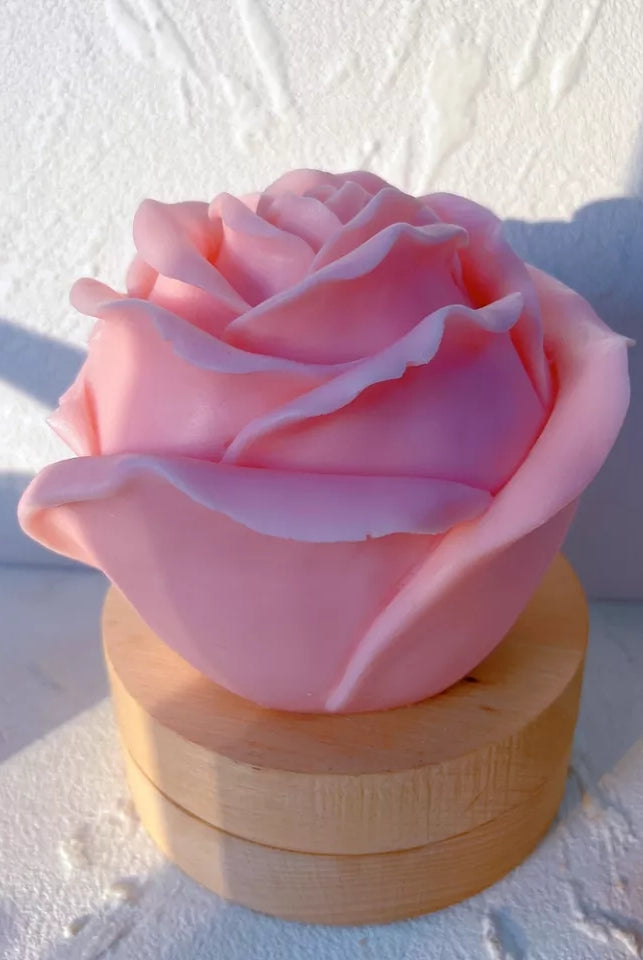
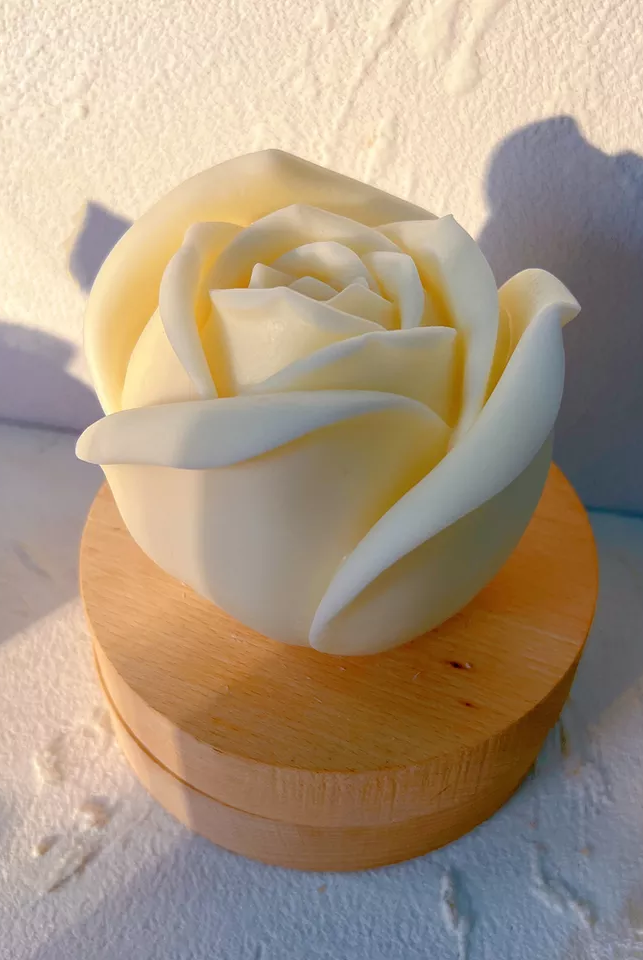
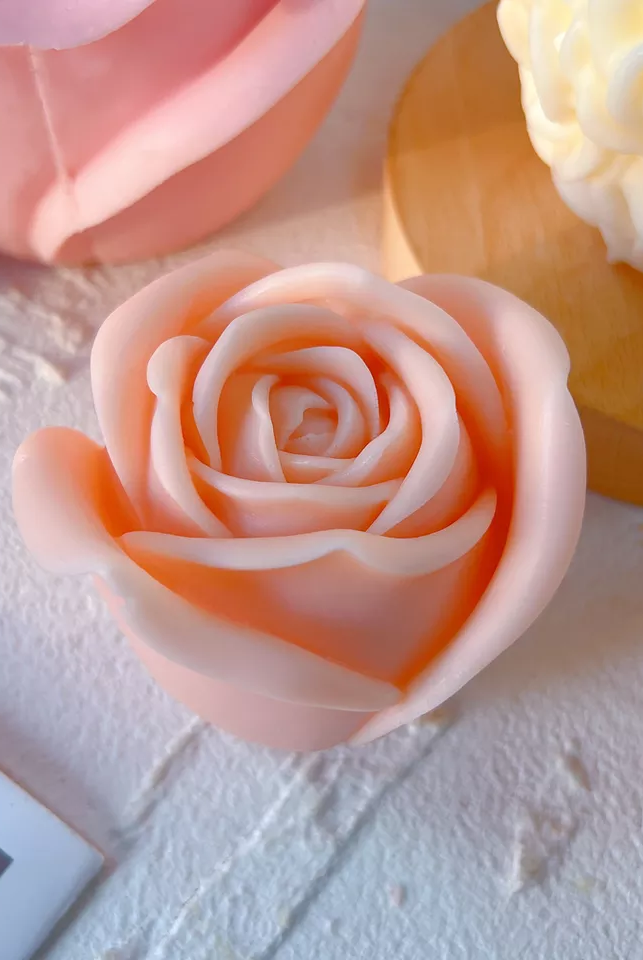
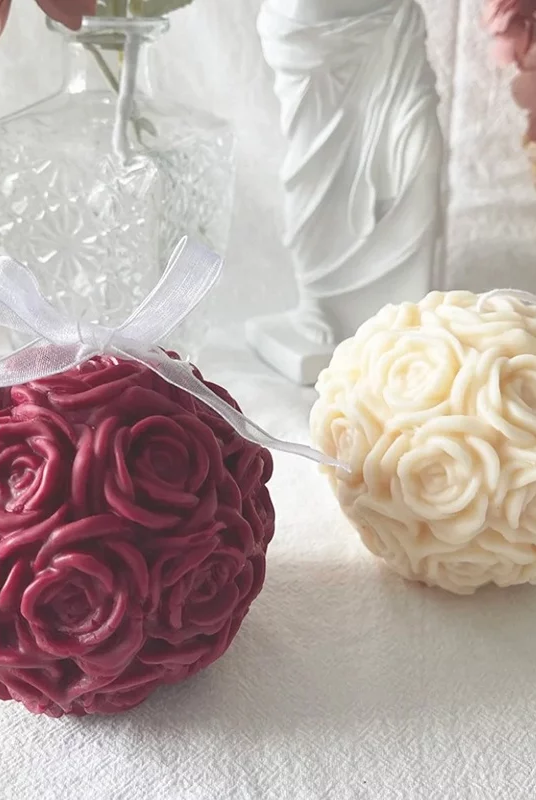
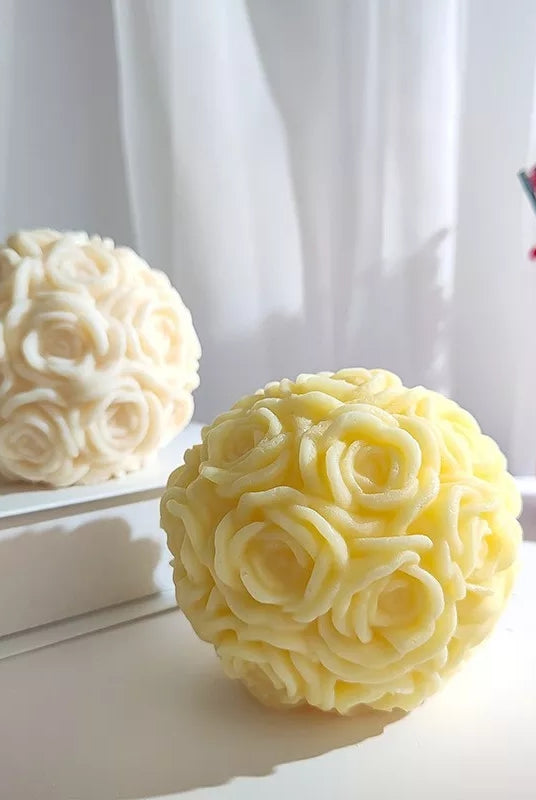
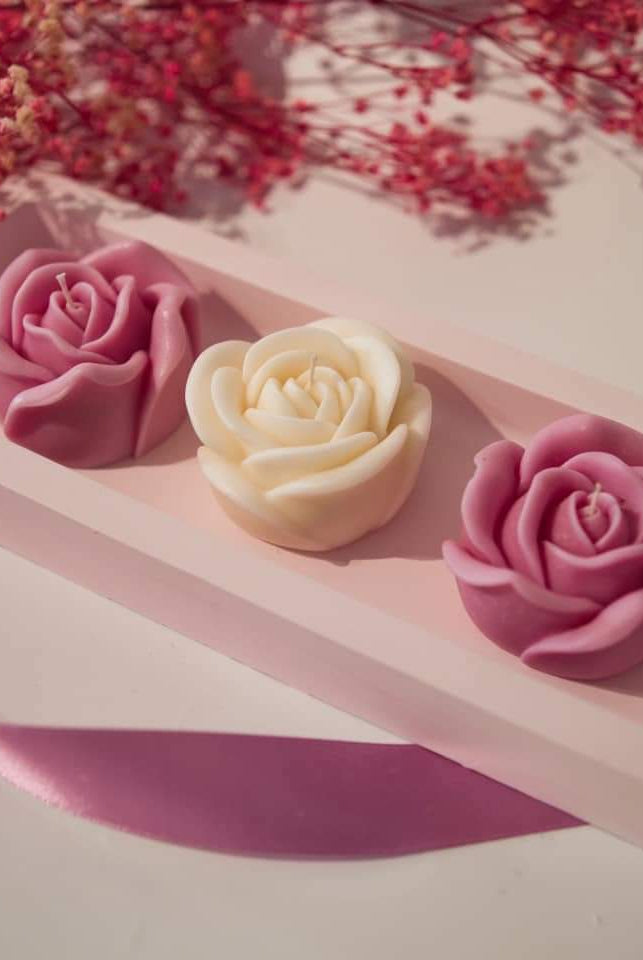
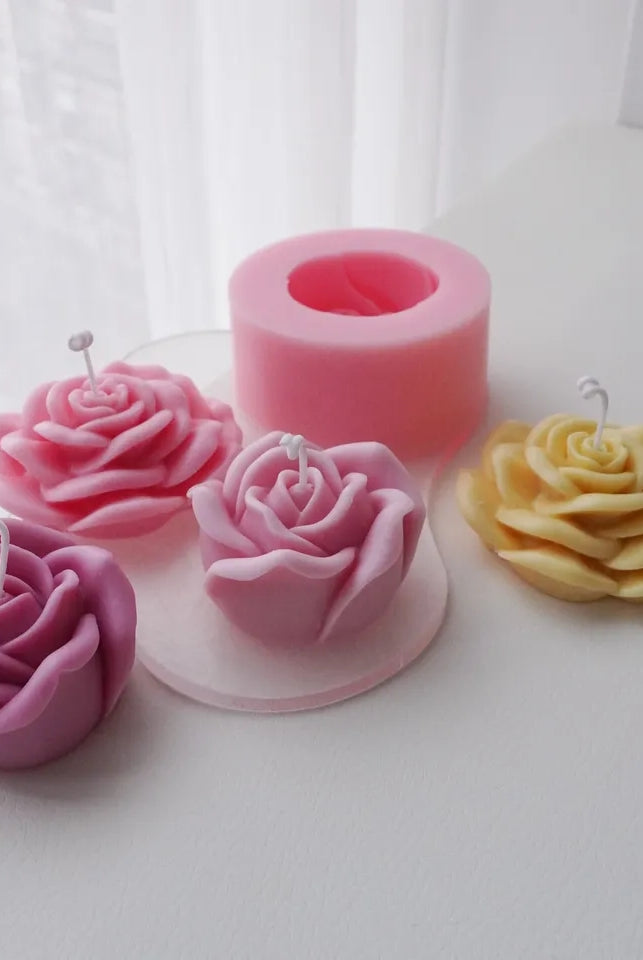
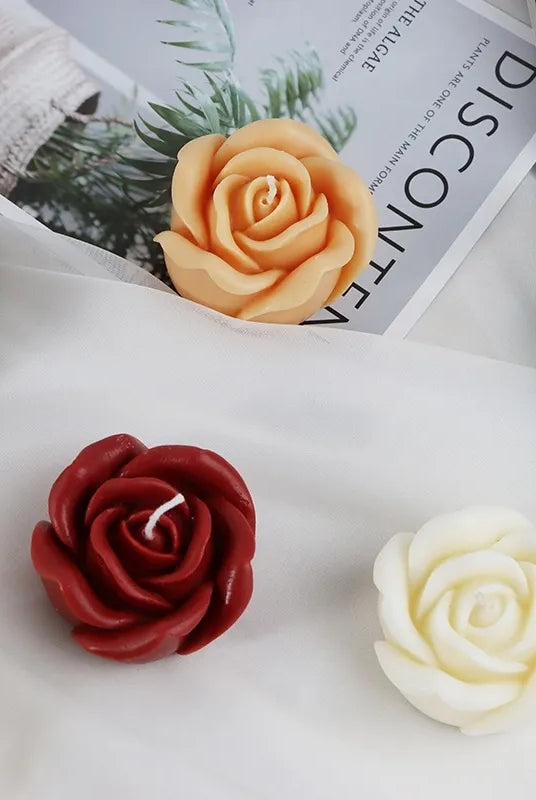
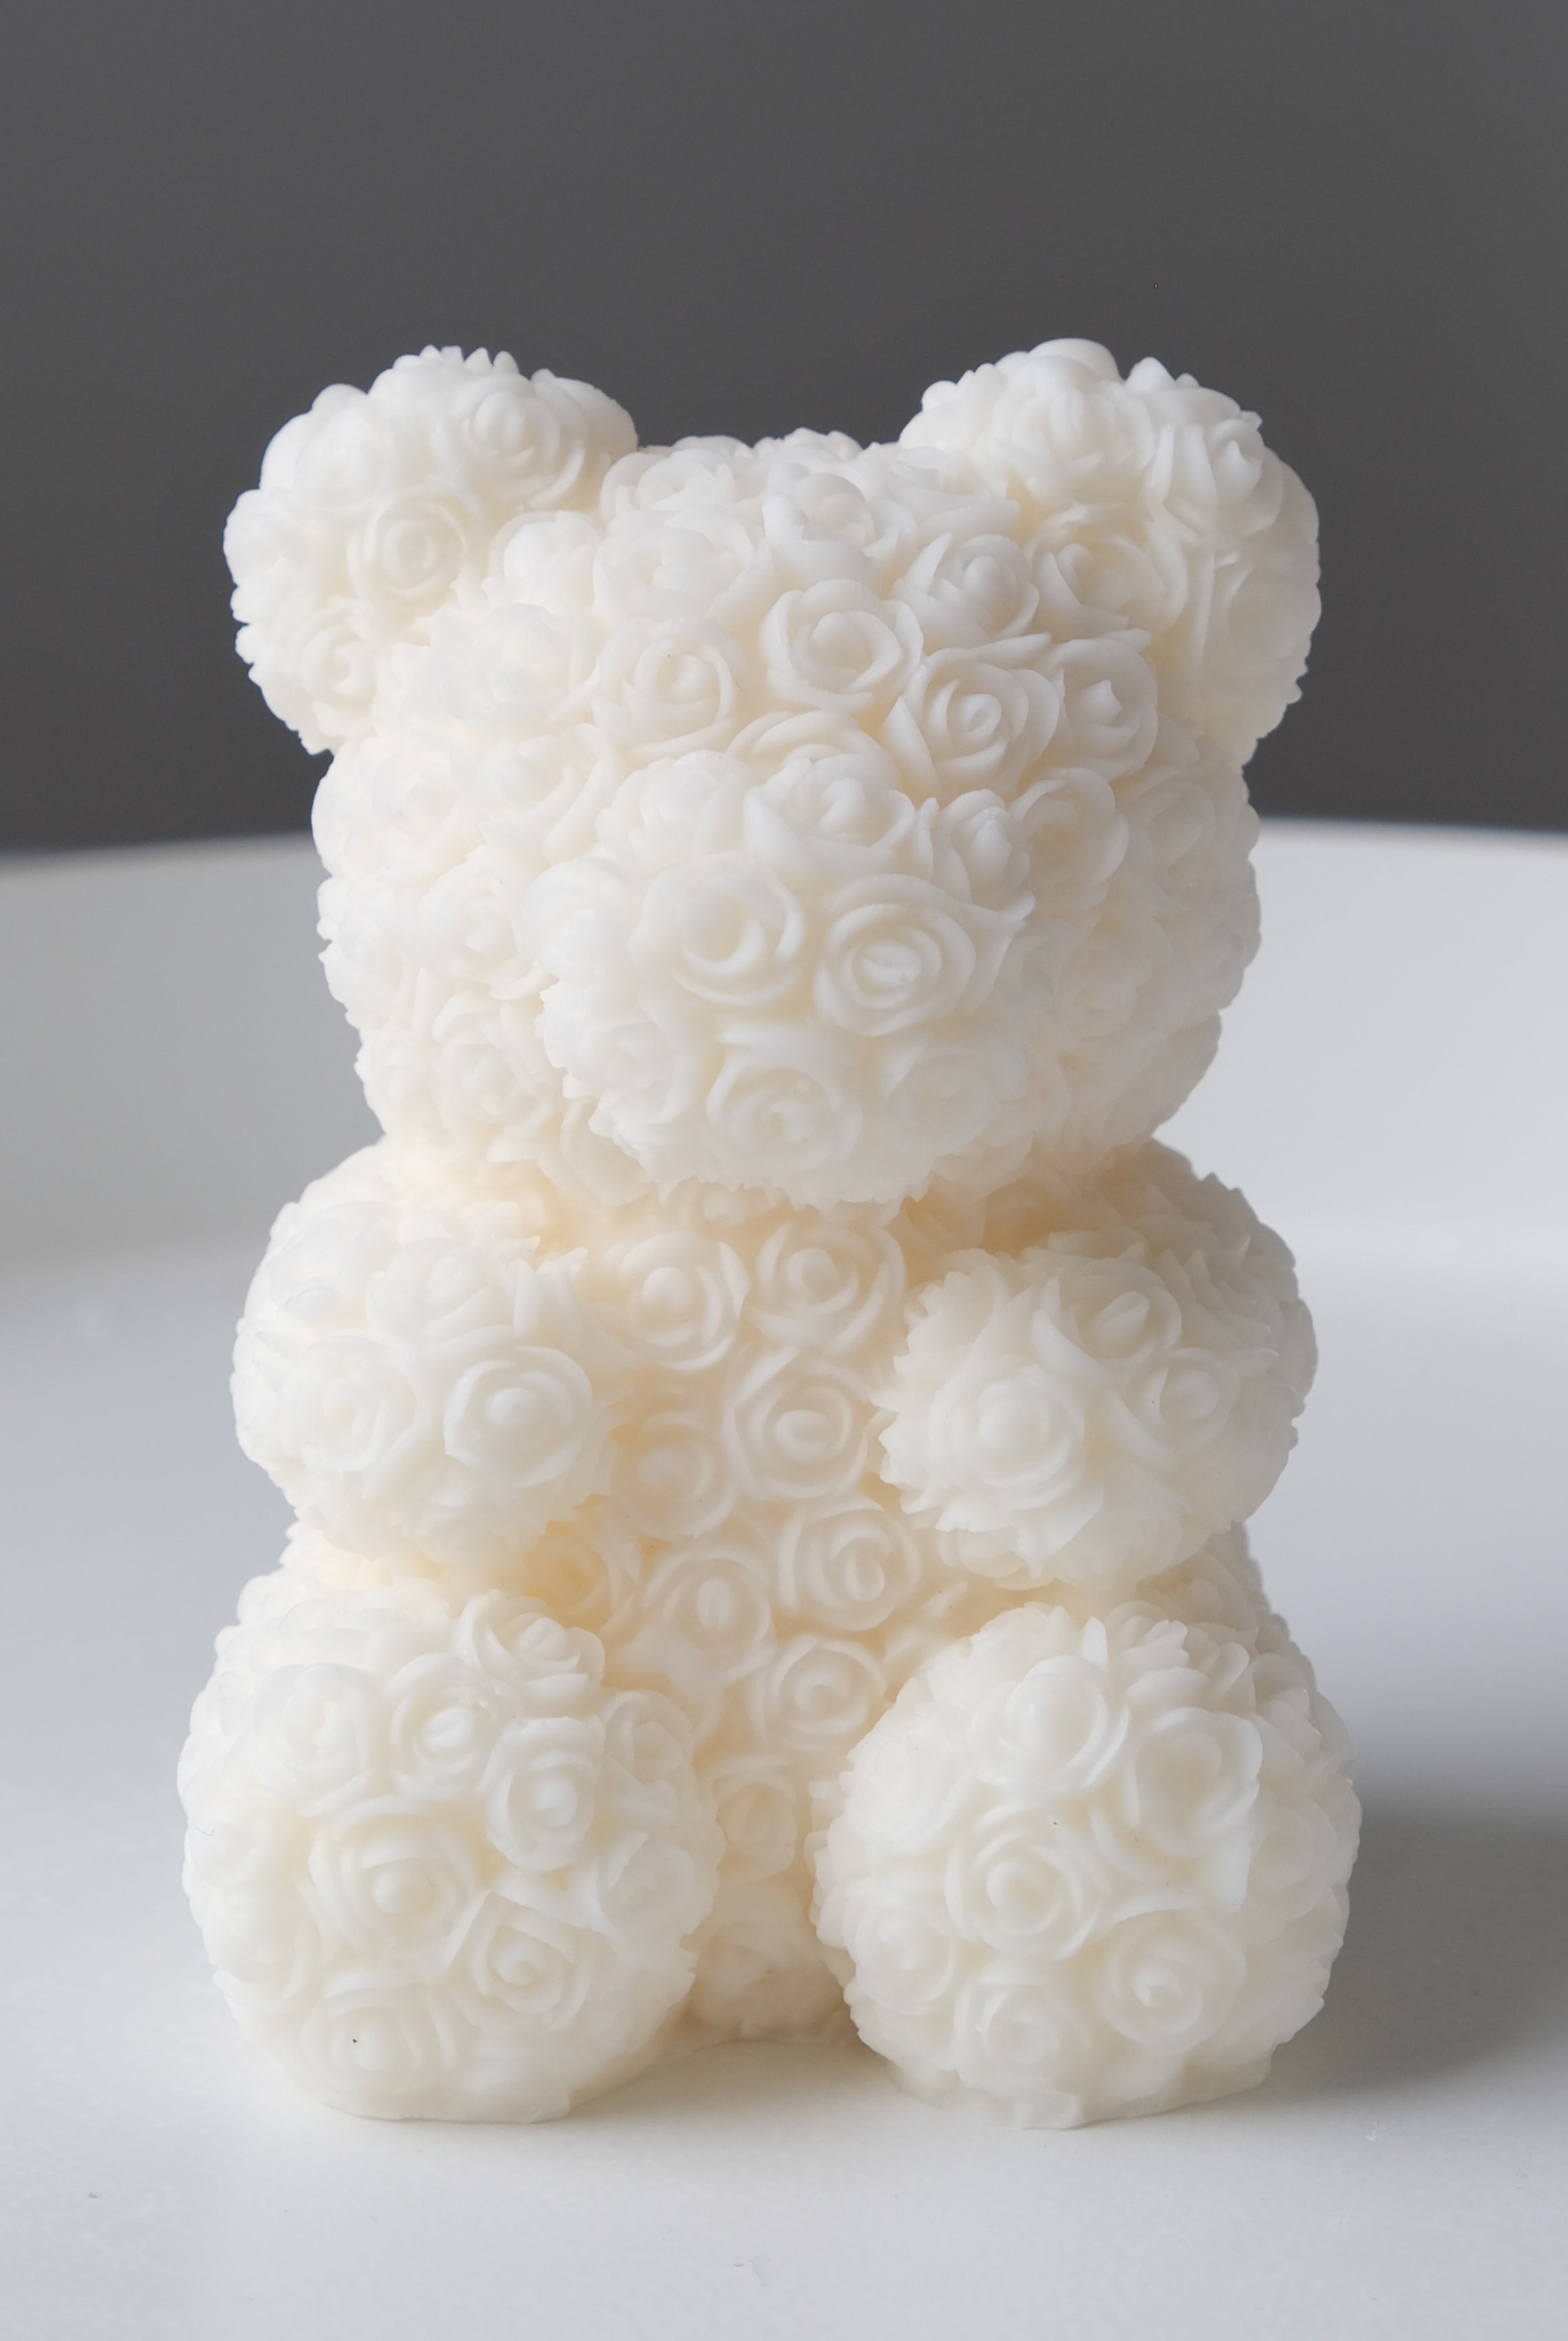
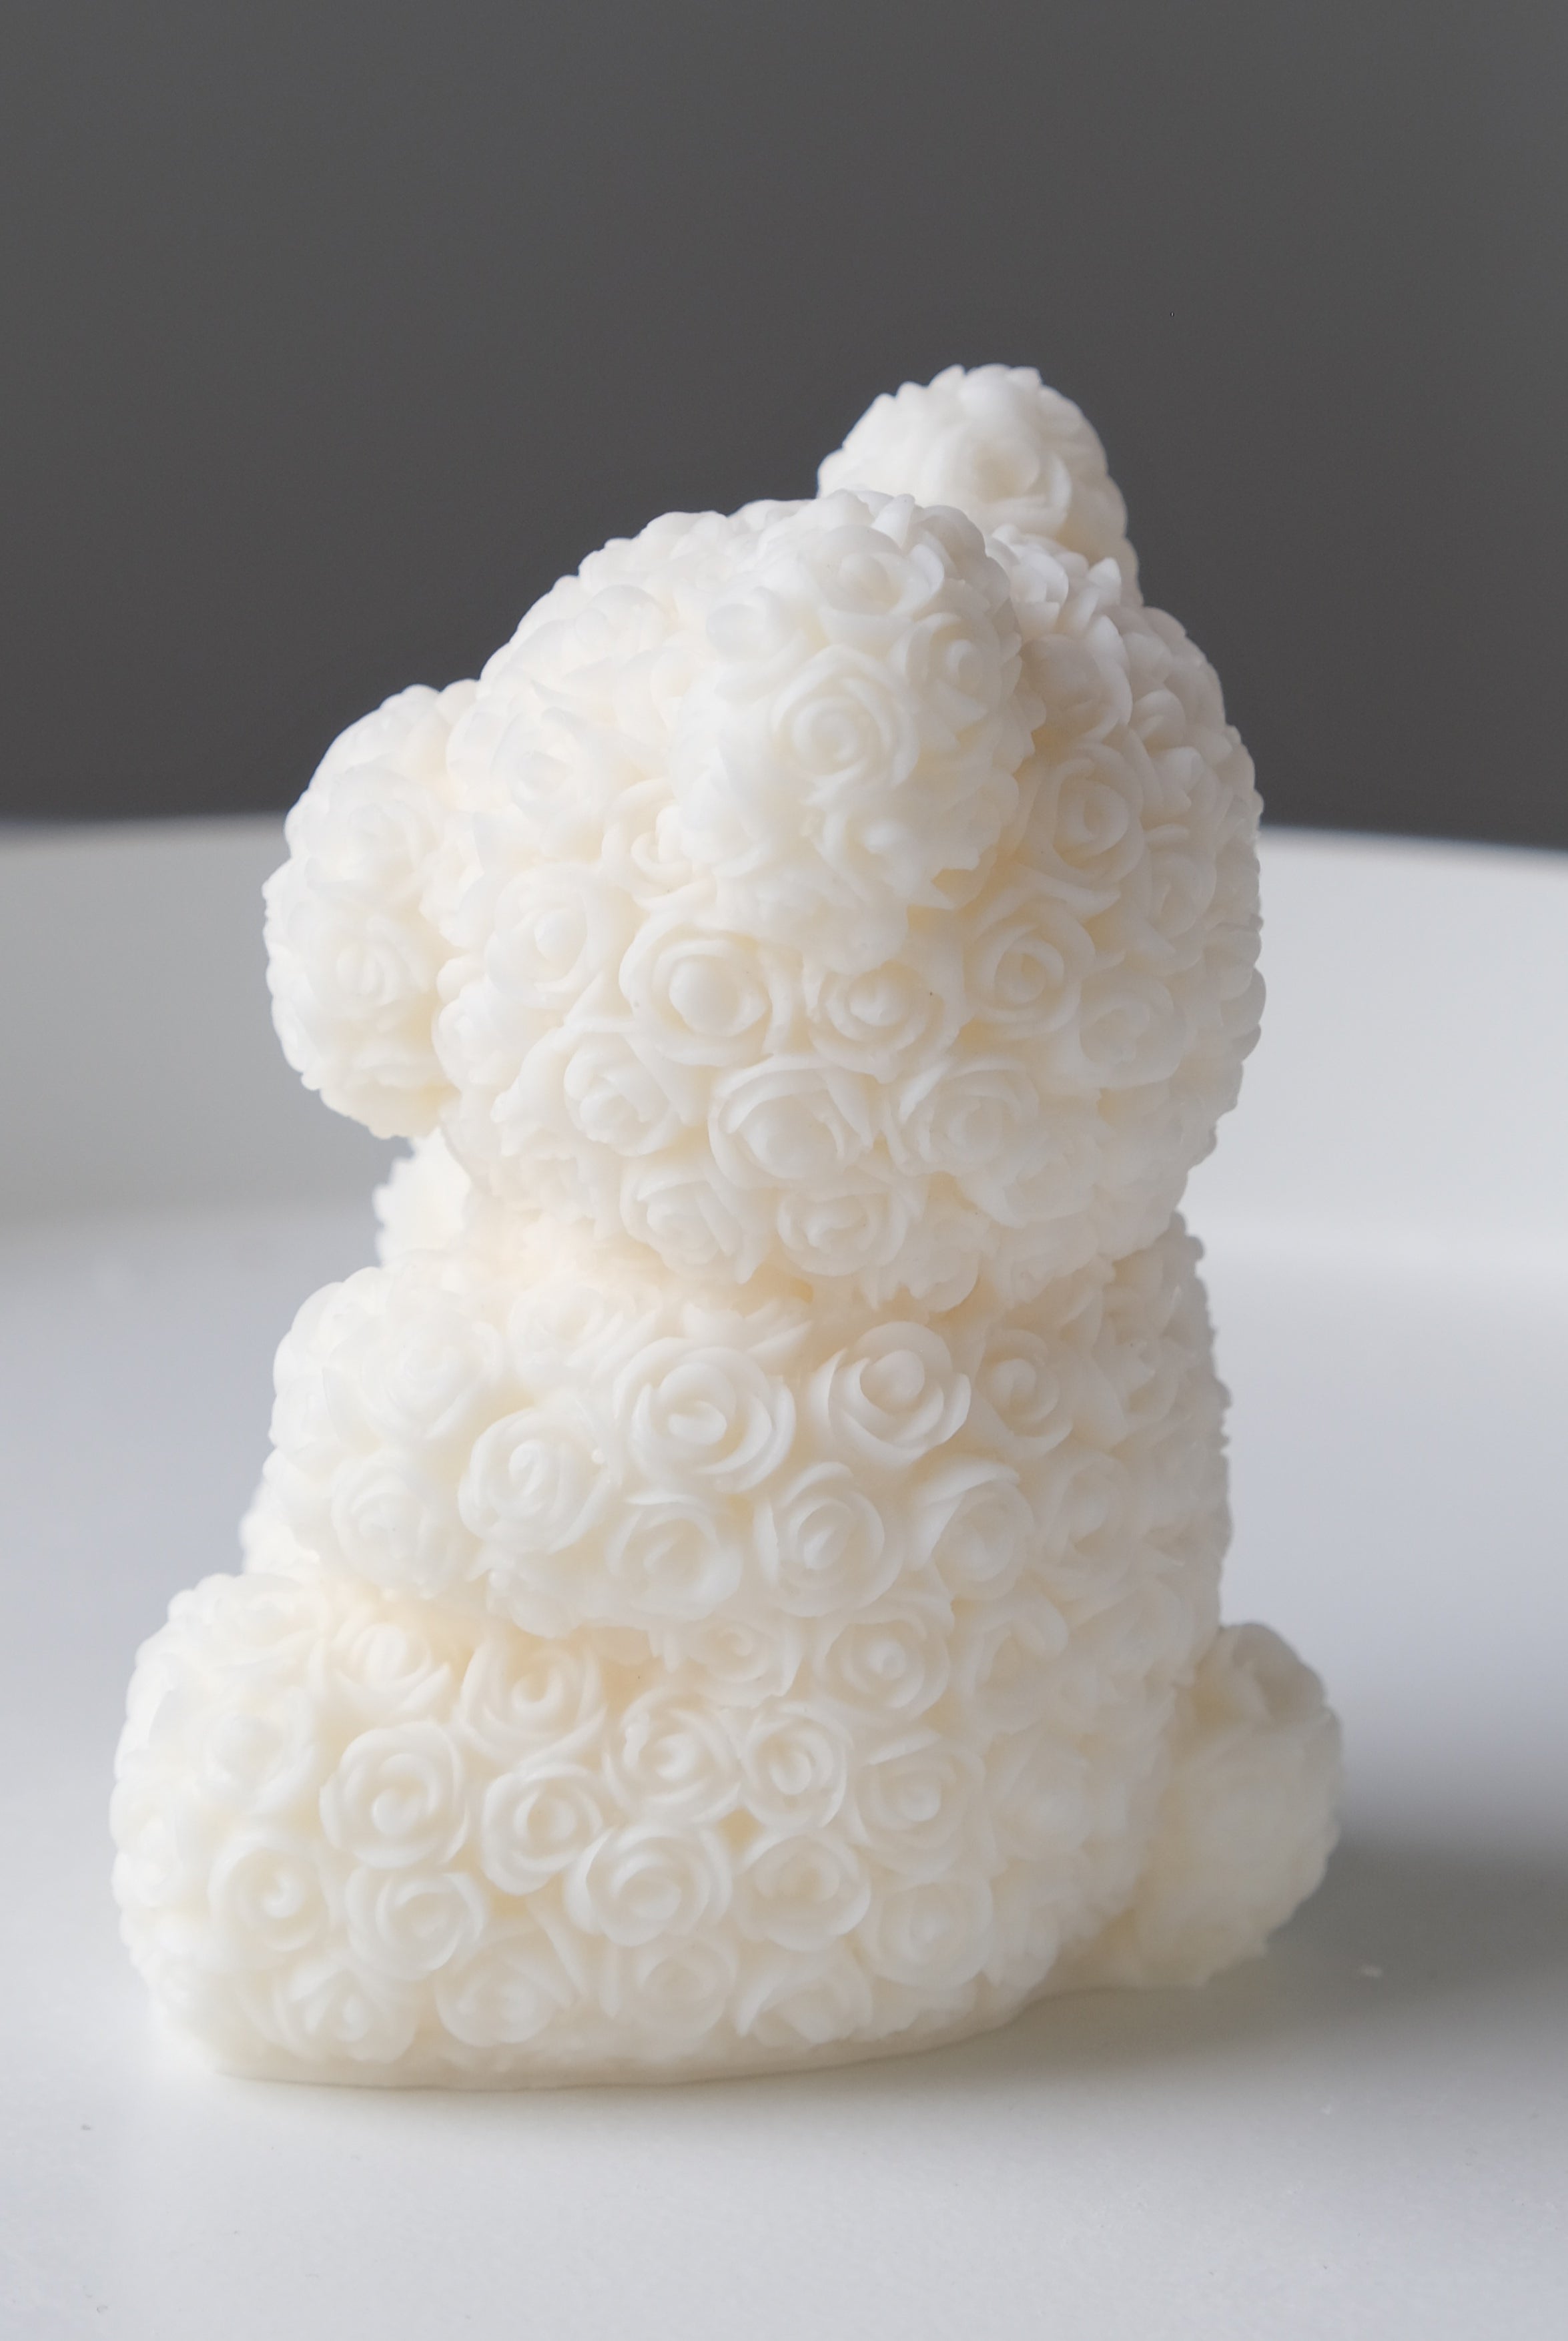
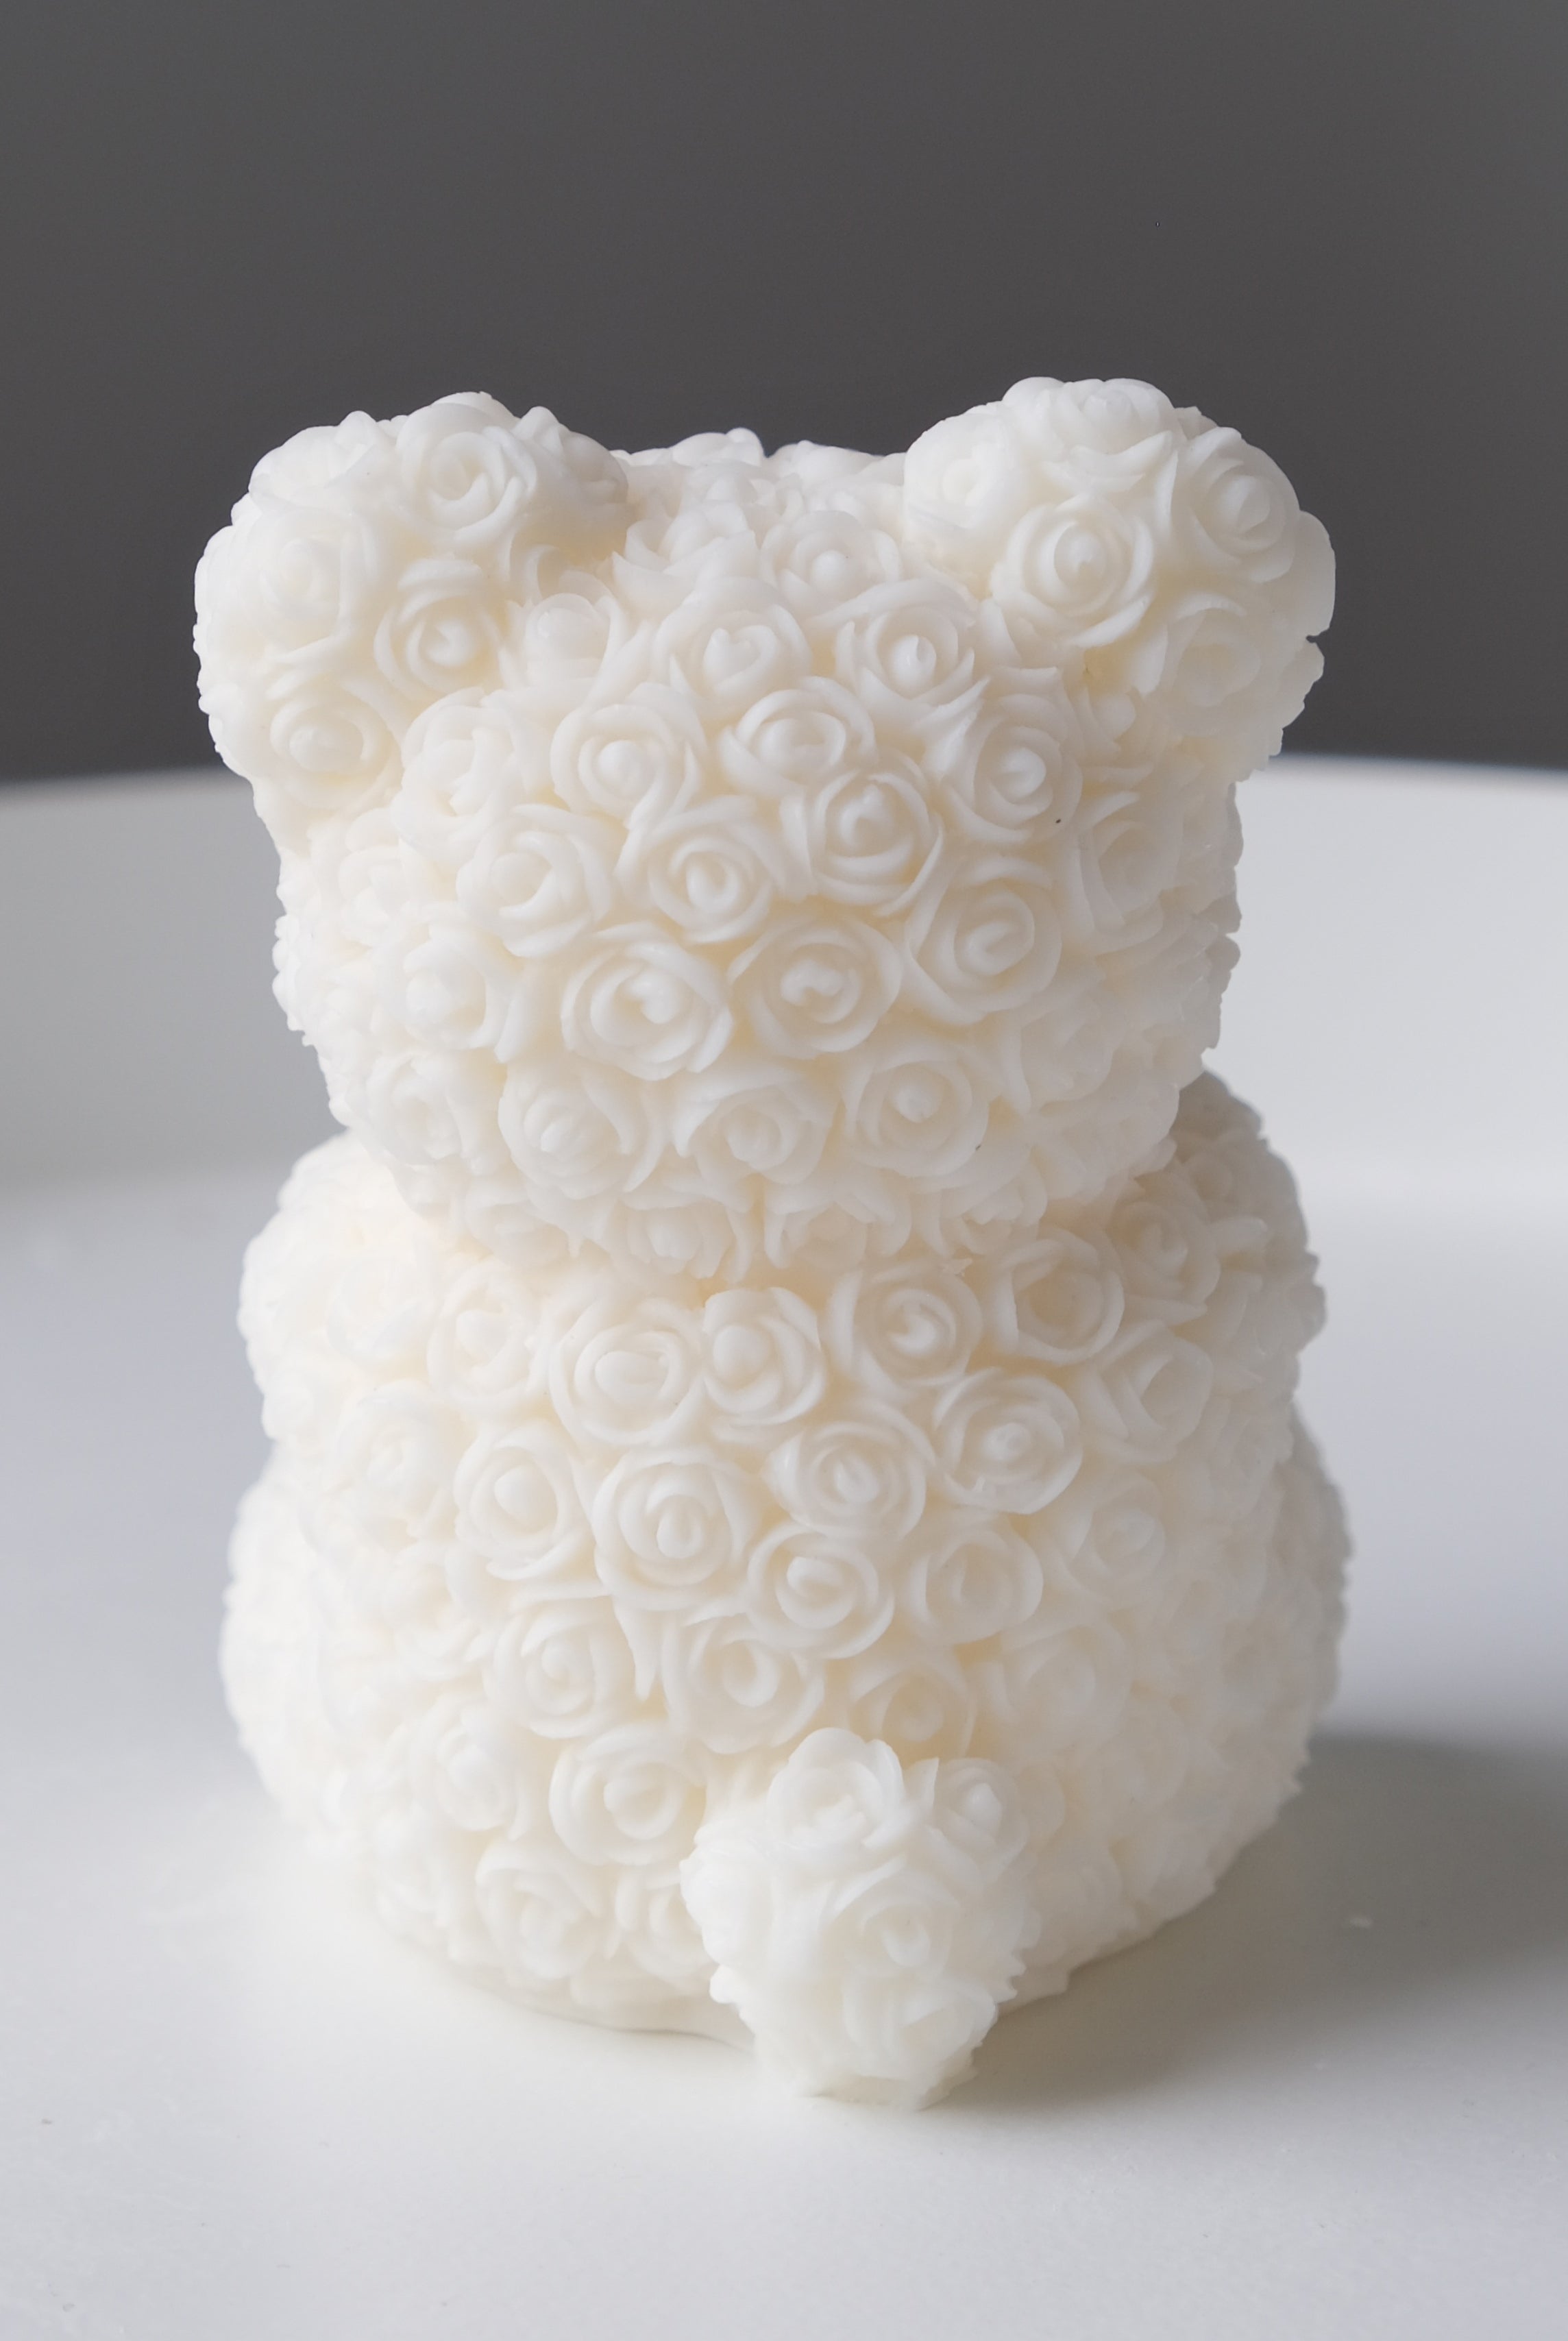
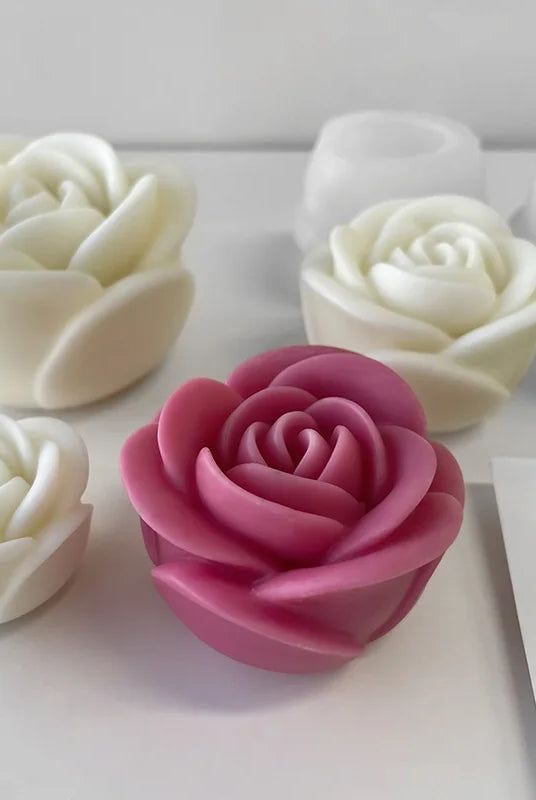
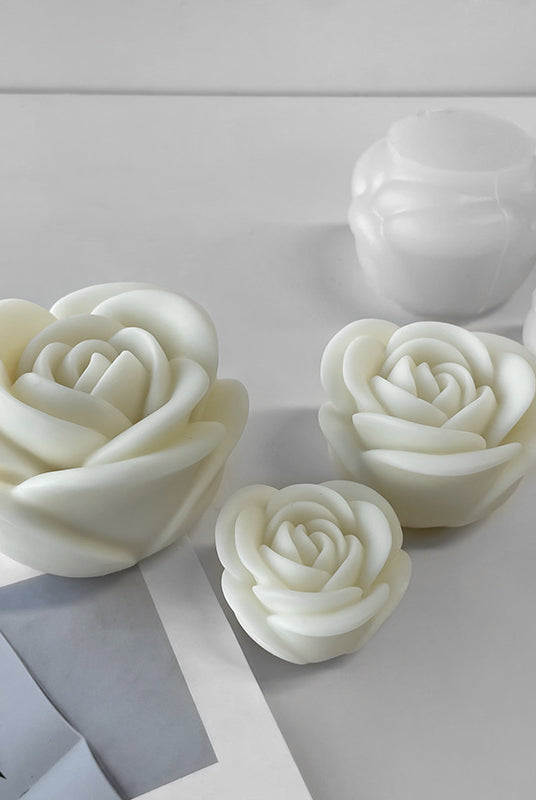
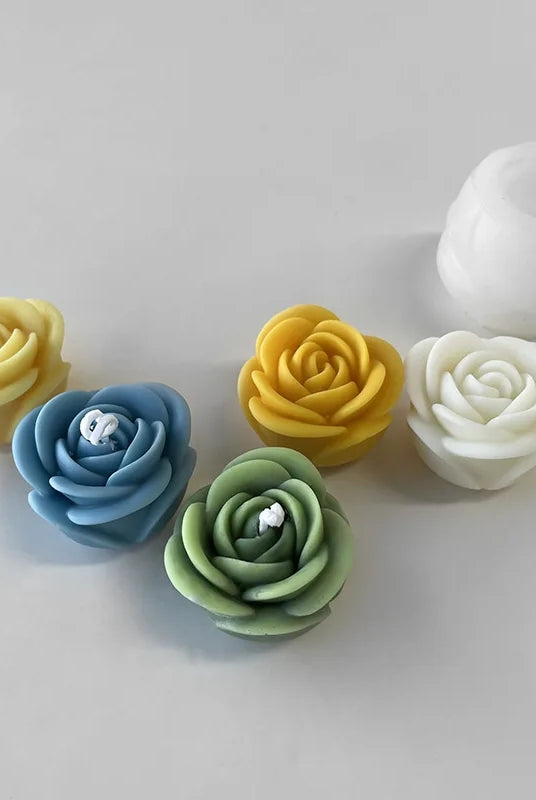
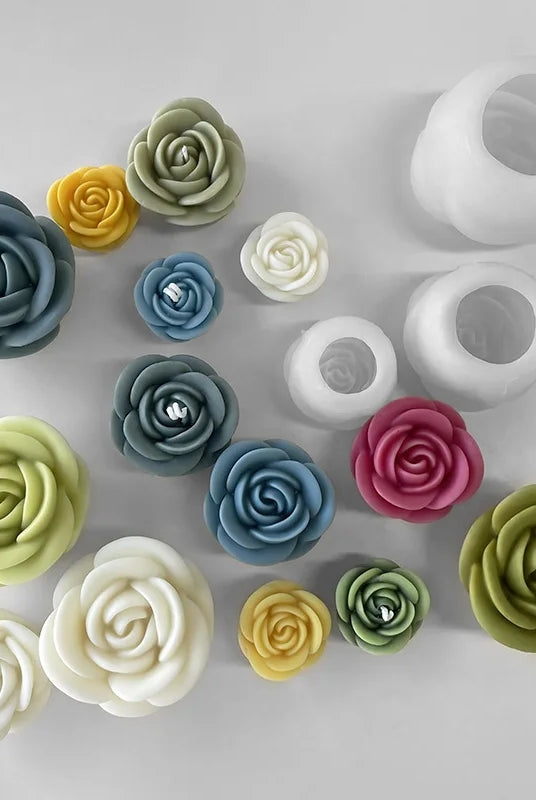
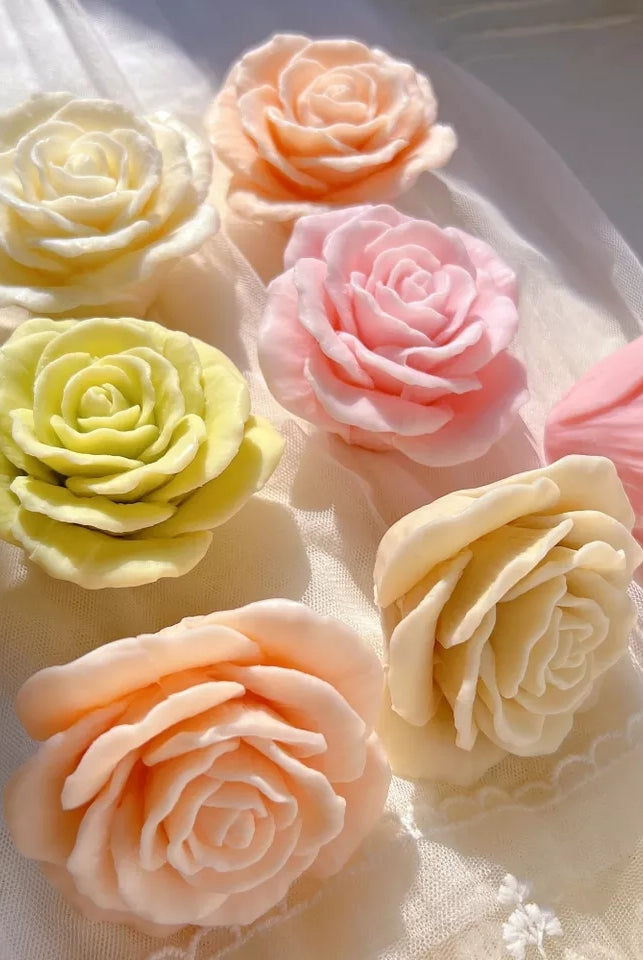
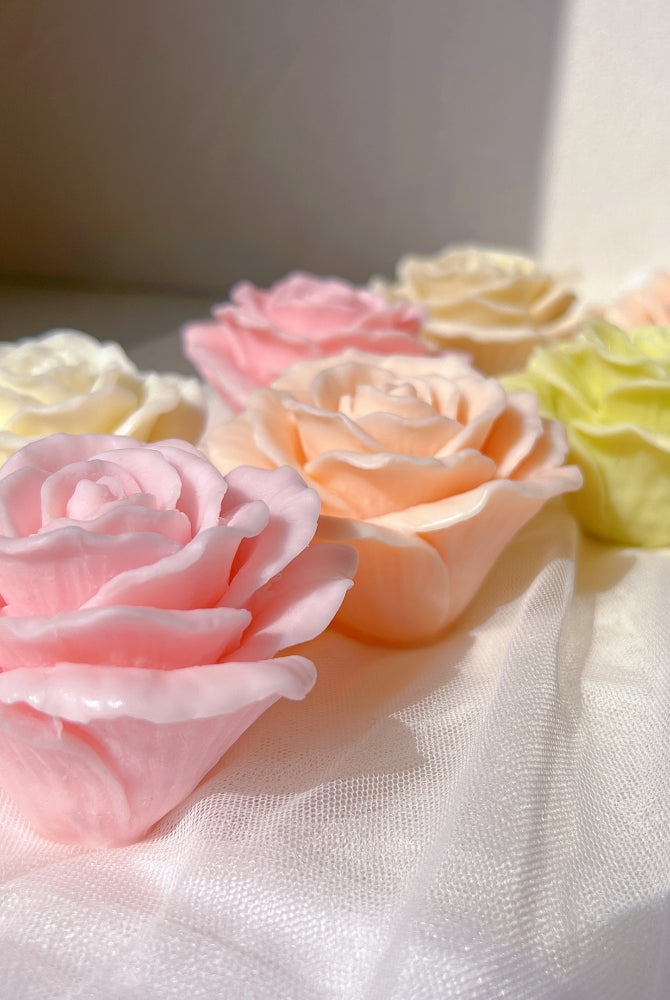
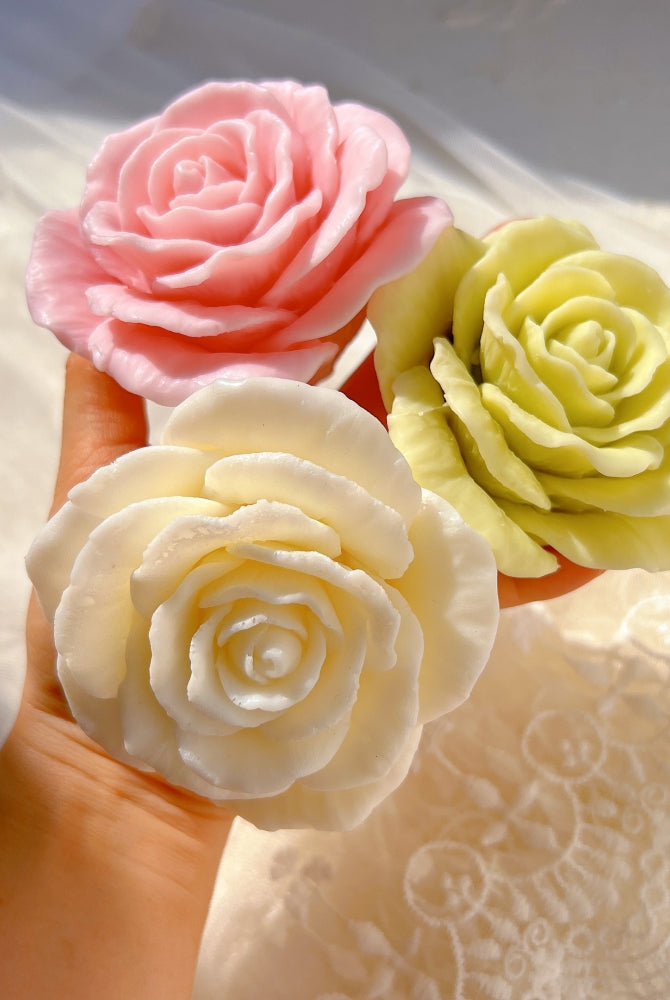
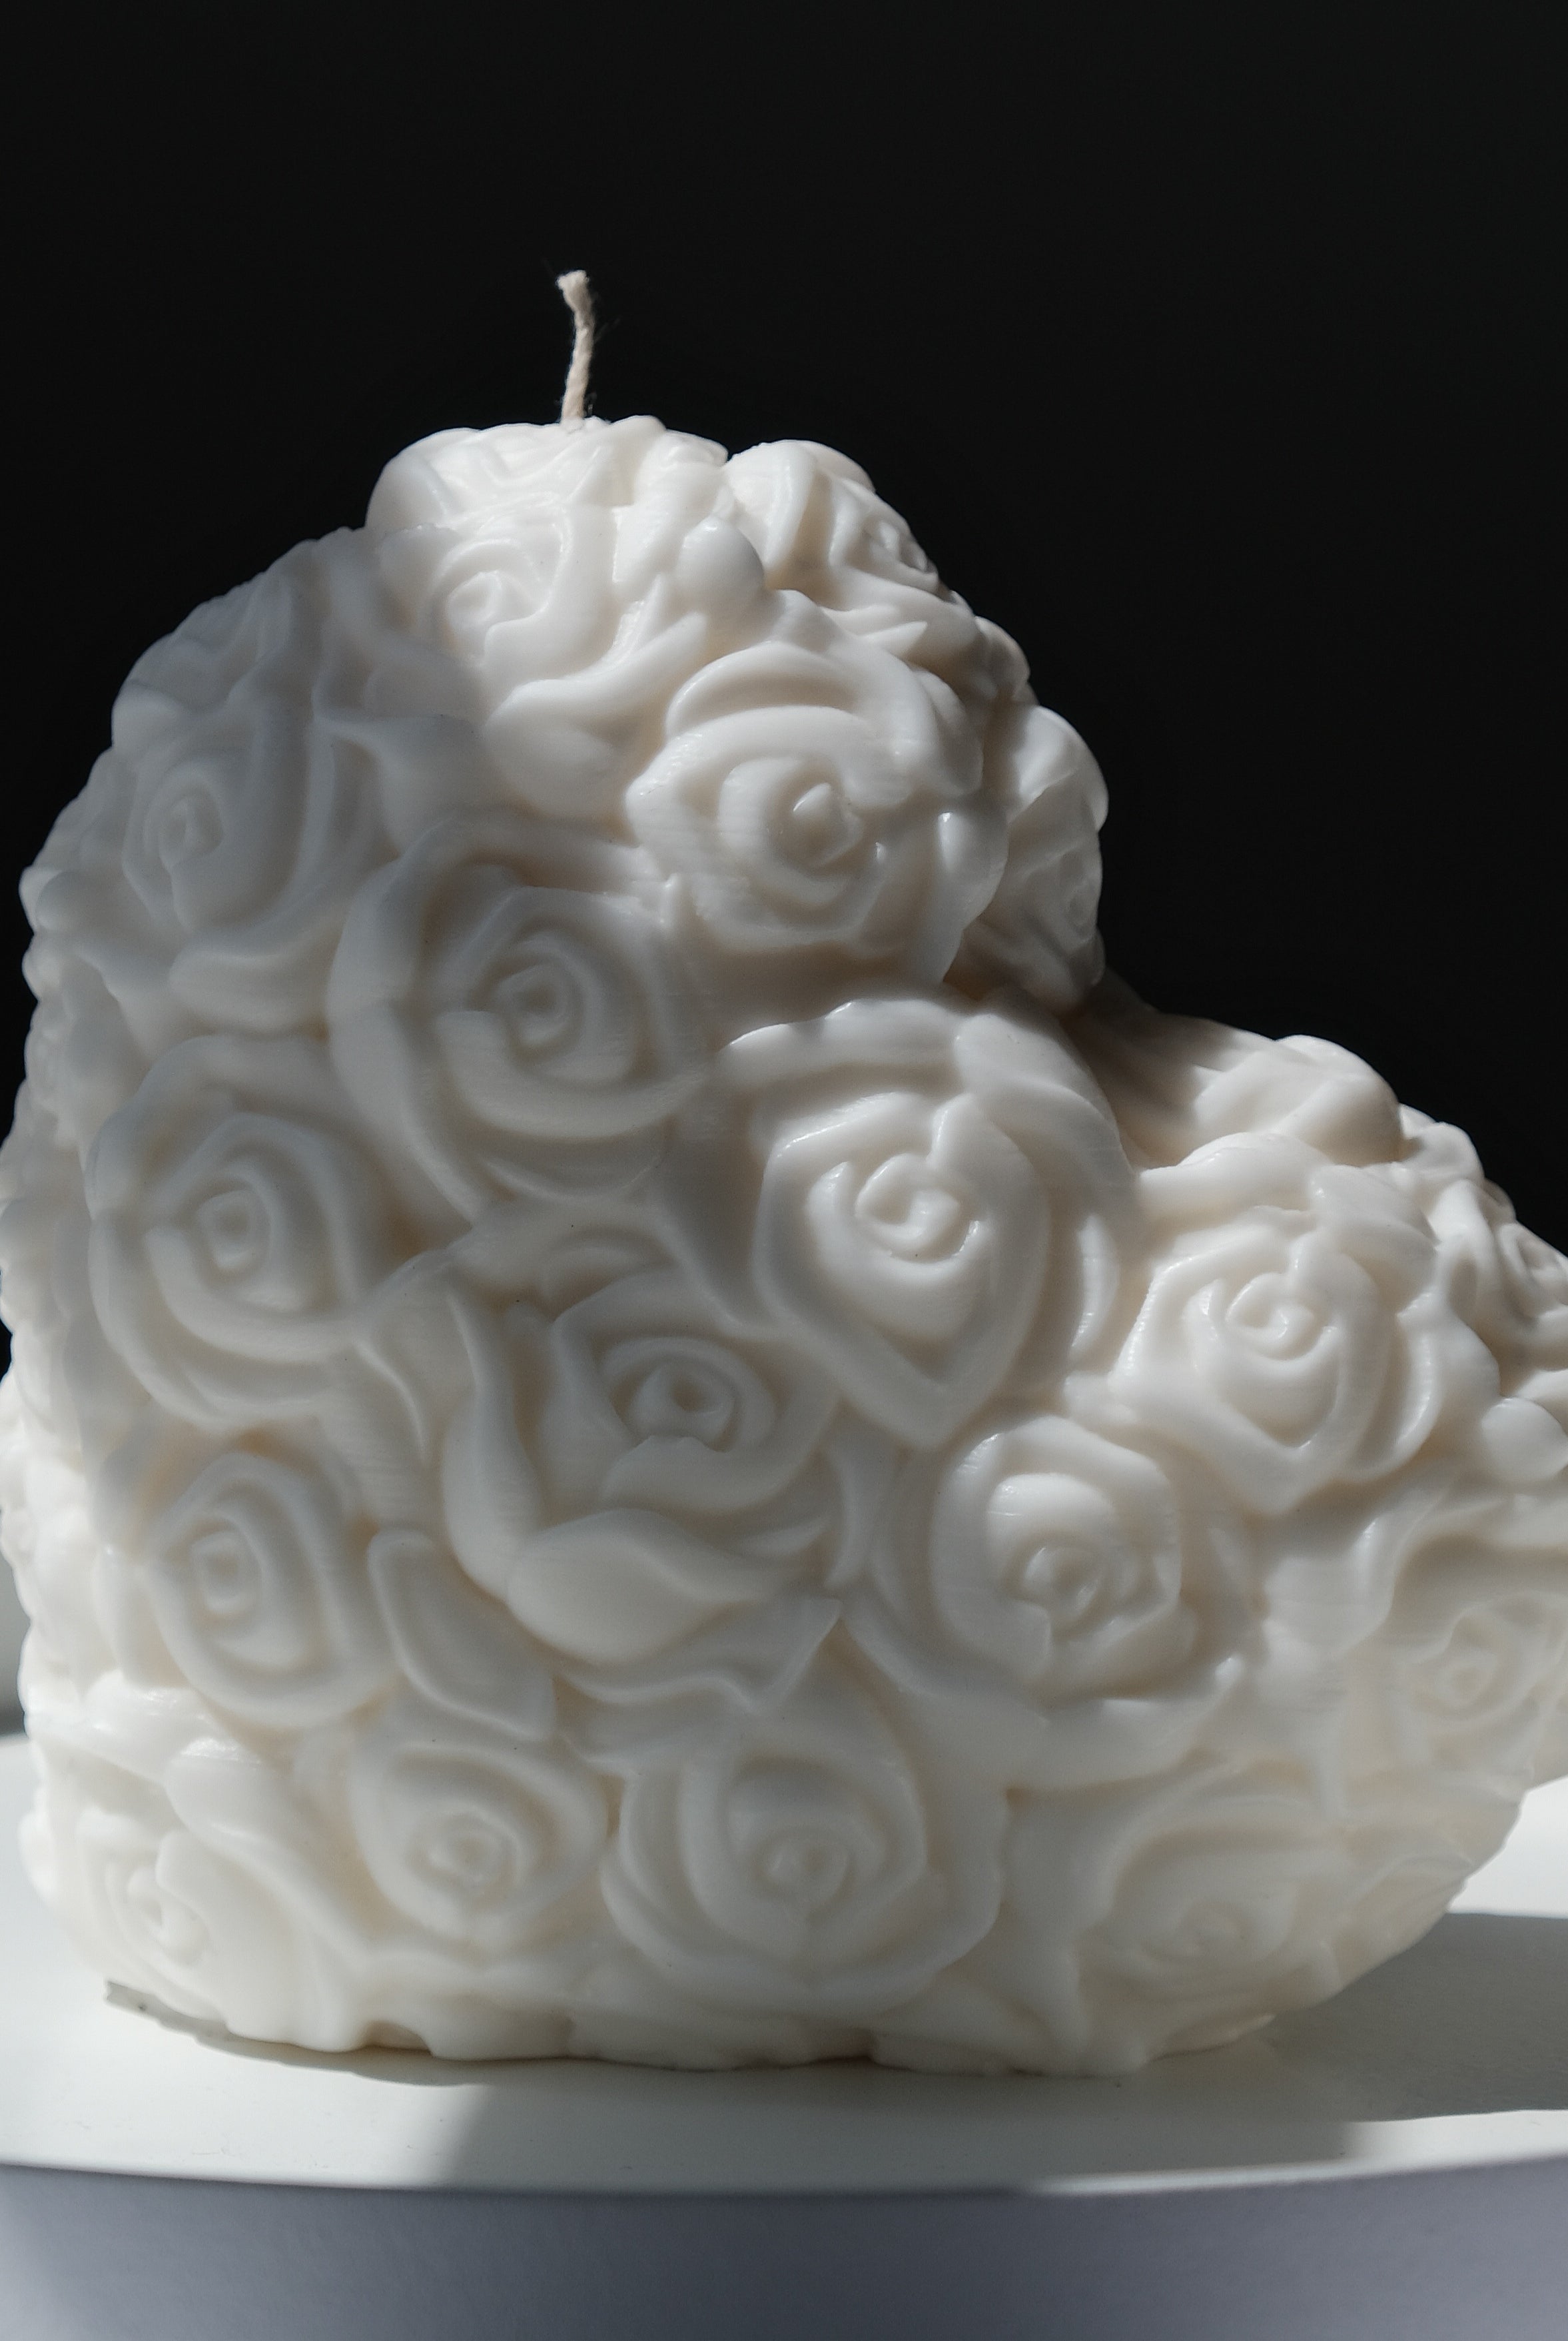
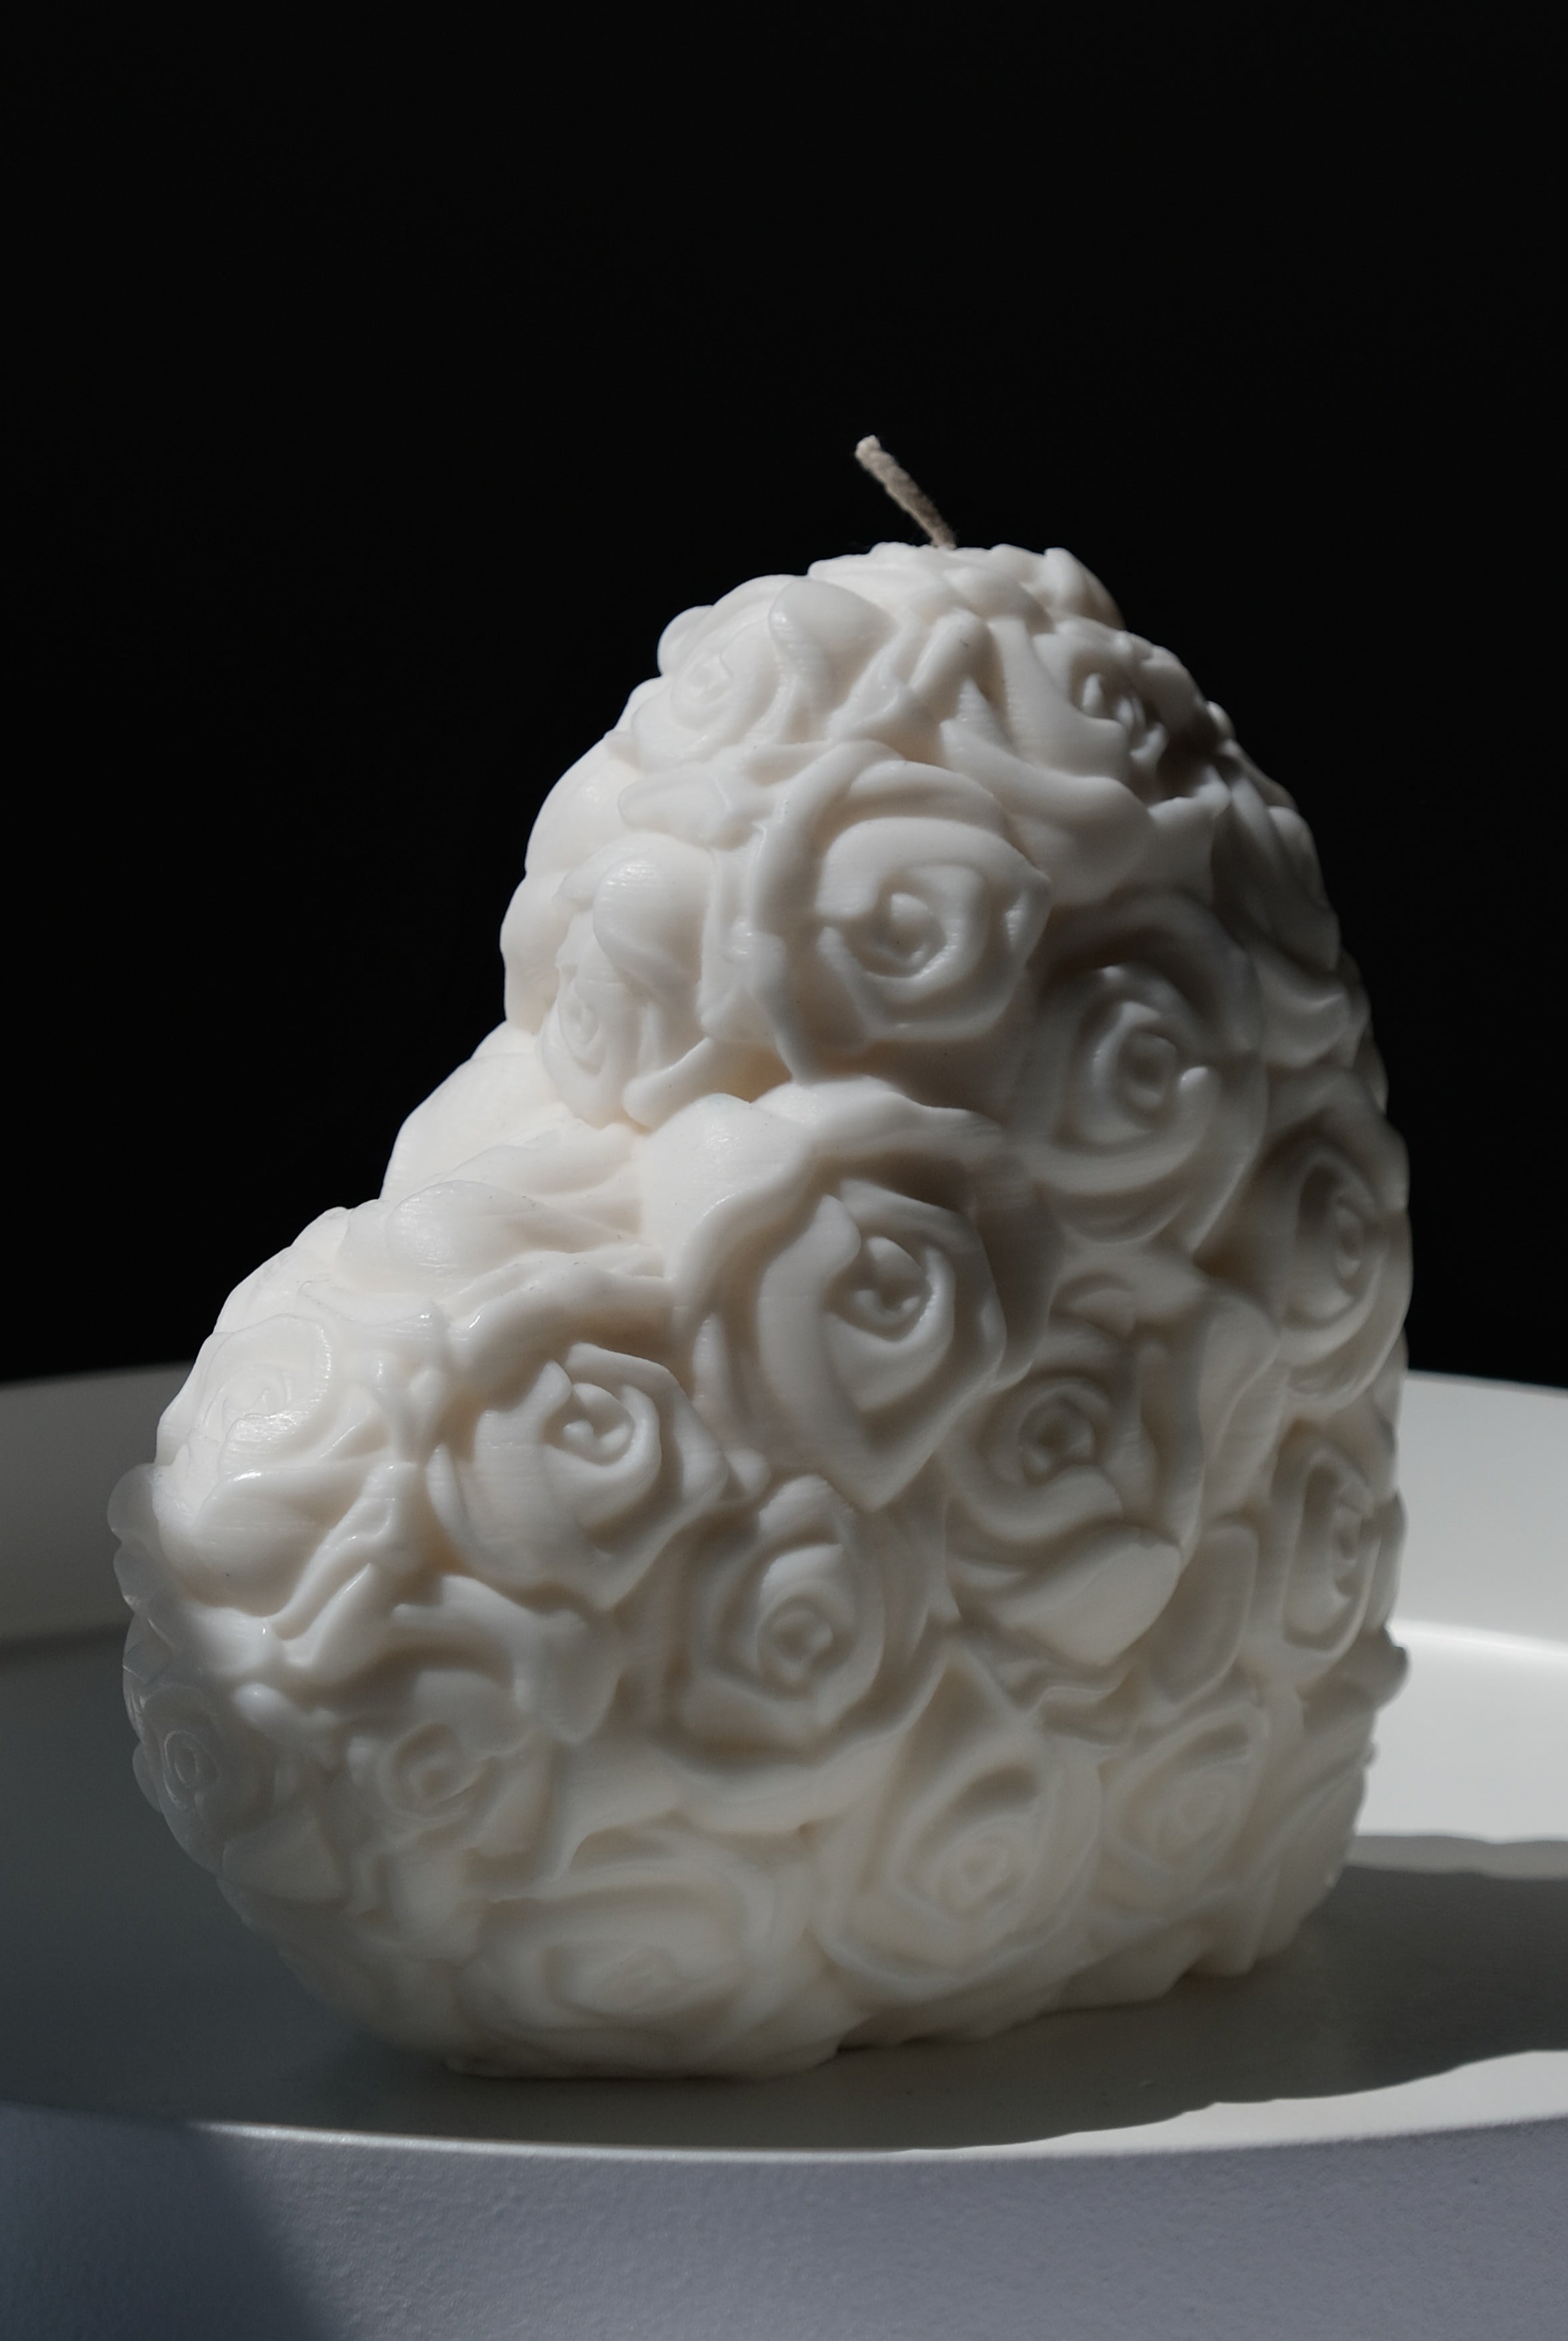
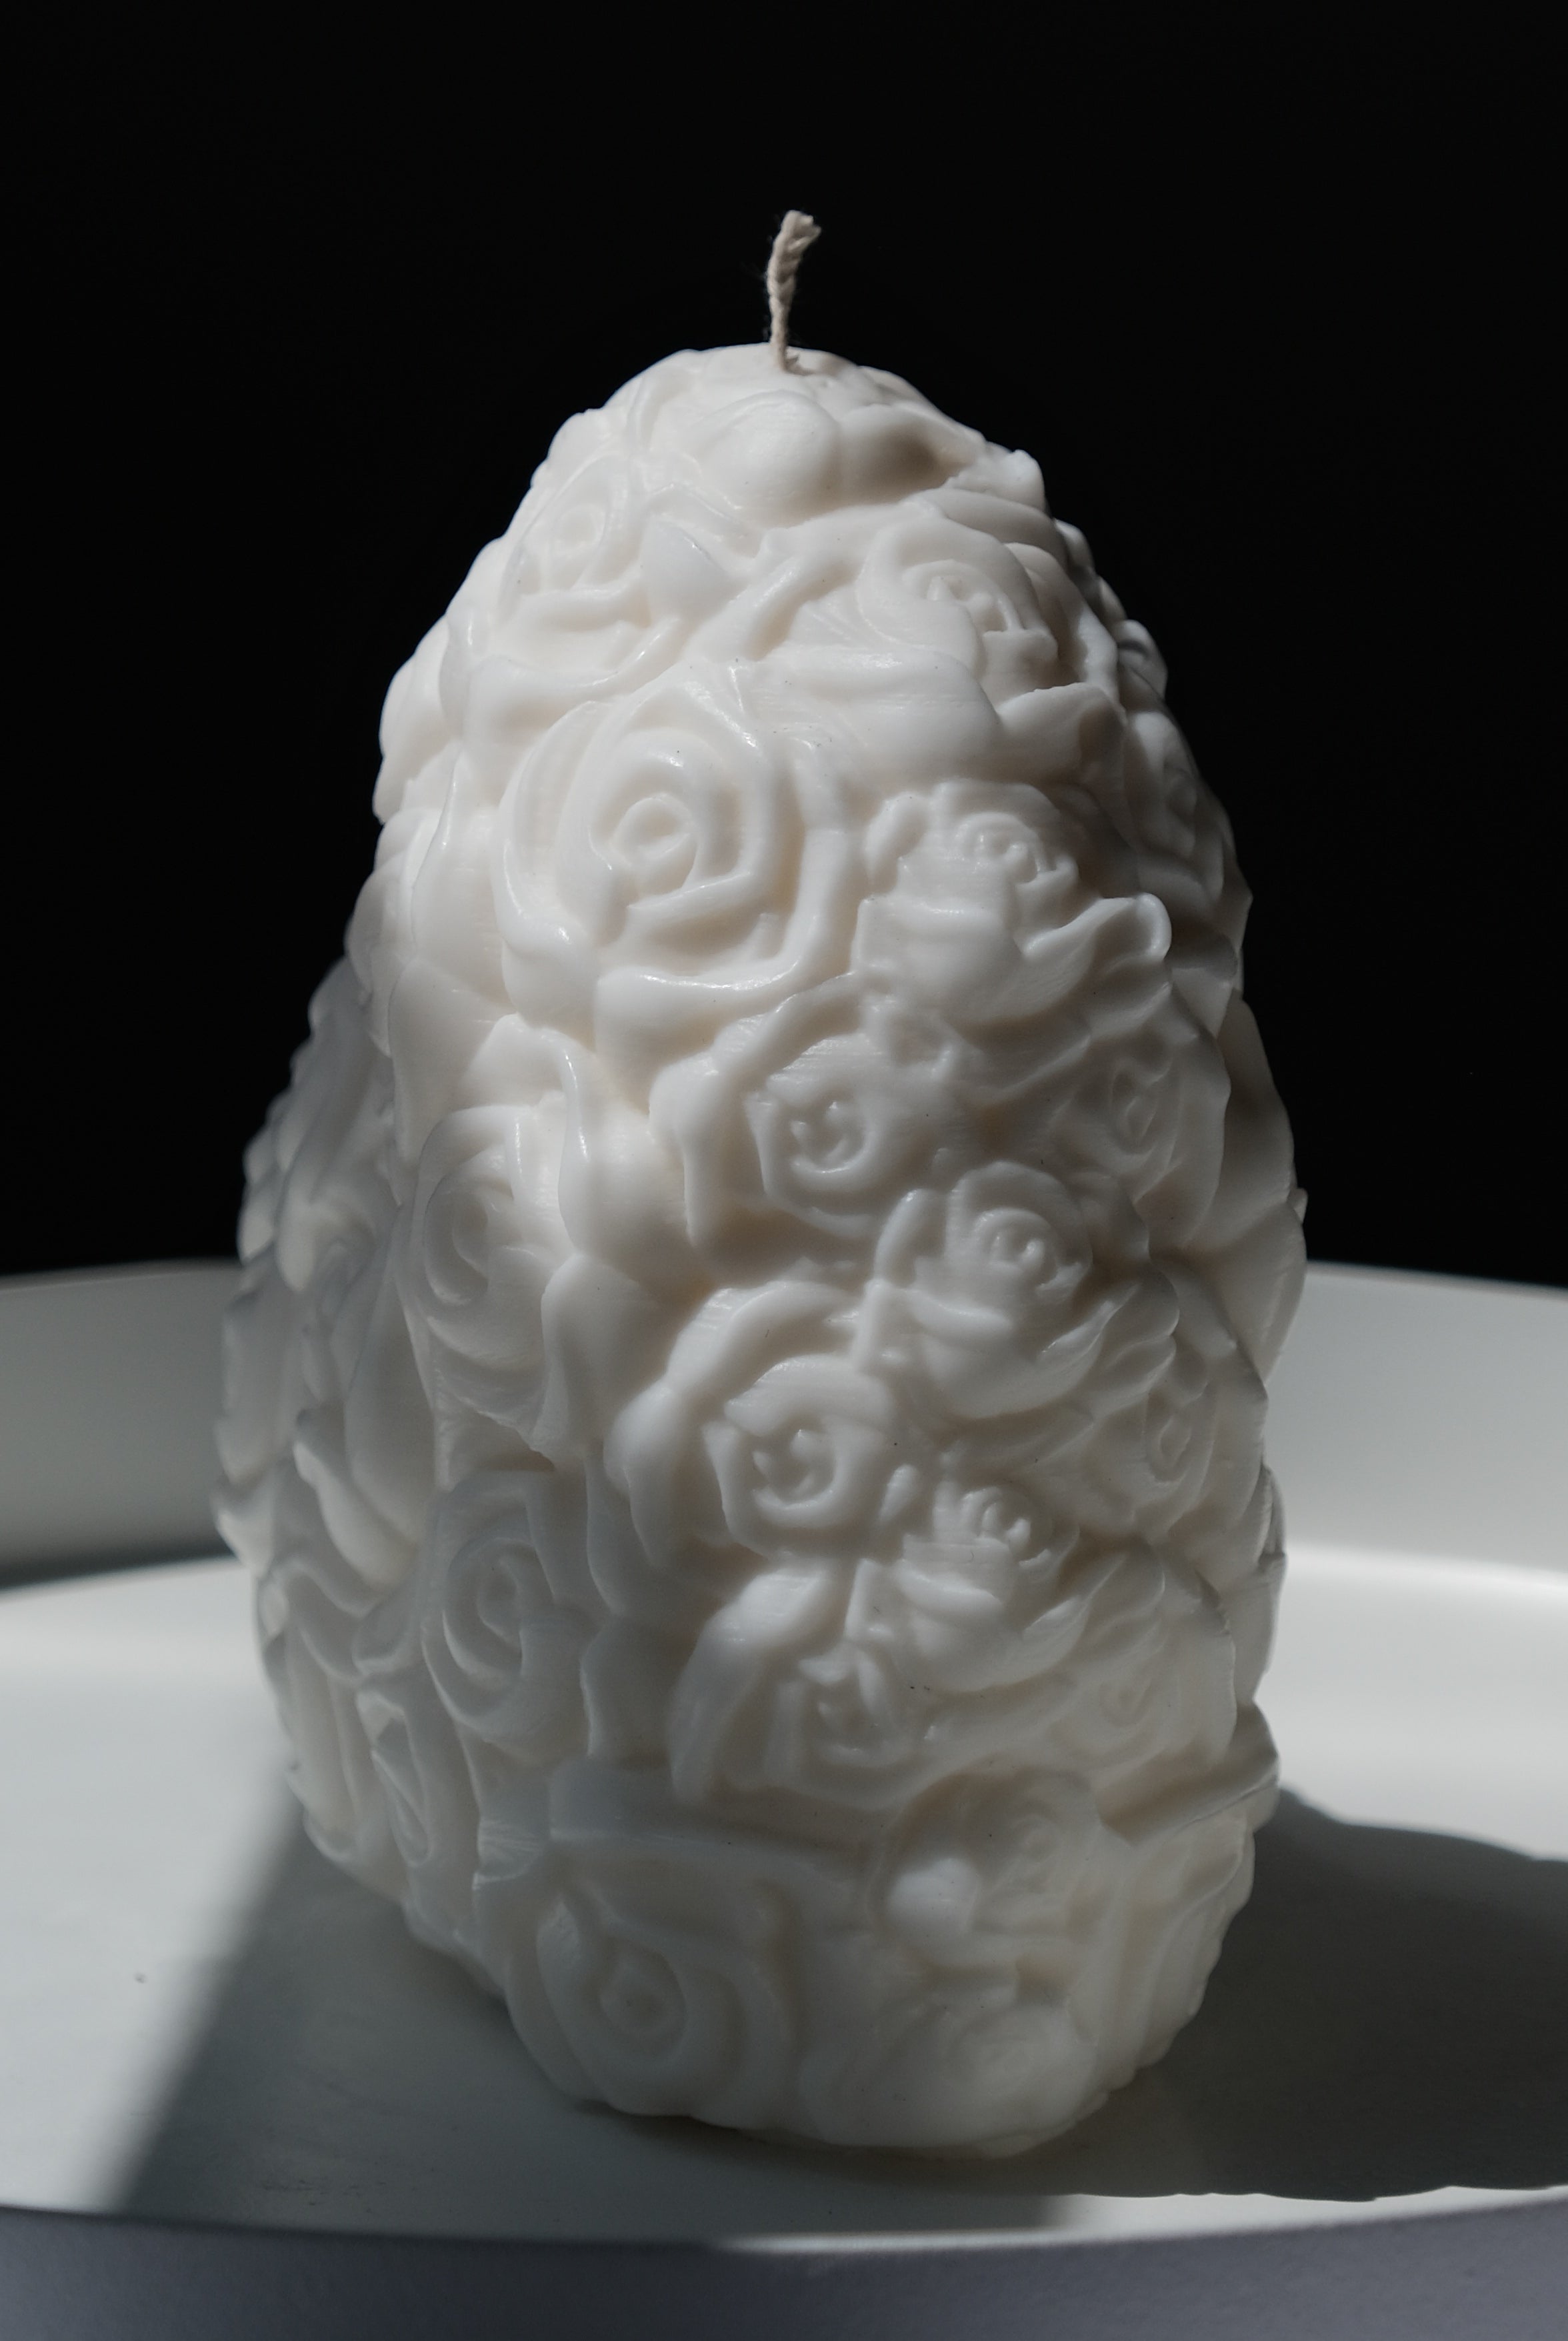
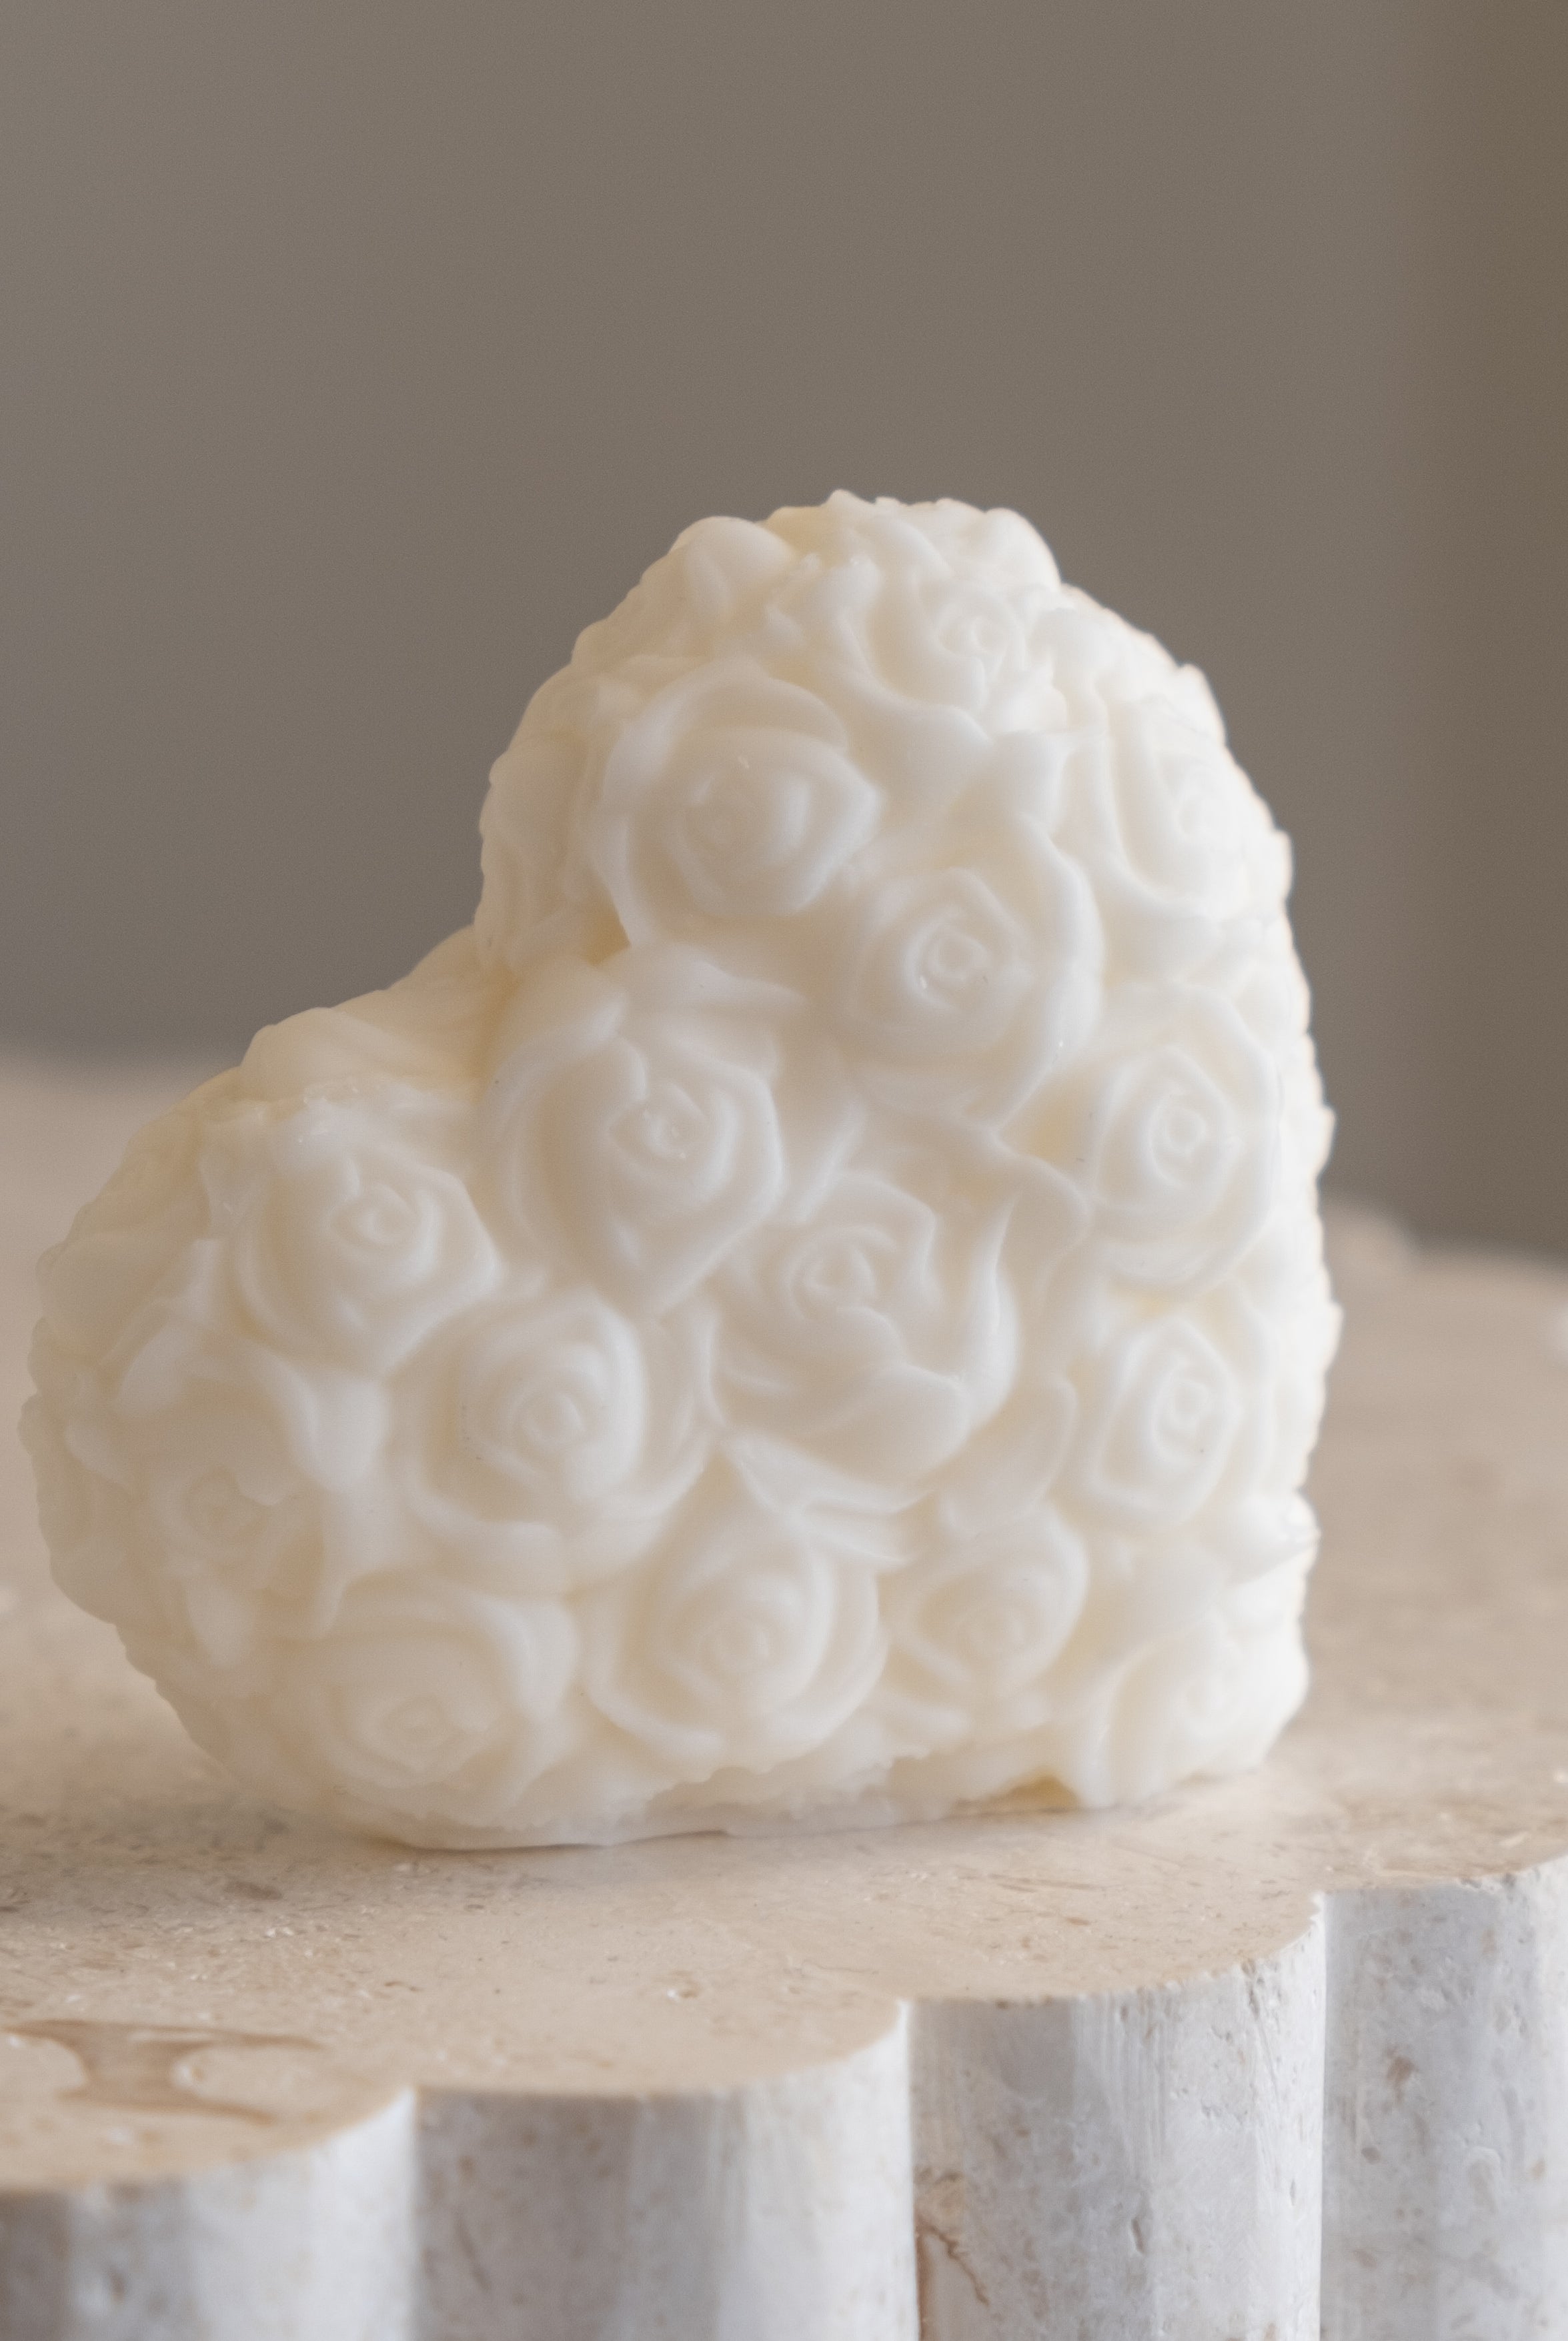
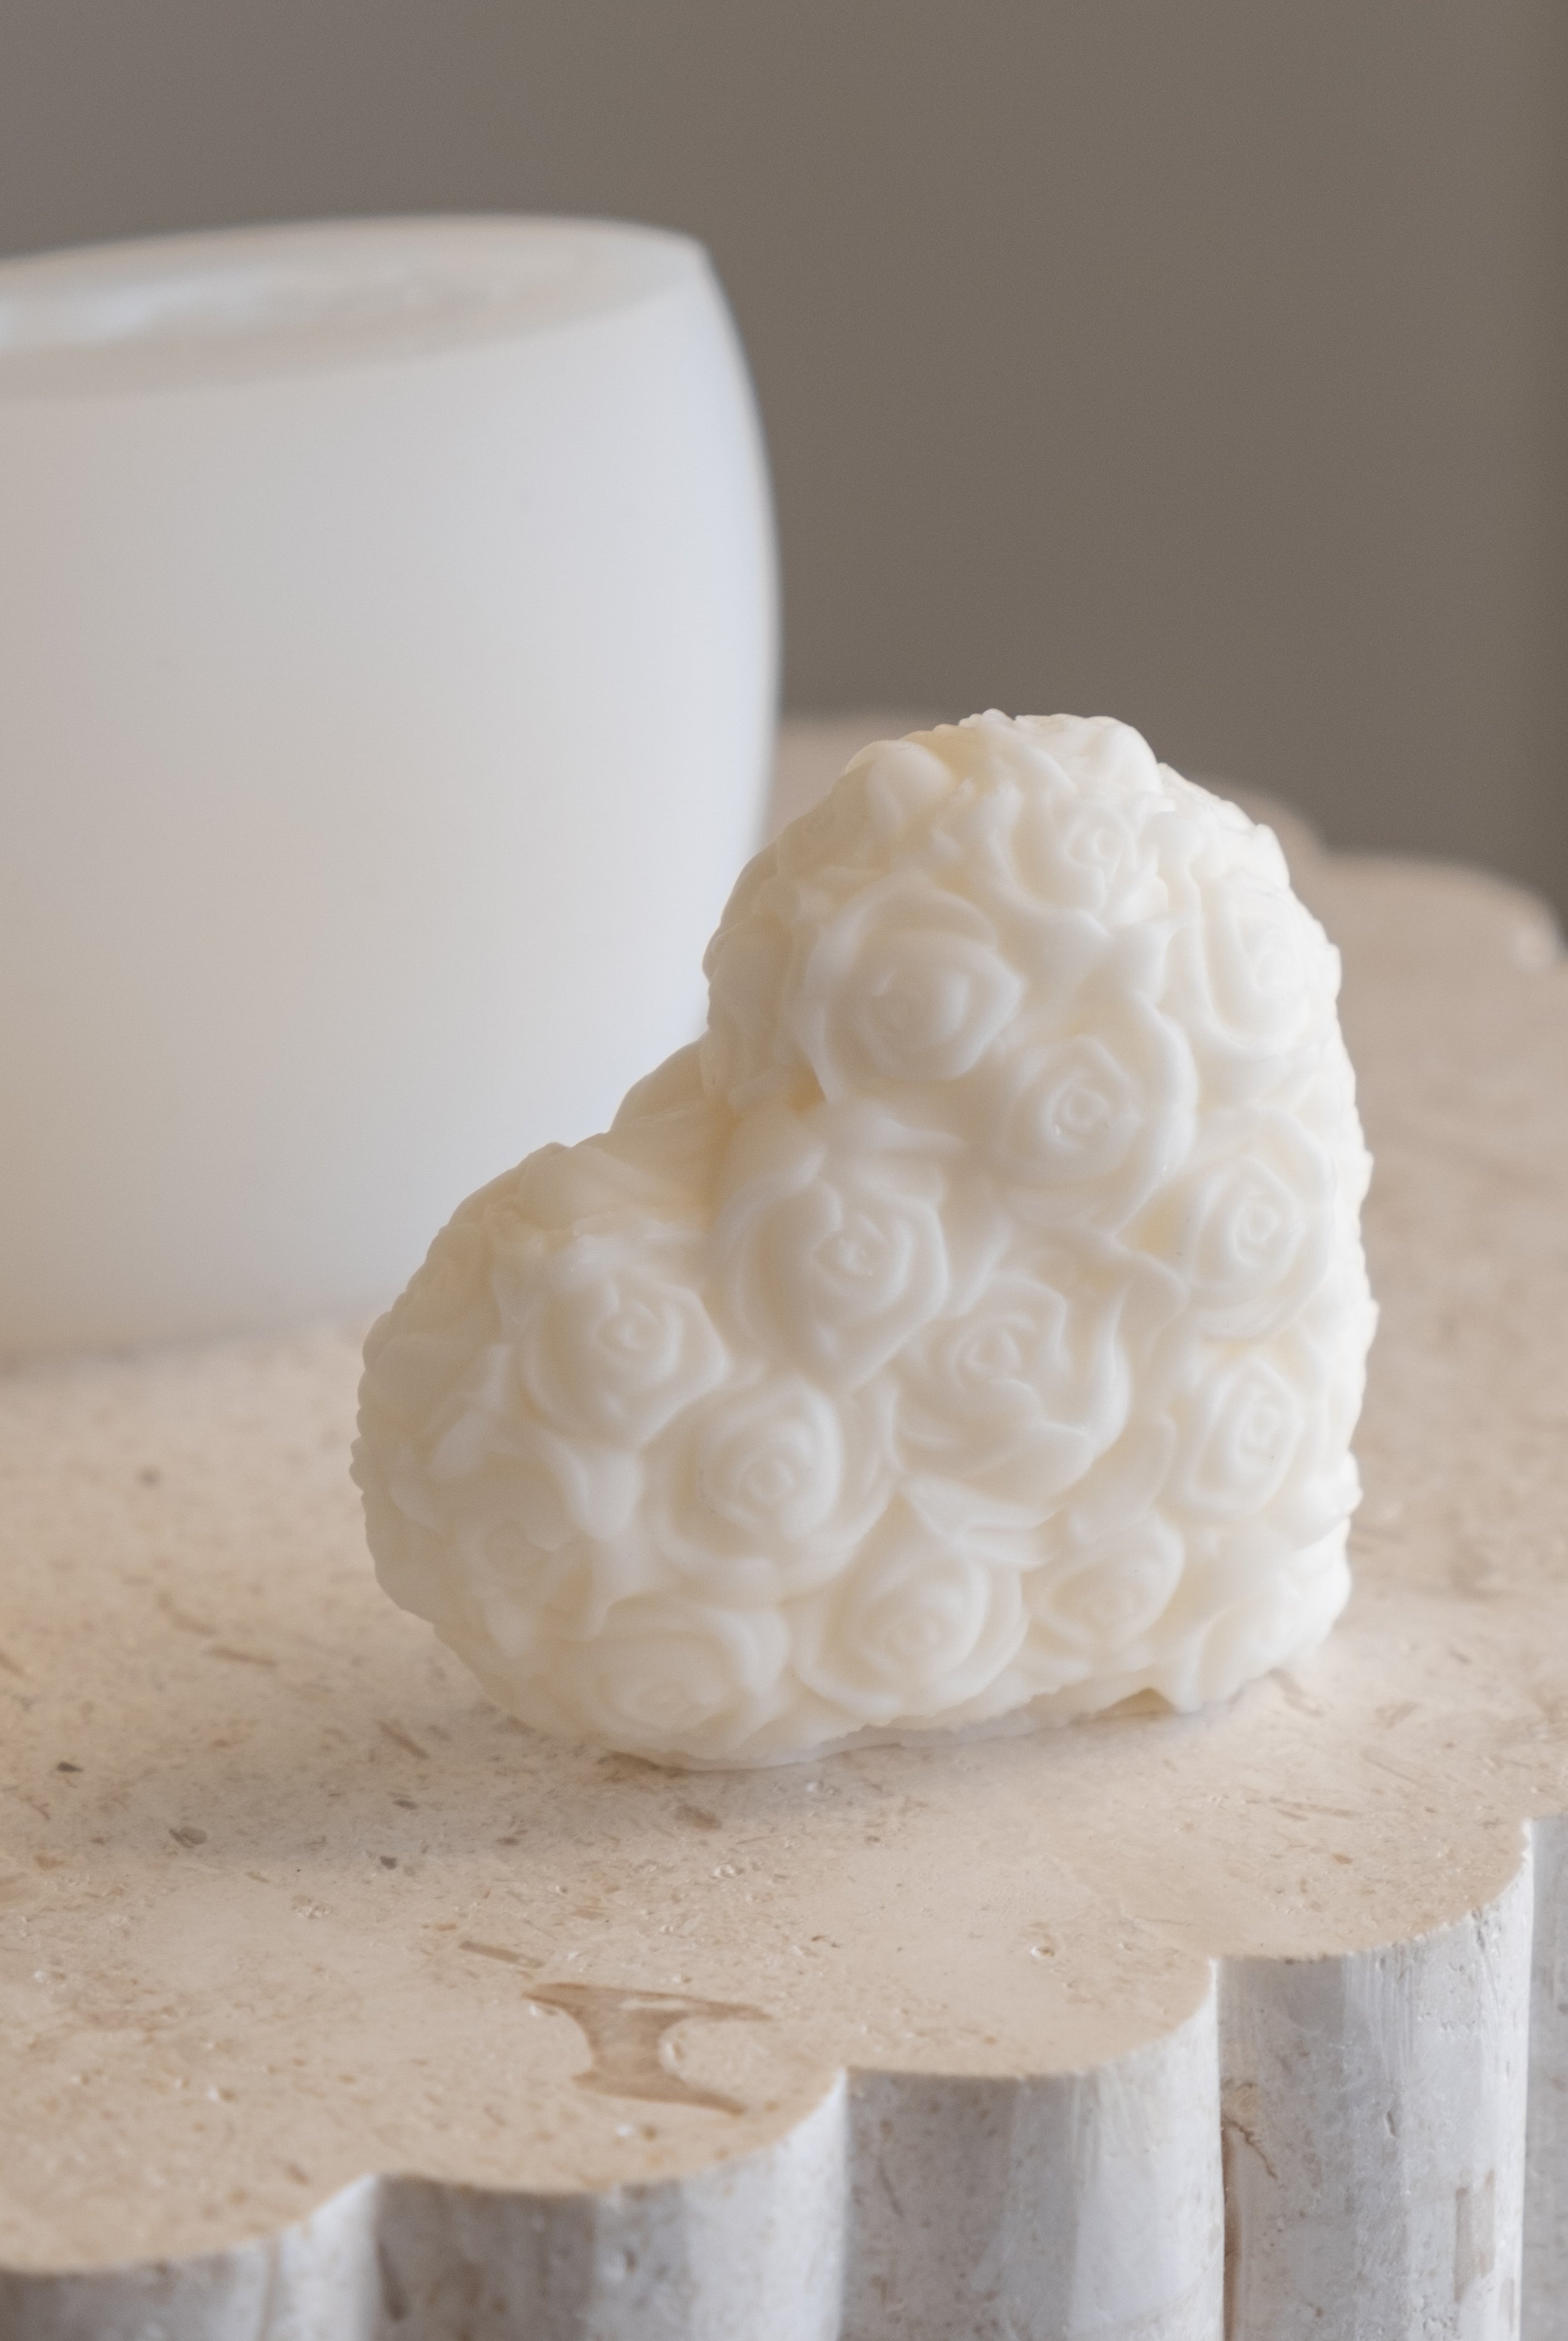
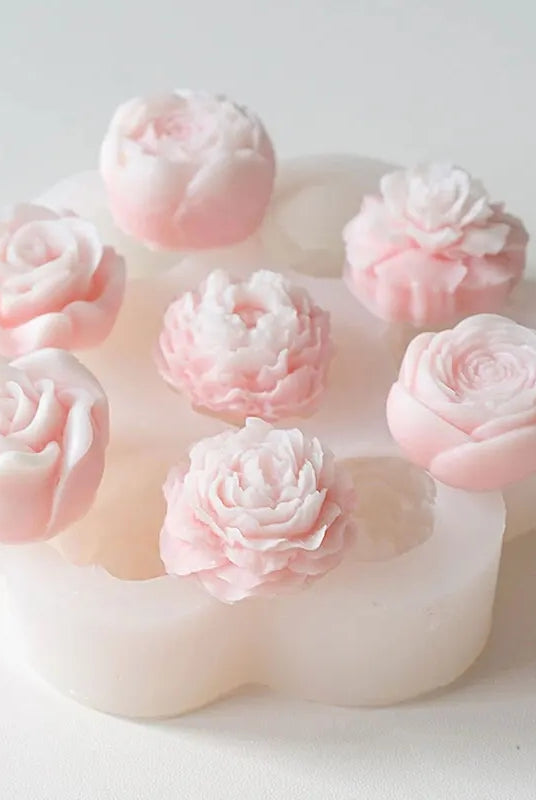
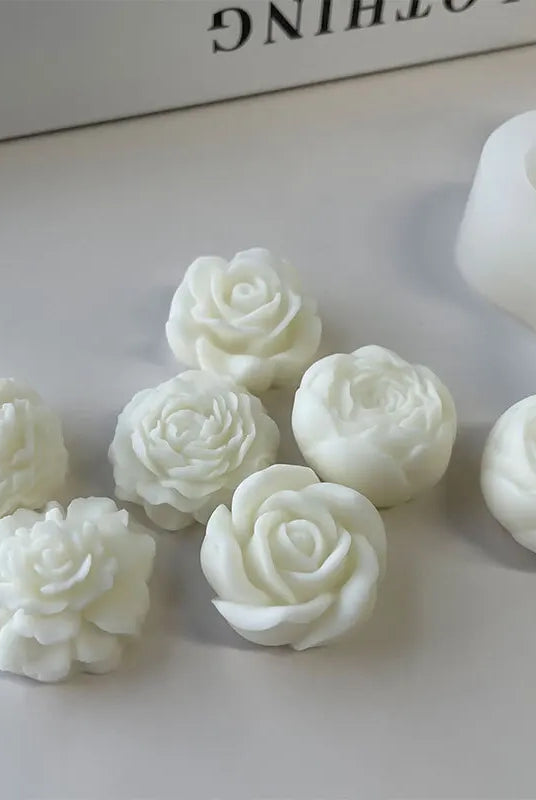
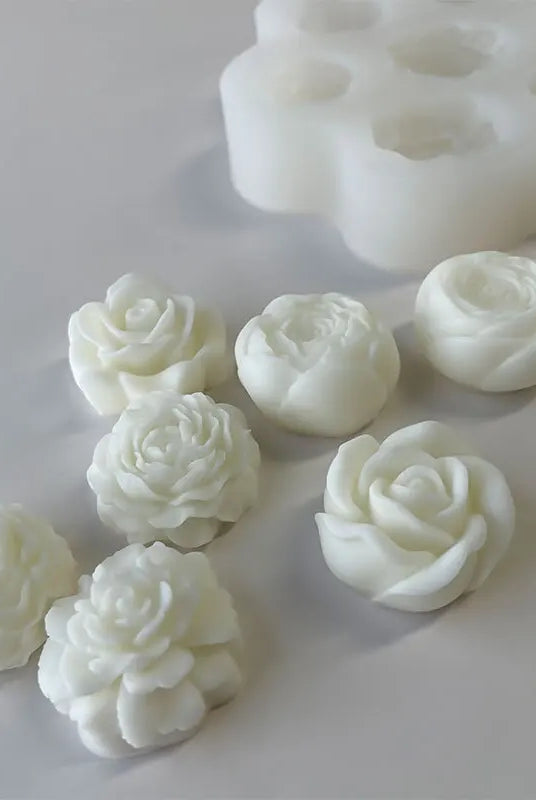
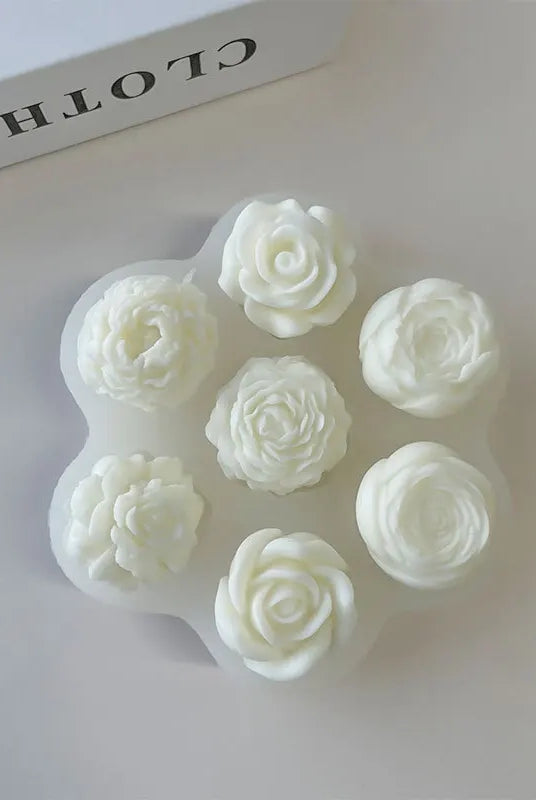
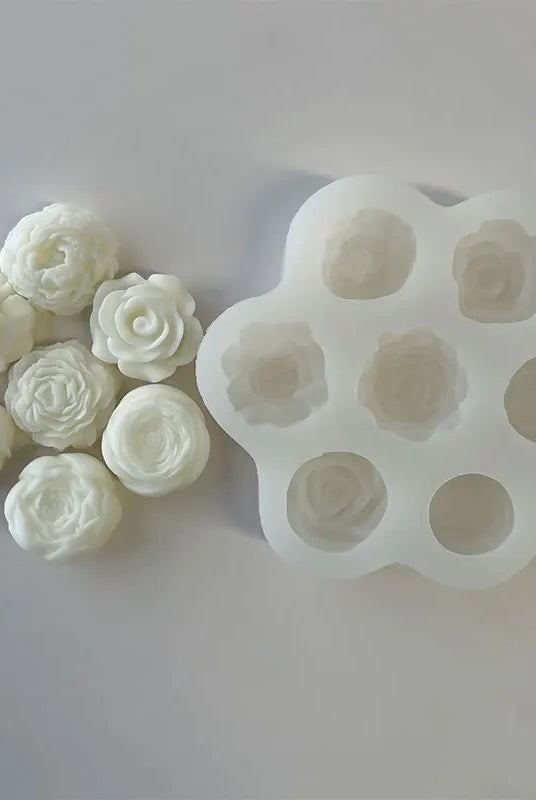
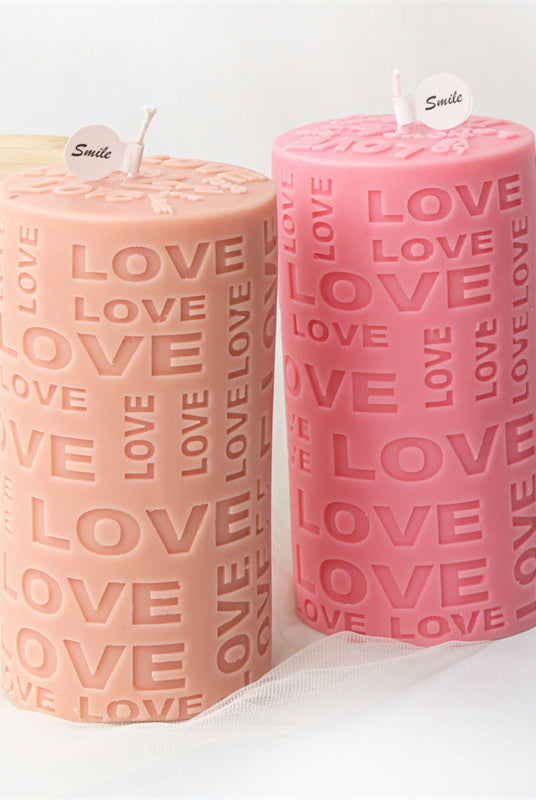
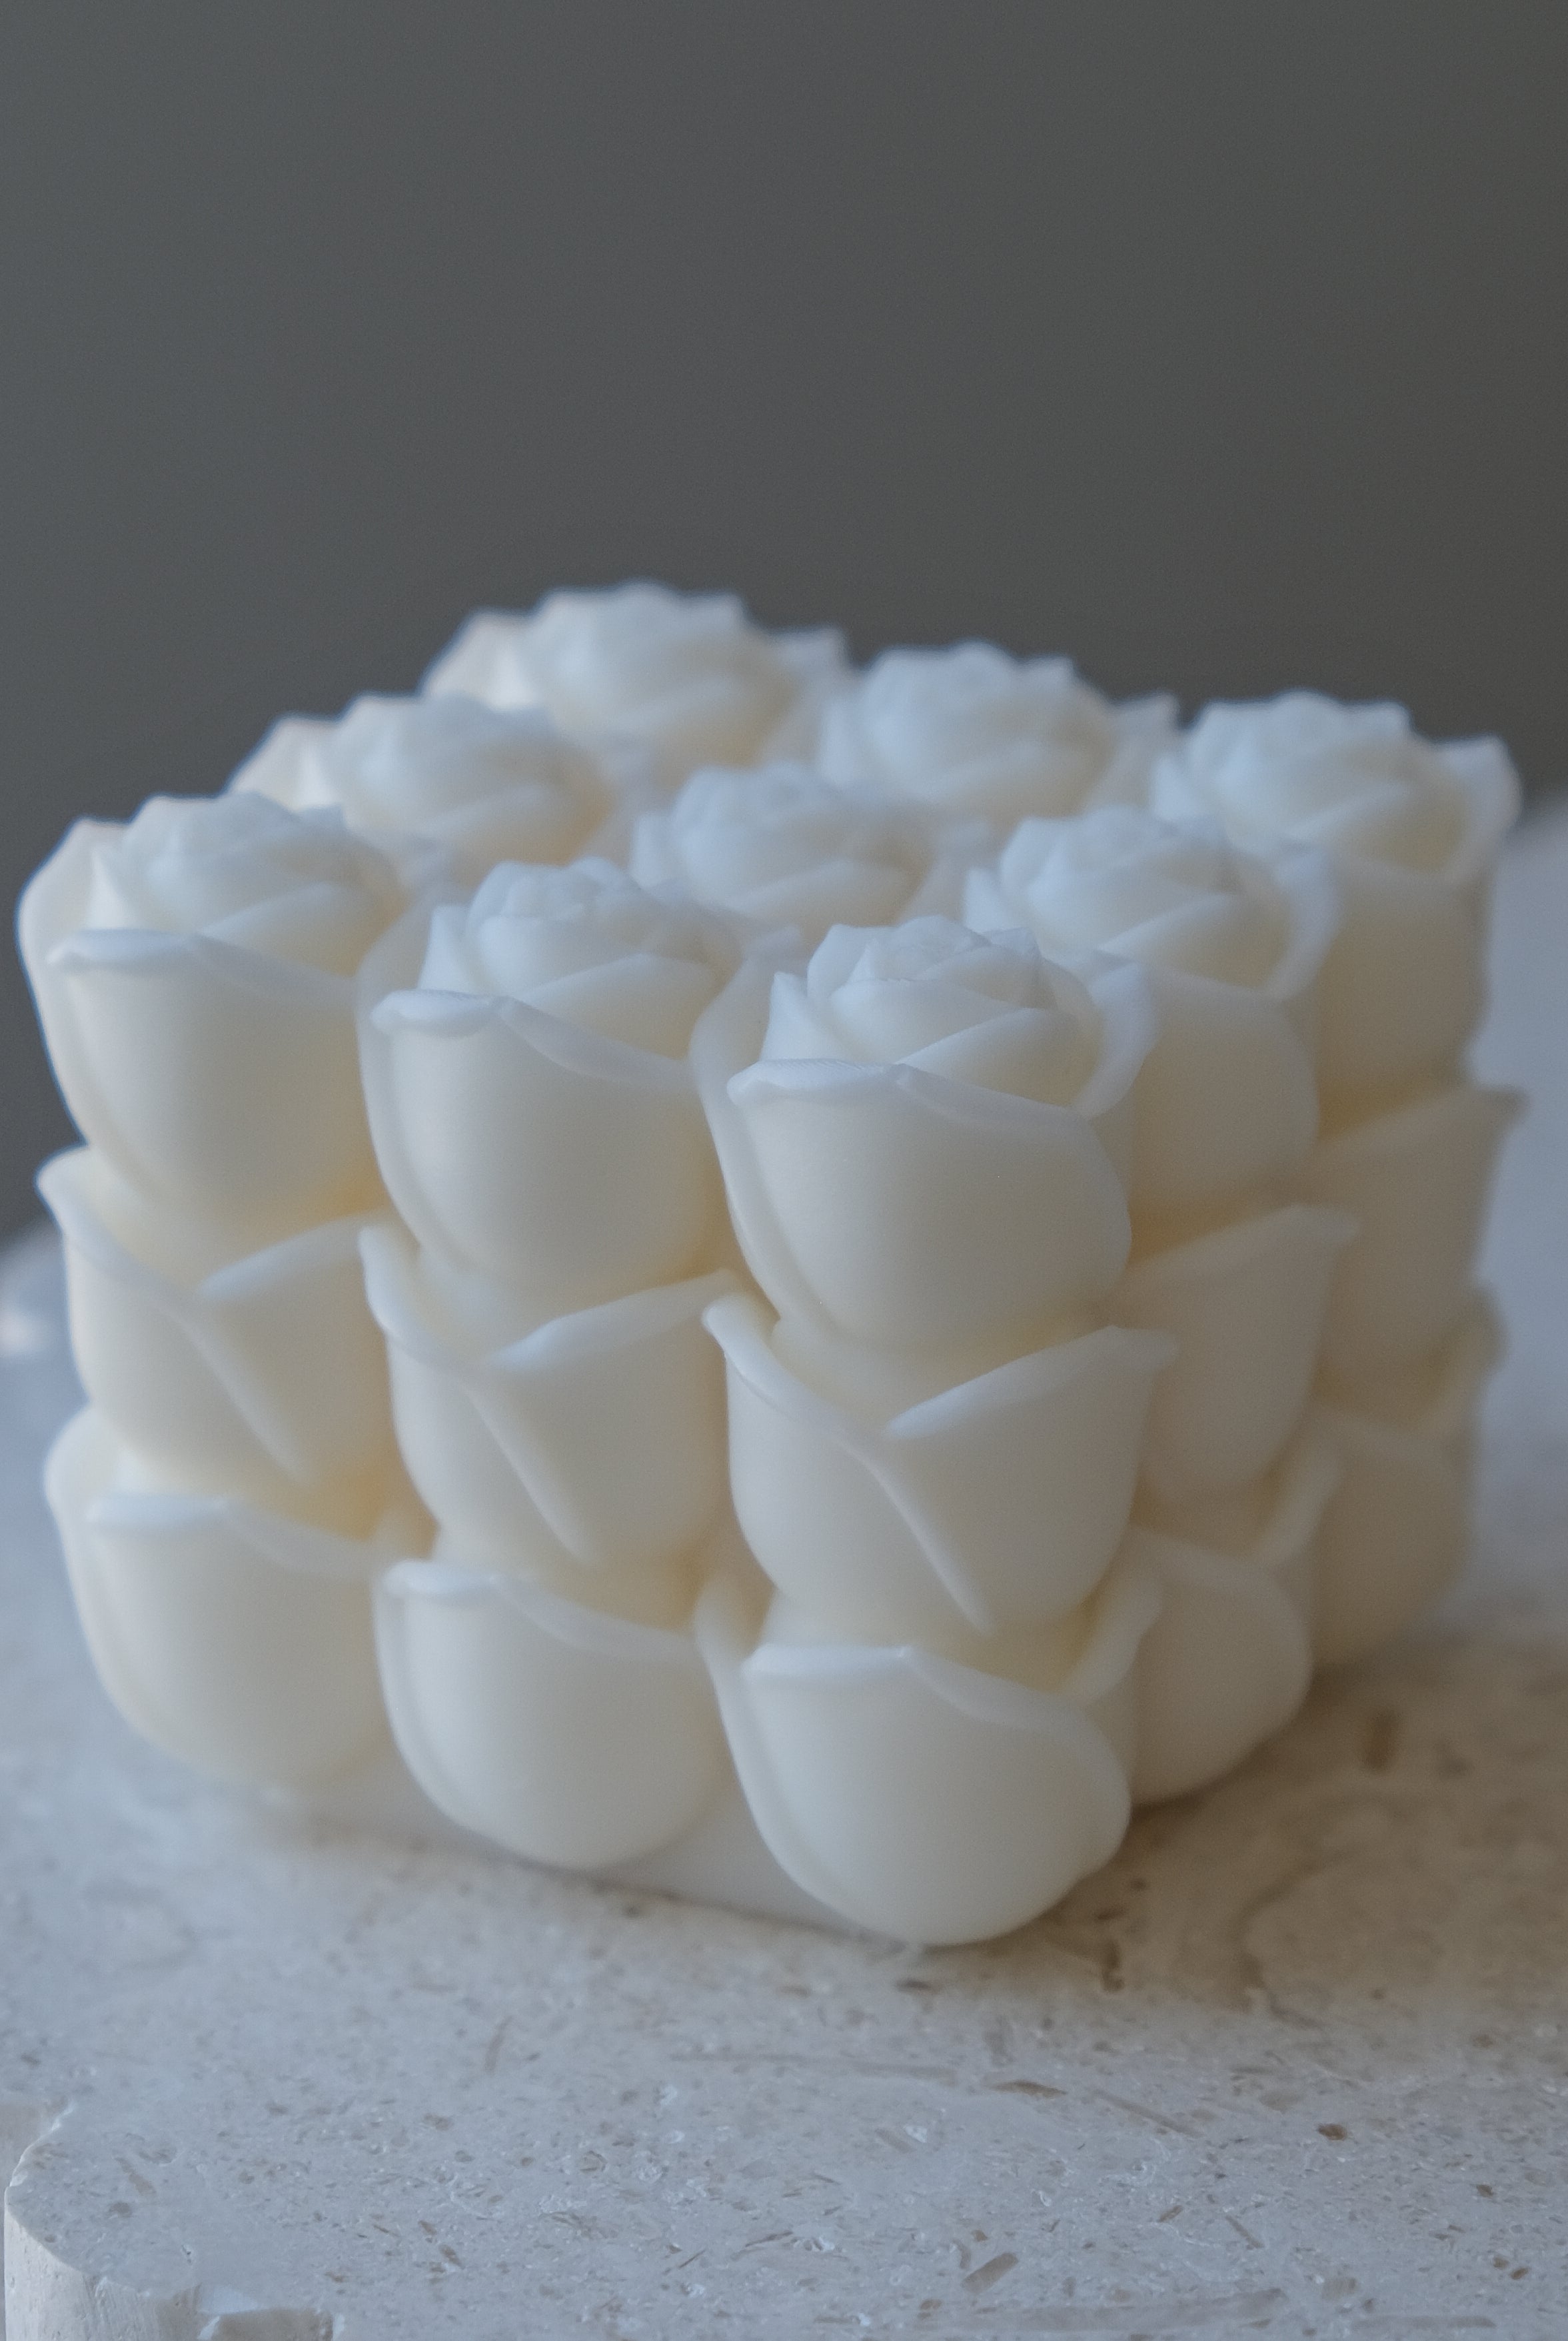
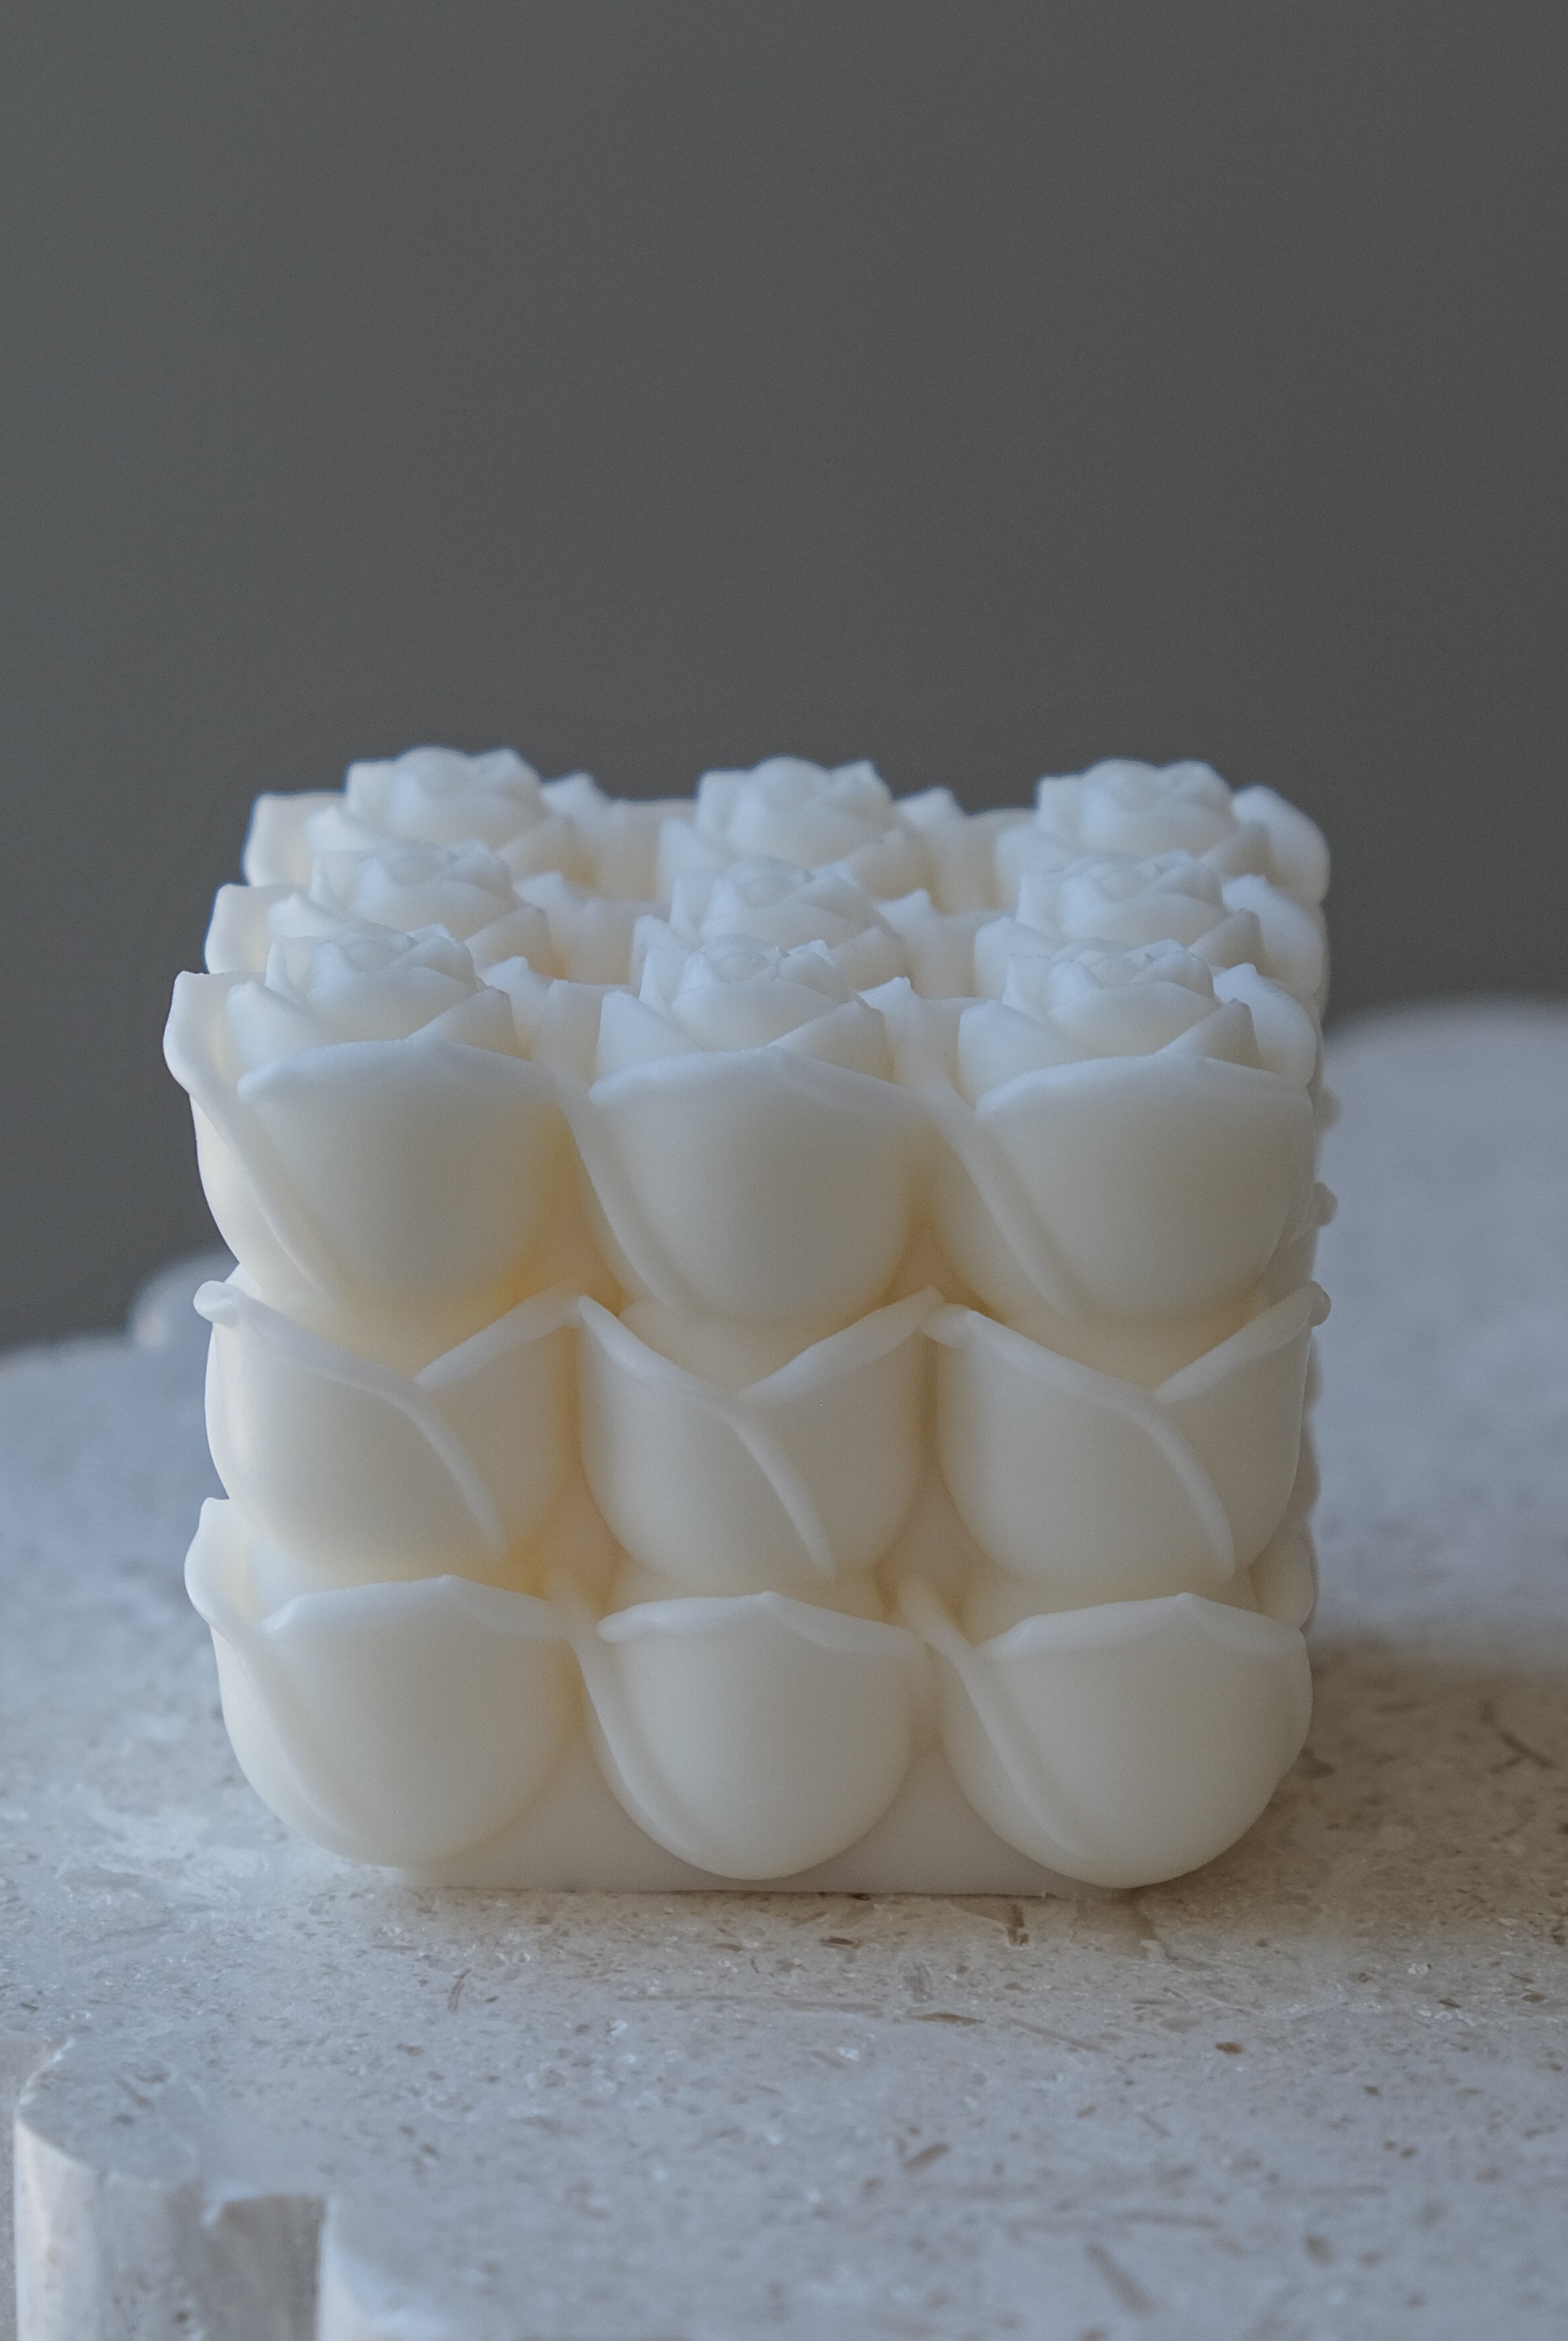
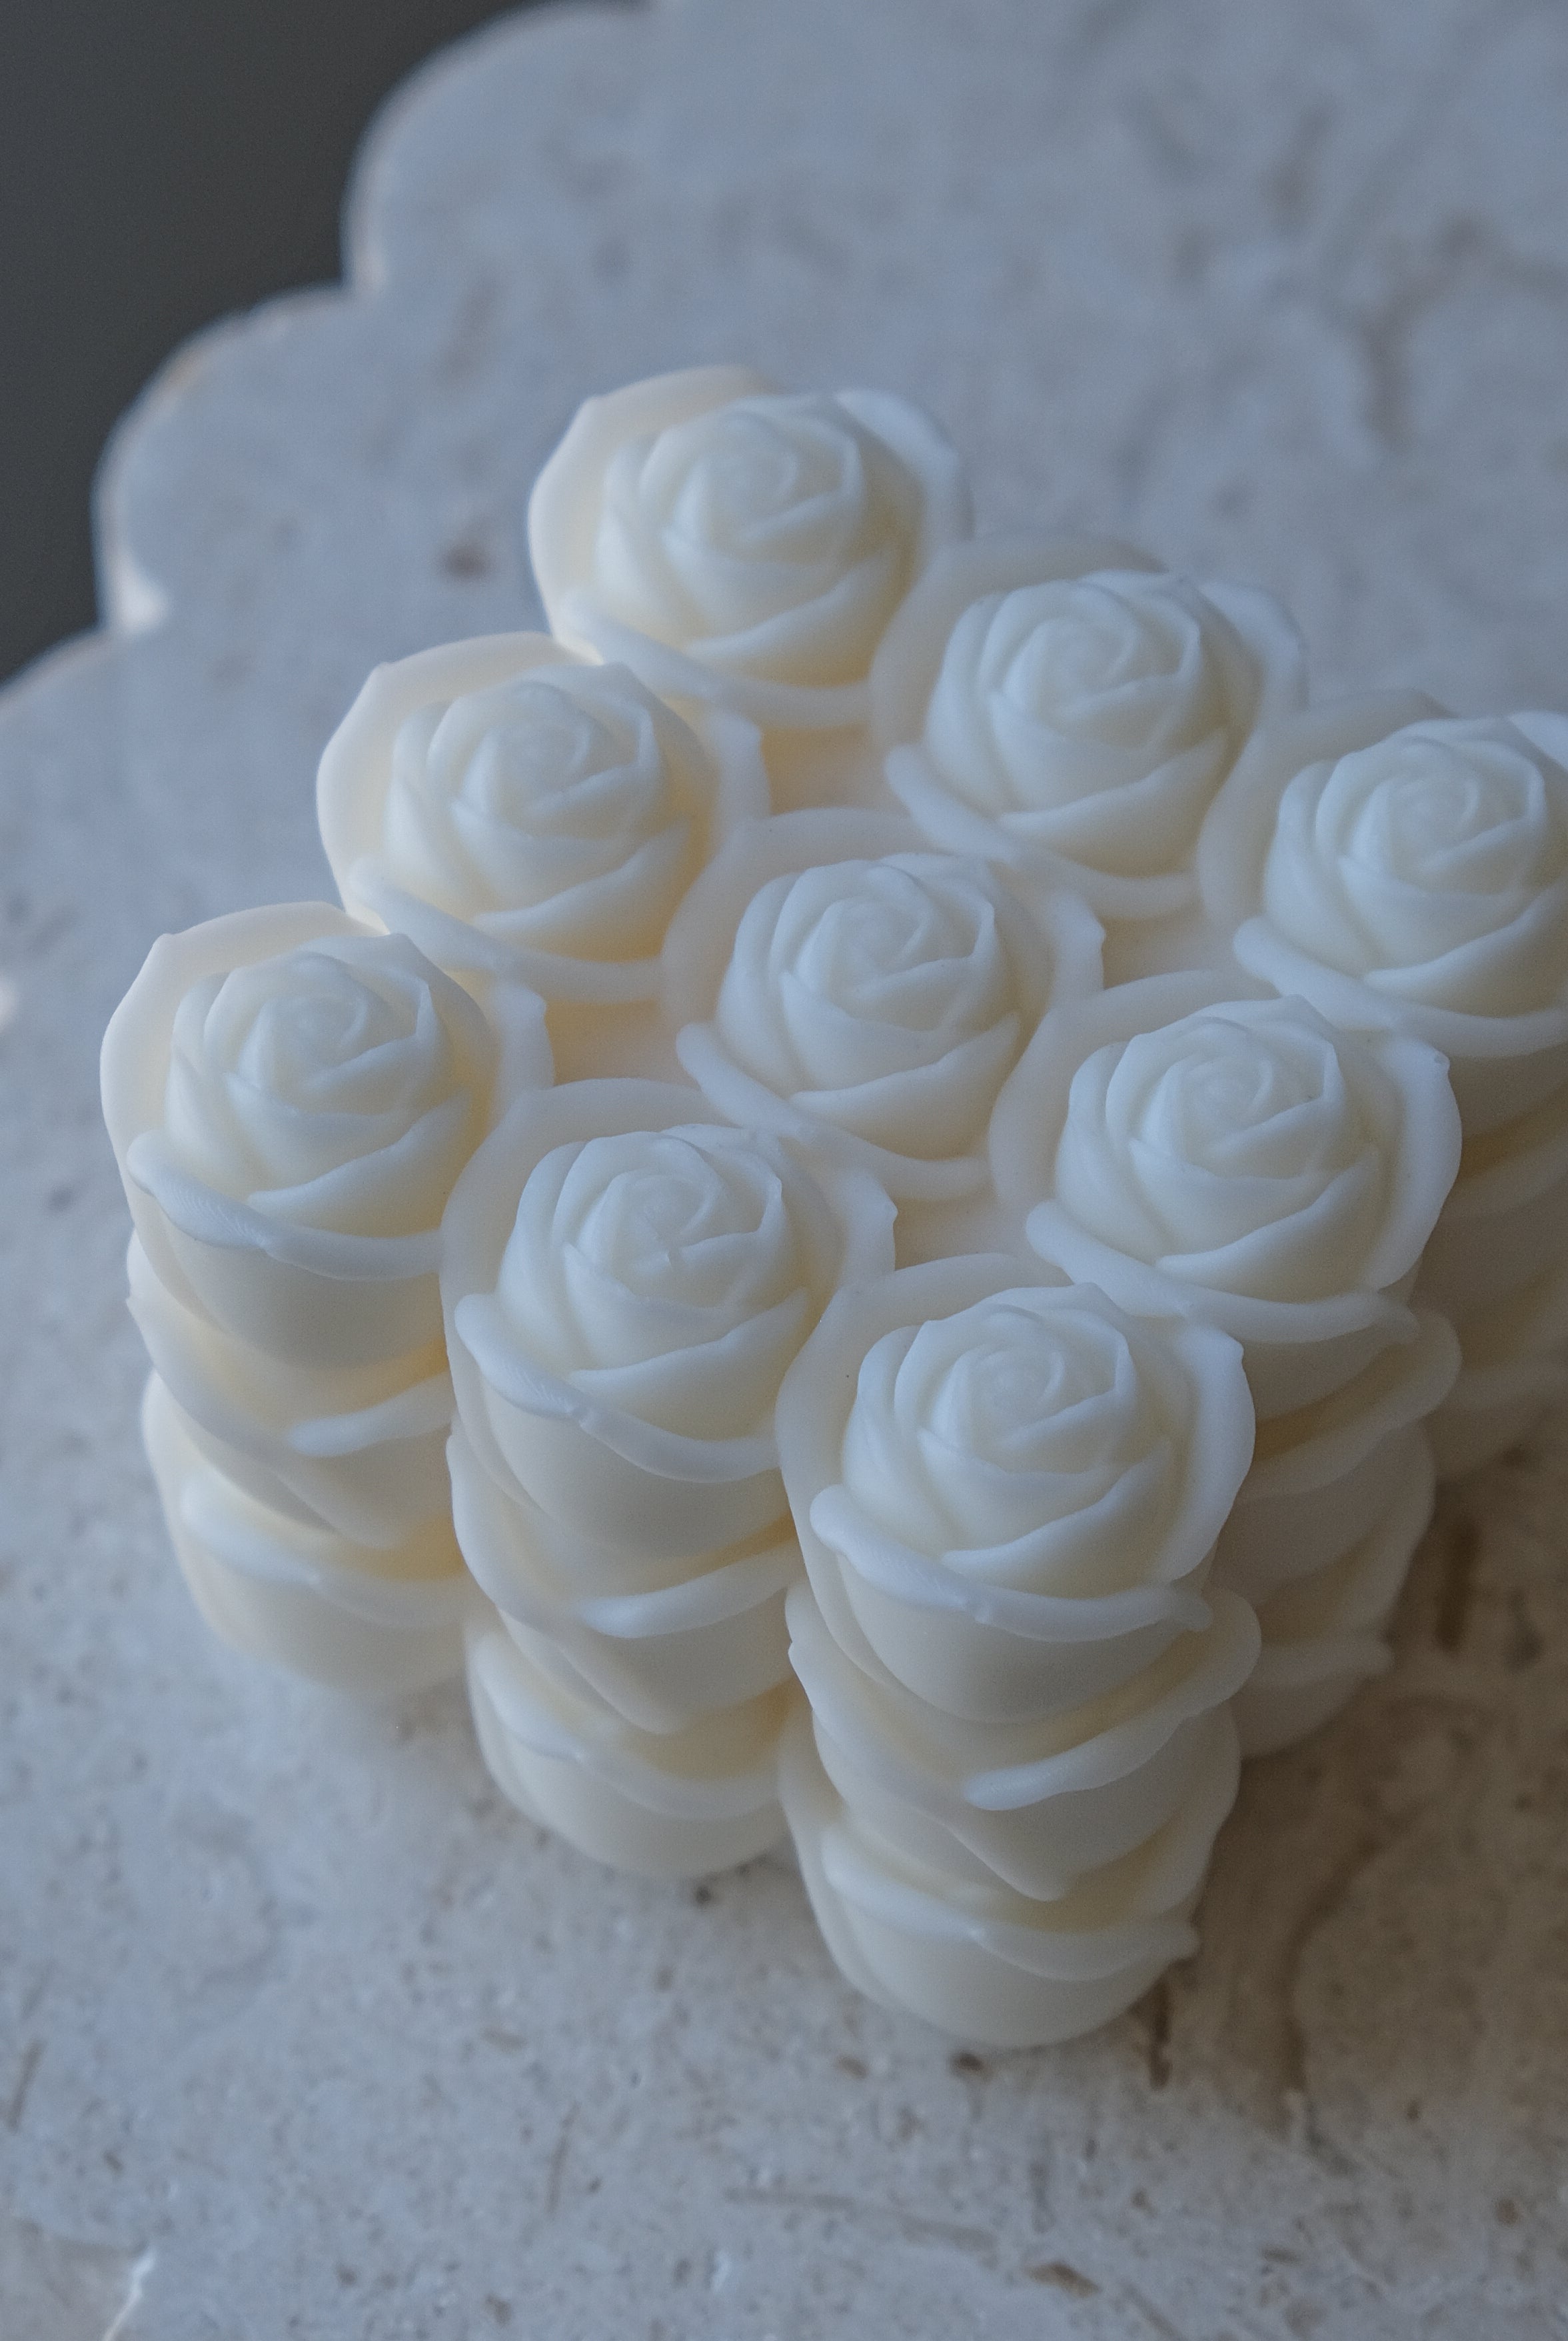
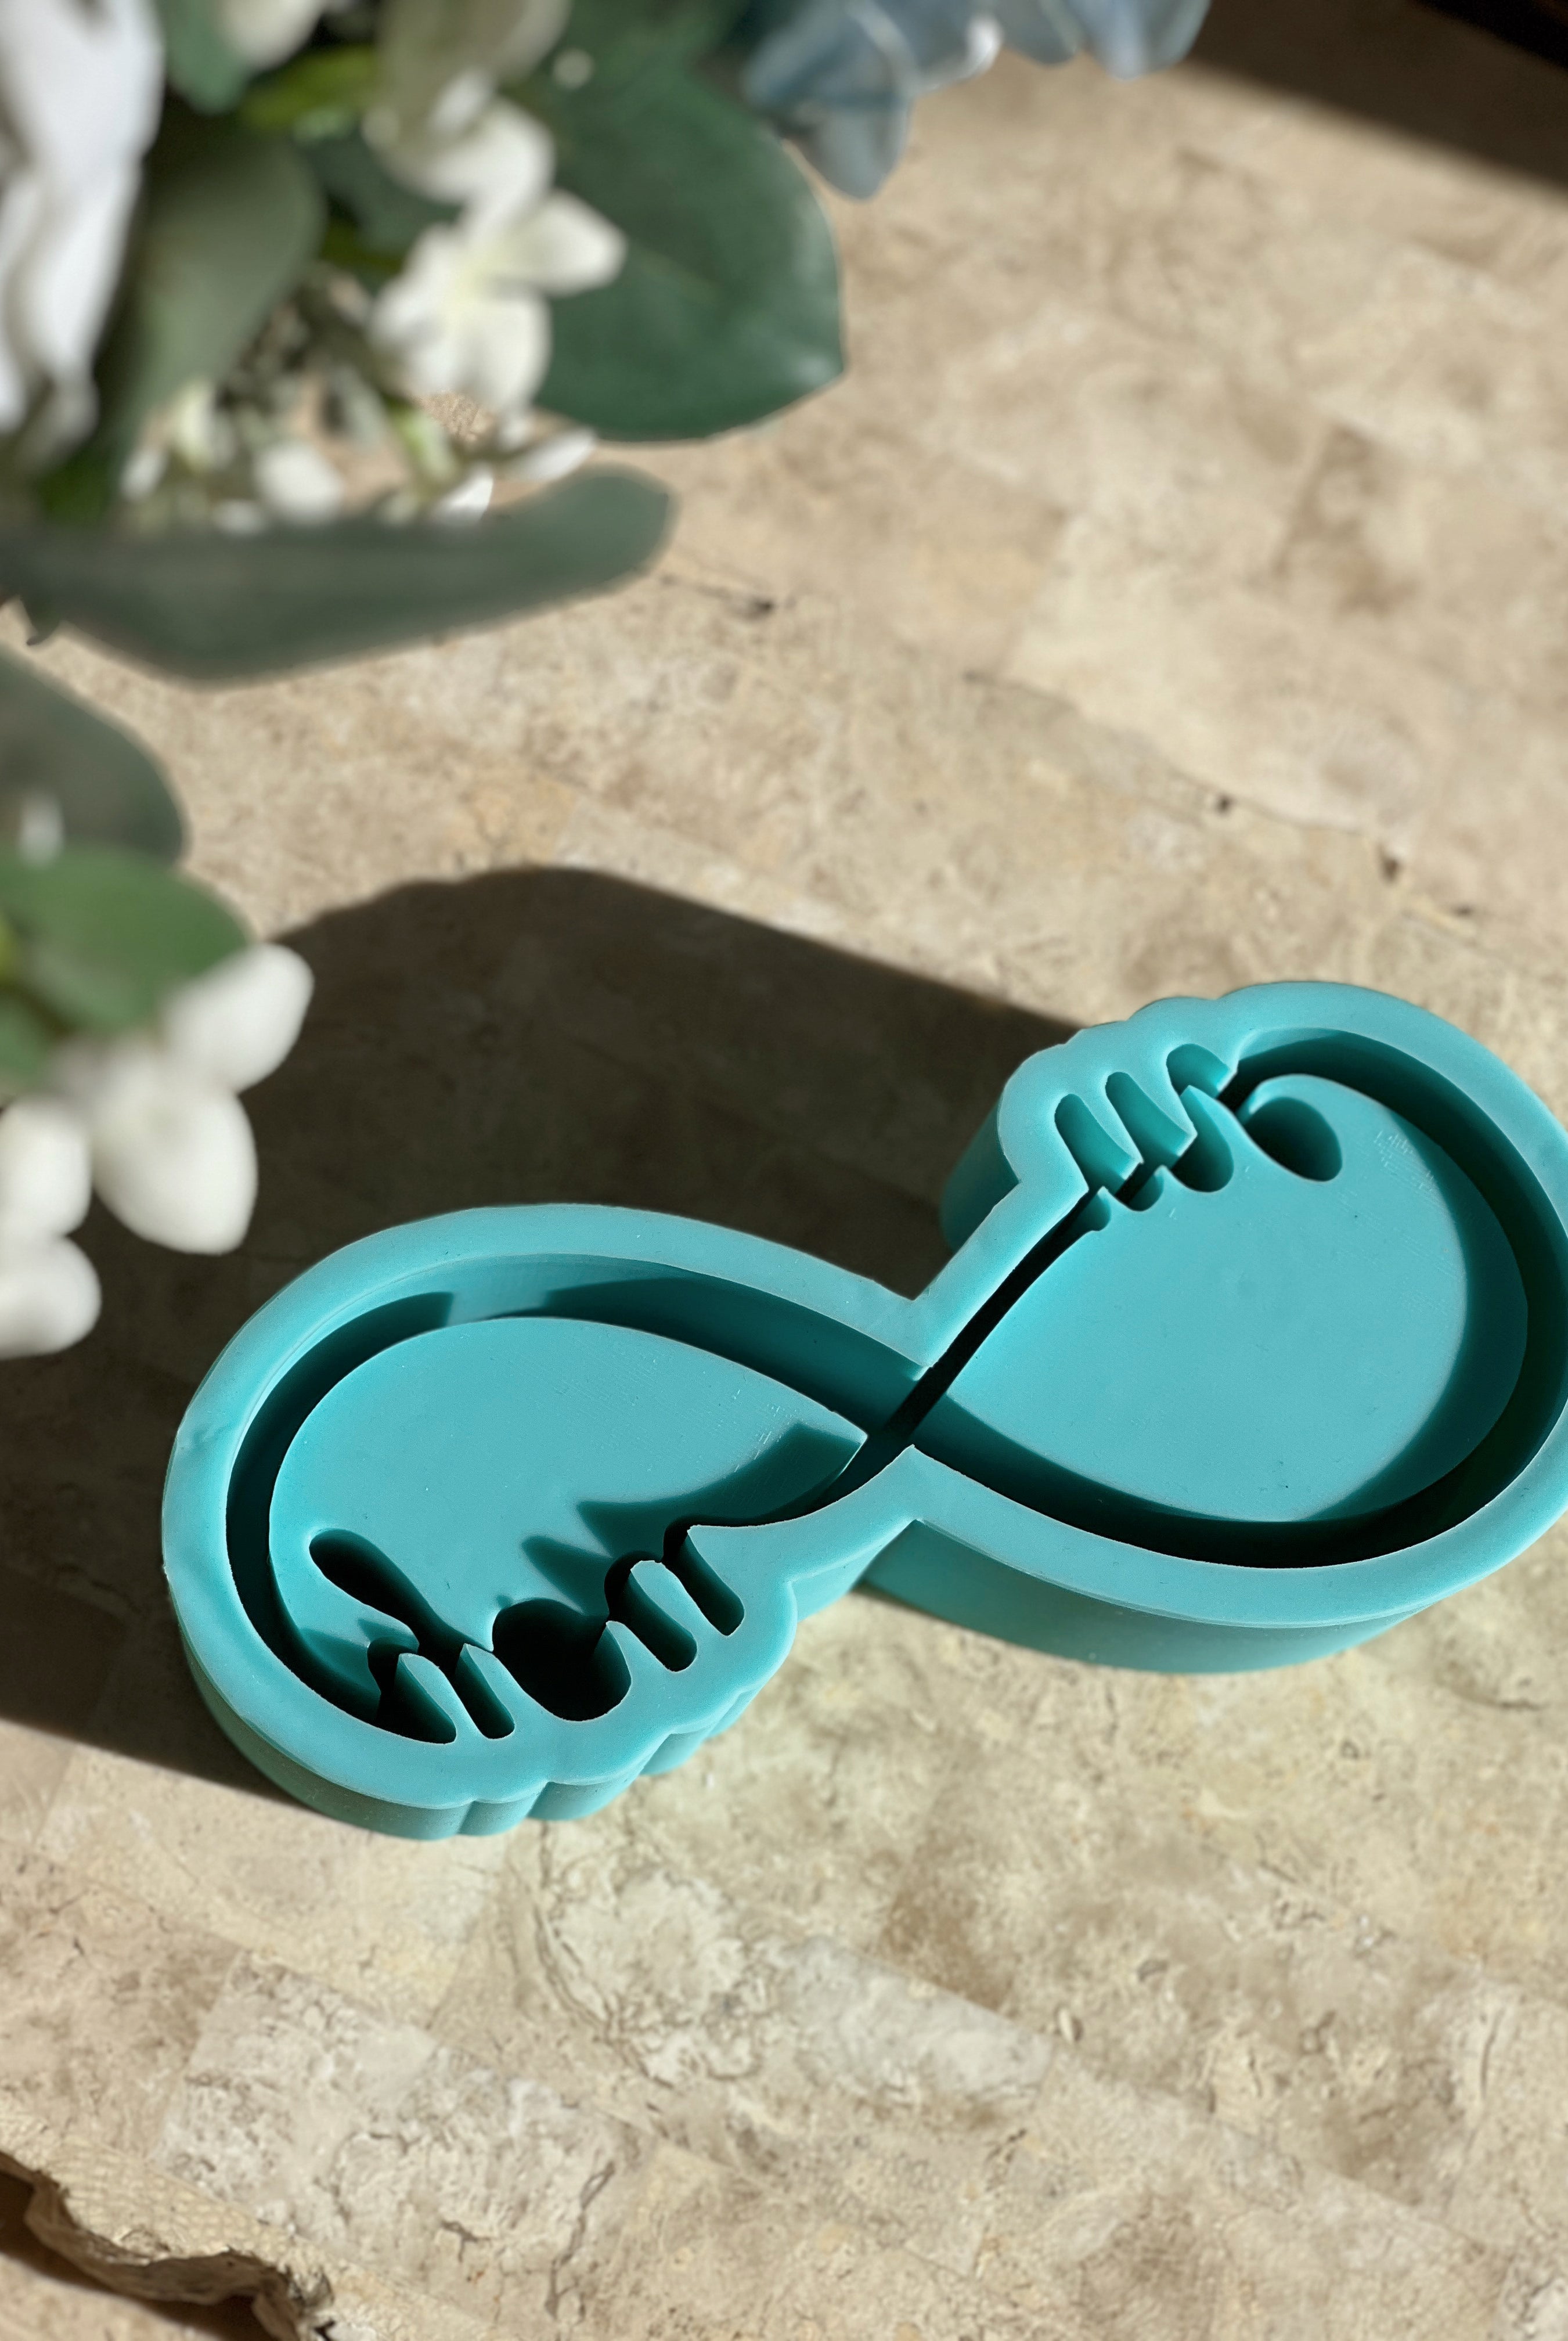
We use high-quality materials and precise methods to make these moulds. This lets us capture every small detail perfectly, making the candles look better.
- Australian Made
By making our products in Australia and not outsourcing, we control the quality better. At the same time, we help local businesses and boost the economy.
What Can You Get From Myka Candles & Moulds
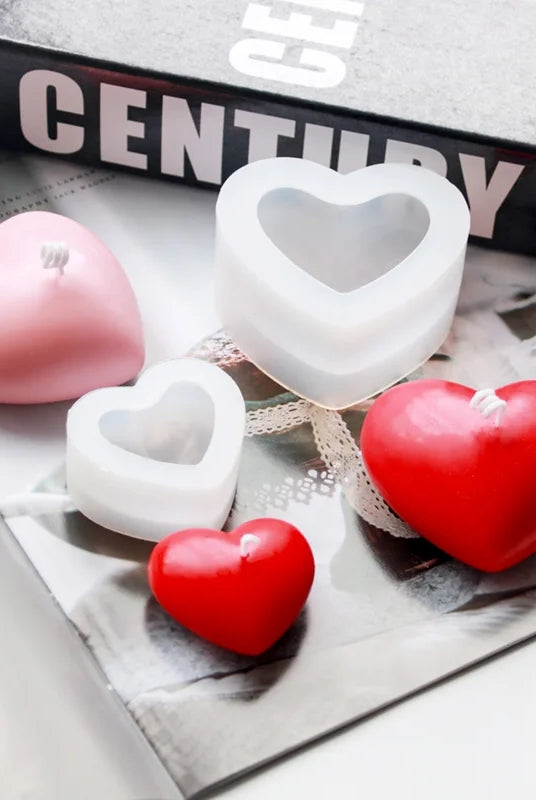
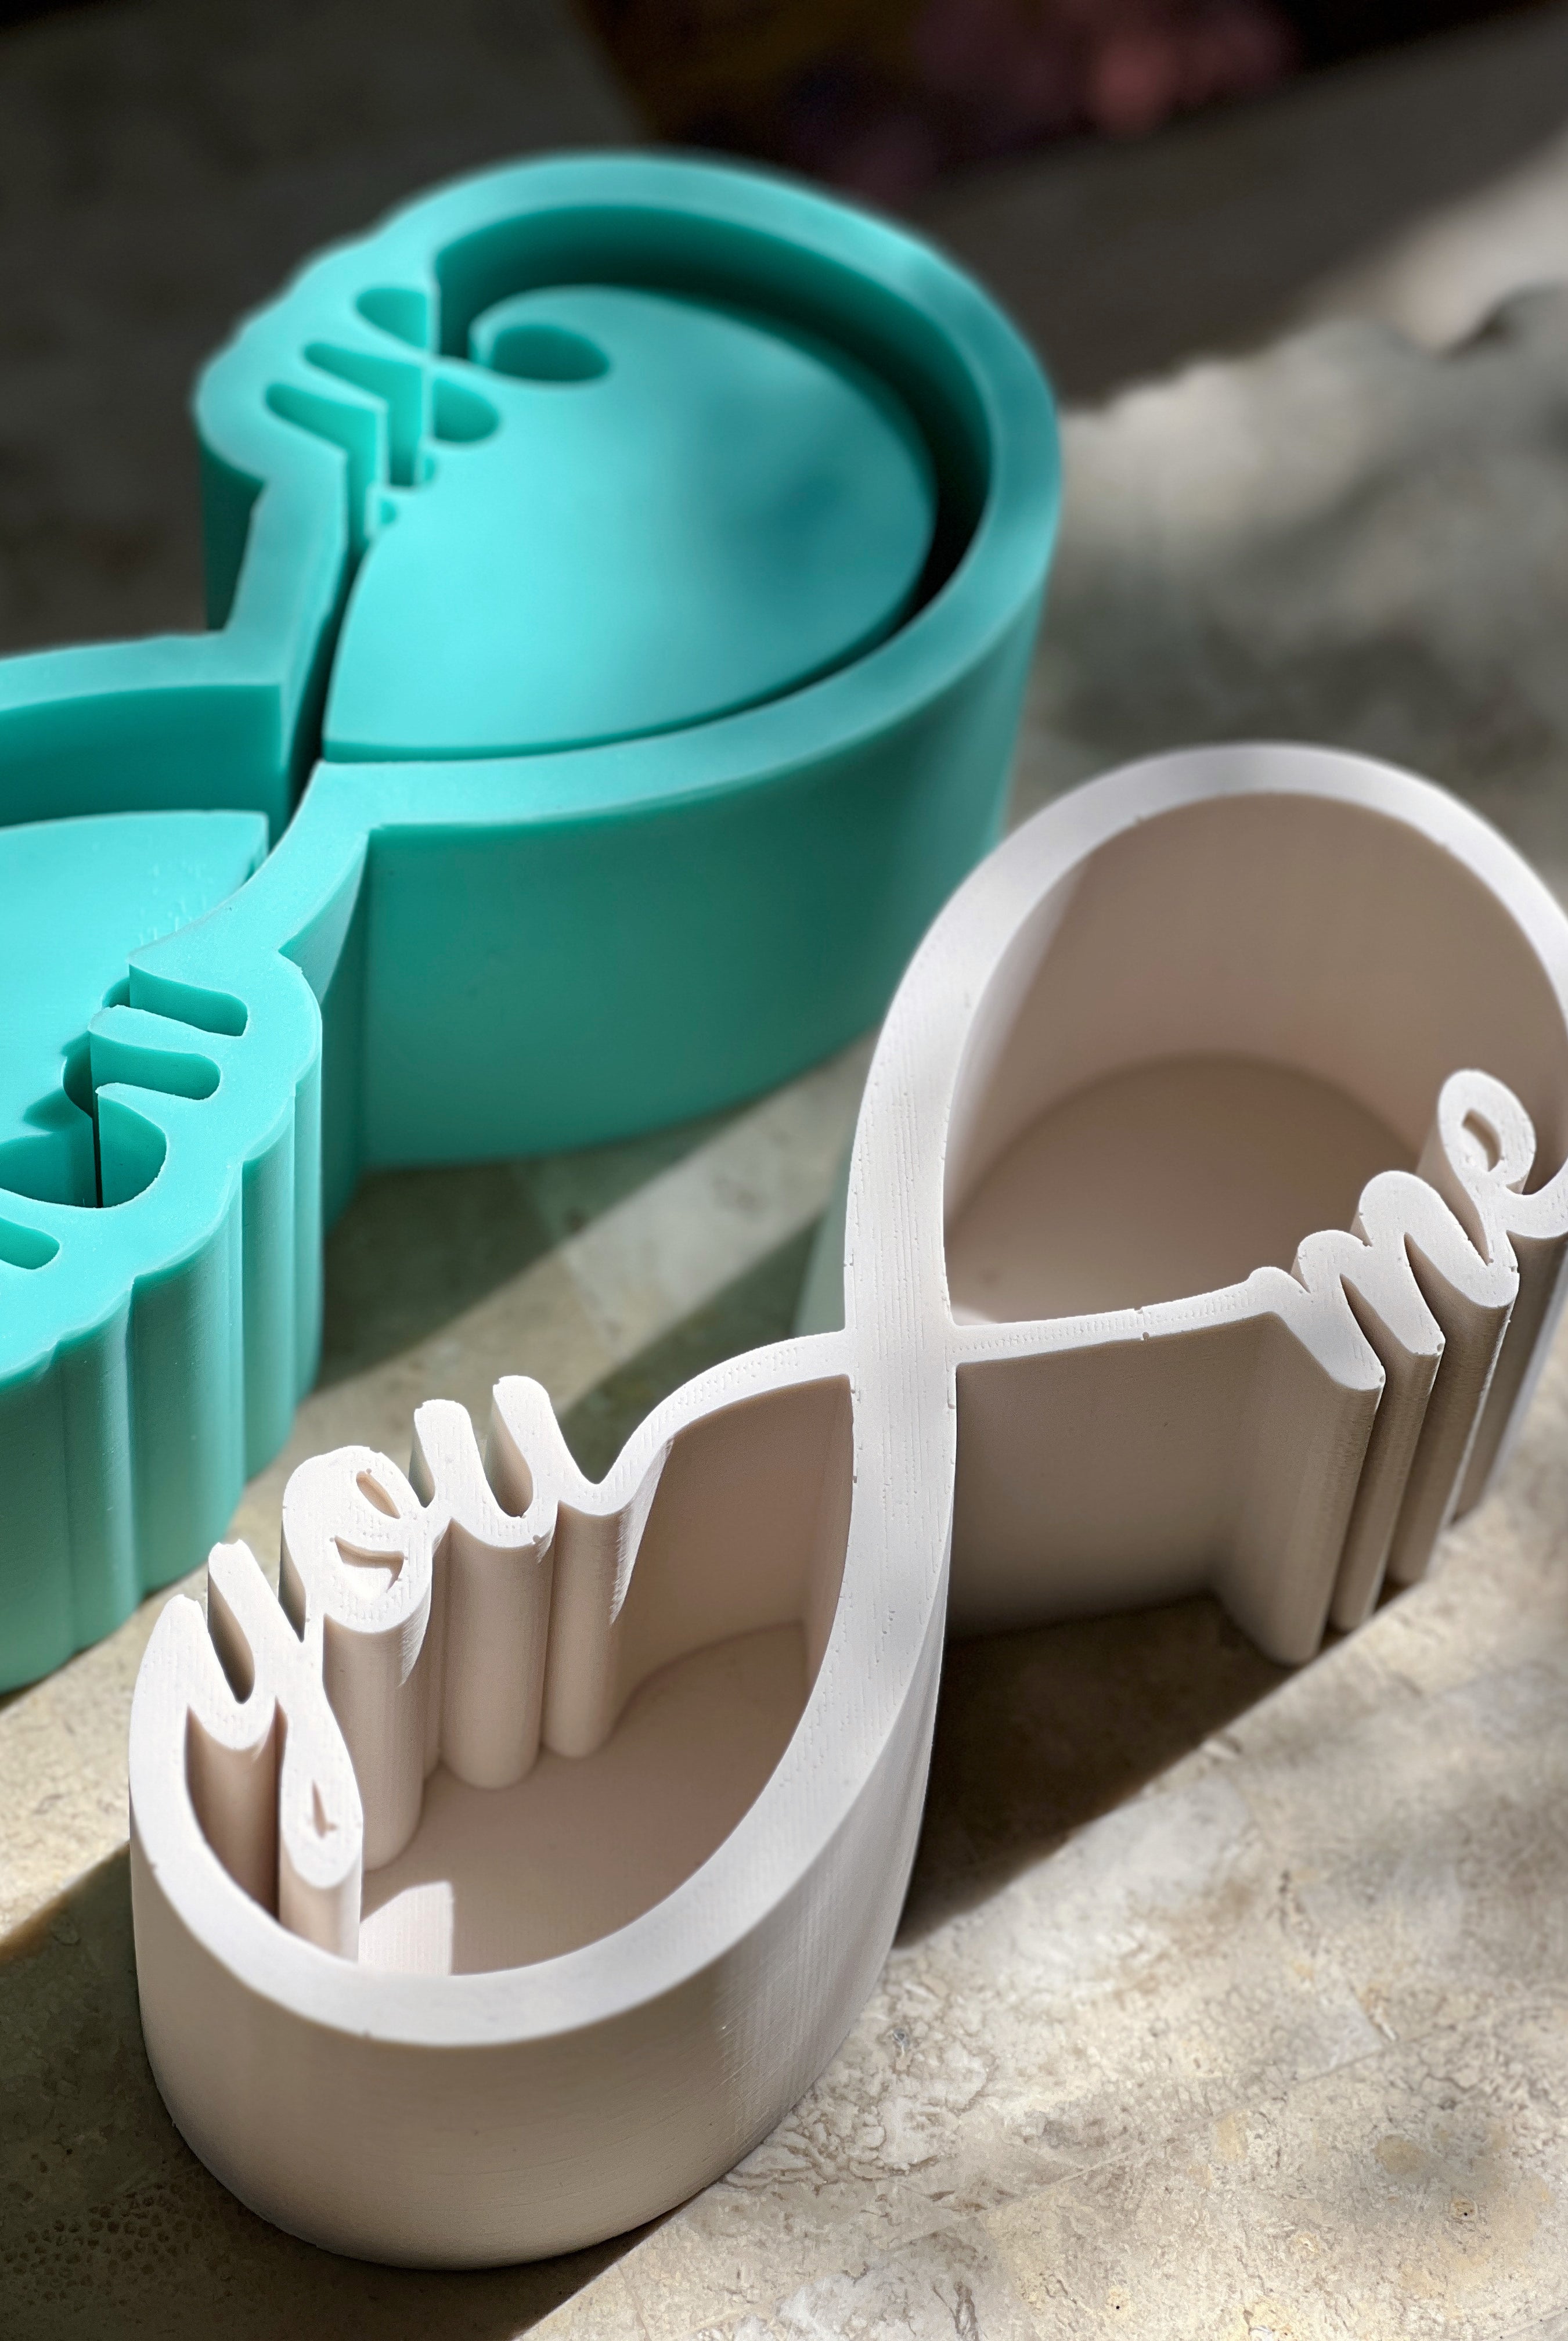
- Three-Stage Production Process
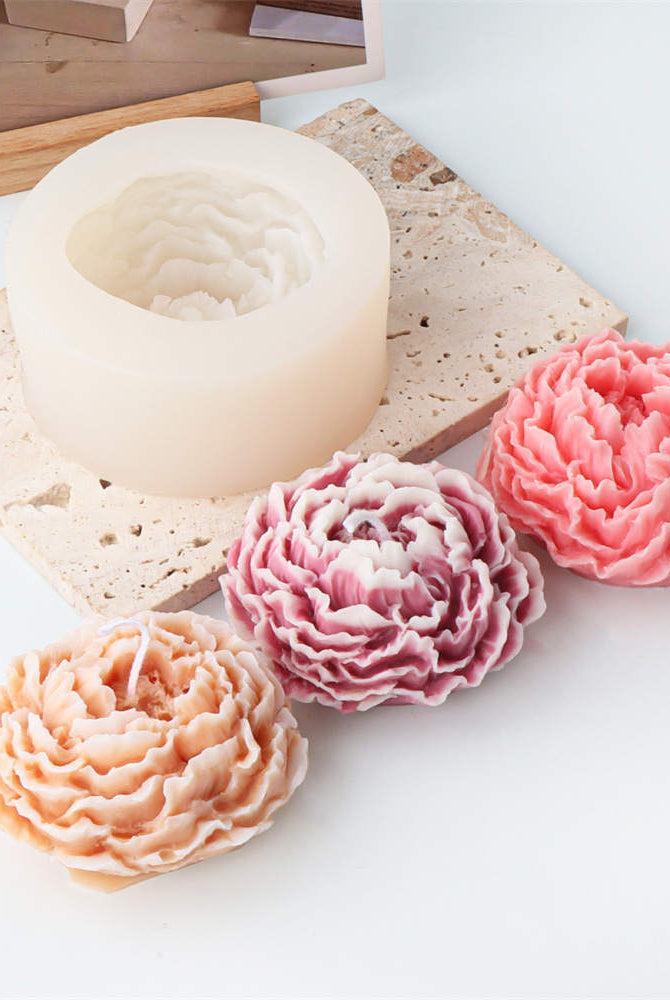
Our moulds are made using a detailed three-step process. First, we design the moulds in 3D. Then, we use 3D printing, followed by expert mould making to create the final product.
- High-Quality Materials
We exclusively use platinum-cure silicone to make our moulds. This material is not only tough but also maintains its shape and strength very well.
- Continuous Improvement through Testing
Our production process involves a lot of testing and experimenting to make sure each mould meets our high-quality standards. This helps us ensure that every product is reliable and performs well.
- Unique and Locally-Made
We focus on making our moulds locally, which helps us ensure each one is unique and up to our high standards.
Taking Care of Your Silicone Moulds
Taking care of your silicone moulds is essential, especially if you're passionate about candle making.
Here are six steps to maintain your silicone mould collection. Each step includes specific pieces of candle making equipment to make the process smoother:
- Clean After Each Use
Once you've finished using a mould, clean it thoroughly.
Remove any leftover wax with a wax scoop before it hardens. Use warm, soapy water and a soft cloth or sponge to wipe the inside of the moulds.
Avoid using abrasive cleaners or pads that might damage the silicone.
- Dry Properly
After washing, dry your silicone moulds completely with a soft towel.
Ensure that no water spots or soap residue remains, as these can affect the quality of your next batch of candles.
A completely dry mould prevents mould and mildew from forming.
- Store Correctly
Store your silicone mould collection] in a cool, dry place away from direct sunlight, which can degrade the silicone over time.
If stacking moulds, place a soft cloth between each to prevent them from sticking together or getting scratched.
- Use The Right Tools
When inserting the wick, use a wicking tool or a wicking needle to ensure it is centred, which is crucial for even burning.
Secure the wick at the bottom with a metal wick holder. This helps maintain the wick's position when pouring the wax.
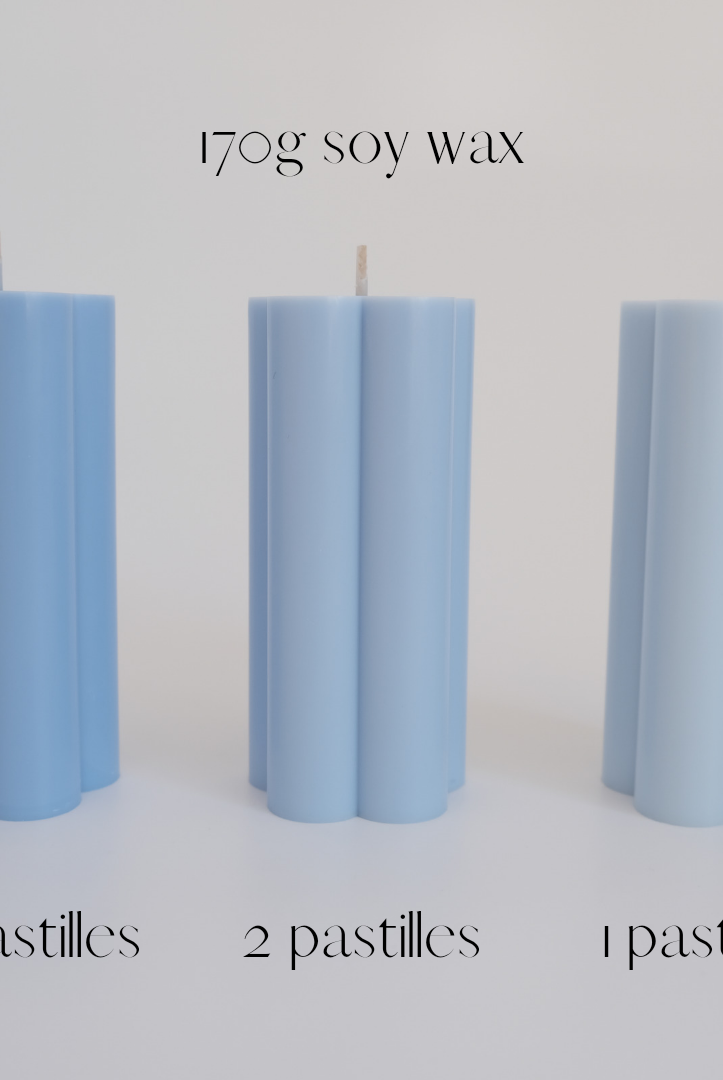
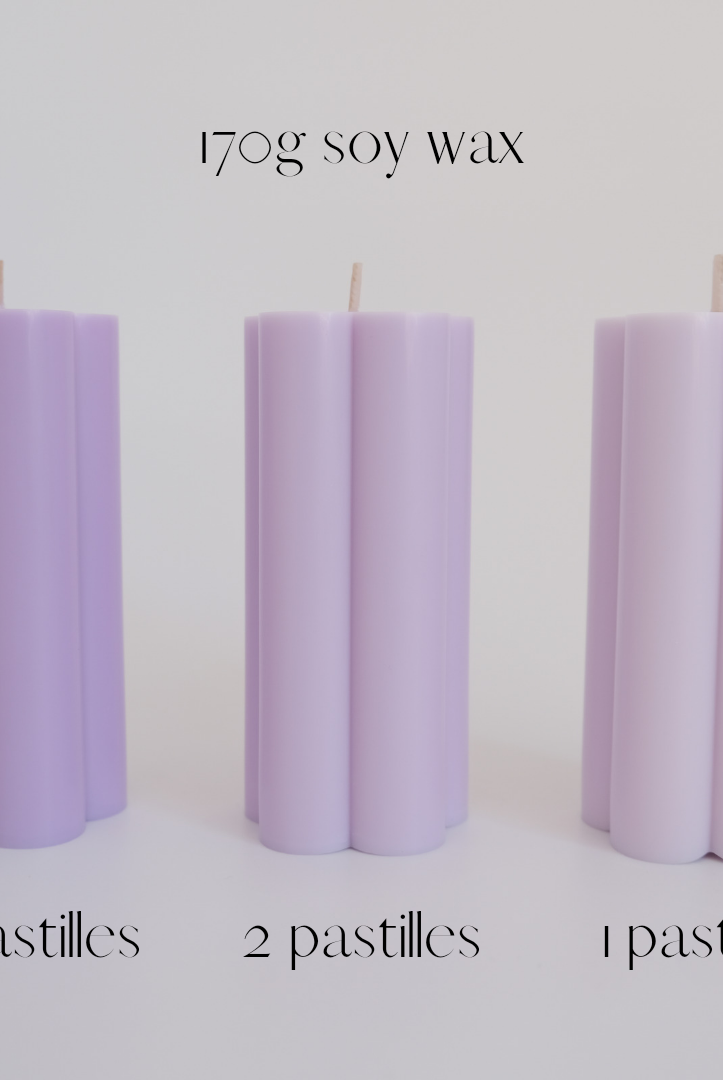
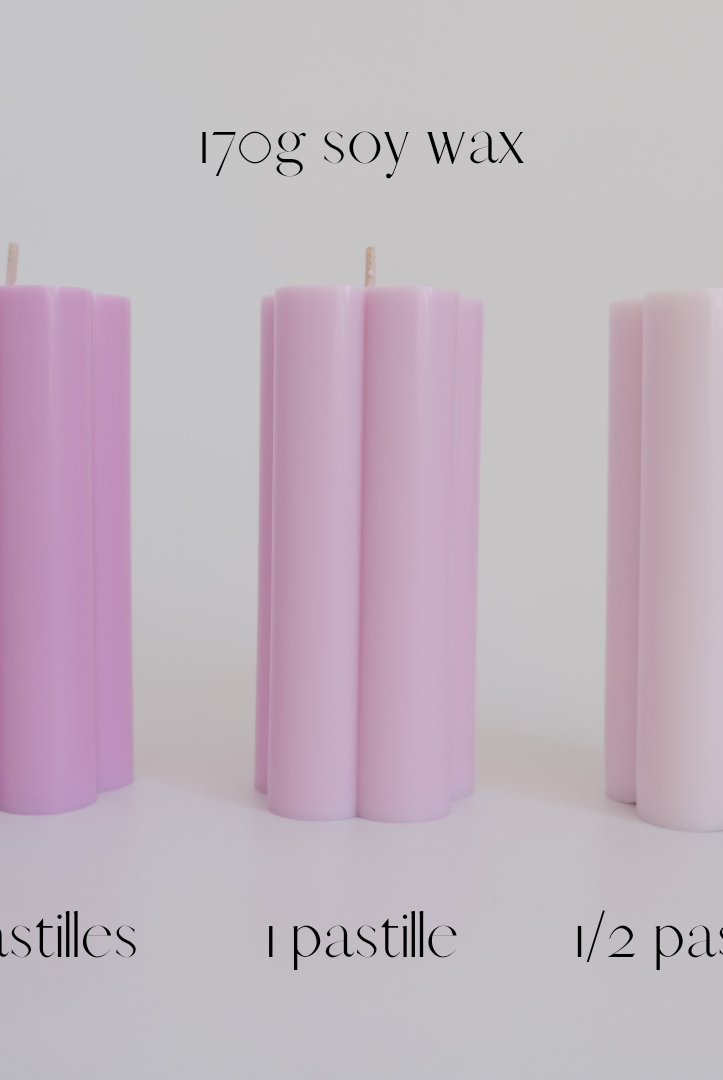
- Measure Wax Precisely
Use a glass beaker or a wax dispenser to measure the wax before melting. This ensures you use the correct amount of wax for the mould and reduces waste.
Melt the wax in a wax melting pot on a controlled heat source to prevent overheating, which can damage both the wax and the mould.
- Avoid High Heat
Silicone moulds are heat resistant, but they can still suffer from excessive heat.
Never put them near open flames or in direct contact with heat sources.
When using a mixing spoon, be gentle to avoid tearing or scratching the soft silicone surface.
By following these steps, your silicone moulds will be well-maintained and ready for your next candle-making session using your candle making kits.