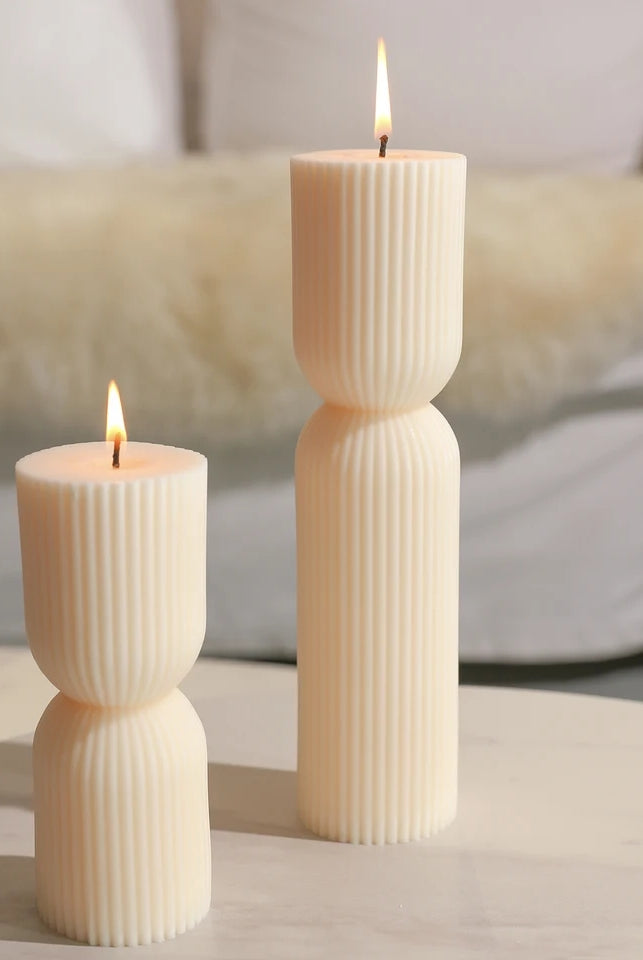
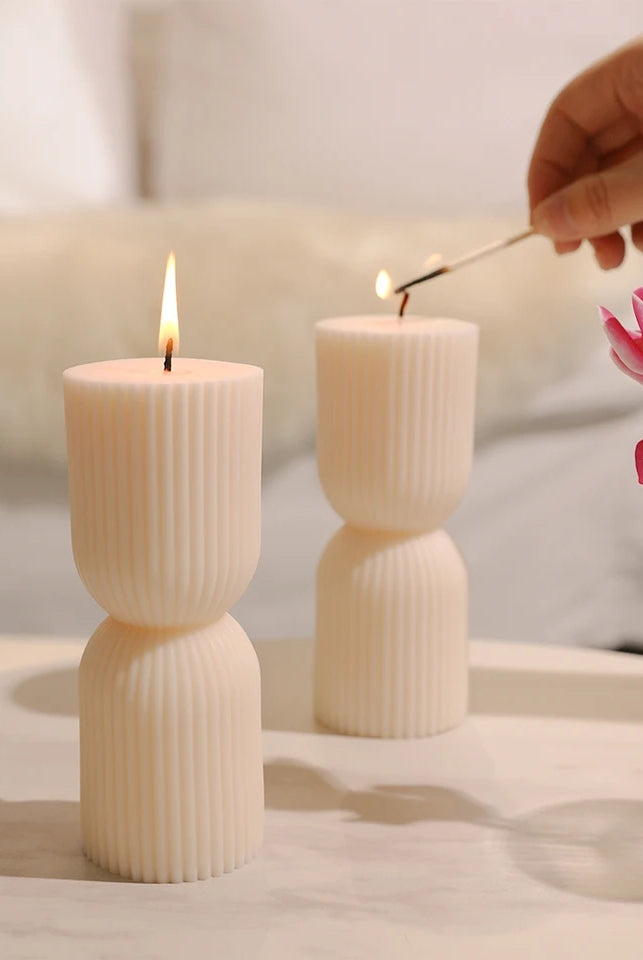
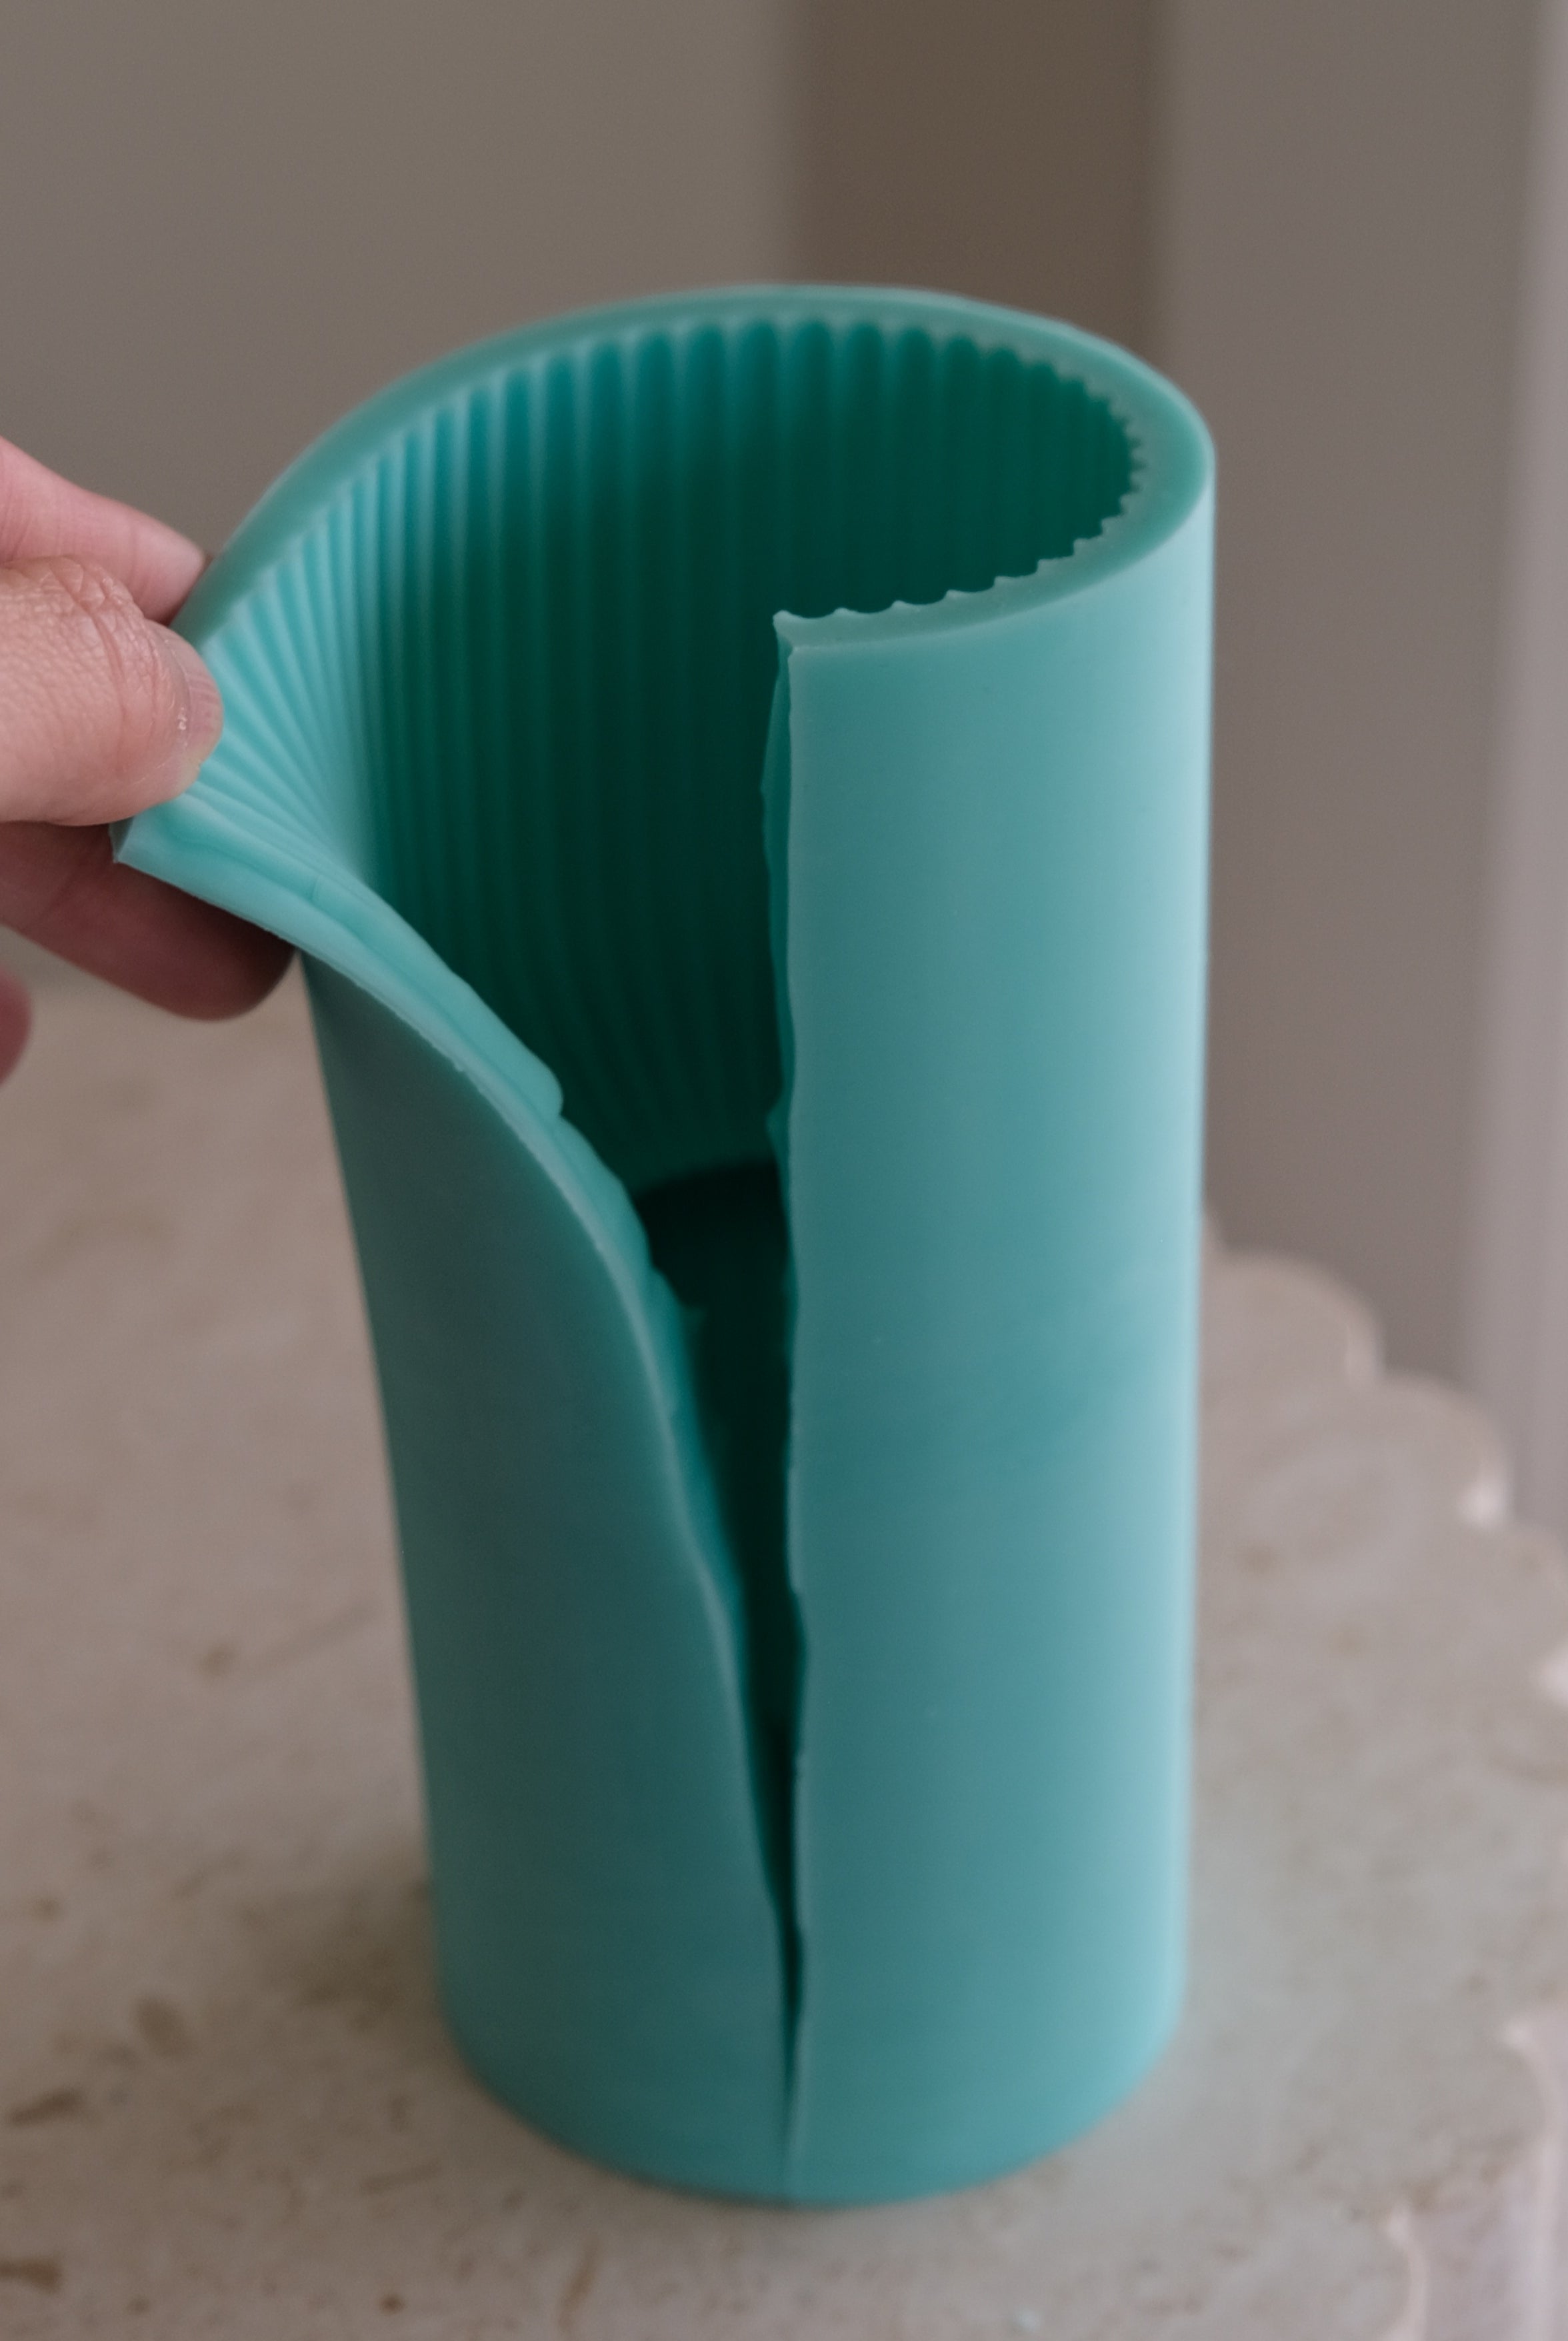
If you're a candle maker, you may have considered making your own silicone moulds to create unique shapes and designs for your business. While it's certainly possible to make your own moulds, the question is, is it worth it? In this post, we'll explore the pros and cons of making your own silicone moulds and help you determine whether it's the right choice for you.

Will Making Your Own Moulds Save You Money?
One of the most common questions we get asked is whether making your own moulds will save you money. The short answer is no. While making your own moulds may be cheaper than buying pre-made moulds in the long run, it's not necessarily a cost-saving measure. To create a truly unique design, you will need to design and 3D print your own models. 3D printing alone is a difficult skill to master, not to mention the costs of machinery and materials required to do this.
That being said, making your own moulds can offer other benefits that may be worth the investment.
Benefits of Making Your Own Silicone Molds
-
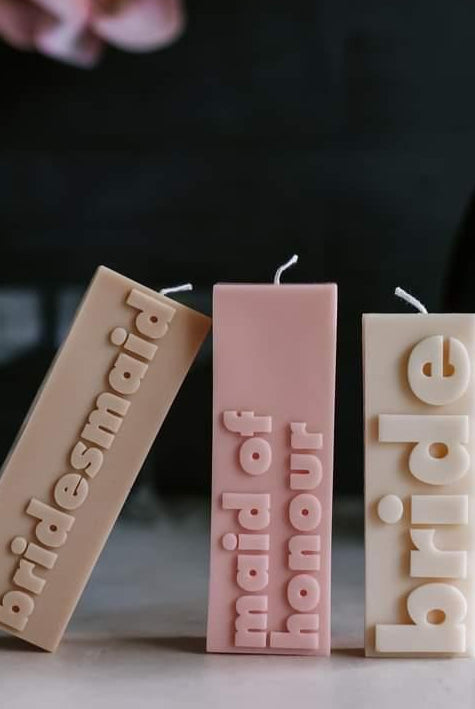
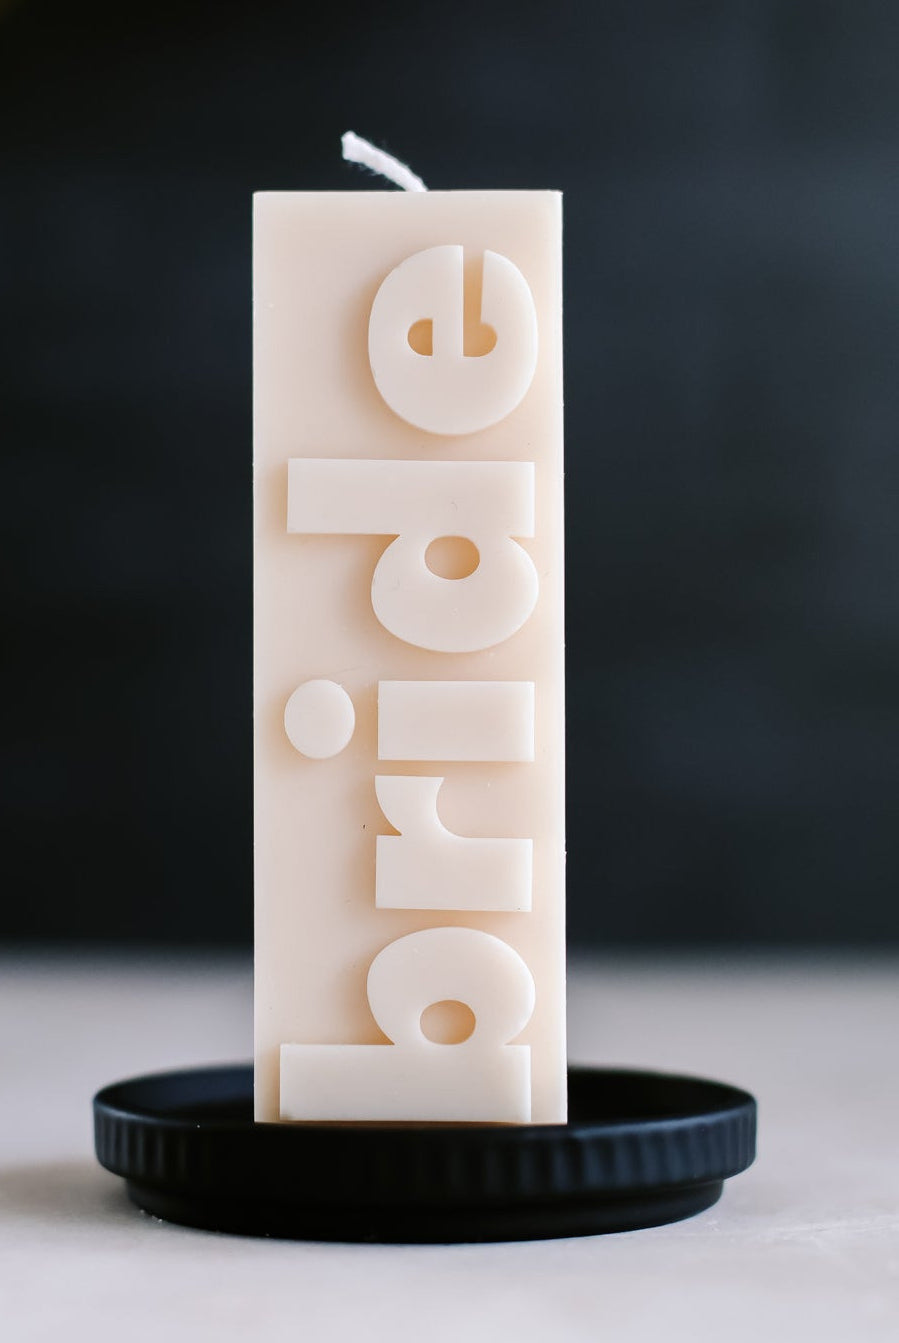
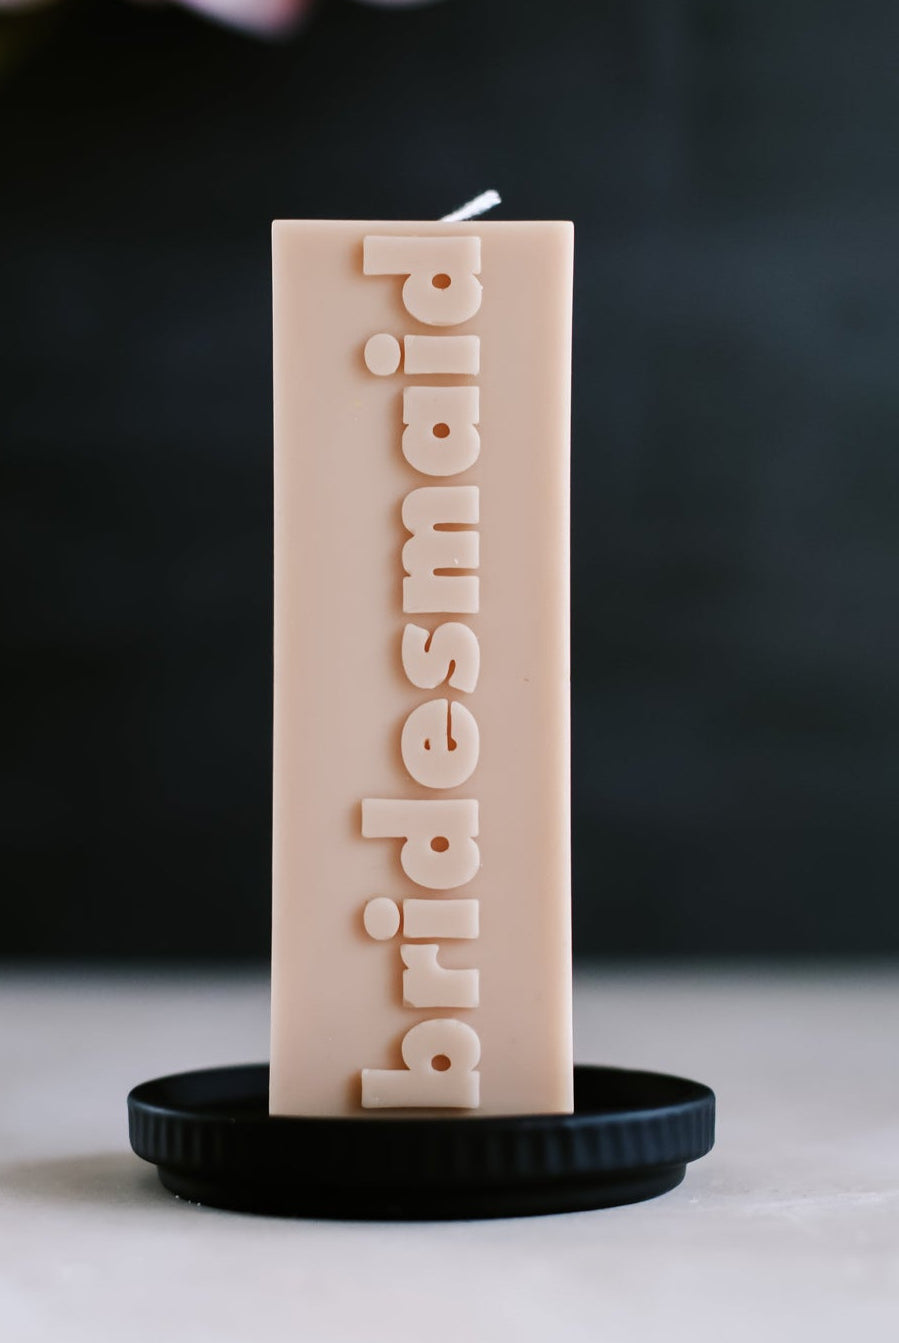
Customization: Making your own moulds allows you to create truly unique designs that aren't available on the market. This can be a major selling point for your candles and can help you stand out in a saturated market.
-
Control: When you make your own moulds, you have complete control over the design and production process. This means you can create moulds that are tailored to your specific needs and preferences.
- Flexibility: By making your own silicone moulds, you have the flexibility to adjust the hardness level of the mould. This can be useful for creating moulds that are suited for specific candle types or production methods. The hardness level of the silicone plays a large factor in how well the mould holds its shape once wax is poured into it, and also how easy a mould is to unmould. By selecting the right hardness level for your specific needs, you can ensure that your moulds are strong, durable, and effective. There are typically several different hardness levels of silicone available, which are commonly measured on a hardness scale ranging from 0 to 100, with lower numbers indicating a softer, more flexible material and higher numbers indicating a harder, more rigid material. The specific hardness levels available may vary depending on the brand and type of silicone, but common ranges for silicone moulds used in candle making can be between 10 and 40 Shore A. It's important to choose the right hardness level for your specific needs to ensure the best possible outcome.
![]()
Equipment Required to Make Silicone Moulds
Making silicone moulds requires some essential equipment, including:
-
Silicone: You'll need a food-grade, platinum-cure silicone that is safe for candle making. You'll also want to choose a silicone that is heat-resistant so that it can withstand the high temperatures of melted wax.
-
Drill Mixer: A drill mixer is an essential piece of equipment required to mix the silicone and catalyst thoroughly. Improperly mixed silicone can result in cure inhibition, which will ultimately need to be disposed of. Additionally, some silicone have a fast cure time, so it's crucial to mix the silicone as thoroughly and as quickly as possible to avoid the silicone curing before it's time to pour.
-
Vacuum Pump: To remove air bubbles from the silicone, you'll need a vacuum pump. Degassing is an important step in the mould-making process, as air bubbles can weaken the mould and cause imperfections in the final product.
-
Release Agent: When making moulds for candle making, it's important to use a release agent to help the candles release from the mould. A popular choice is a spray-on release agent made specifically for mould making.
![]()
Tips for Making Your Own Silicone Moulds
-
Silicone cures much faster in warmer weather, so it's essential to keep the temperature in mind when making your moulds. If the room temperature is higher than the recommended range, the silicone will cure more quickly, leaving less time for you to mix and pour the silicone. It's important to work quickly and efficiently in warm weather to avoid any issues.
-
Even if the silicone says it doesn't need to be degassed, we recommend being on the safe side and degassing it anyway. Using a drill mixer can incorporate more air into the silicone and degassing ensures that any trapped air bubbles will be removed.
-
Make sure the surface you're pouring the silicone onto is level and free from debris. Any unevenness or debris can cause the mould to be uneven or contain imperfections, resulting in candles that aren't the right shape or size. It's important to take the time to prepare the surface before pouring the silicone to ensure the best possible outcome.
-
Follow the manufacturer's instructions carefully when mixing and pouring the silicone. The ratios of silicone and catalyst can vary depending on the brand and type of silicone, so it's essential to read the instructions carefully to ensure that the mould sets correctly. Mixing and pouring the silicone incorrectly can result in a cure inhibition or an ineffective mould.
Conclusion
In conclusion, making your own silicone moulds can be a rewarding project for candle makers who want to create unique designs that aren't available on the market. While it may not be a cost-saving measure, the benefits of customization, control, and flexibility may be worth the investment. By following the tips outlined in this post, you can ensure that you create high-quality moulds that result in beautiful, one-of-a-kind candles.
