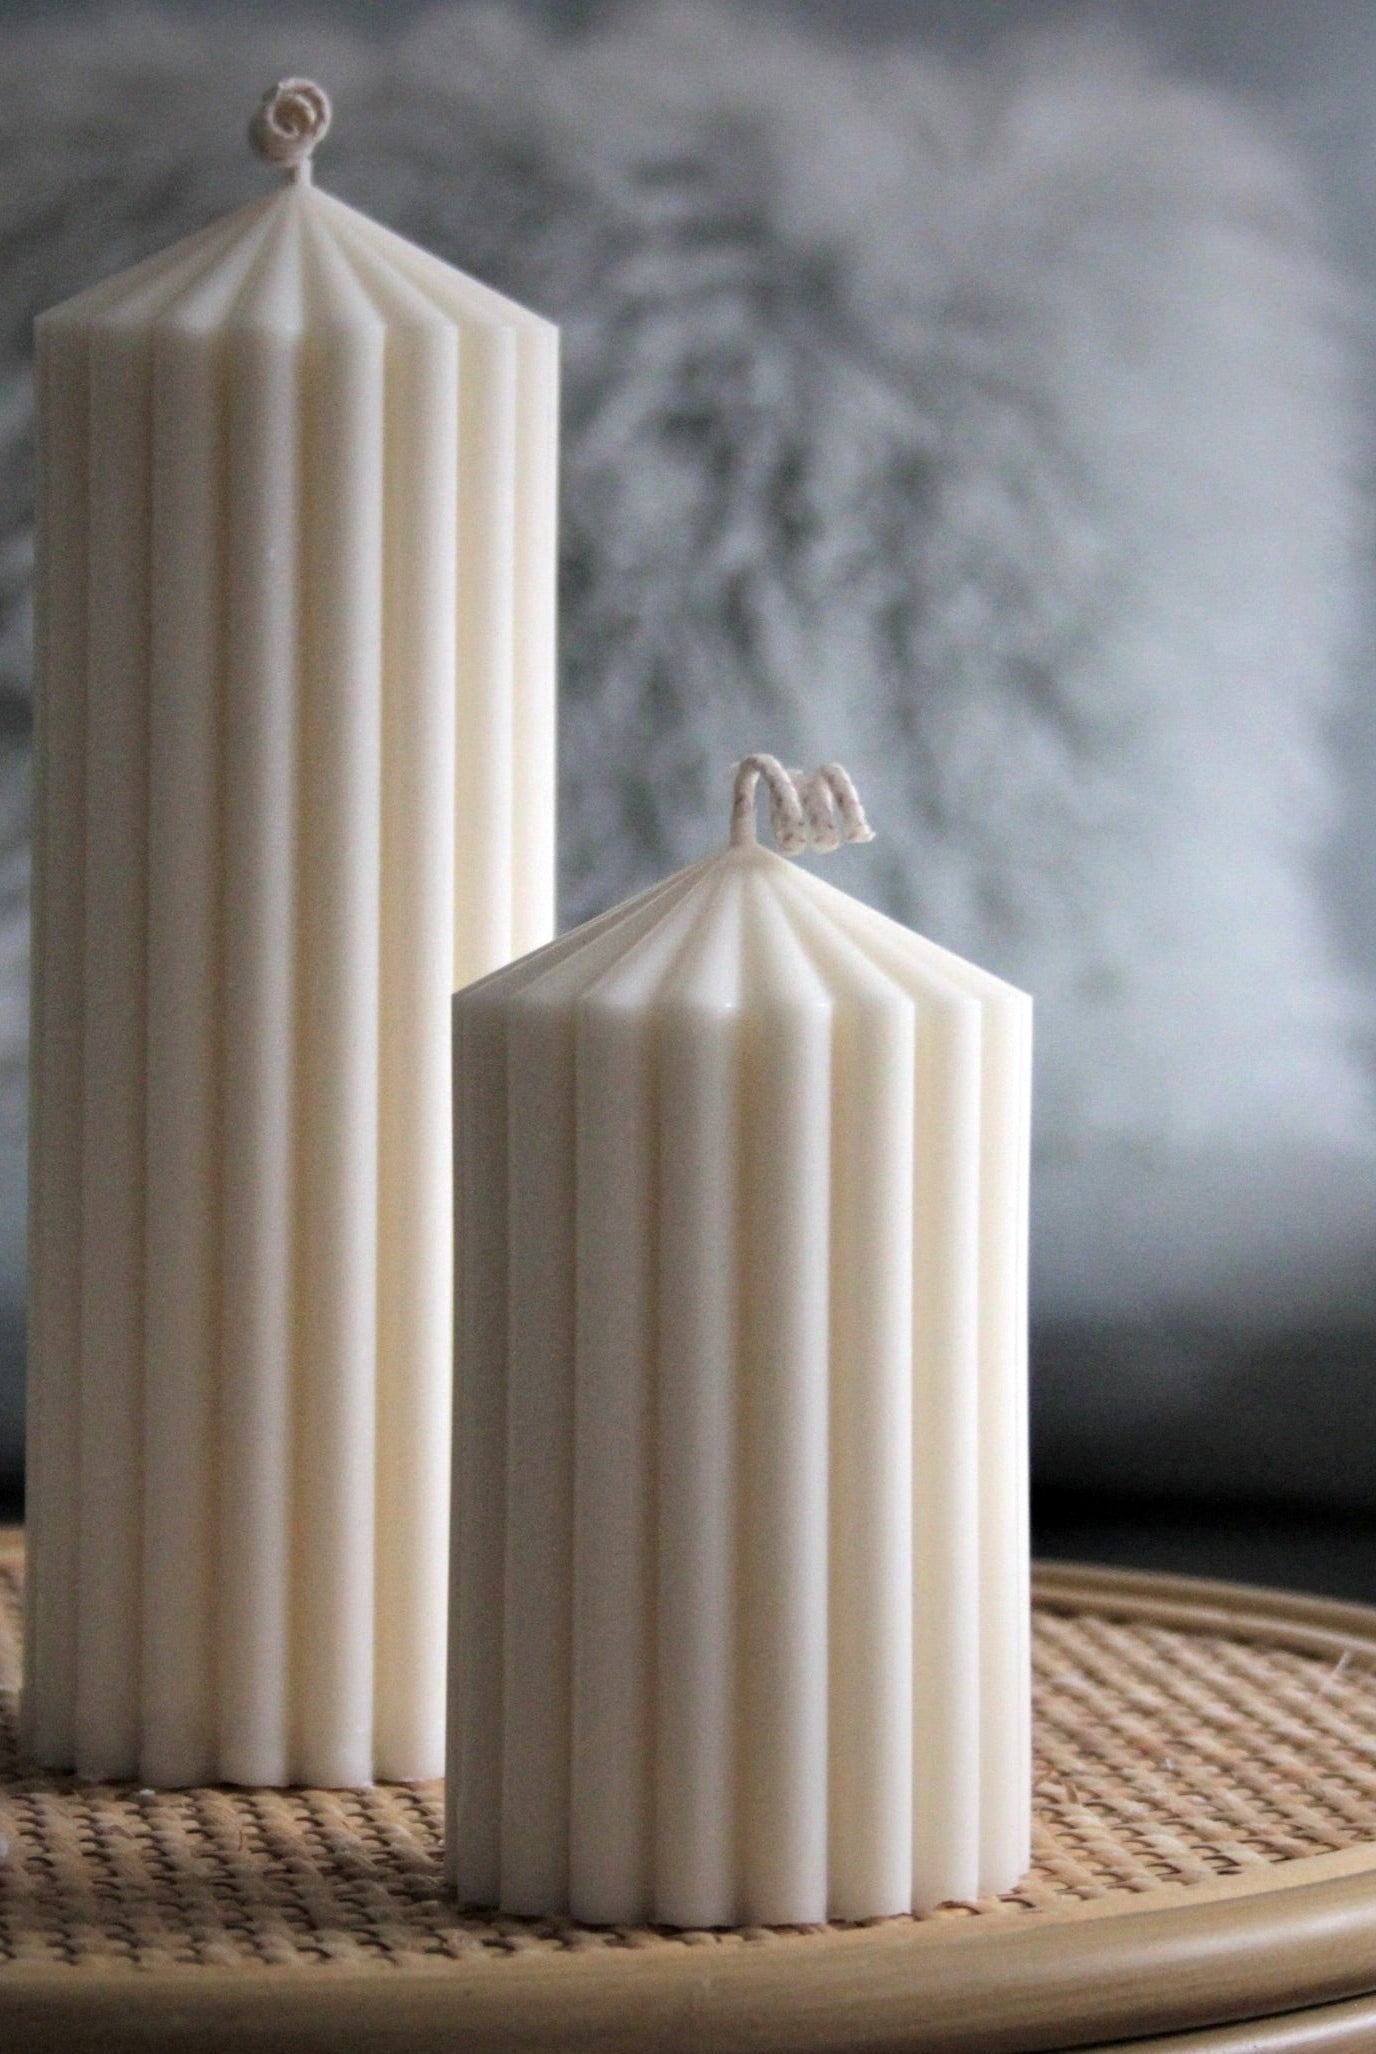
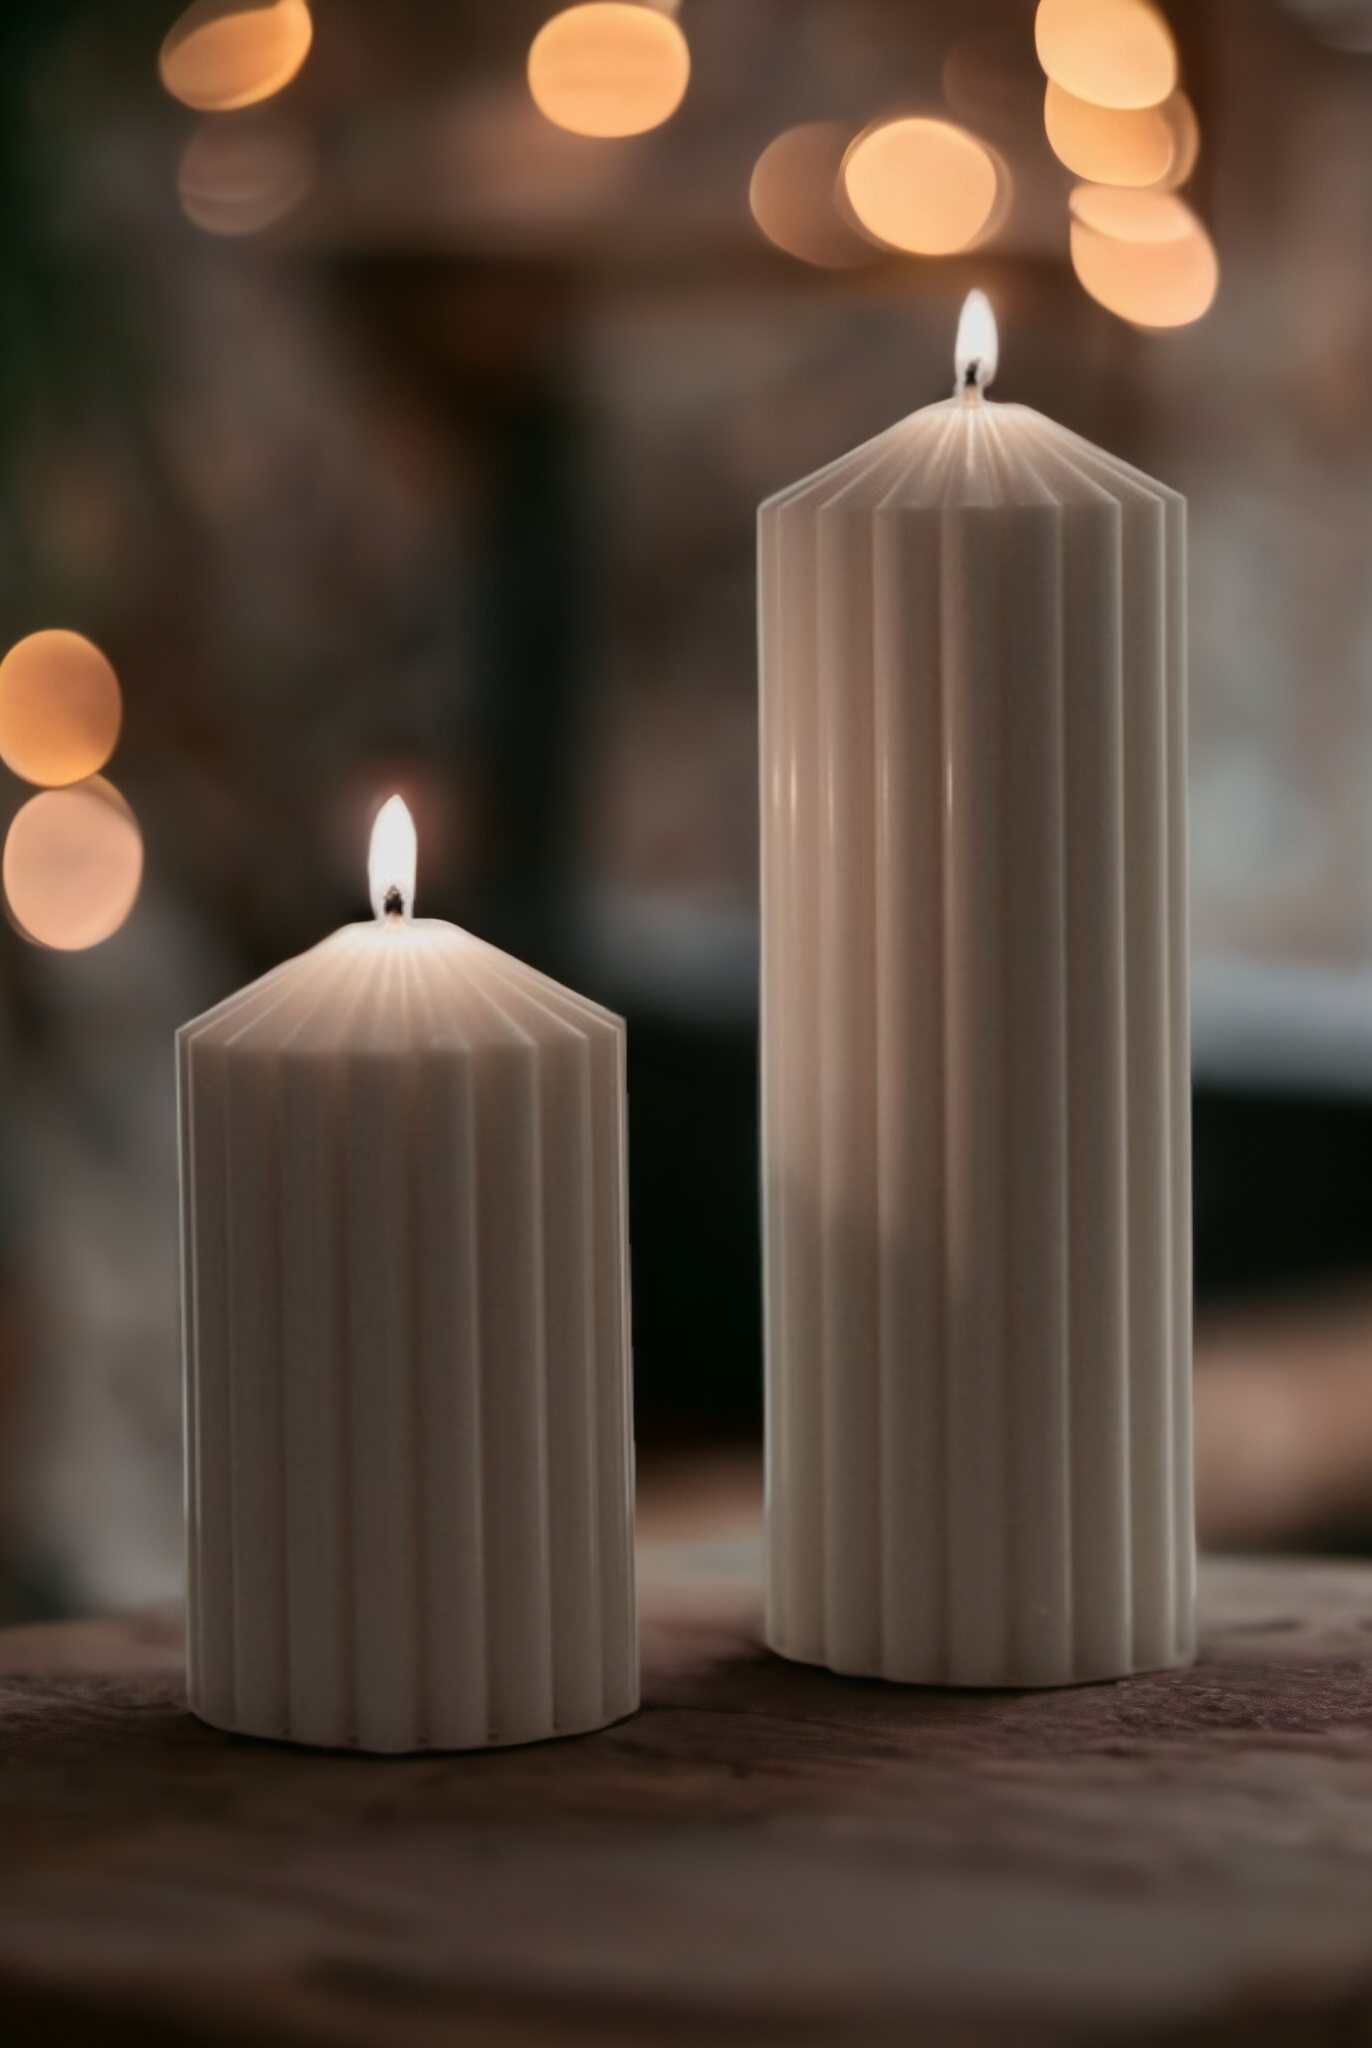
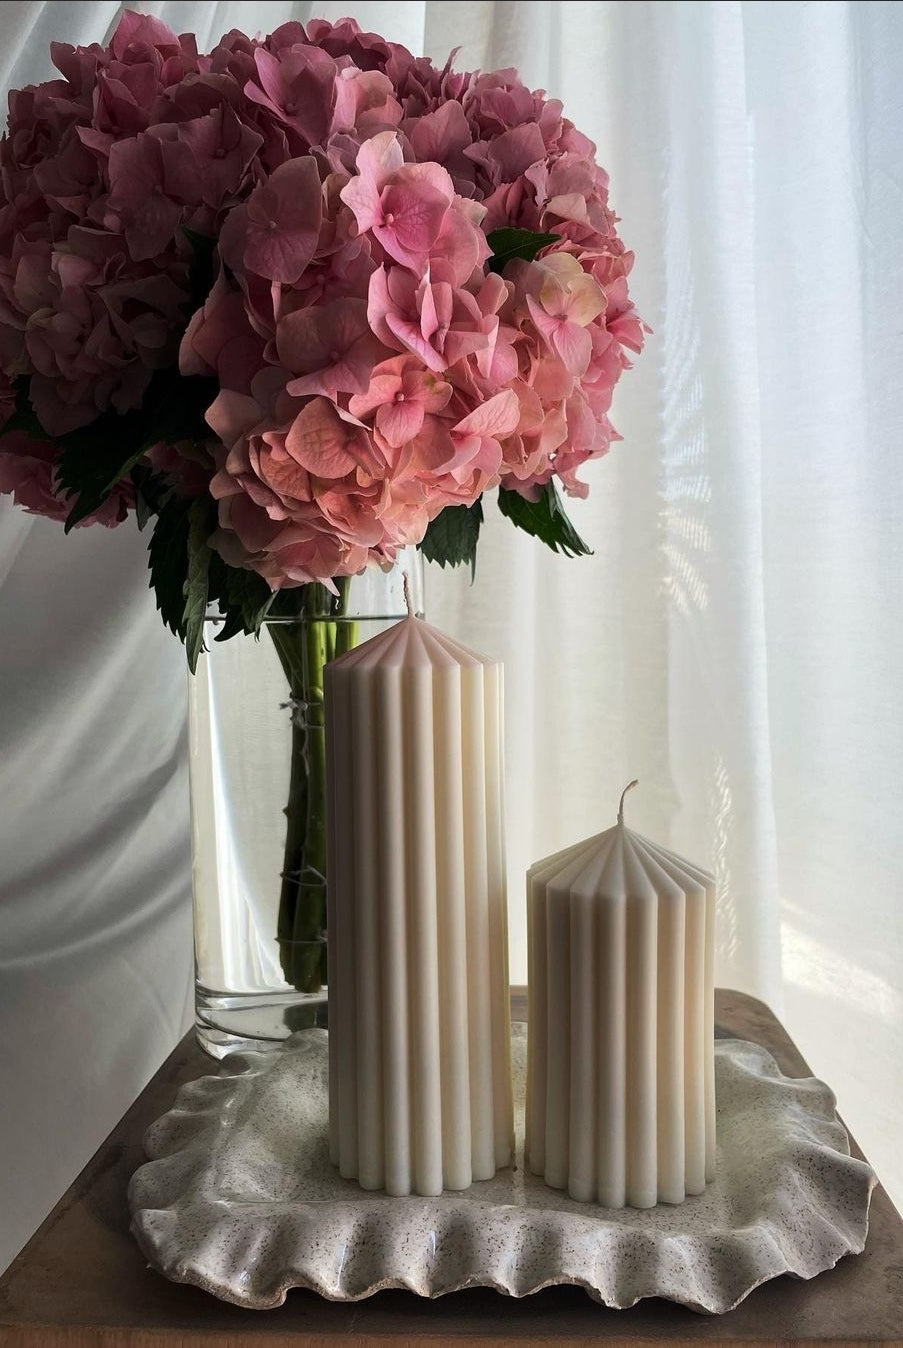
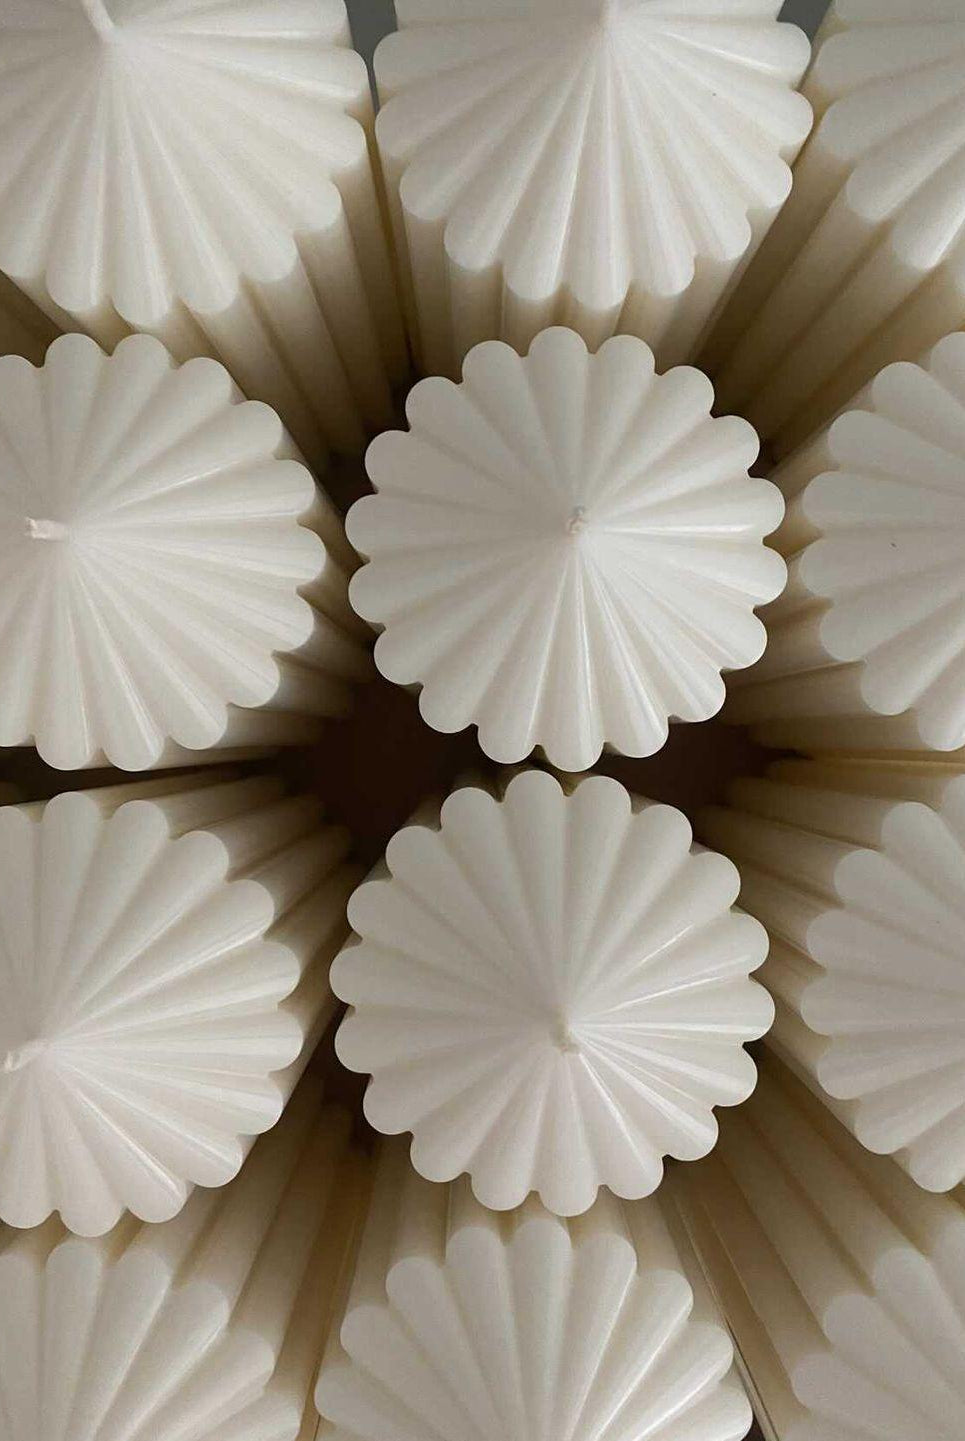
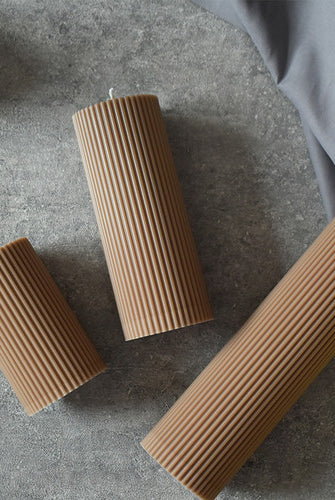
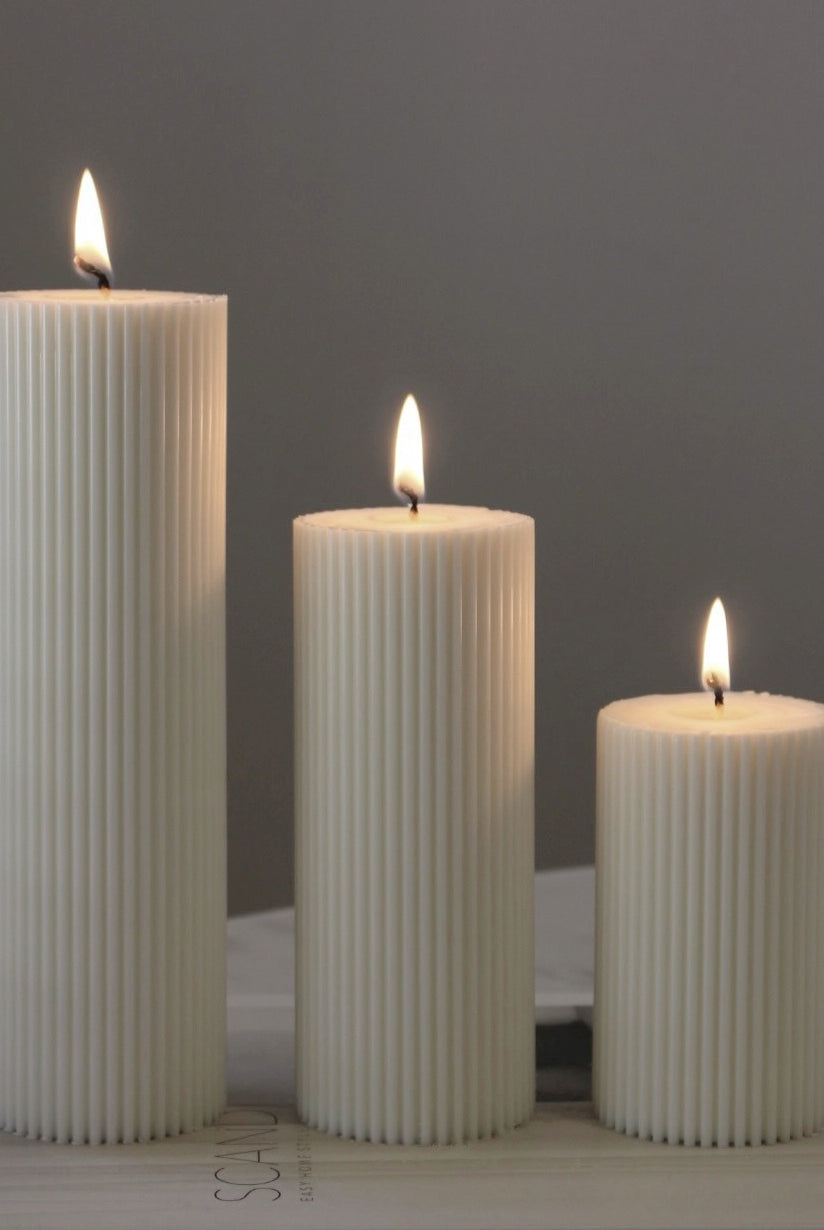
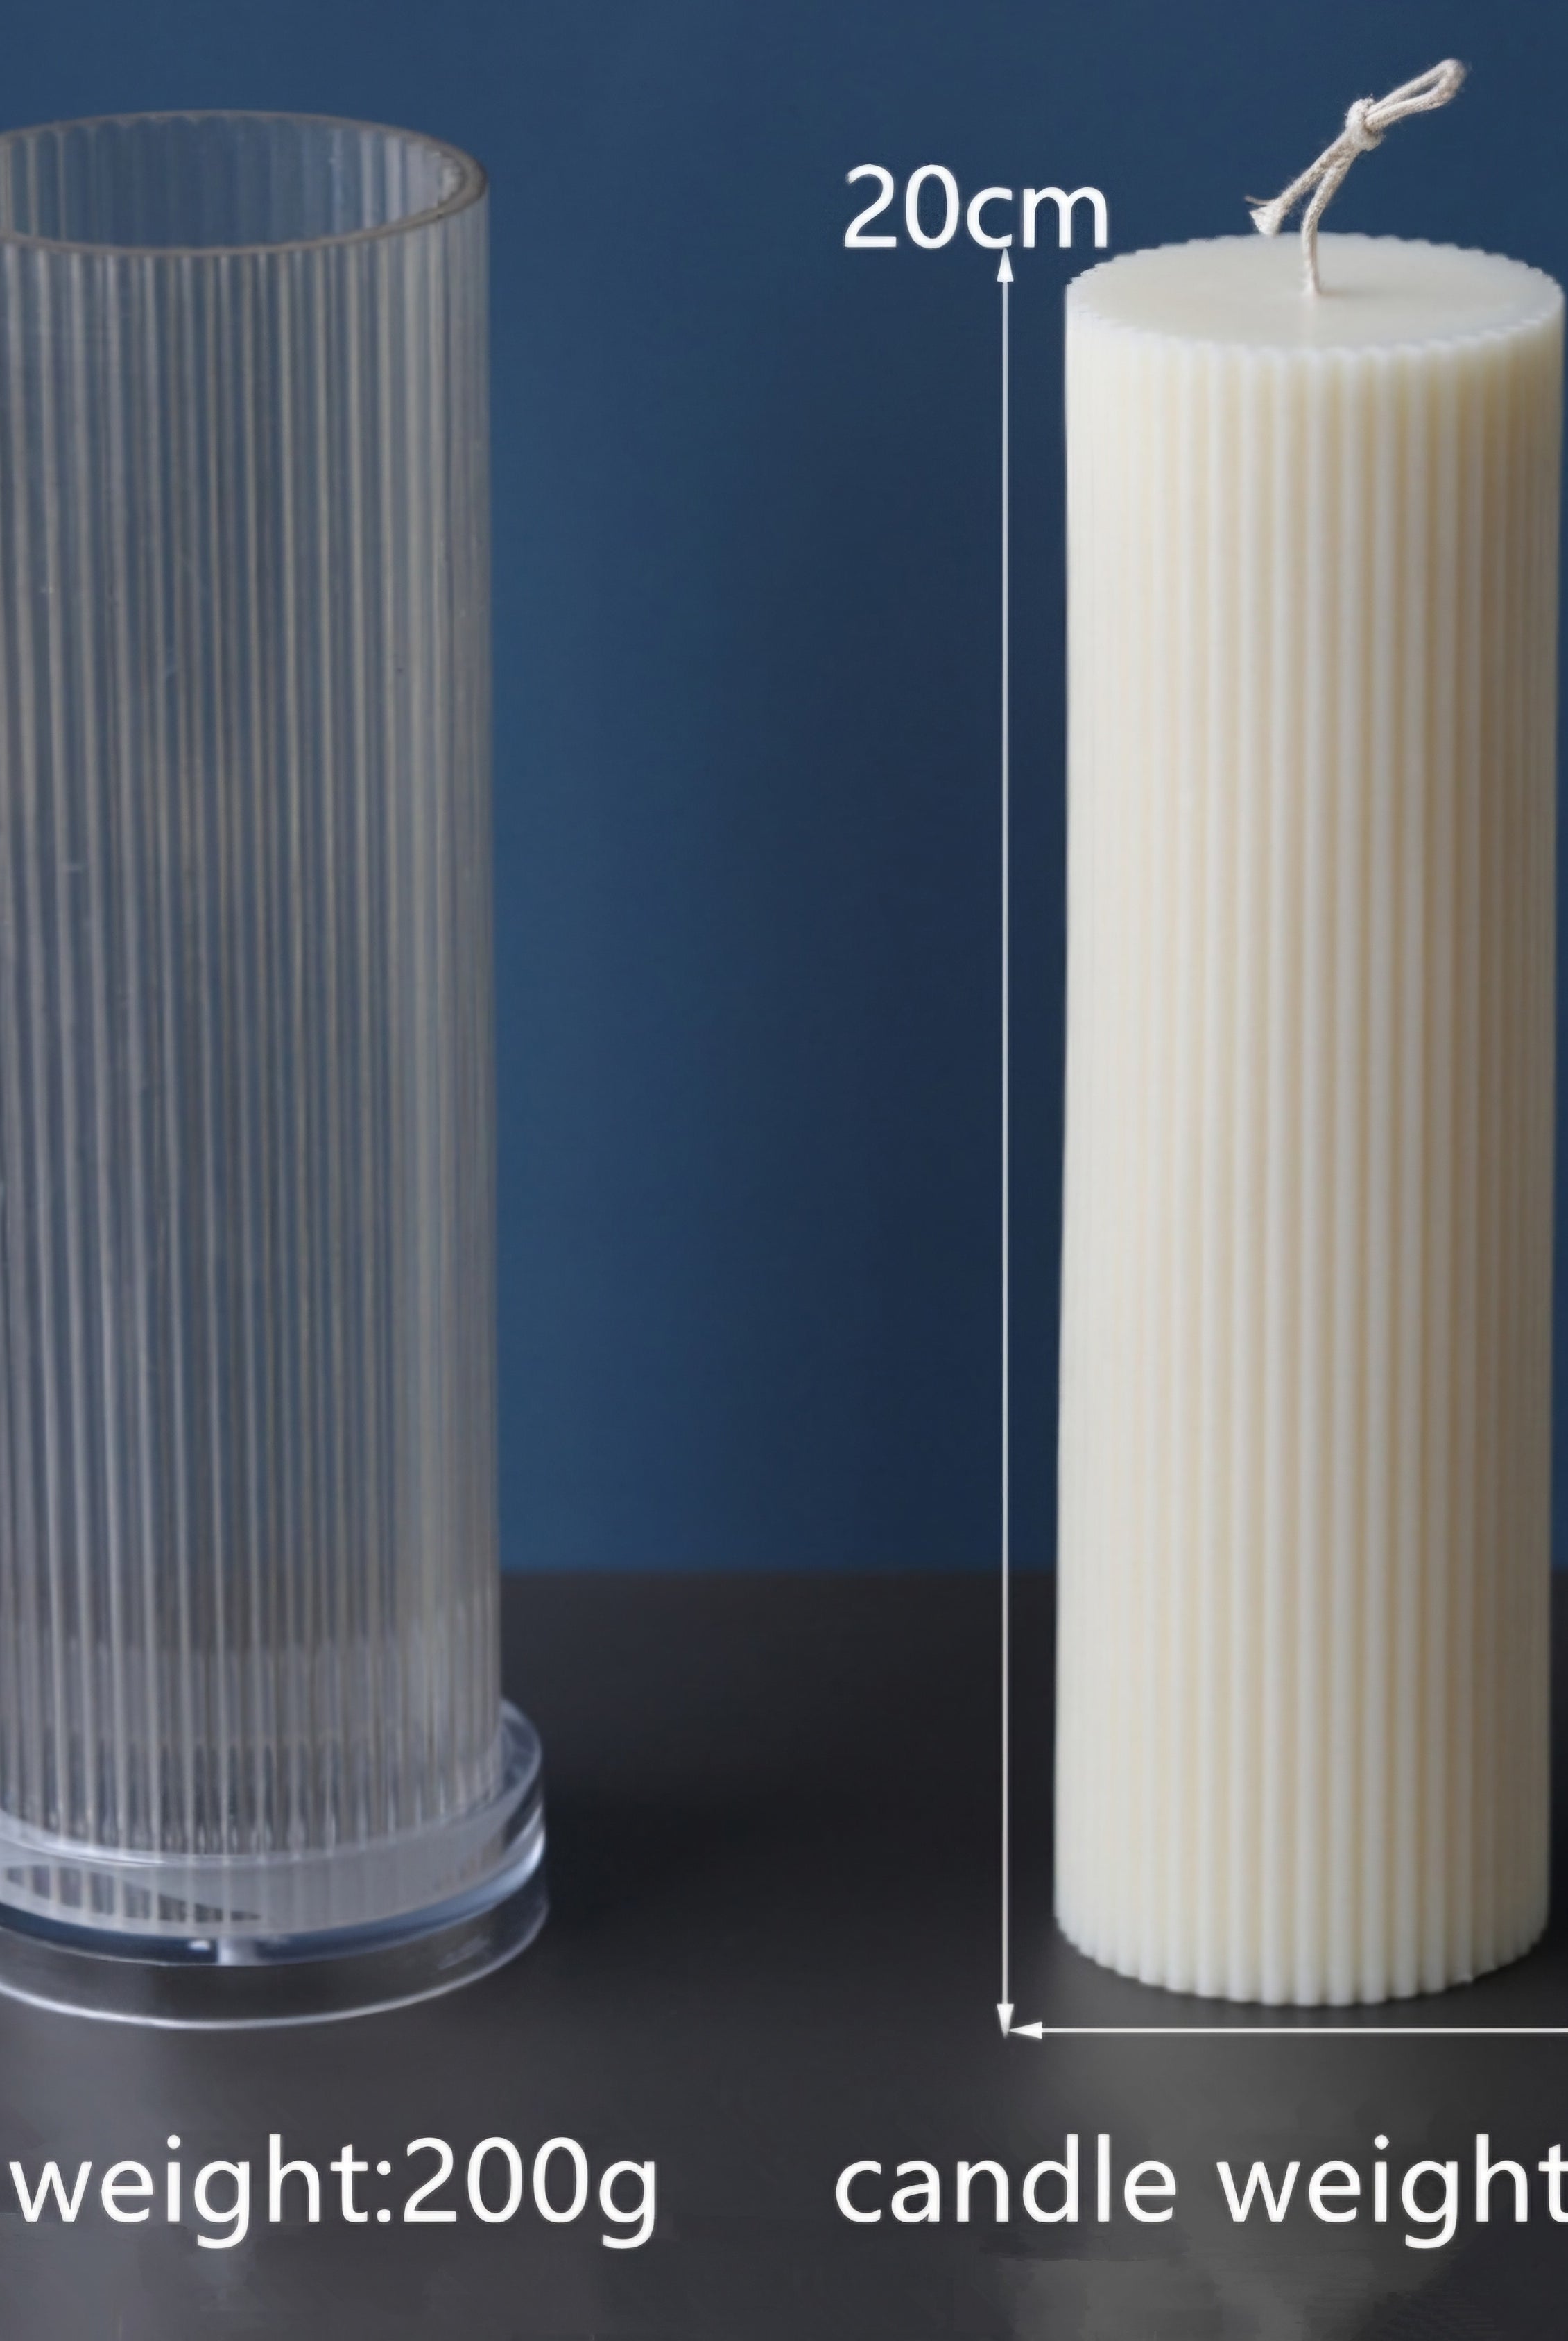
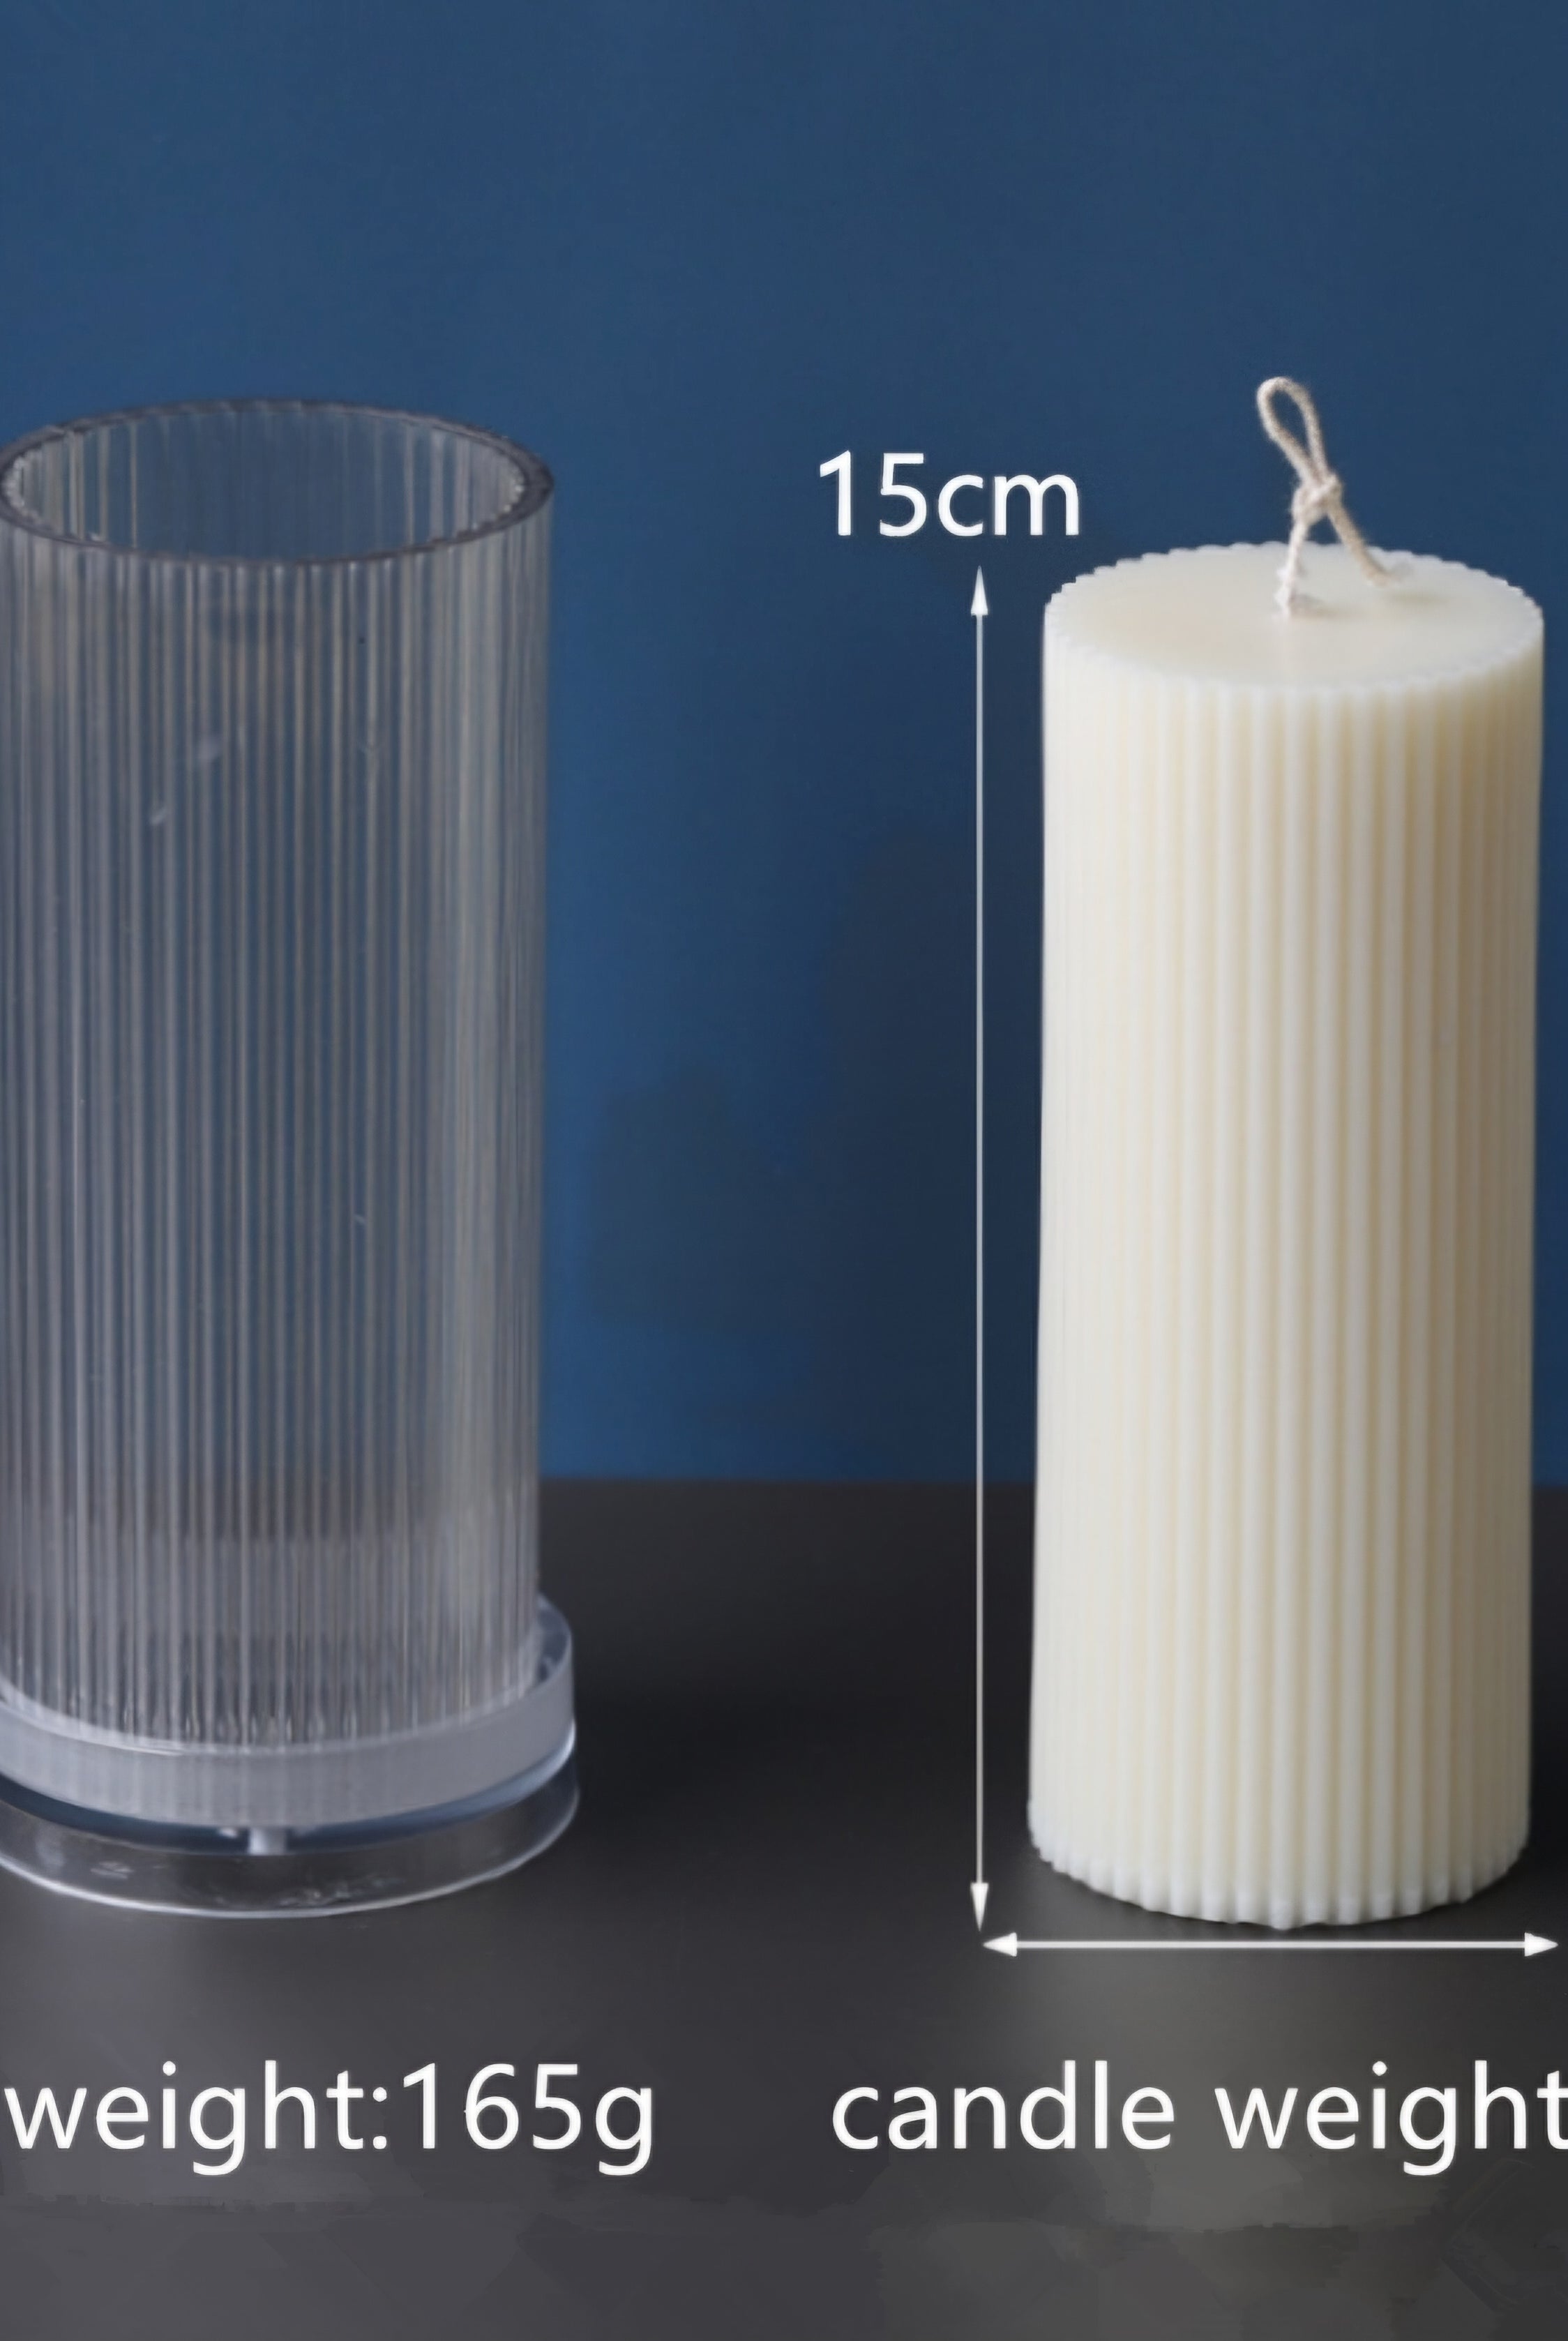
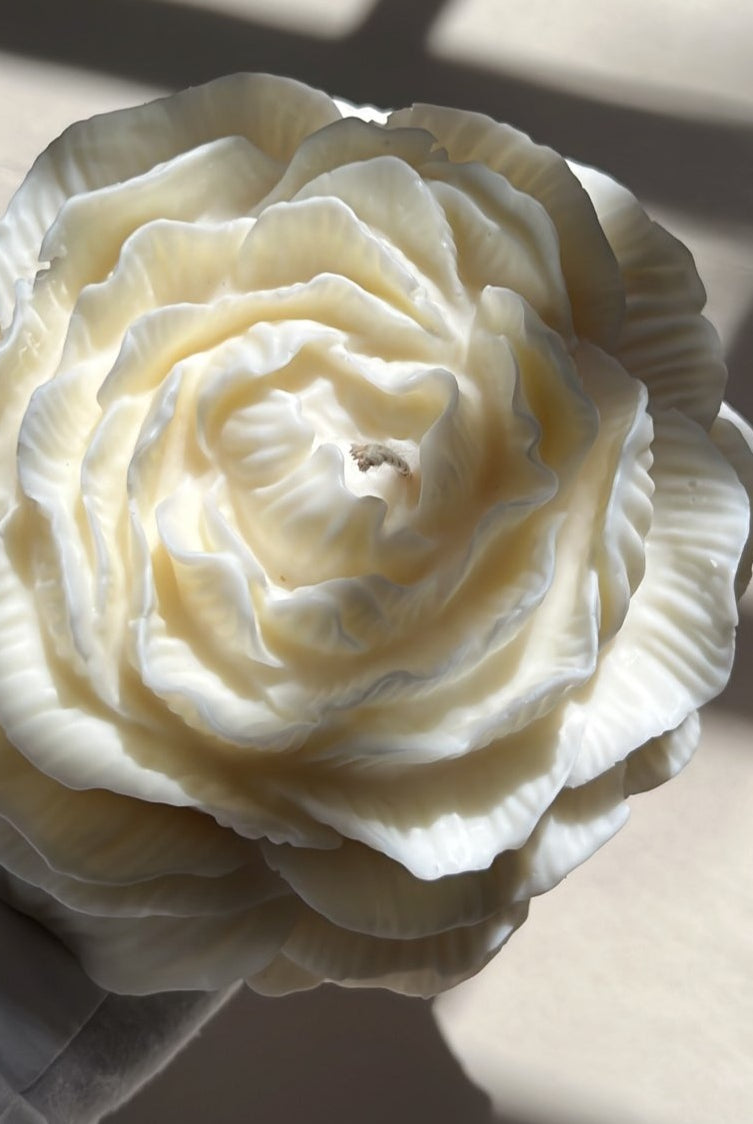
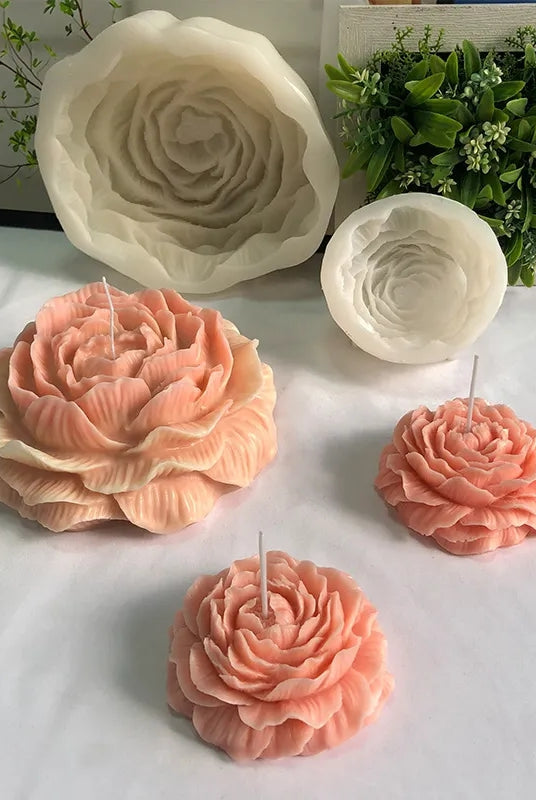
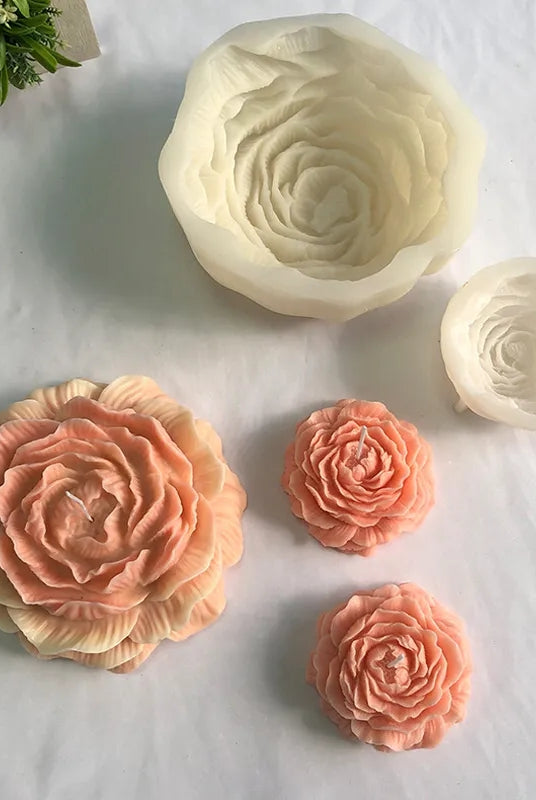
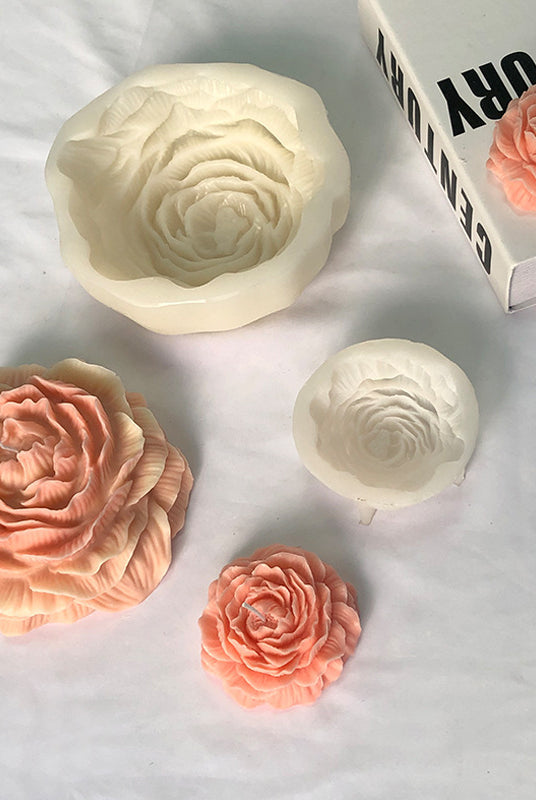
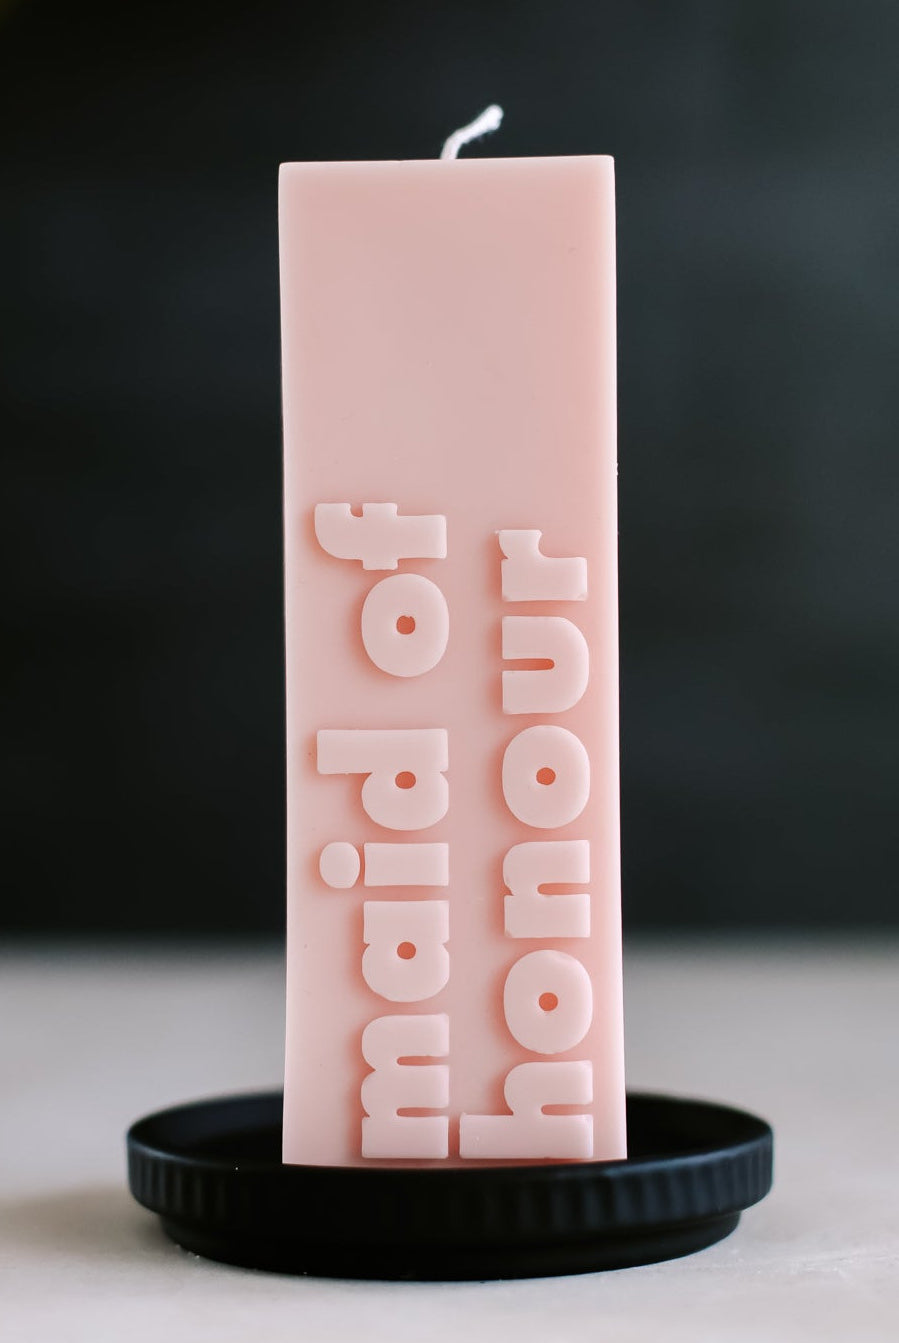
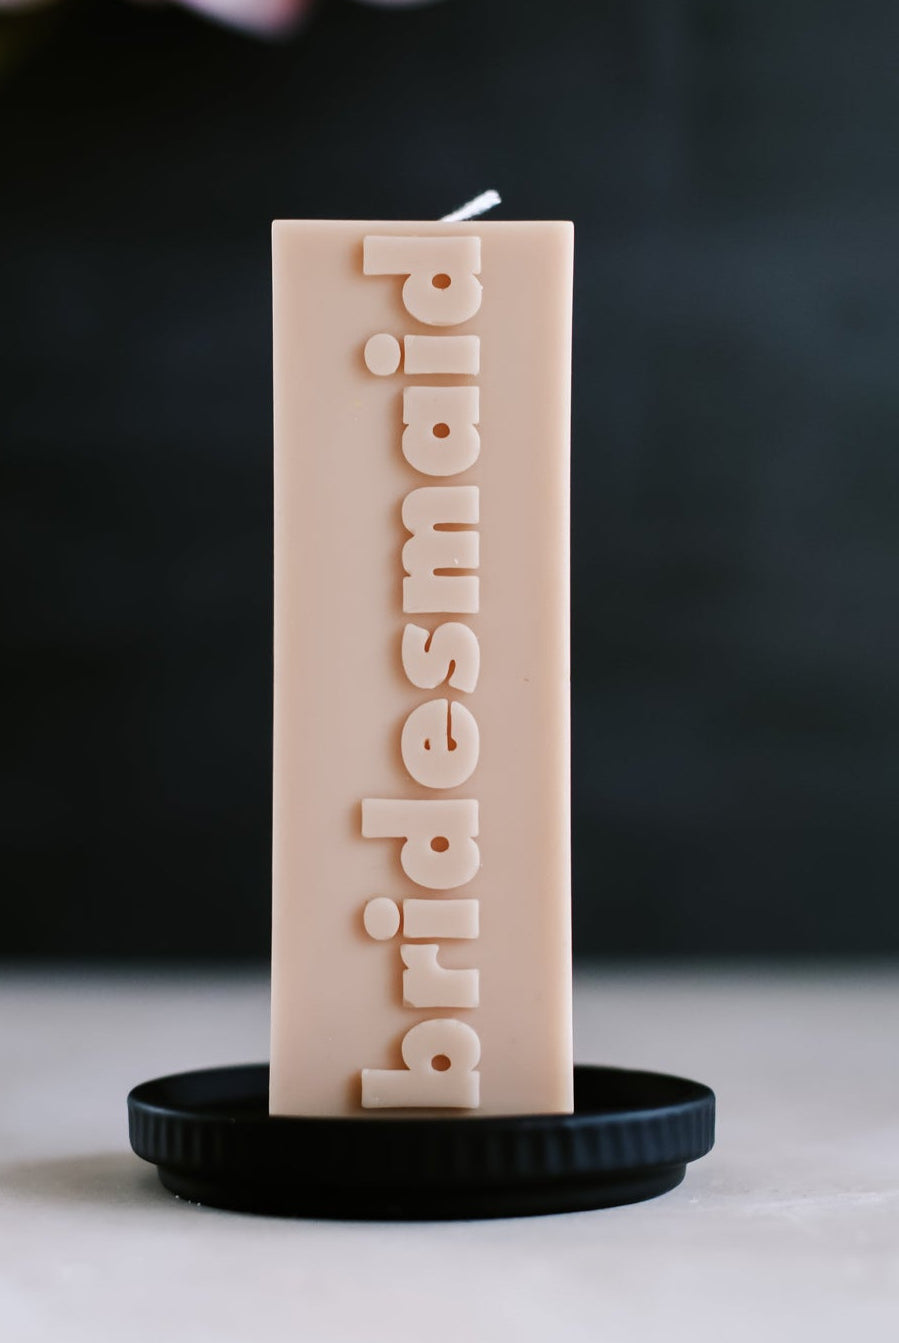
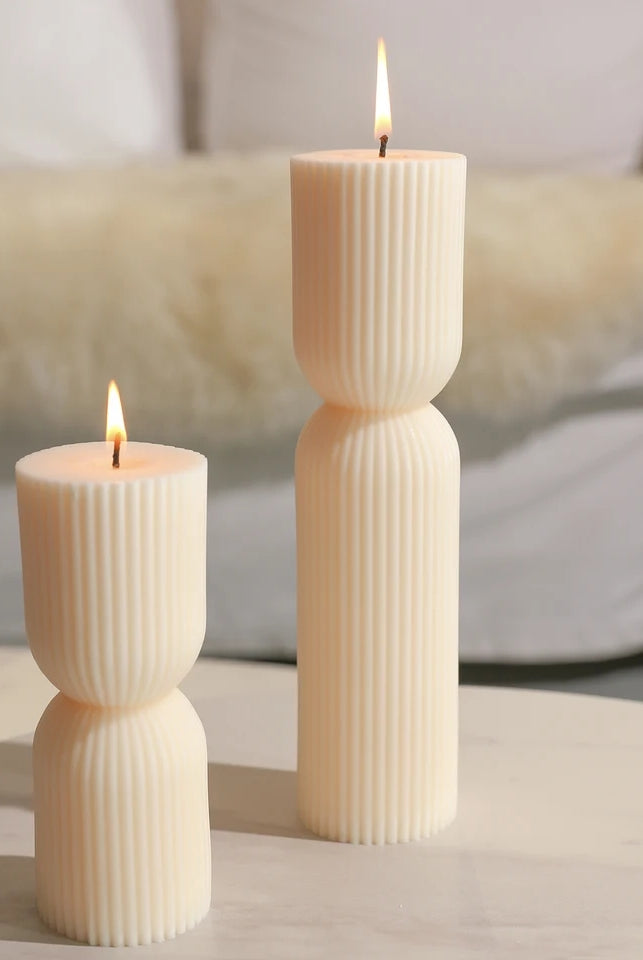
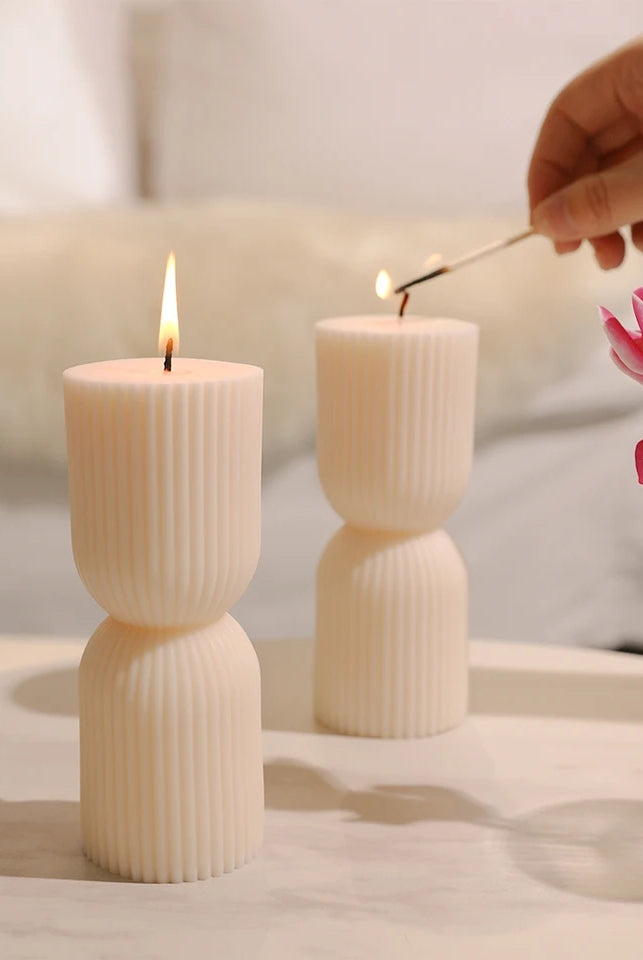
While you might think DIY candle making is easy, it can be as complex as cooking. Having quality equipment and knowing the A-to-Z steps are crucial for crafting beautiful candles.
If you want to make candles the right way, this beginner’s candle-making guide is for you. At Myka Candles and Moulds, we can teach you on how to create aesthetic candles for home decor or gifting.
Before you craft your DIY candles, here are the materials and tools you need to prepare.
Candle-Making Materials
1. Candle Wax
The type of candle wax you select affects your handmade candle's appearance, scent throw and burning time. Below are the different waxes you can use.
- Soy Wax: Natural, clean-burning and holds scent well. Ideal for DIY candles.
- Paraffin Wax: Melts easily, is great for scented and coloured candles and has an excellent scent throw.
- Beeswax: Natural wax with a honey aroma, used for traditional candles and suitable for pillars, tapers and artistic shapes.
- Palm Wax: Creates crystalline or feathered effects, has a hard texture and is ideal for pillars and votive candles.
- Gel Wax: Transparent, great for embedding objects and has a longer burning time.
- Rapeseed Wax: Eco-friendly, cleaner burning and compatible with essential oils.
- Blended Wax: Offers a balanced combination of melting point, scent throw, burn time and texture.
2. Candle Colour Dye
Adding colour dyes beautifies your candles. Here are the types of candle colour dyes you can try.
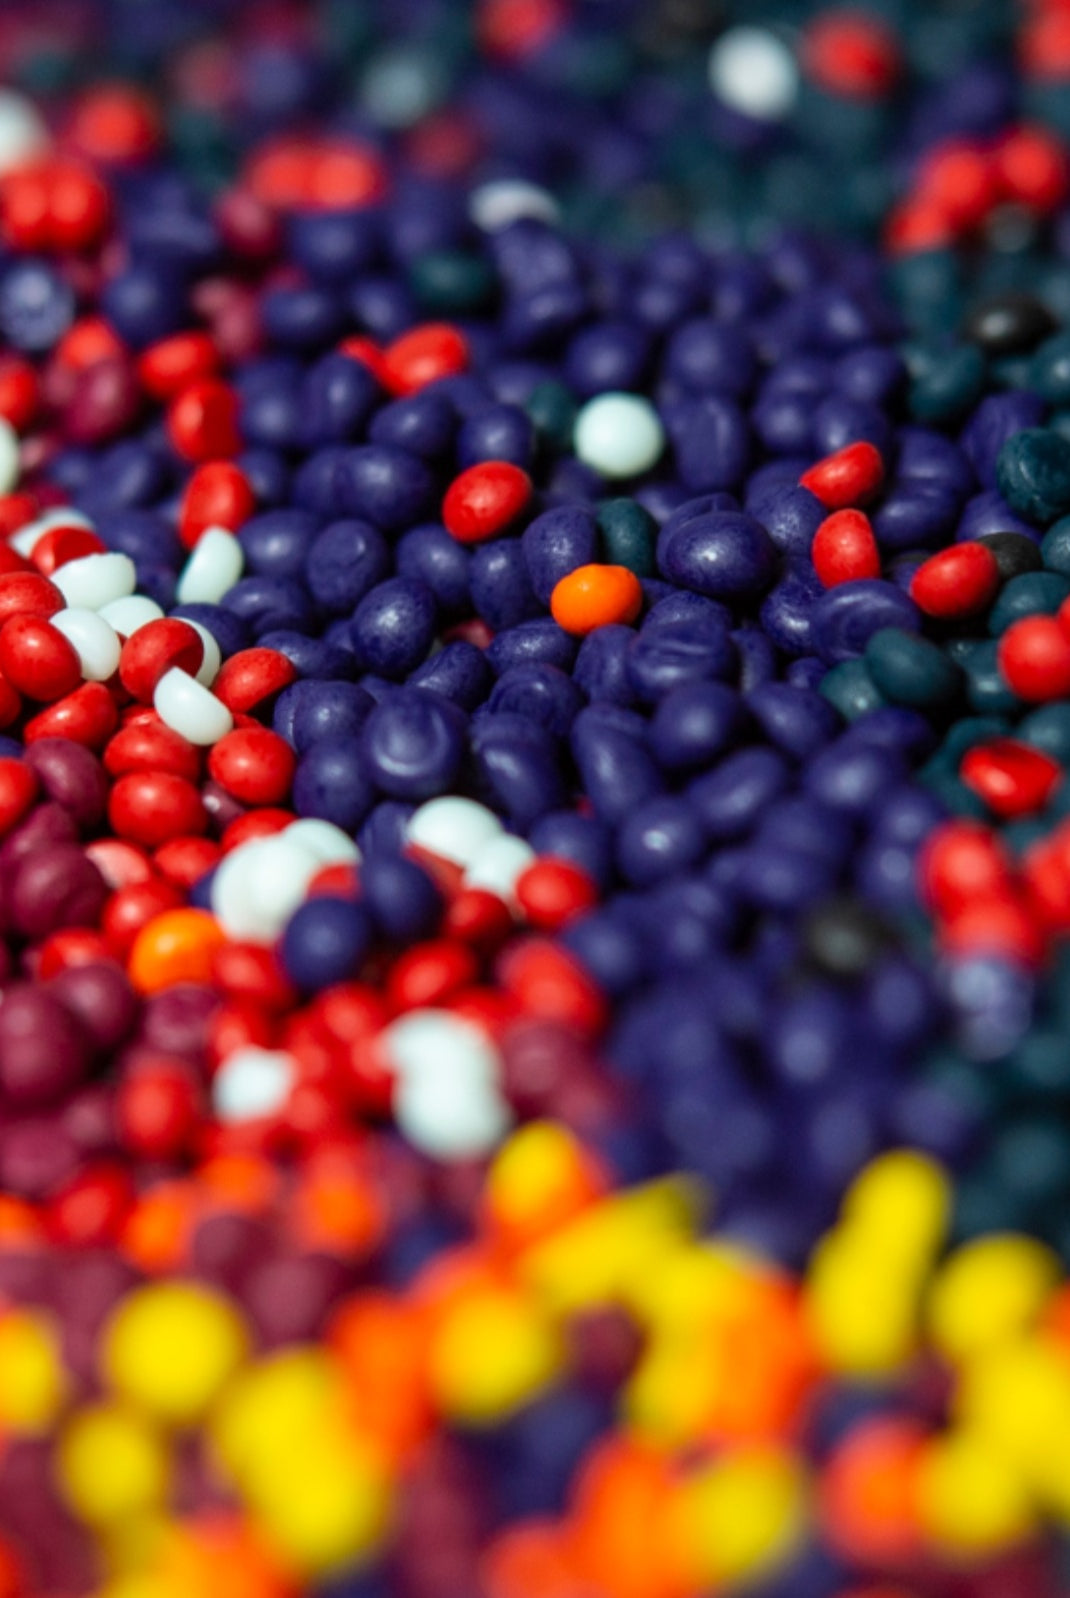
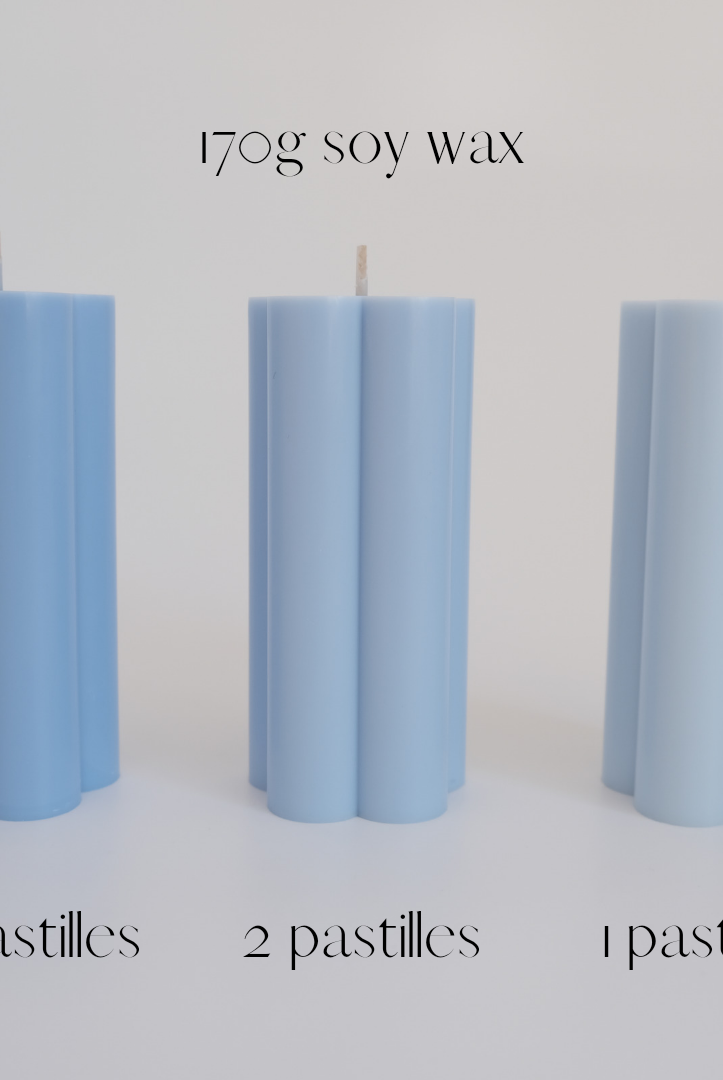
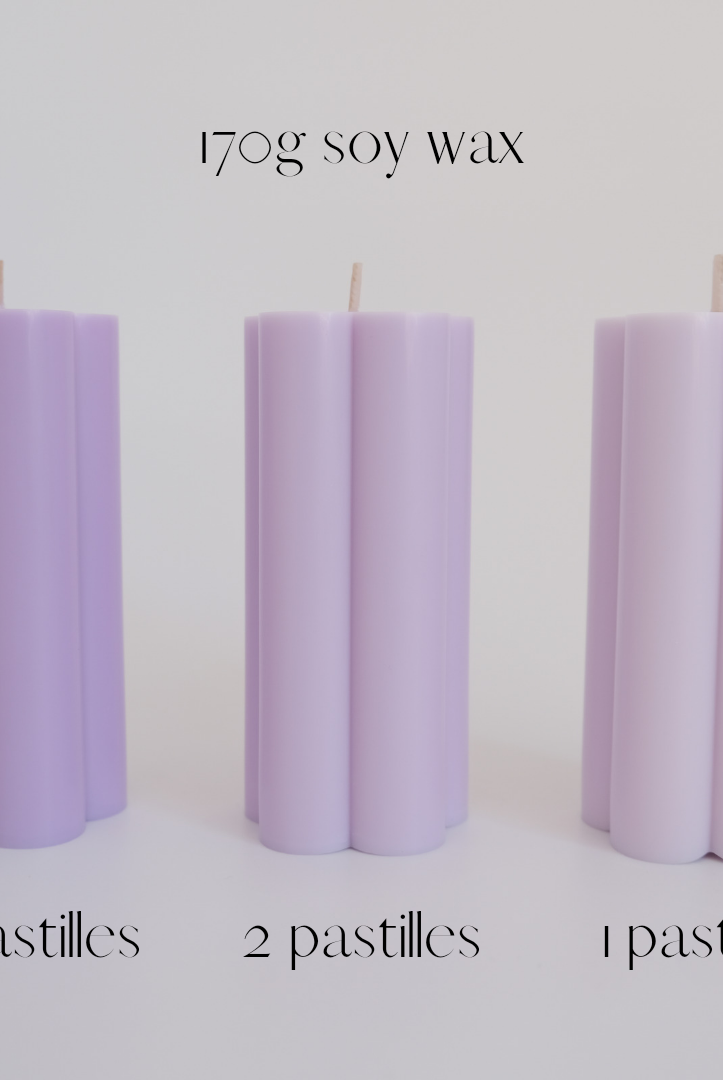
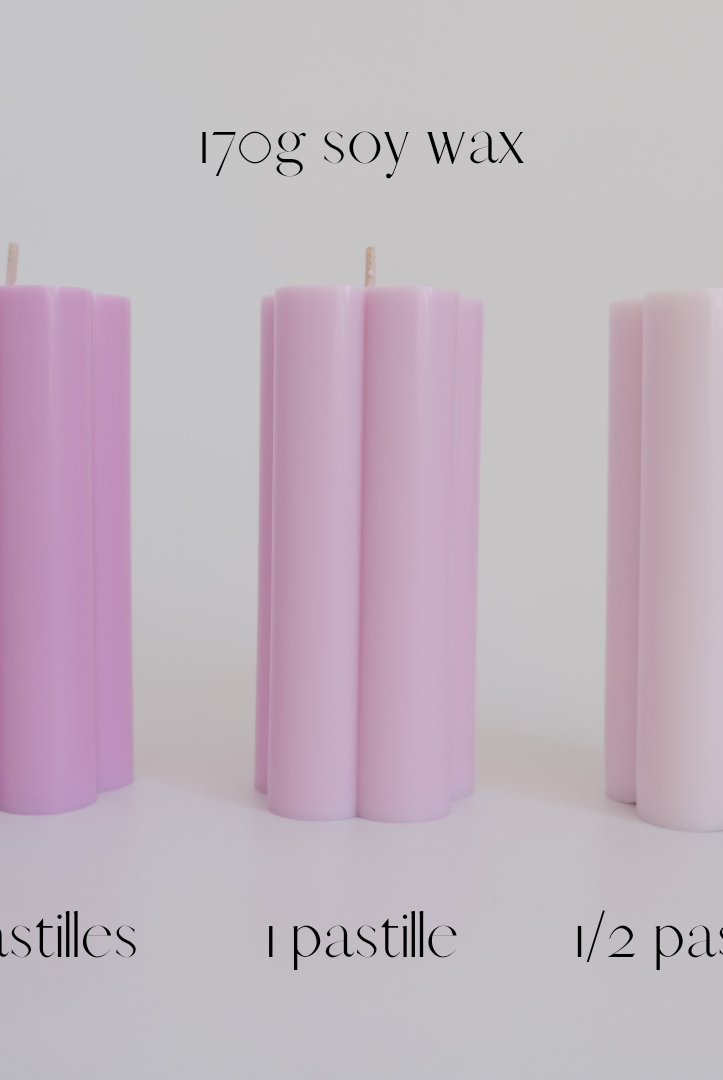
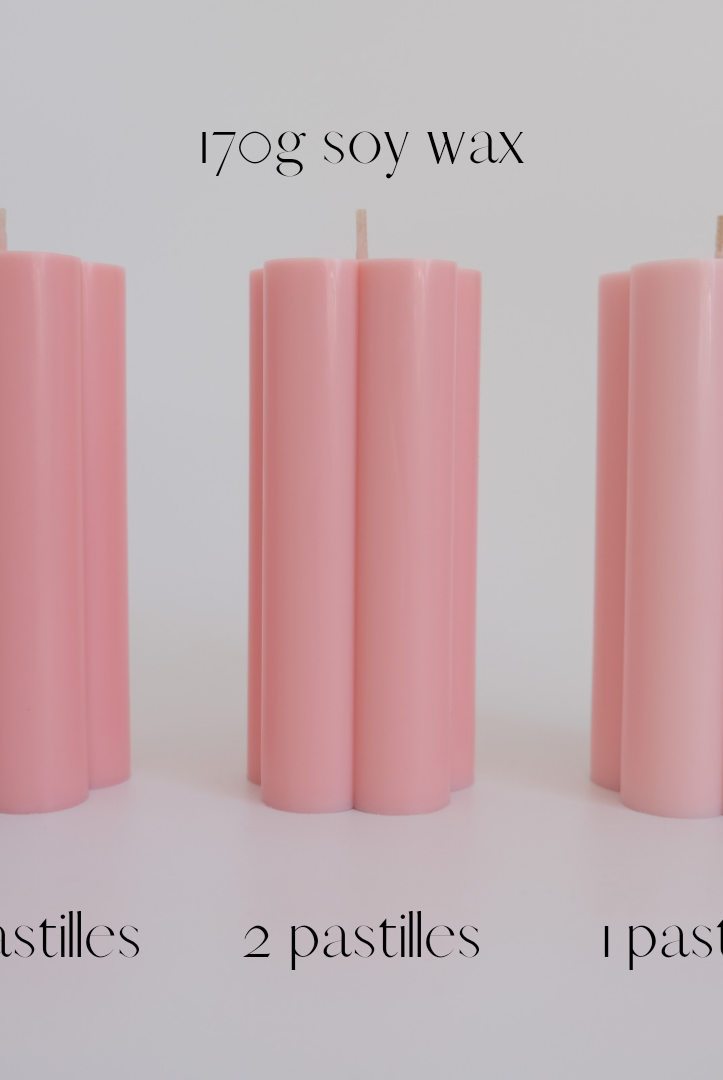
- Candle Dye Pastilles: These high-quality candle dye pastilles produce strong, vibrant colours and are easy to use. It is ideal for candle jars pillar candles and wax melts.
- Candle Dye Flakes: Another excellent option is candle dye flakes. These don’t require a lot of stirring, unlike dye pastilles. For consistent measurements, break dye flakes into pieces.
- Candle Diamond Dye Chips: If you're looking for something unique, consider diamond-shaped candle dye chips. They're perfect for crafting small candles since you only need one chip per pound of wax to colour candles.
3. Candle Moulds
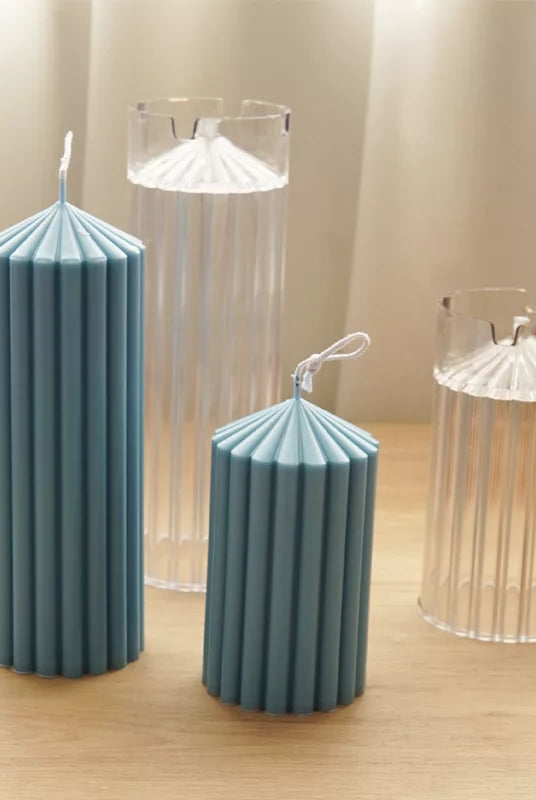
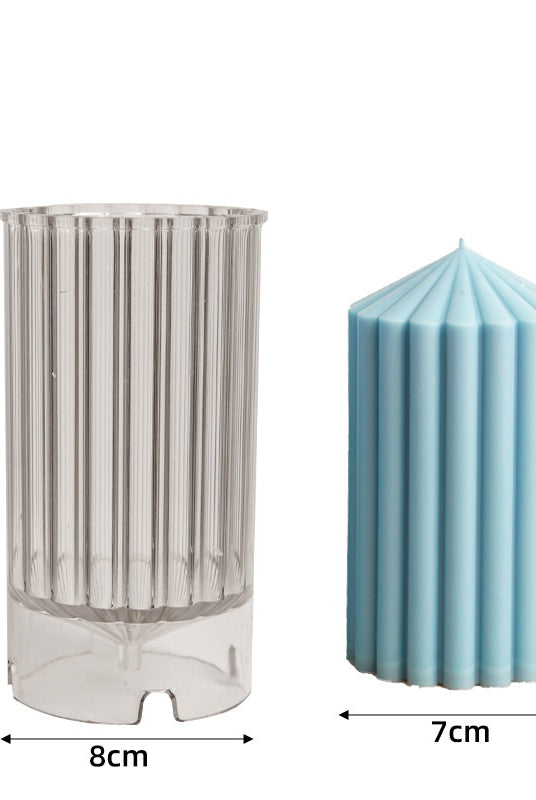
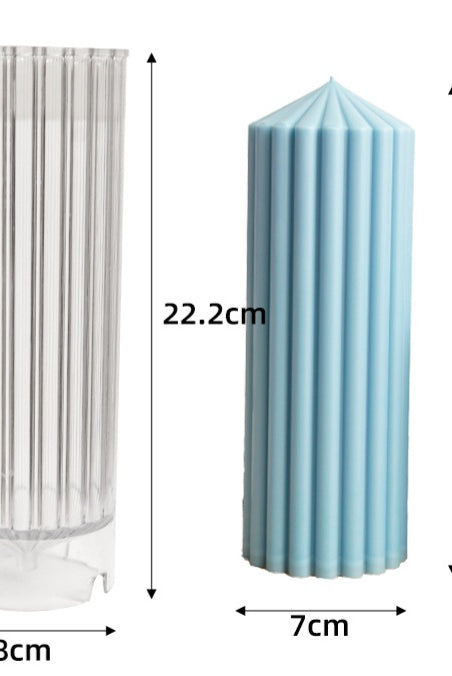
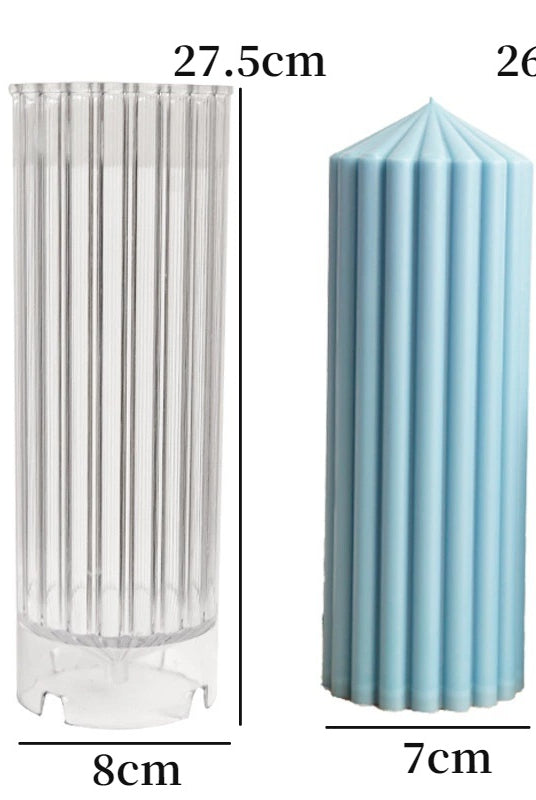
You can customise your candles using holiday-inspired candle moulds.
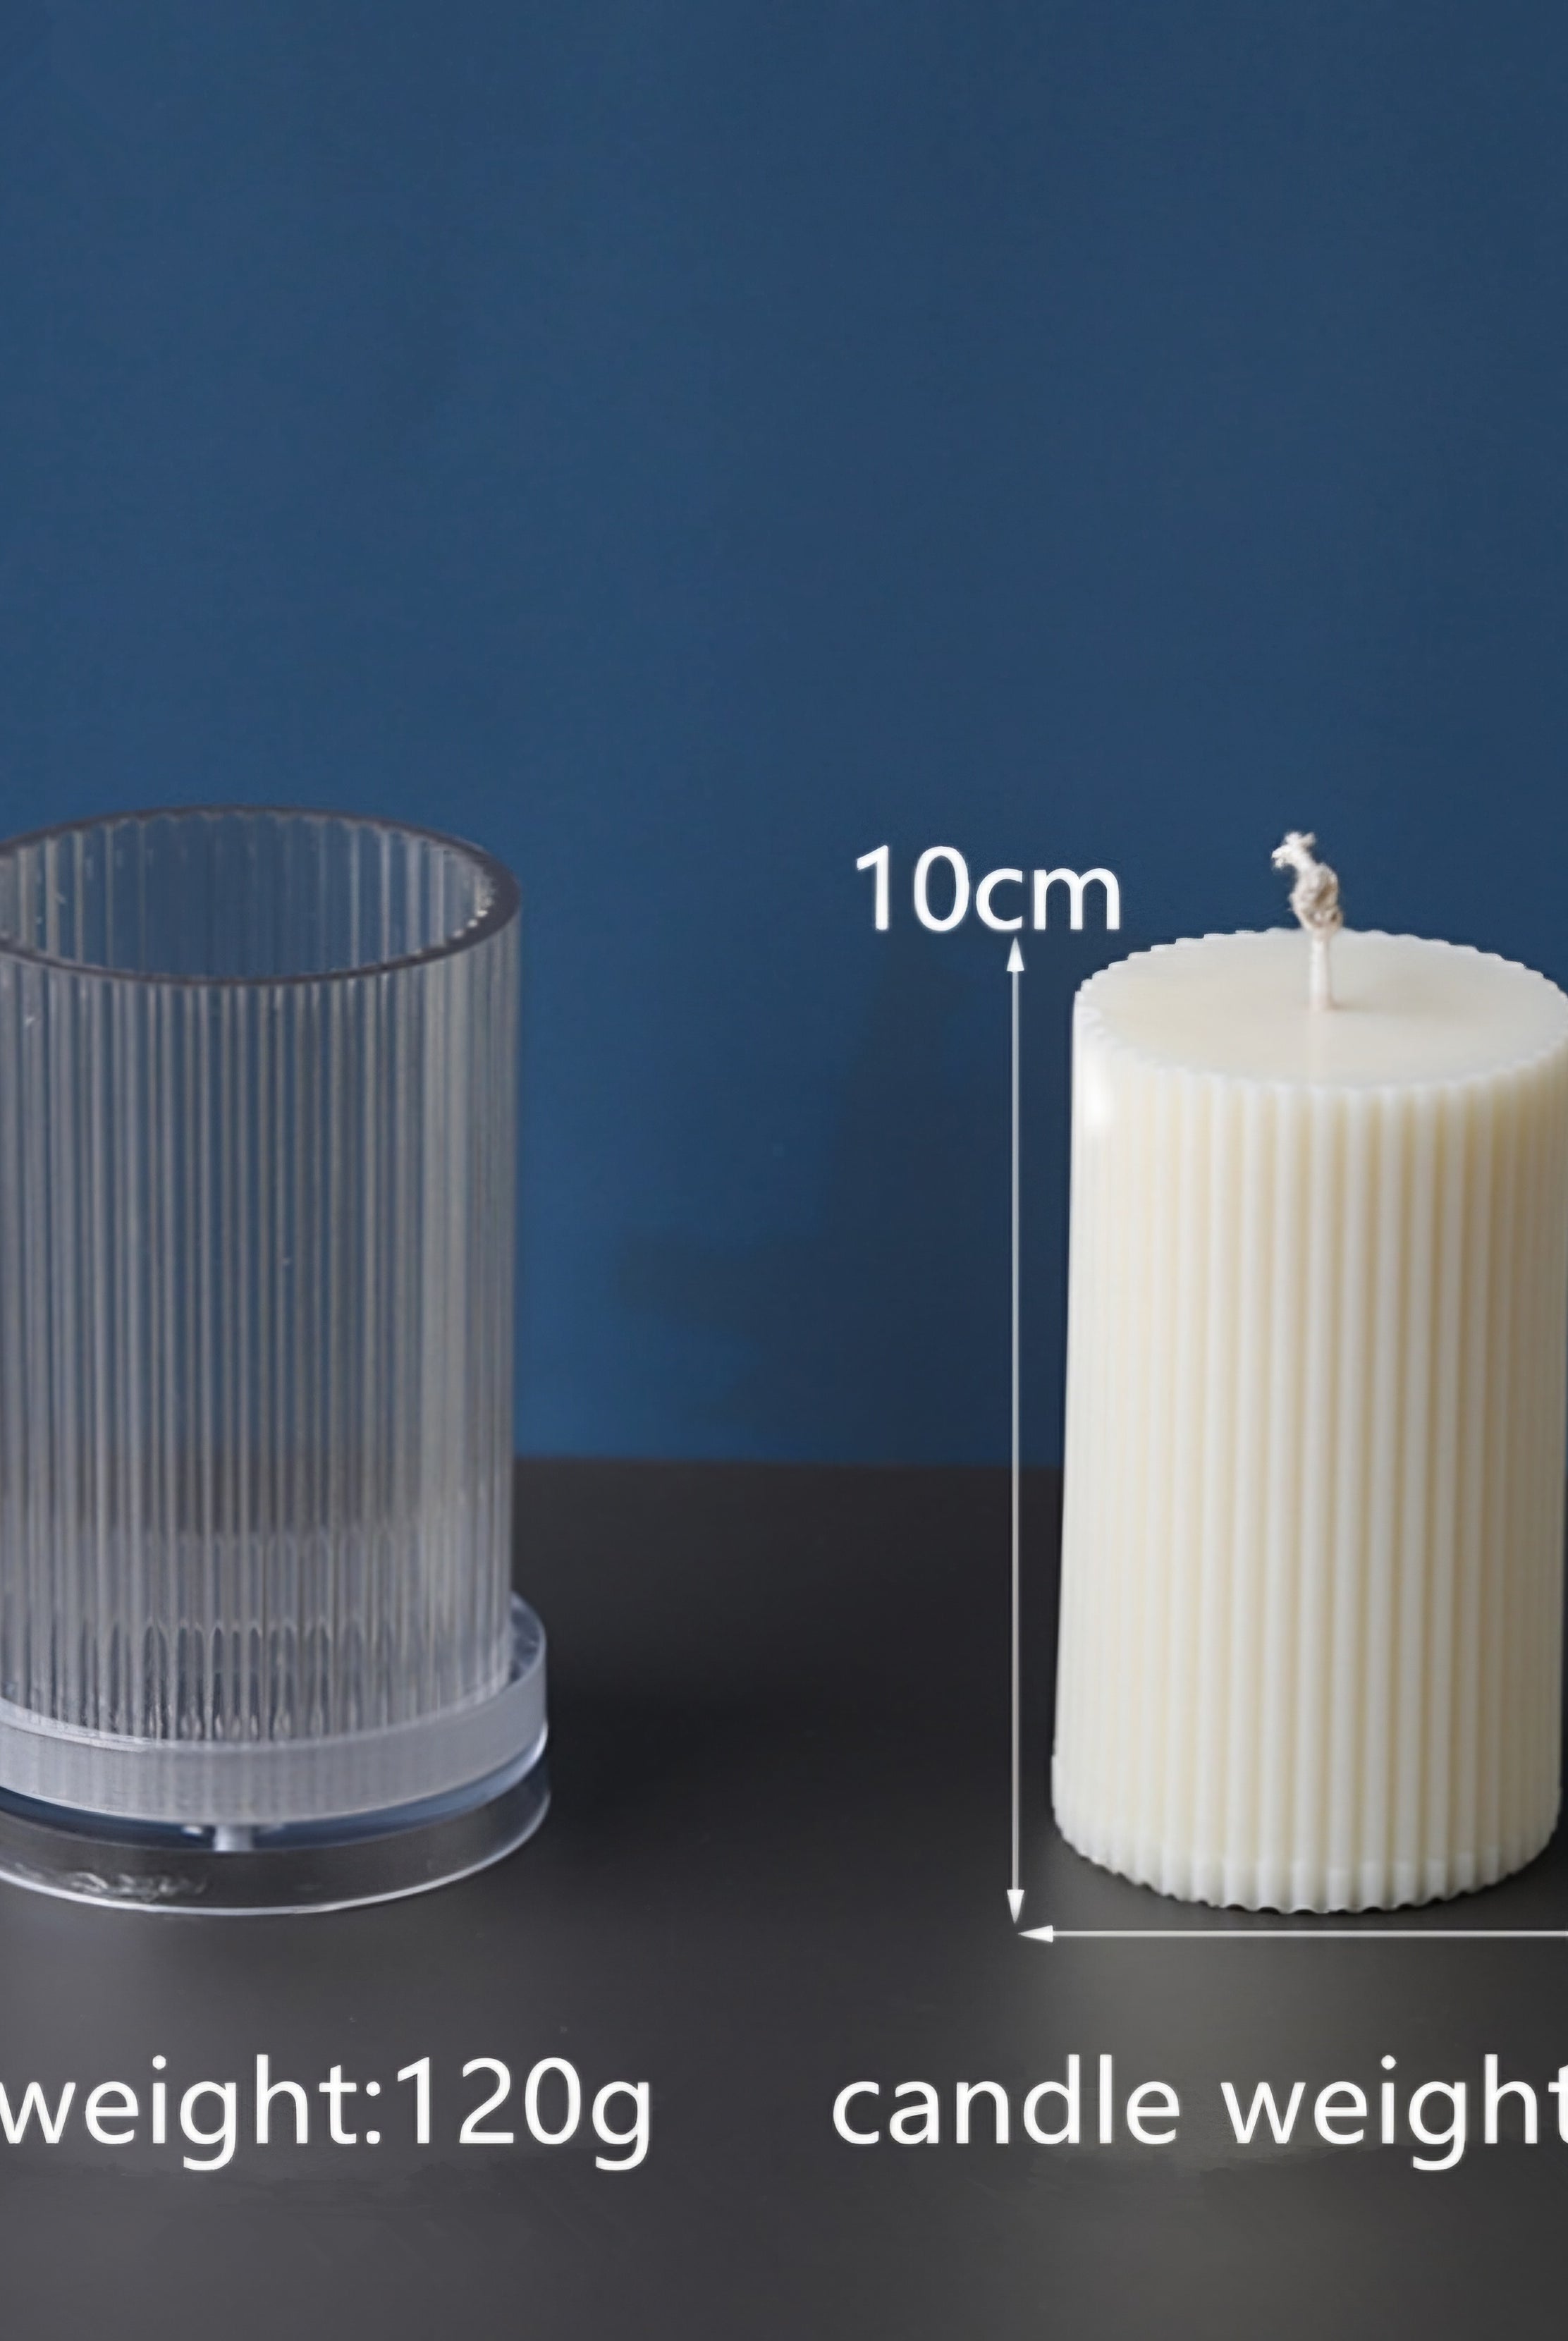
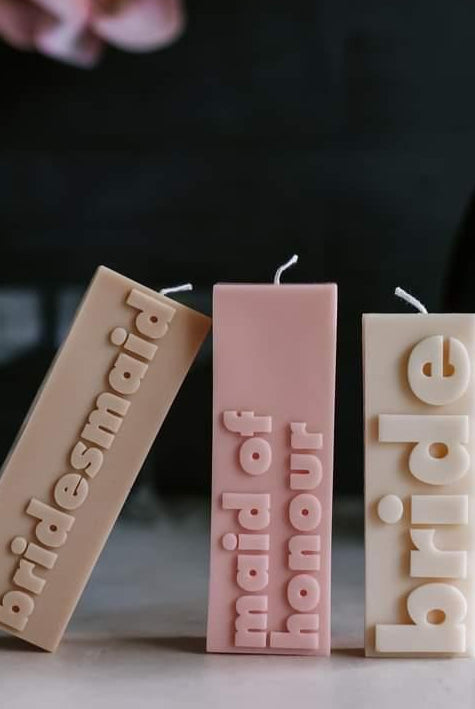
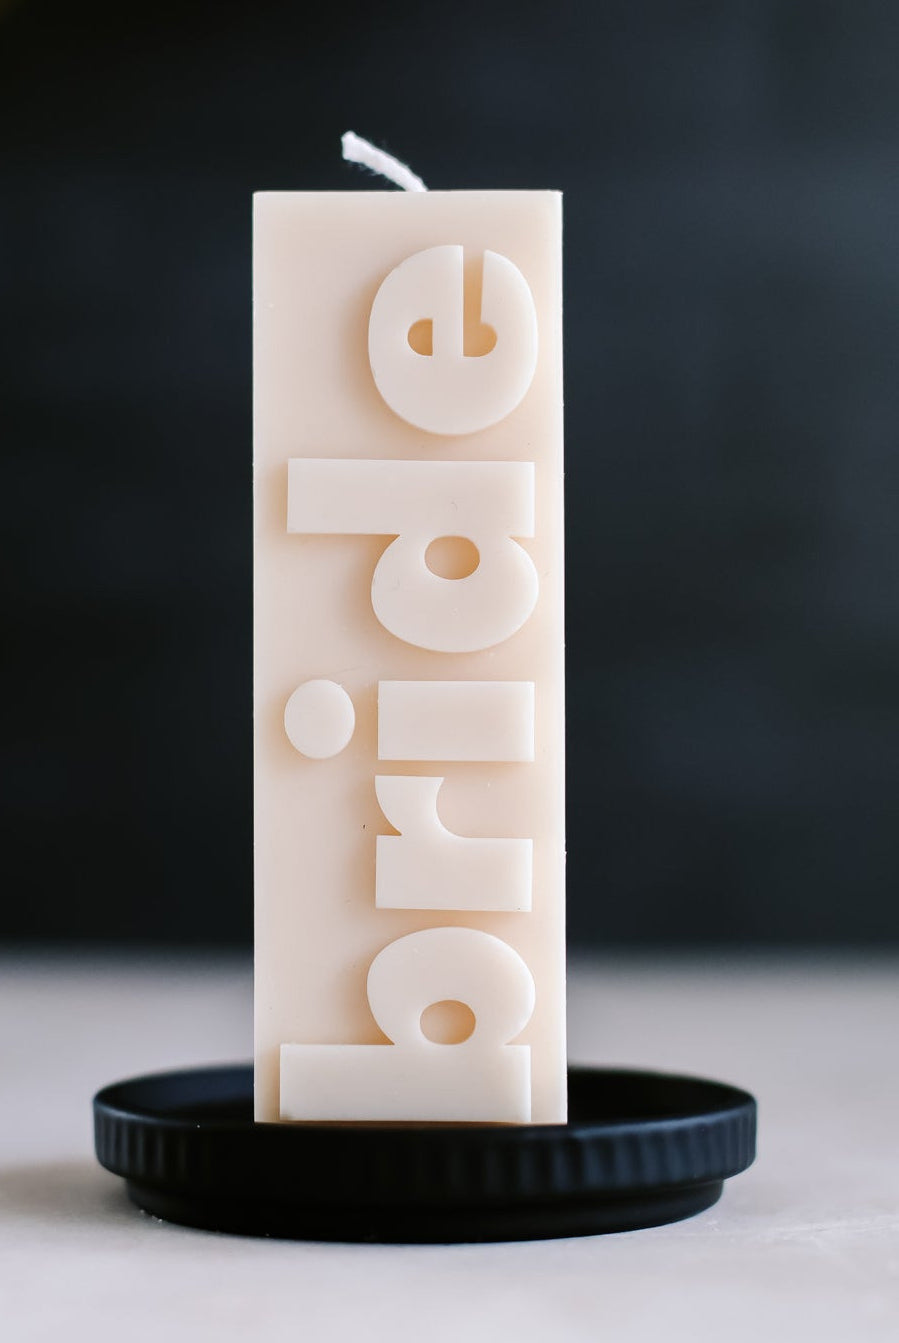
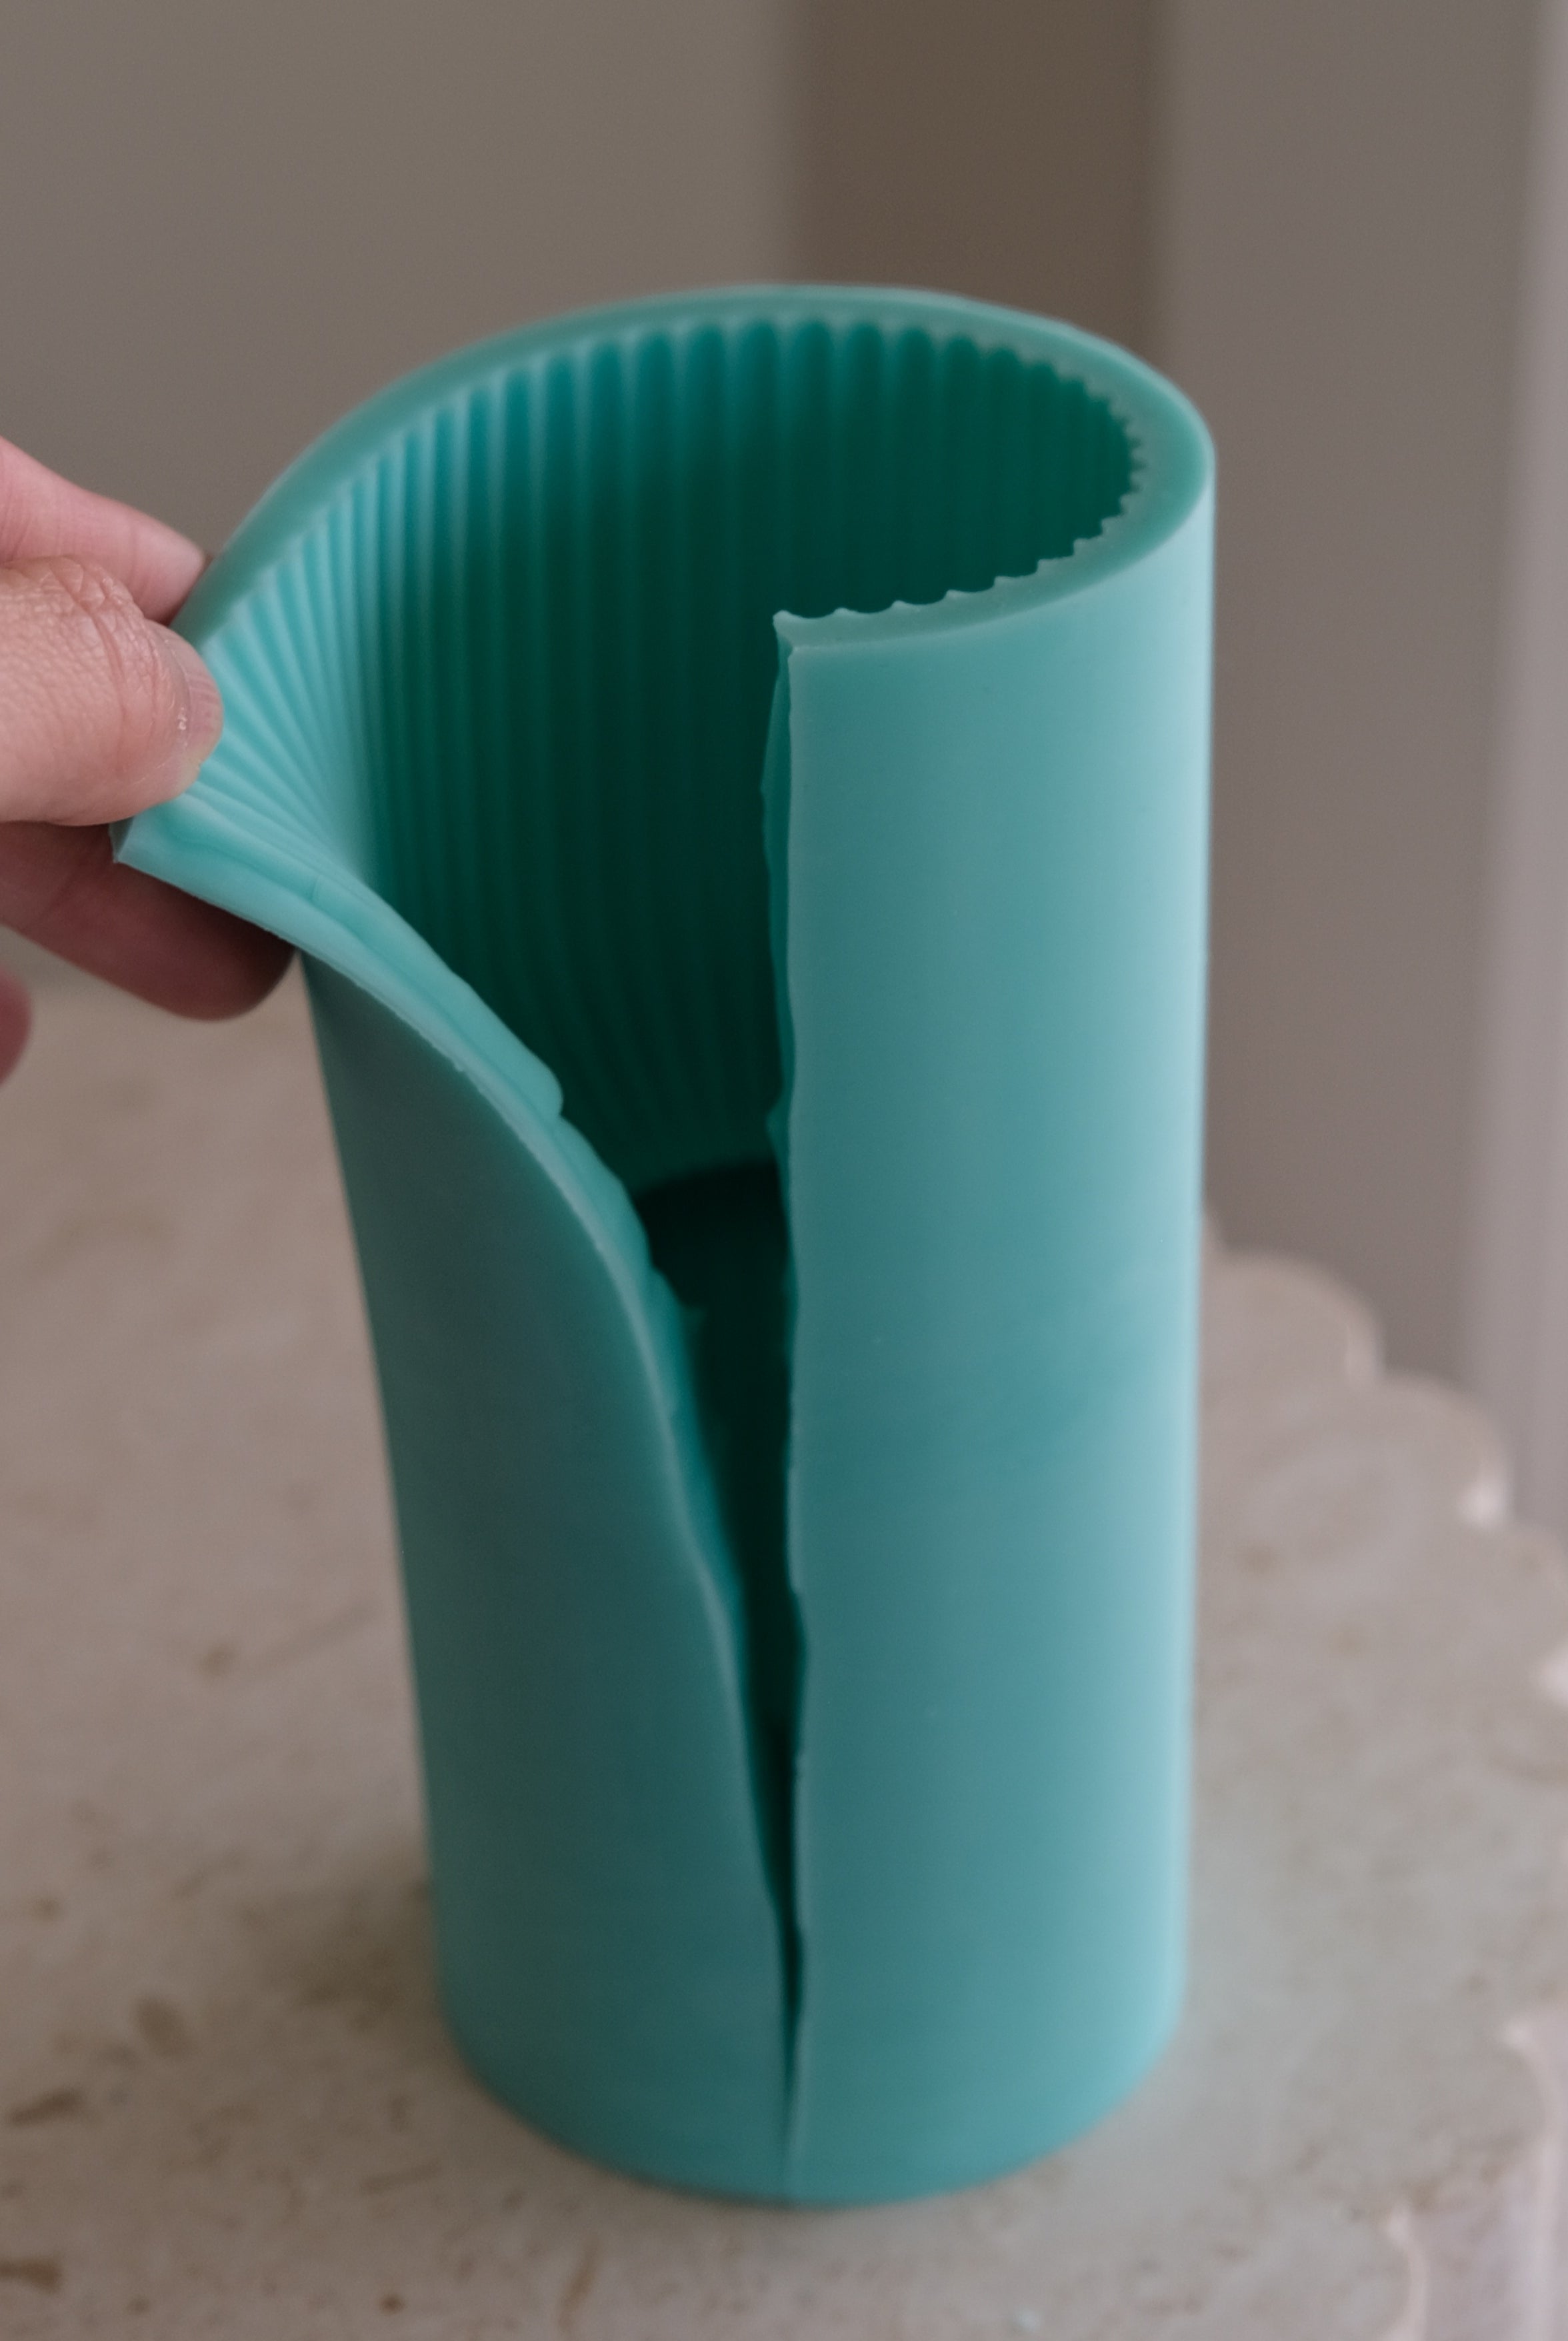
- Silicone Moulds: Flexible, heat-resistant and easy to demould. You can create geometric-shaped candles and wedding candles using these moulds.
- Acrylic Moulds: Gives a smooth finish and is durable. Acrylic moulds are used to make decorative candles like angel candles, reindeer and nutcrackers for Christmas.
- Tray Moulds: Ideal for making concrete, jesmonite and resin trays.
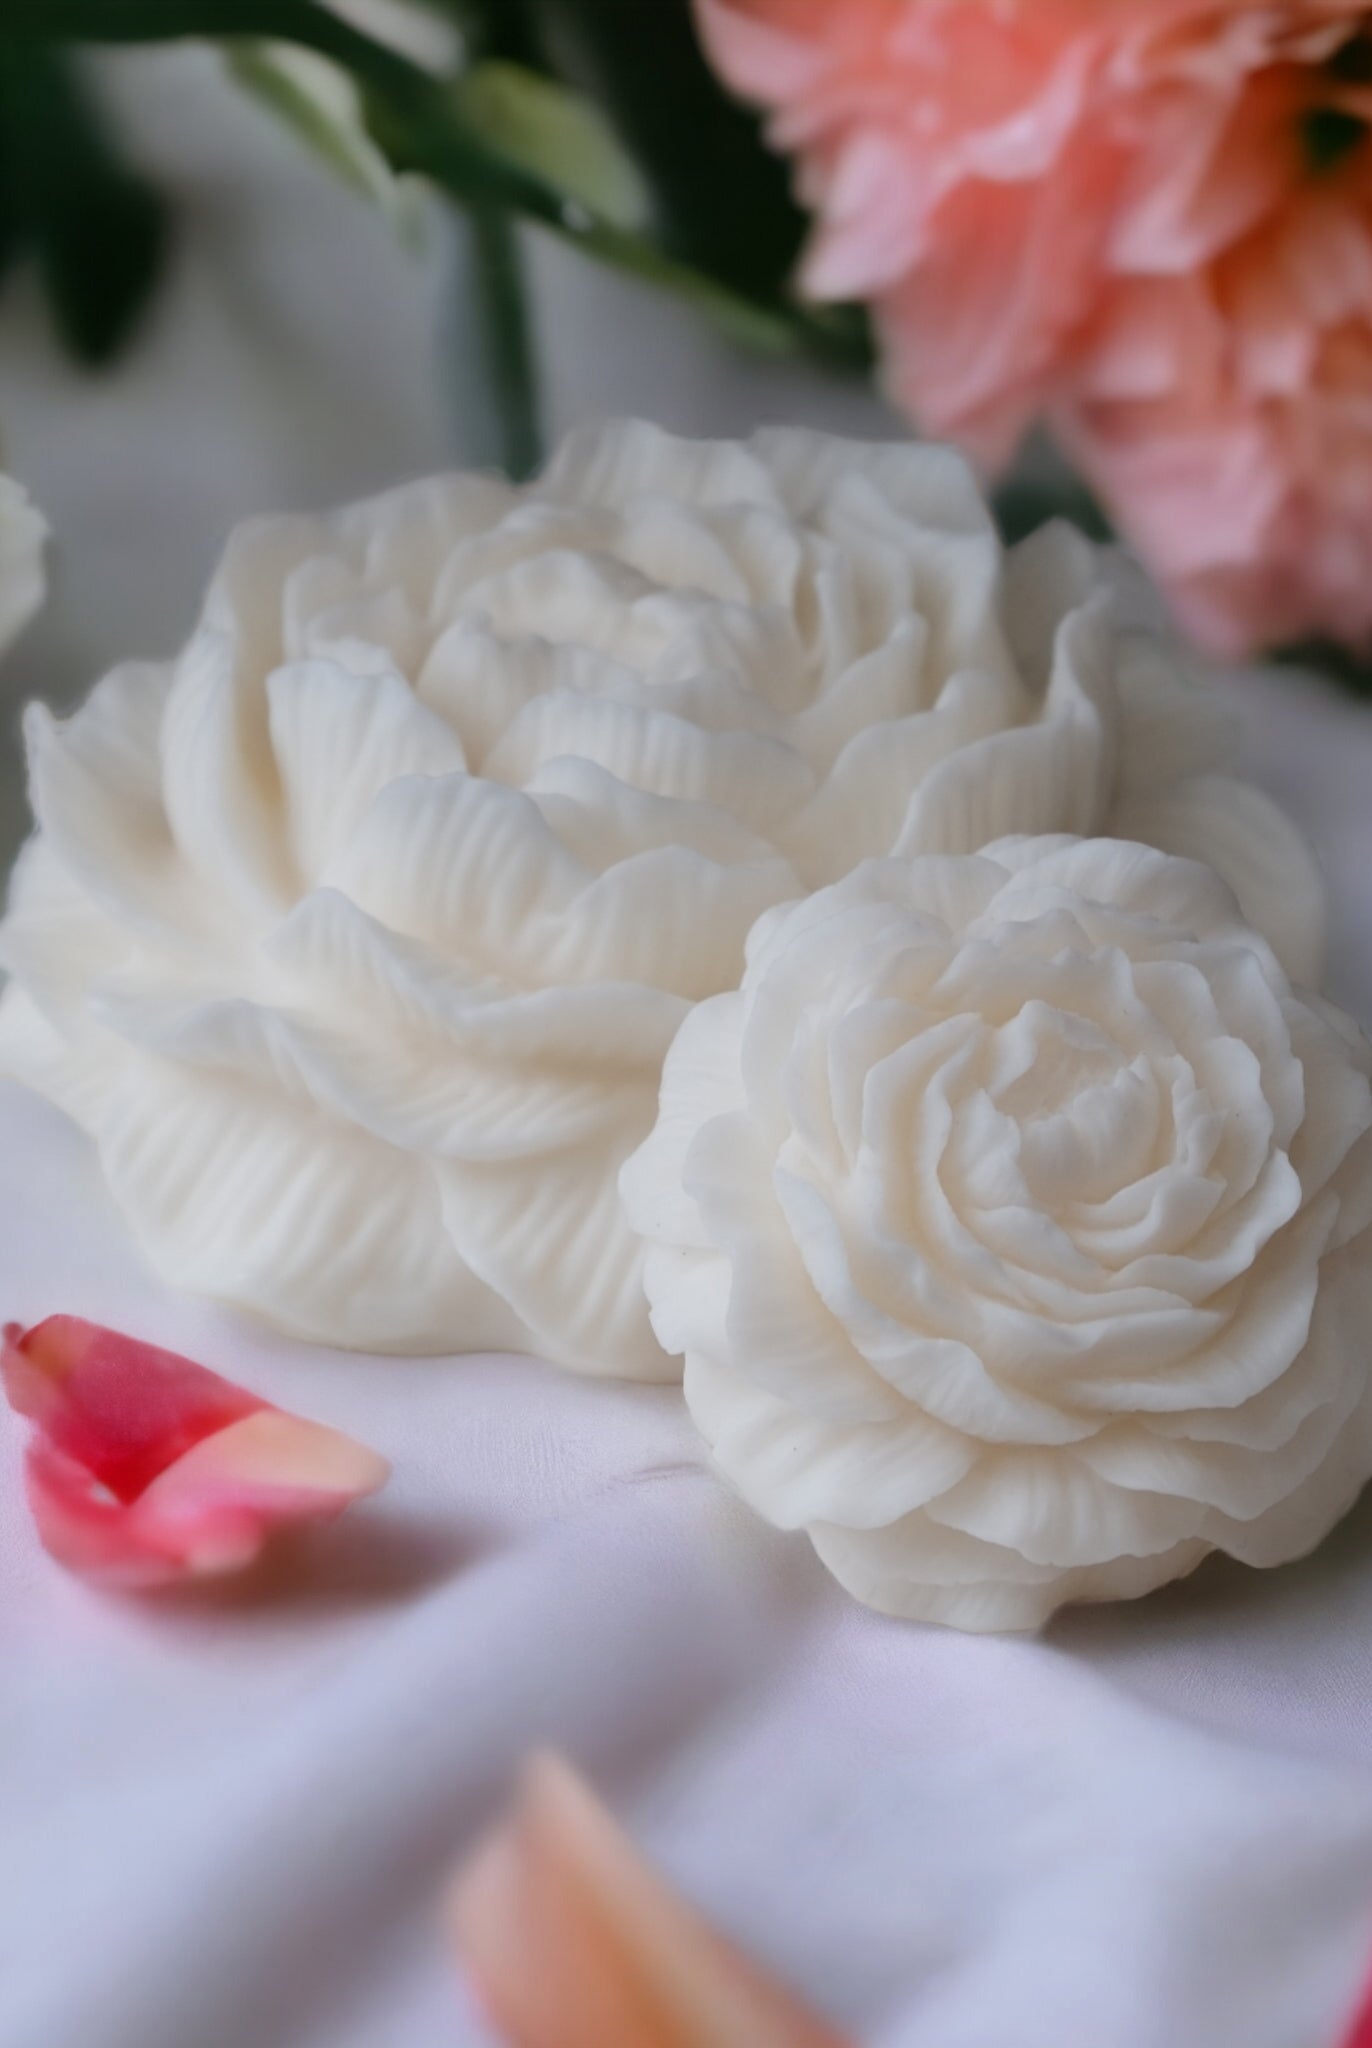
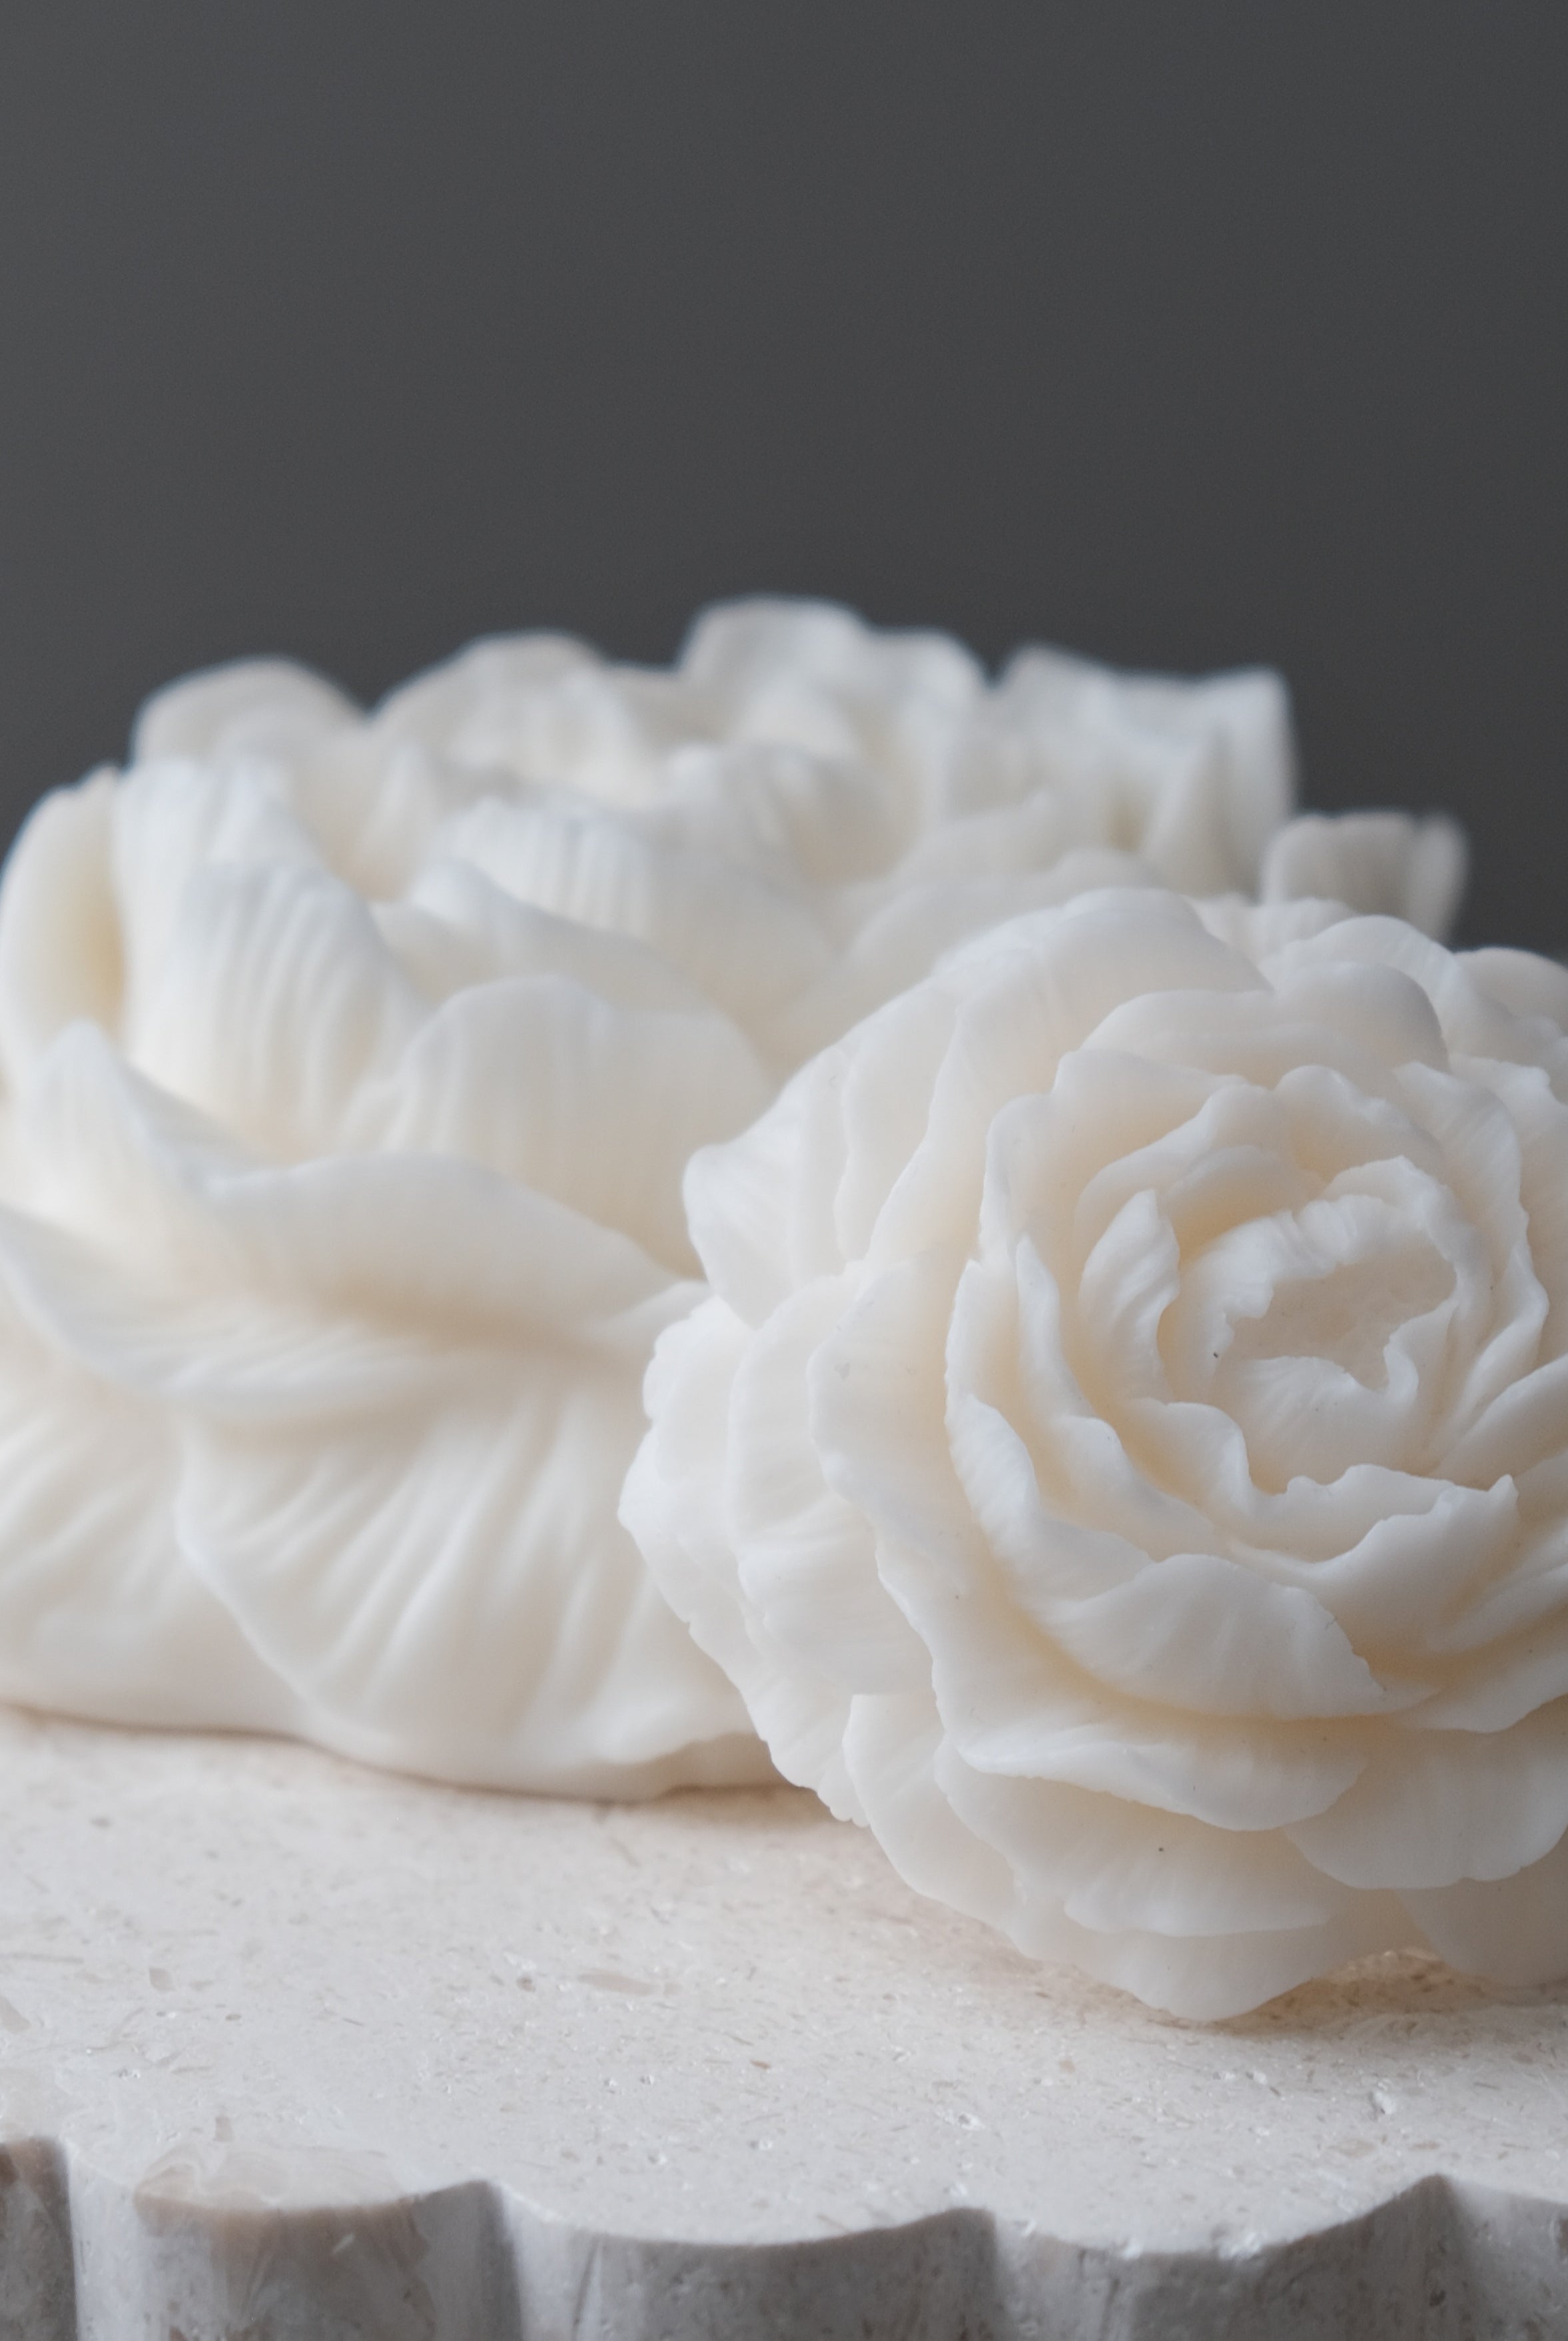
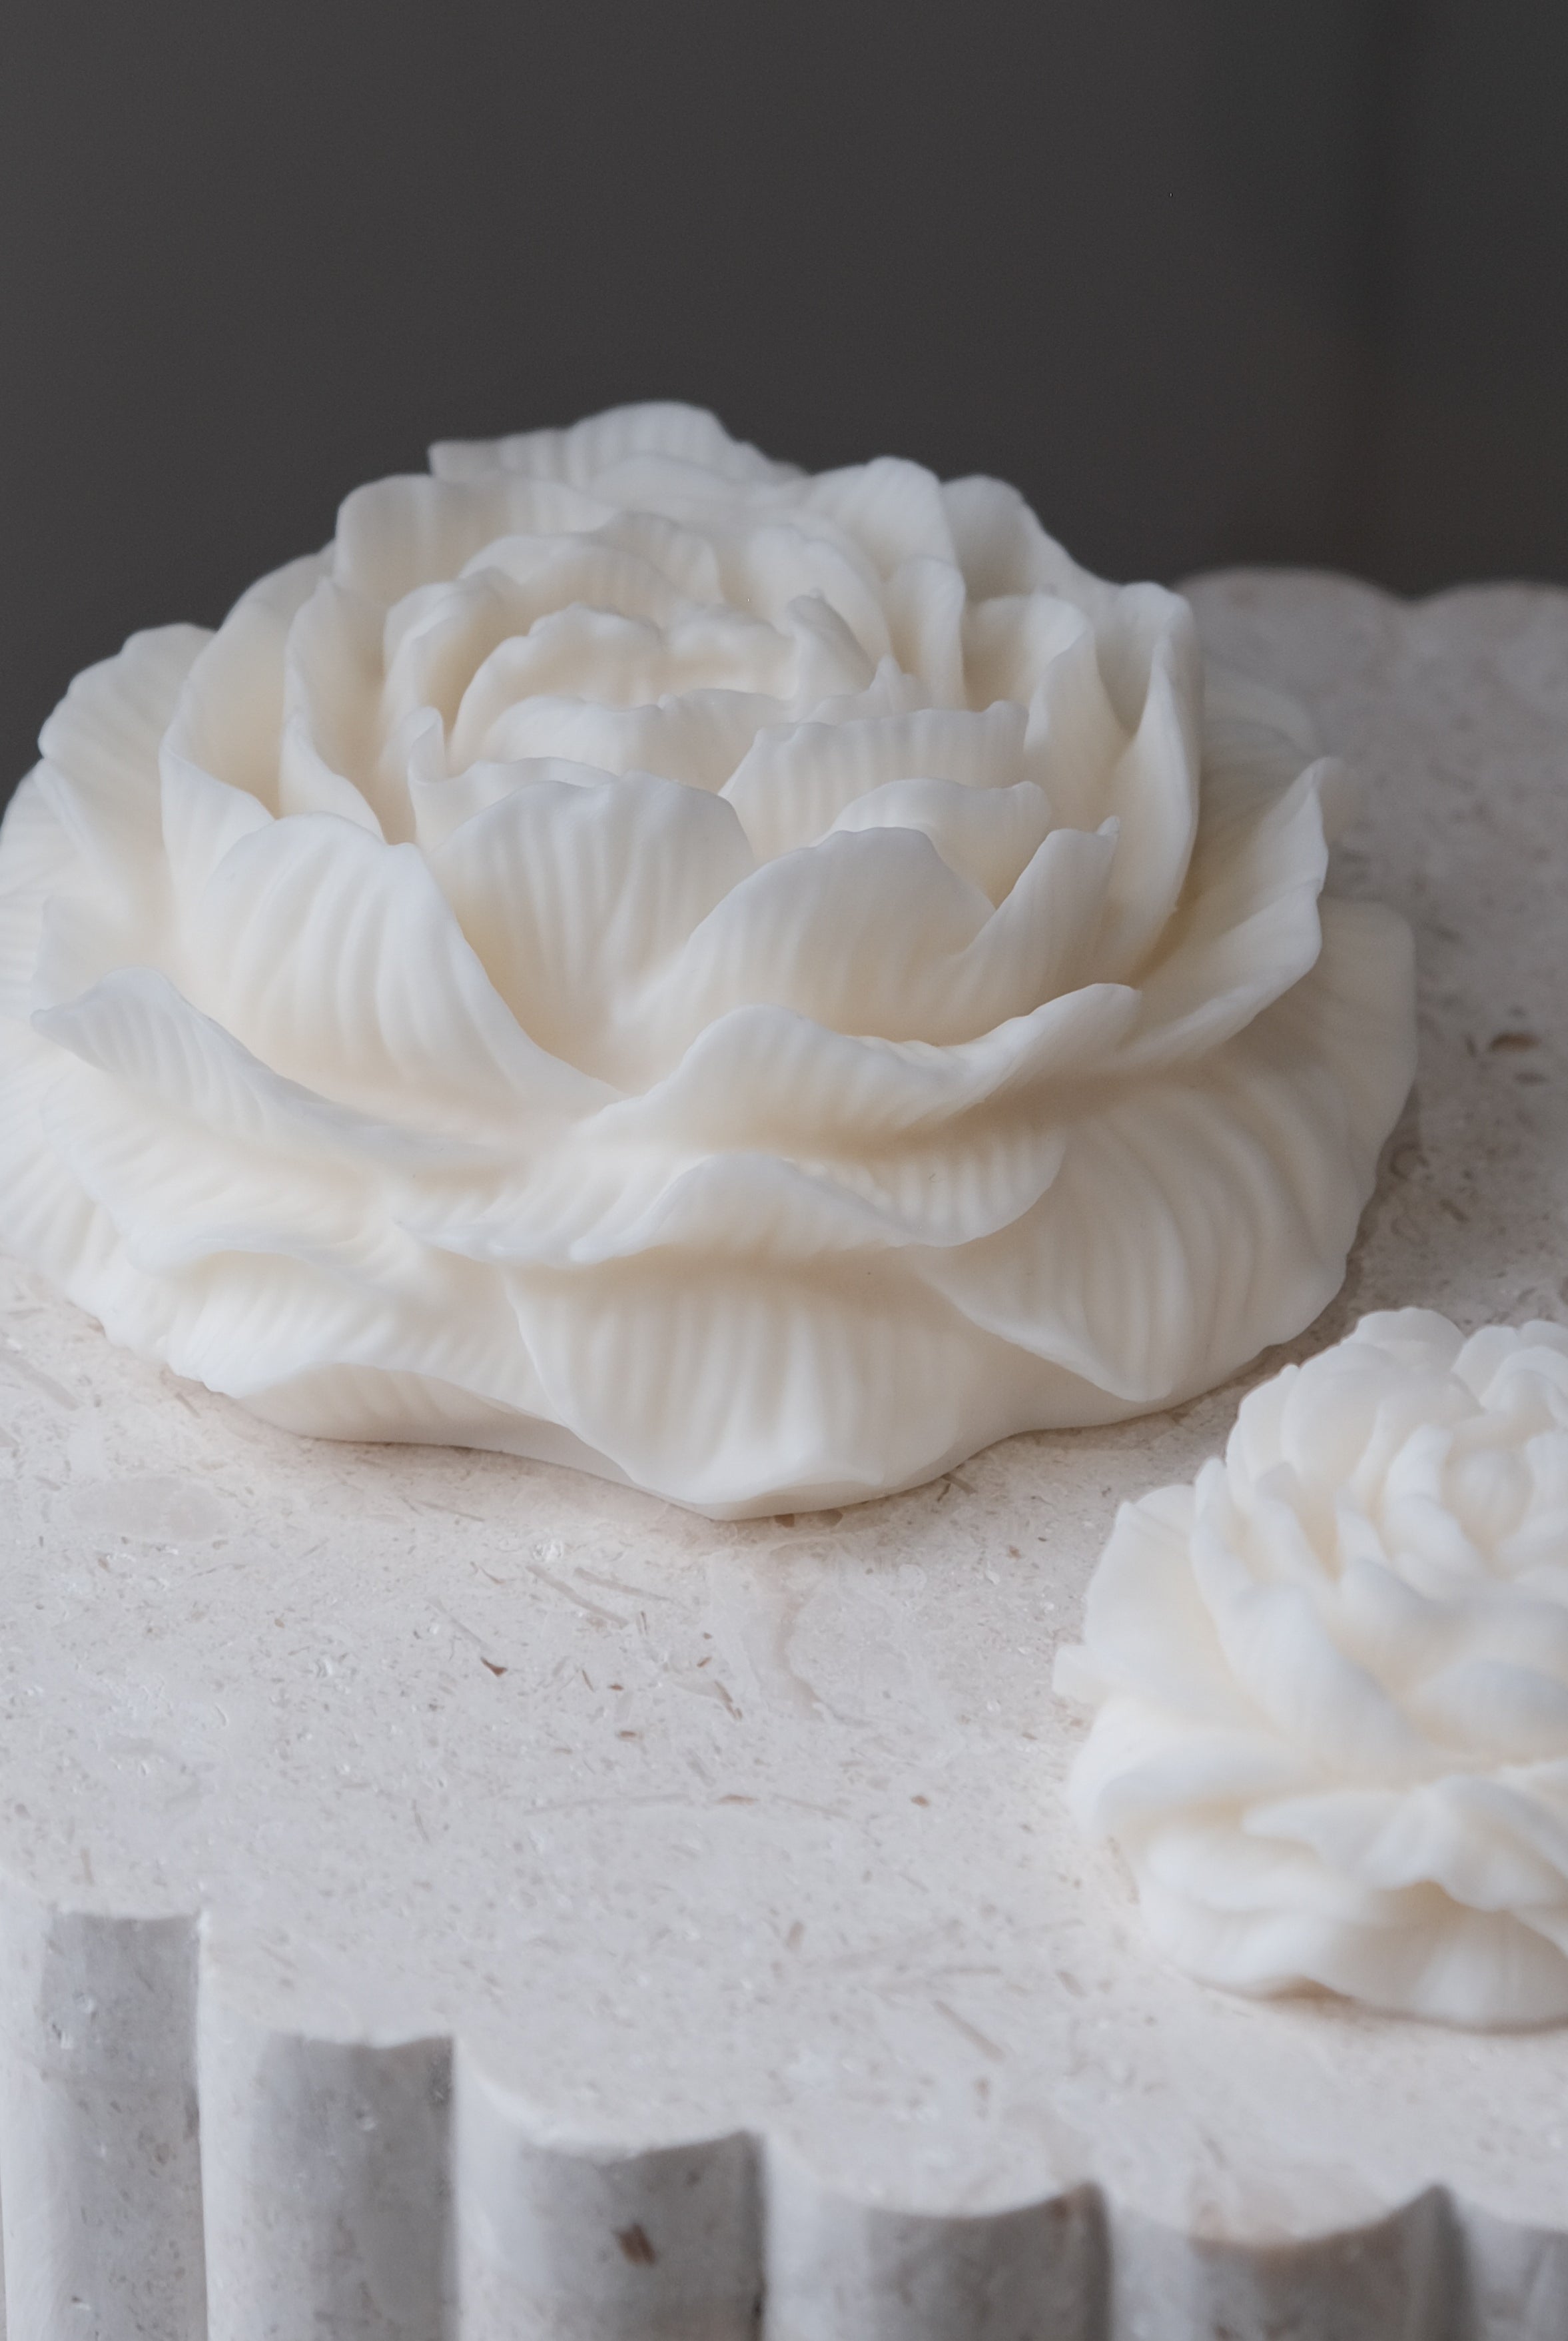
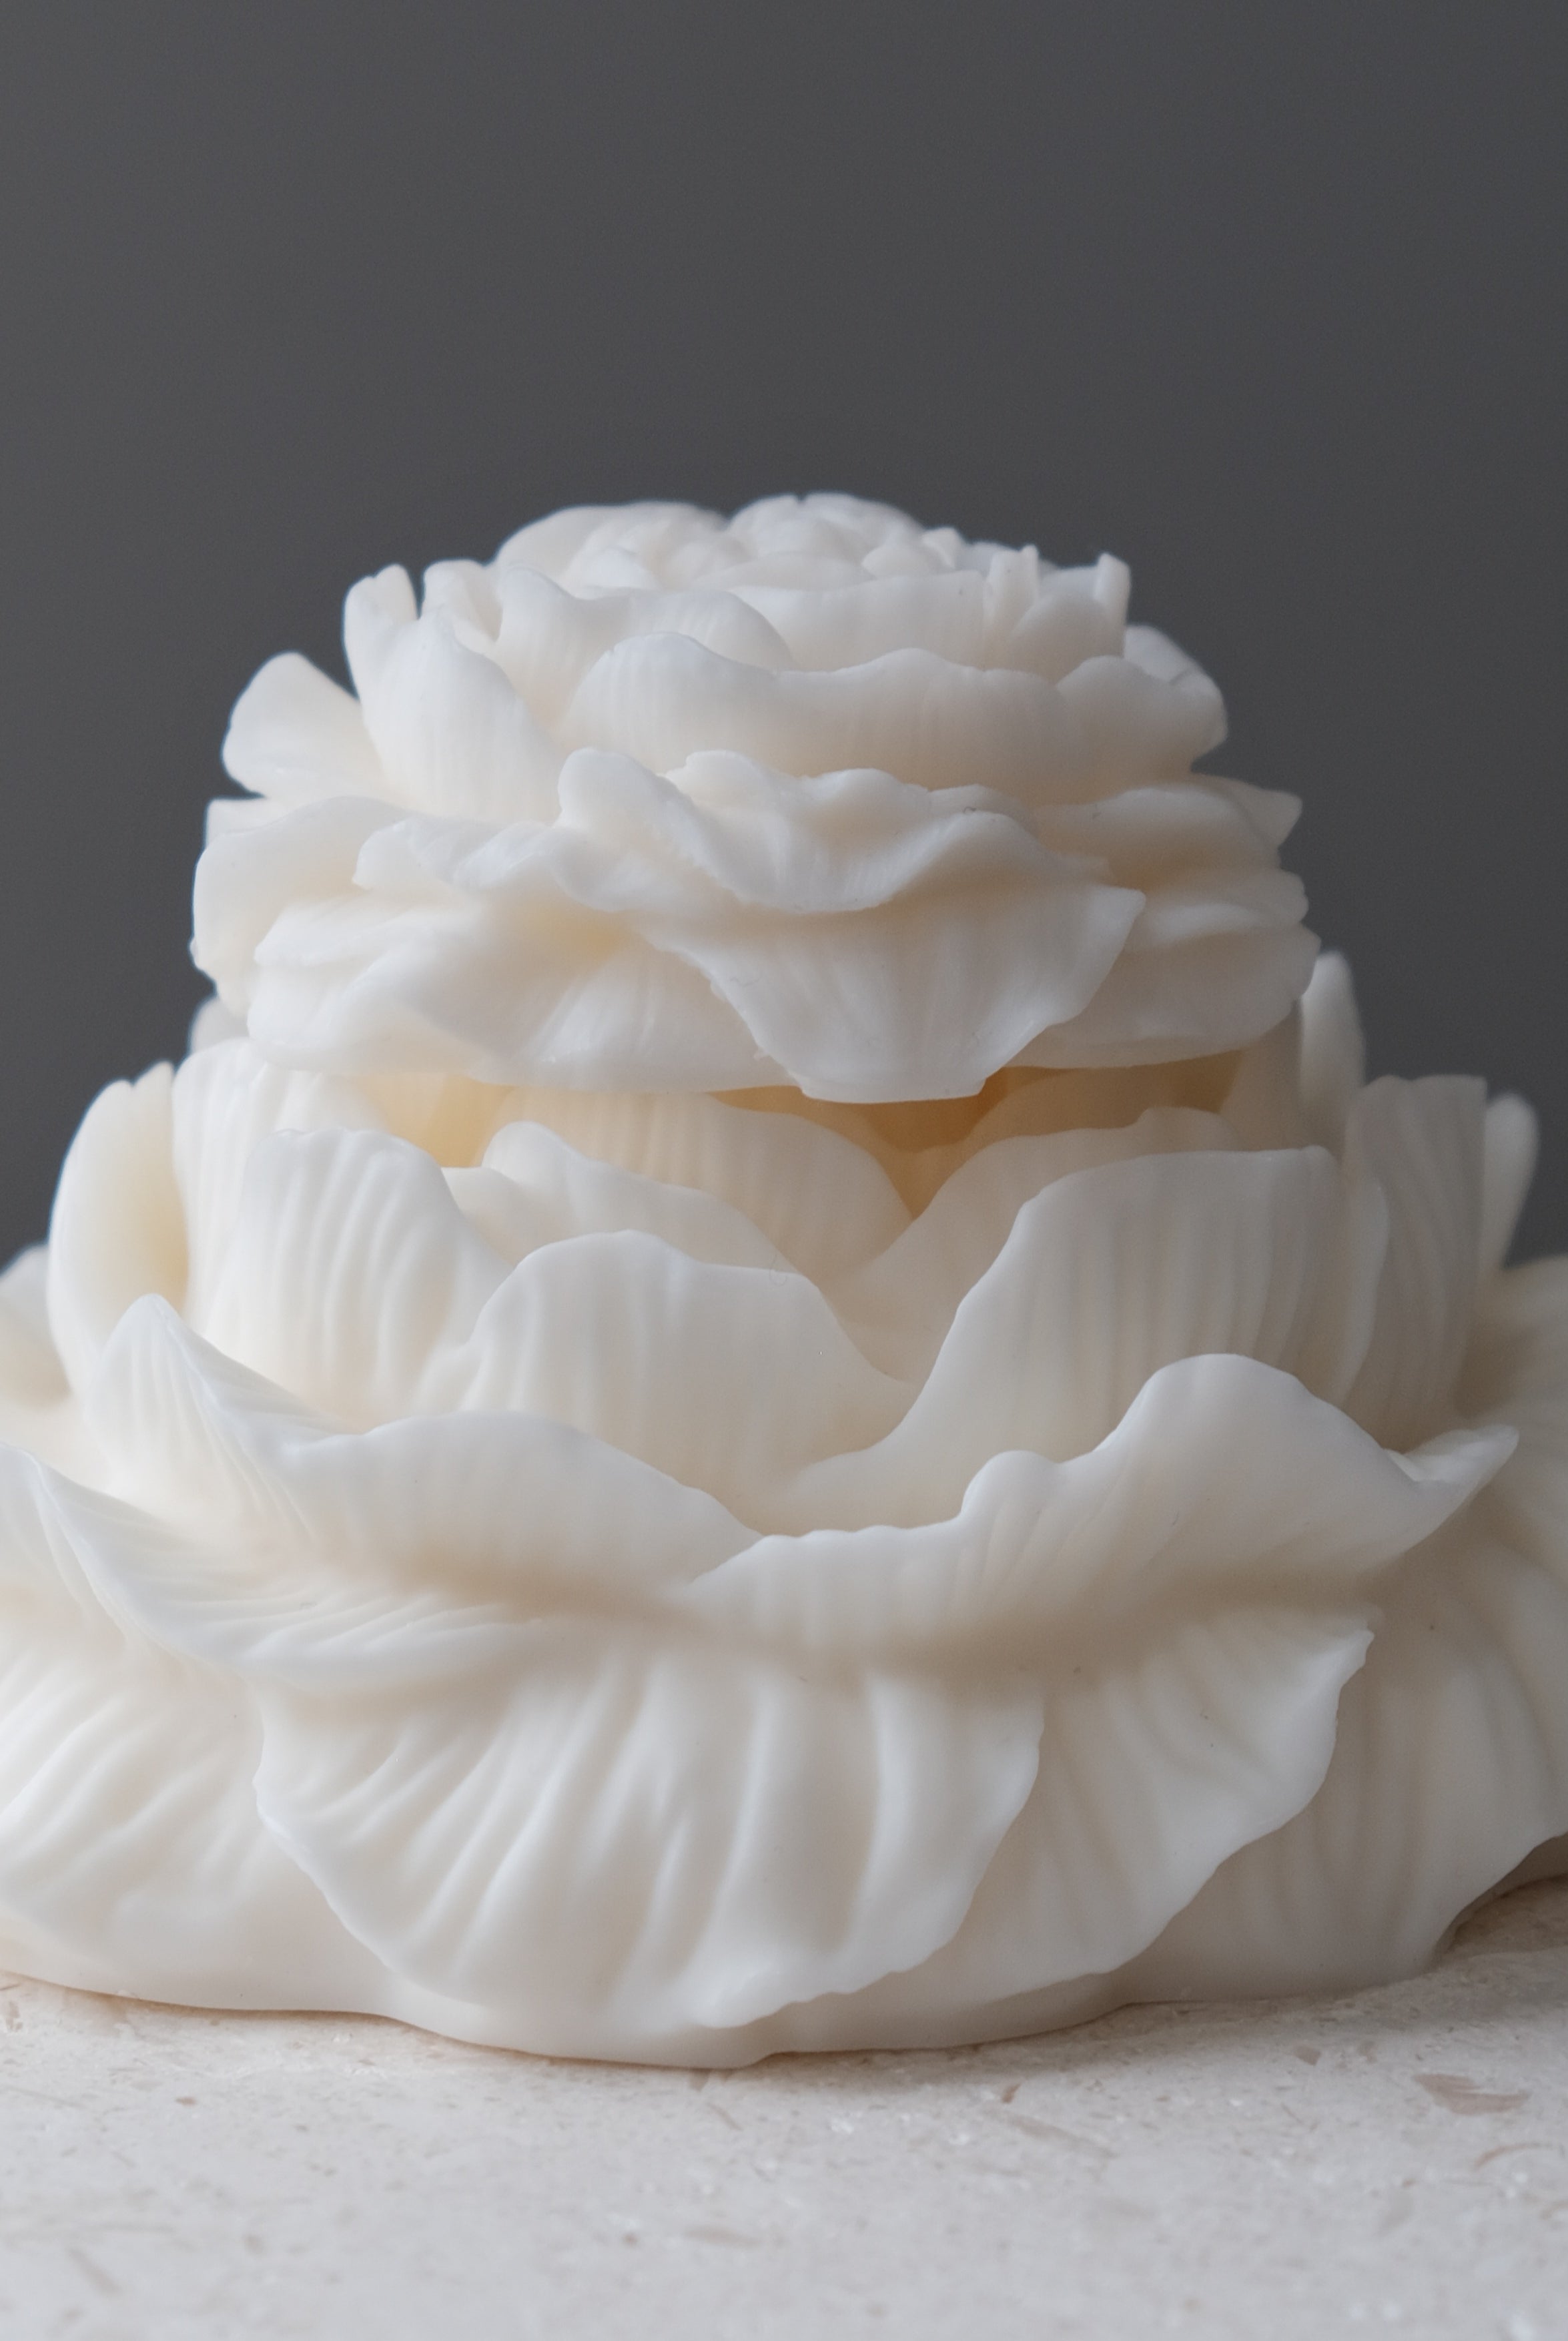
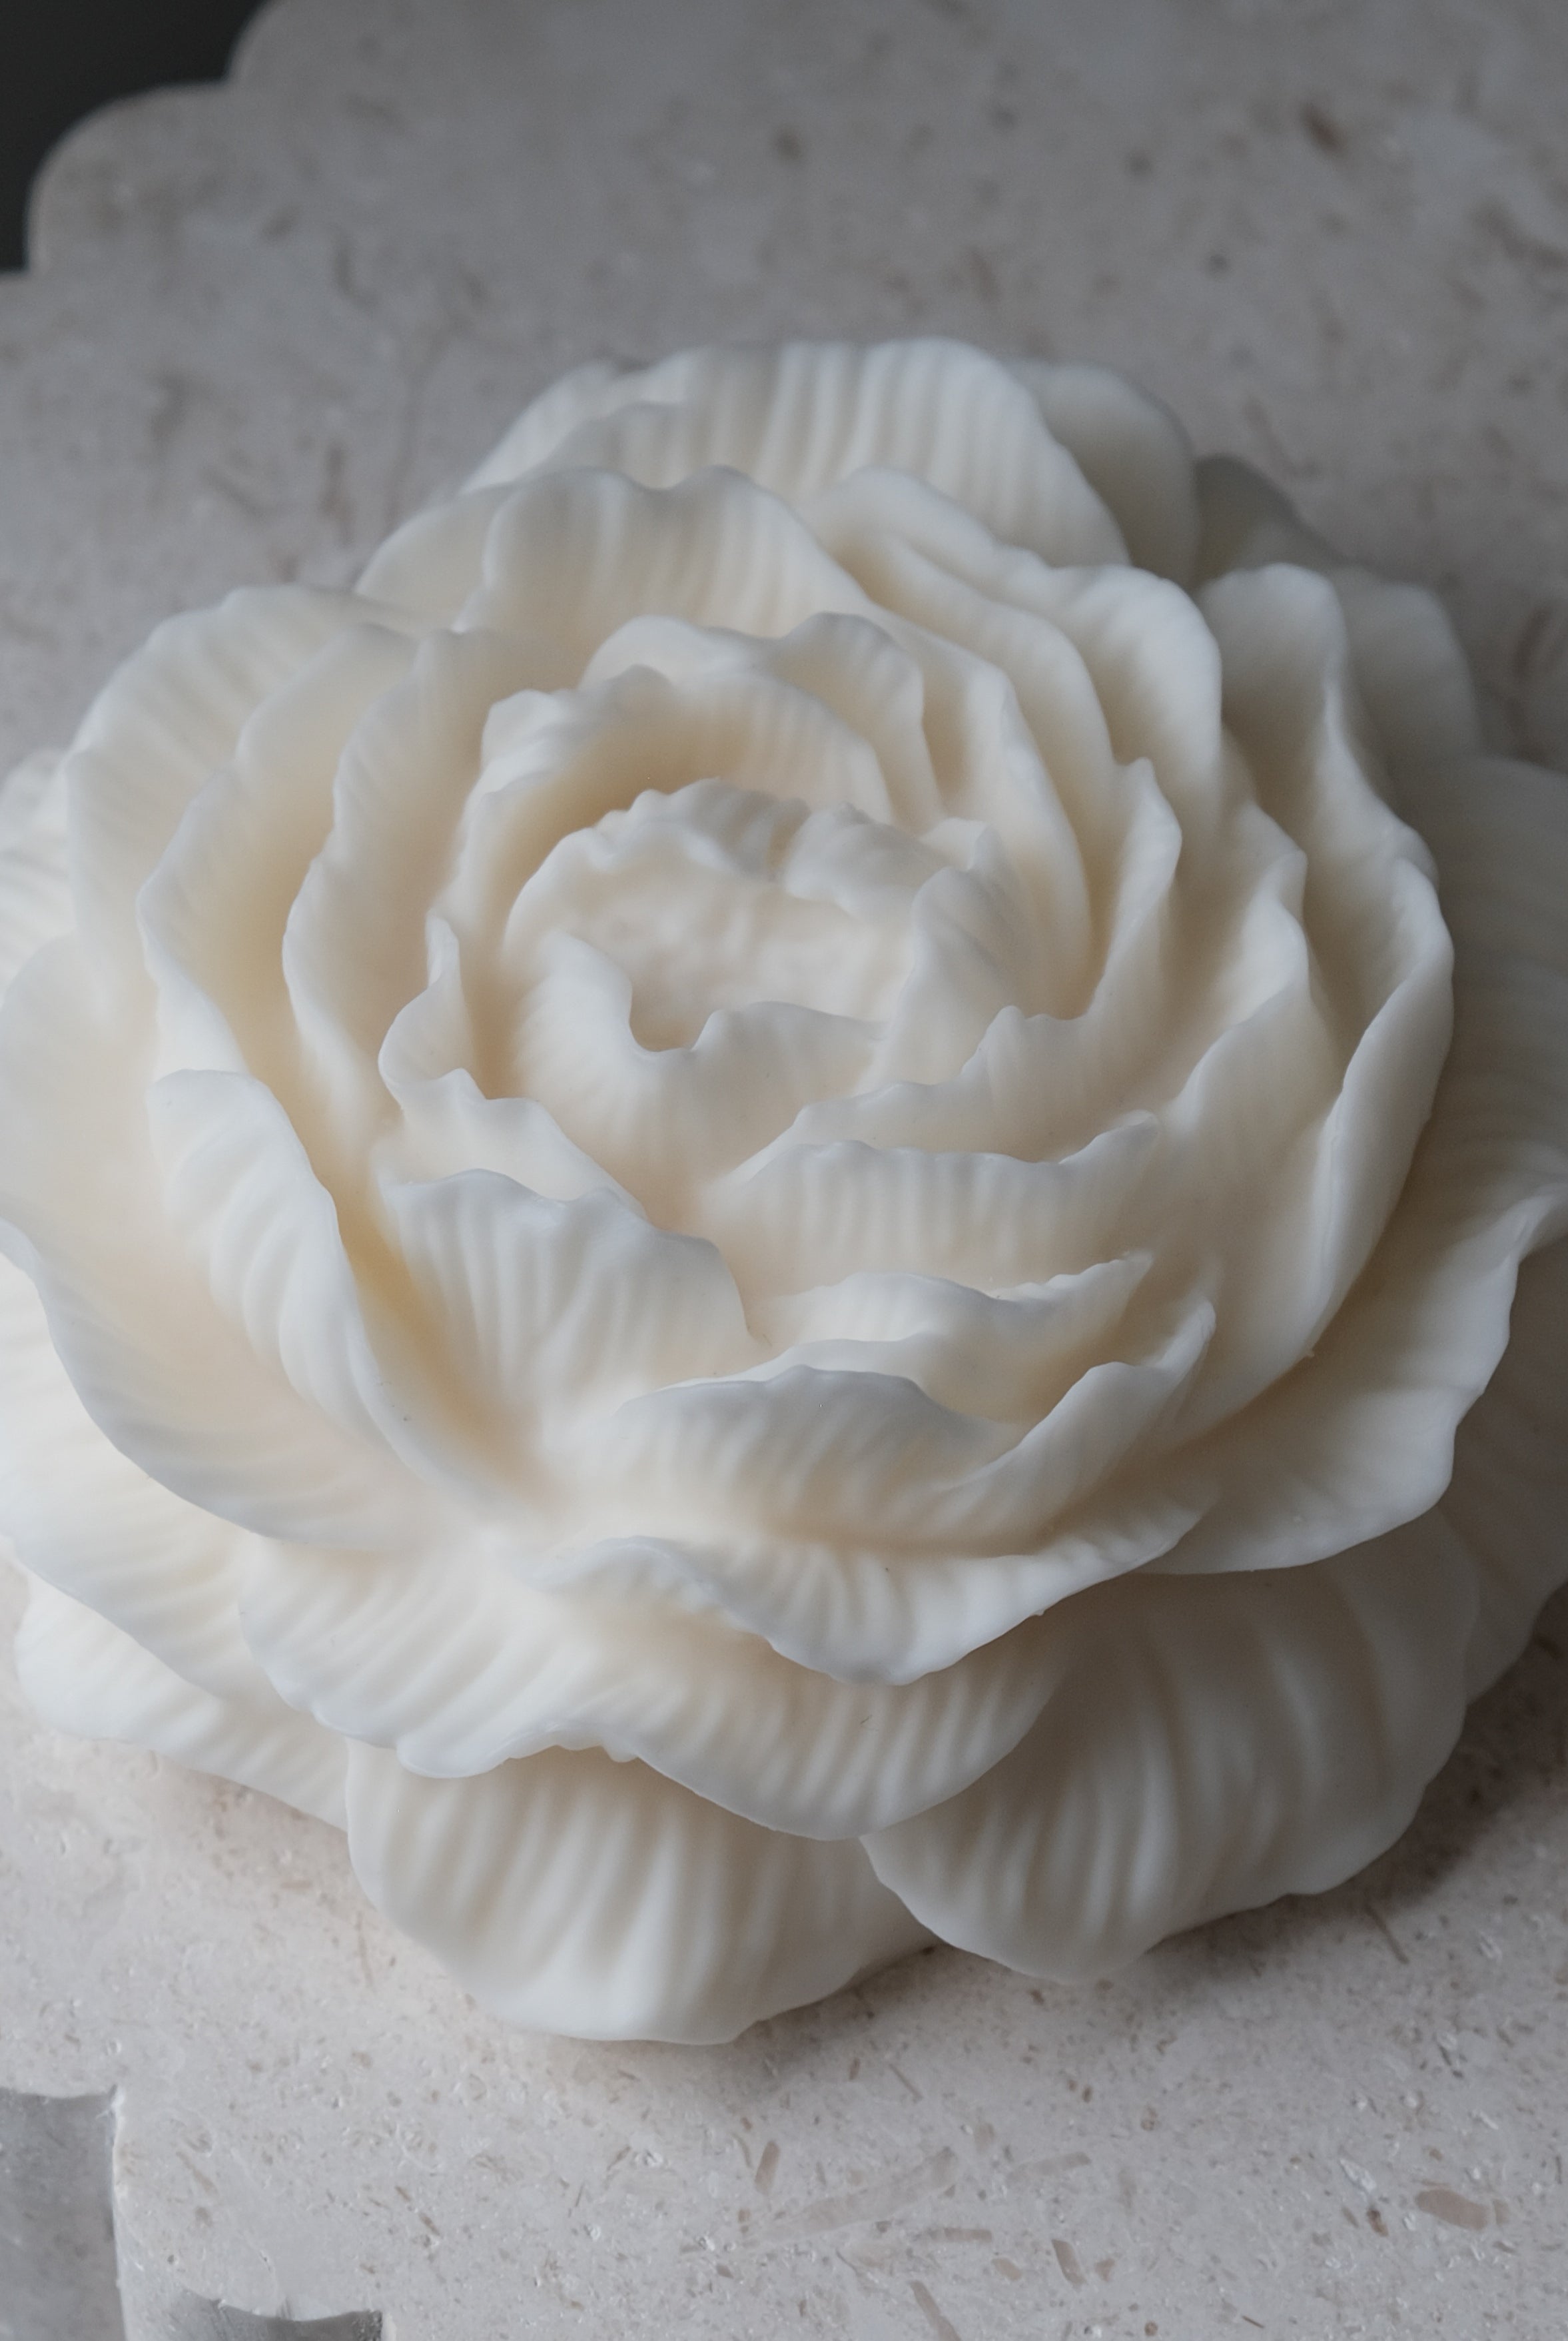
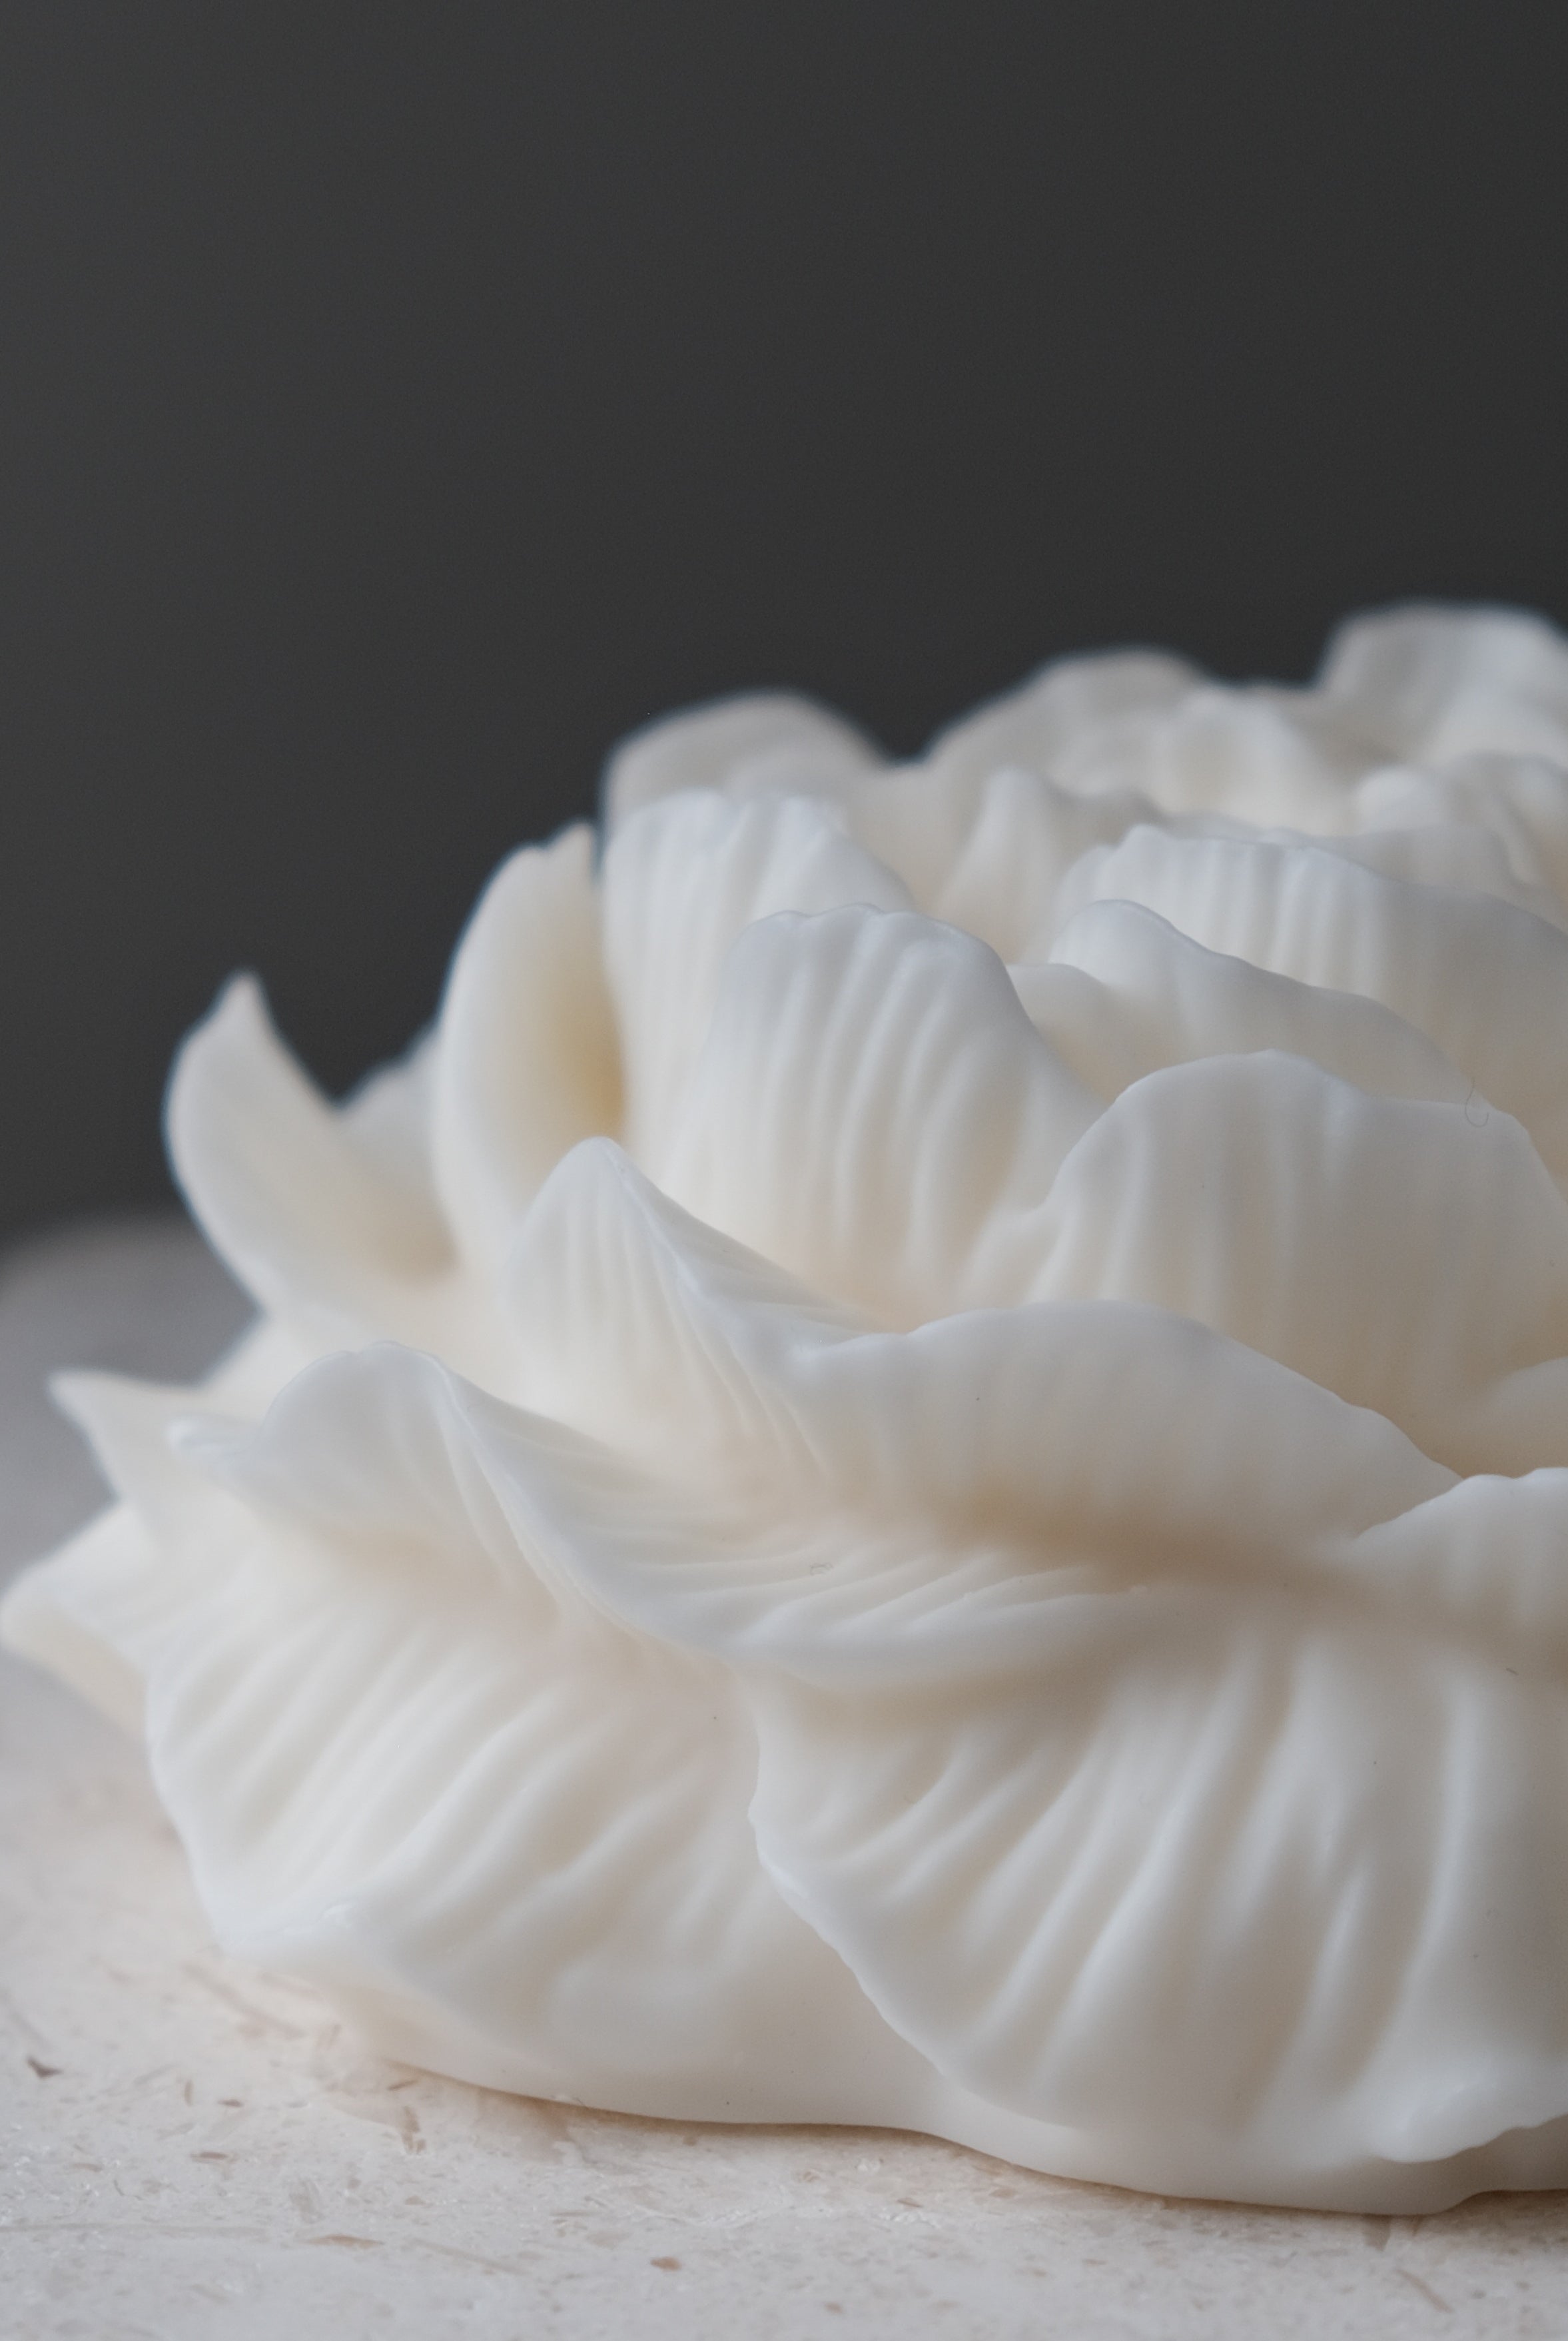
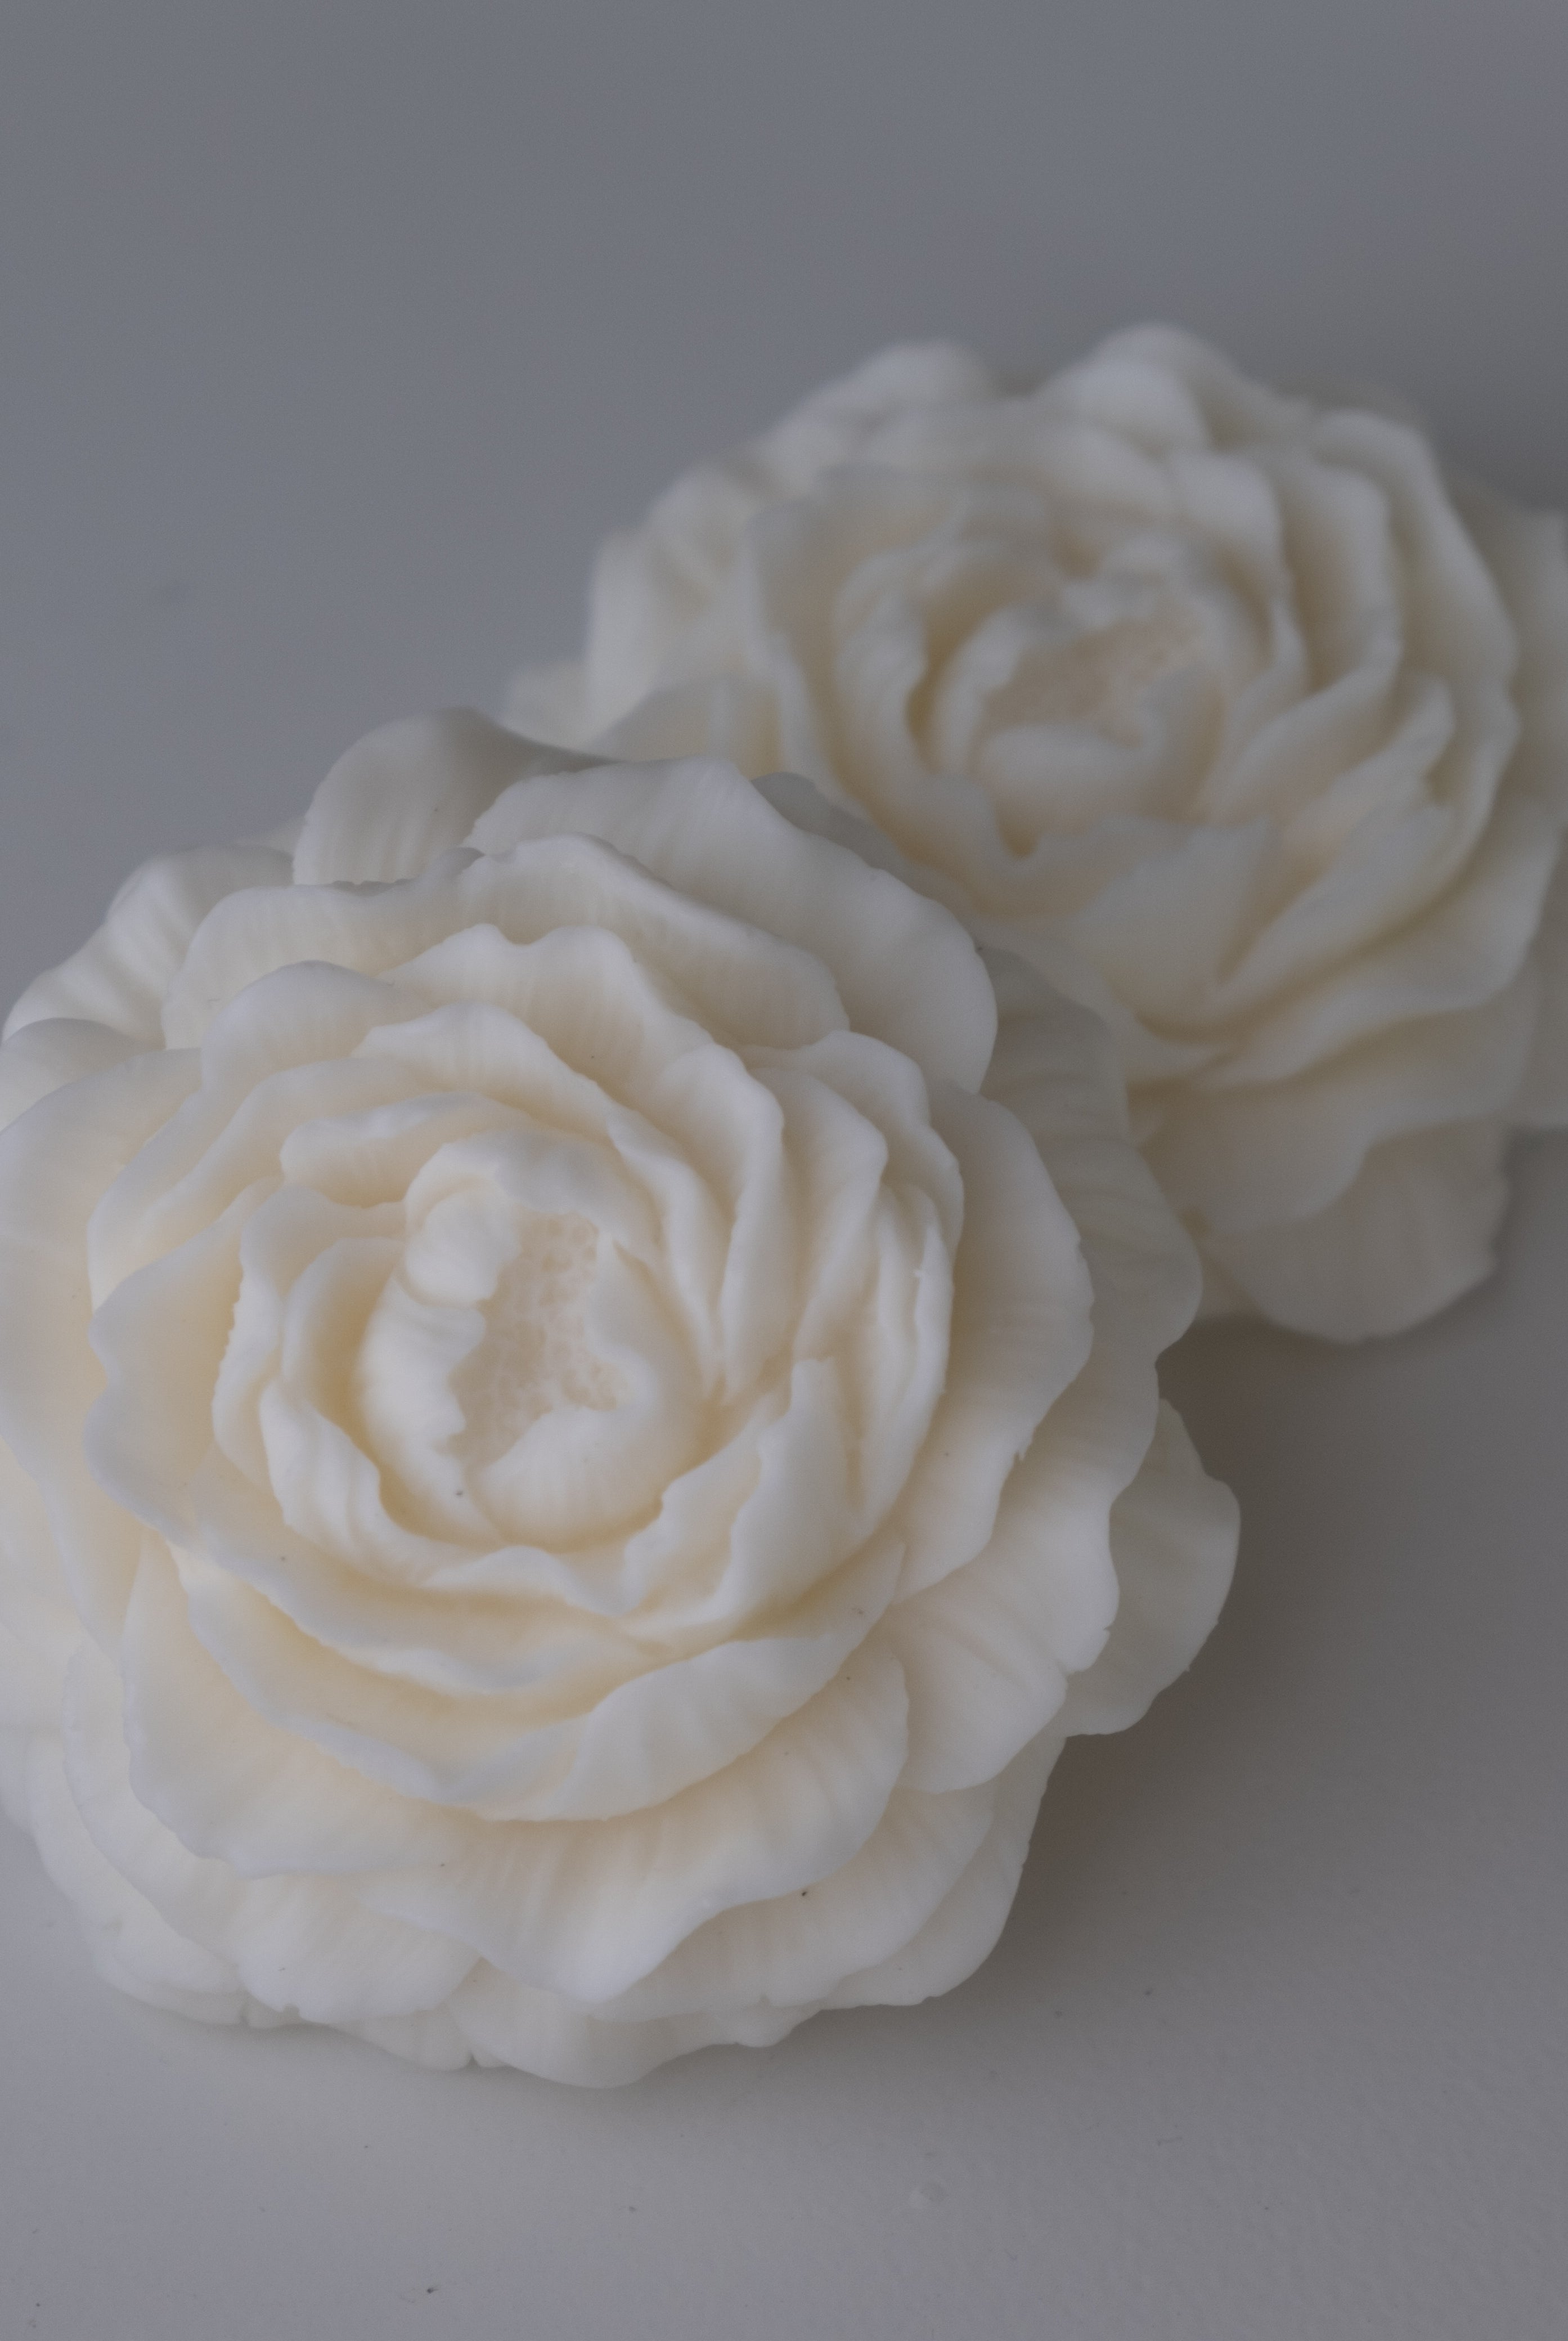
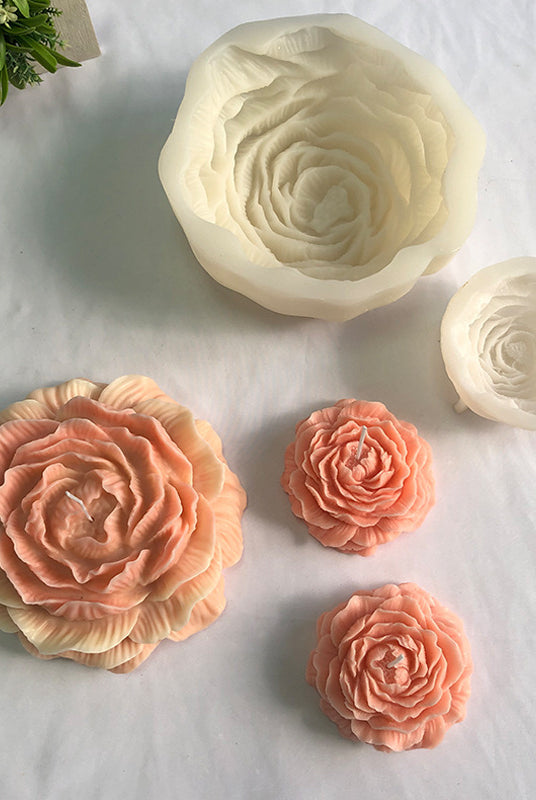
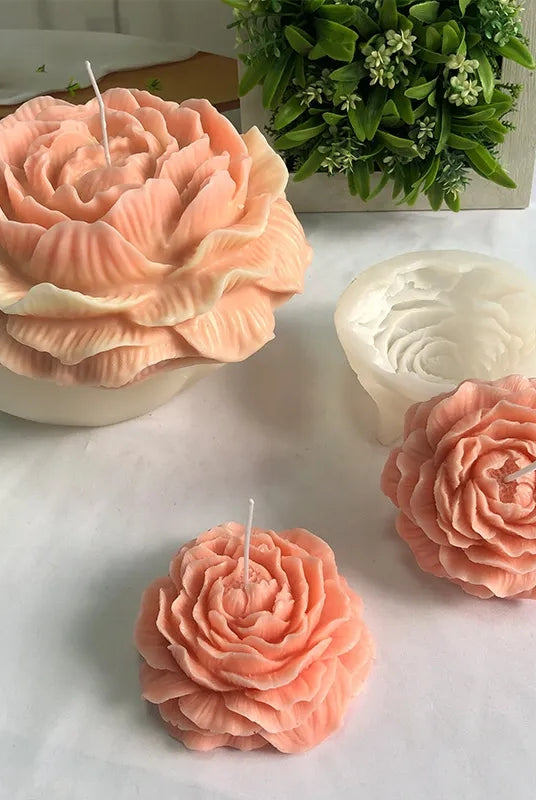
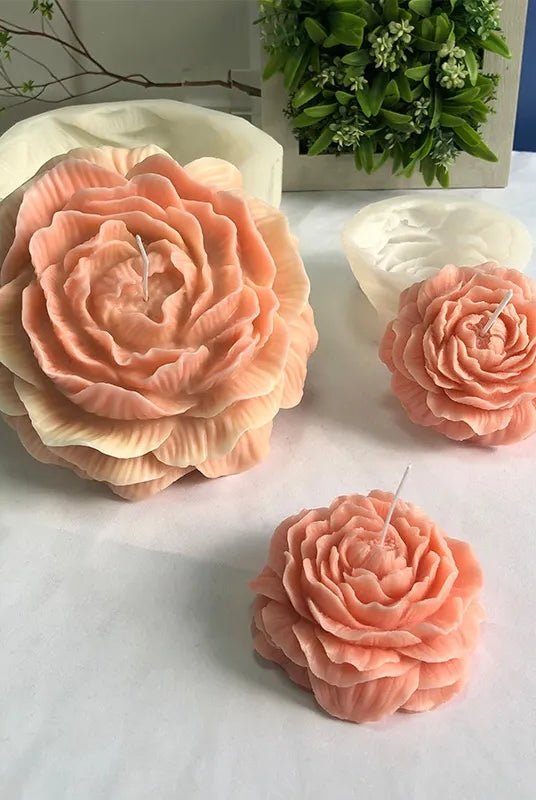
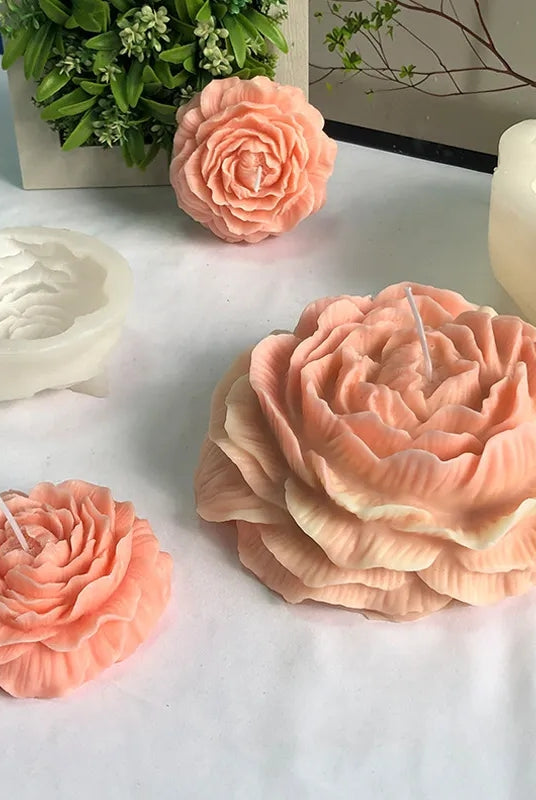
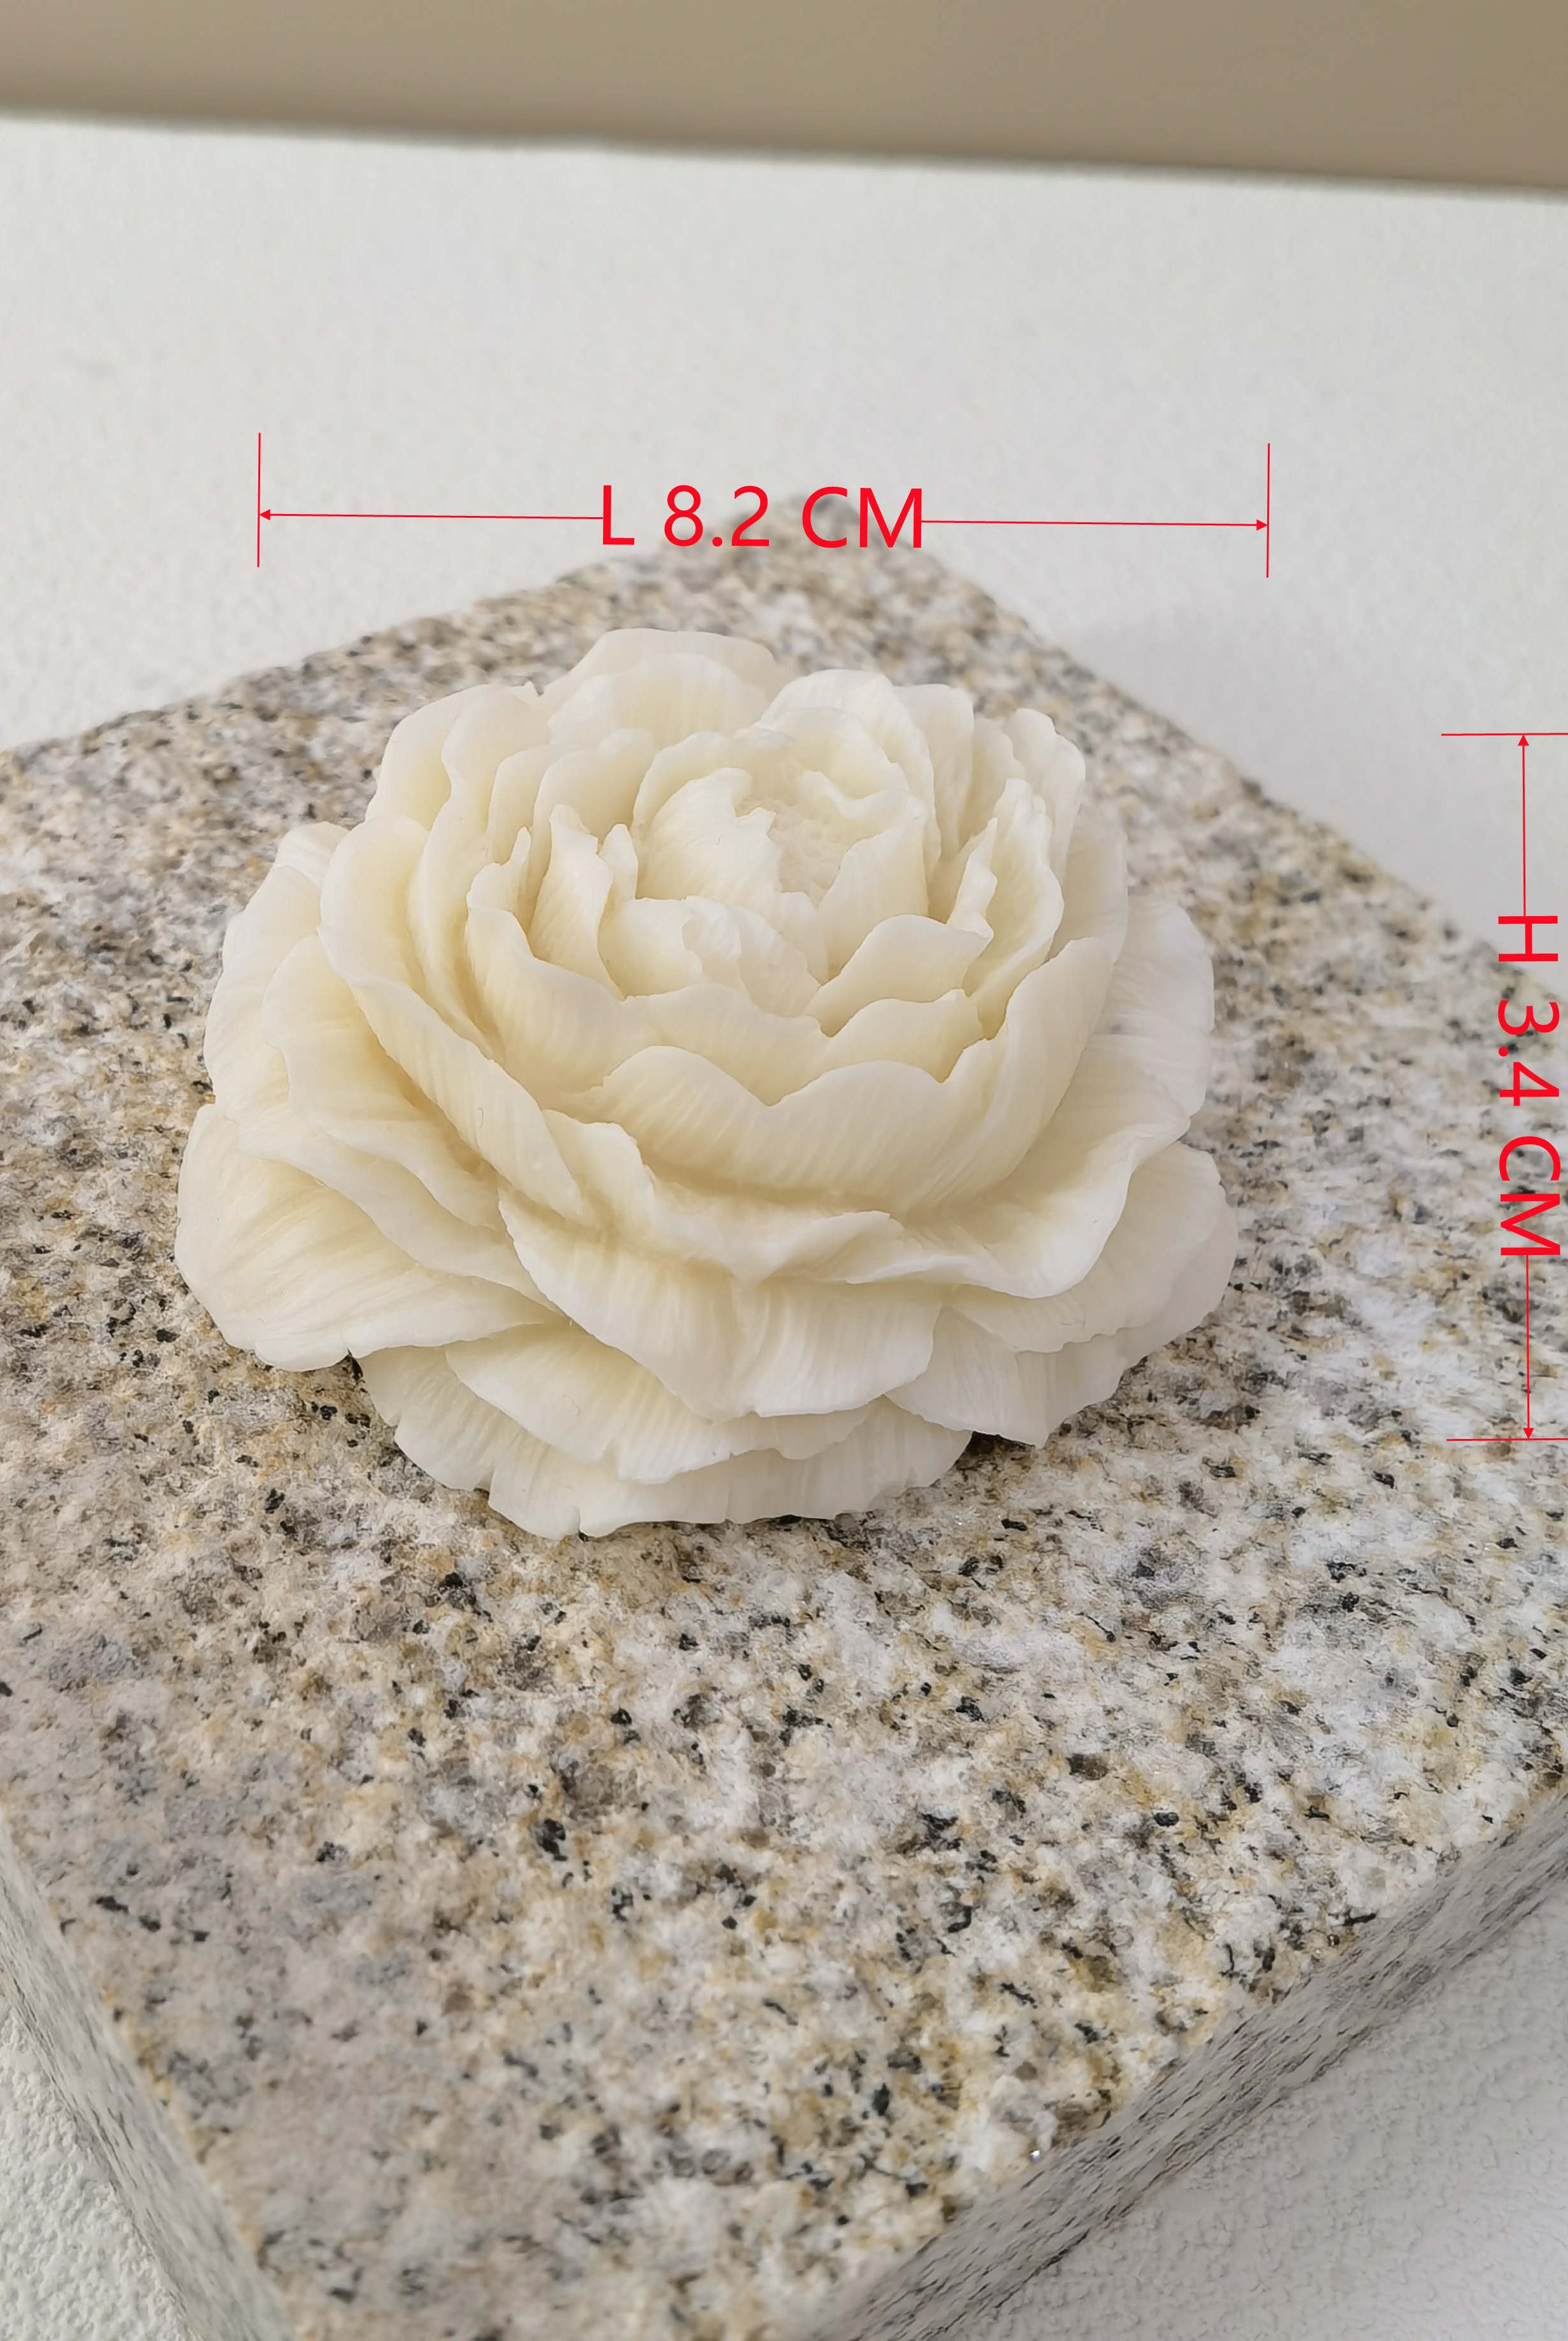
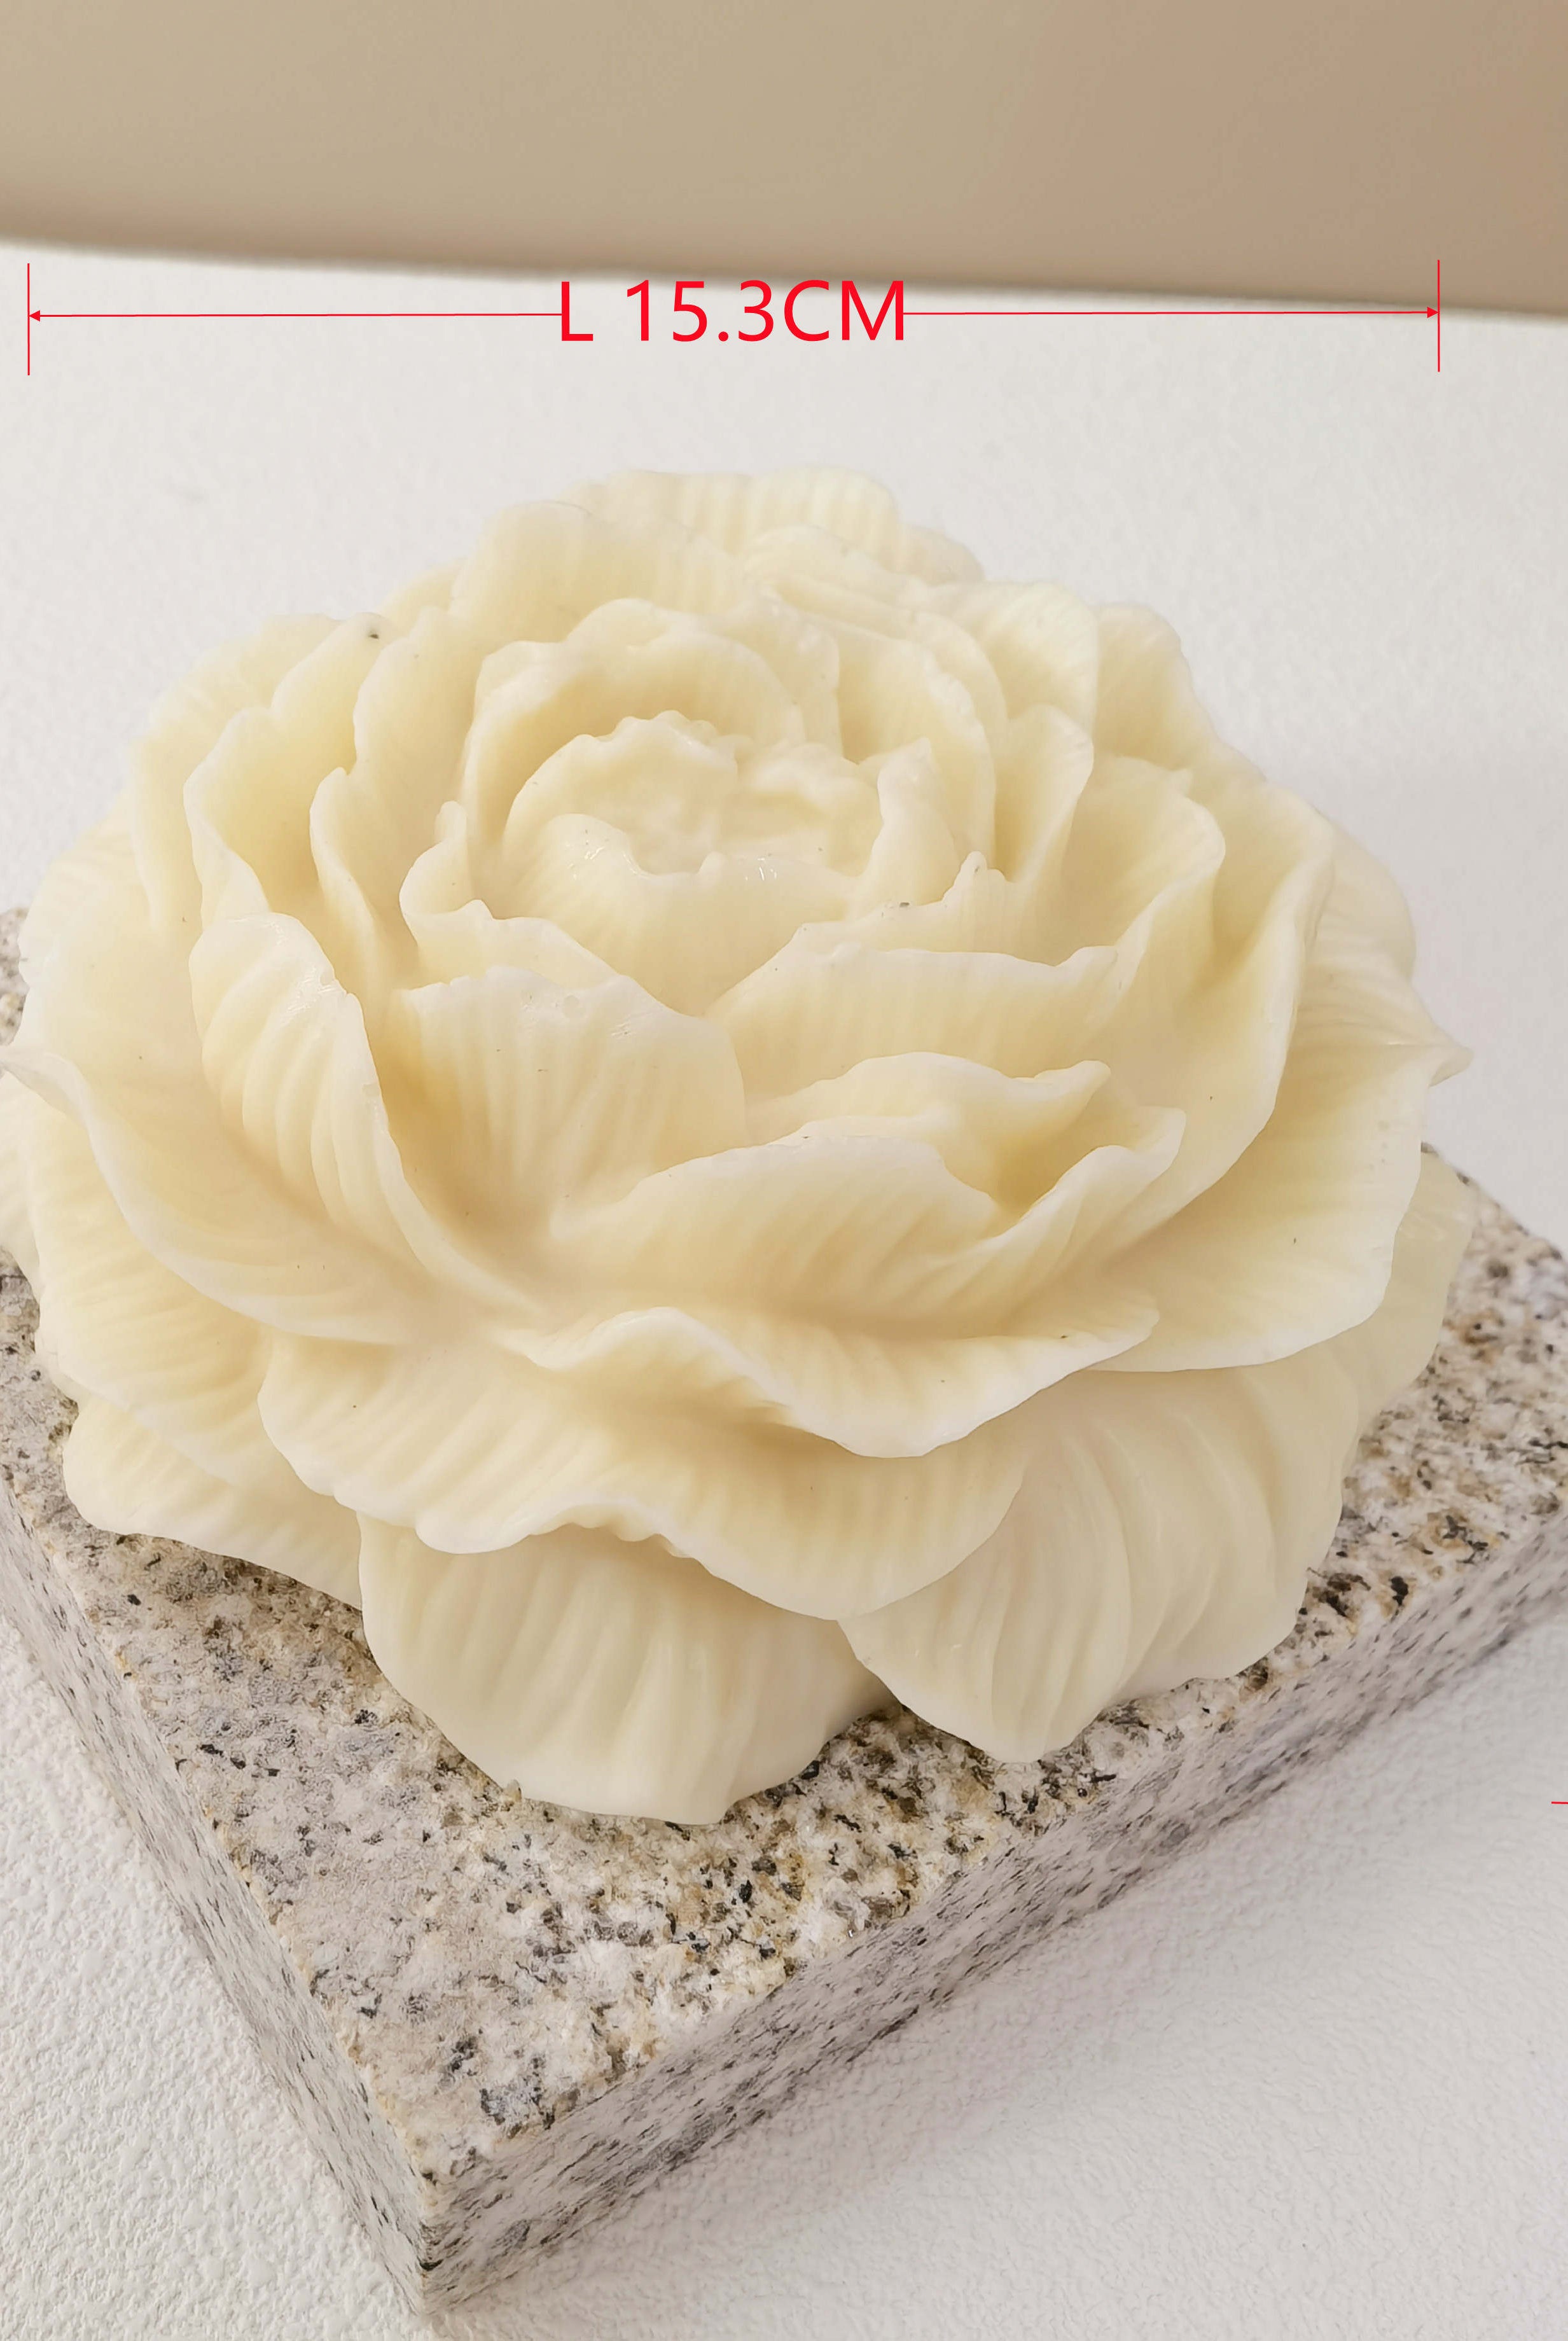
- Vessel Moulds: Perfect for Ramadan candle jars during Ramadan's solemn days. With these moulds, you can also create rose or sakura candles for romantic date nights on Valentine’s Day for your loved one.
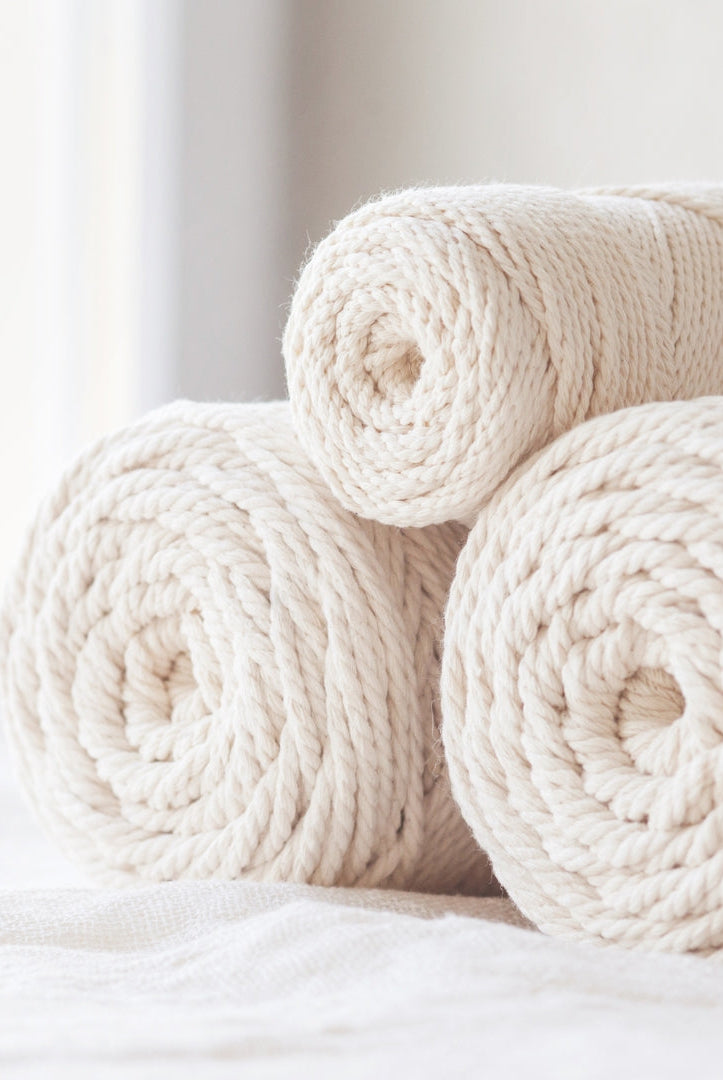
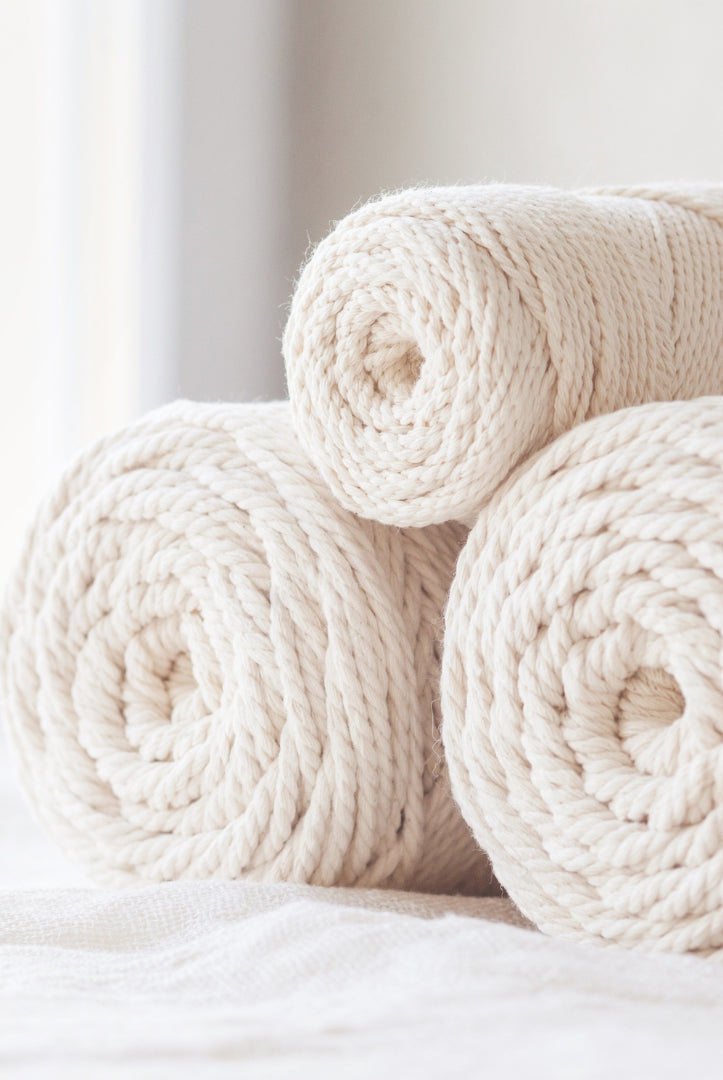
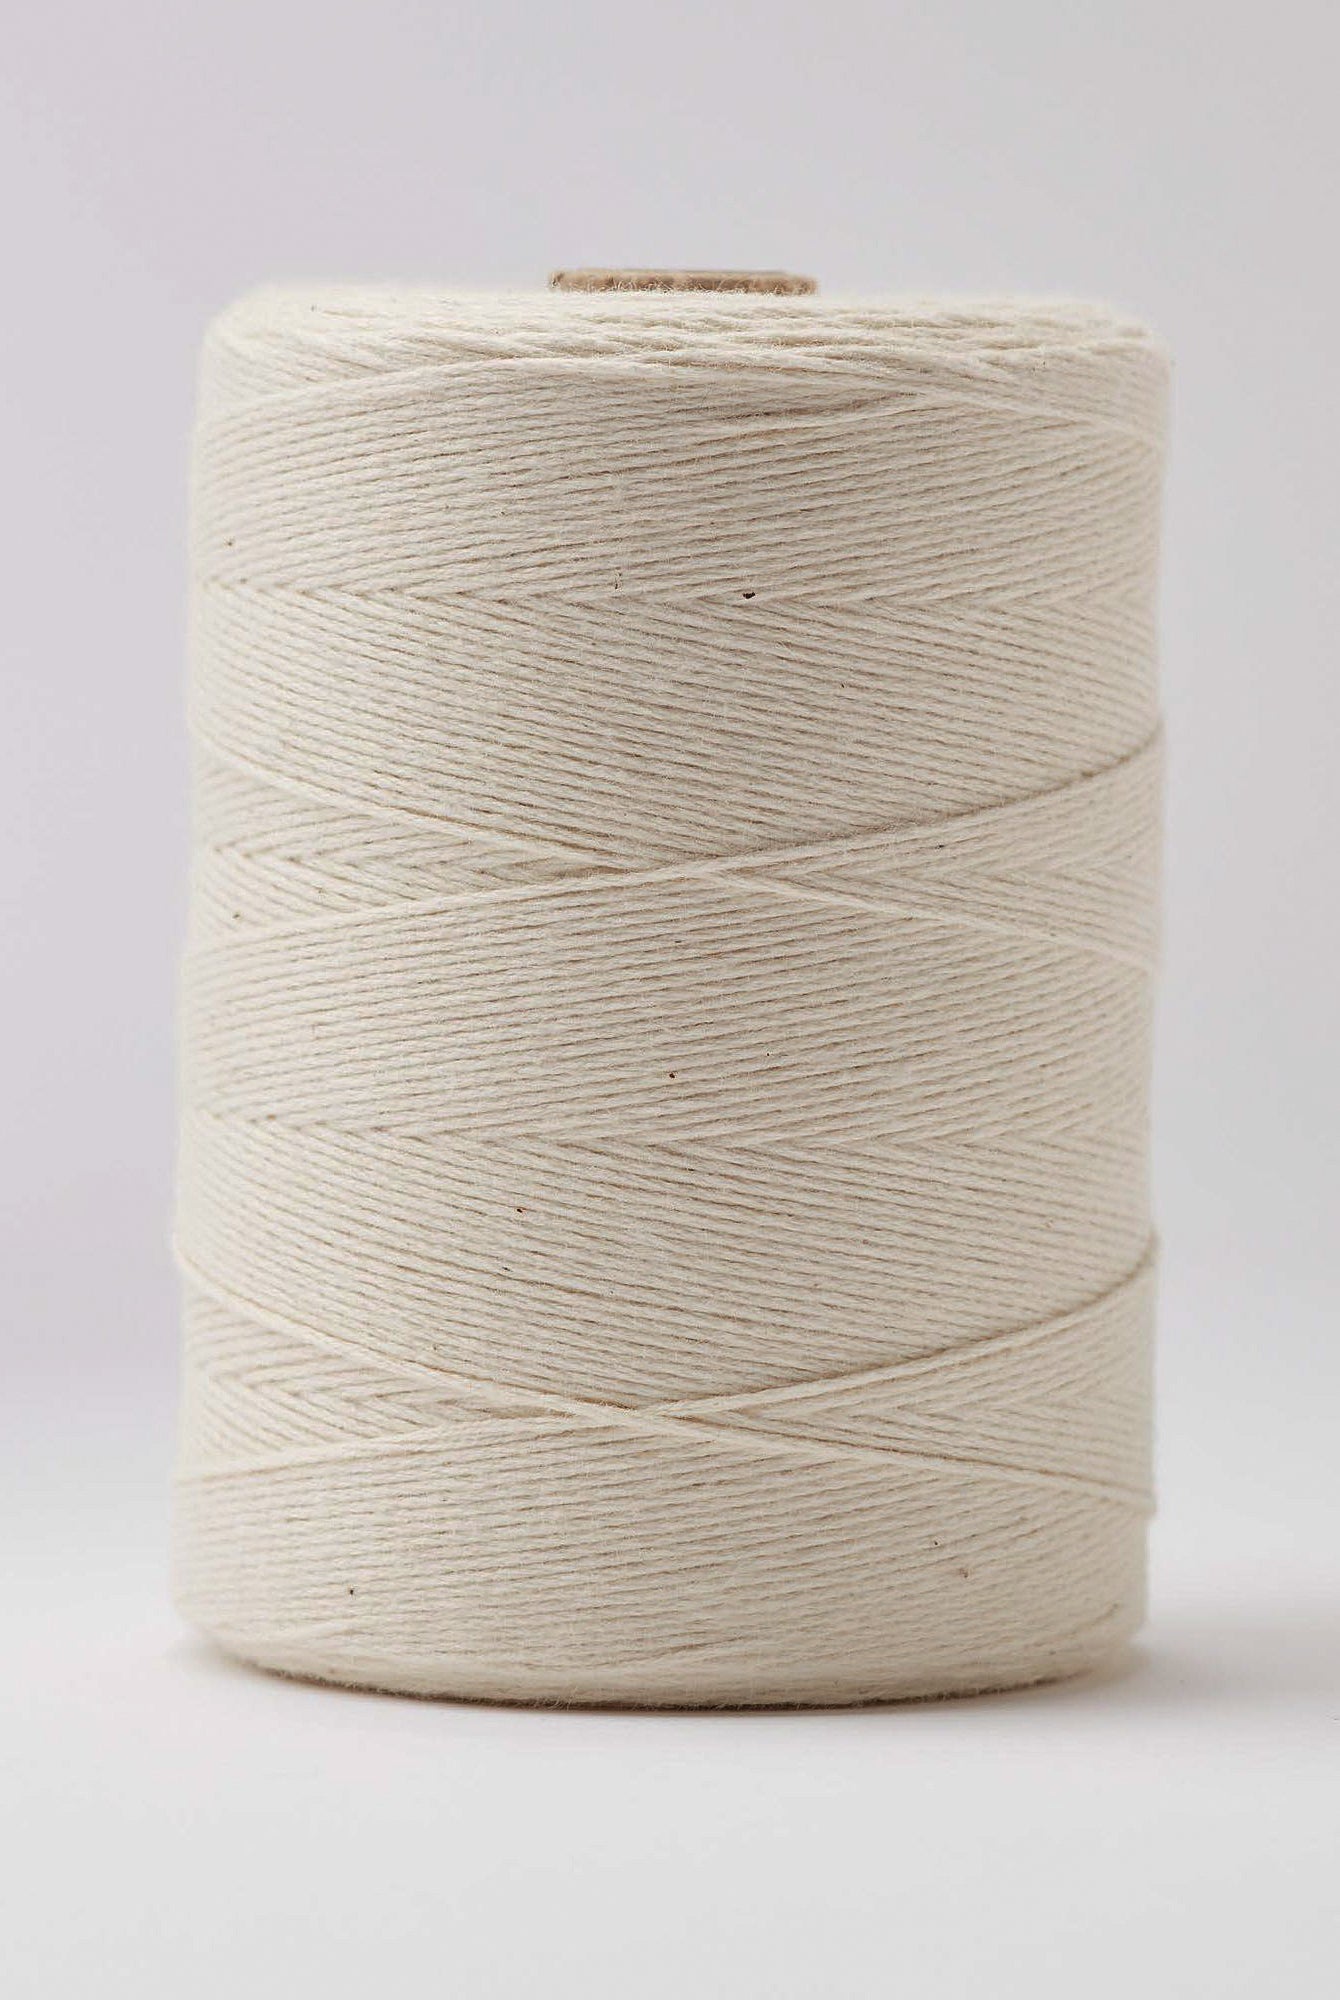
4. Cotton Wicks
Your candle’s burning time depends on the cotton wick size and type you pick. Consider the following before you use wicks.
-
Wick Type: You can choose between twisted or braided wick.
- Twisted wicks are made of twisted cotton fibre strands and have a more controlled burn. These wicks are used for candles with small diameters.
- Braided wicks are braided cotton fibre strands. These are suitable for candles with big diameters, creating a larger flame.
- Wick Size: Select the appropriate size based on your candle's diameter.
Candle-Making Tools You Need
|
Candle-making Tools |
Purpose |
|
1. Metal Wick Holder |
Keeps the wick centred while the wax sets |
|
2. Wicking Tool |
Helps thread the wick through the mould |
|
3. Mixing Spoon |
For stirring the melted wax and additives like essential oils or liquid dyes |
|
4. Glass Beaker |
Used for measuring and pouring wax |
|
5. Thermometer |
Ensures the right temperature of the candle wax when mixing and hardening |
|
6. Wax Melting Pot |
Safe vessel for melting wax evenly |
|
Strains wax mixture while pouring into moulds |
|
|
8. Wax Scoop |
For transferring wax granules or flakes into a container or mould |
Step-by-Step Guide to Candle-Making
1. Prepare Your Workspace
Cover your work area to protect your table from spills. Gather all your candle-making equipment and ingredients.
2. Measure and Melt the Wax
Weigh the amount of wax needed for your mould. Place it in the wax melting pot. Then, heat it using a double boiler method until the wax is fully melted.
3. Add Dye and Fragrance
Once the wax reaches around 70°C, add your chosen dye and stir it until completely dissolved. For scented candles, pour fragrances or essential oils into the wax and mix.
4. Prepare the Wick & Mould
Thread the cotton wick through the mould using the wicking tool. Secure it with the metal wick holder to keep it centred.
5. Pour the Mixture Into a Mould
Allow the candle mixture to cool to approximately 60°C. Then, carefully pour the wax into the mould, preventing air bubbles from forming.
6. Let the Candle Wax Set
Leave the wax to cool and solidify completely. You need to wait for 2 to 3 days to harden small candles and a maximum of 2 weeks for big candles.
7. Demould the Candle
Gently remove the candle from the mould. Then, trim the wick about 1cm.
8. Cure the Candle
For best-burning results, cure your candle for a few days before lighting it. You can also use a candle warmer lamp to light your scented candles without using a flame for a lasting aroma.
Candle Making Tips for Beginners
- Start Simple: Begin with basic shapes and simple candle wax types before experimenting with complex designs.
- Temperature Matters: Always monitor your wax temperature using a thermometer for optimal results.
- Quality Ingredients: Use high-quality candle wax, wicks and dyes for well-crafted candles.
- Safety First: Never leave melting candle wax unattended, and keep a fire extinguisher nearby for emergencies.
Start Your DIY Candle Making Journey
Candle making is a delightful blend of art and craft, much like preparing a gourmet meal. While it might seem simple at first glance, using the right equipment and understanding each step matters to moulding DIY candles.
With this beginner's guide, you're now ready to start making candles. Unleash your creativity and fill your space with the warm glow of your handmade candles today.
Feel free to explore our blogs if you want to learn more about candle making.
