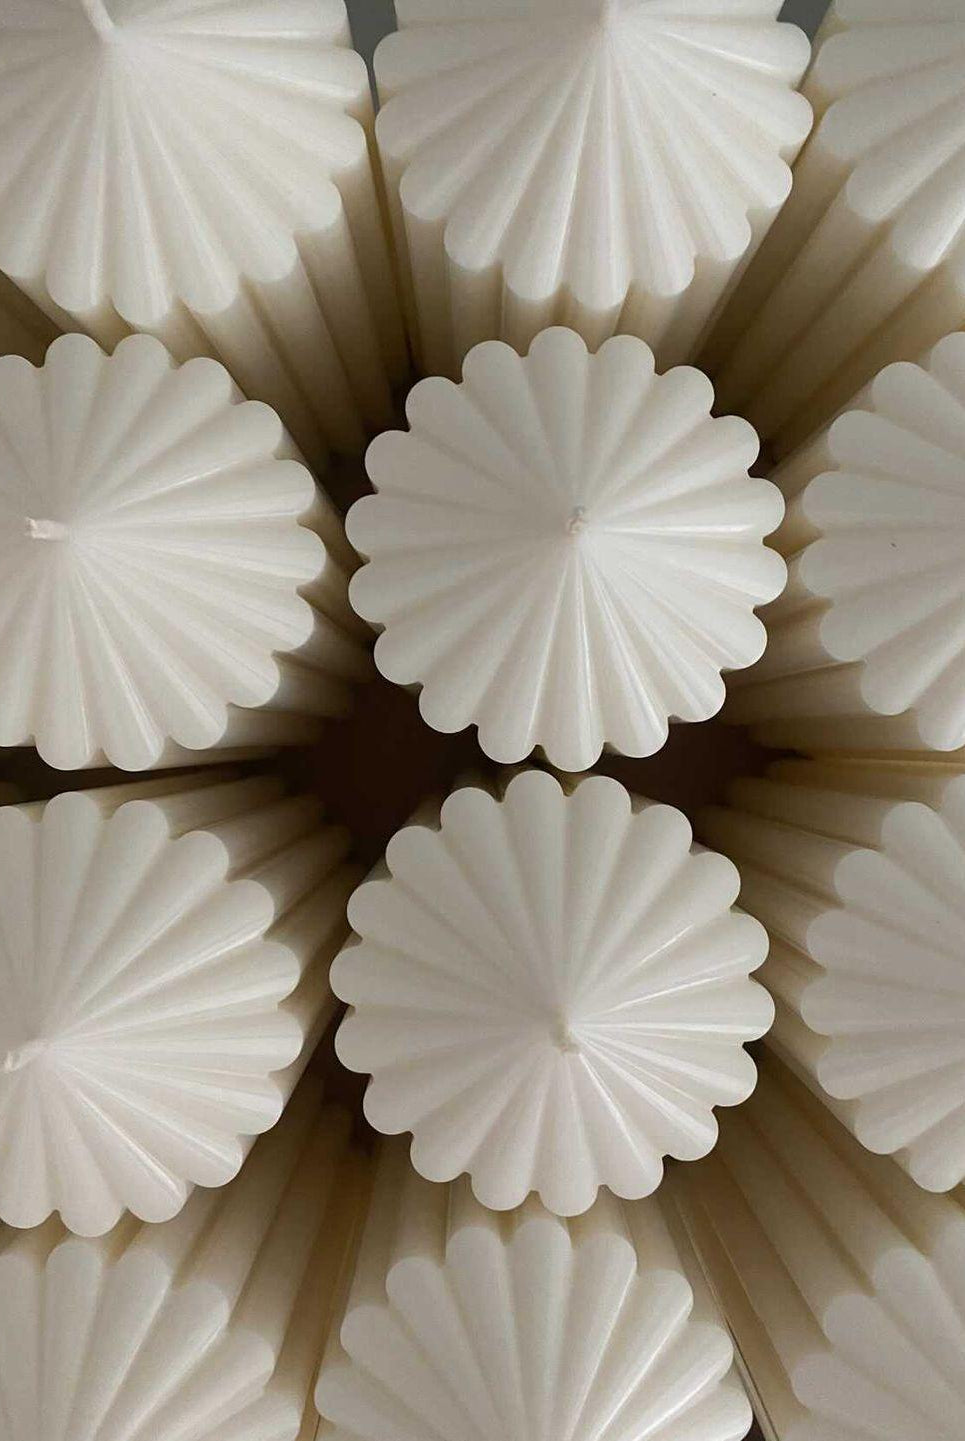
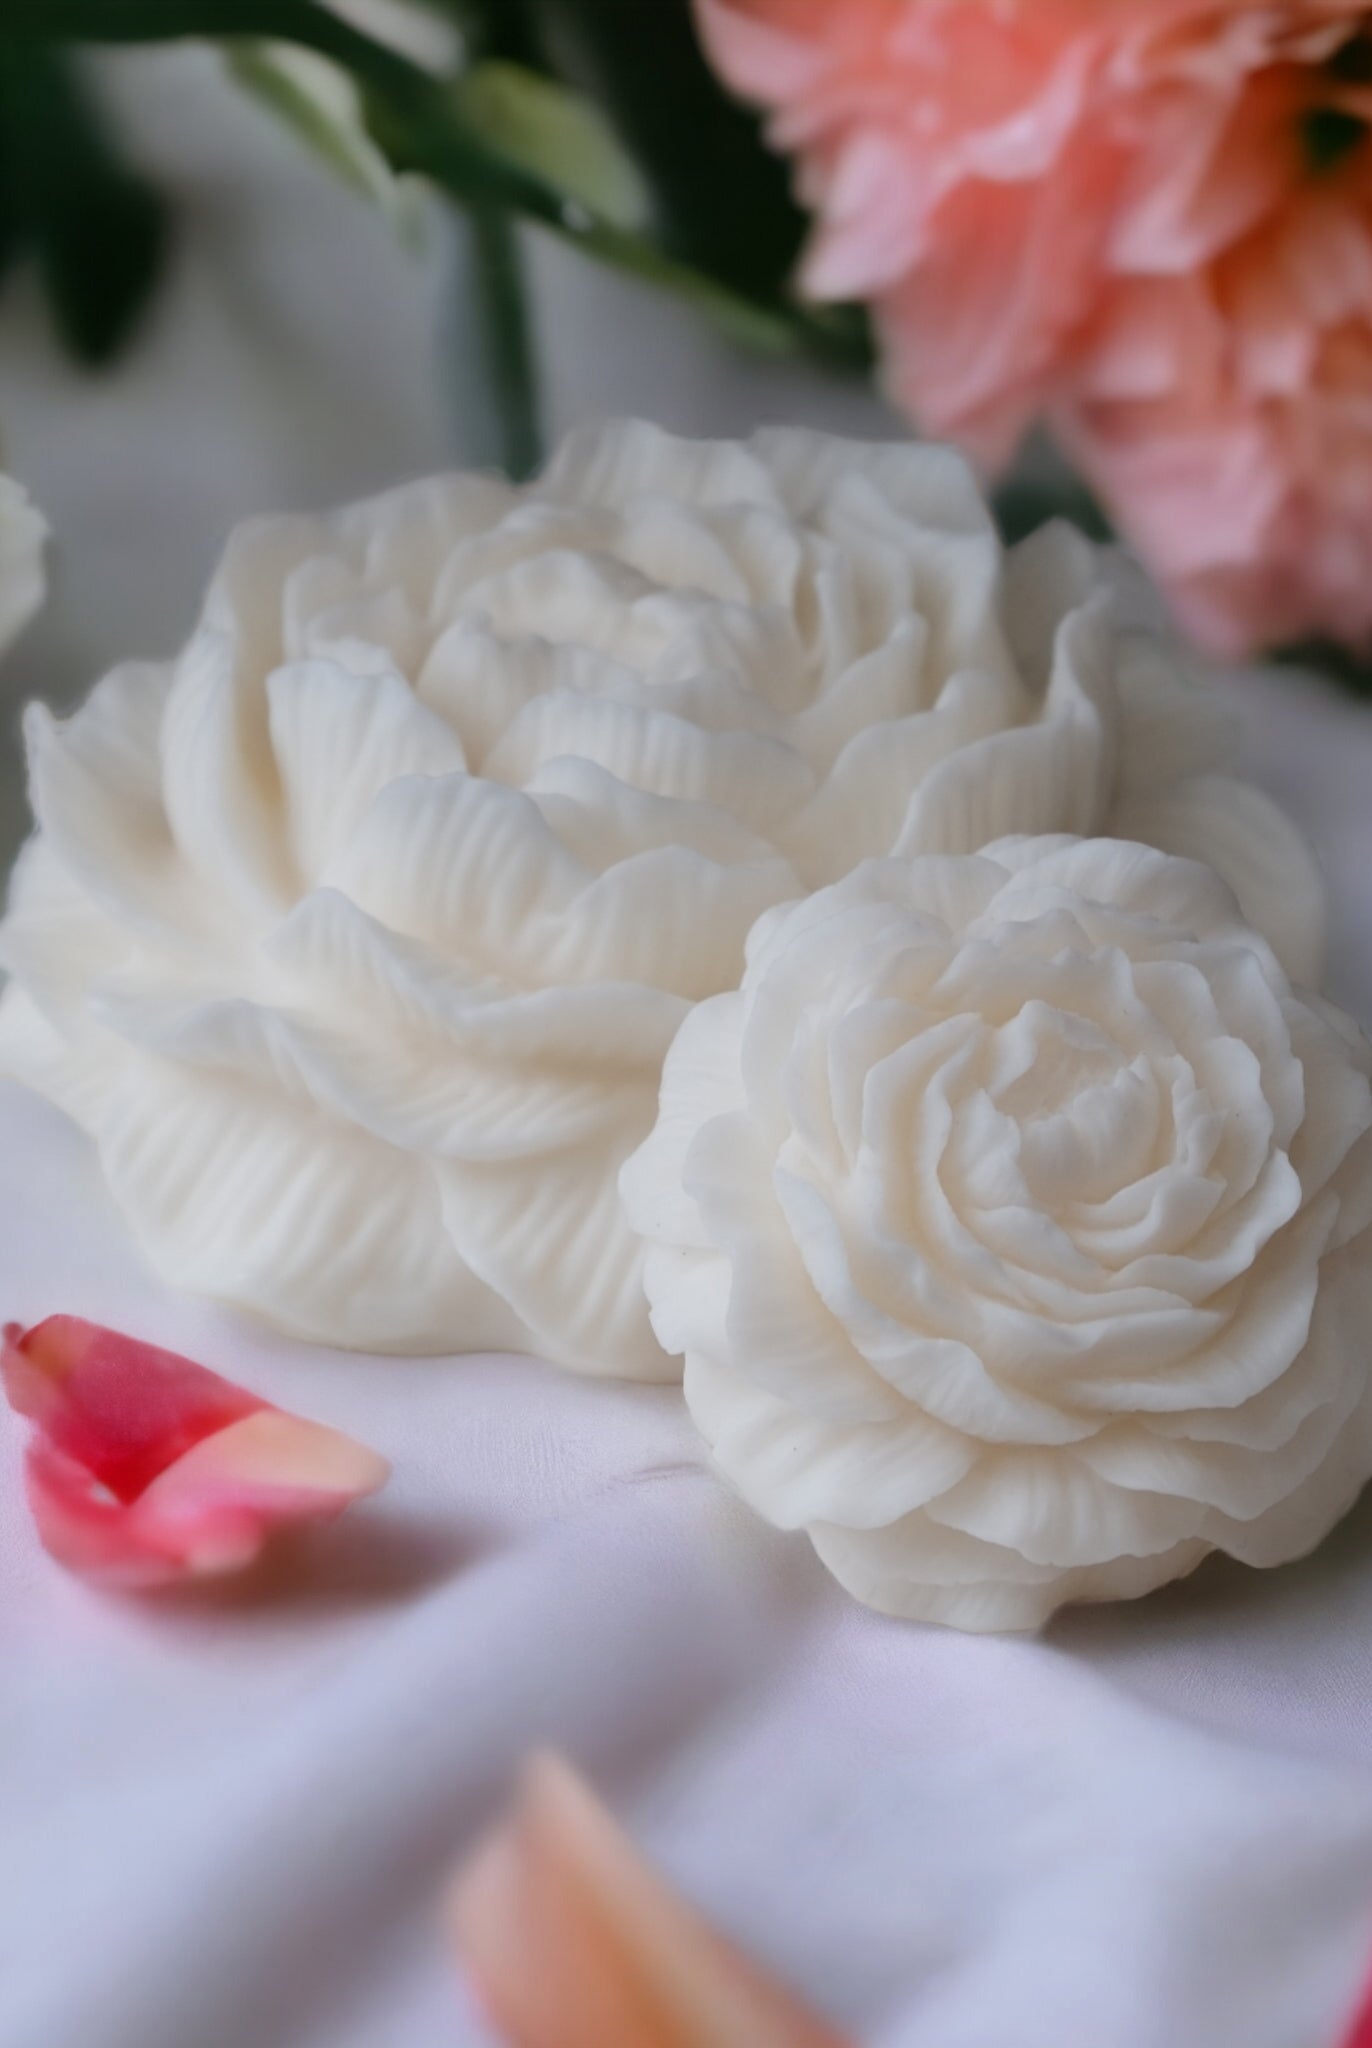
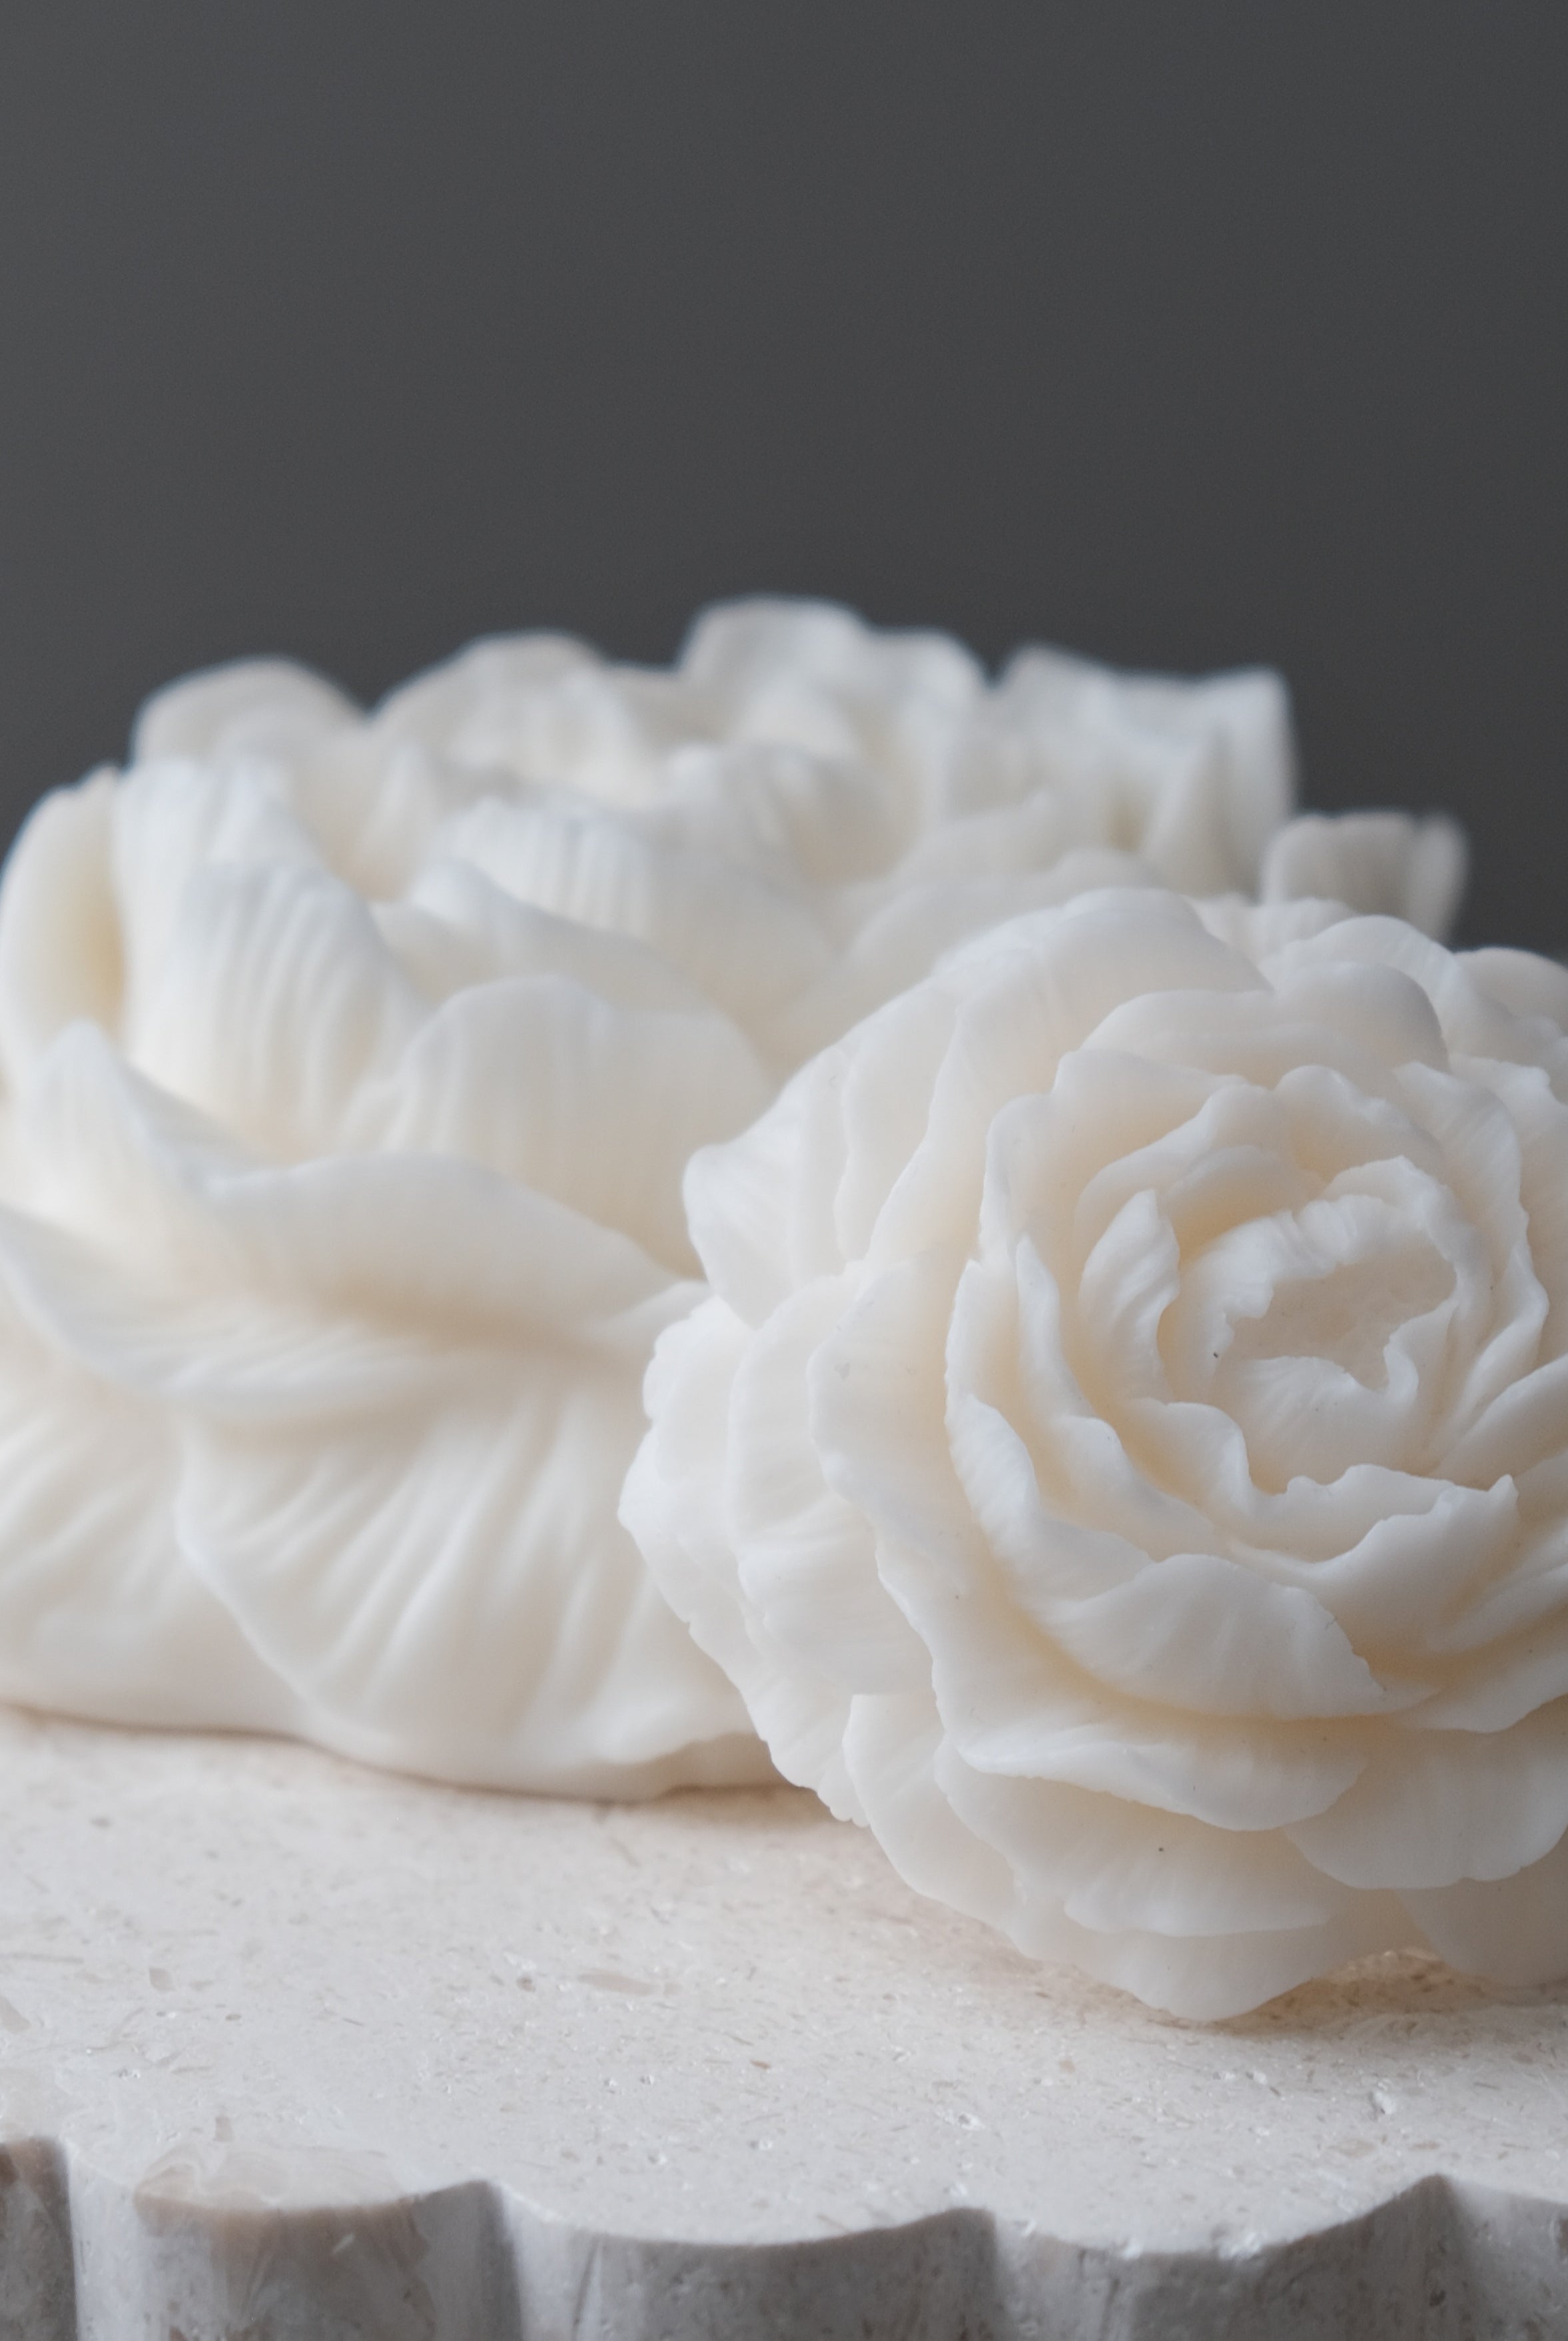
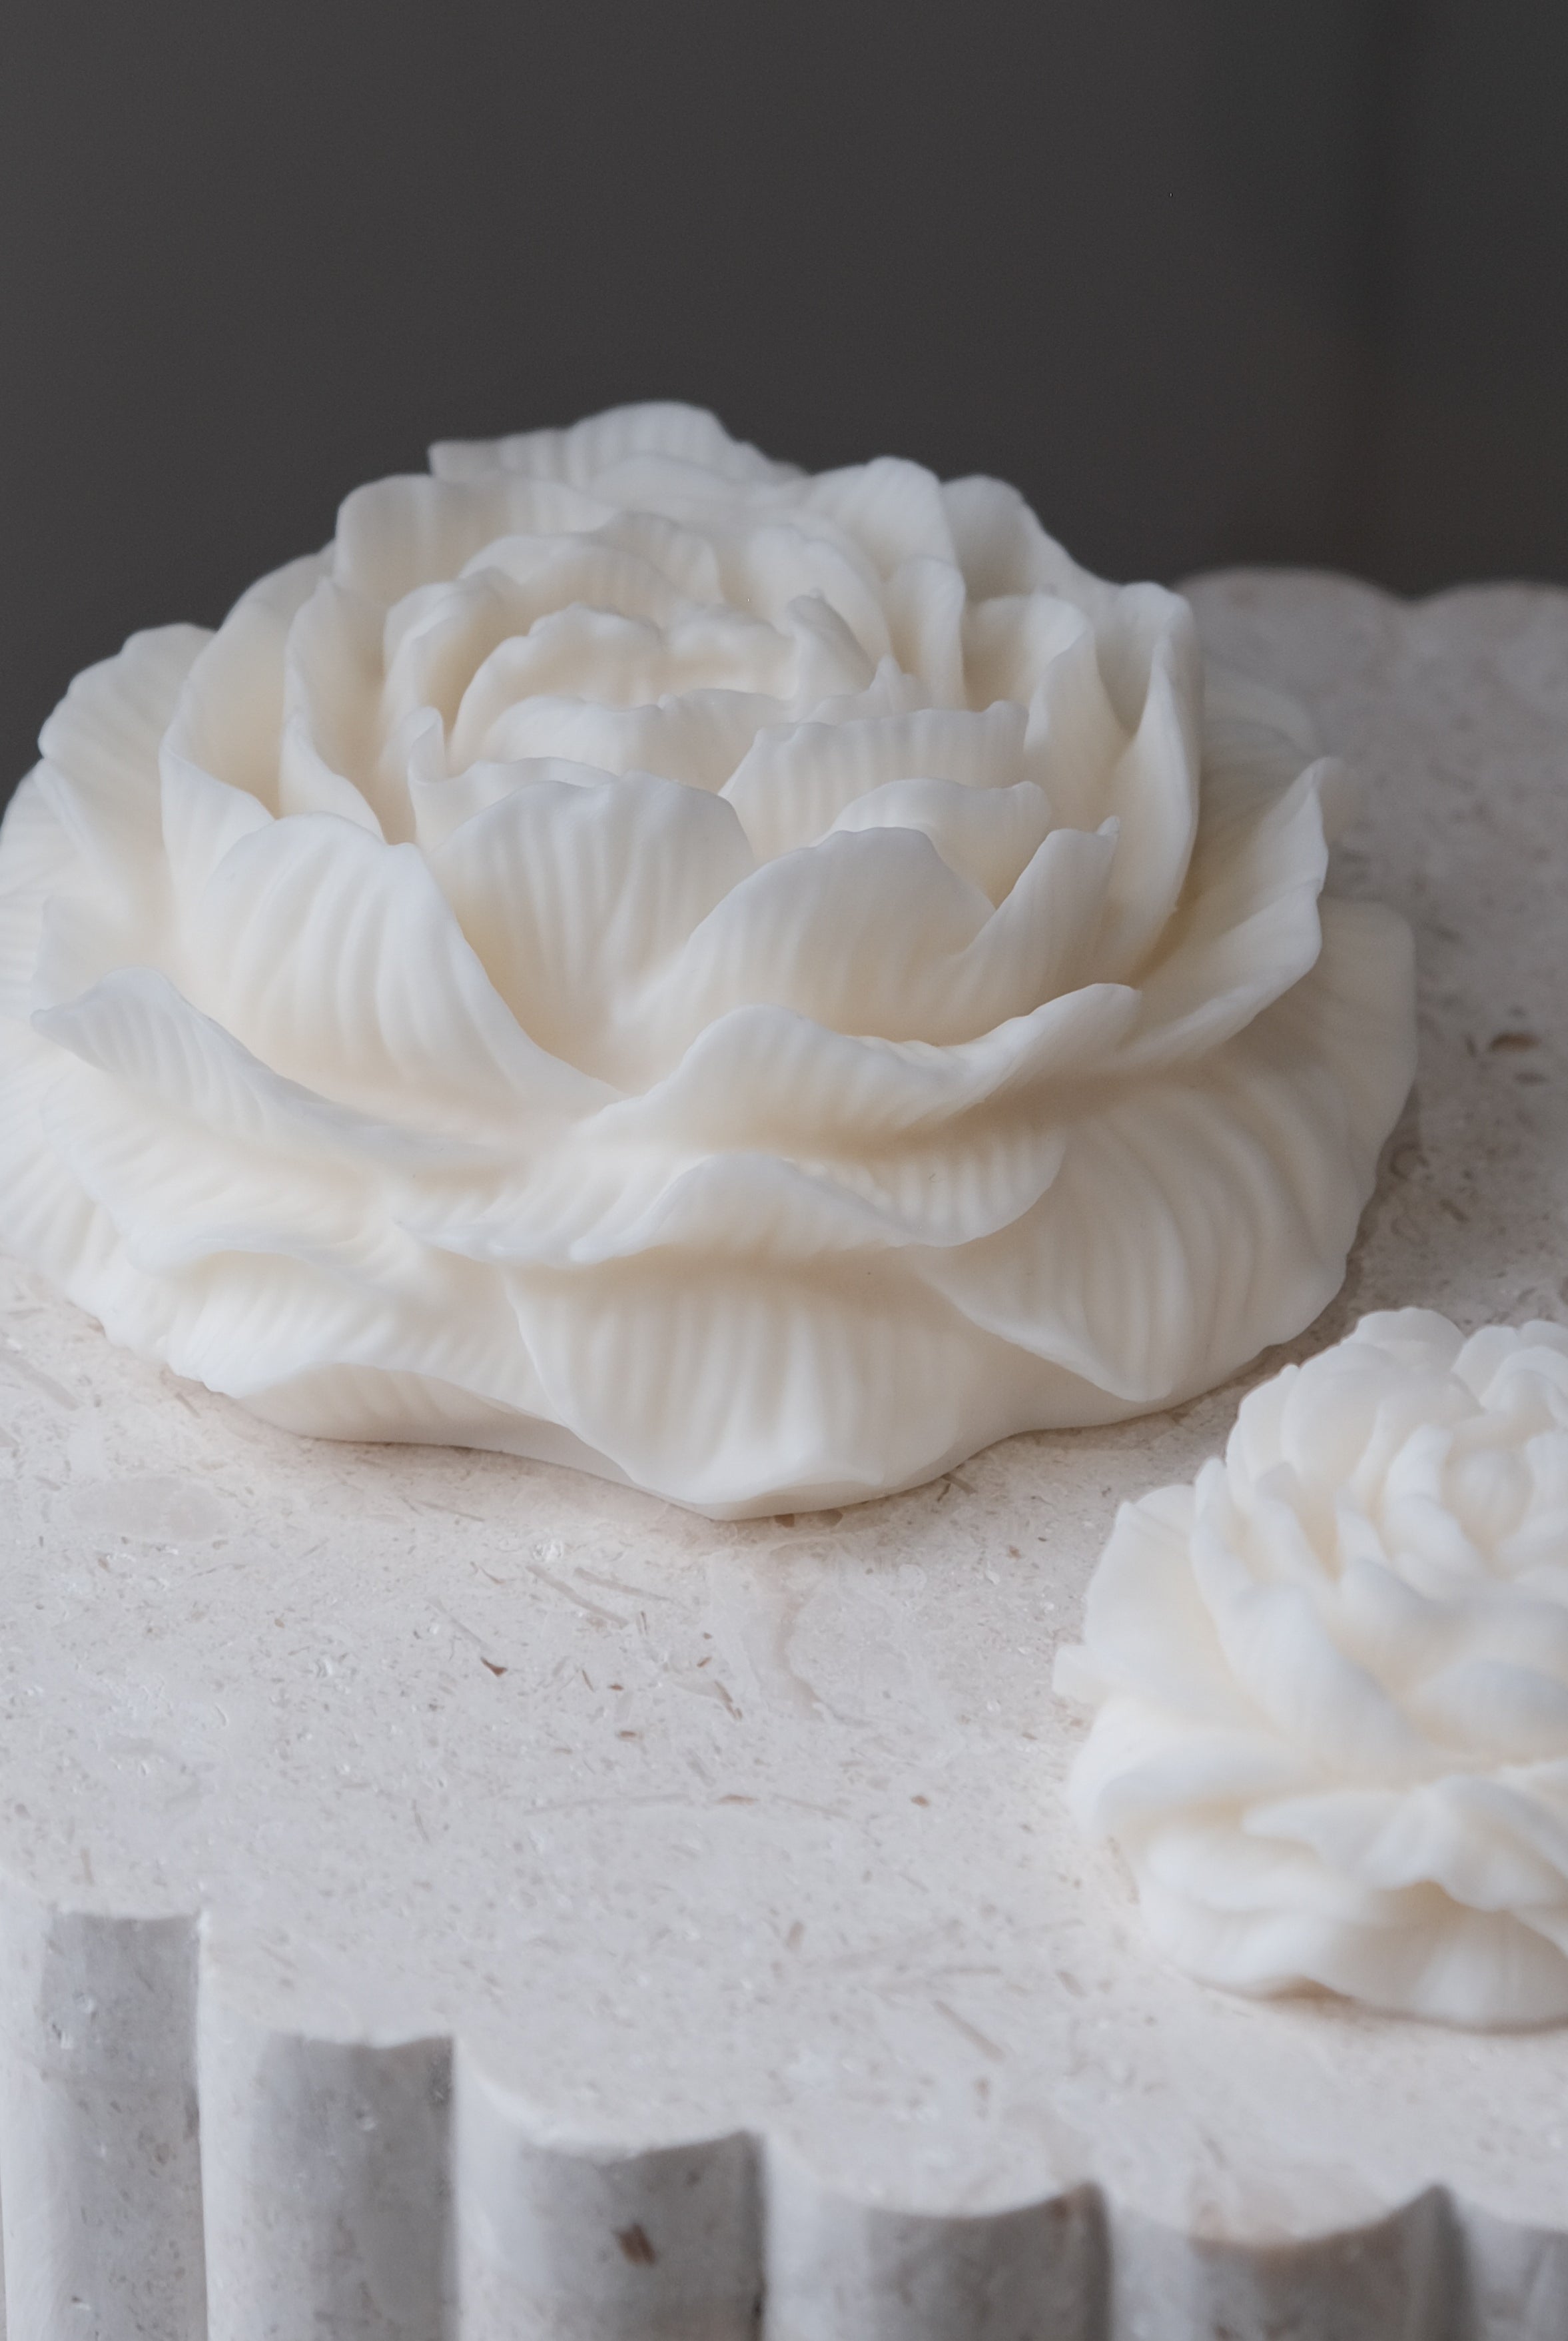
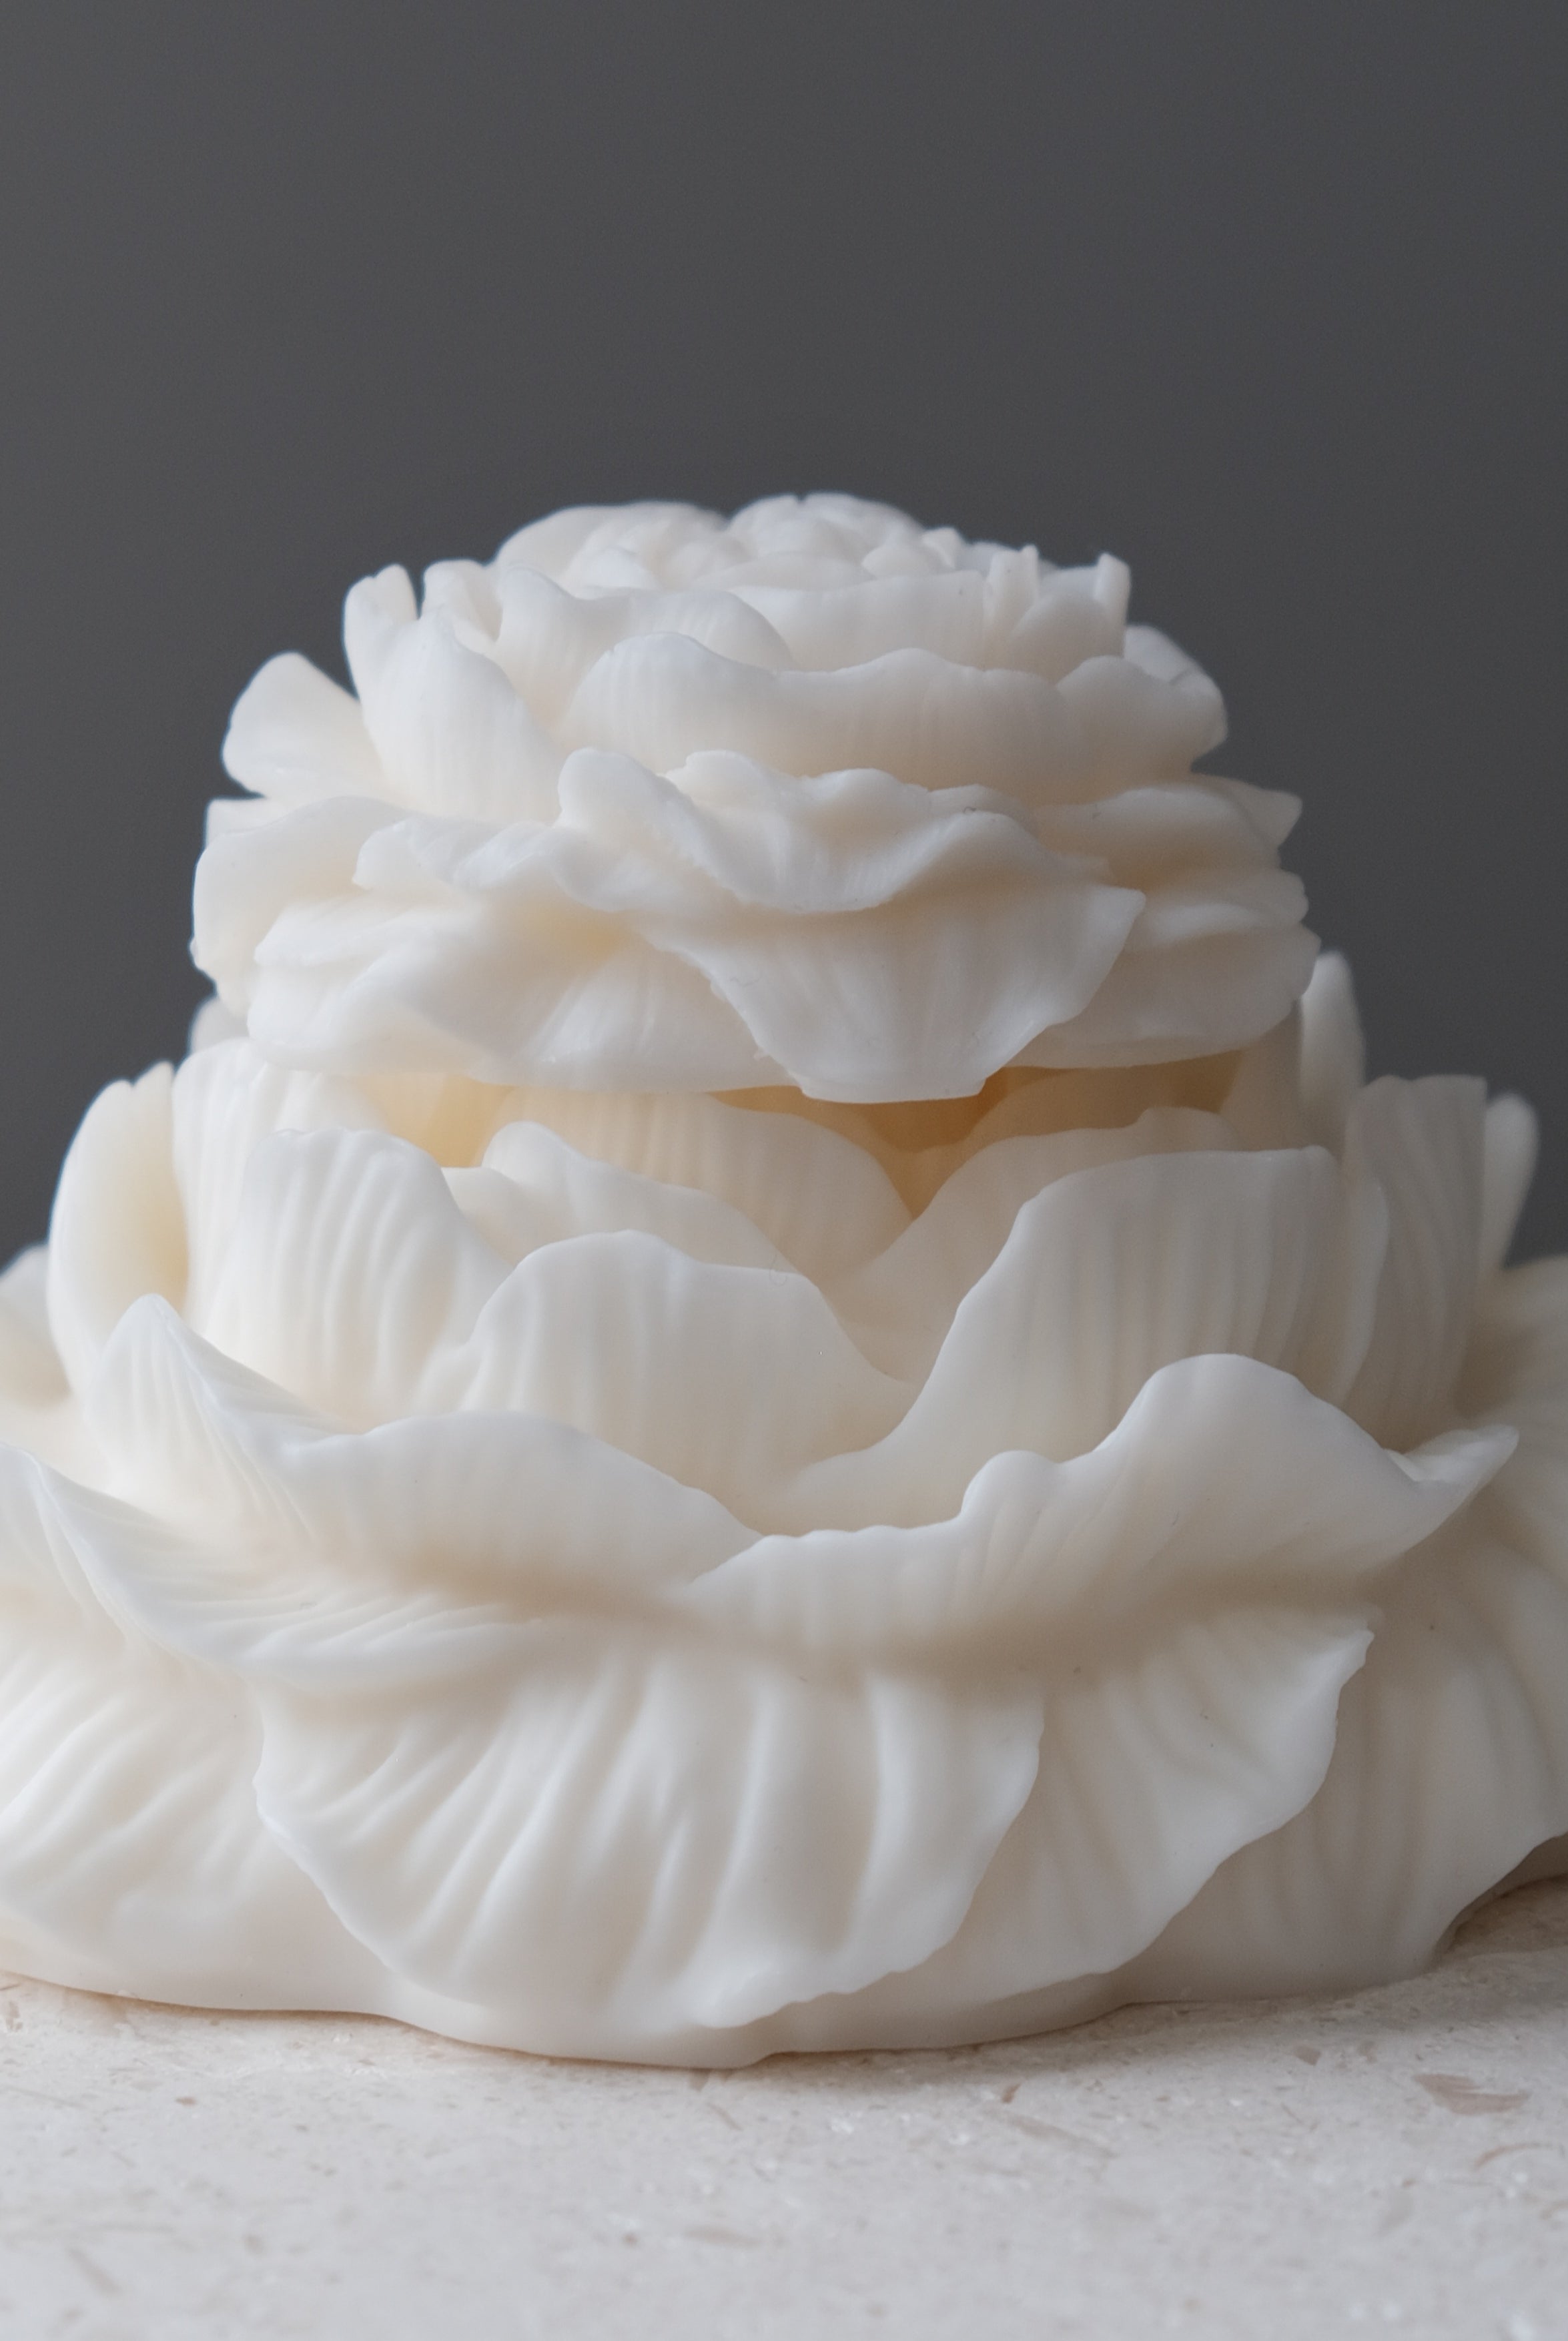
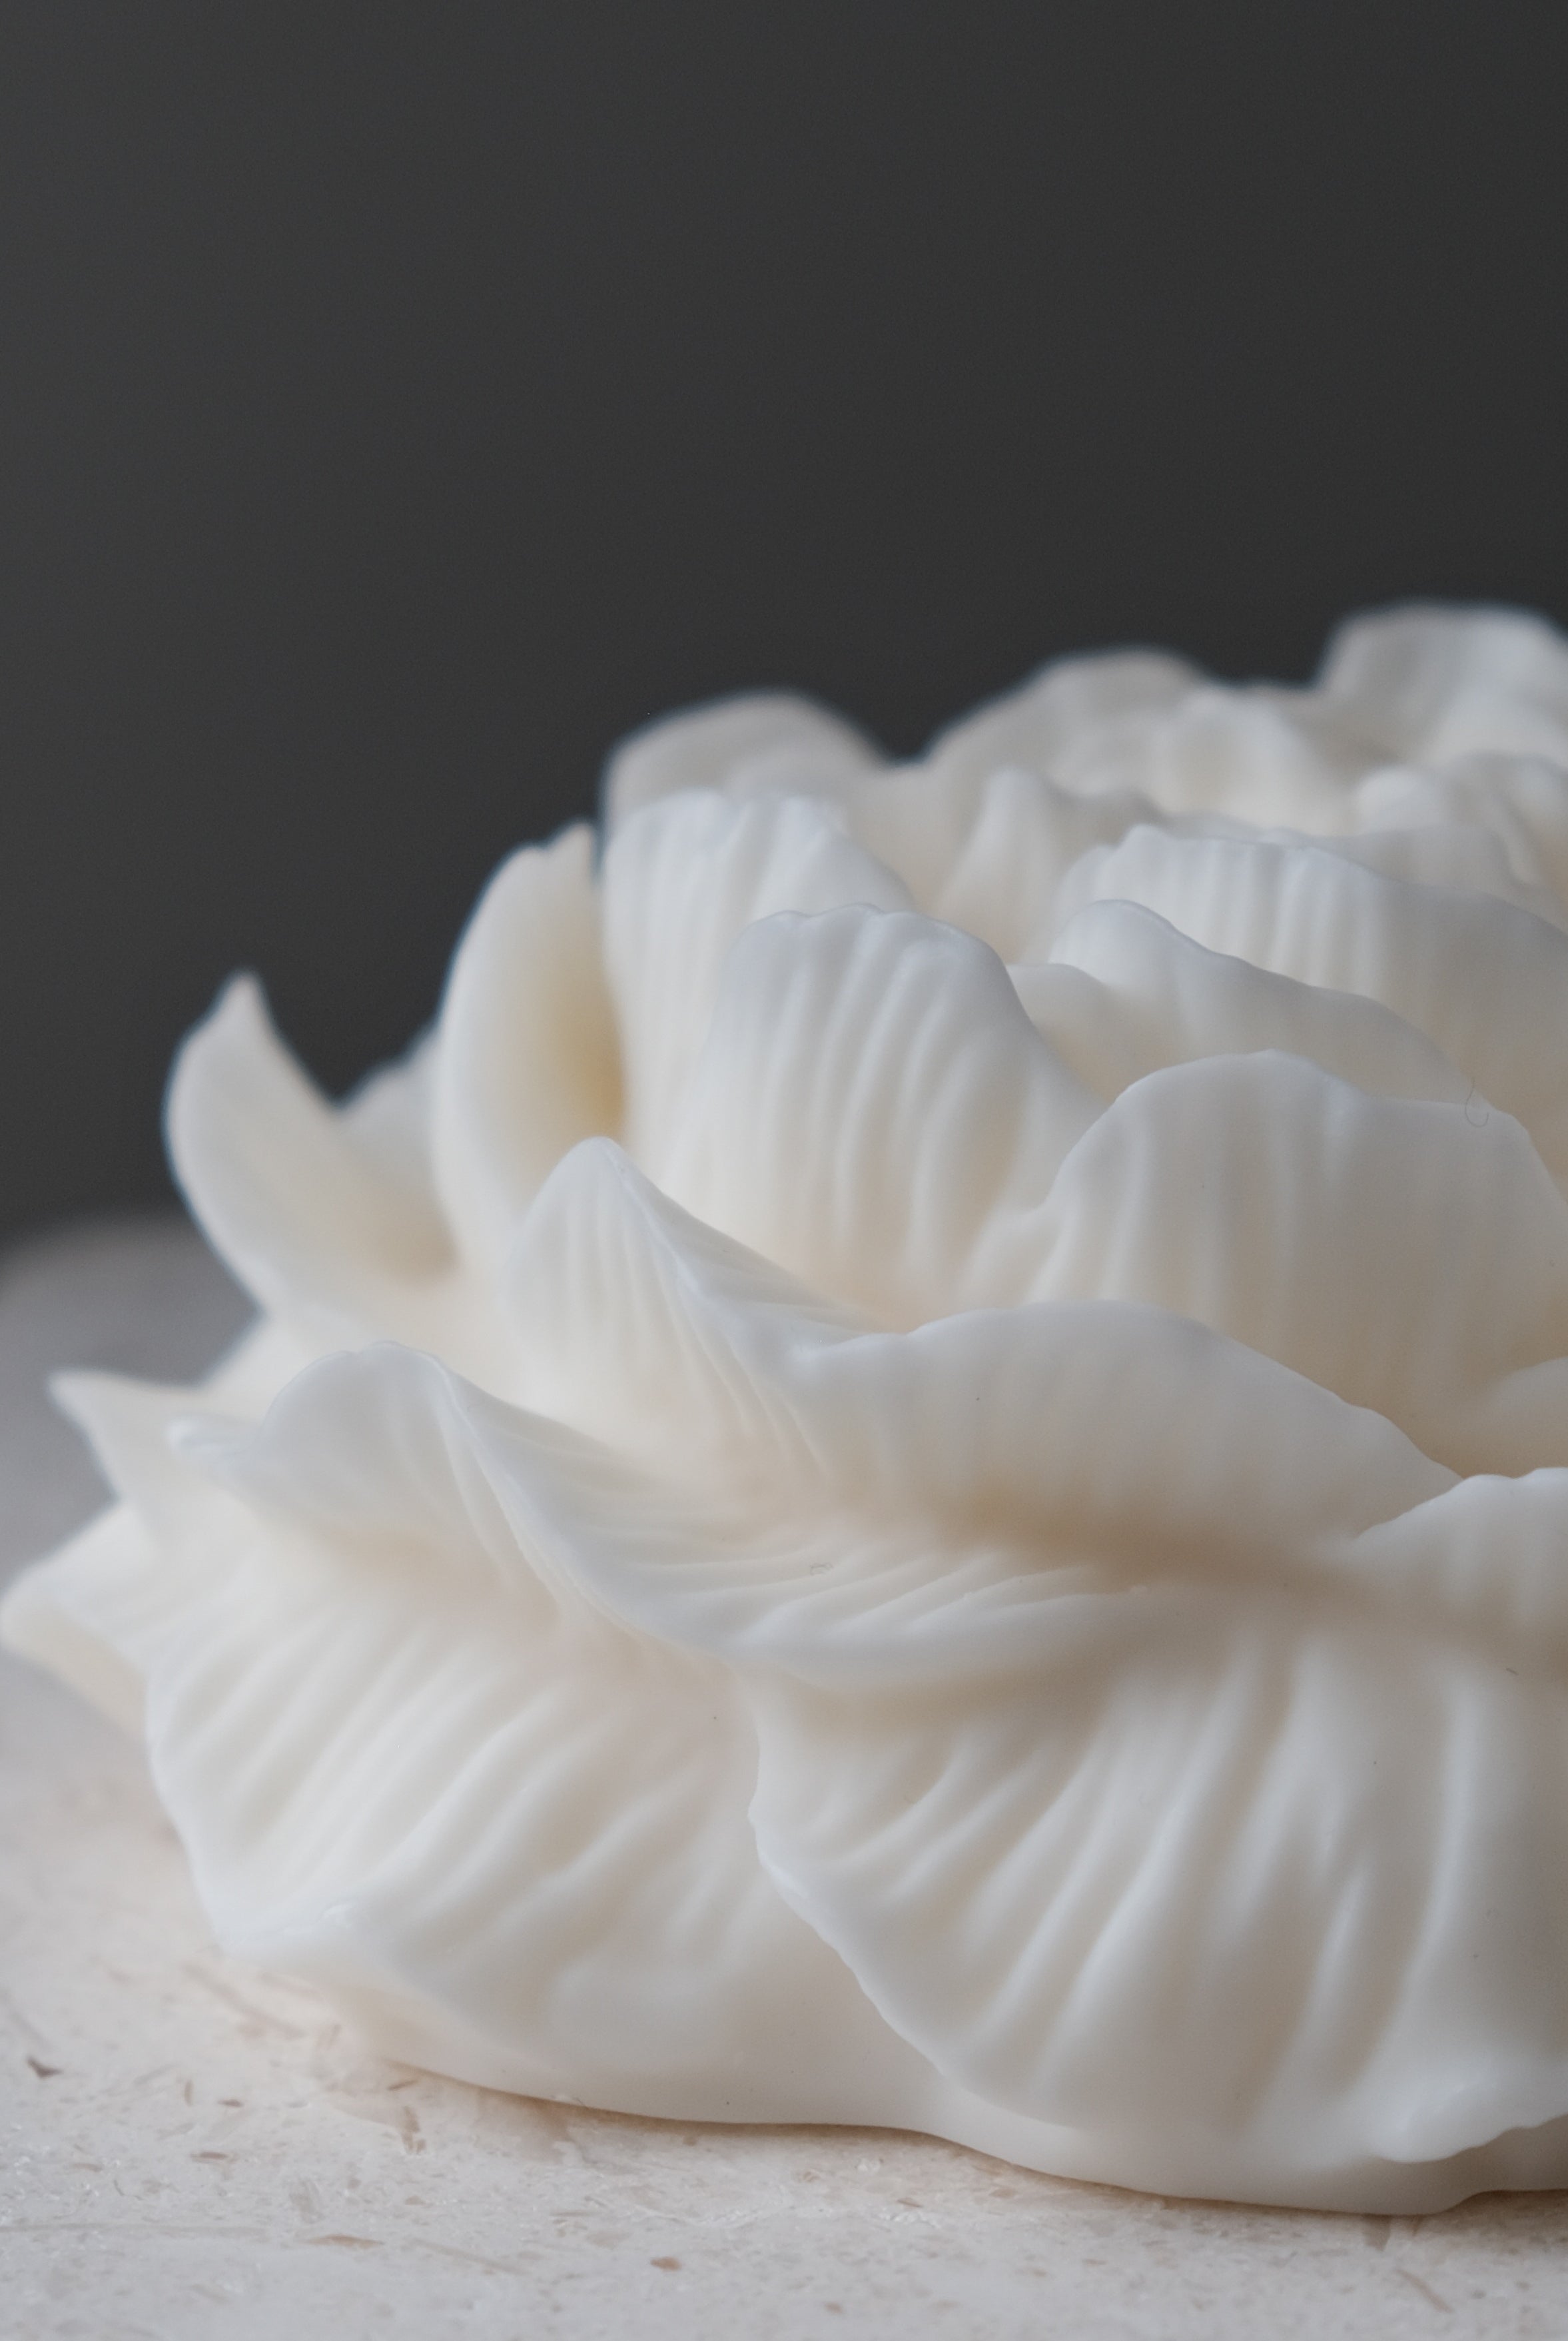
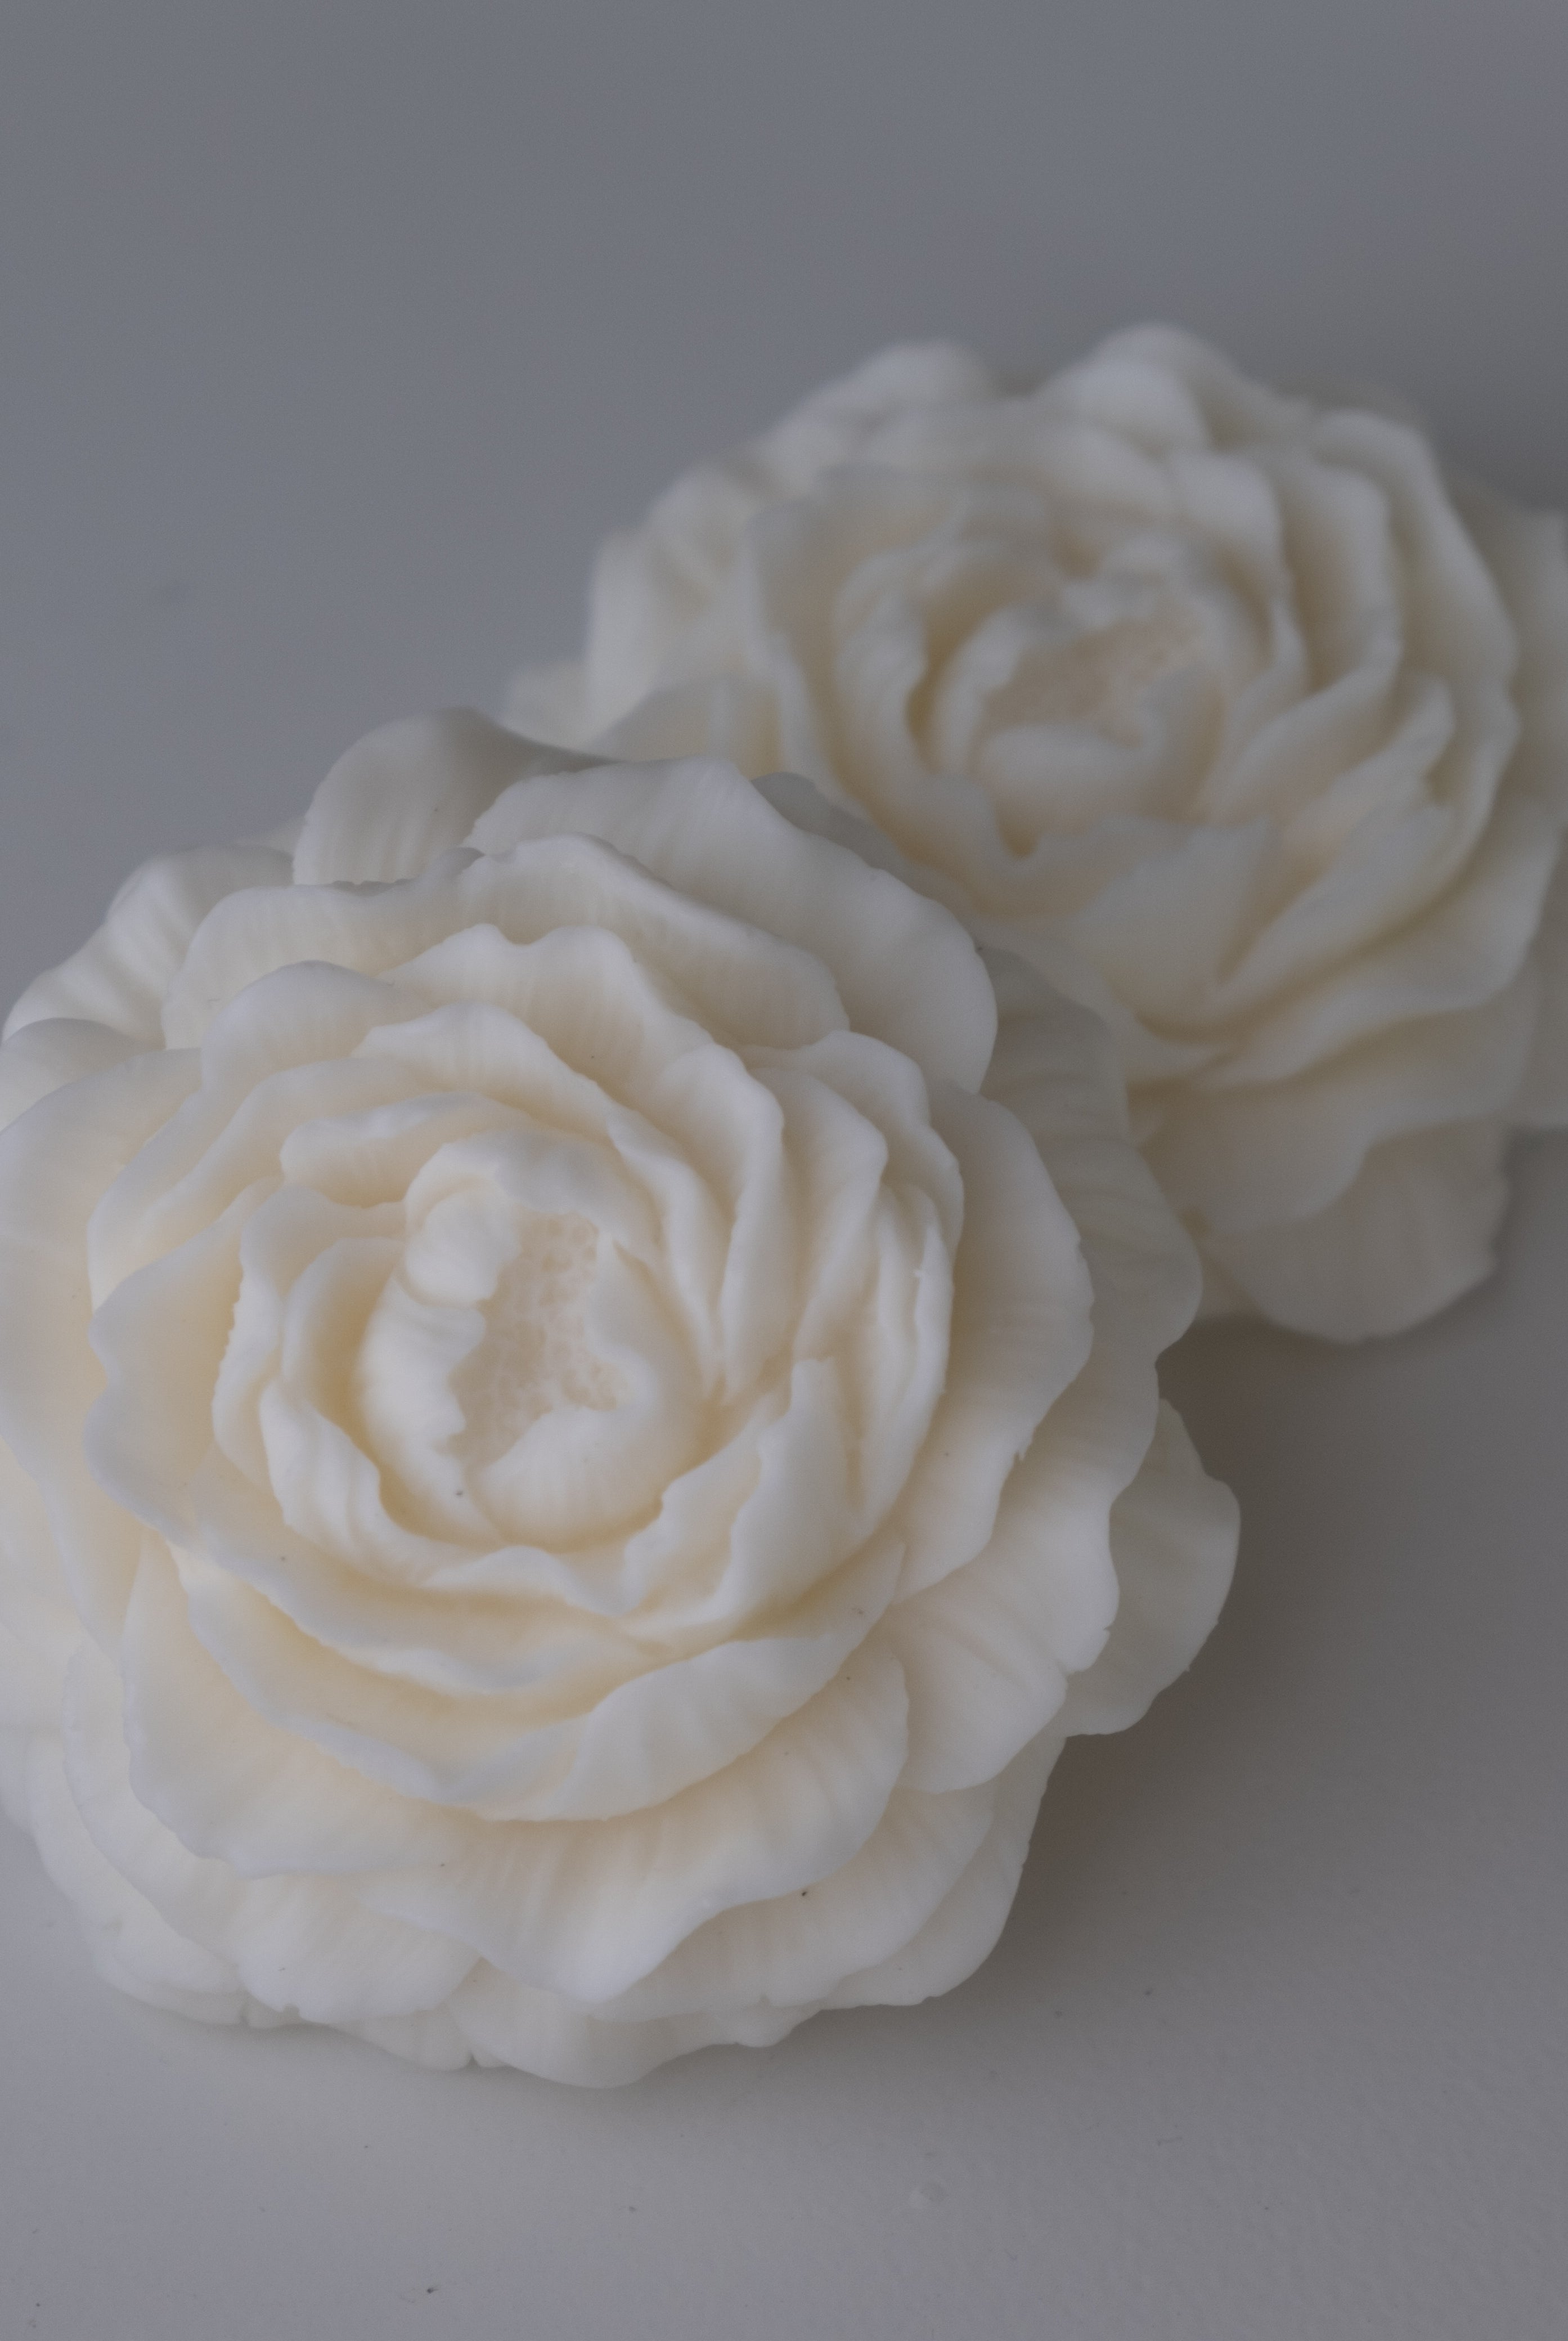
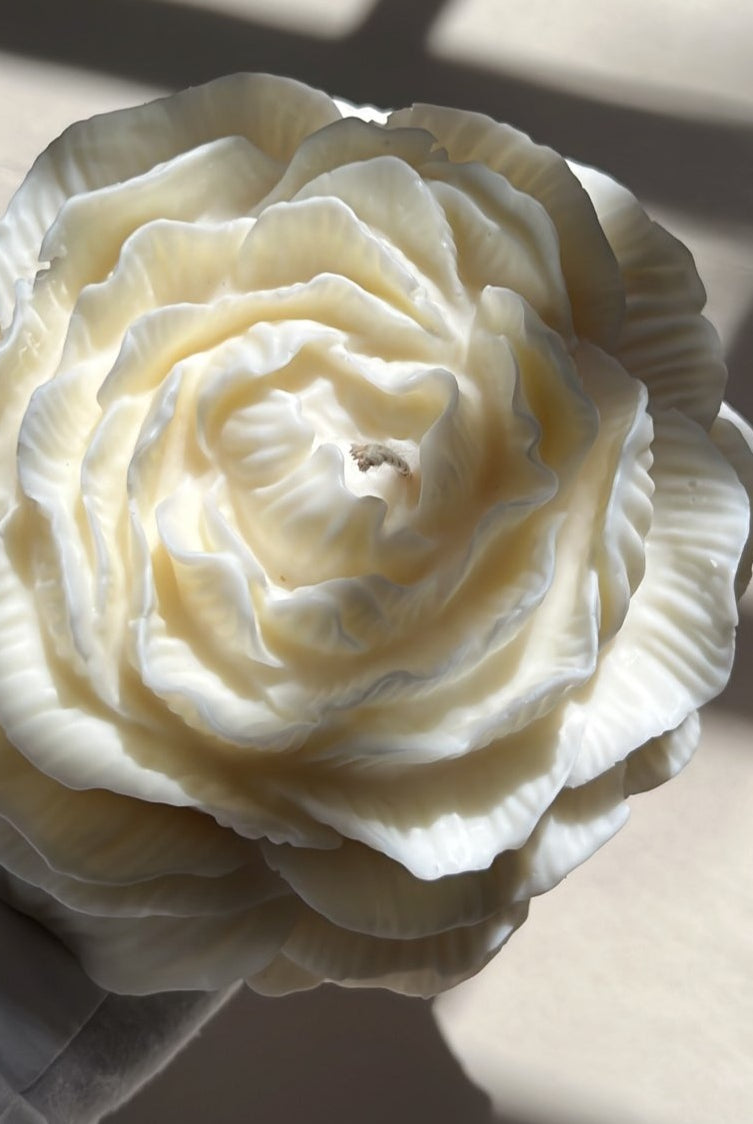
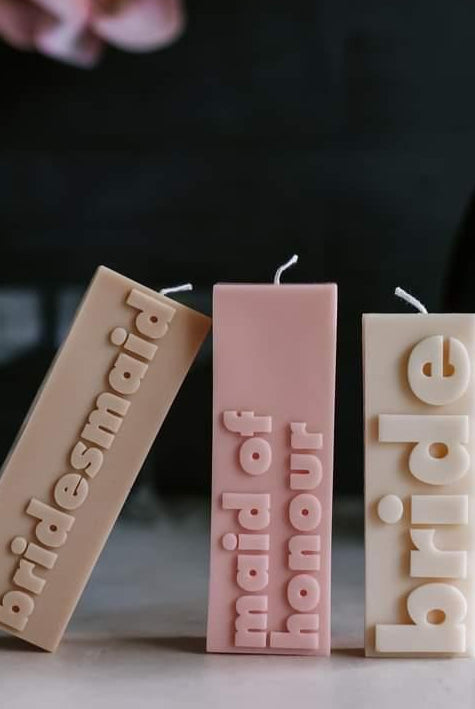
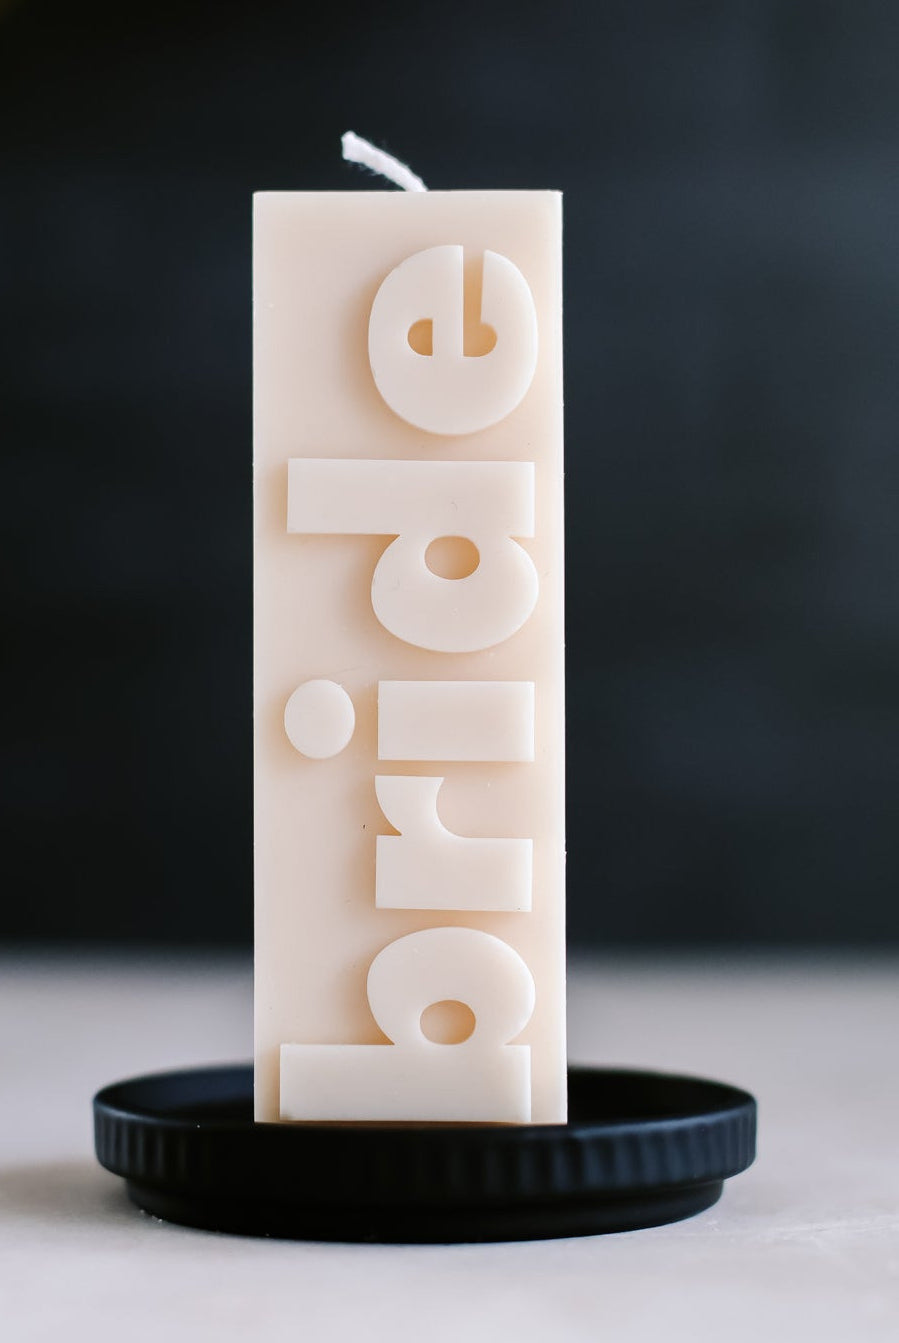
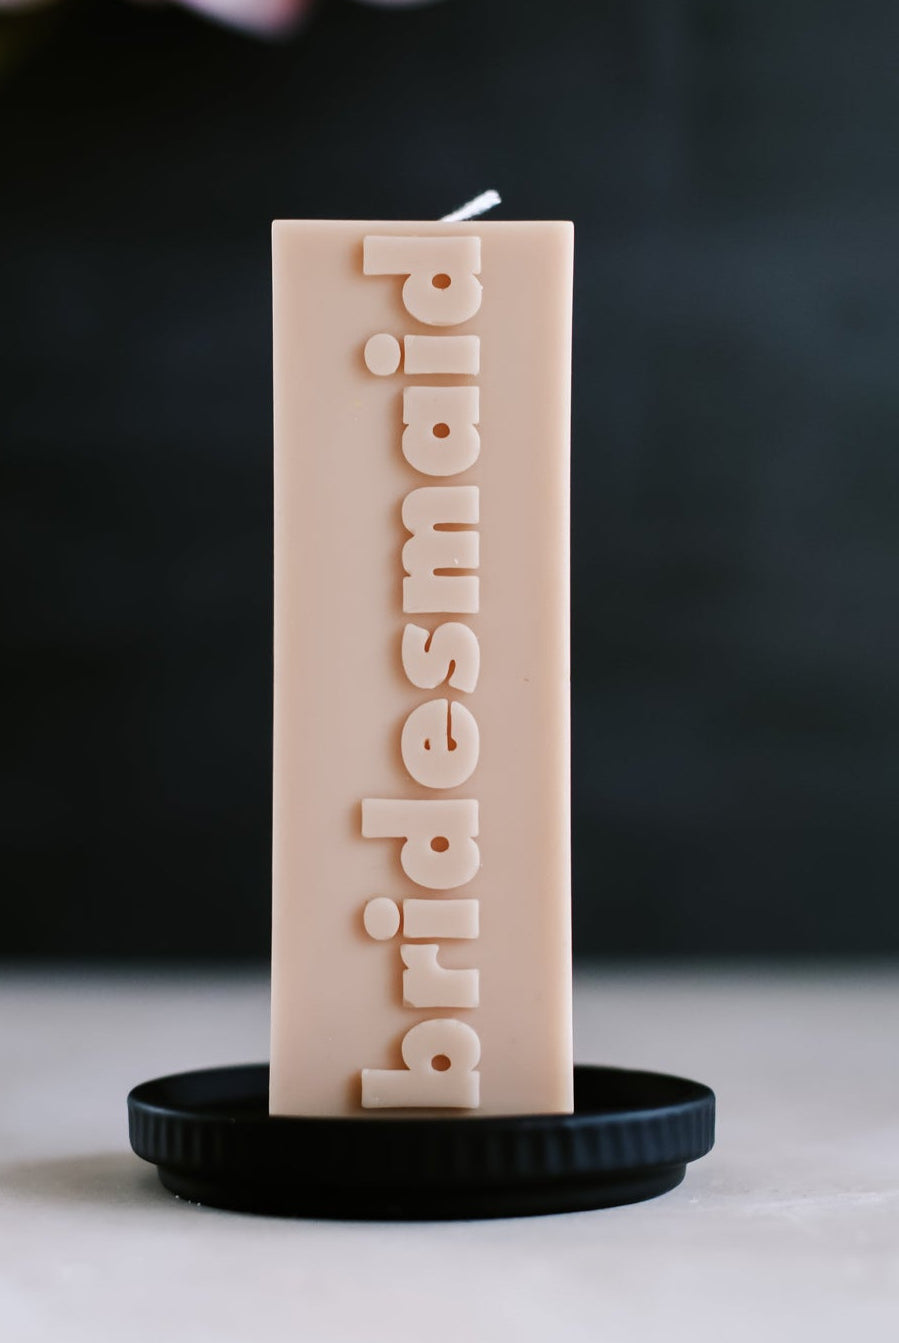
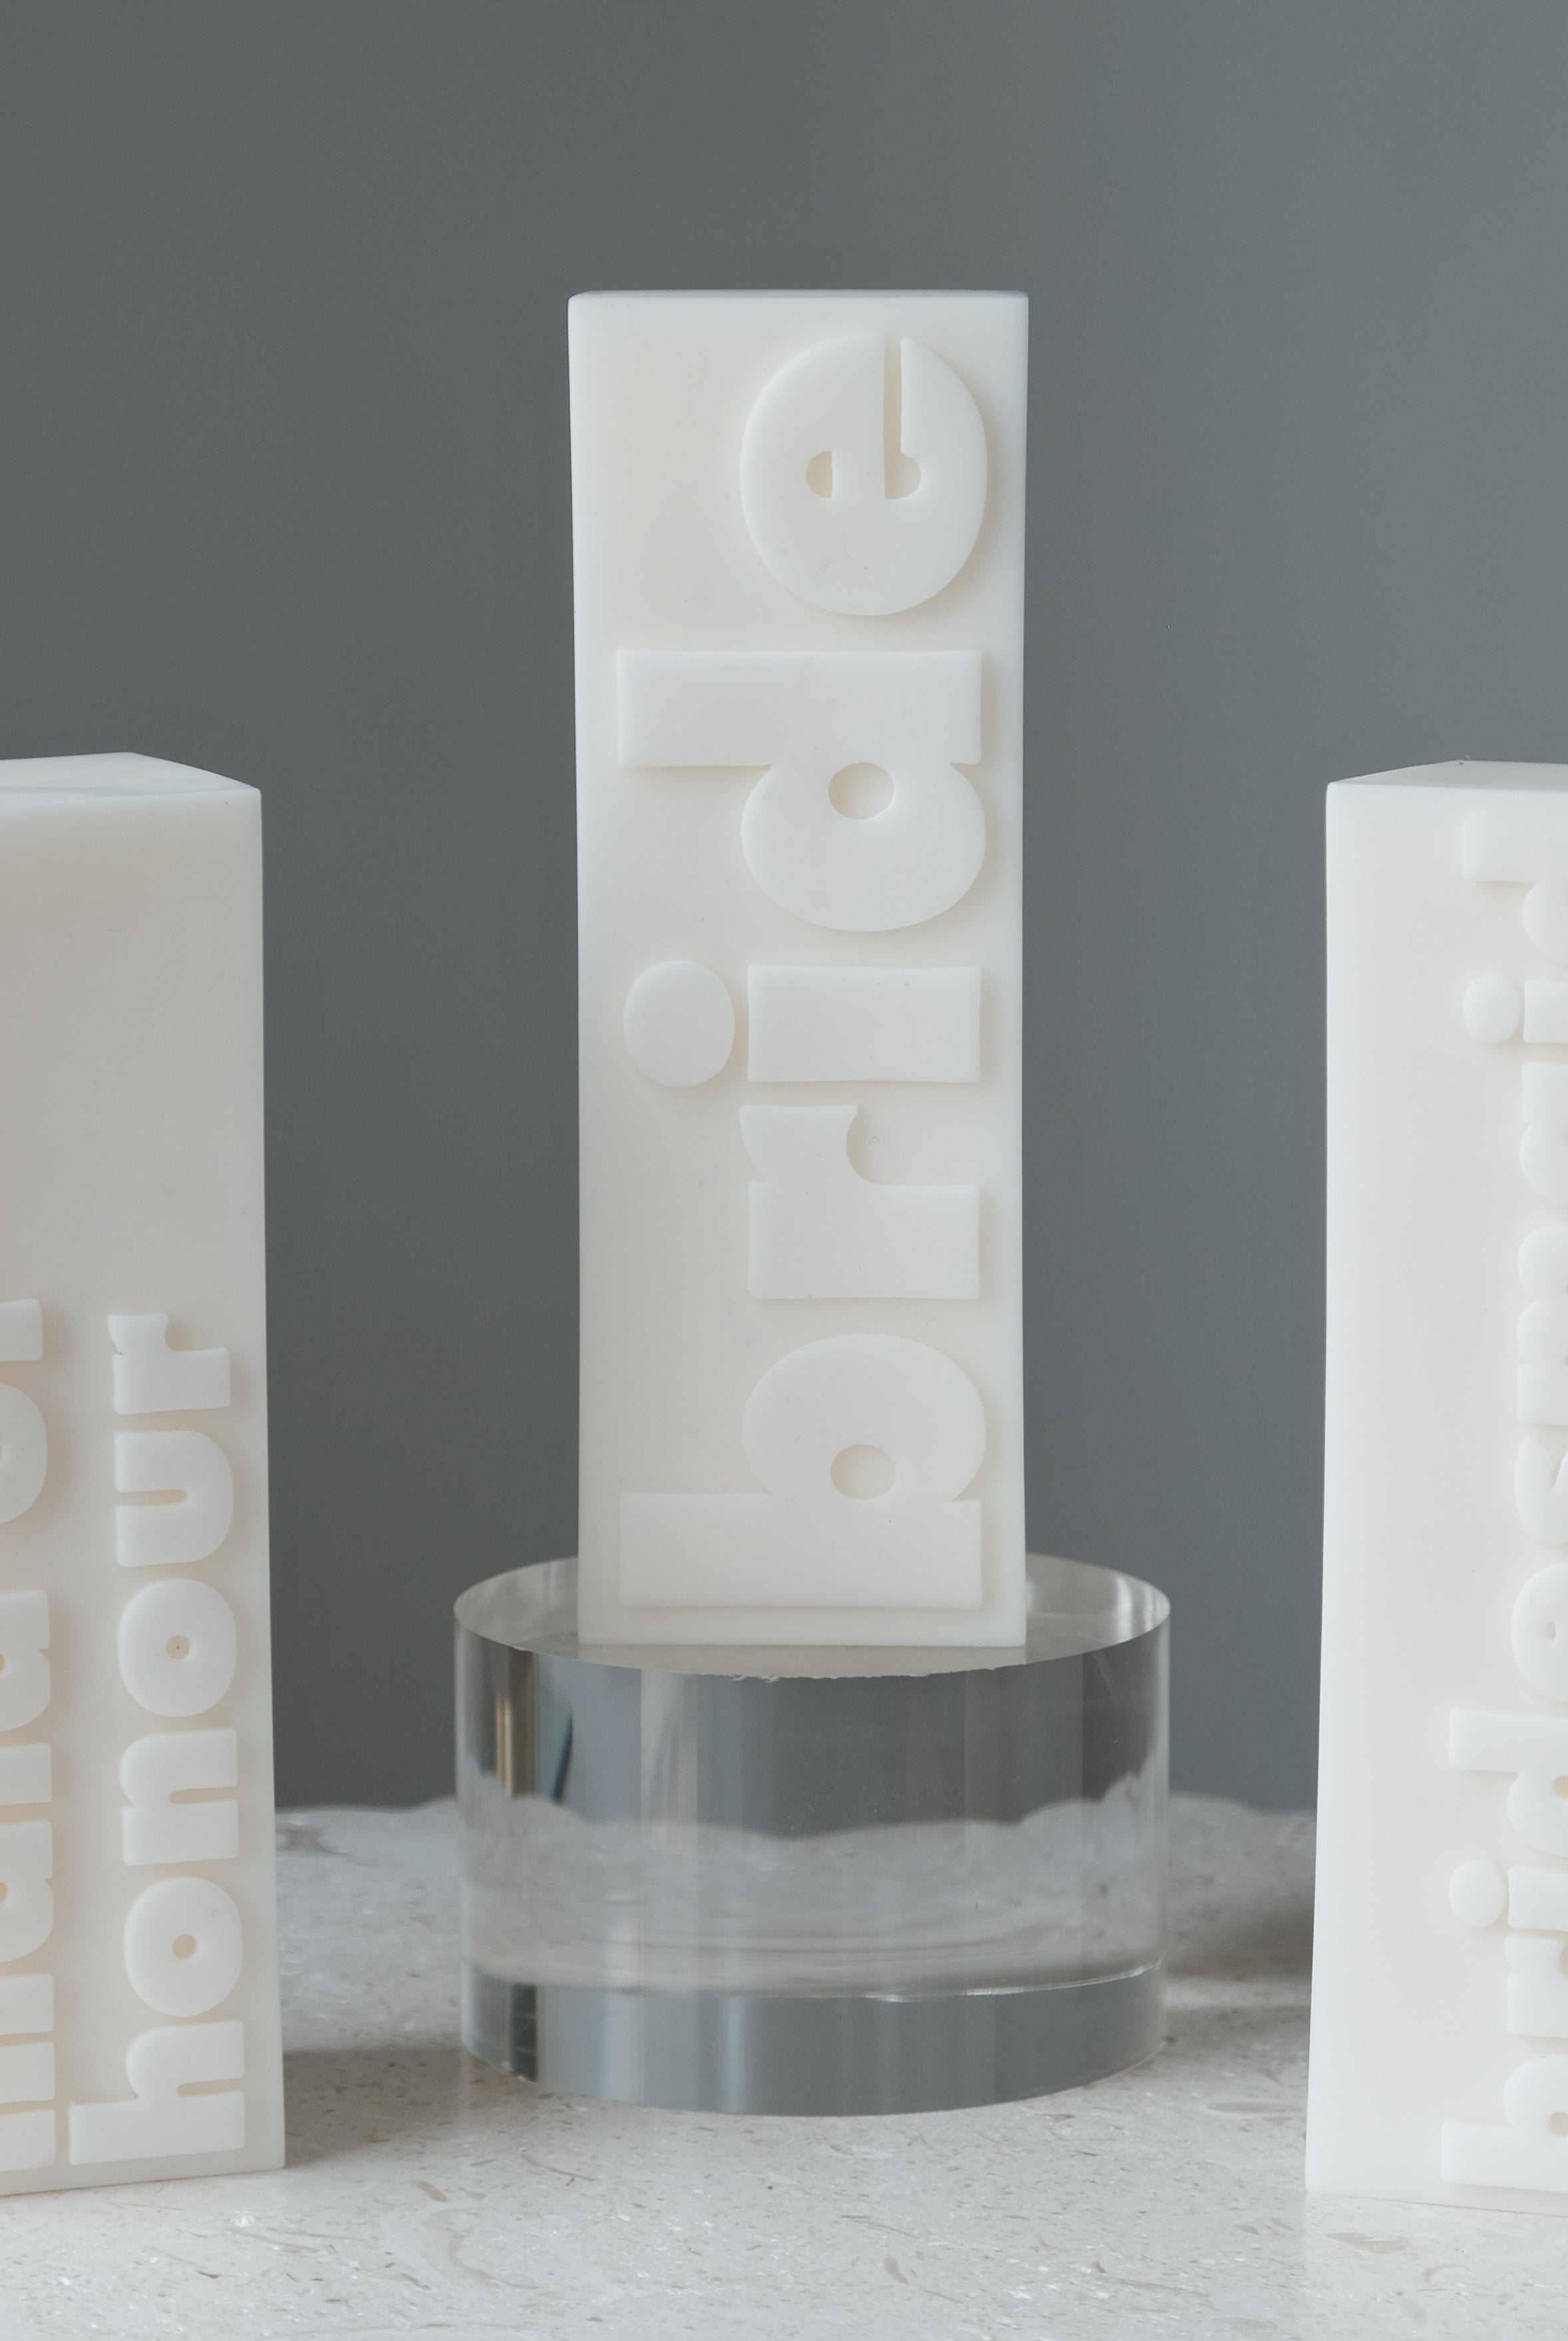
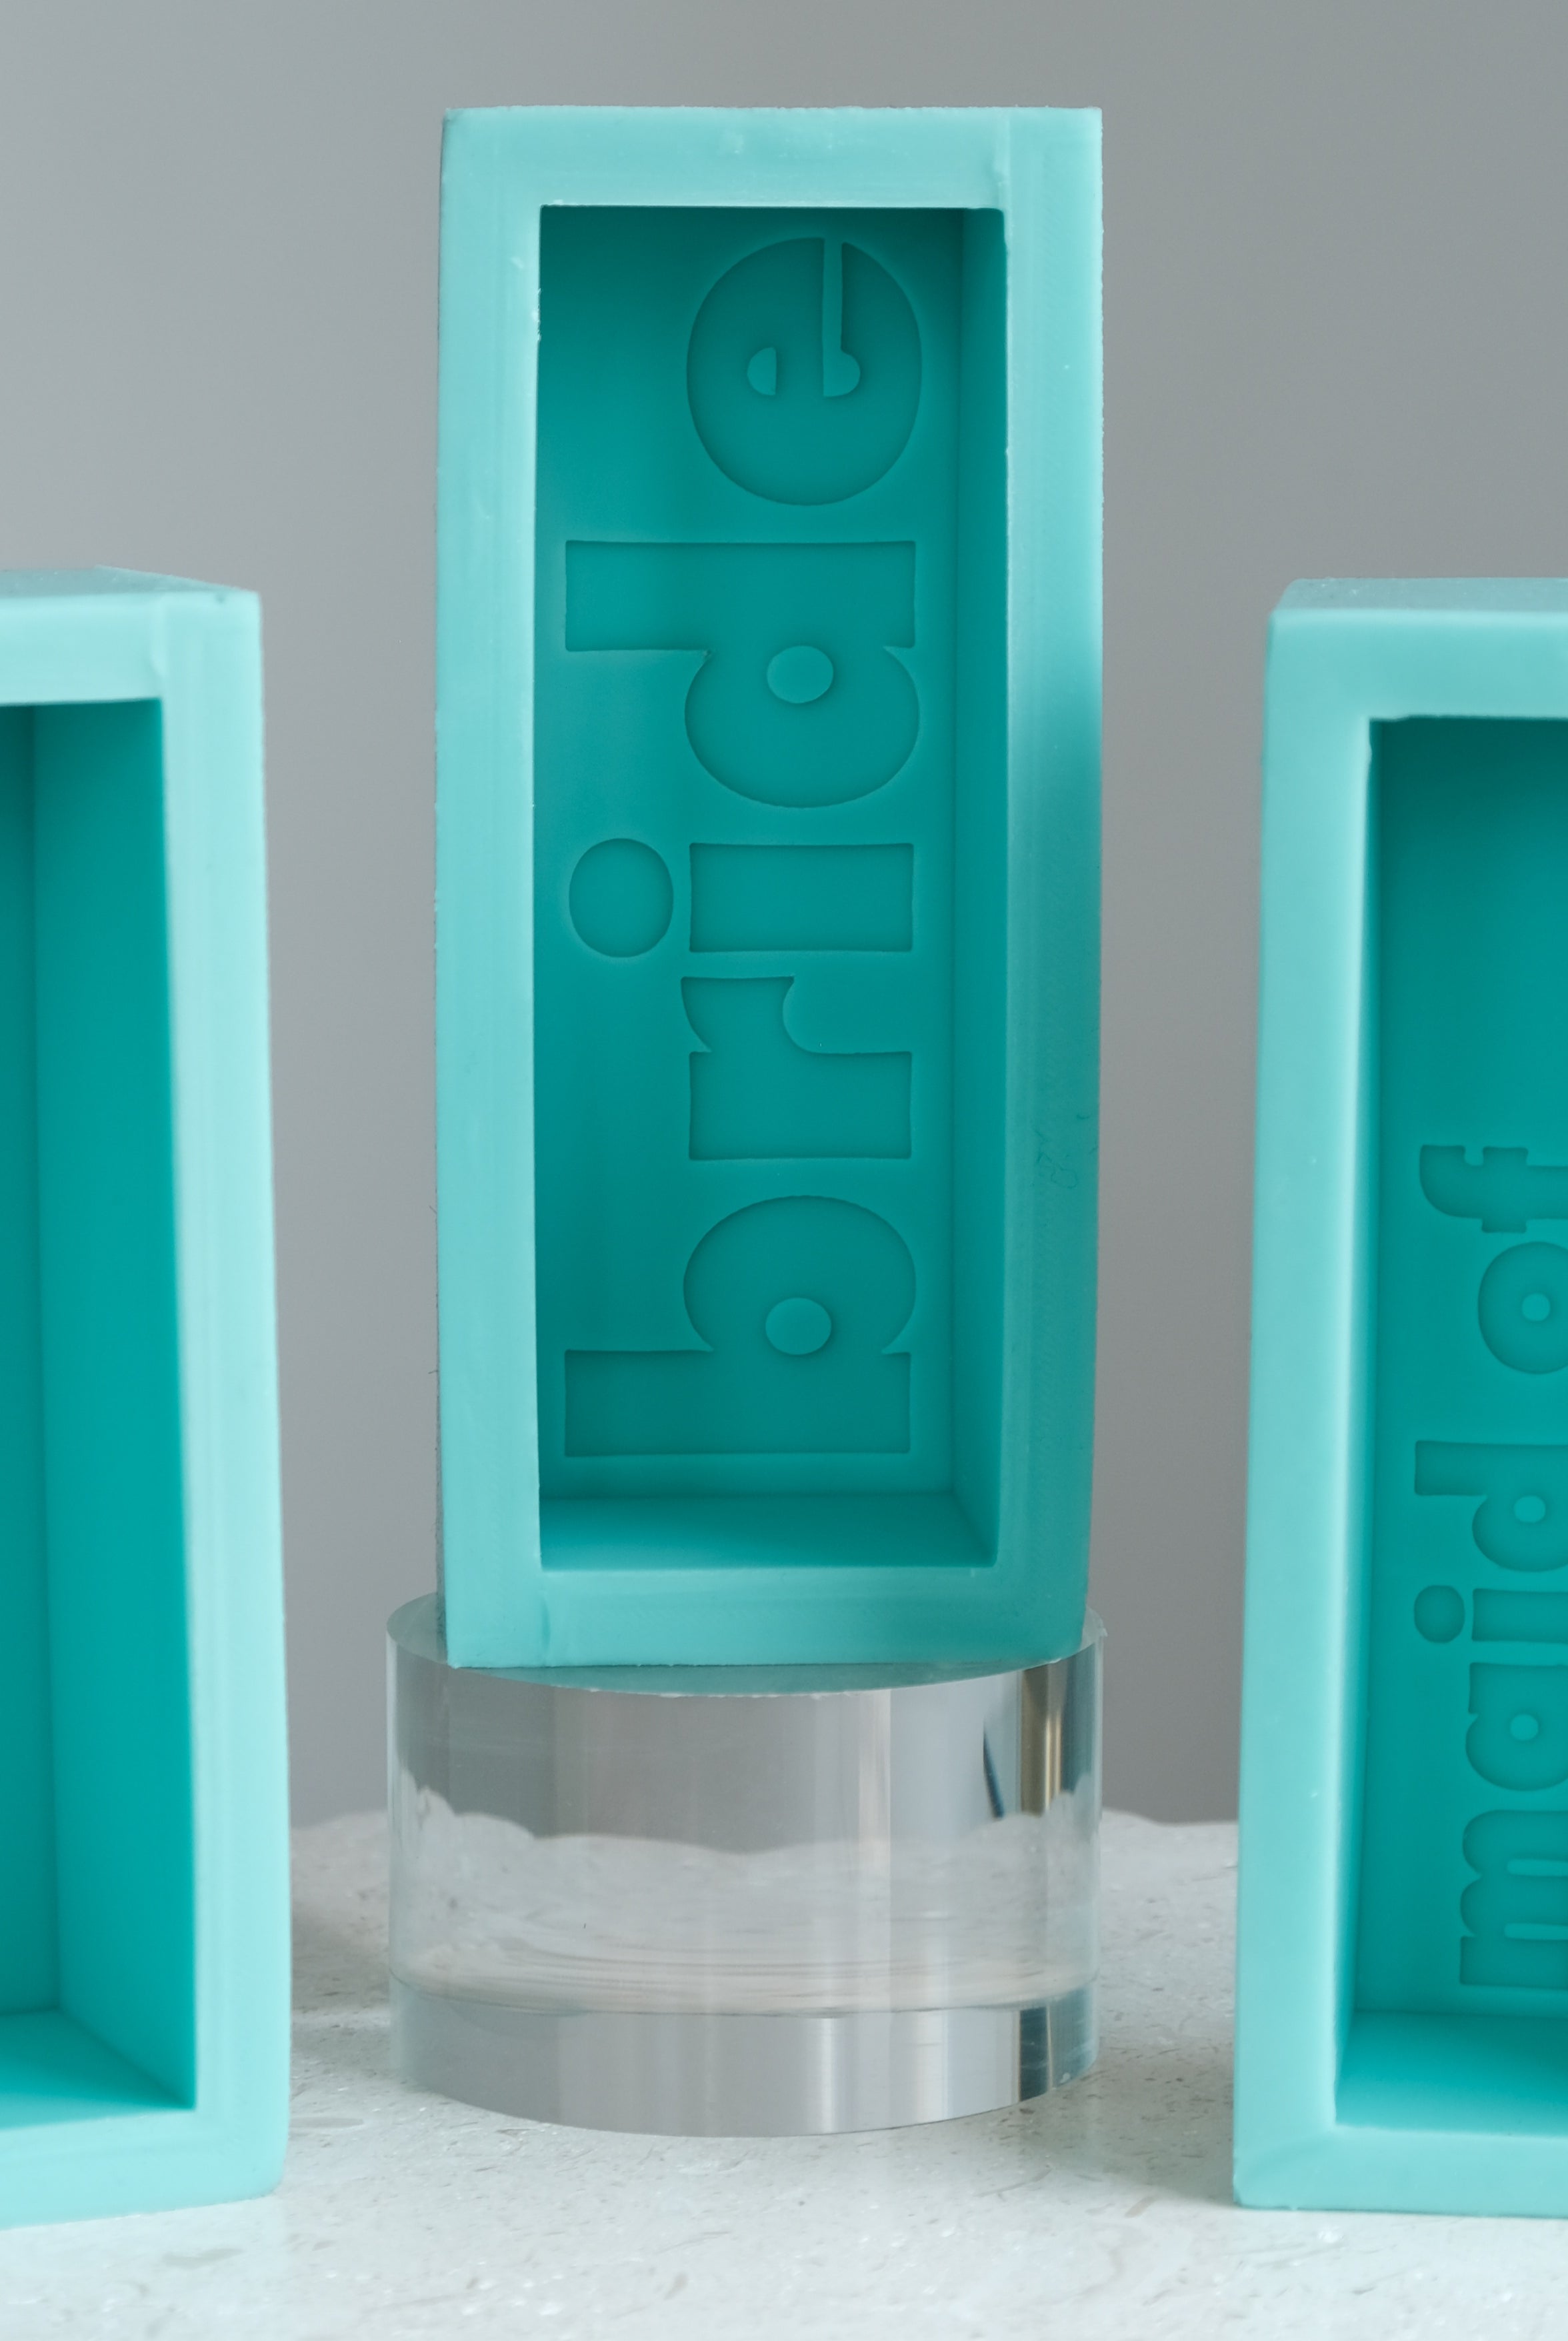
Lilypot Moulds
Couldn't load pickup availability
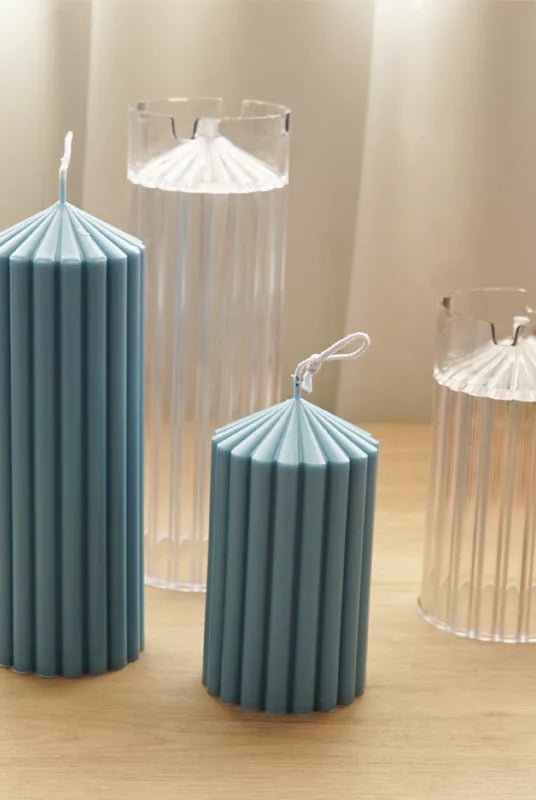
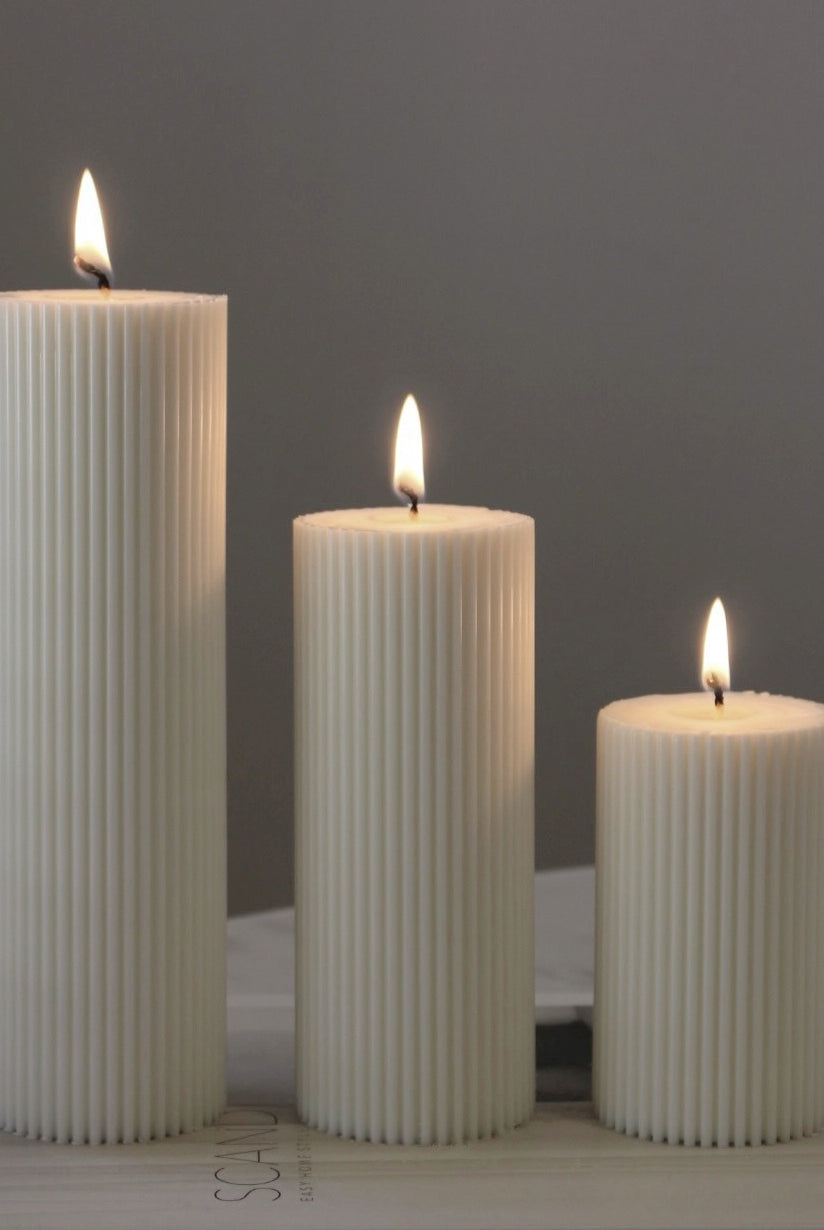
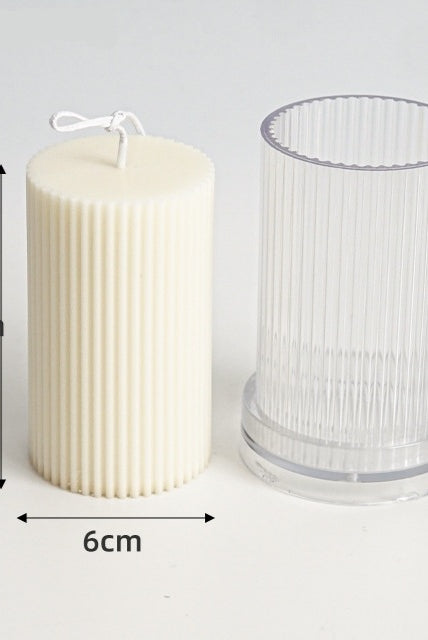
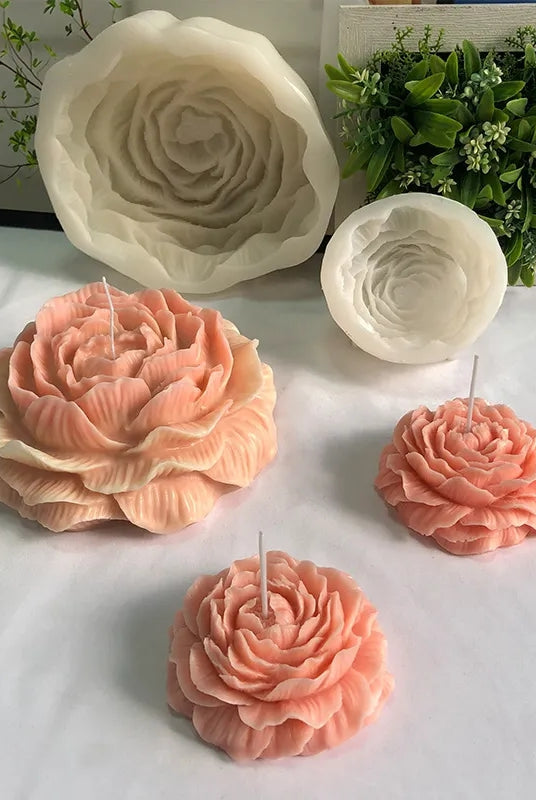
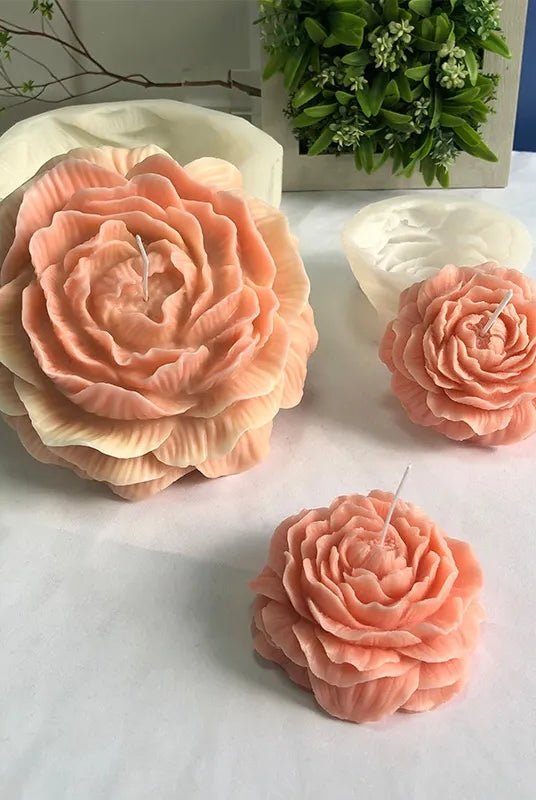
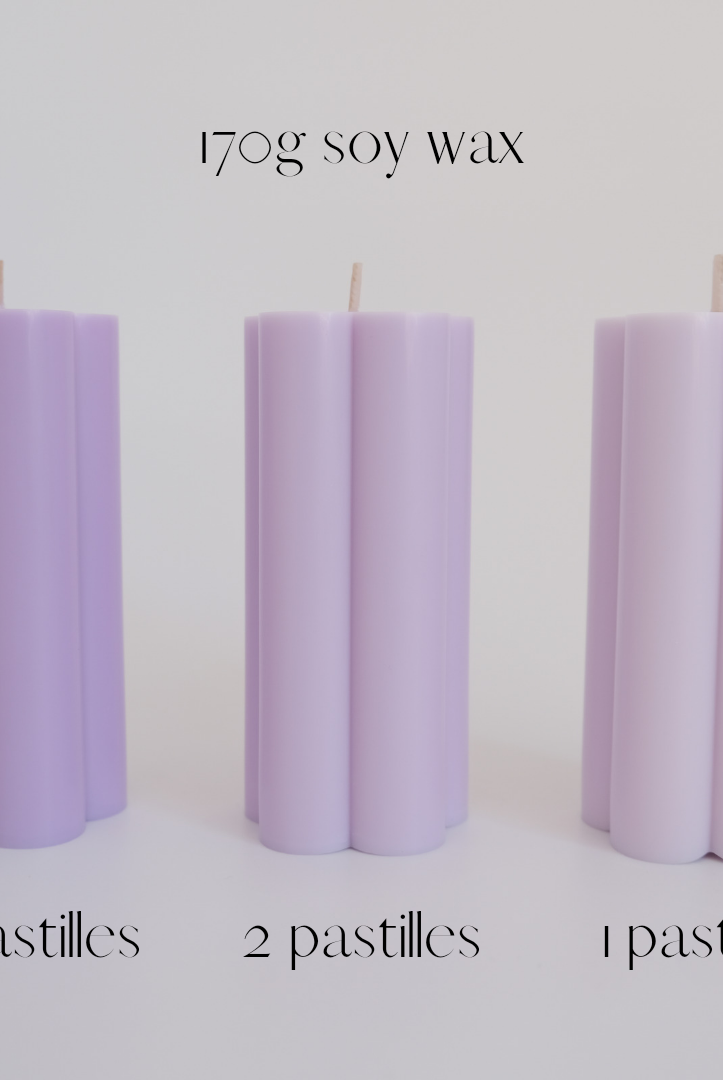
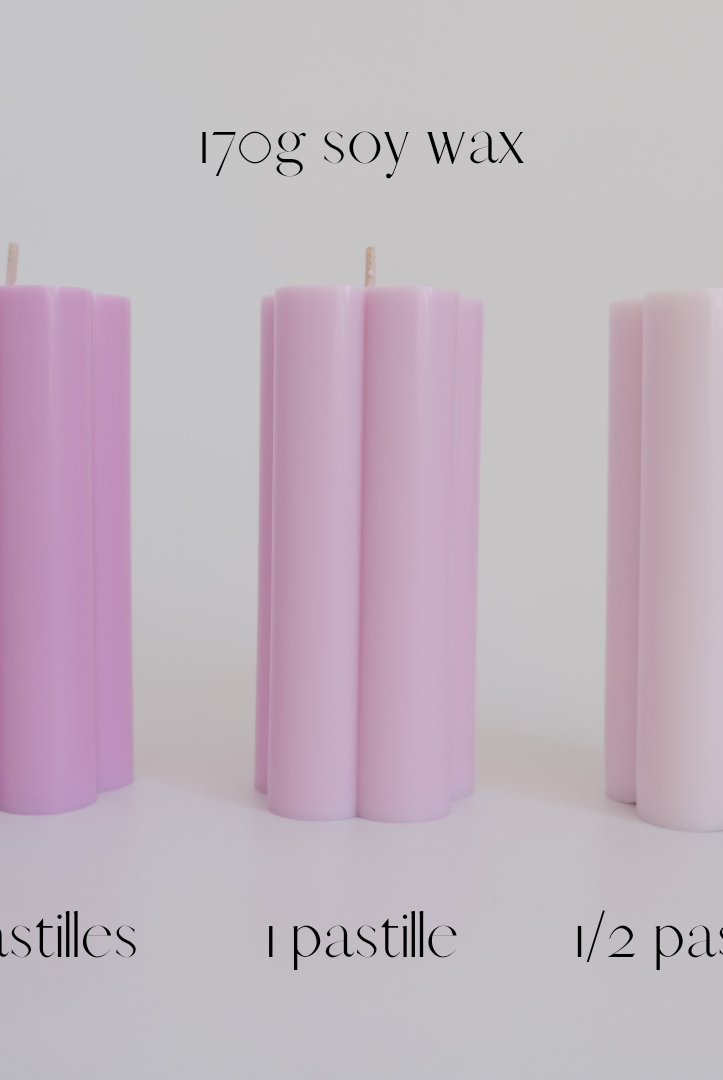
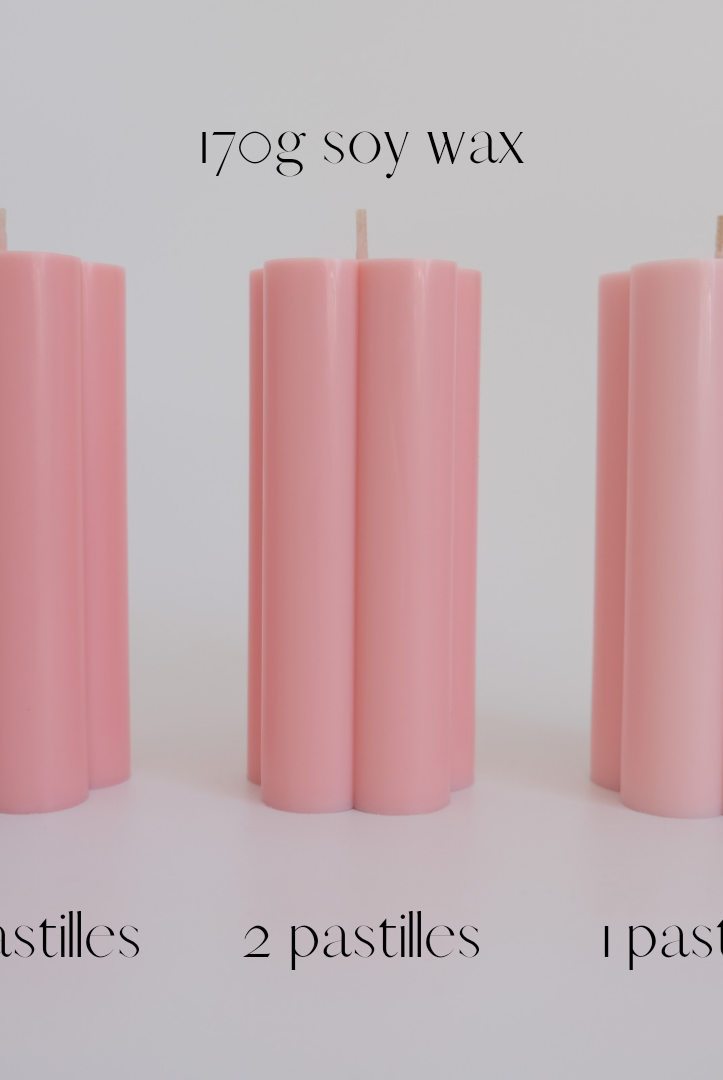
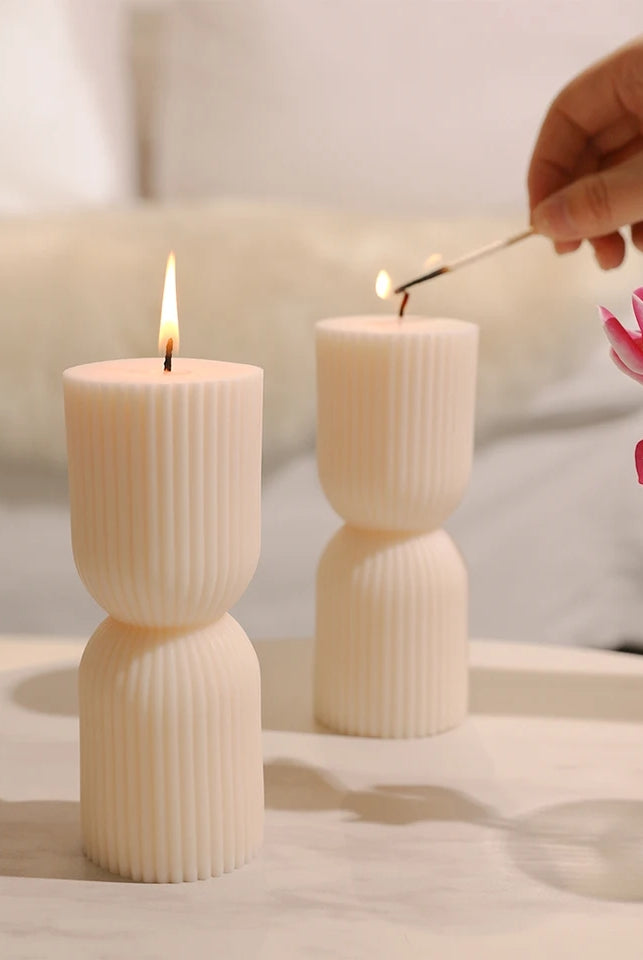
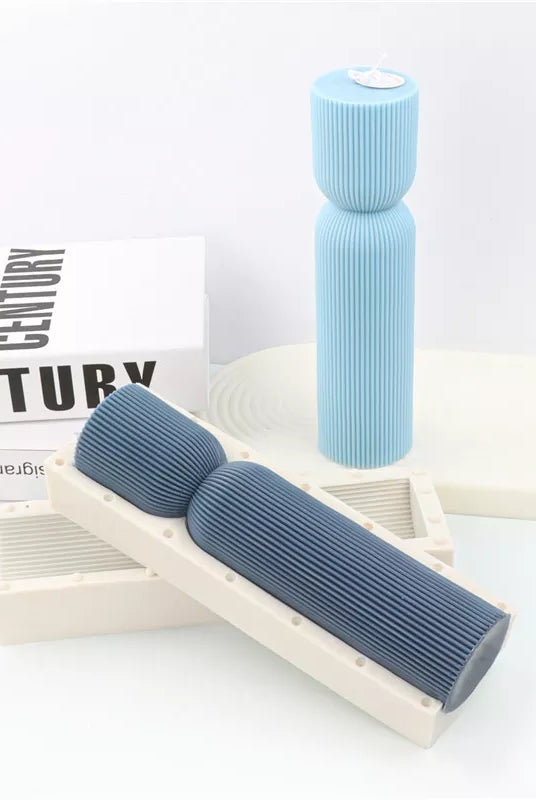
Using a needle, simply thread the wick through the centre of the mould before pouring melted wax. Allow your candle to cure overnight before unmoulding.
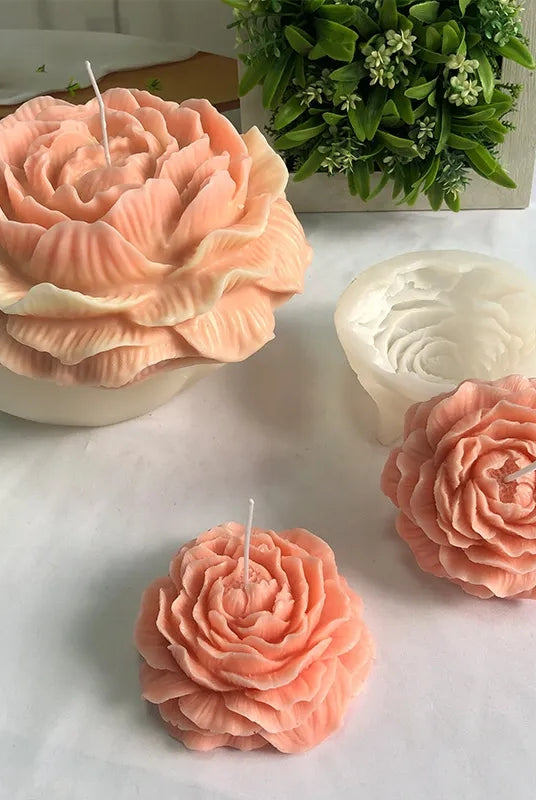
All our silicone moulds are high quality, durable, and are able to withstand extreme hot and cold temperatures.
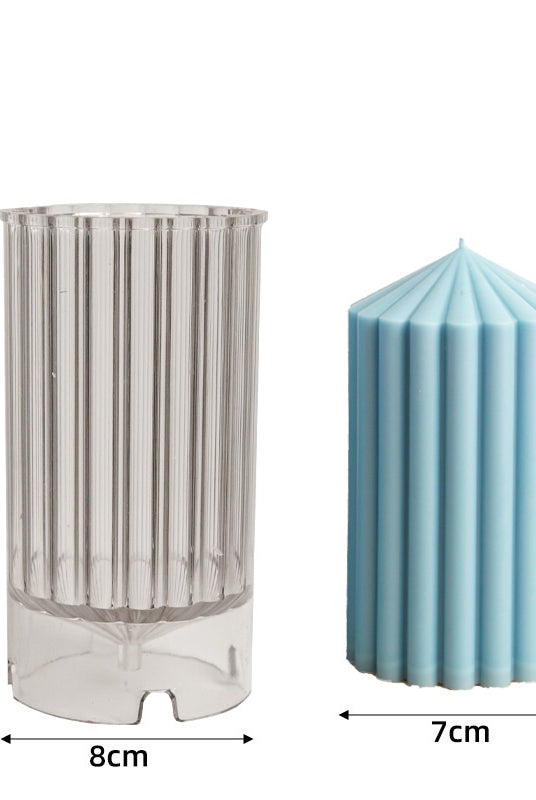
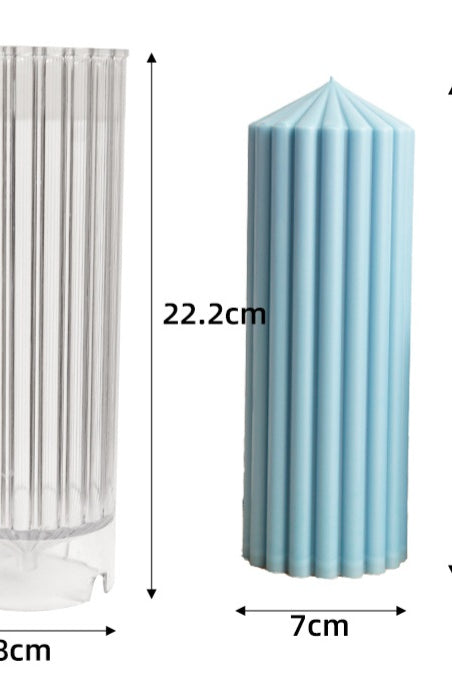
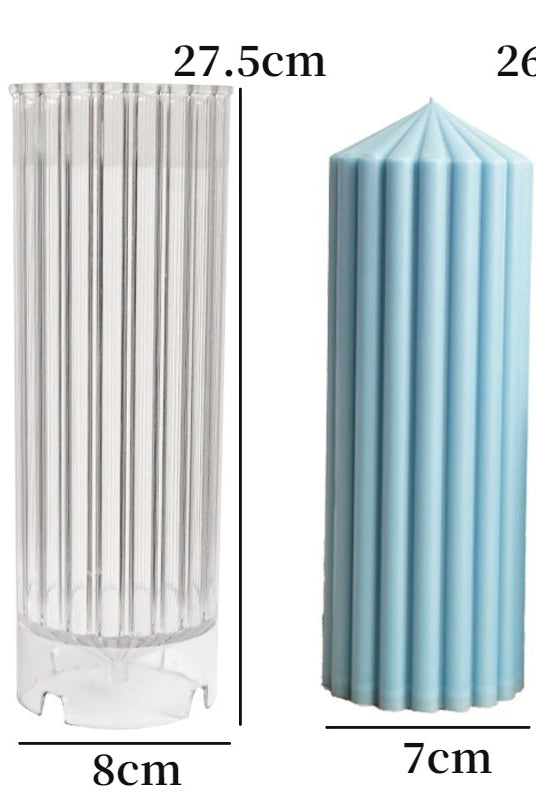
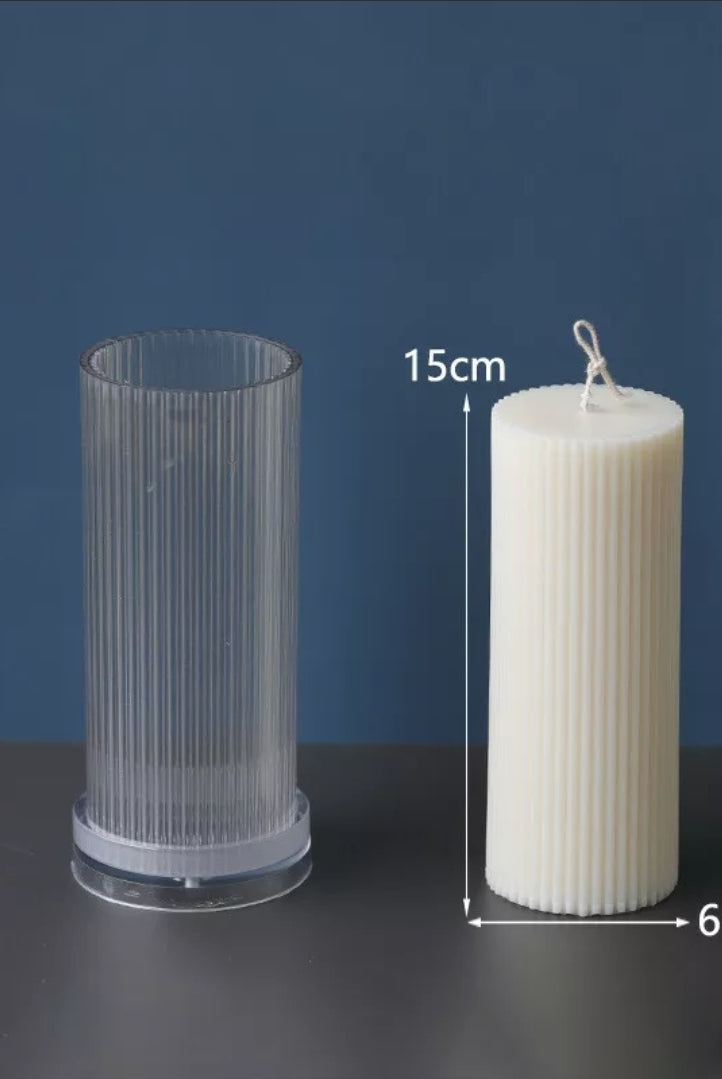
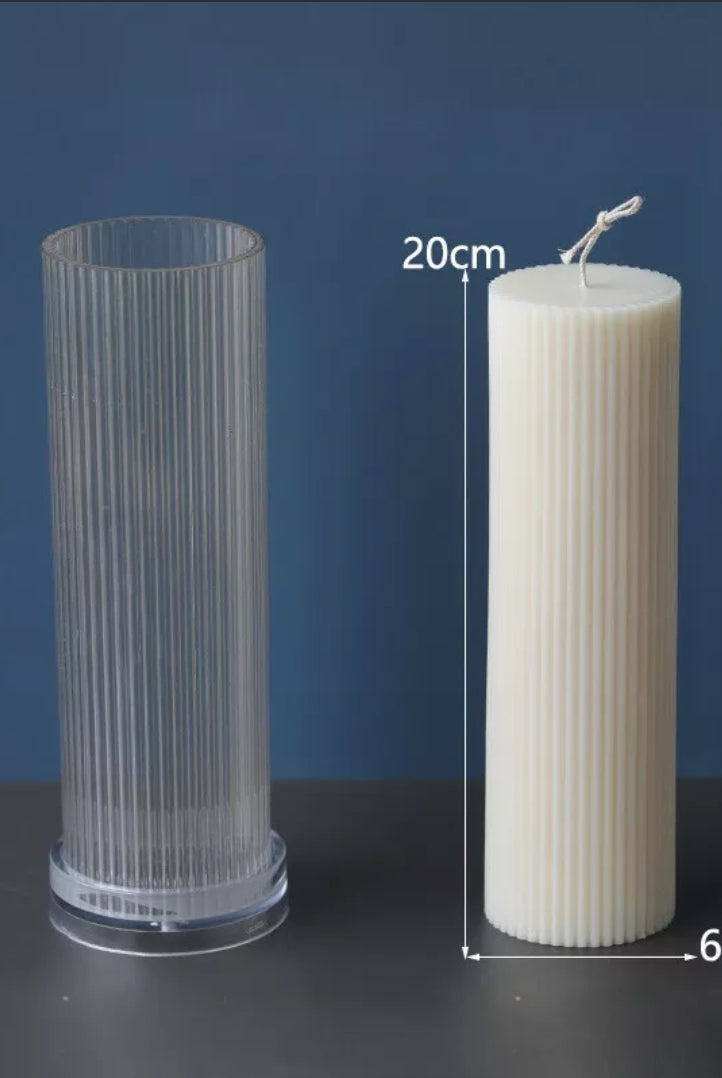
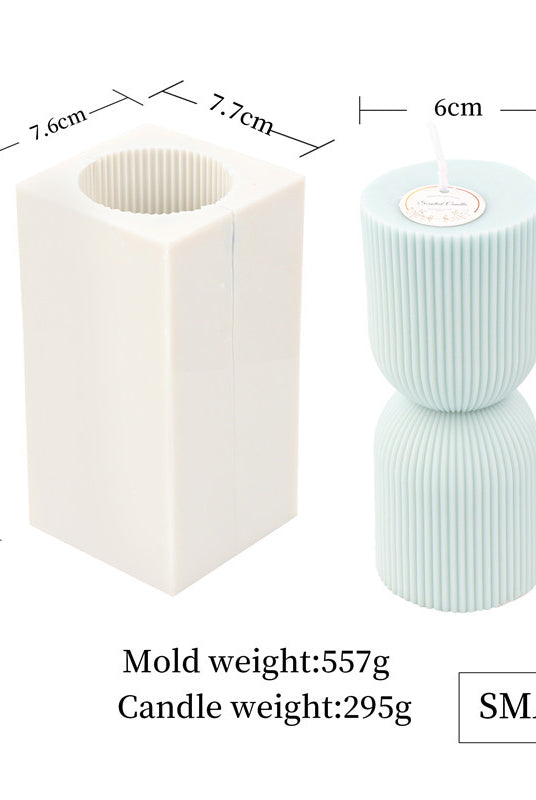
Specifications
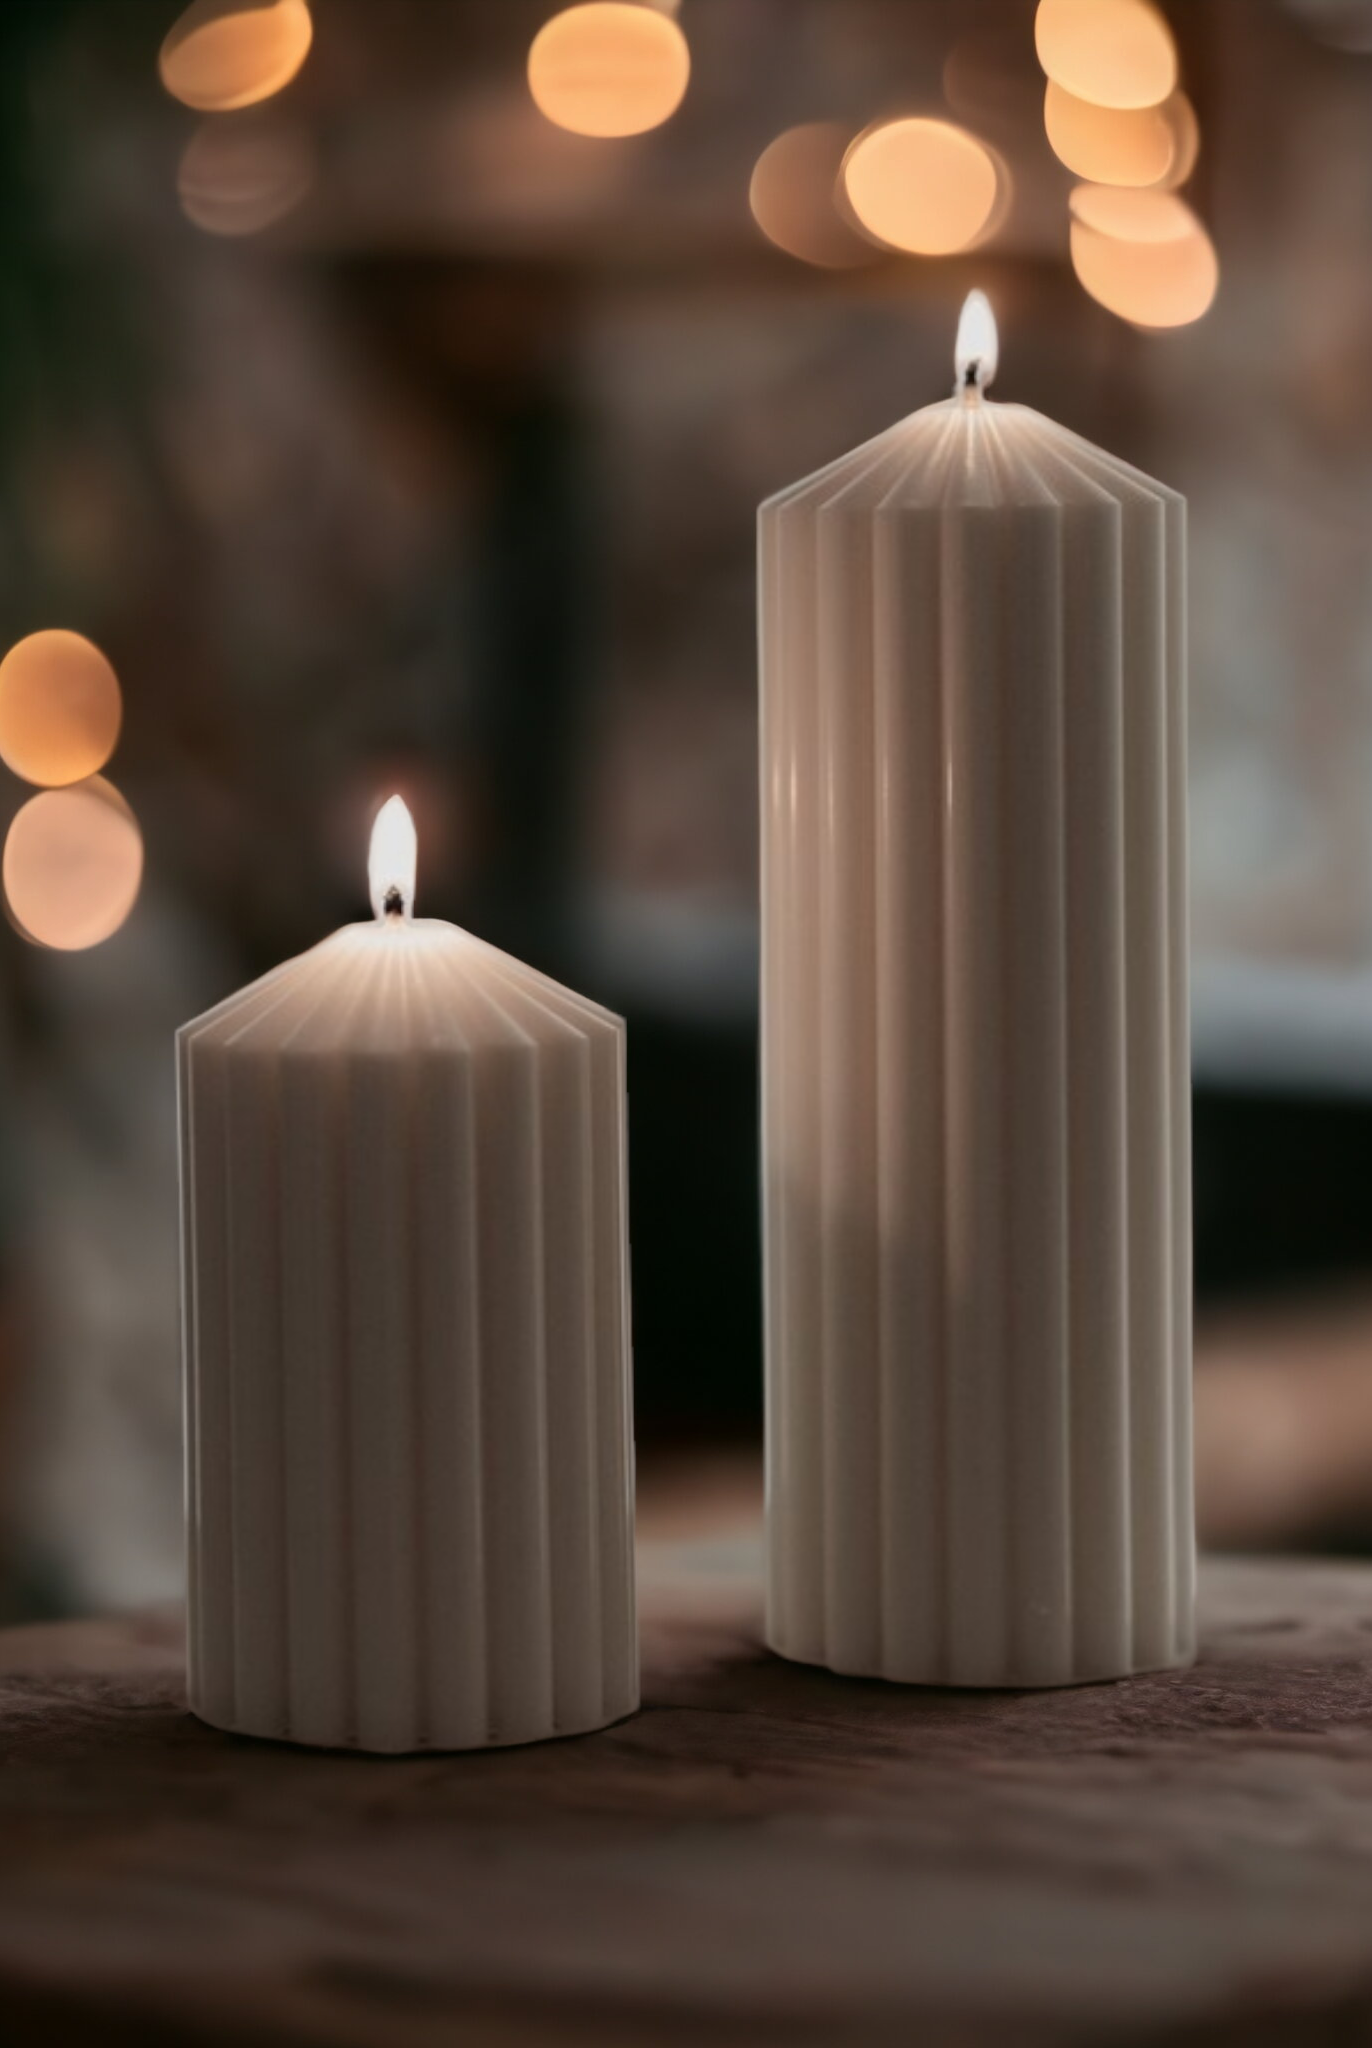
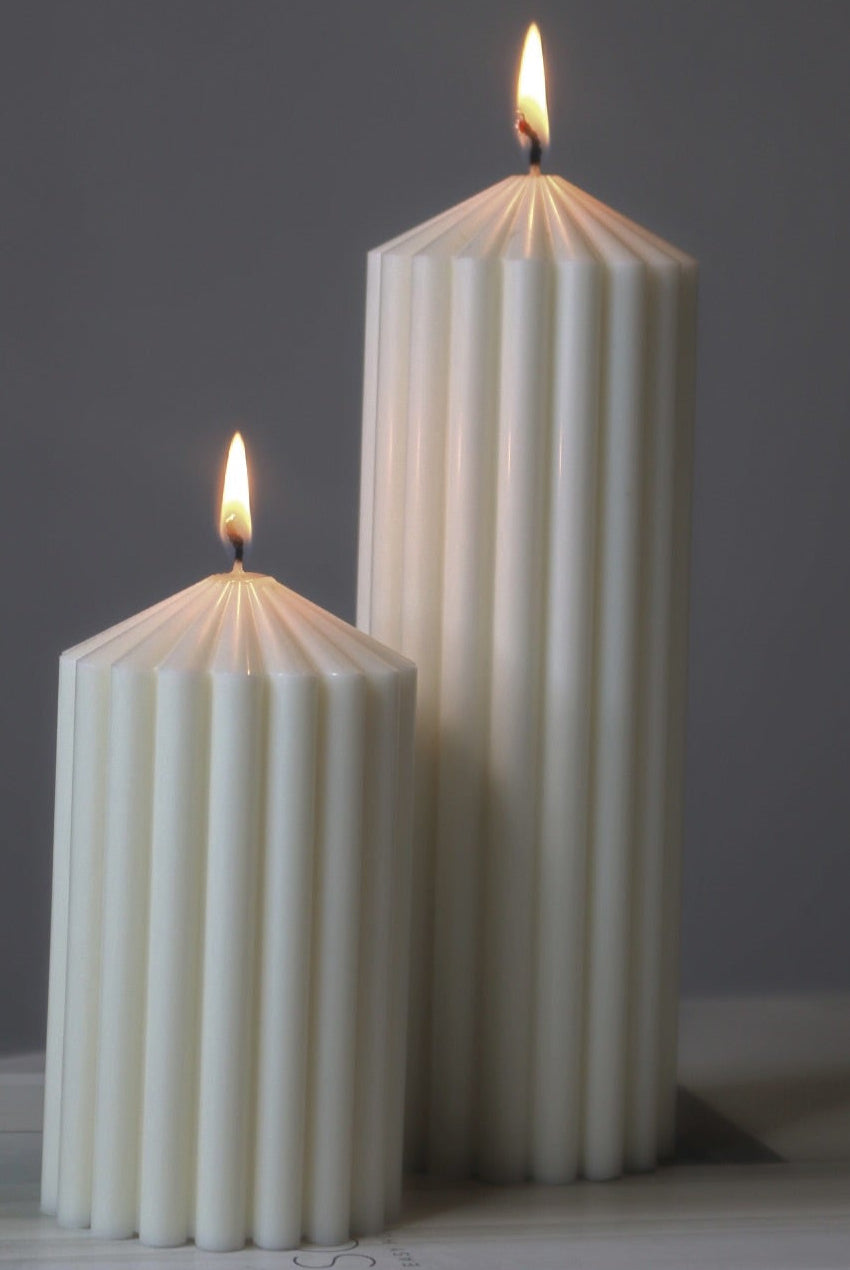
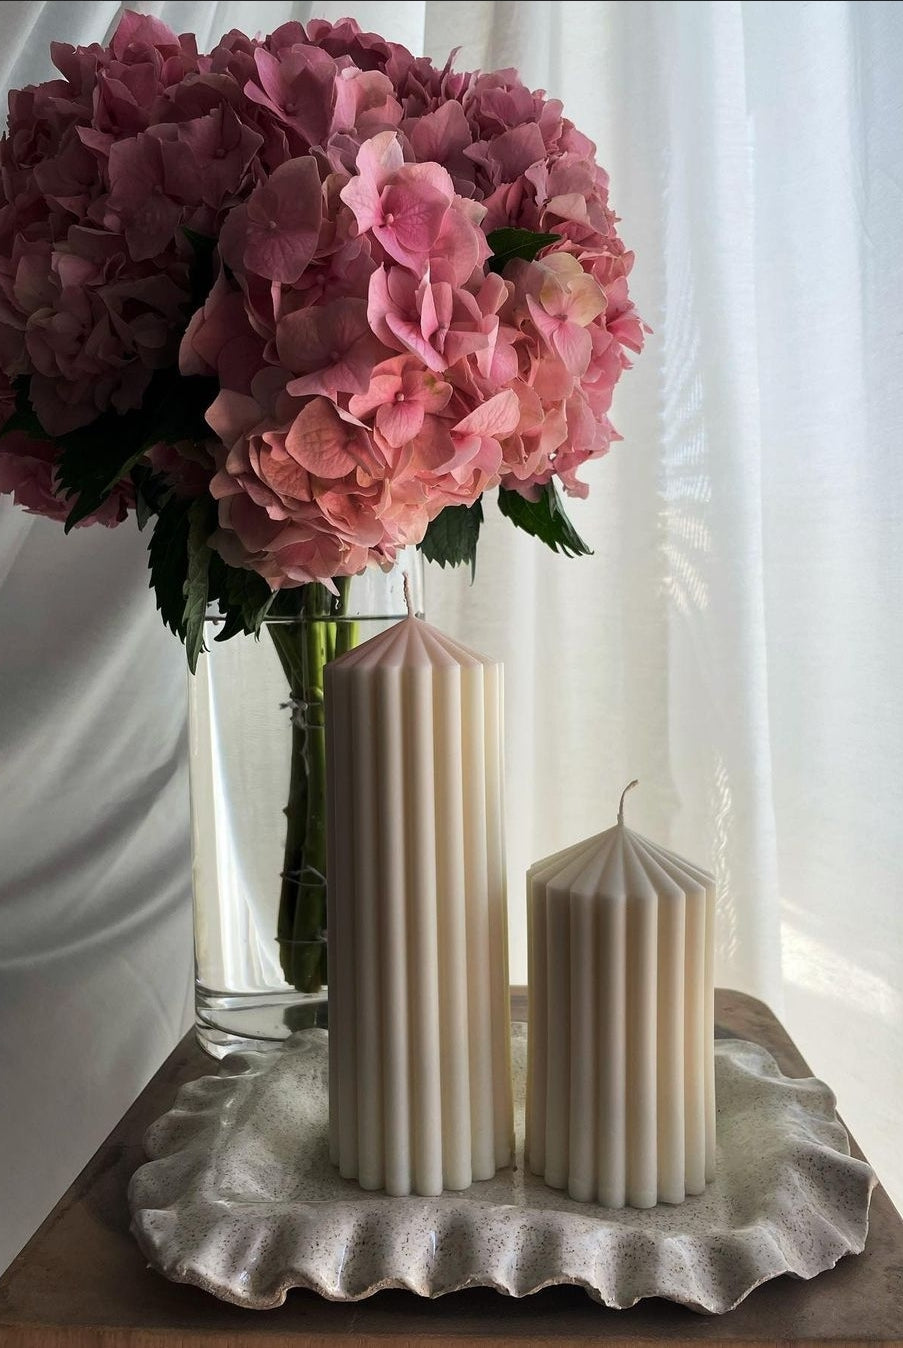
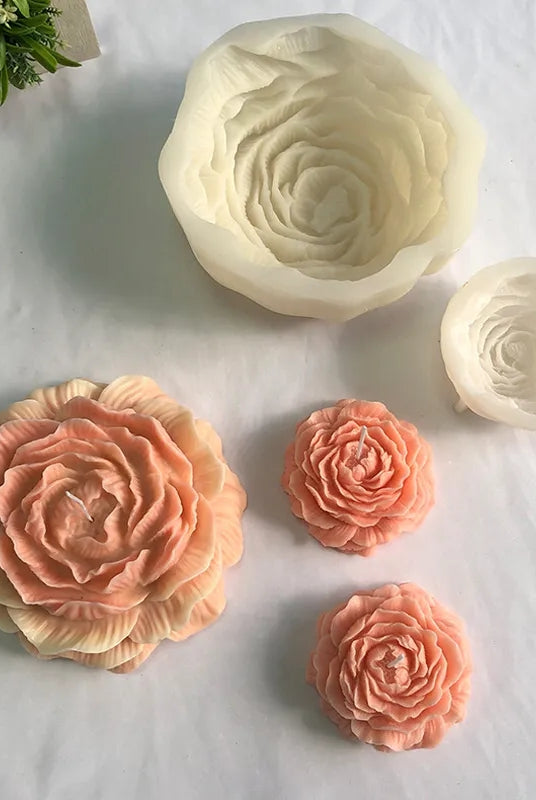
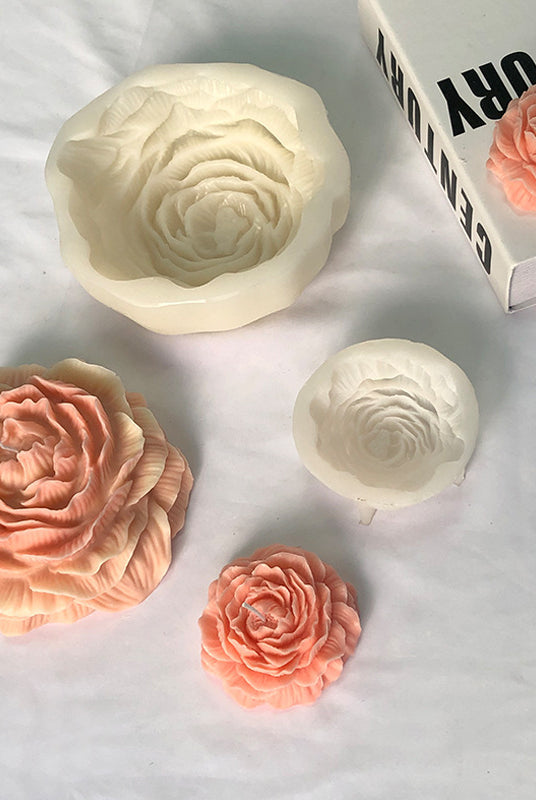
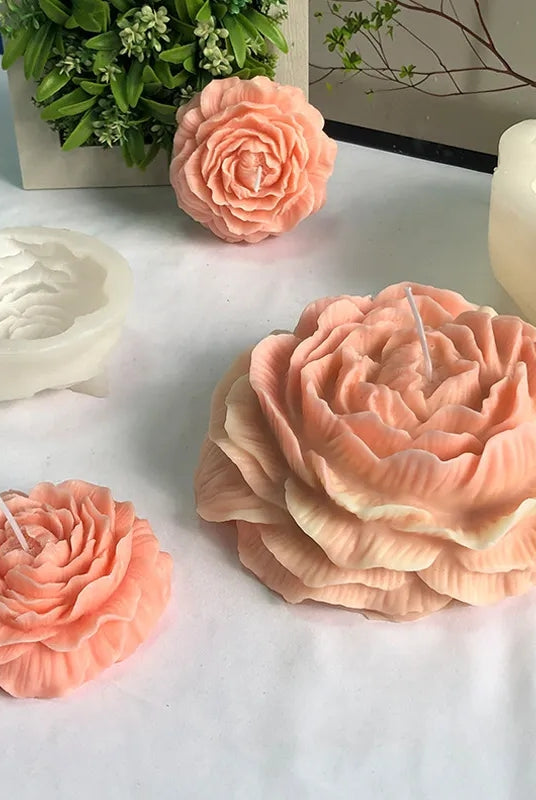
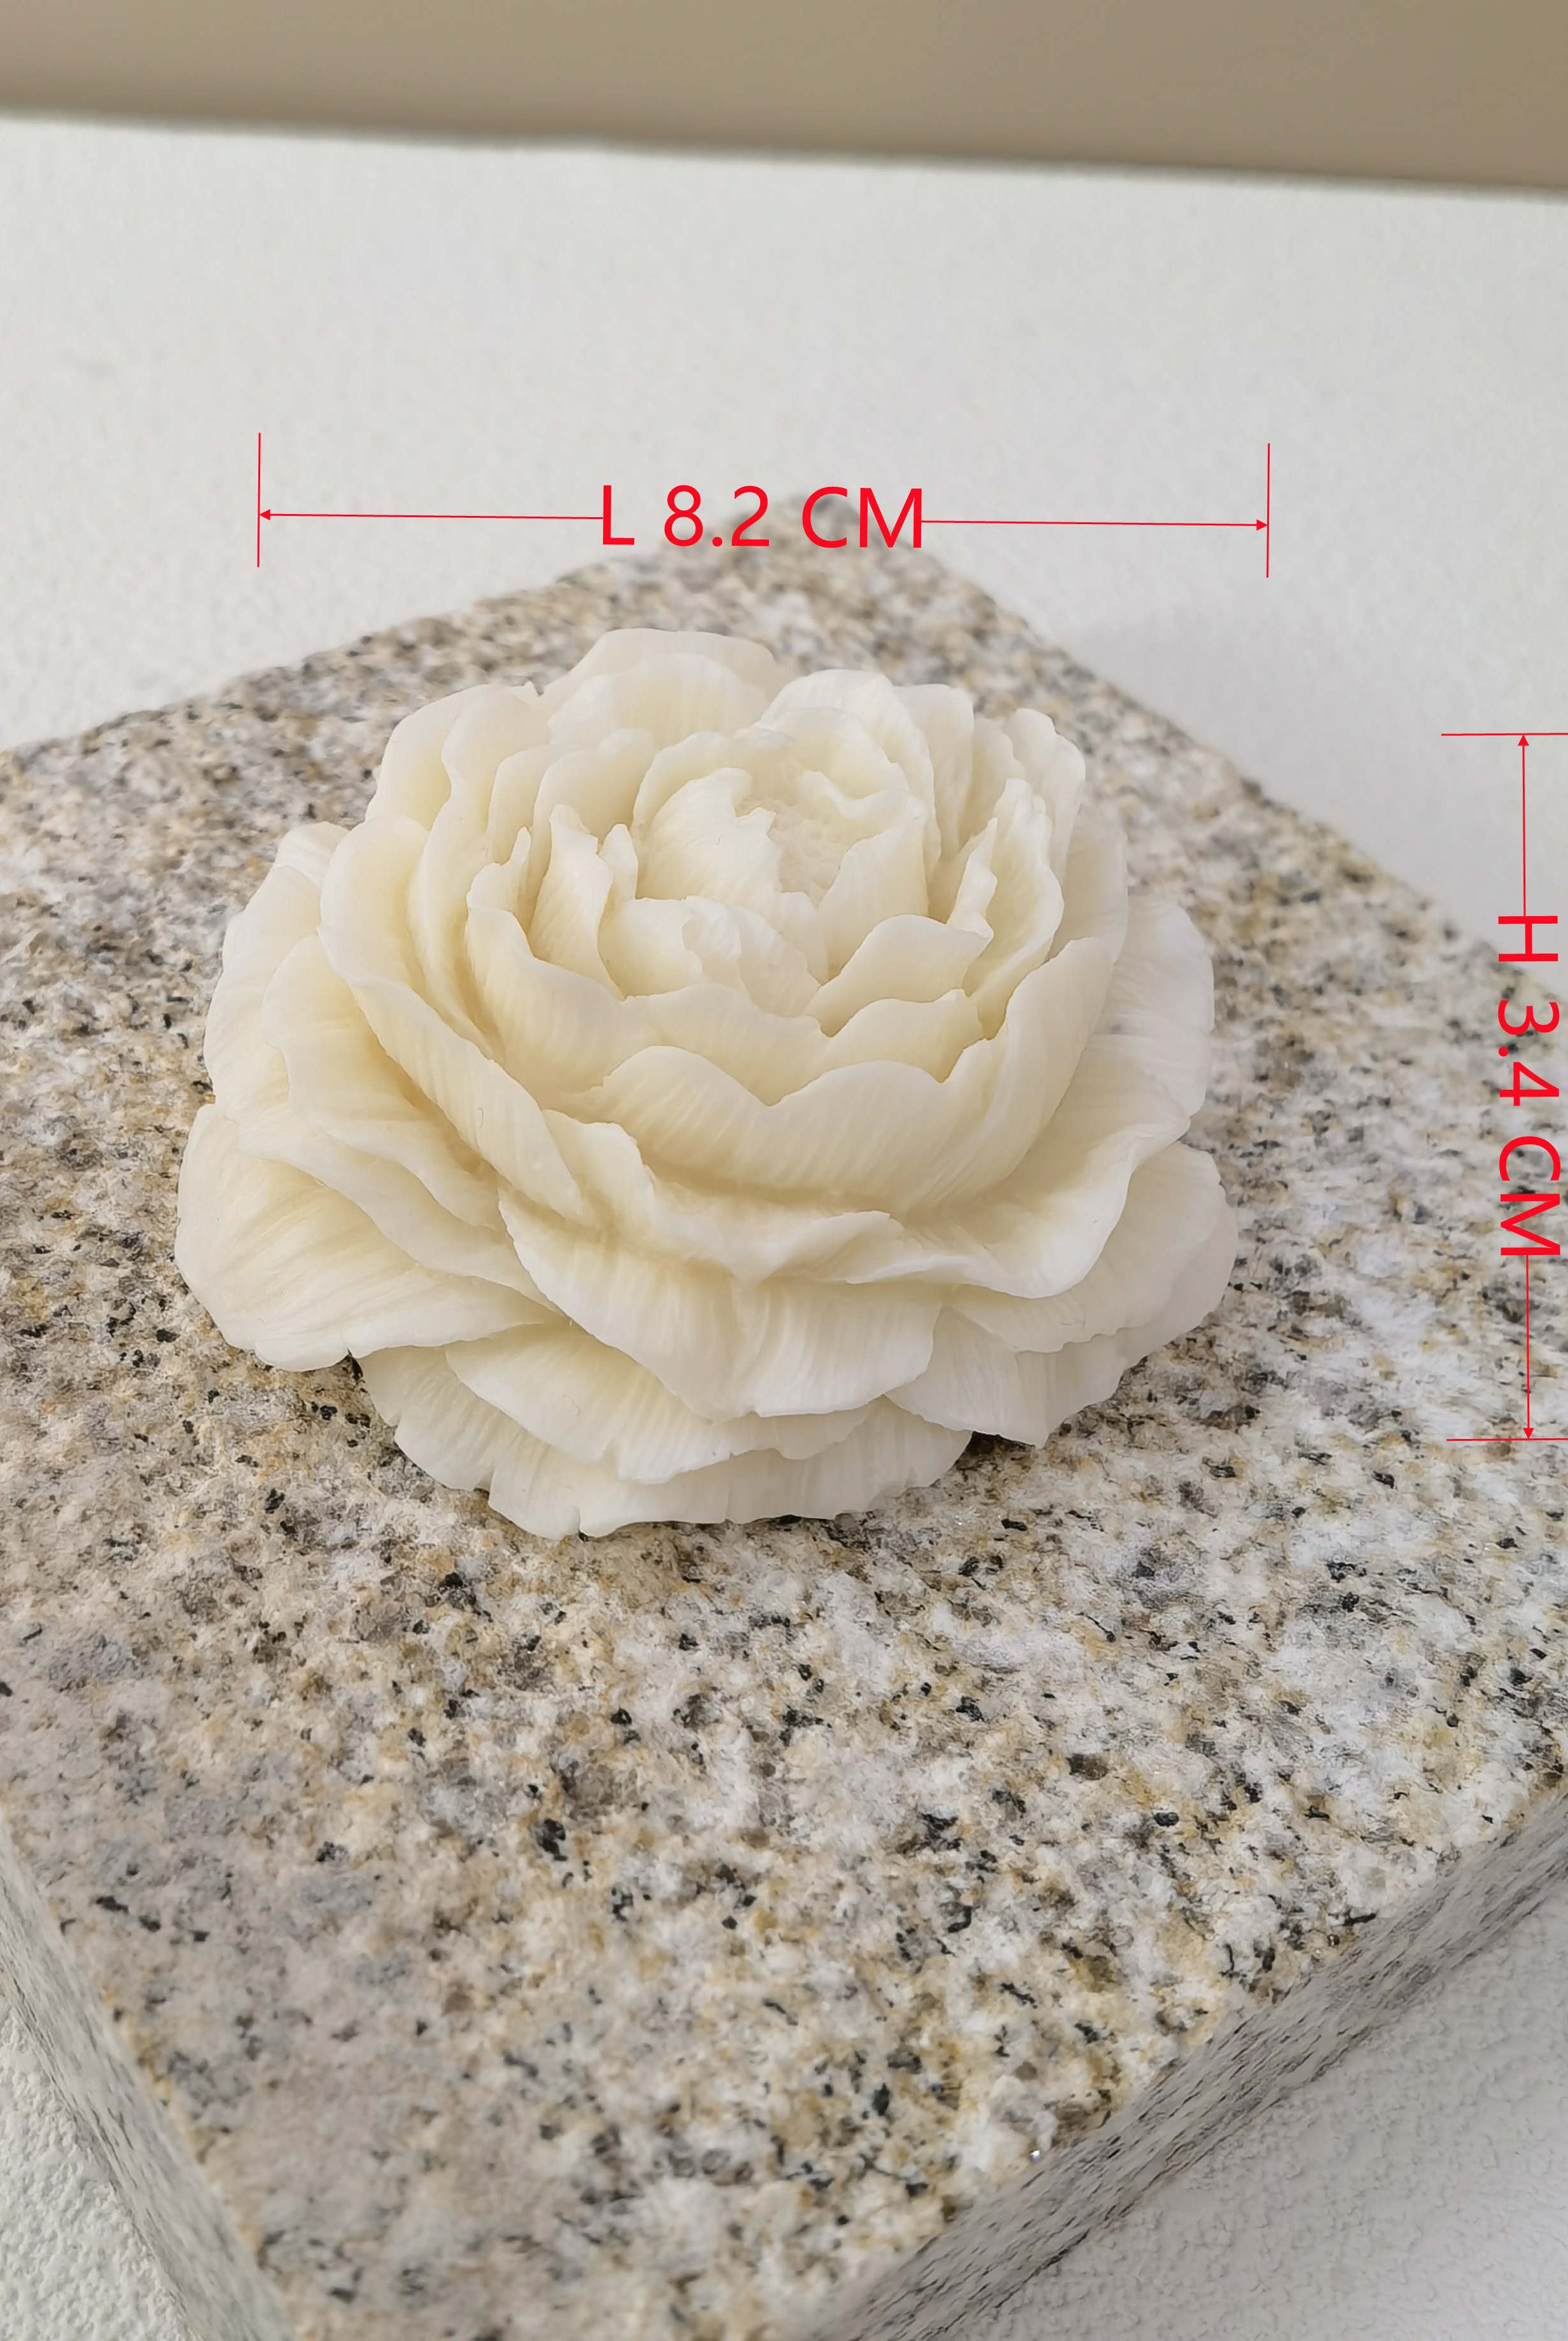
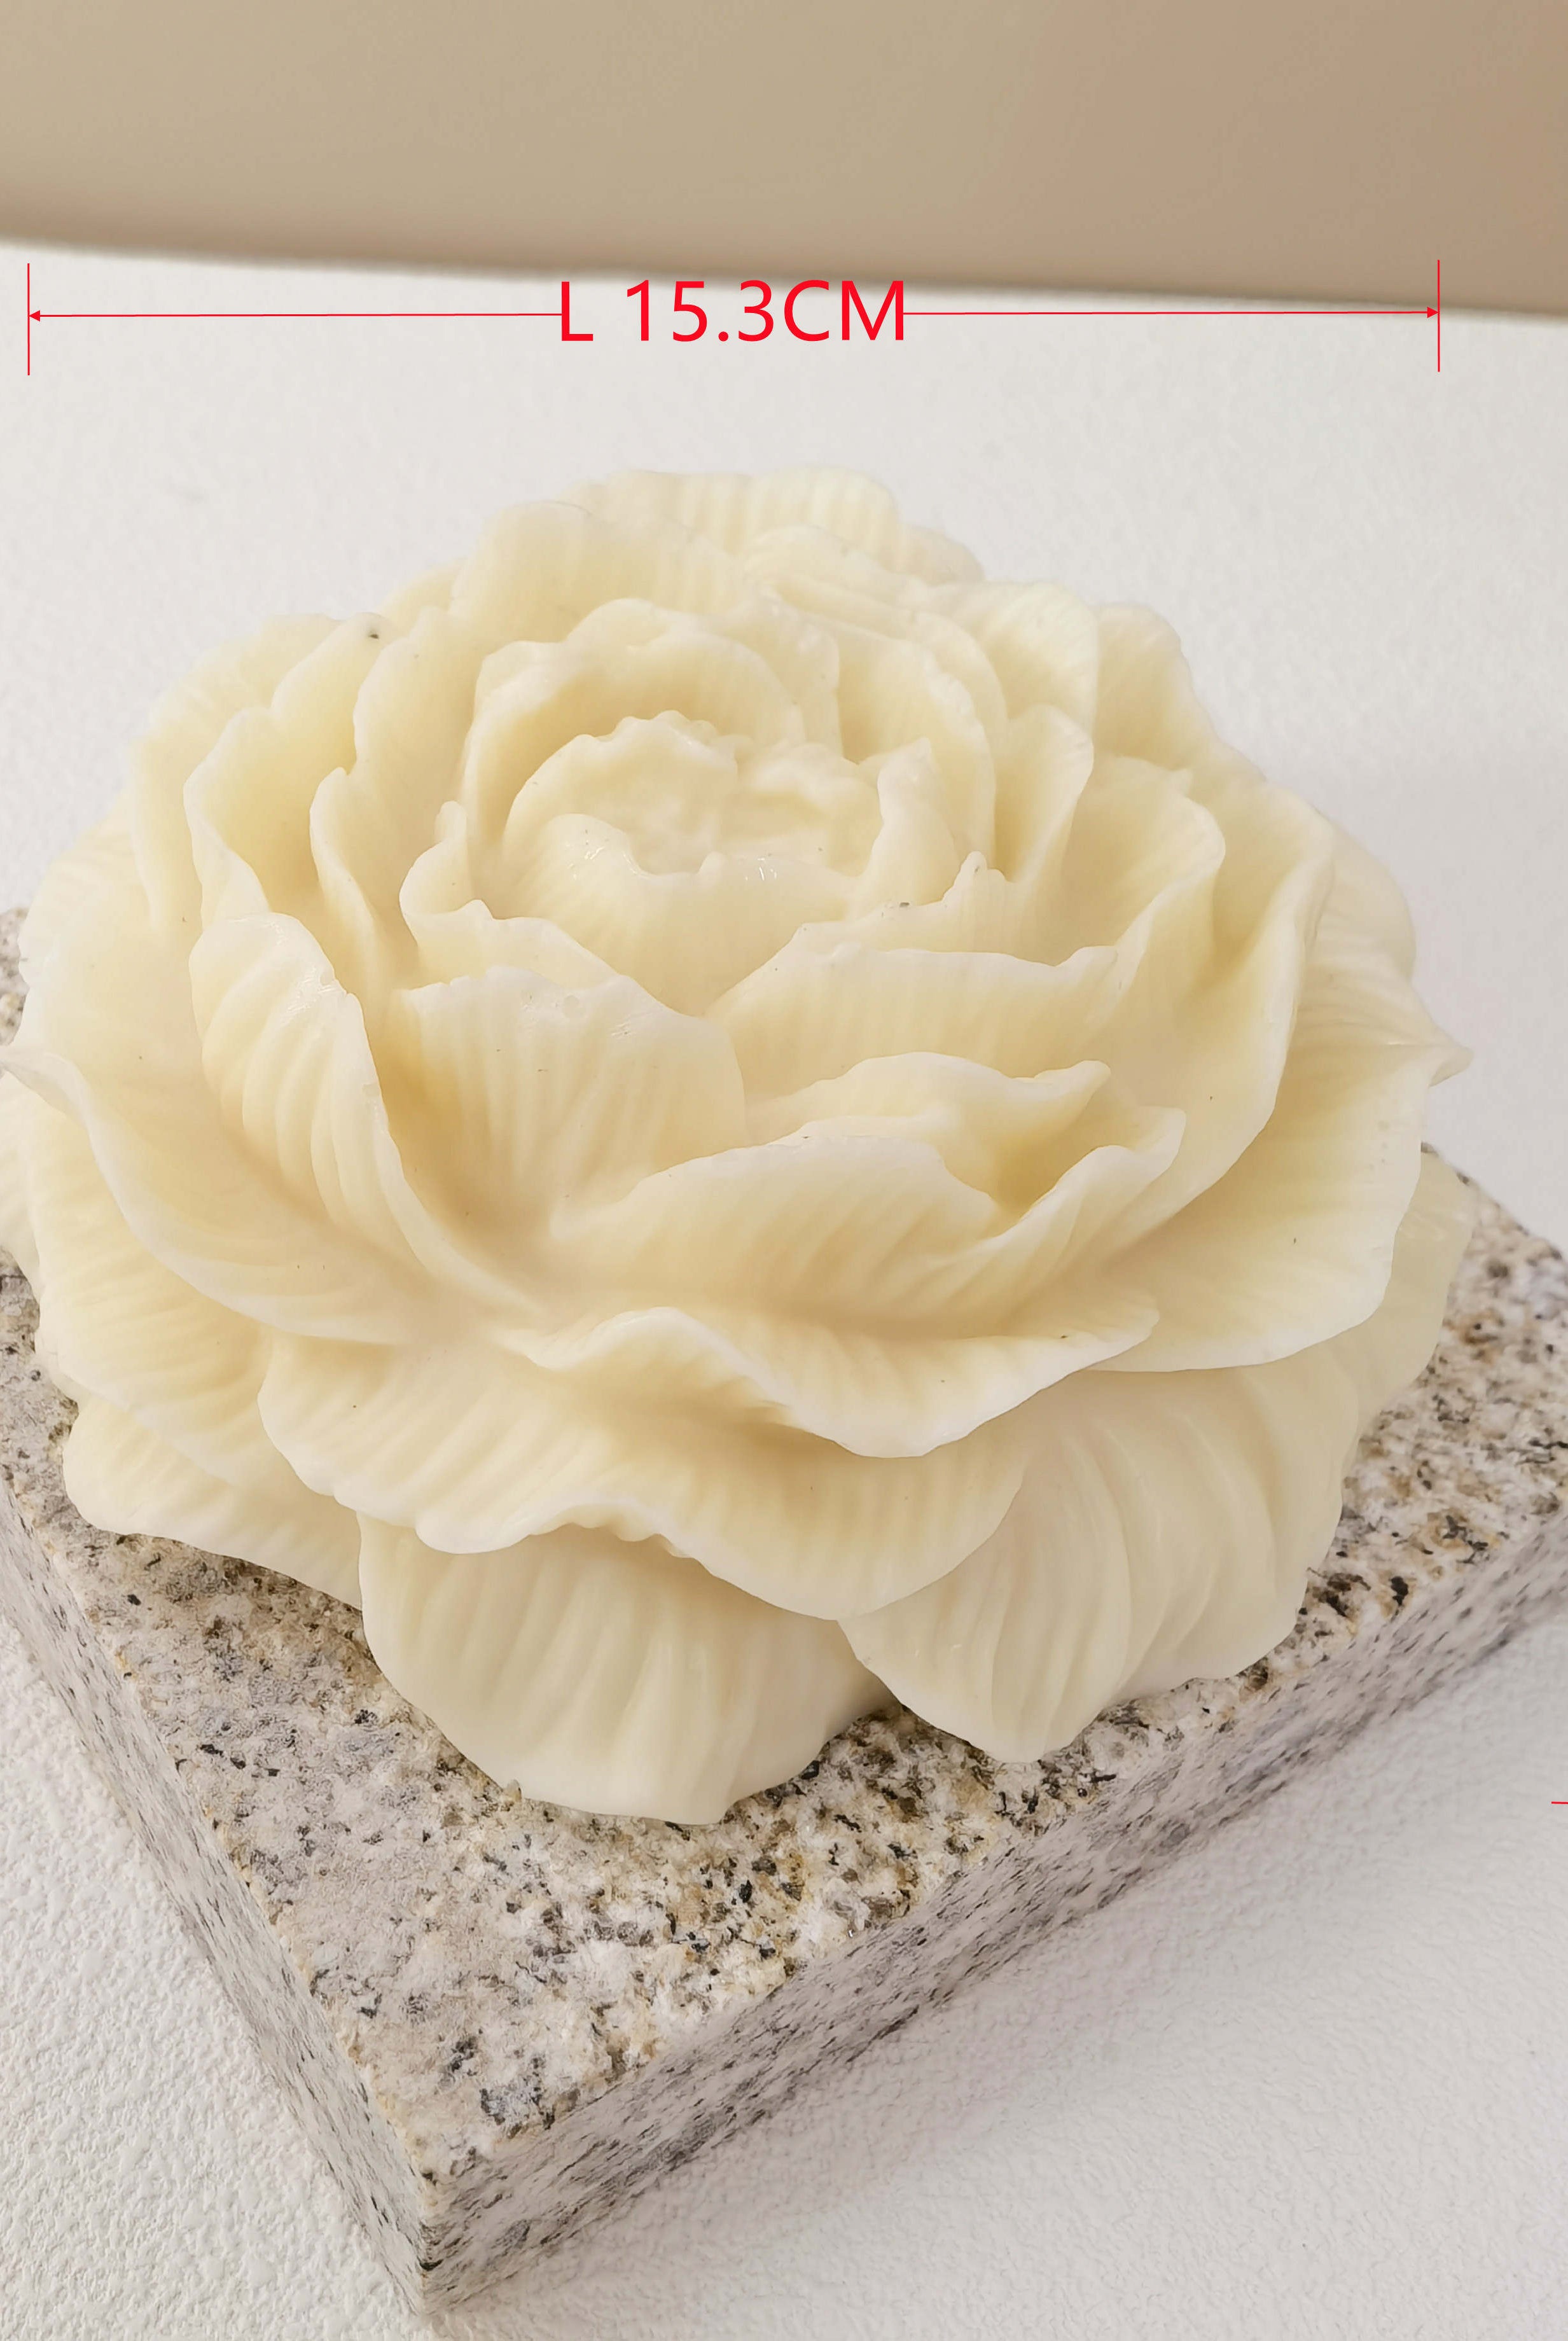
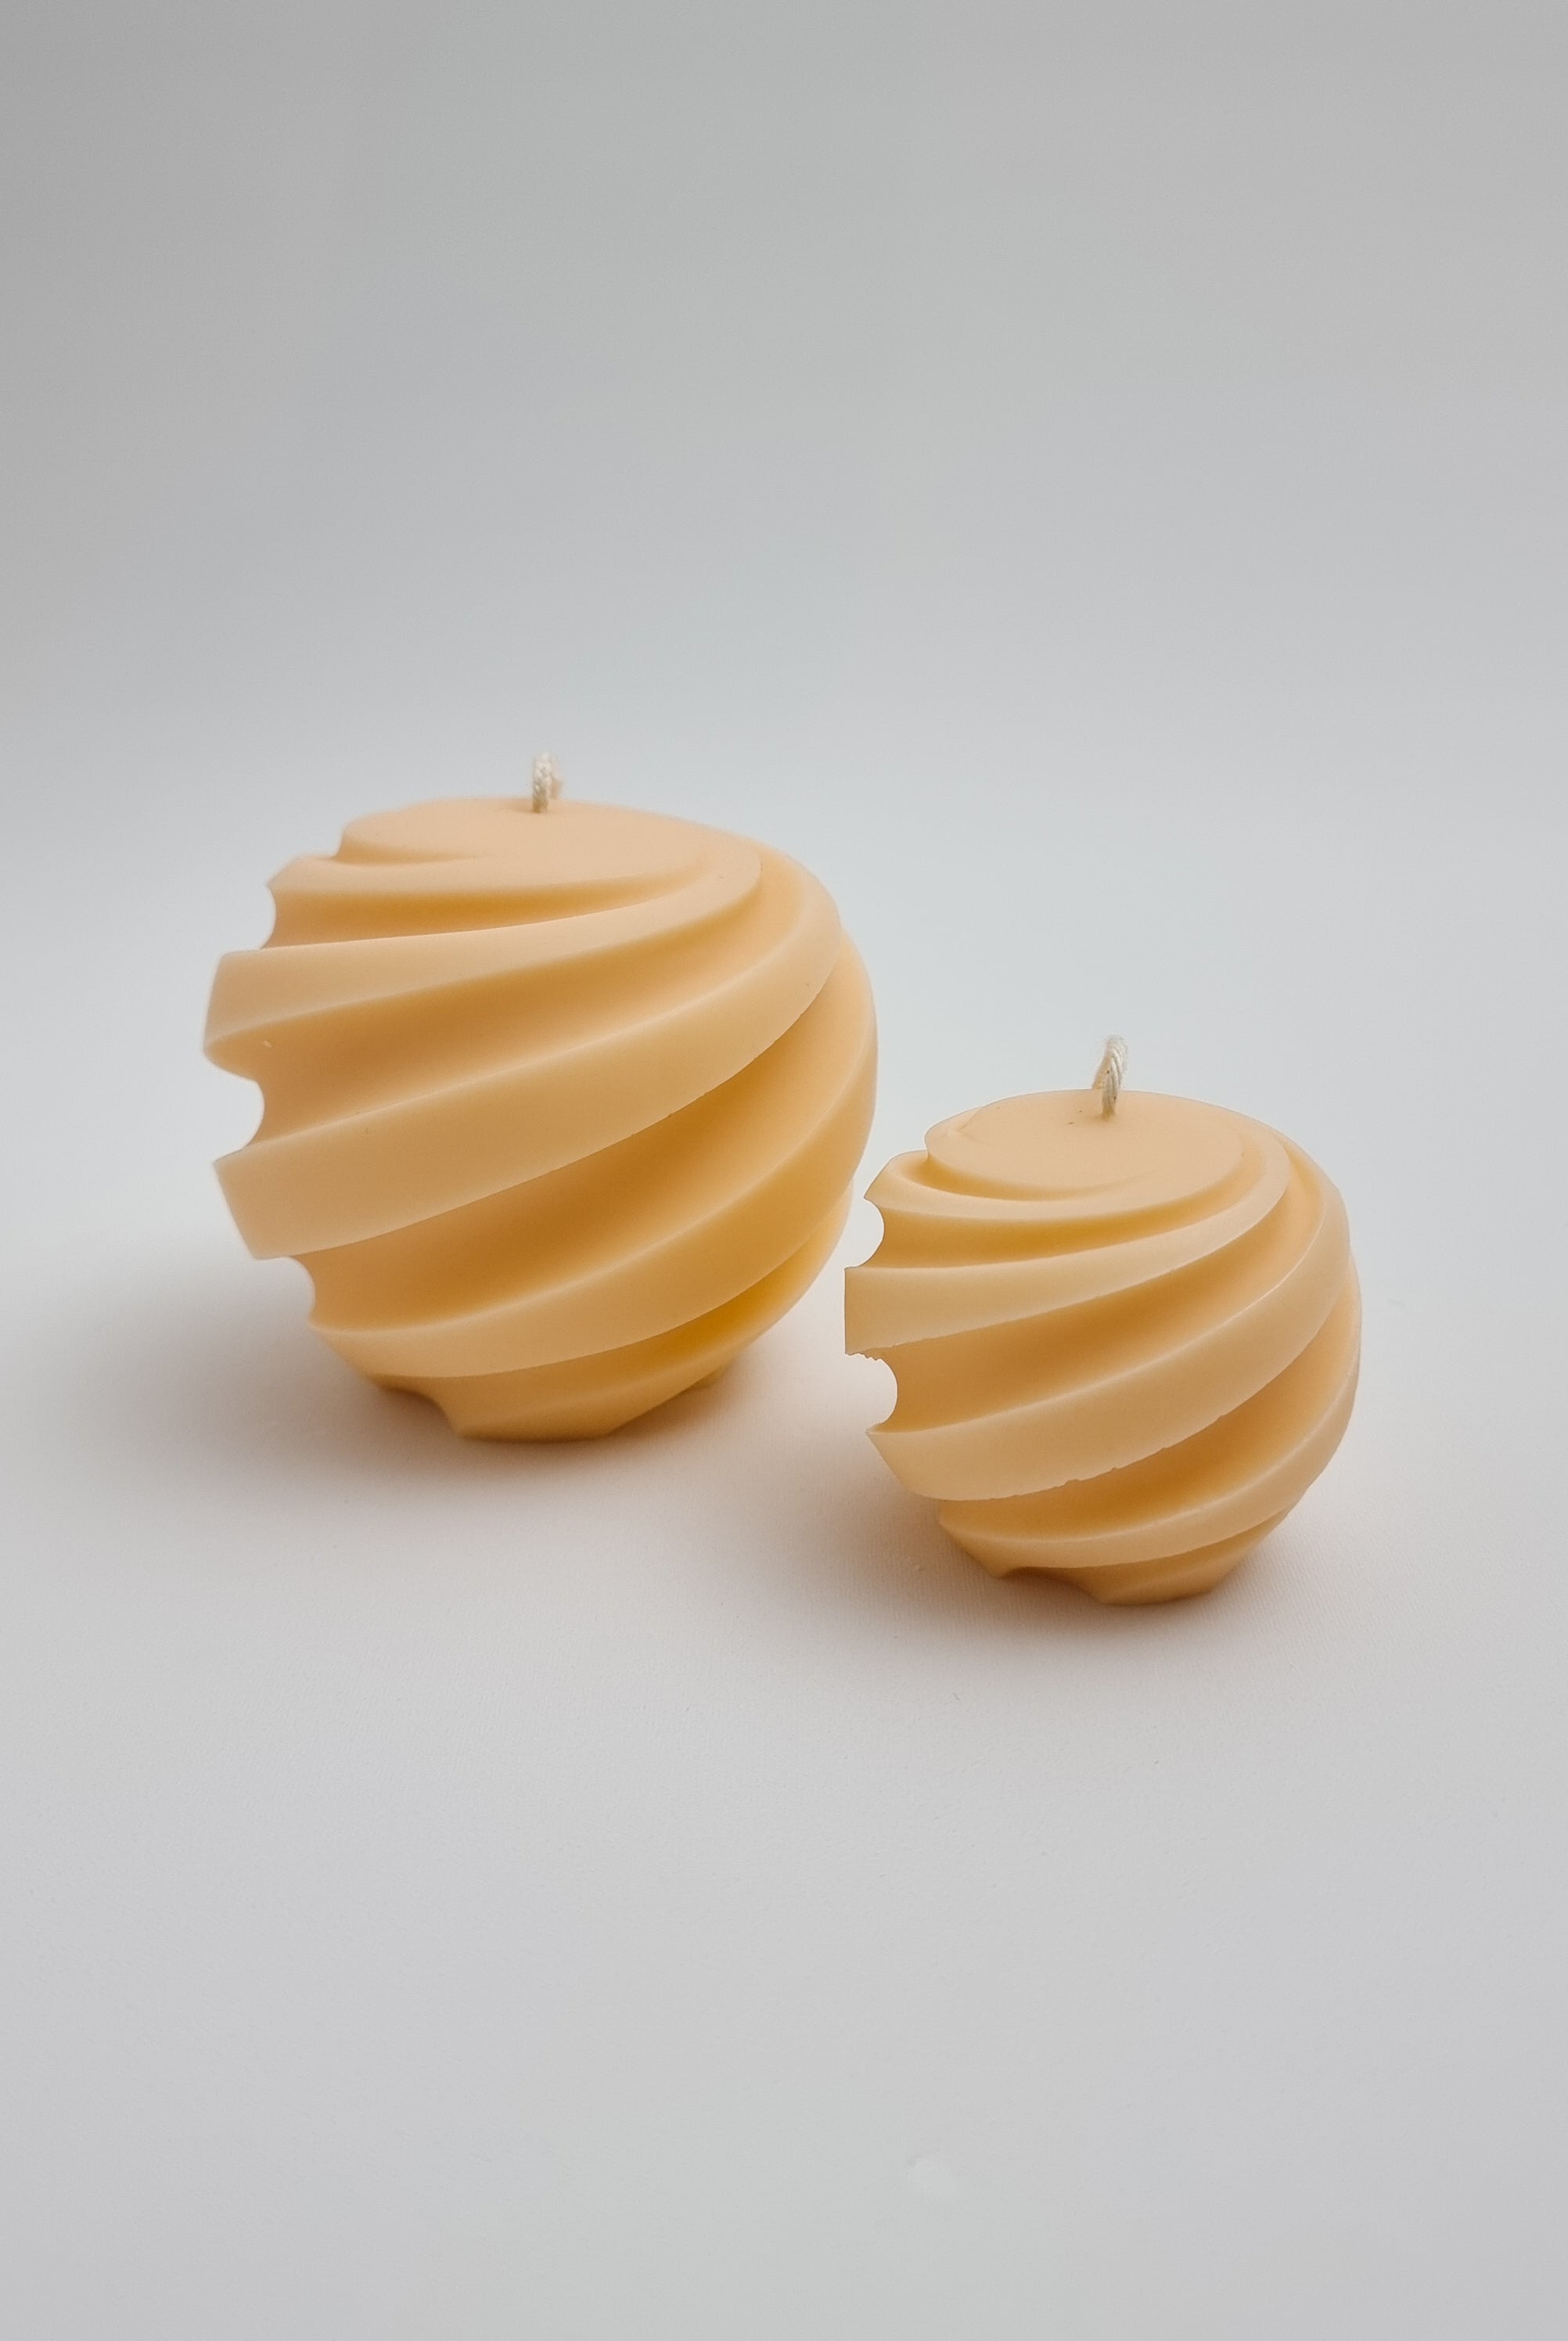
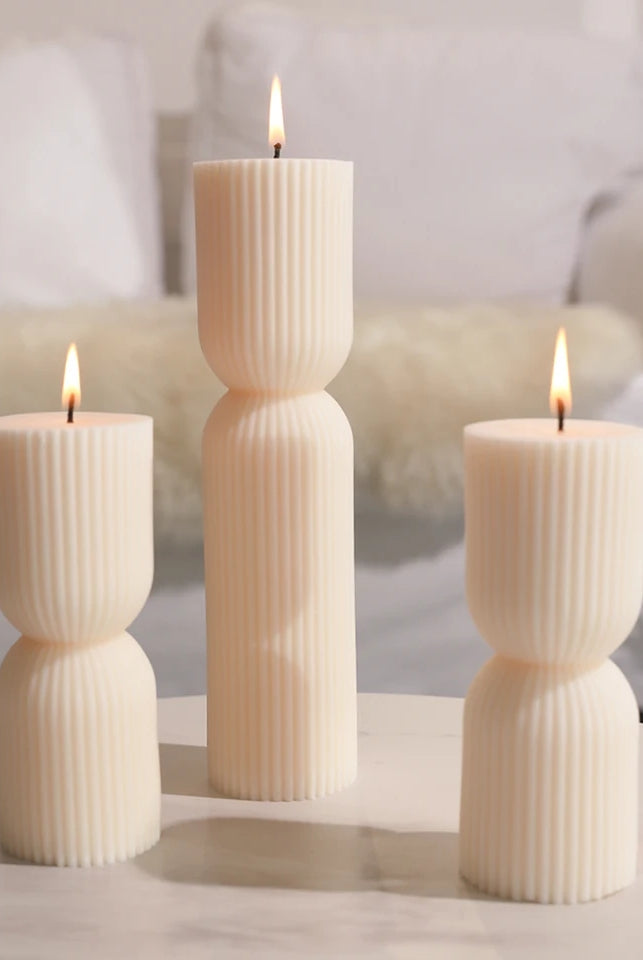
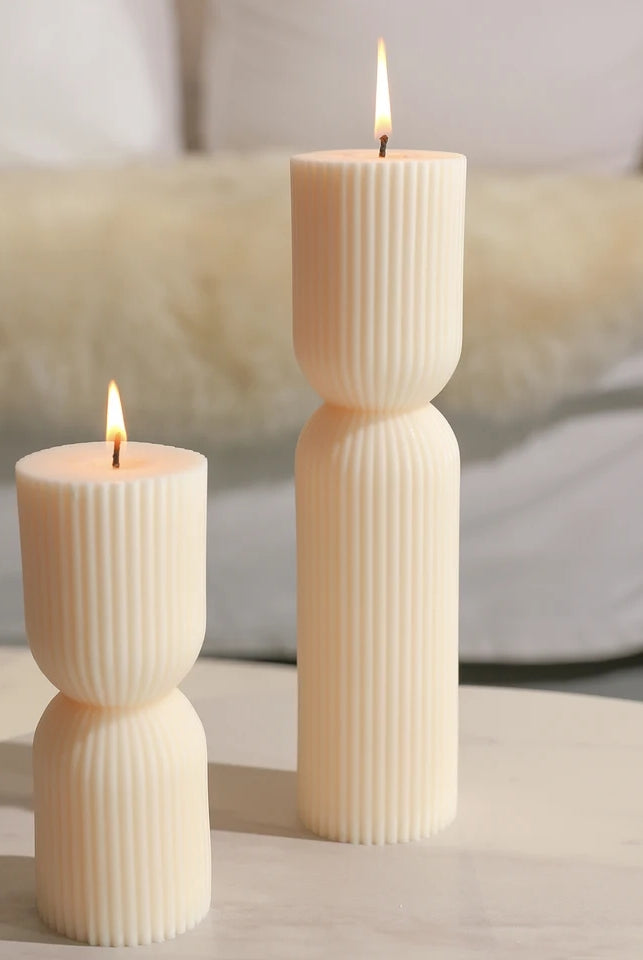
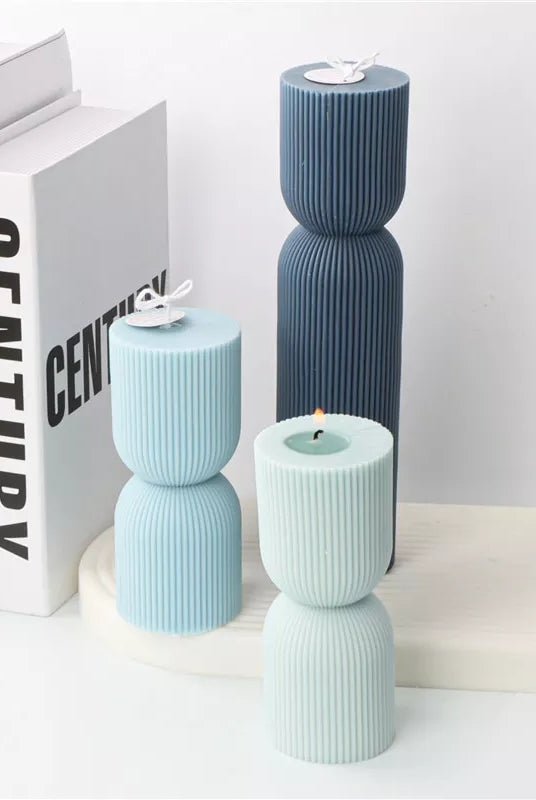
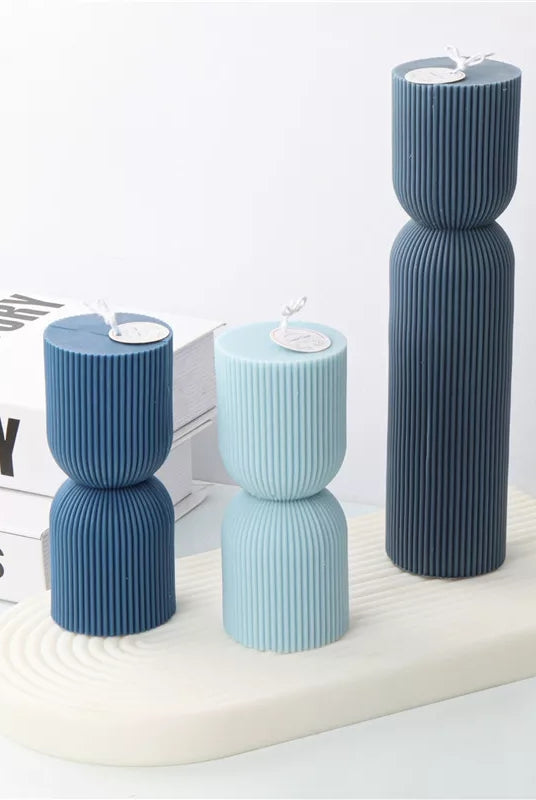
Finished product:
Large - 13.5cm (H) x 12.5cm (W) x 12.5cm (L)
Medium - 8cm (H) x 8cm (W) x 8cm (L)
Small - 5.5cm (H) x 5.5cm (W) x 5.5cm (L)
Volume:
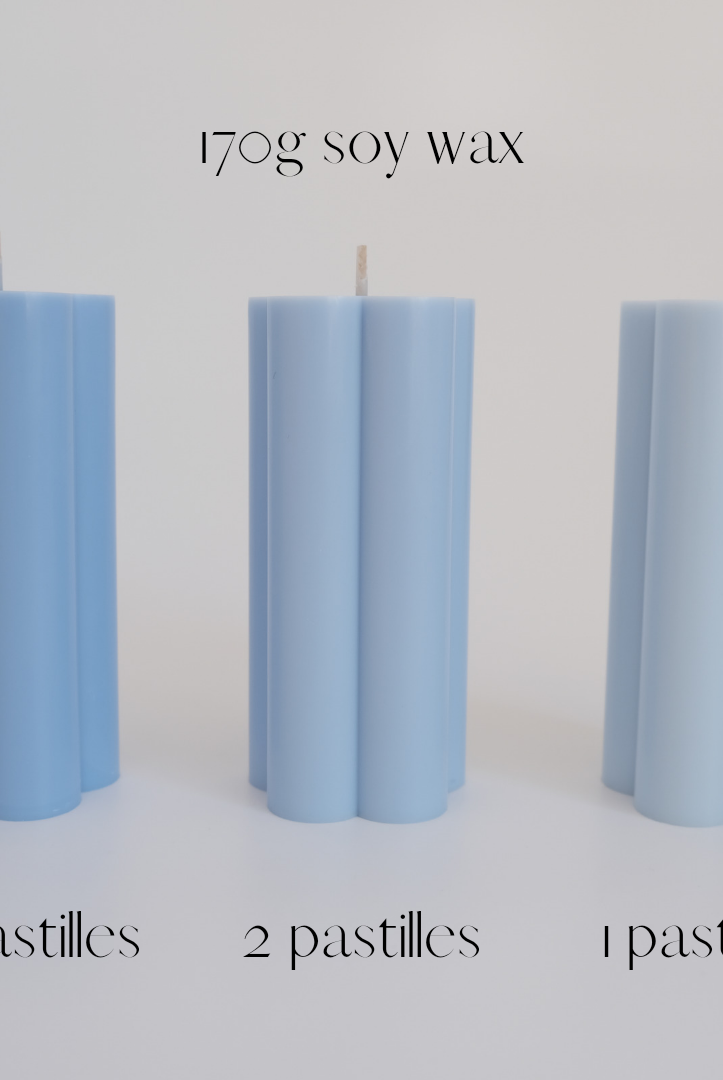
Large - 760g wax
Medium - 160g wax
Small - 60g wax
Cotton wick recommendation:
Large - 30 ply
Medium - 12 ply
Small - 6 ply
All measurements are approximate and will vary depending on the type of wax used and how much fragrance oil is added.
Mould Care
Clean with warm water and mild soap after every use and store in a dust-free environment.
How To Use
Acrylic PVC Candle Moulds:
To use this candle mould, simply start by threading the wick through the center of the mould and securing it in place with a wick holder. Use blu tack to cover the wick hole to prevent leakage before pouring melted wax into the mould. Depending on the type of wax you are using, you may need to perform a second pour to even out the surface of the candle. Allow your candle to cure overnight before carefully unmoulding it. If the candle gets stuck, squeeze around the mould to release the candle from the sides.
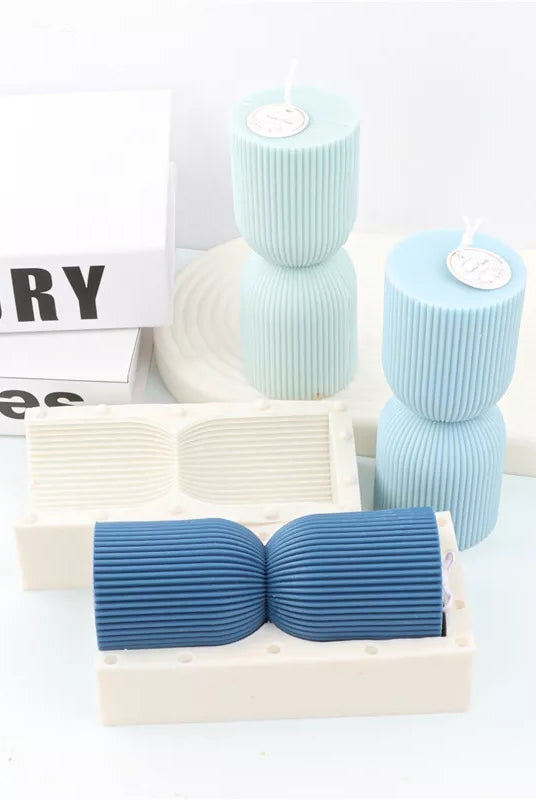
Silicone Candle Moulds:
To use our candle moulds, simply start by threading the wick through the center of the mould and securing it in place with a wick holder. Then, pour in your melted wax and let it cool until it hardens. Depending on the type of wax you are using, you may need to perform a second pour to even out the surface of the candle. Allow your candle to cure overnight before carefully unmoulding it.
Concrete Trays & Vessels:
To make the most of your vessel mould, follow these steps:
- Preparation: Begin by gathering your selected material and ensure it's mixed according to the manufacturer's instructions.
- Pouring: Carefully fill the mould with your chosen material, ensuring it reaches the top.
- Air Bubble Removal: For a smoother finish, gently tap the mould on a sturdy surface to encourage any trapped air bubbles to rise to the surface.
- Curing: Adhere to the recommended curing time for your chosen material.
- Demoulding: Once the material has set and cured, carefully flex and remove the mould to unveil your creation.
- If your tray or vessel will be used for candles, it is vital to seal it with a heat-resistant sealer. Apply at least two coats to both the interior and exterior of the vessel. Ensure the sealant is fully dry before pouring in the wax.
Shipping
Standard (Australia):
- 3-7 business days
- $12 shipping fee
Express (Australia)
- 1-3 business days
- $17
Standard (New Zealand)
- 4-14 business days
- $20
DHL Express (International)
- 3-7 business days via DHL Express
- Calculated based on location and weight
Returns & Refunds
Parcel Claims:
Report missing or damaged items within 24 hours of delivery to be eligible for store credit or a replacement. Include proof of purchase and photographic evidence. Contact us at info@mykacandlesandmoulds.com.
Moulds Disclaimer:
Expect slight imperfections in our handmade silicone moulds, which won't affect the final product. For unlevel moulds, adjust using simple supports.
Exchanges/Refunds:
No alterations, cancellations, exchanges, or refunds after purchase except as covered under parcel claims.
Lost/Damaged Parcels:
If a package is lost or damaged, contact us immediately for assistance with a claim.
For detailed information on our policies, please visit our full Returns & Refunds Policy.